
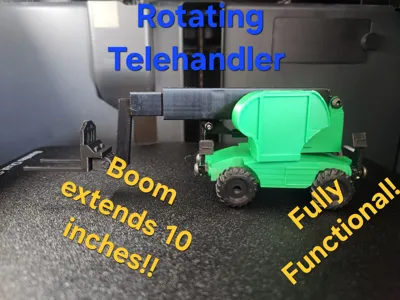
Rotating telehandler
Print Profile(1)

Bill of Materials



Description
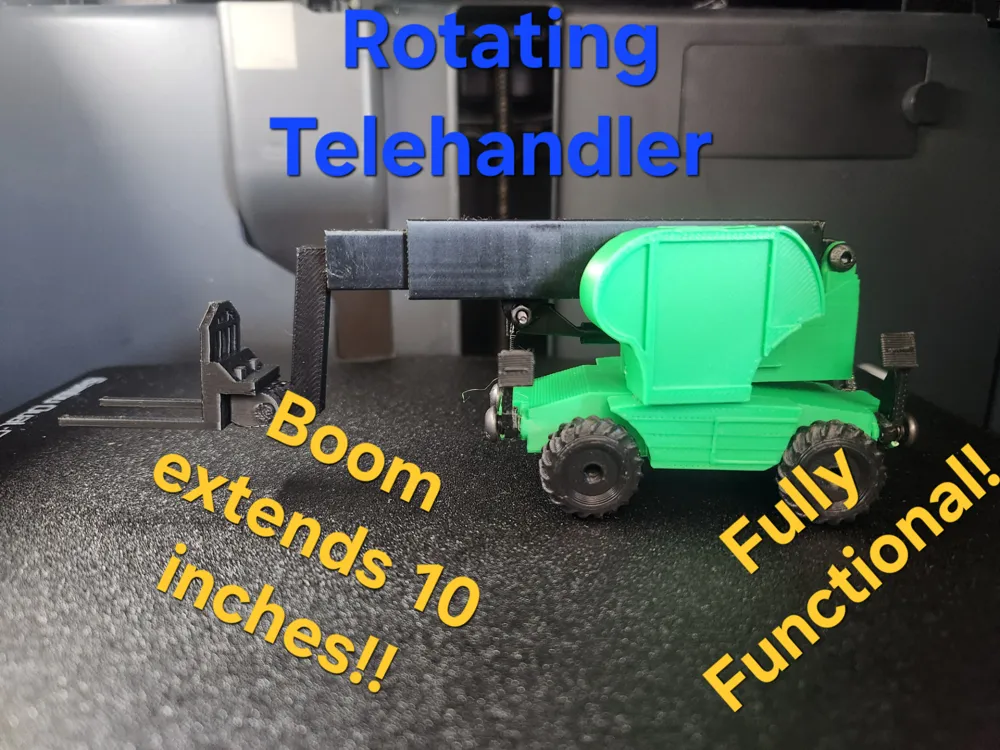
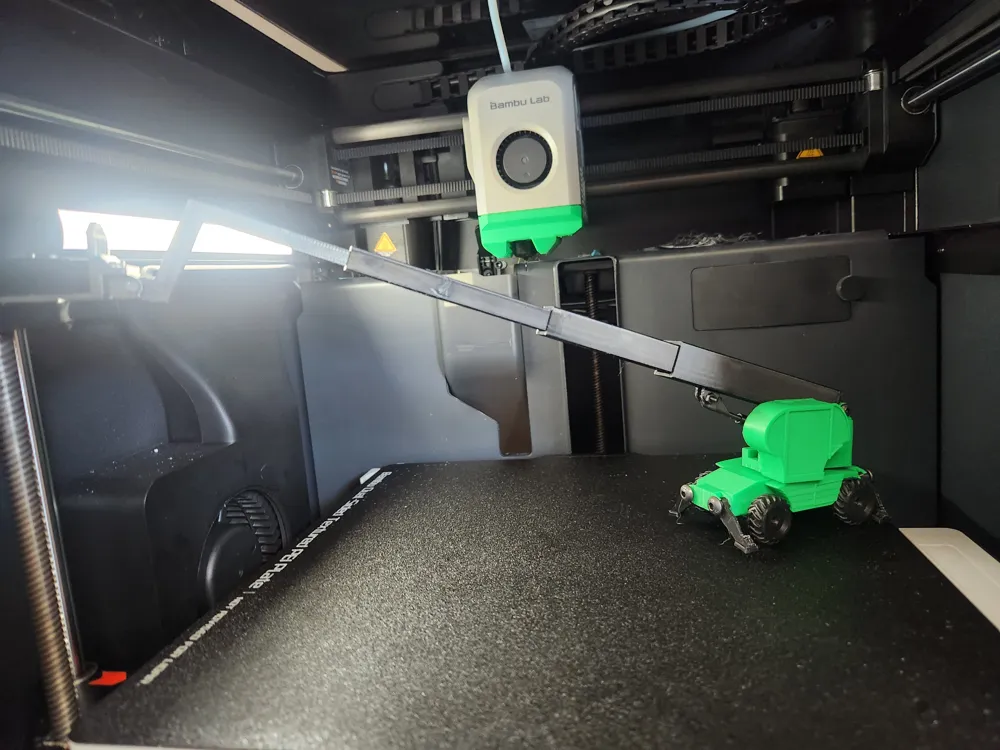
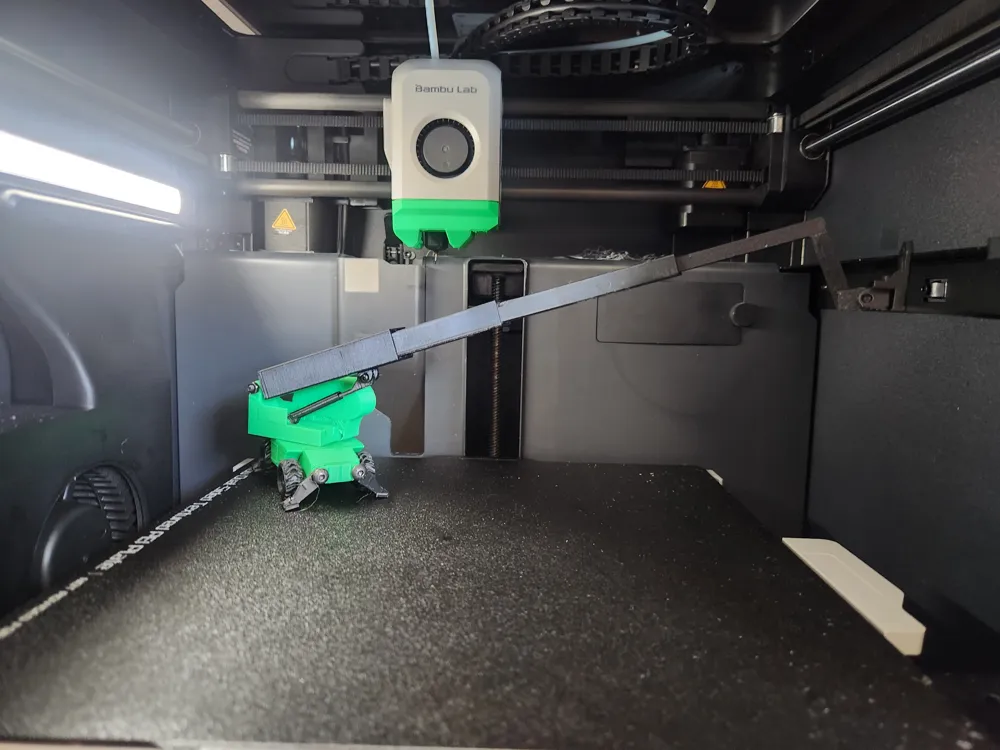
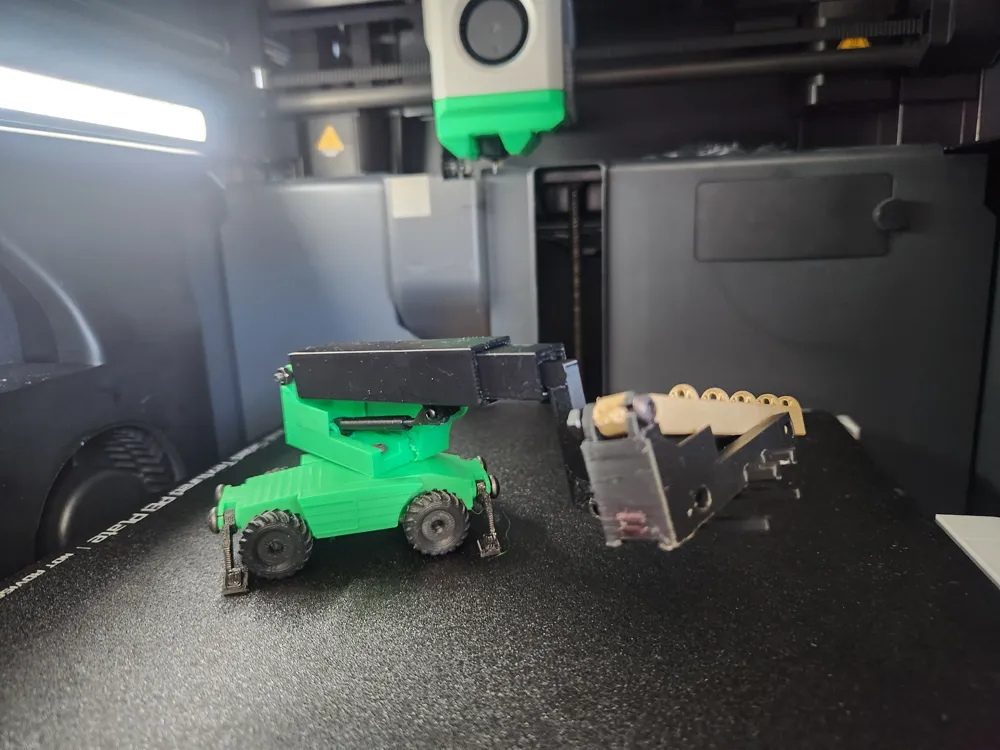
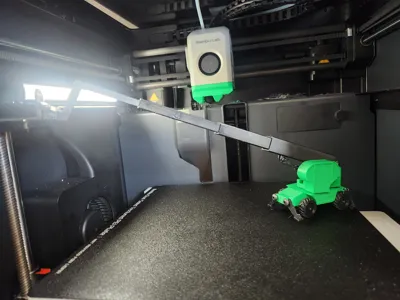
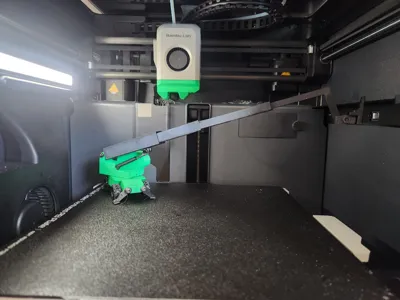
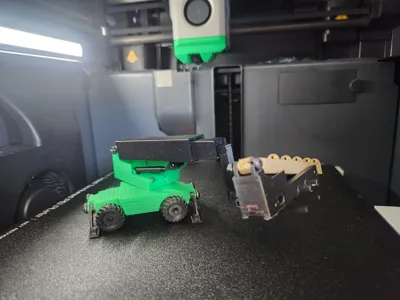
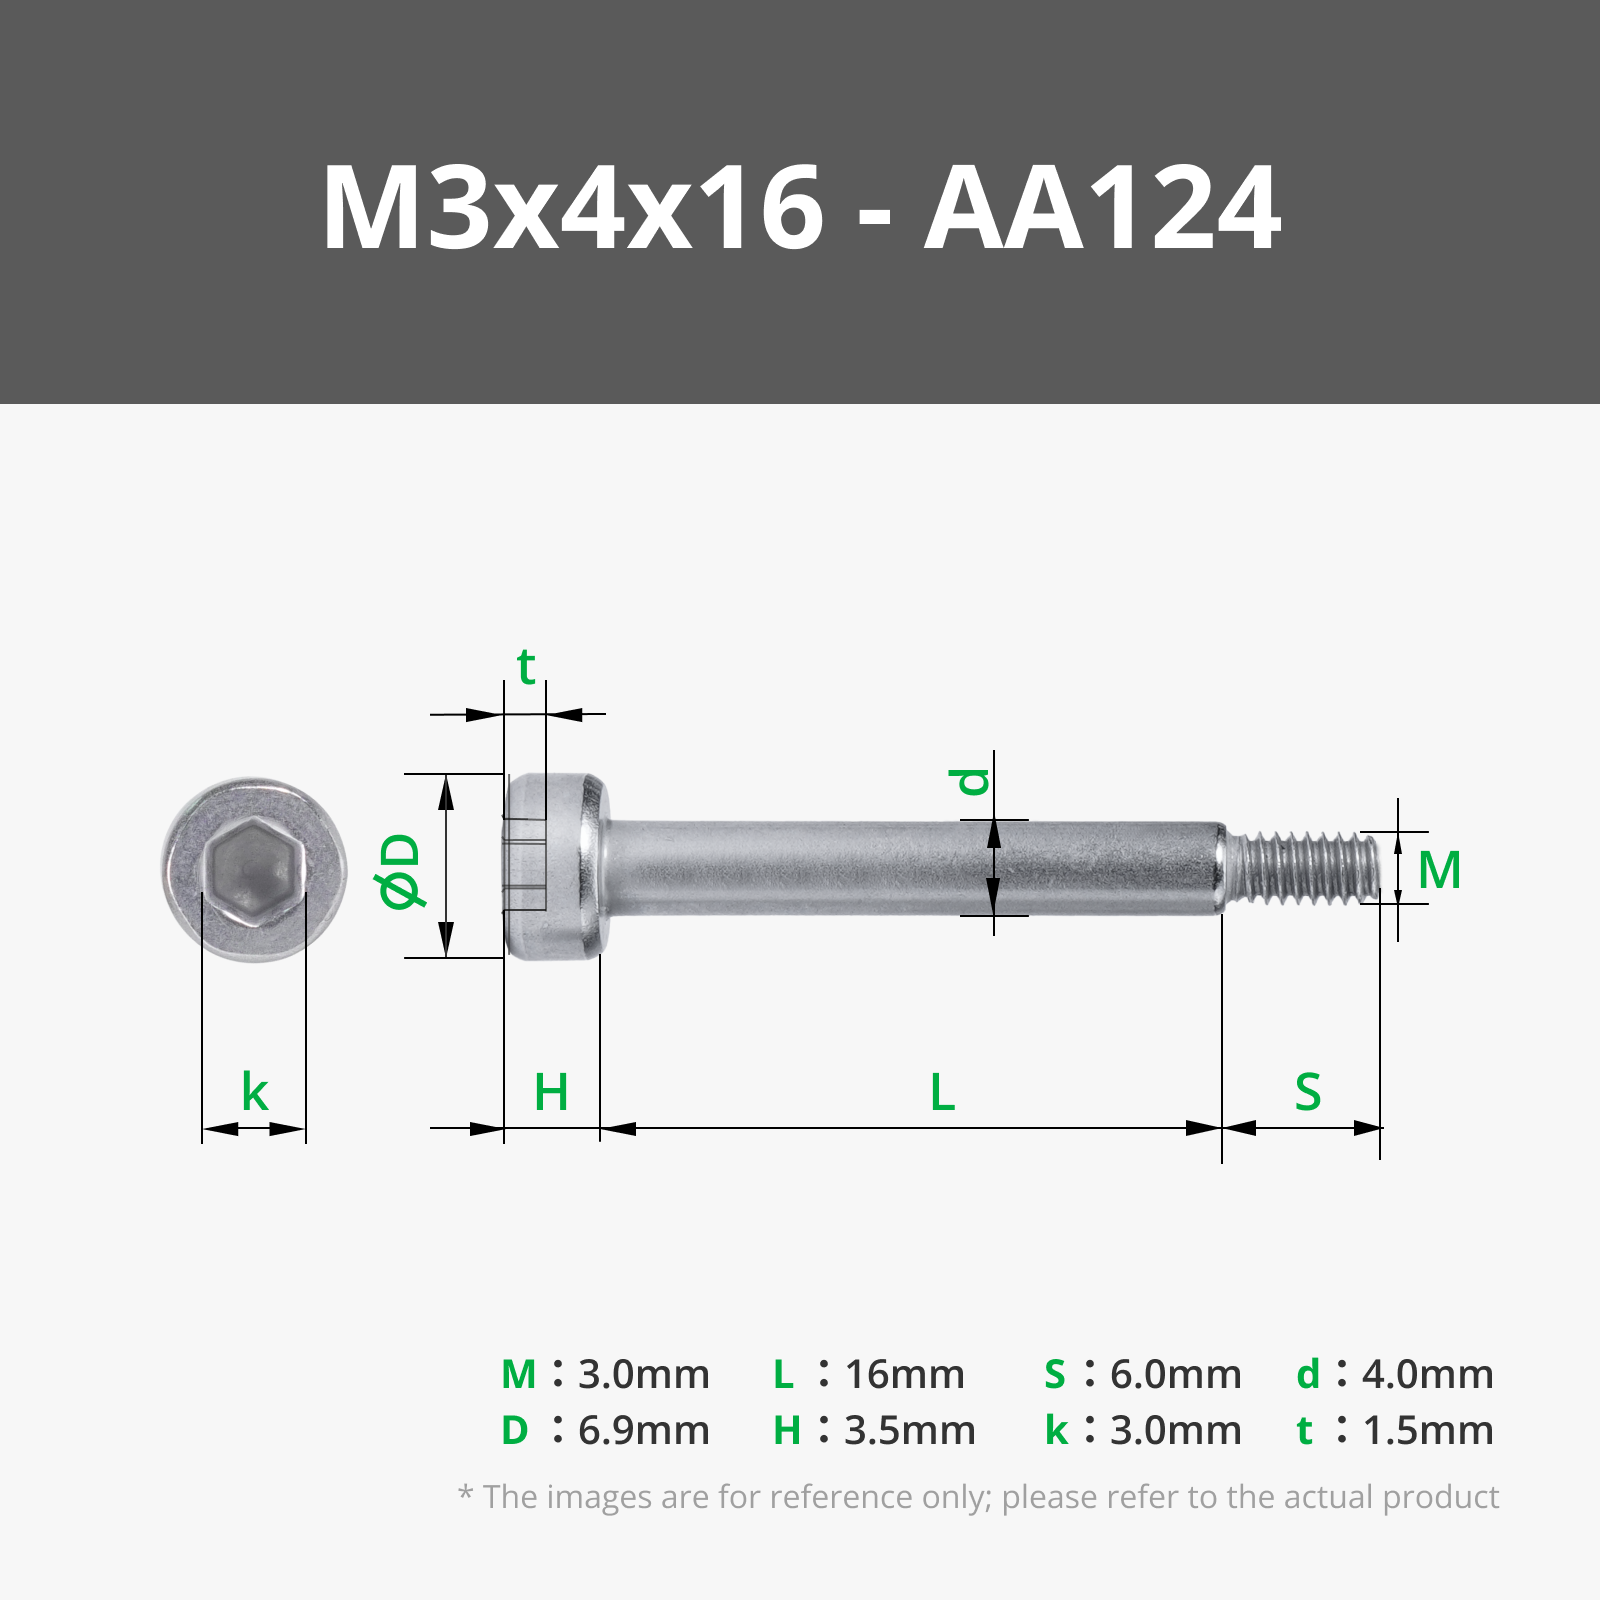
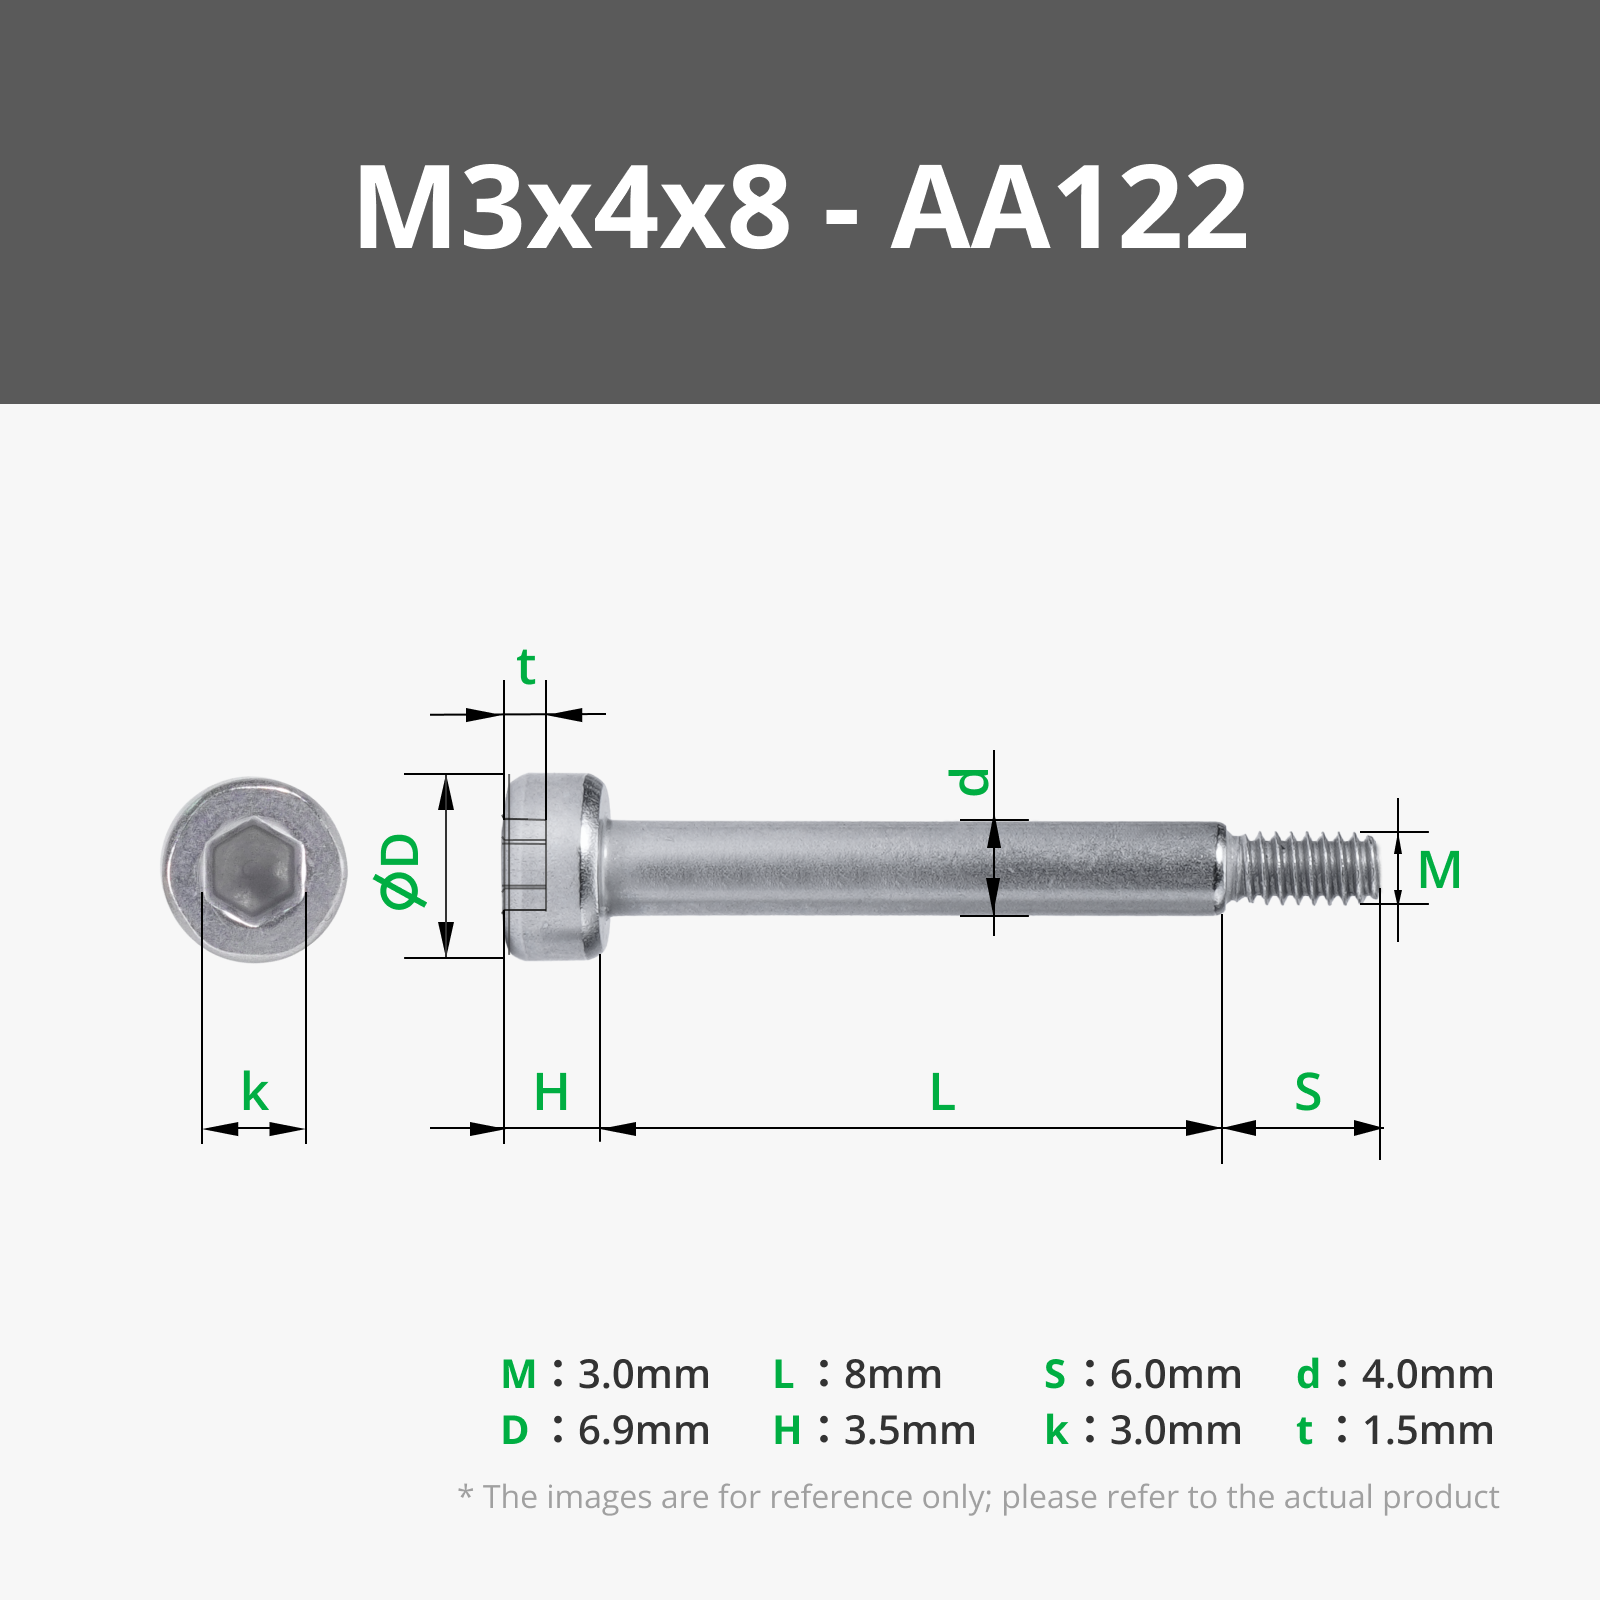
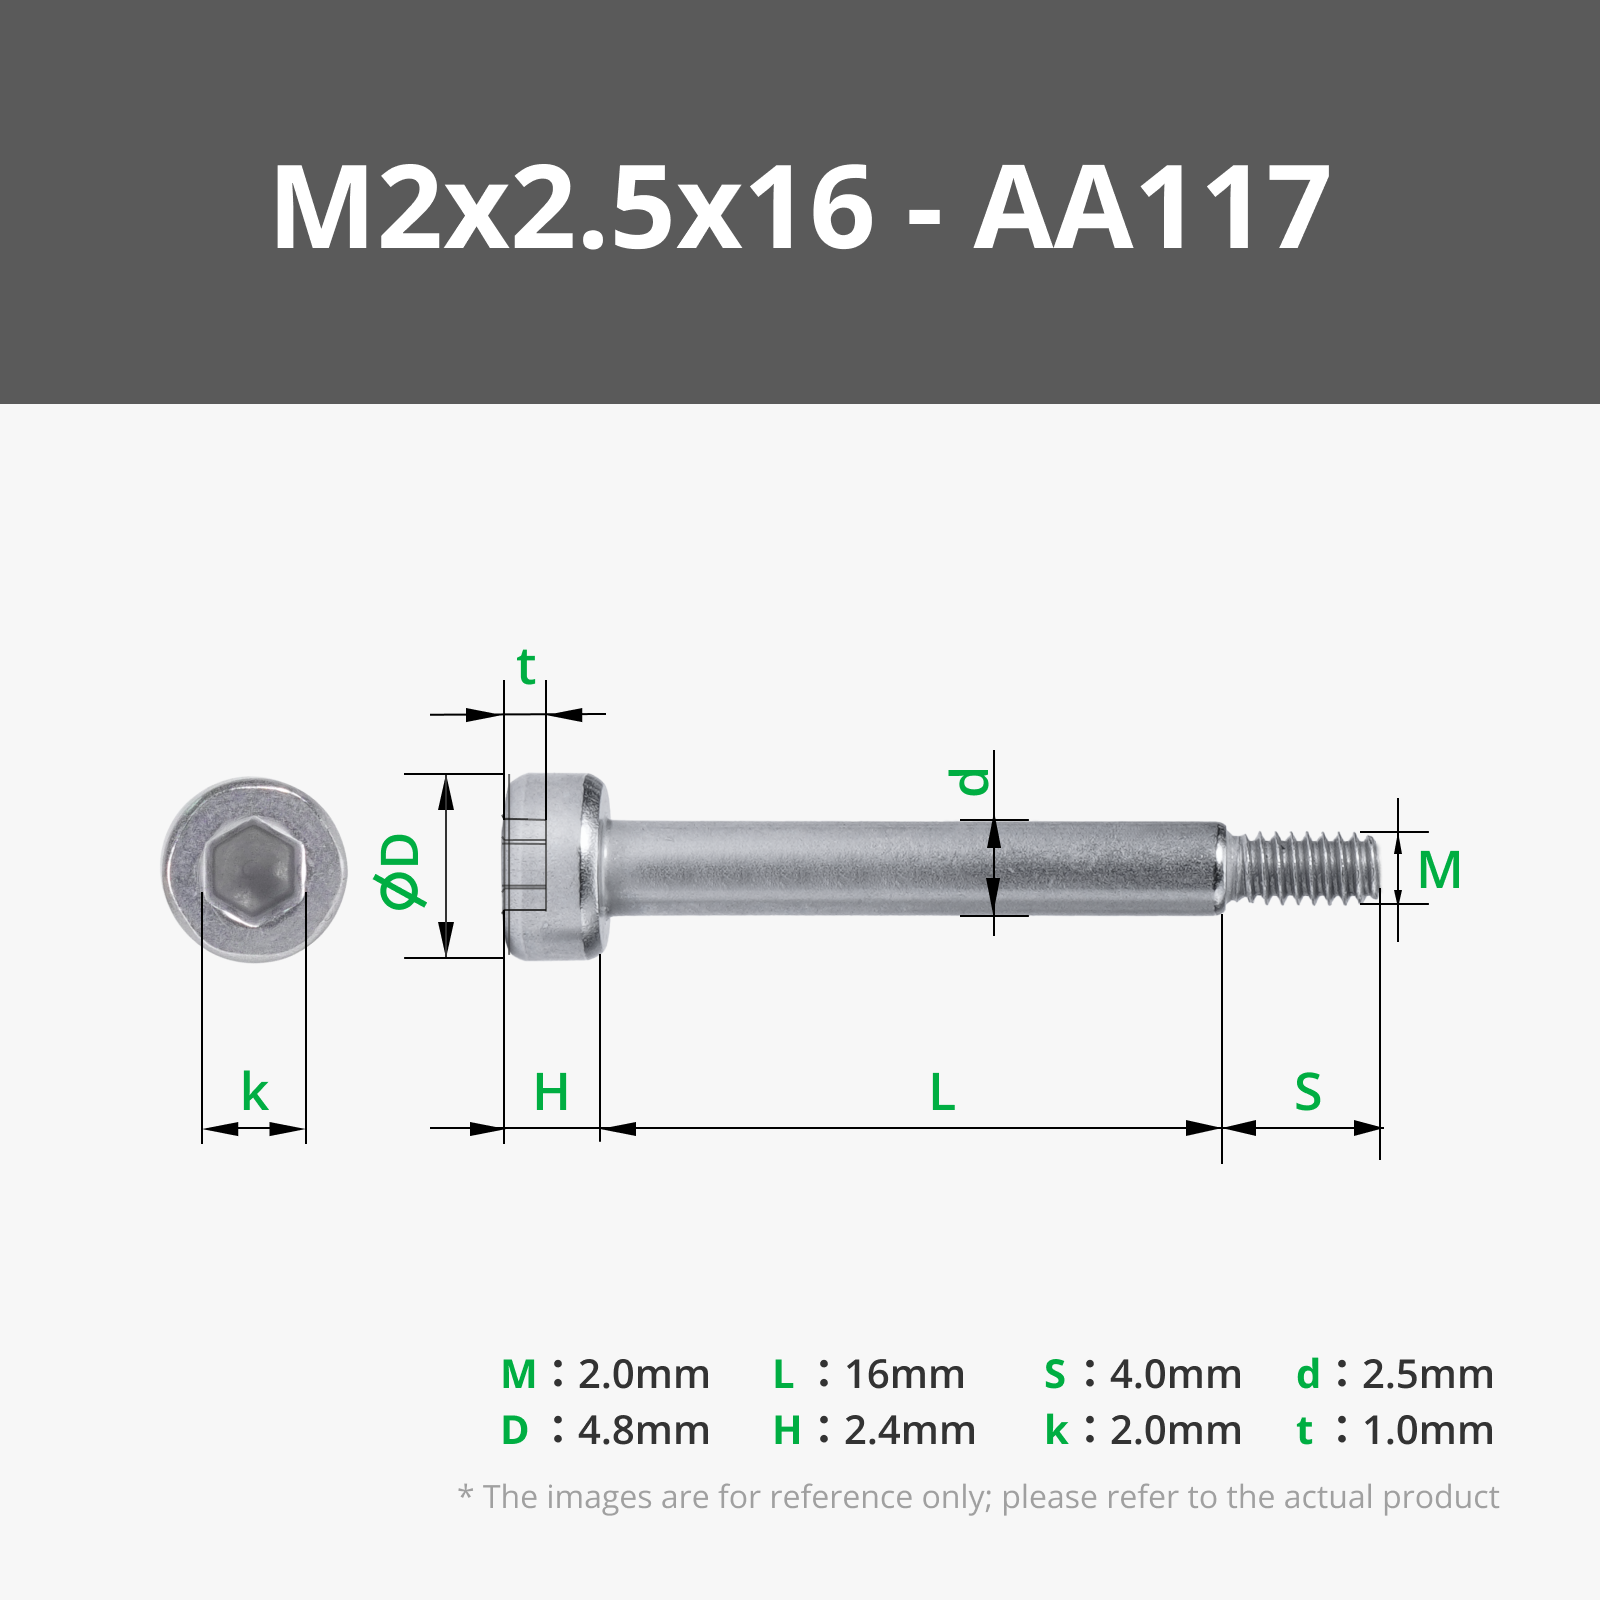
This is my Rotating telehandler model, it is modeled in 1/64th scale and is semi compatible with my previous telehandler models. It prints in 2 plates, plate one should be done in black and plate 2 I did in green but can be done in any color, i used Pla. The model extends to about 300mm, it will tip over past 100mm in most positions without outriggers. The model rotates a full 360 and is secured to the base with a m3x8mm screw. The model requires 4 M4x12 screws, 1 m3x8 screw, 1 m3x16 screw with nut, and 1 m2x16 screw with nut. The attachments are the same mounting as my earlier telehandler and can be used interchangeably between all models. the tires, mounting plate and boom mount are all the same allowing for customizability, Yes the big boom will fit on the other telehandlers. The cab is technically interchangable, but does have extra geometry that stops the cylinder from falling out, so keep that in mind if swapping cabs.
Have fun lifting and merry Printmas
Boost Me (for free)
please boost me if you like my stuff, it does help
Assembly
1: The base
Take your 4 out riggers and install them into the 4 slots in the base, secure with the m4 screws, don't over tighten make sure the notch is facing inwards to give better tire clearance.
Then install the axles and tires, it is a tight fit, Tpu tires are much easier to install on the axle, they should go into the 2 axle holes sticking out from the bases bottom
Finally, install the engine side pods on the pegs, the much rounder side should face the front, which can be identified by its sharper slope towards the mount, super glue is helpful here but not necessary
2: The turret
Take the outer cylinder and install into the lower hole on the right side of the turret, i used some waste parts scrap from previous projects to hold it in place
install the cab on the pegs, it is a tight fit, you will probably need to file down the pegs, don't glue as to allow cylinder replacement if it breaks
3: The boom
Take the attachment mounting plate and install it into the smallest boom section, it looks like an L, use the small printed pin or a m2.5 screw
In the second biggest piece, add a small bit of filament into the boom, this stops the 3rd biggest piece from getting stuck, (this was a design flaw on my part)
Install the cylinder piston into the biggest piece using the m2x16 screw and nut
Now put all the parts into each other, like a Russian nesting doll
4: Final assembly
Place the boom into the mounting point and use the m3x16 screw and nut to secure.
Put the assembled Turret and boom into the base and secure with the m3x8 screw
Place the forks on the attachment plate, the attachments are compatible between all my telehandlers
Finished!
License

You may create derivative works based on this object, provided that all such derivative works are published exclusively on the MakerWorld platform and include proper attribution to the original creator. You may not share, upload, host, distribute, or publish this object—or any derivative work of this object—on any other digital platform, marketplace, or distribution channel. Commercial use of this object and any derivative works is strictly prohibited. This includes, but is not limited to, selling, renting, sublicensing, or using the object in any context in which you receive monetary compensation or other financial benefits.


Comment & Rating (1)