
Beefy Nalgene Handle - Narrow-Mouth Versions

Print Profile(3)


Description
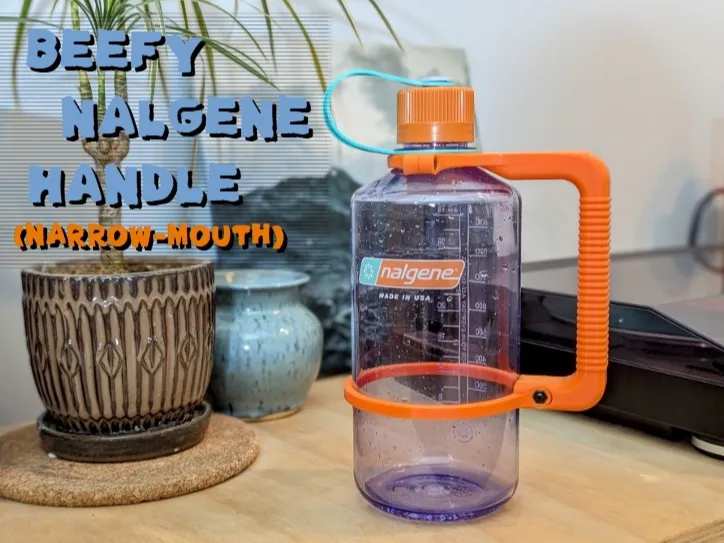
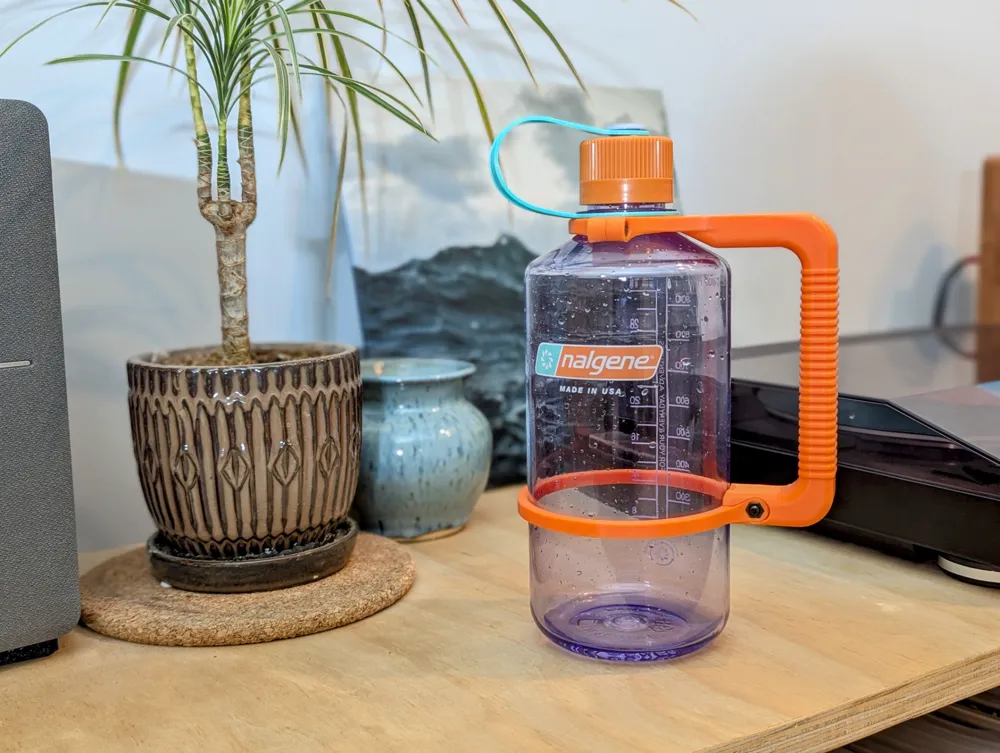
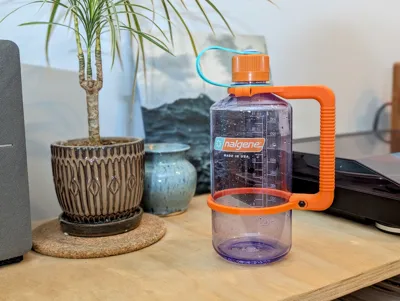
Beefy Nalgene Handle - Narrow-Mouth Version
This is the Narrow-Mouth version of my Beefy Nalgene Handle. For those of you who requested it, thanks for the idea and thanks for waiting!
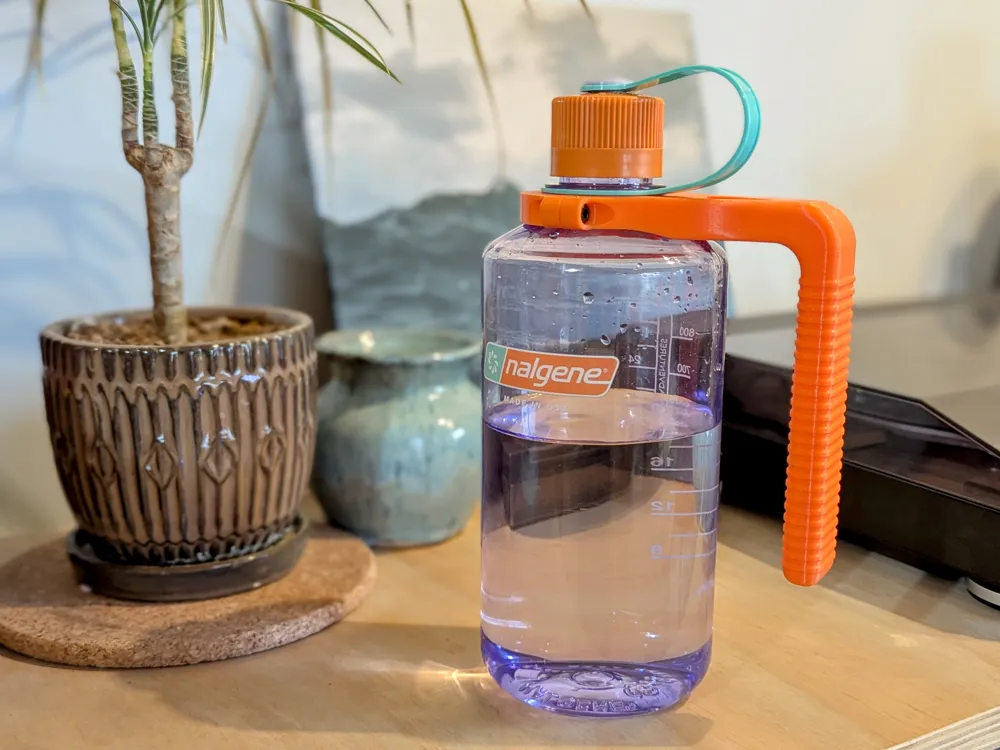
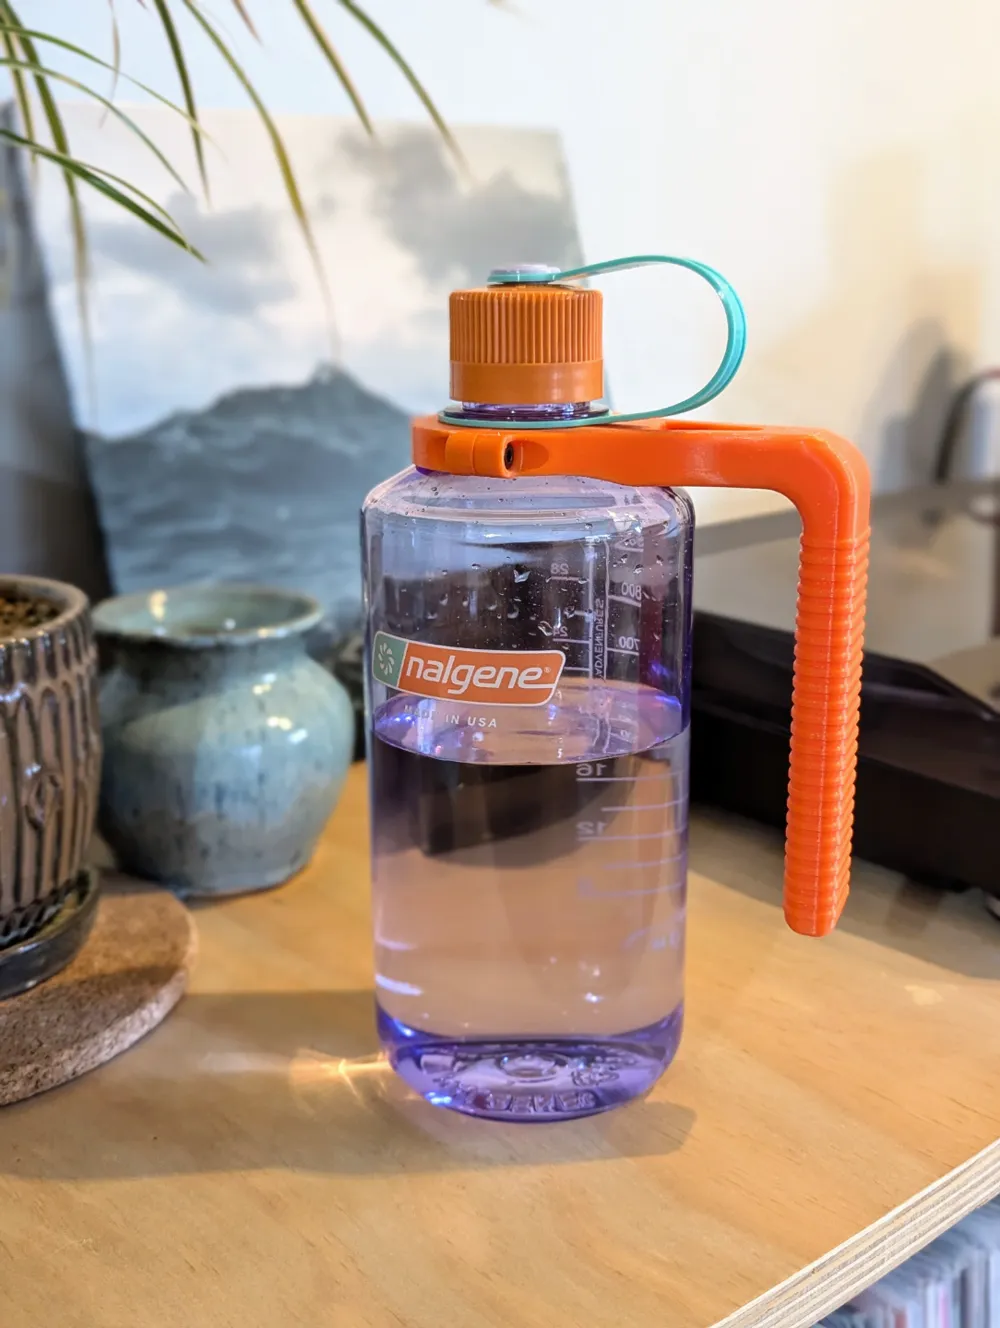
Upgrade your 1L Narrow-Mouth Nalgene Bottle with this awesome handle! This thing prints fast and only uses about 70g of filament (and three M4 bolts) but will upgrade the look and function of your Nalgene forever!
Want to feel like you're drinking out of a giant tankard while hiking? DONE!
Have tiny hands and struggle to one-hand the one-litre? NO PROBLEM!
Want to have a cool Stanley Quencher like your friends but cant afford to spend thousands of dollars on a cup? BOOM! CUSTOM COLOURED STAN-GENE!
Hate how the Nalgene always rolls away? FRET NO MORE!
In all seriousness, this is a significant upgrade to the Nalgene for people with small and big hands alike making it much nicer to drink out of while adding a personal/custom touch. I also believe this could act as an accessibility tool for those with disabilities.
For now there are three versions, but two more (smooth handle) versions will be uploaded soon.
Current Versions are:
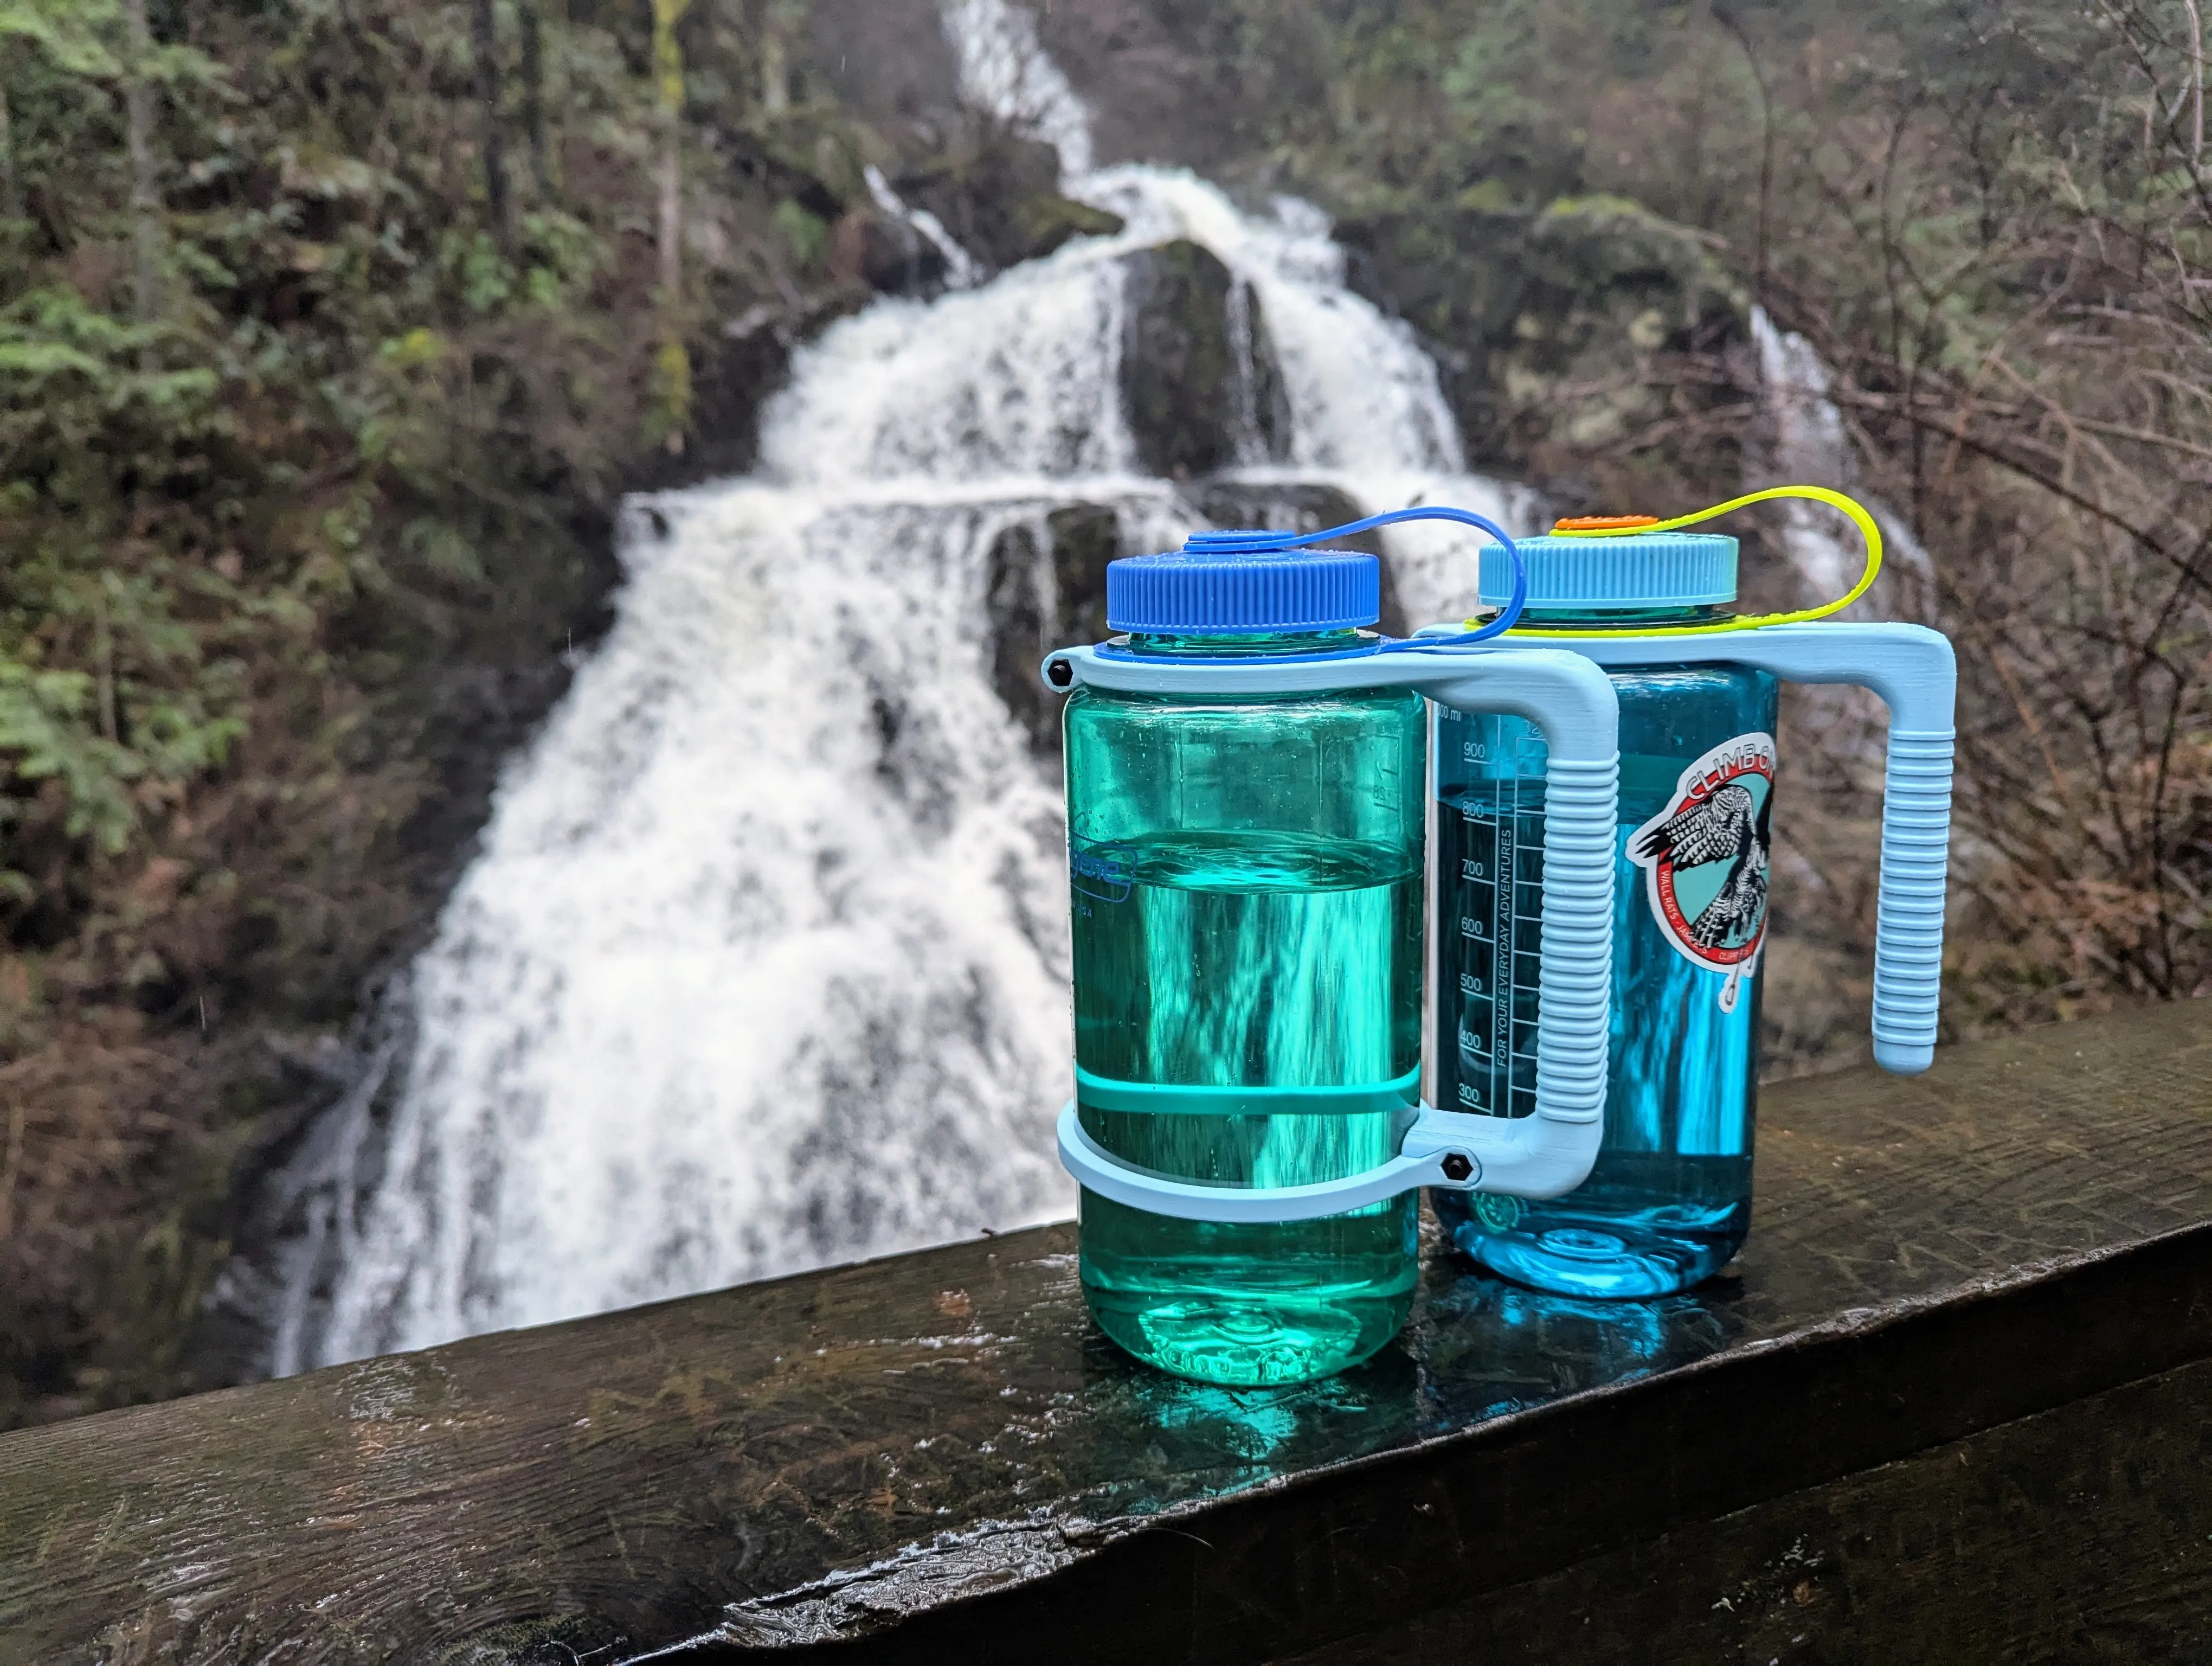
- Beefy Nalgene Handle
- Beefy Nalgene Handle (with clip hole)
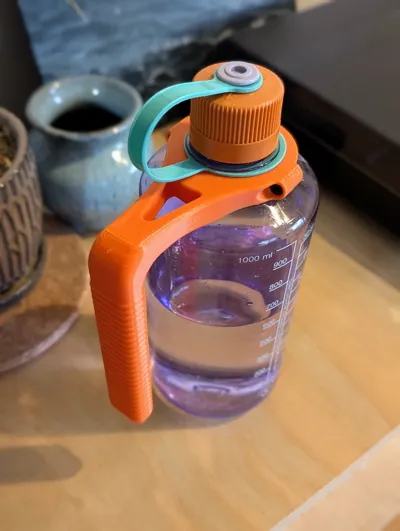
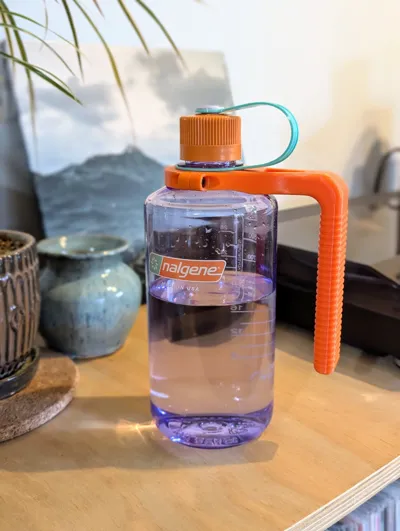
- L-Shaped Beefy Nalgene Handle (with clip hole)
Equipping your Nalgene with the Beefy Nalgene Handle is pretty straightforward:
(Skip step 4 for the L-Shaped Handle)
- Print all three parts as plated in the profile. PLA works fine and should be plenty strong enough. Supports are needed but are already manually painted where necessary in the included profiles.
- Insert three M4 nuts into the three hex shaped sockets. I find this easier to do if the nut is threaded onto a bolt to use as a handle (then unscrew and remove the bolt).
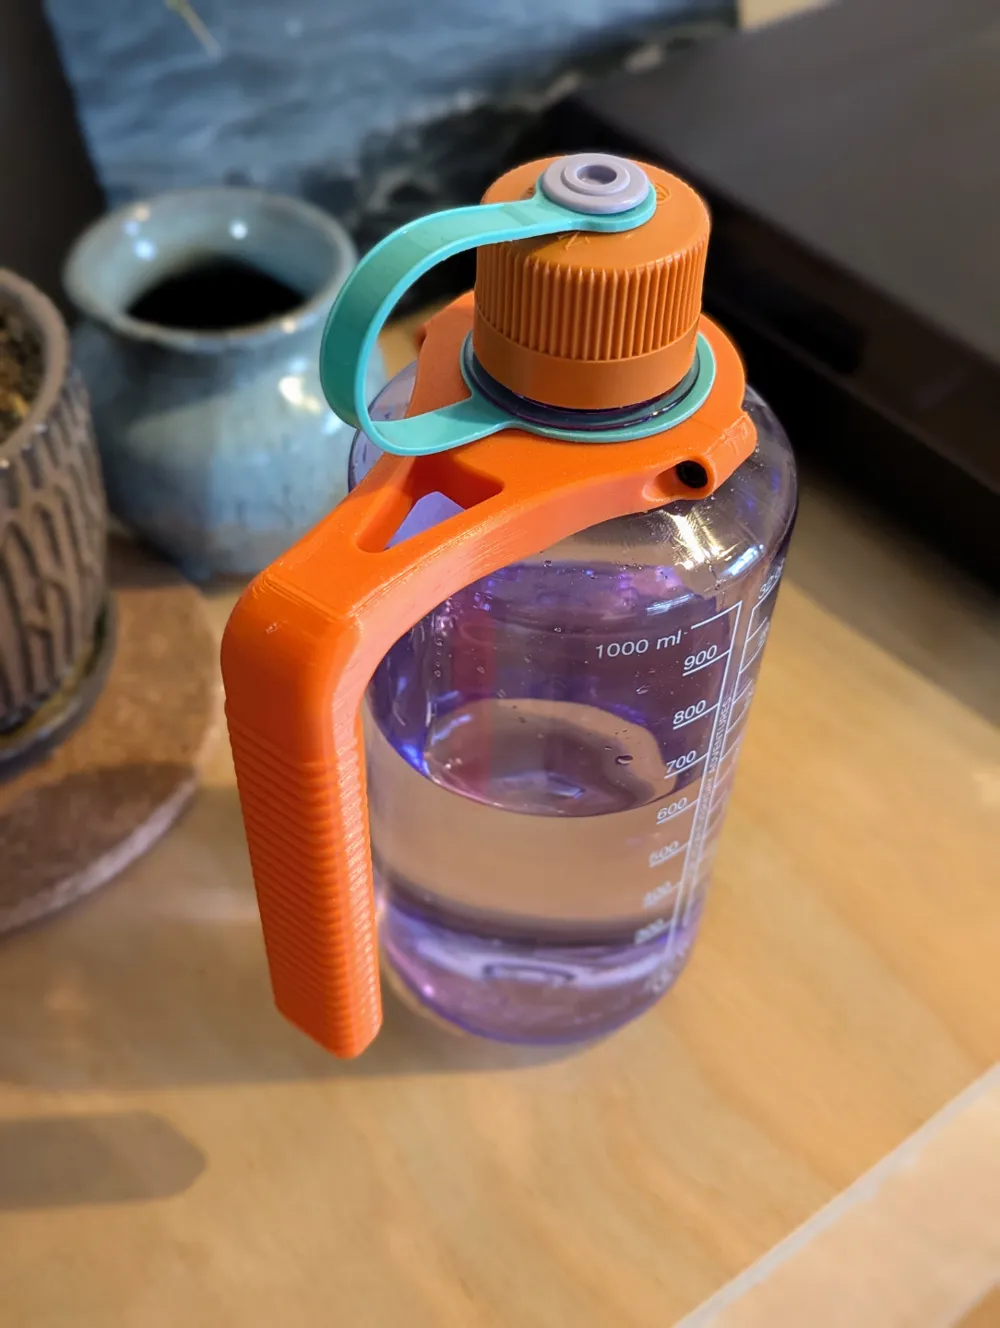
- With the cap screwed in place, slide the main handle section and the upper collar piece under the cap restraining strap and collar on the bottle as seen in the photos. Be sure that the cap strap hasn't been pinched into the handle ring. Screw these parts together with two M4x12mm socket cap bolts. (M4x16 bolts will make this easier, but the bolts will protrude slightly when fully tightened)
- I find that fully tightening one side and then easing it back off seats the nut fully and makes inserting the second bolt easier.
- Another option would be to assemble and tighten down the bolts before putting it on the bottle. Again, this will seat the nuts fully and make it easier to get the bolts to bite when assembling onto the bottle.
- Slide the bottom handle ring over the bottom of the bottle and slip the ends into the base of the handle. Note that this piece will only fit into the handle in one orientation. Once in place, screw an M4x20mm socket cap bolt into the opening, ensuring that it threads into the nut.
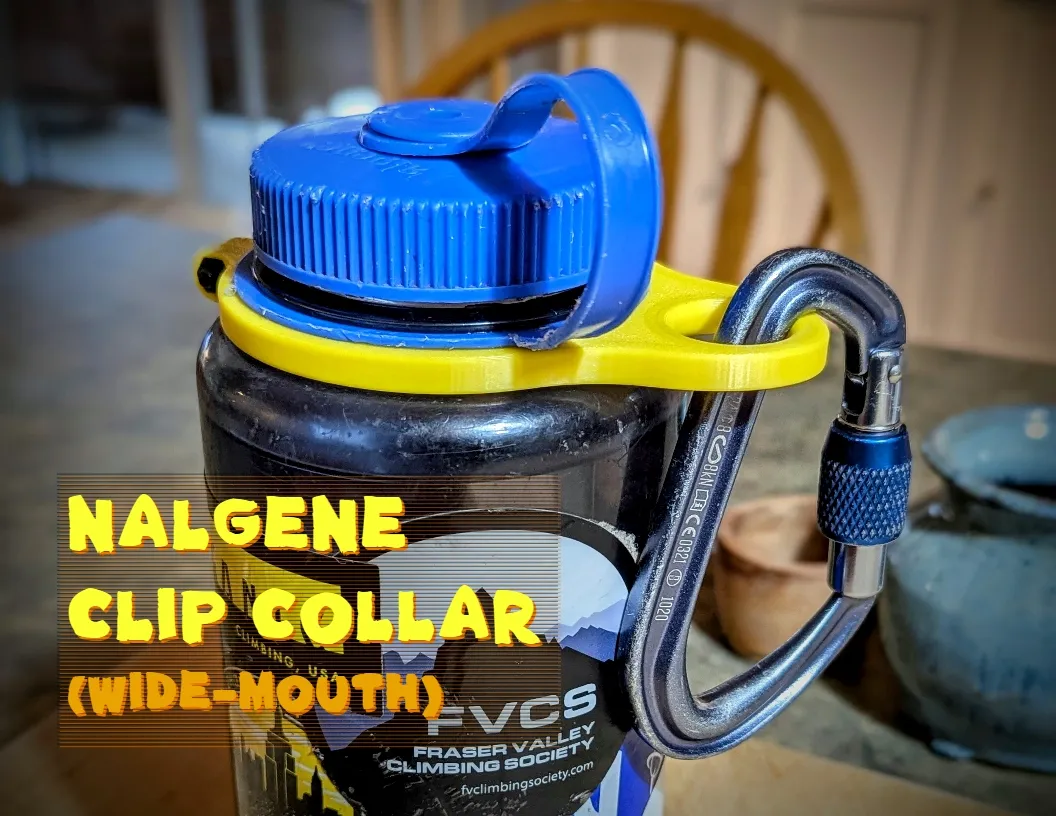
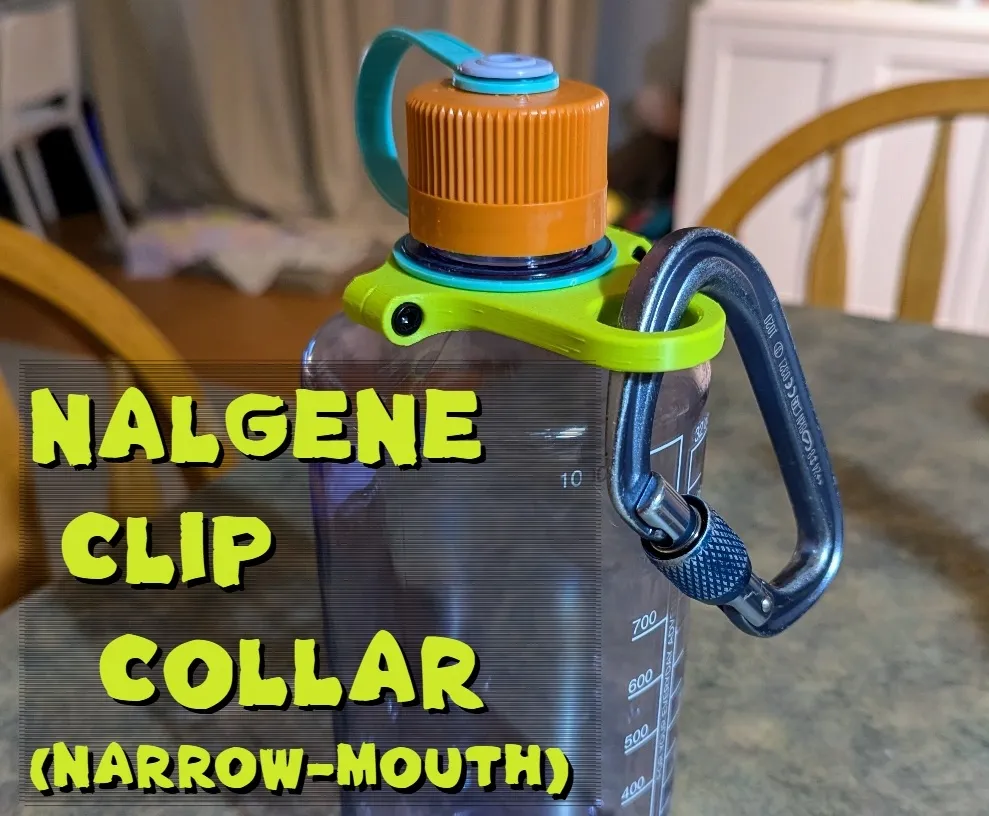
Be sure to check out my other prints by clicking on the photos below:
License

You shall not share, sub-license, sell, rent, host, transfer, or distribute in any way the digital or 3D printed versions of this object, nor any other derivative work of this object in its digital or physical format (including - but not limited to - remixes of this object, and hosting on other digital platforms). The objects may not be used without permission in any way whatsoever in which you charge money, or collect fees.


Comment & Rating (11)