
TRON themed Chess Board (Glow In the Dark)

Print Profile(1)

Description
**UPDATE
I've added a display/storage box: https://makerworld.com/en/models/1947884-tron-chess-set-open-display-box#profileId-2092726
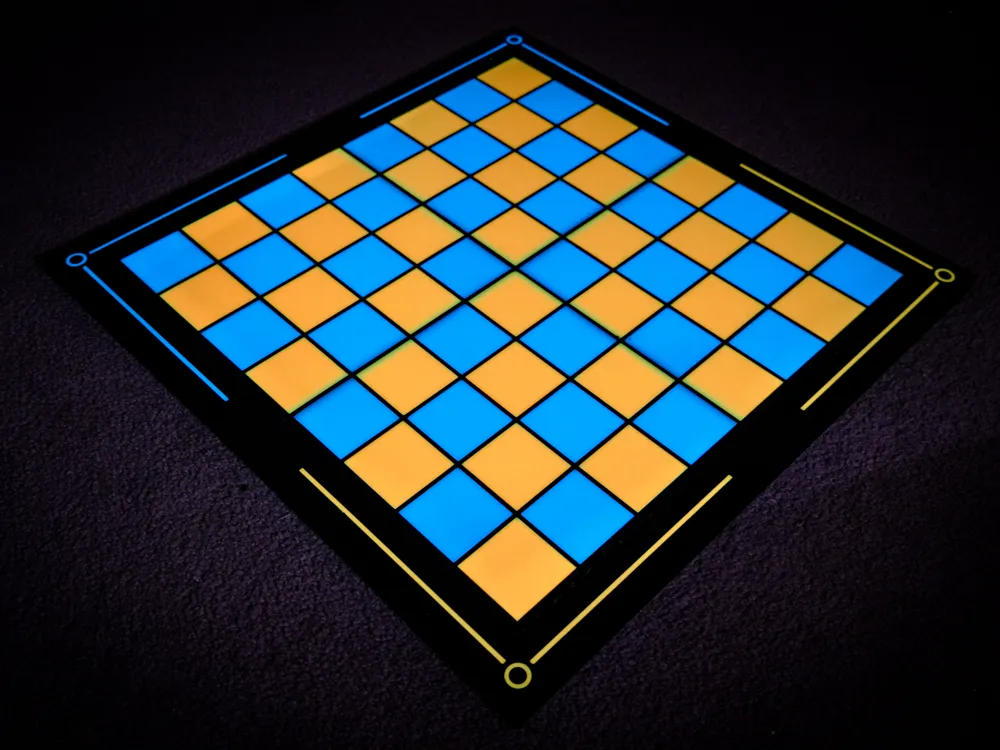
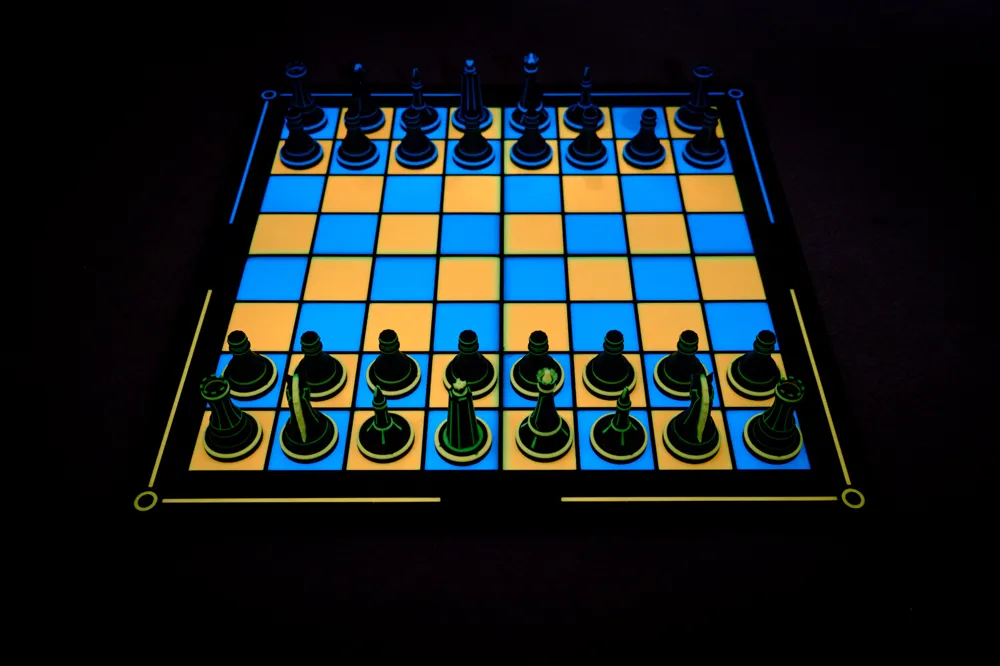
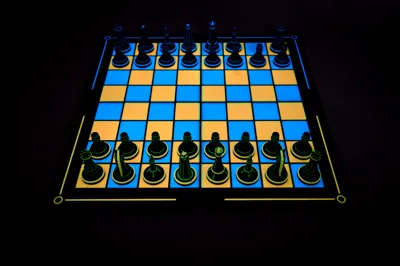
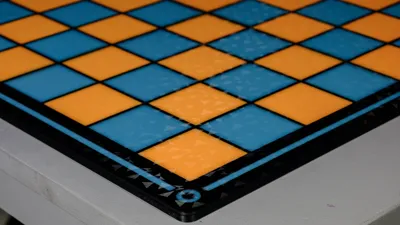
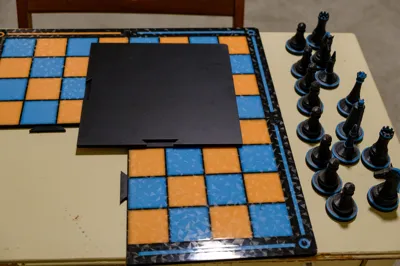
Behold my TRON themed glow in the dark Chess Board!
Features:
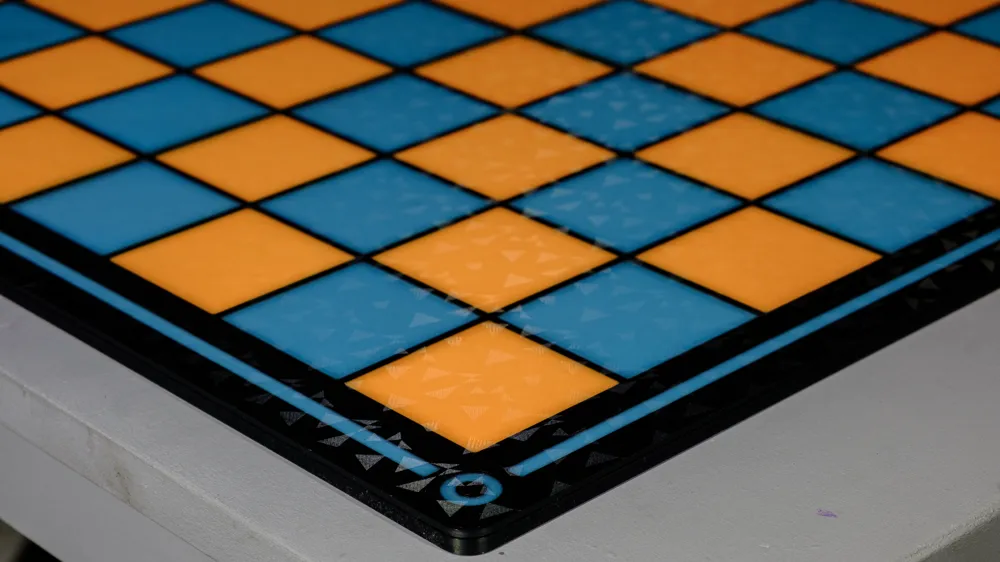
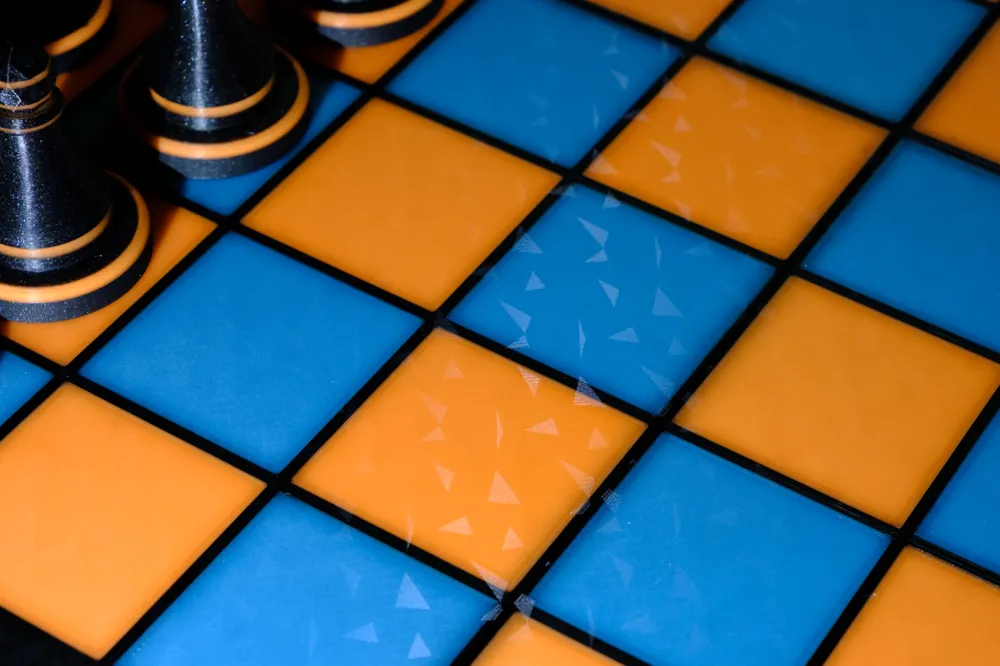
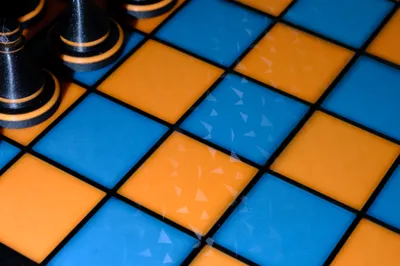
- Uses Bambu special effects build plate for a completely smooth diamond reflective top surface
- I used Polymaker Luminous Orange and Polymaker Luminous Blue glow in the dark filament that are Orange and Blue in daylight, but glow in their respective colors once the lights are off to match that amazing TRON:Legacy aesthetic
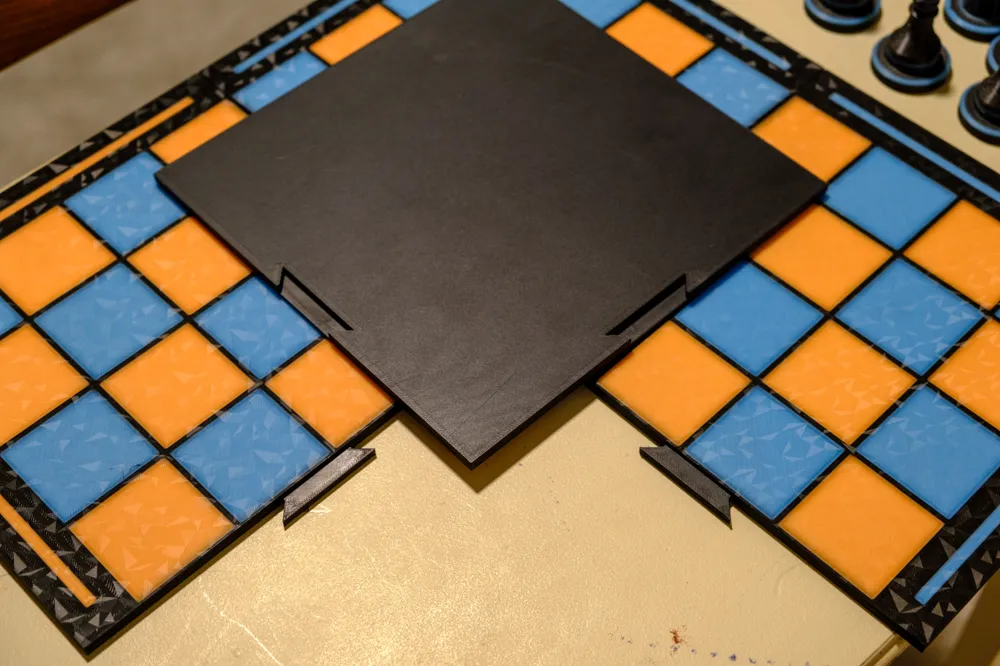
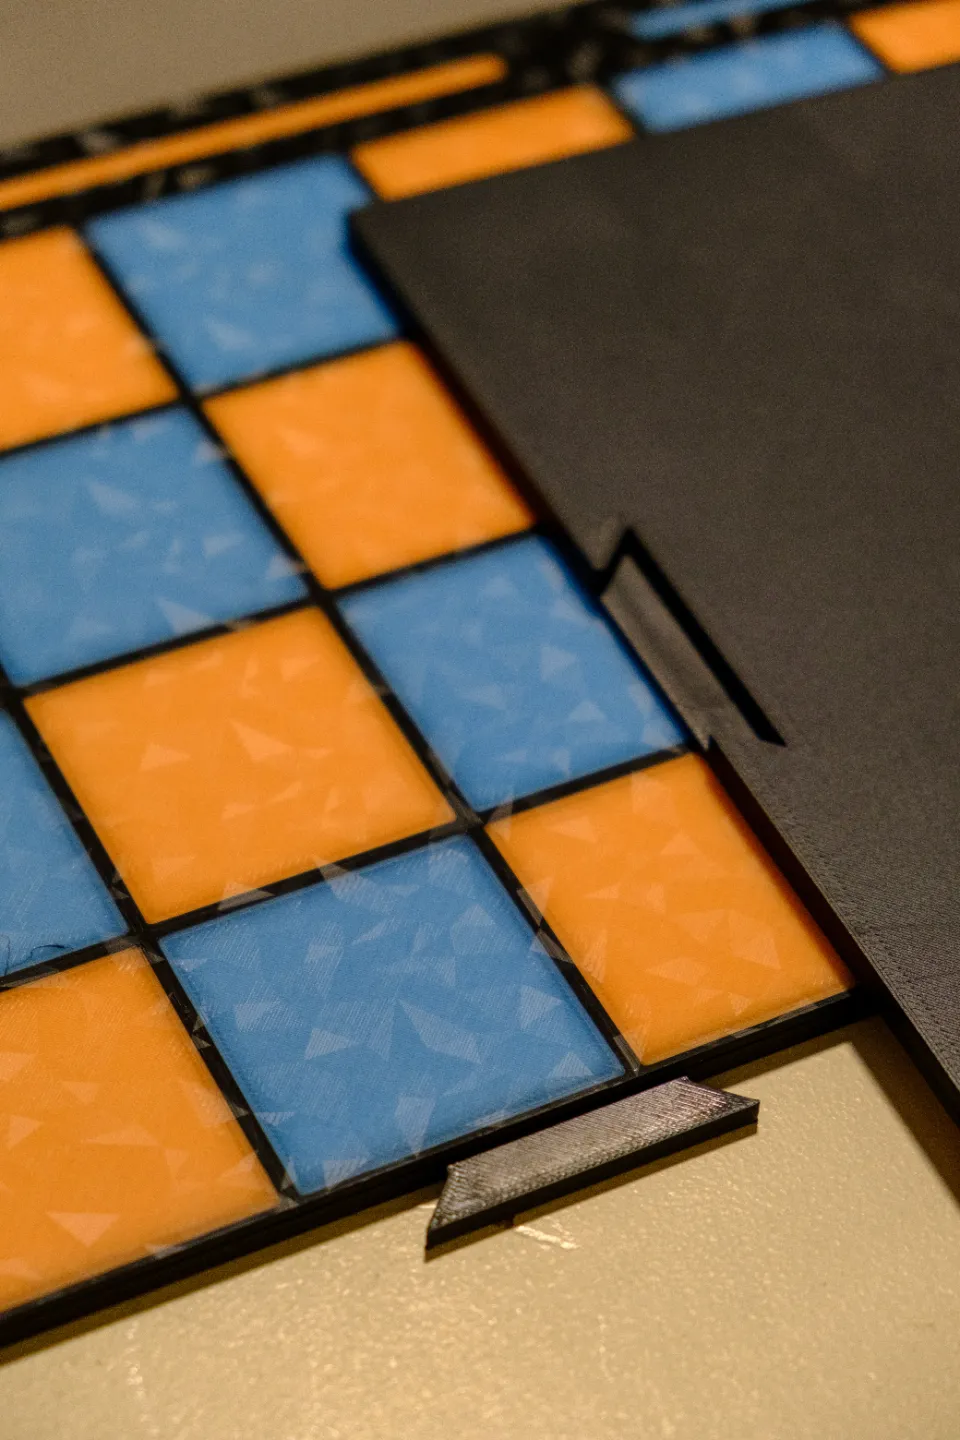
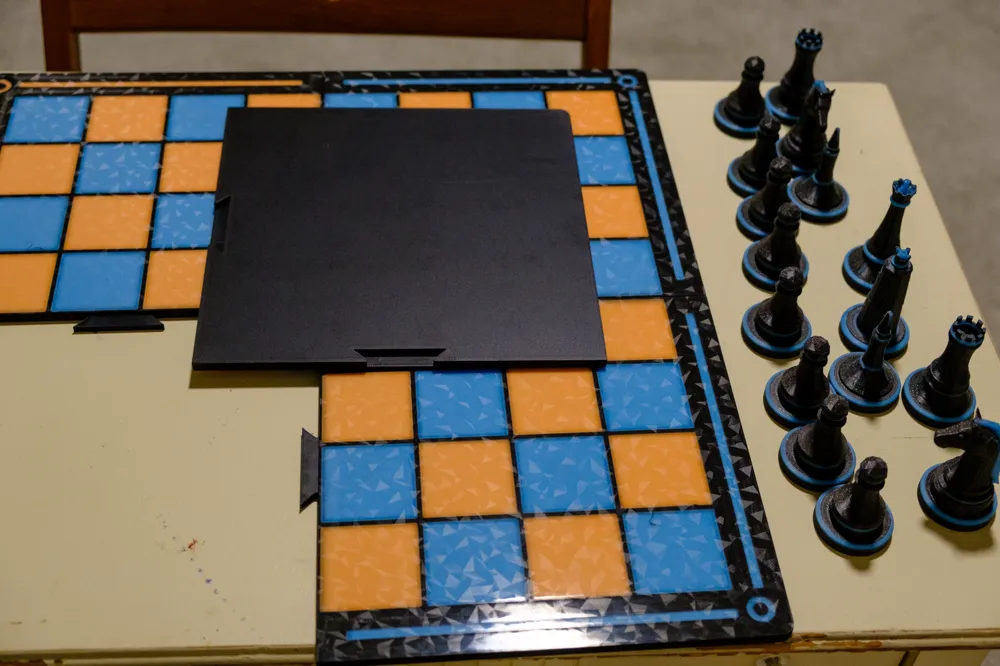
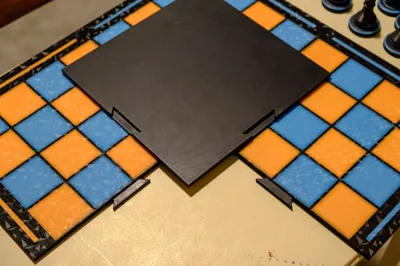
- Split into four quadrants that can be taken apart for more compact storage
- Easy printing
- Early iterations of this board suffered from bed adhesion issues and warping, no matter what I tried.
- The top surface that has the squares is only 2mm thick, making the odds of lifting/warping very slim
- The bottom structure is a simple shape that also resists warping
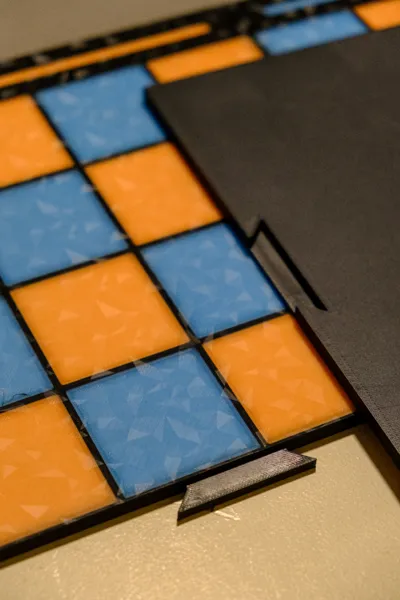
- Each square has a small connector piece so lining up the top surface with the bottom structure is fast and easy. Just use a liberal application of superglue to permanently join the two to create a stiff quadrant
I went through 4 iterations of this chess board before I was happy with it. You can of course not use glow in the dark filament and make the squares whatever color you wish. You'll need to look at the underside of the top panels in the slicer to see the squares with their colors.
Designed to go with my Tron themed chess set, available here:
https://makerworld.com/en/models/982250#profileId-956160
Print Settings:
Top surface panels
- Use a smooth special effects build plate
- Increase build plate temperature to higher than you normally would to ensure good first layer adhesion (I did mine at 80 degrees)
- Slow down first layer speed drastically, like to 20mm/s or slower
Bottom Structure Panels
- Can increase first layer speeds to normal
- I used the SuperTak cool build plate, but a textured PEI plate would probably work as well. No need for the smooth special effects plate
- Ensure the XY hole compensation is set to around 0.2mm, to make sure the little pegs of the top surface panels are able to fit into the little holes
Assembly
It's not rocket science, you'll figure it out. Just use lots of superglue to glue the top panels to the bottom panels, and I used heavy weights to squish down the corners and sides while the glue set to ensure no gaps.
With the four connector pieces joining the four quadrants together, the board itself might seem unstable while carrying it around, but once you put it down on a table or other flat surface, then it's nice and stable. Feel free to glue the sides together if you want it to be stiff while carrying it around, though then you won't be able to break it down for storage.
I am thinking of designing a box to store this board in along with the pieces that go along with this board, I'll update this note if I get around to doing that.
Boost Me (for free)
Come on, you know you want to...
License

You shall not share, sub-license, sell, rent, host, transfer, or distribute in any way the digital or 3D printed versions of this object, nor any other derivative work of this object in its digital or physical format (including - but not limited to - remixes of this object, and hosting on other digital platforms). The objects may not be used without permission in any way whatsoever in which you charge money, or collect fees.


Comment & Rating (16)