
Gridfinity Marker Storage
Print Profile(2)

Bill of Materials


Description
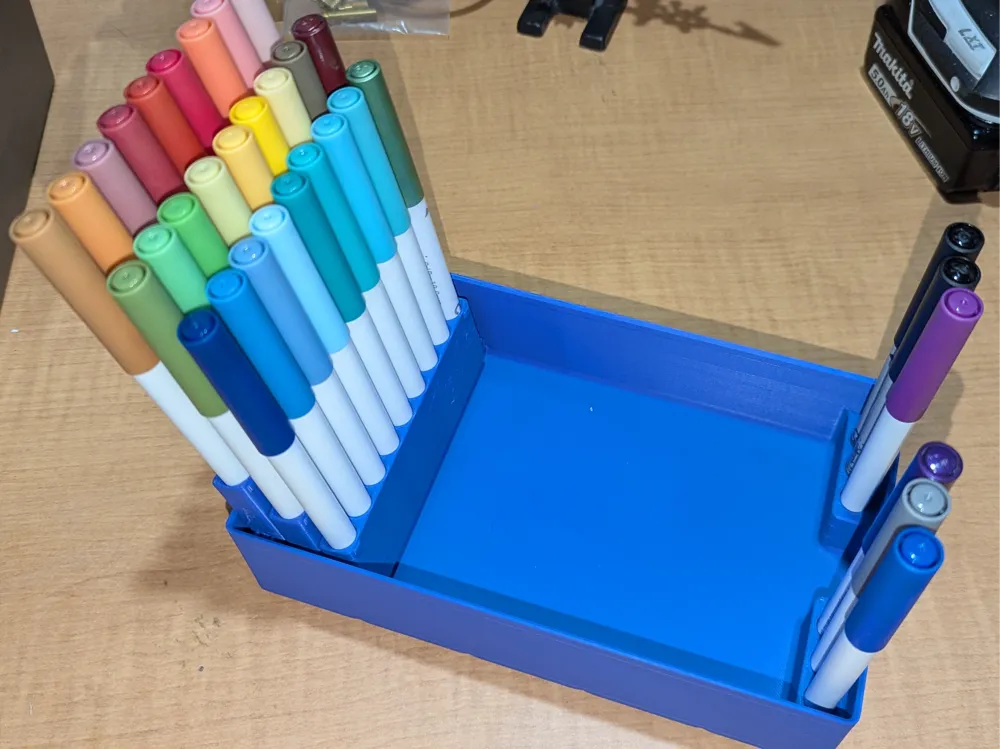
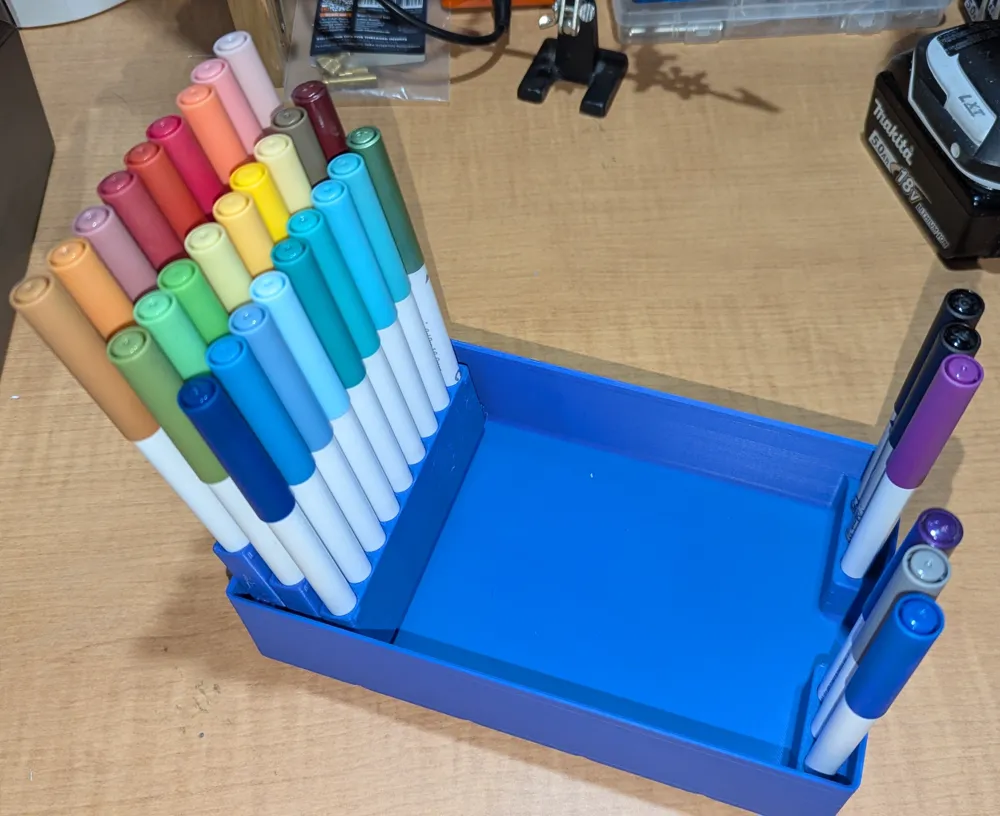
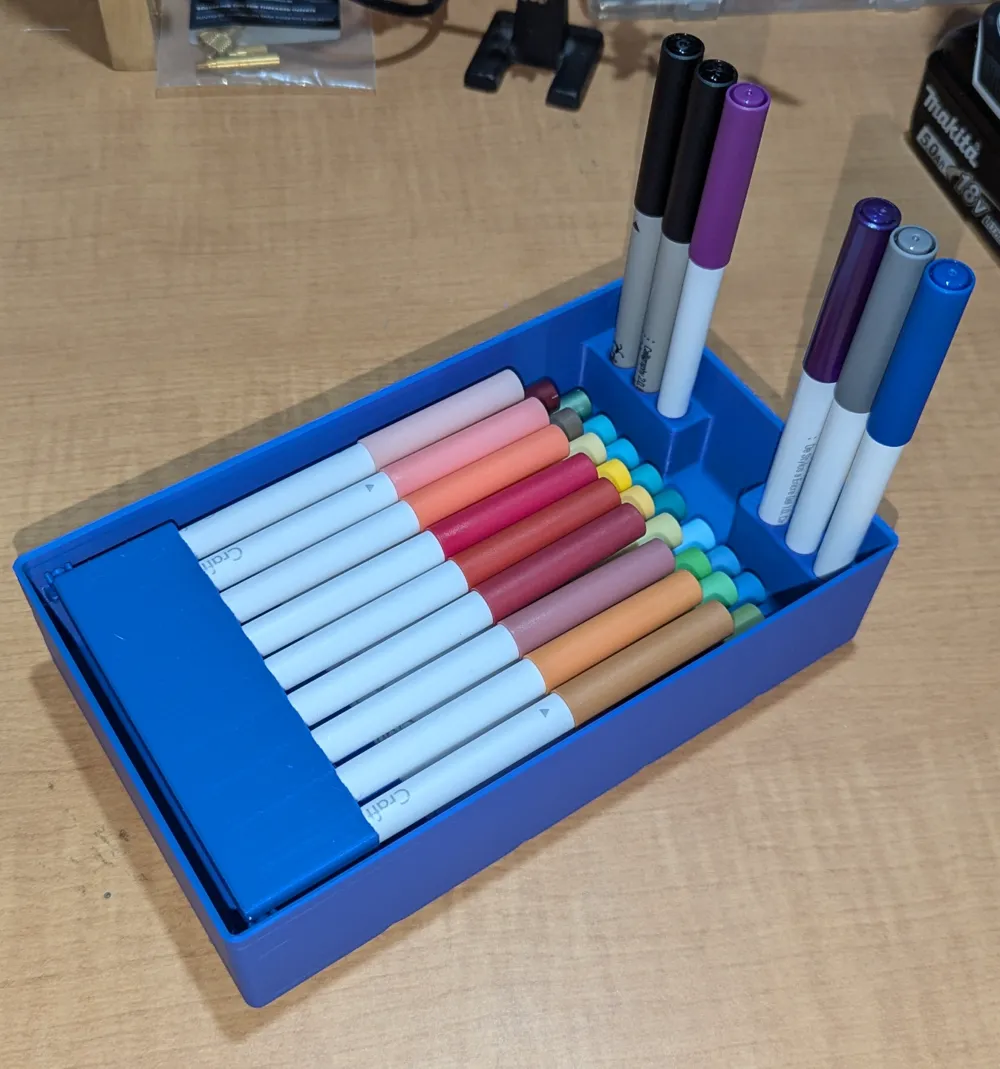
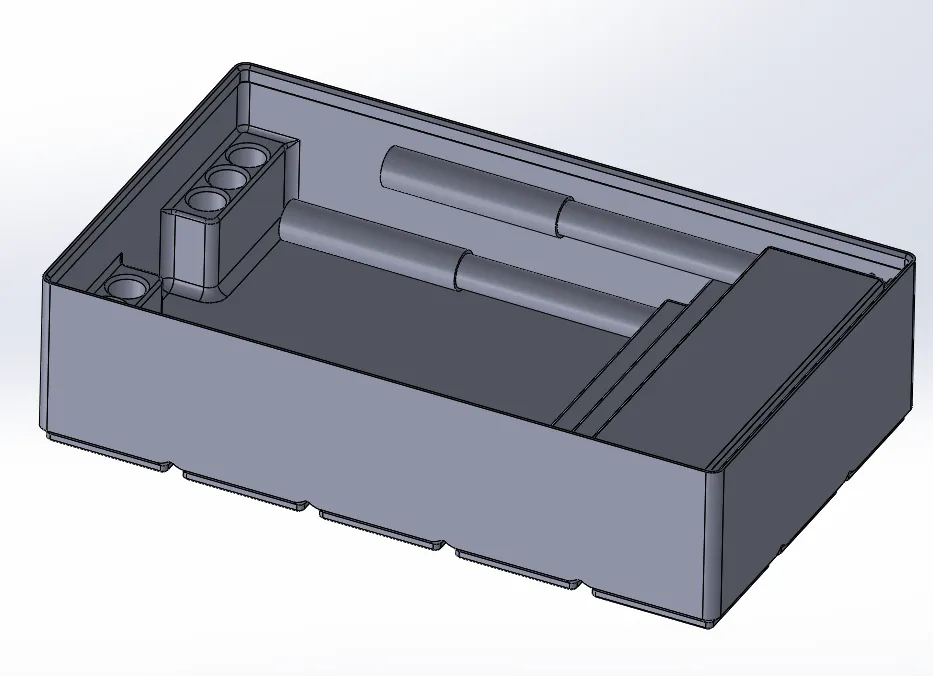
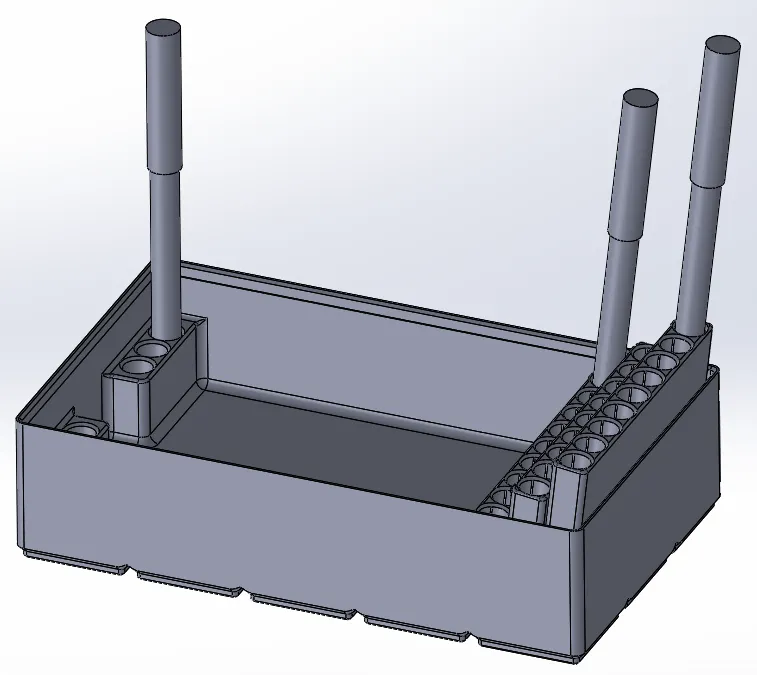
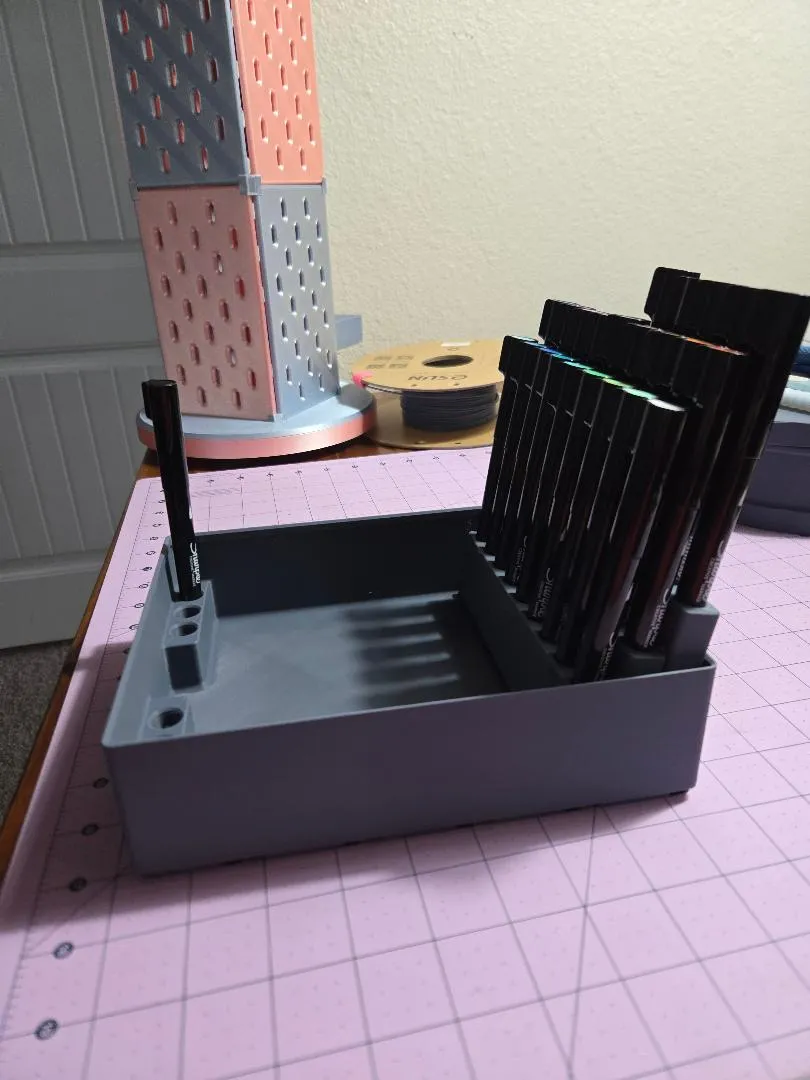
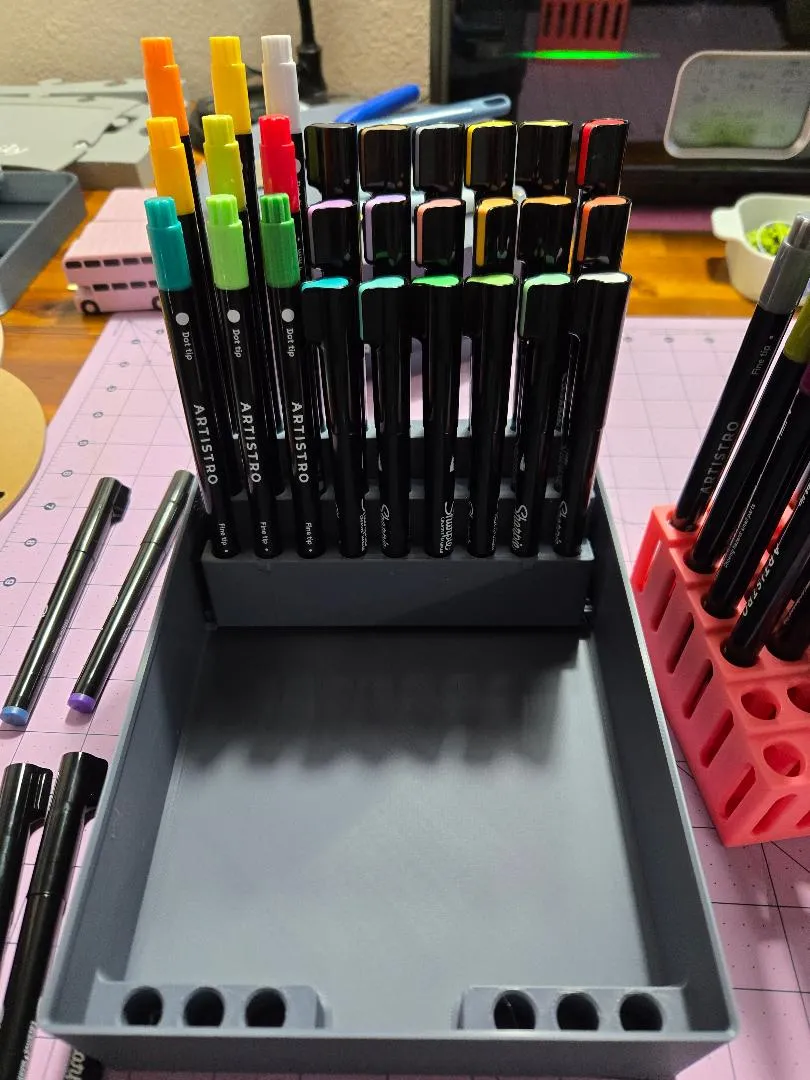
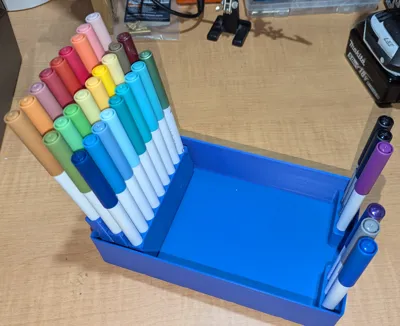
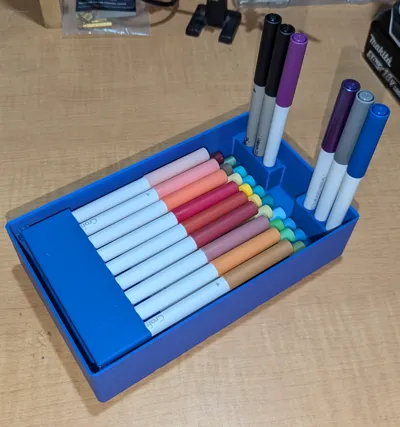
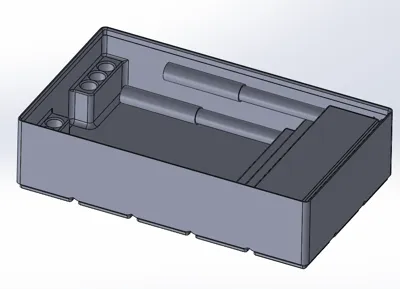
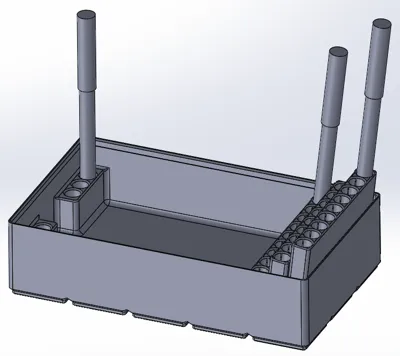
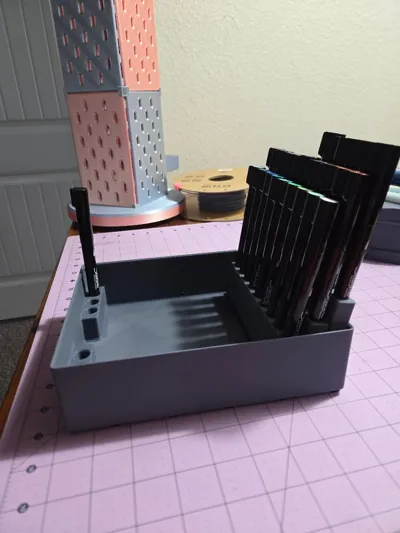
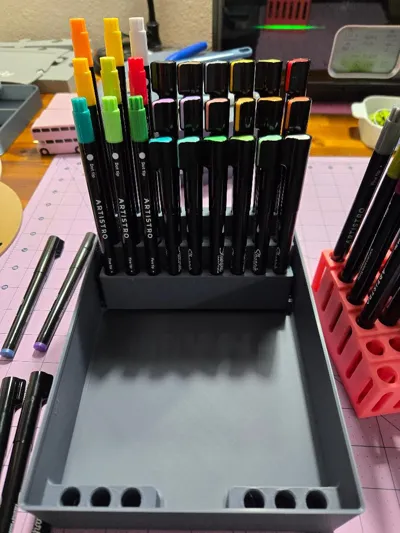
Wanted something that could be stored away in a drawer but still be useable out on a desk if need be and with design you can open the holder in the drawer and not actually have to take it out. The size is a standard 3x5 base that is 7u high and is designed to be stackable. Took a few iterations to get this sorted and pretty happy with where it end up, but open to feedback and happy to make adjustments or alterations as needed.
Notes:
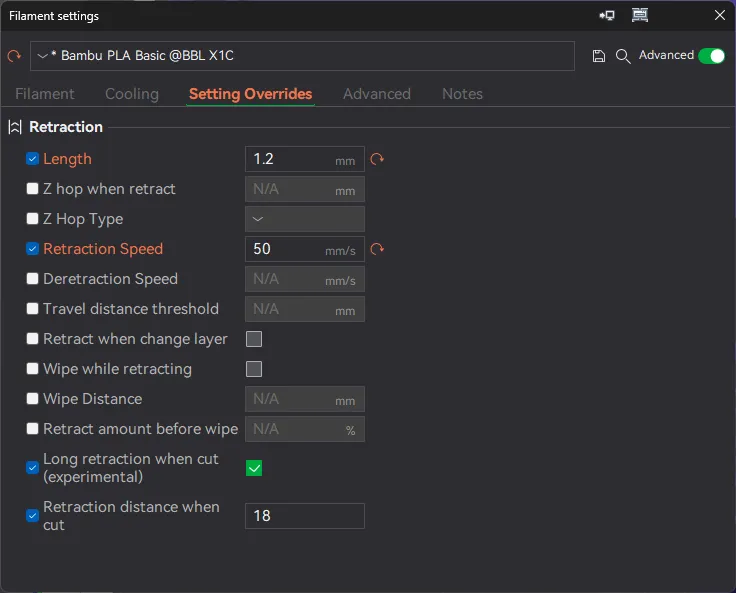
If you find the print becomes a little stringy, I would recommend adjusting the retraction settings to 1.2mm on length and 50mm/s on speed. Not required, but helps if its bothering you.
Cricut Maker Holder
- Marker Config 1 (~∅10mm x 30mm deep)
- Cricut Calligraphy 2.0
- Cricut Gel Tip
- Craft world pens for Cricut (I found the tolerance on the casings to have a fair bit of range on these so some might be a fair bit tighter then others, this is a bit of a quality issue on there end)
- Marker Config 2 (~∅11mm x 30mm deep)
- Sharpie Creative Markers Fine Tip
- Also works with Artistro Dual-Tip Markers
- Sharpie Creative Markers Brush Tip
- Sharpie Creative Markers Fine Tip
- Tray Configs
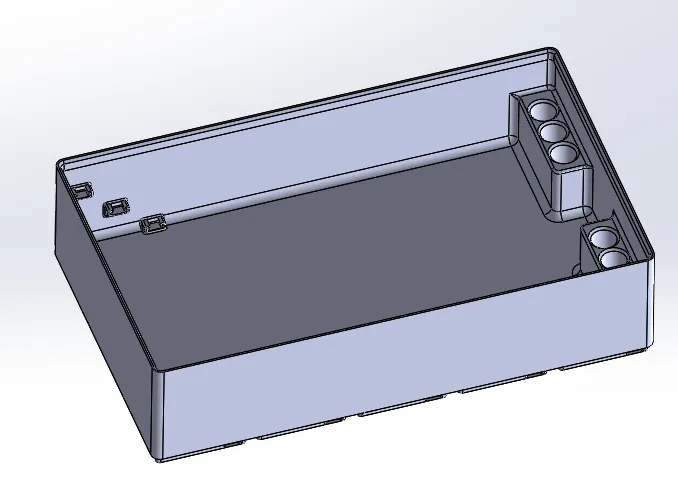
- 3x5x7u
- With End Holders, Supports up to 145mm (5.7in) long markers
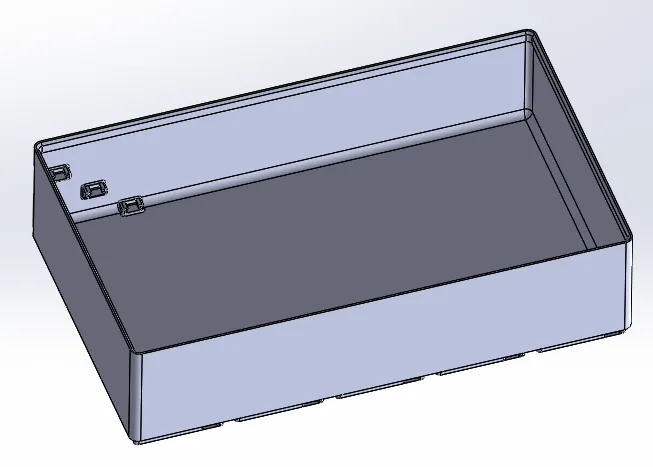
- Without End Holders, Supports up to 160mm (6.3in) long markers
- With End Holders, Supports up to 145mm (5.7in) long markers
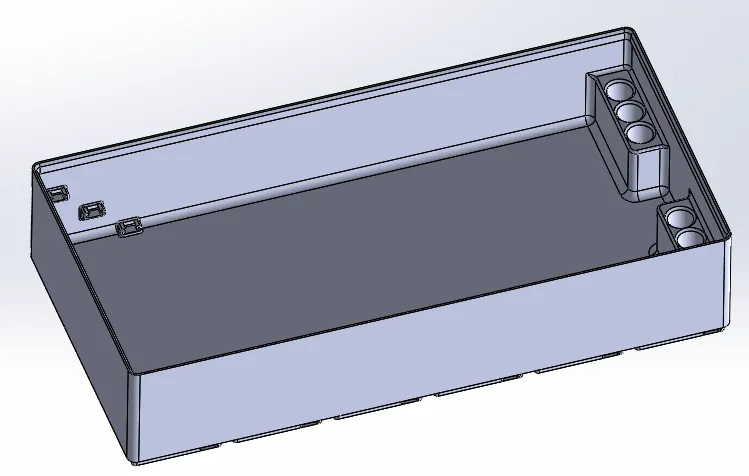
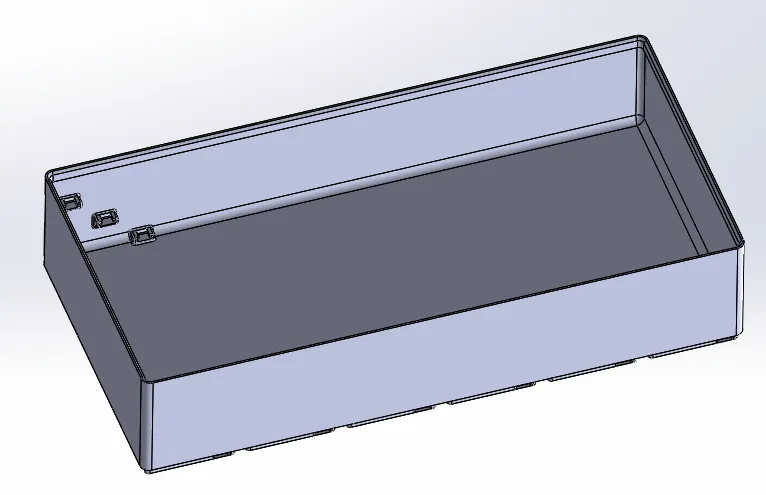
- 3x6x7u
- With End Holders, Supports up to 187mm (7.3in) long markers.
- Without End Holders, Supports up to 202mm (7.9in) long markers.
- With End Holders, Supports up to 187mm (7.3in) long markers.
- 4x5x8u (for Sharpie configs)
- With End Holders, Supports up to 145mm (5.7in) long markers
- With End Holders, Supports up to 145mm (5.7in) long markers
- 4x6x8u (for Sharpie Configs)
- With End Holders, Supports up to 187mm (7.3in) long markers.
- With End Holders, Supports up to 187mm (7.3in) long markers.
- 3x5x7u
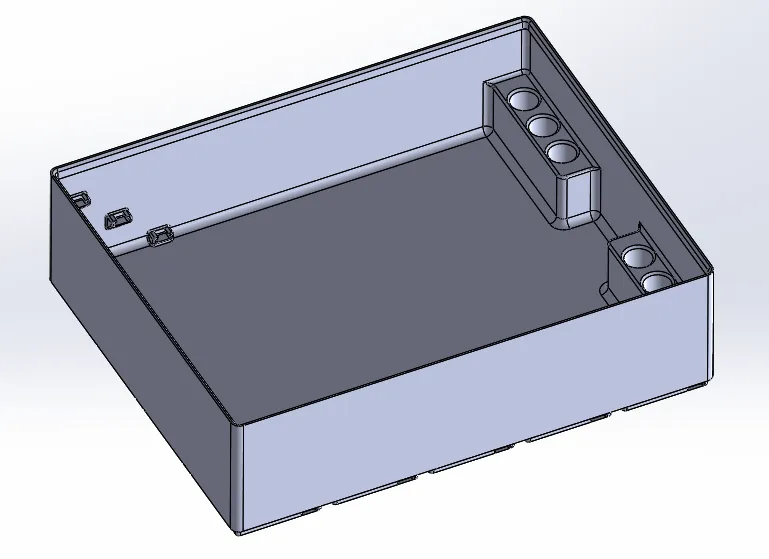
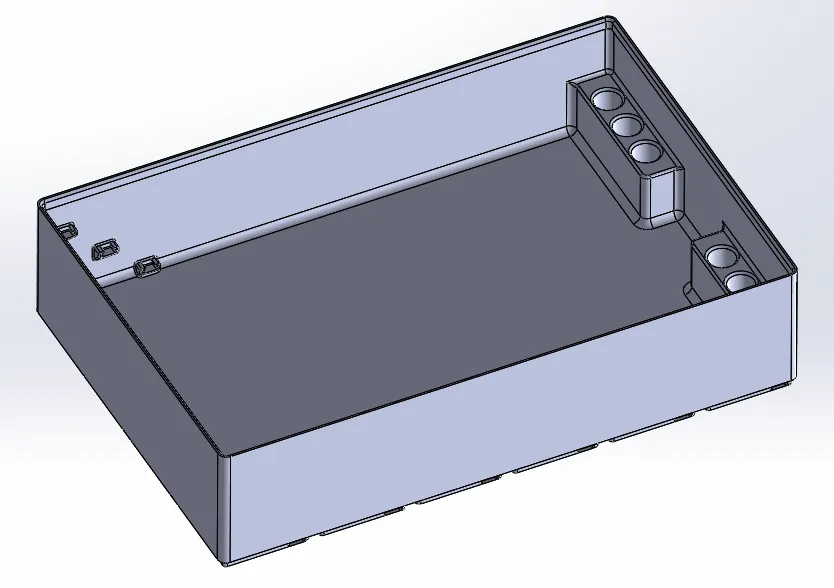
Assembly Instructions:
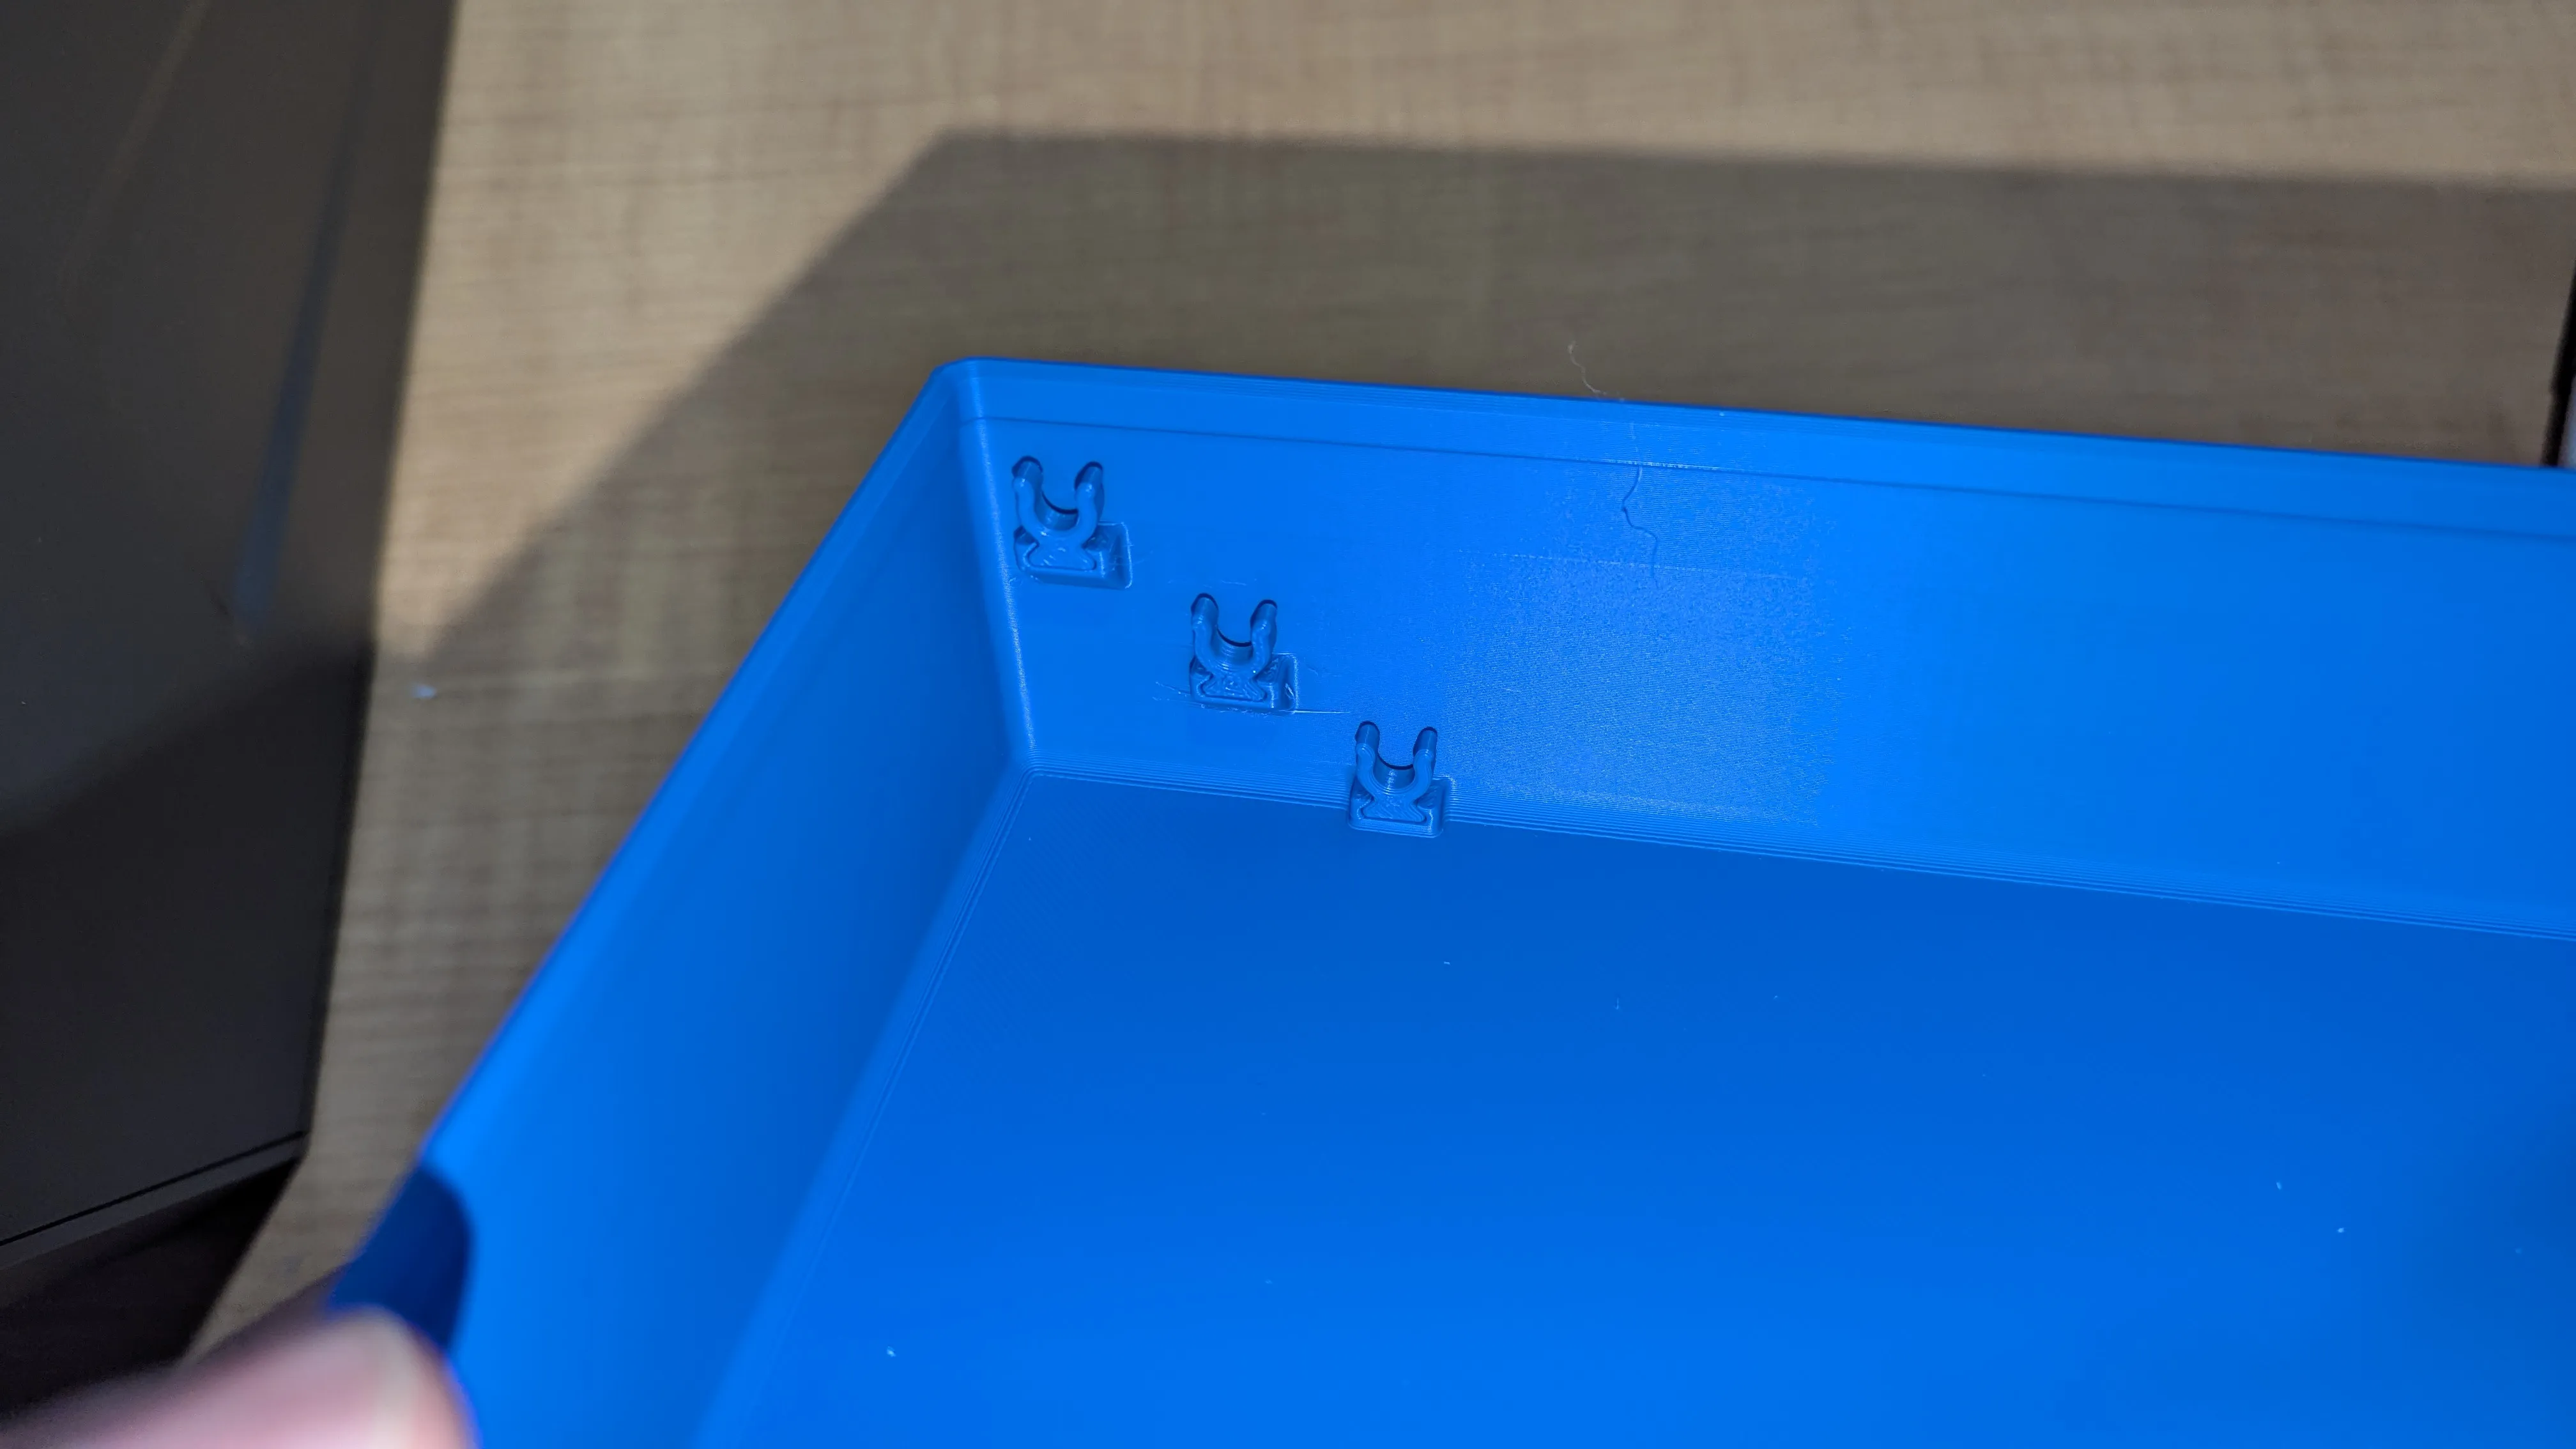
- Take the saddles and install them in the side will. Fit should be snug. I found getting them started and then pressing in with some plyers at the dovetail seated them very nicely. Repeat on both sides.
Open Slot shown
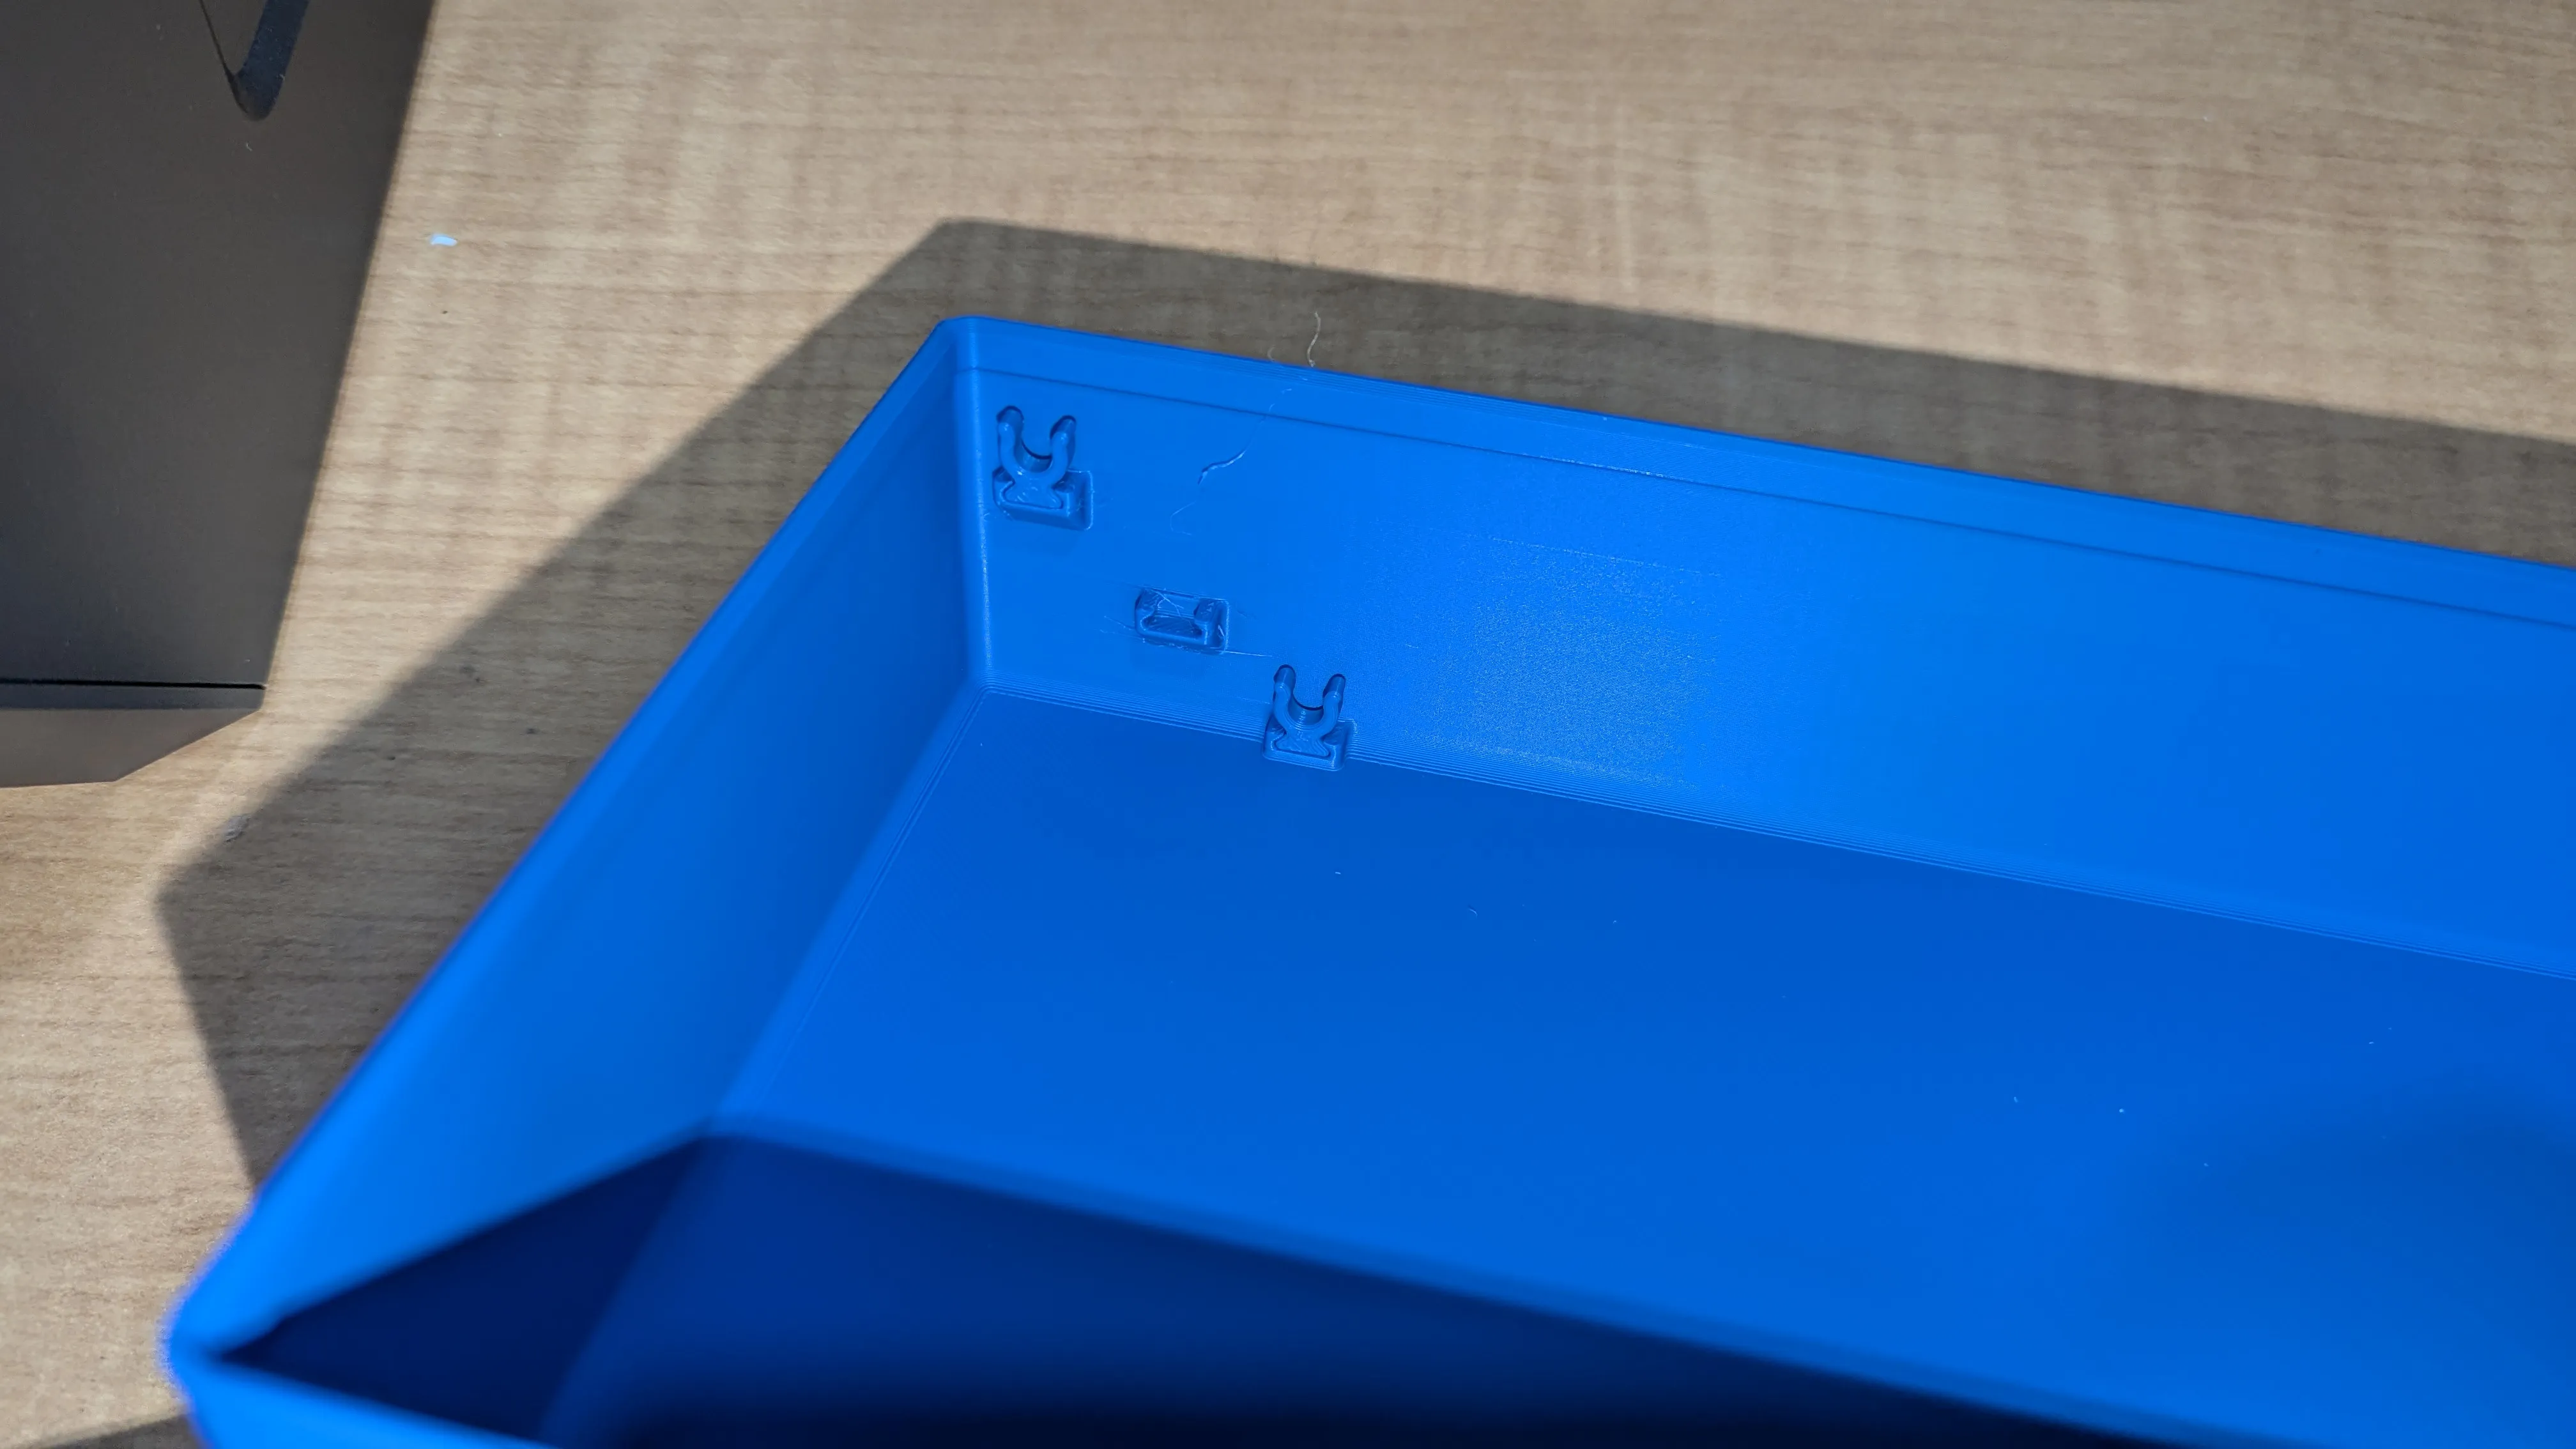
Installed in slot
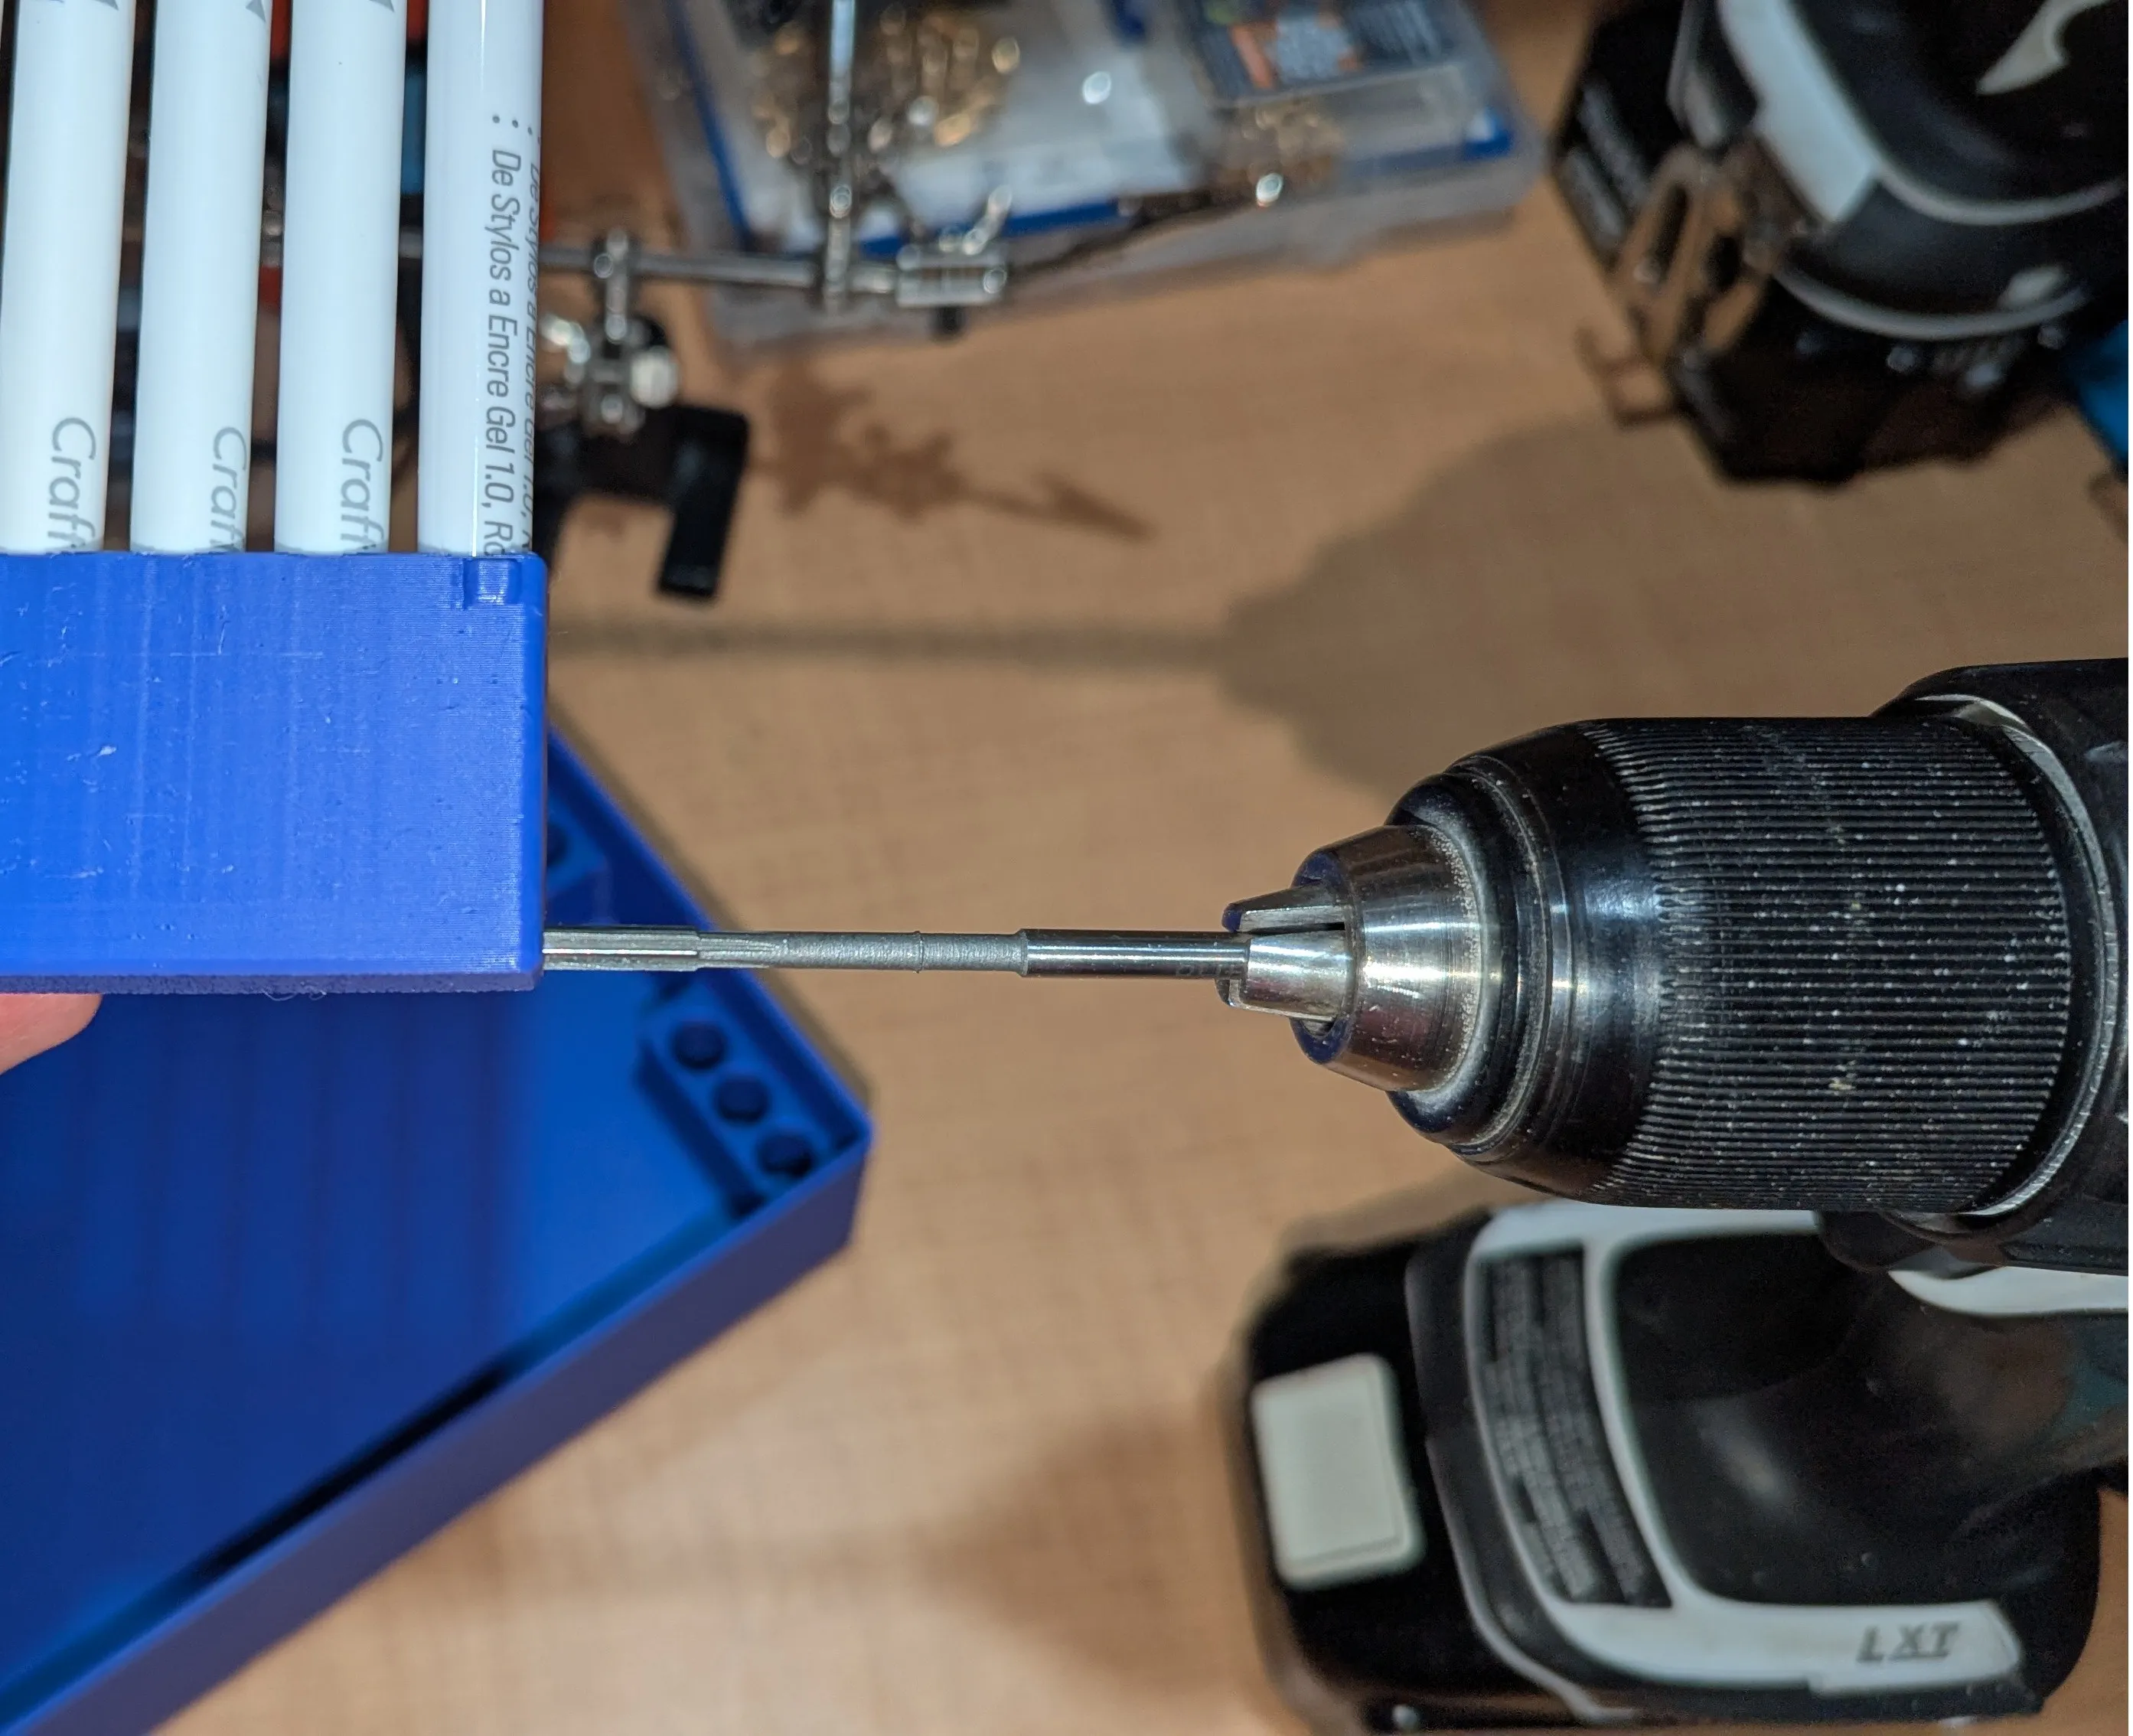
Take a 4mm reamer and clean out the holes on each side of the marker holder. This just creates a much nicer fit then trying to print the holes to the correct size.
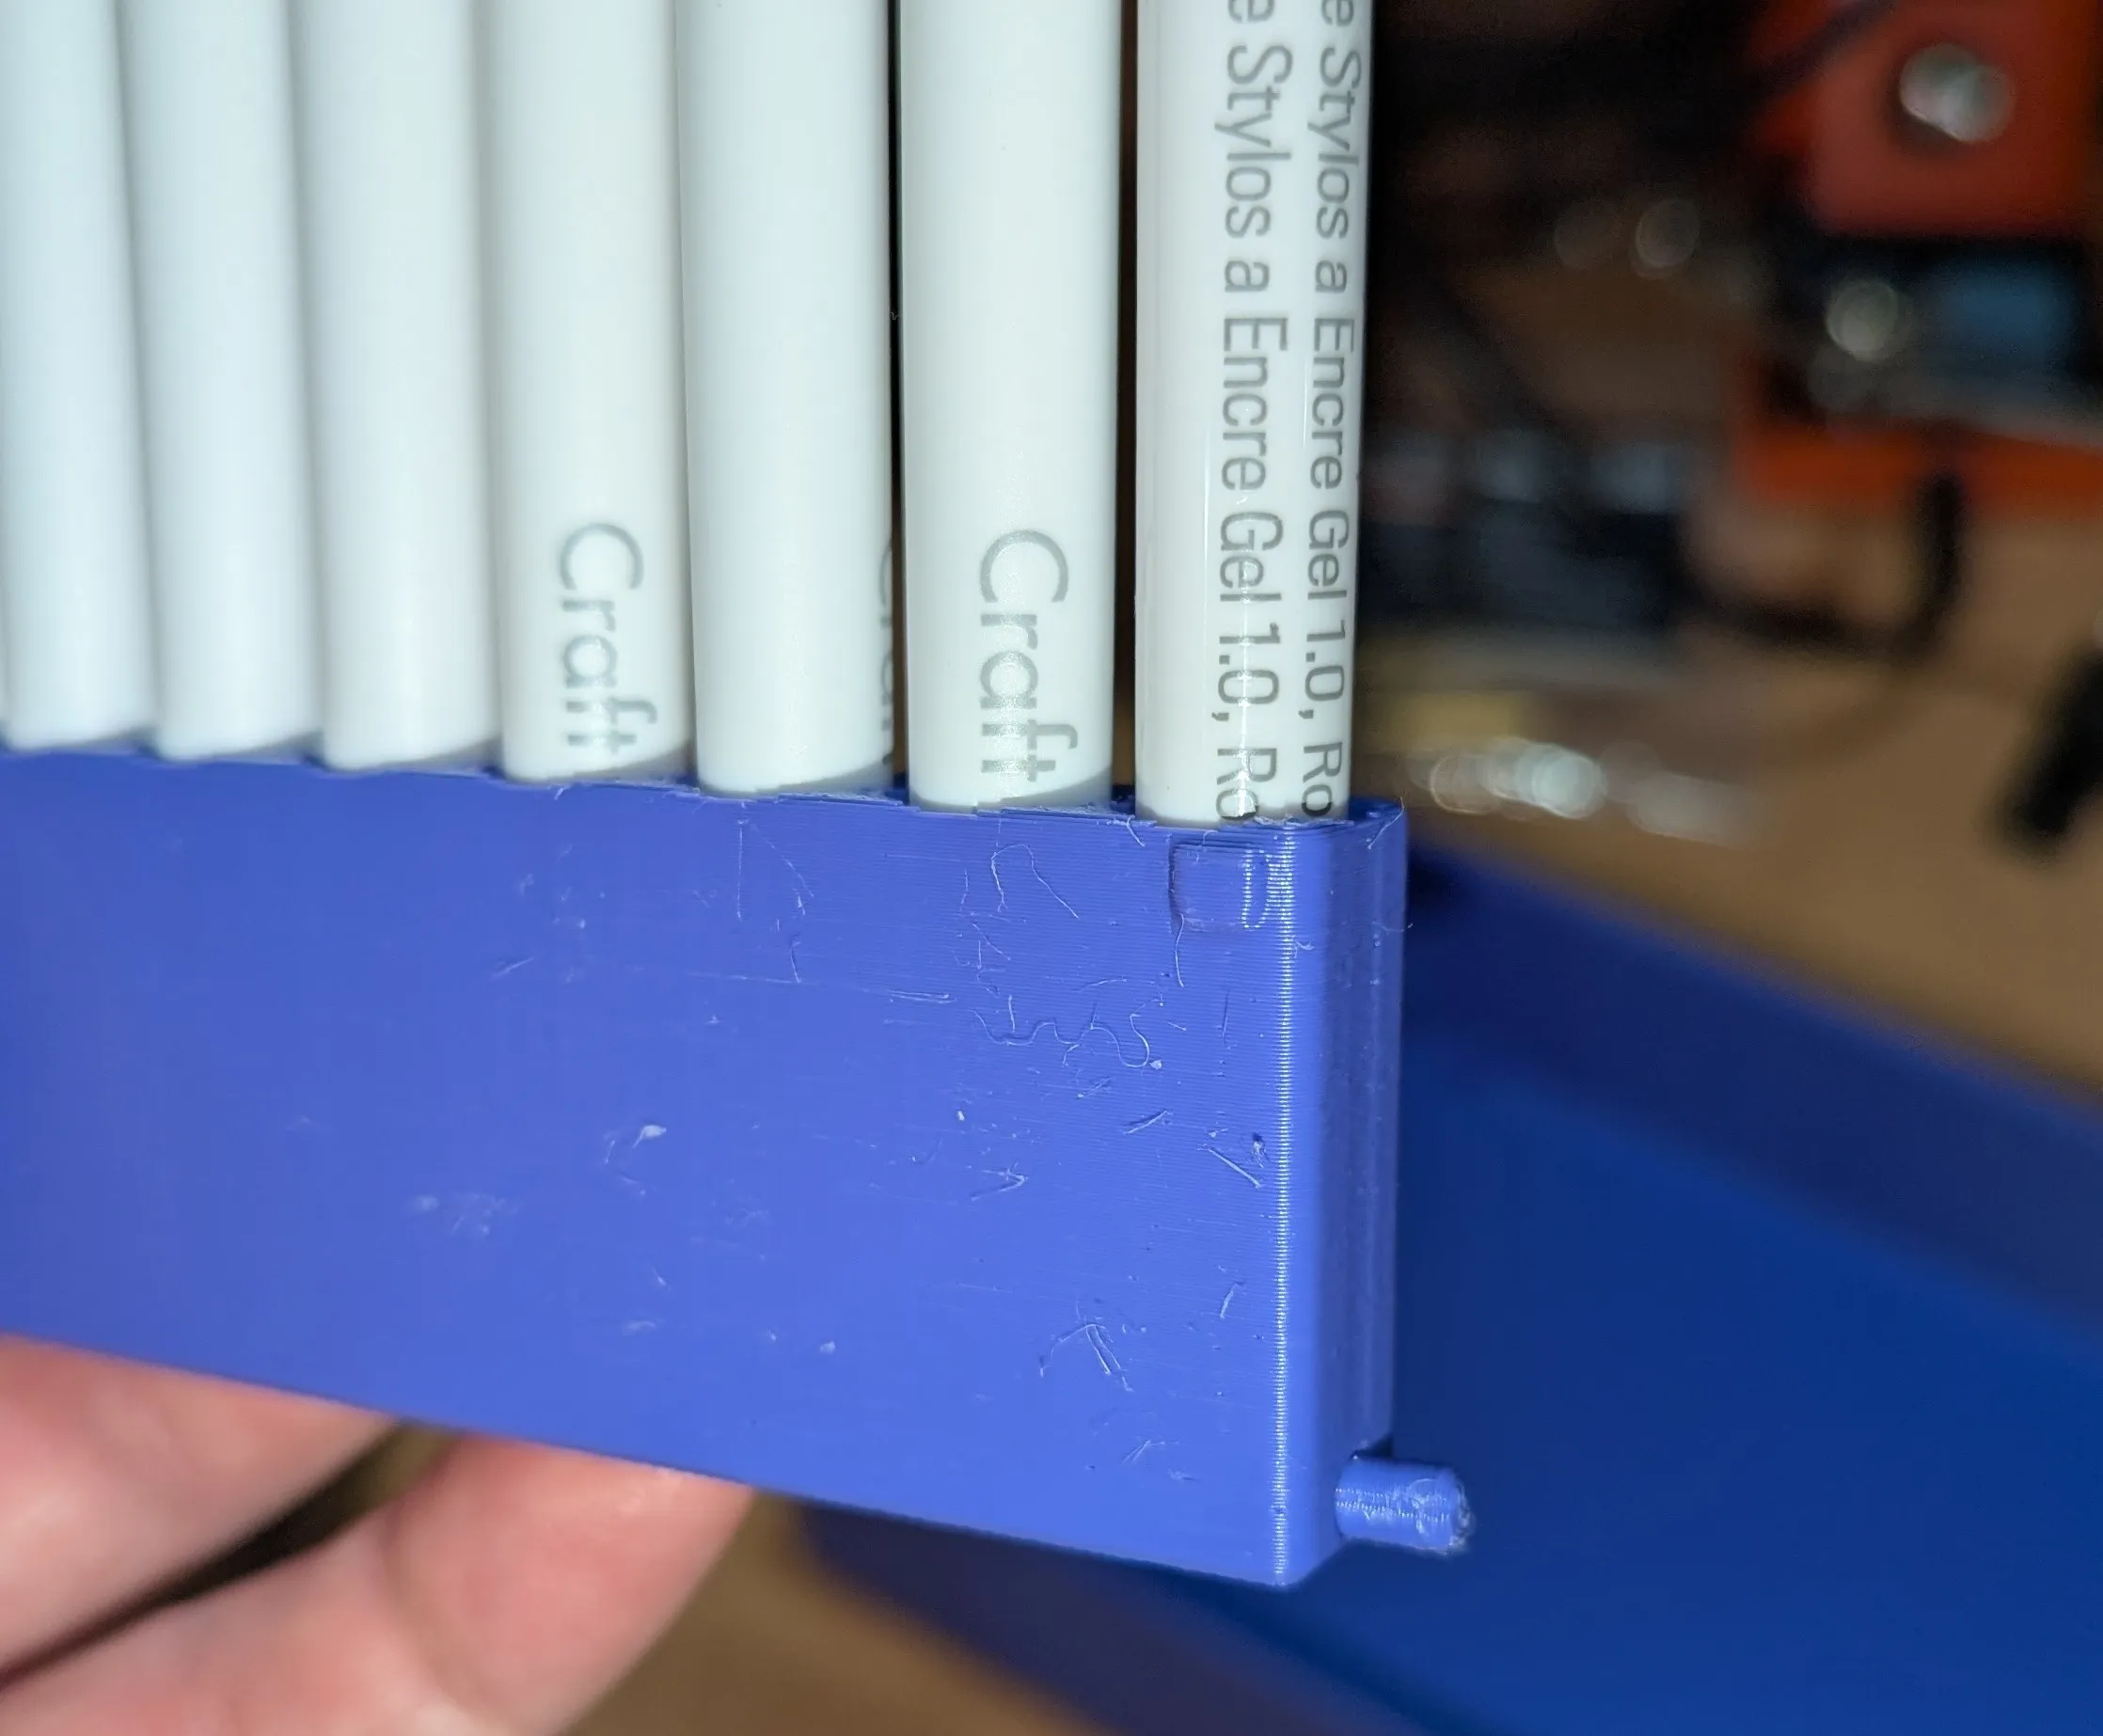
Clean the brim off the pins and press them in. If you do the brim side into the hole it holds a little more aggressively but not required. Repeat for both sides.
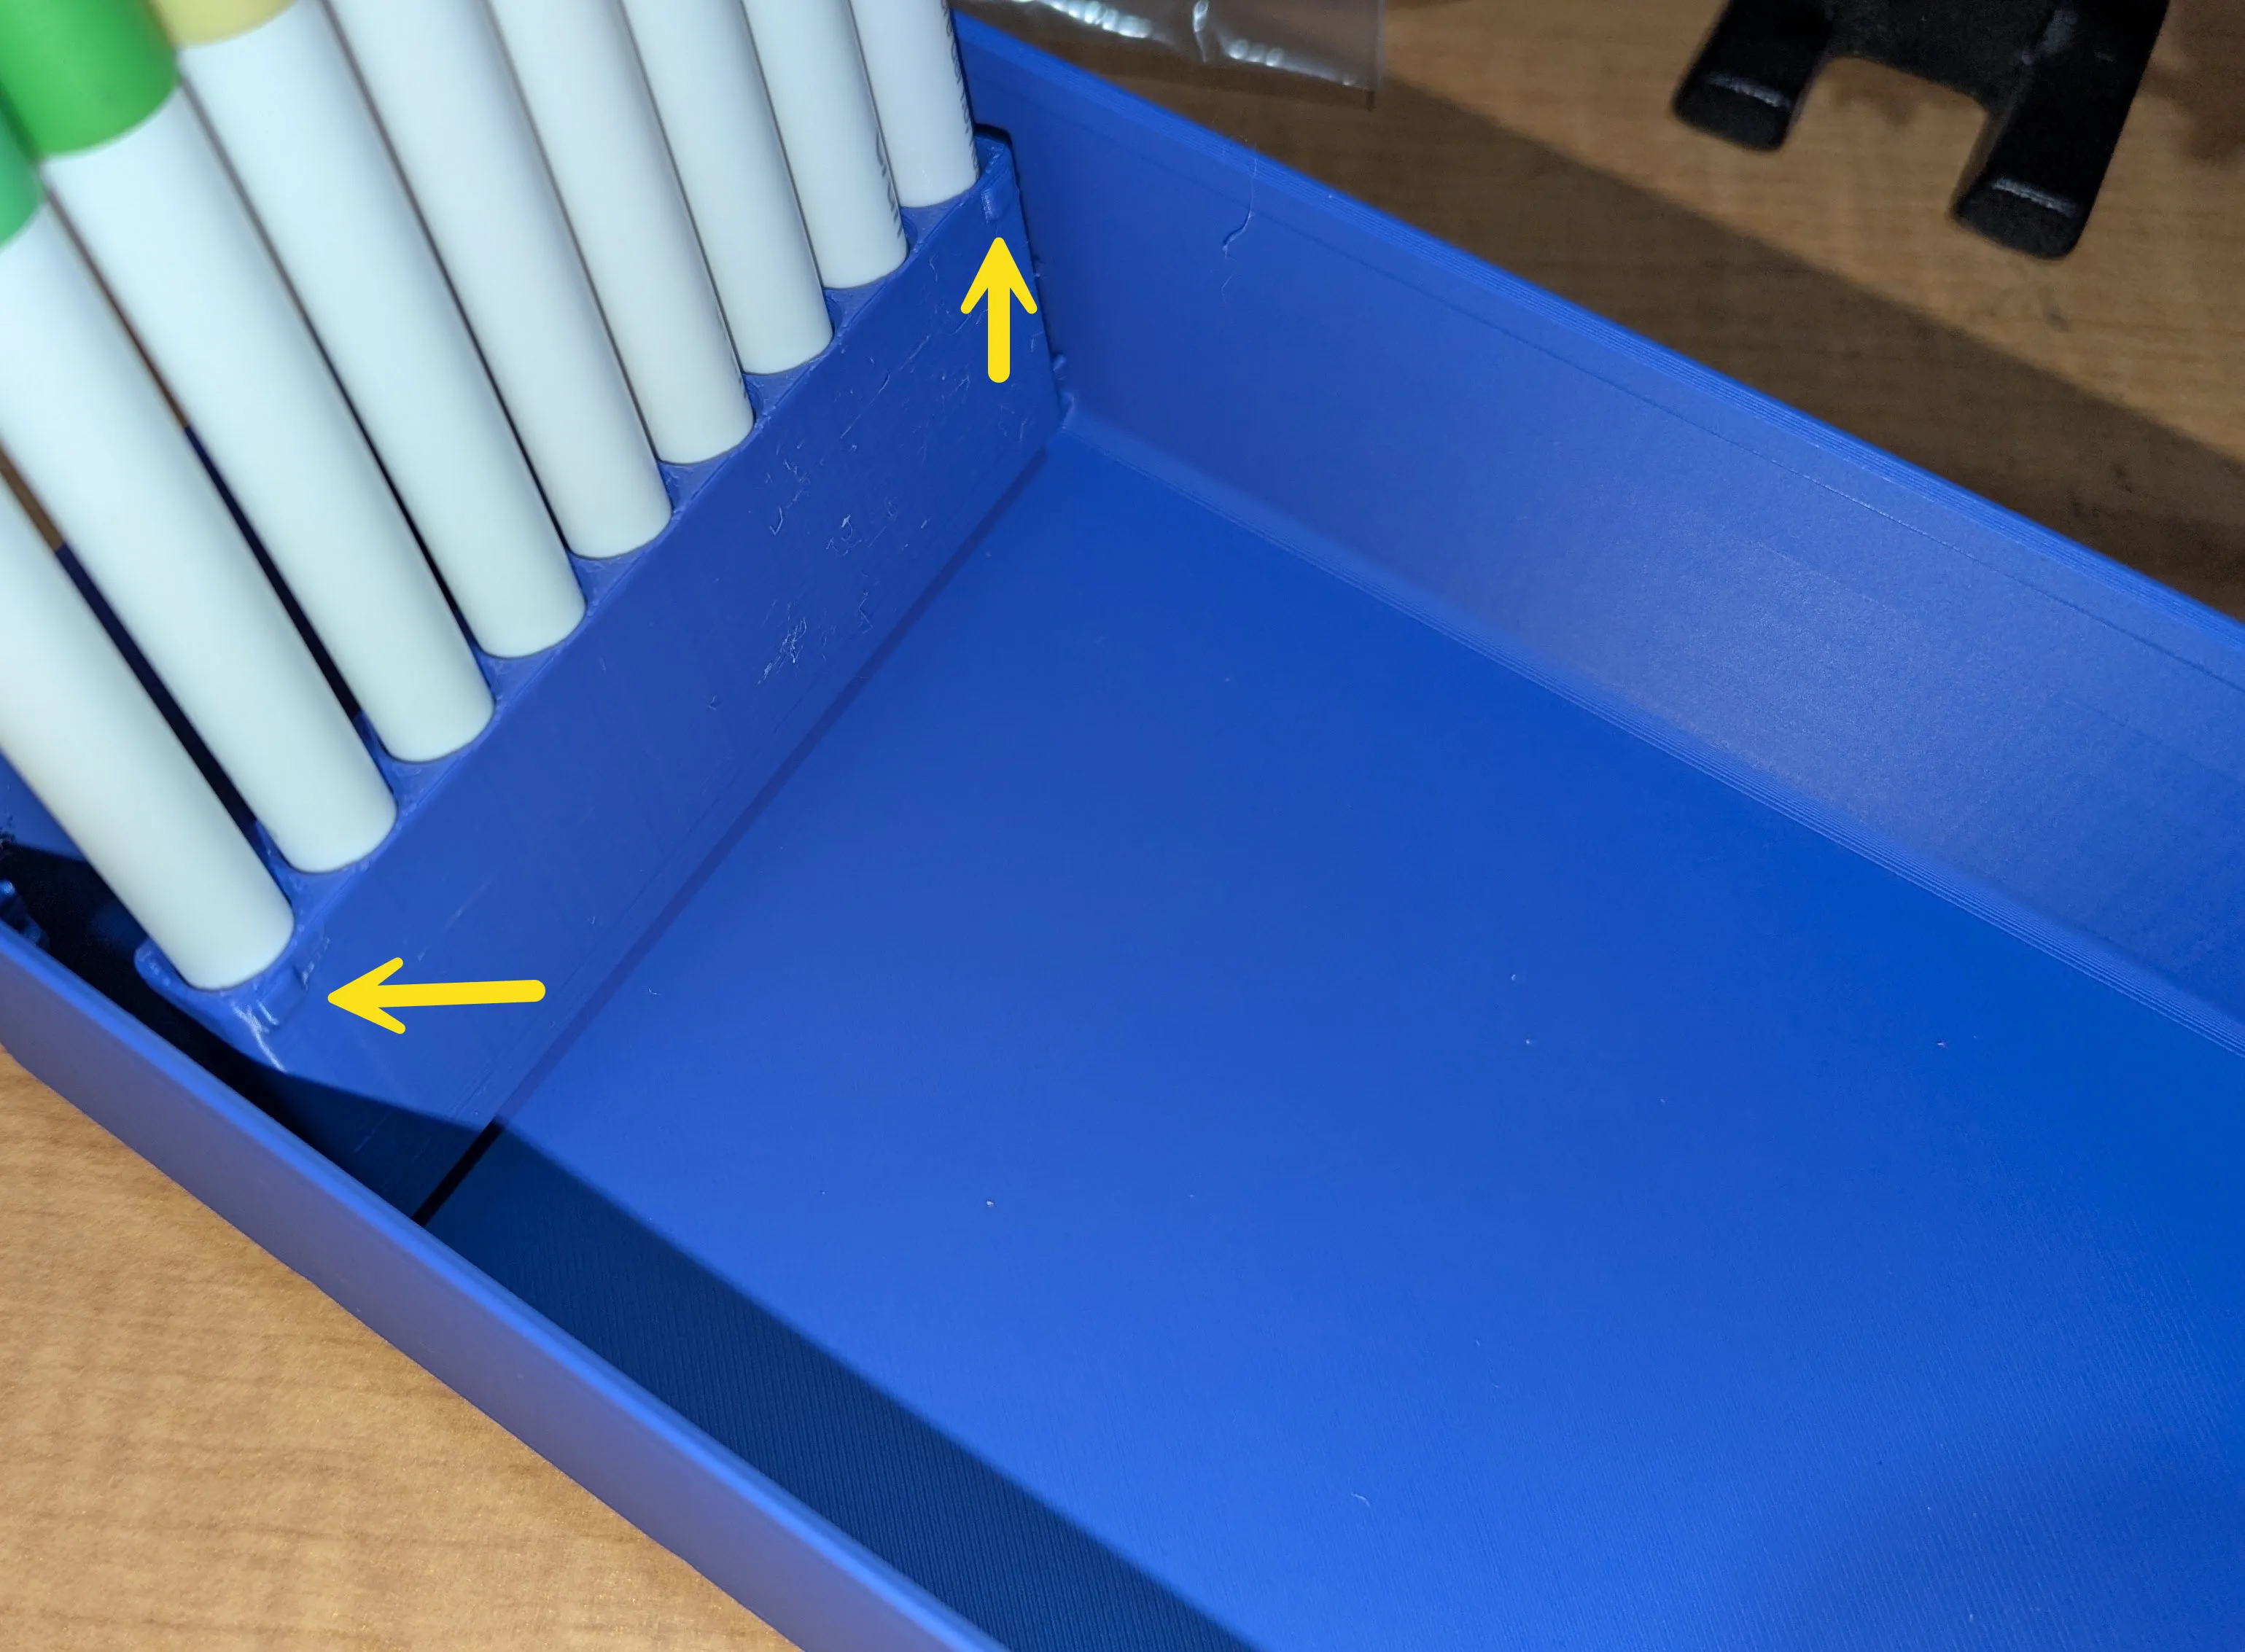
Click in one tray at a time, easiest to start with the lowest tray first. Take note of the little bumps on one side of the marker holders:
- If you face them so the bump will fold down toward the bottom of the tray as shown below the marks sit a little more level.
- If you face them so the bump will face up when folded down the markers will sit a little more tip down to help ink flow towards the tip when stored.
License

You may create derivative works based on this object, provided that all such derivative works are published exclusively on the MakerWorld platform and include proper attribution to the original creator. You may not share, upload, host, distribute, or publish this object—or any derivative work of this object—on any other digital platform, marketplace, or distribution channel. Commercial use of this object and any derivative works is strictly prohibited. This includes, but is not limited to, selling, renting, sublicensing, or using the object in any context in which you receive monetary compensation or other financial benefits.


Comment & Rating (26)