
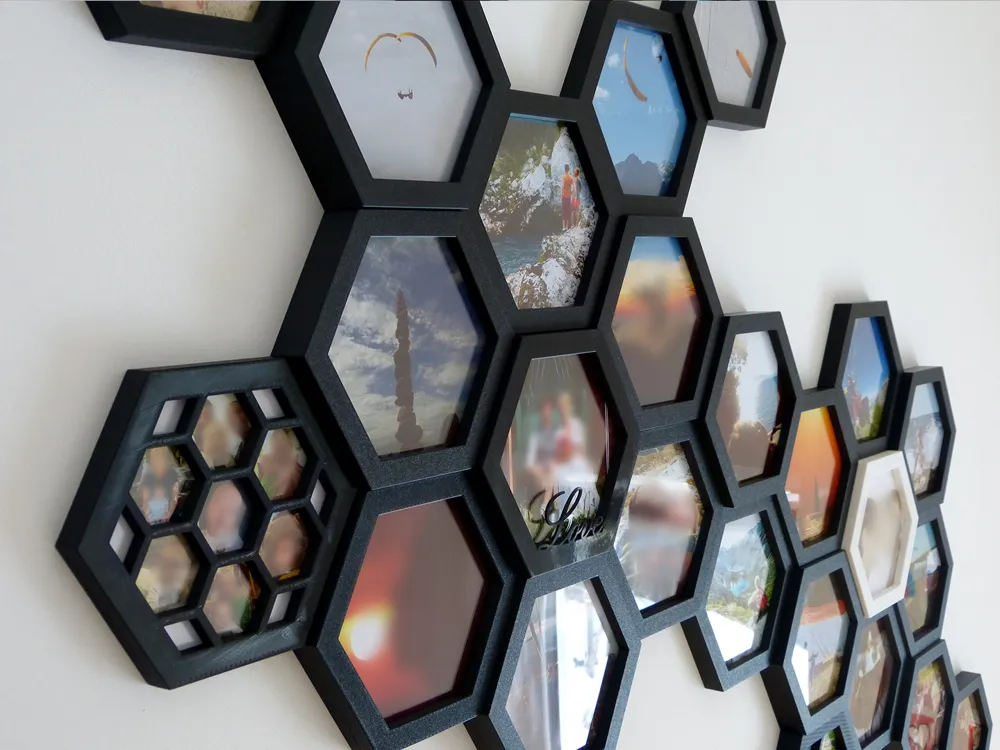
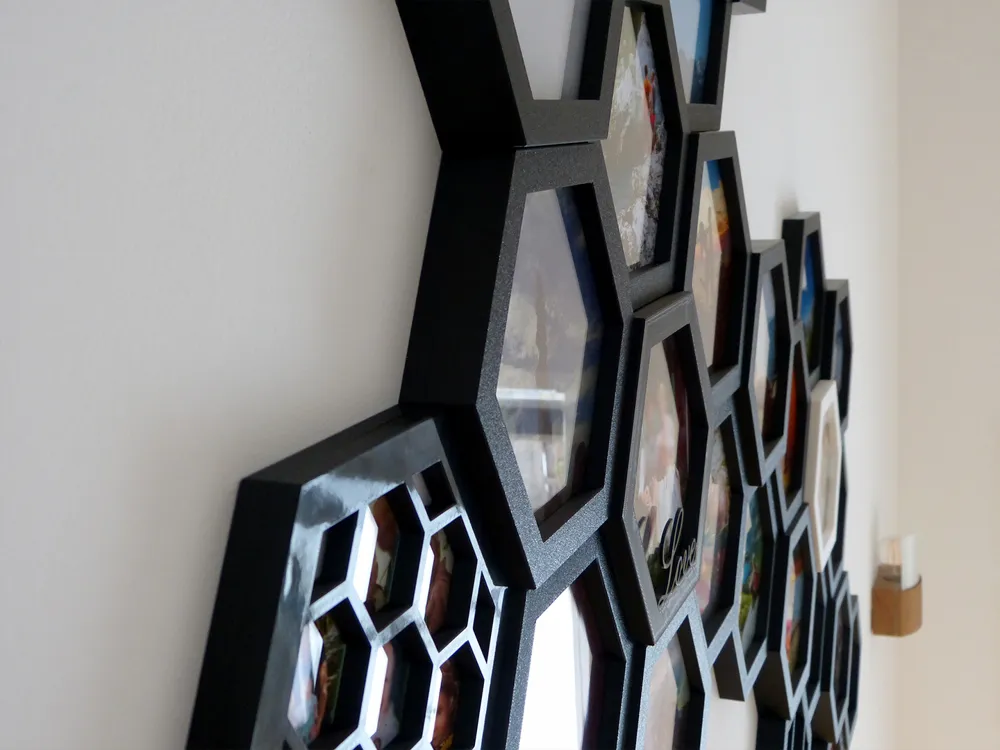
Print Profile(1)

Bill of Materials

Description
This is an adoption of my “Hexatiles - Hexagon LED Wall tiles”
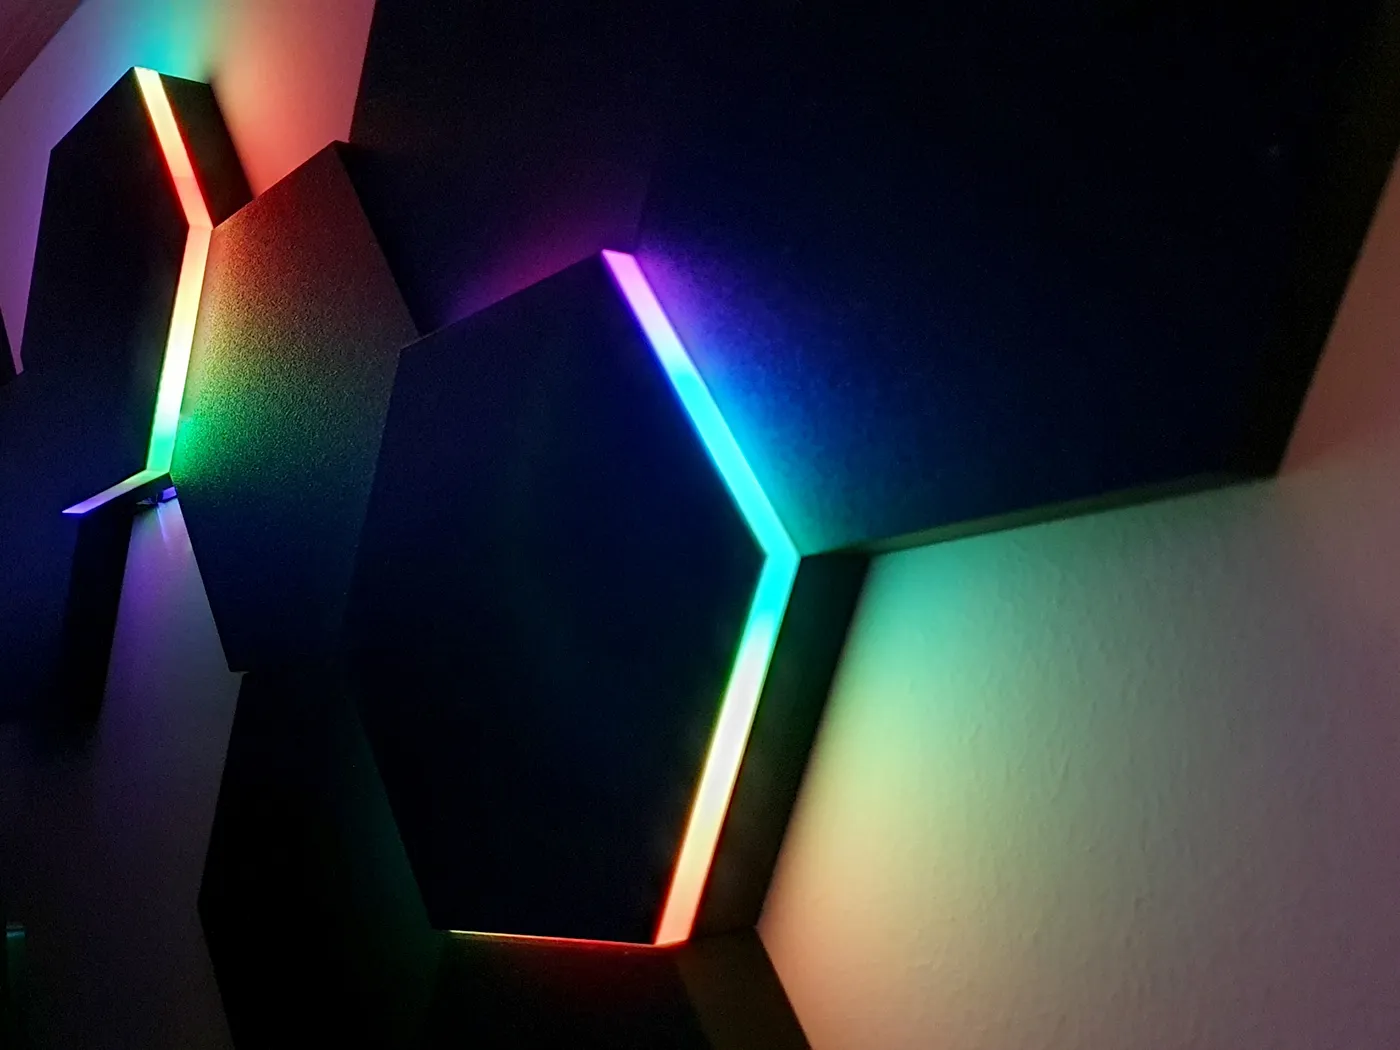
The two projects are combinable and the tiles are interchangeable.
When adapting to your existing project, make sure the magnets are aligned with your matching polarity!
Setup
Planning:
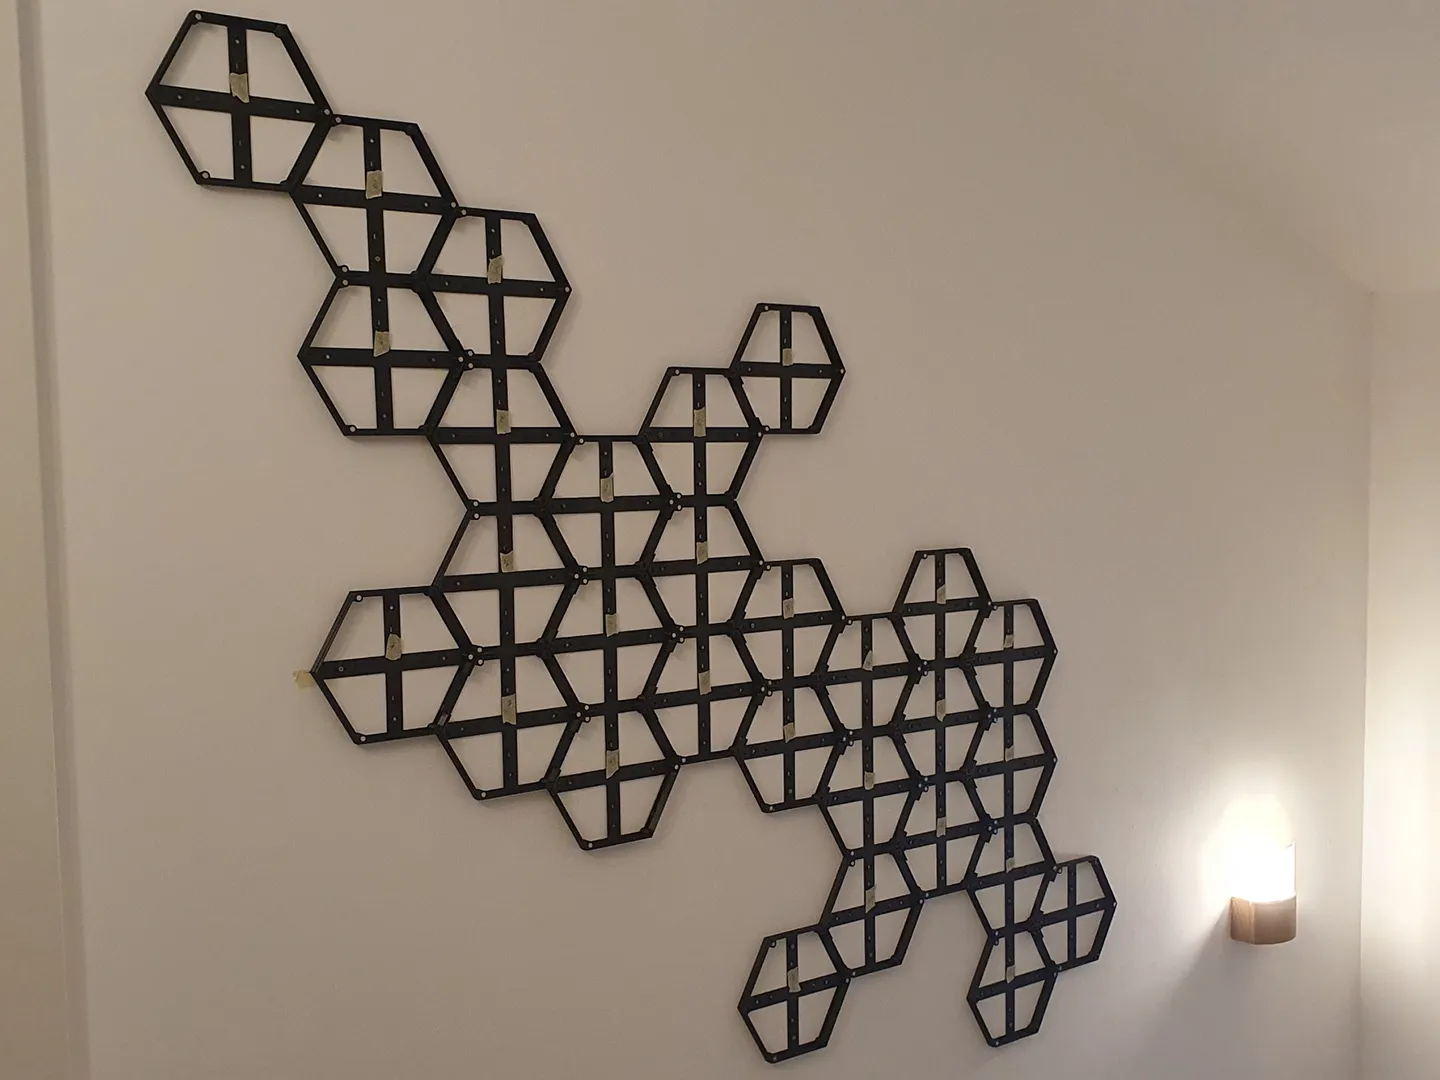
You can always add tiles afterwards, but for the initioal setup the layout should be clear so you know where to remove the cutouts for the connectors. For the layout and the baseplates read the Instructions on “Hexatiles - Hexagon LED Wall tiles”
Cut the Picture:
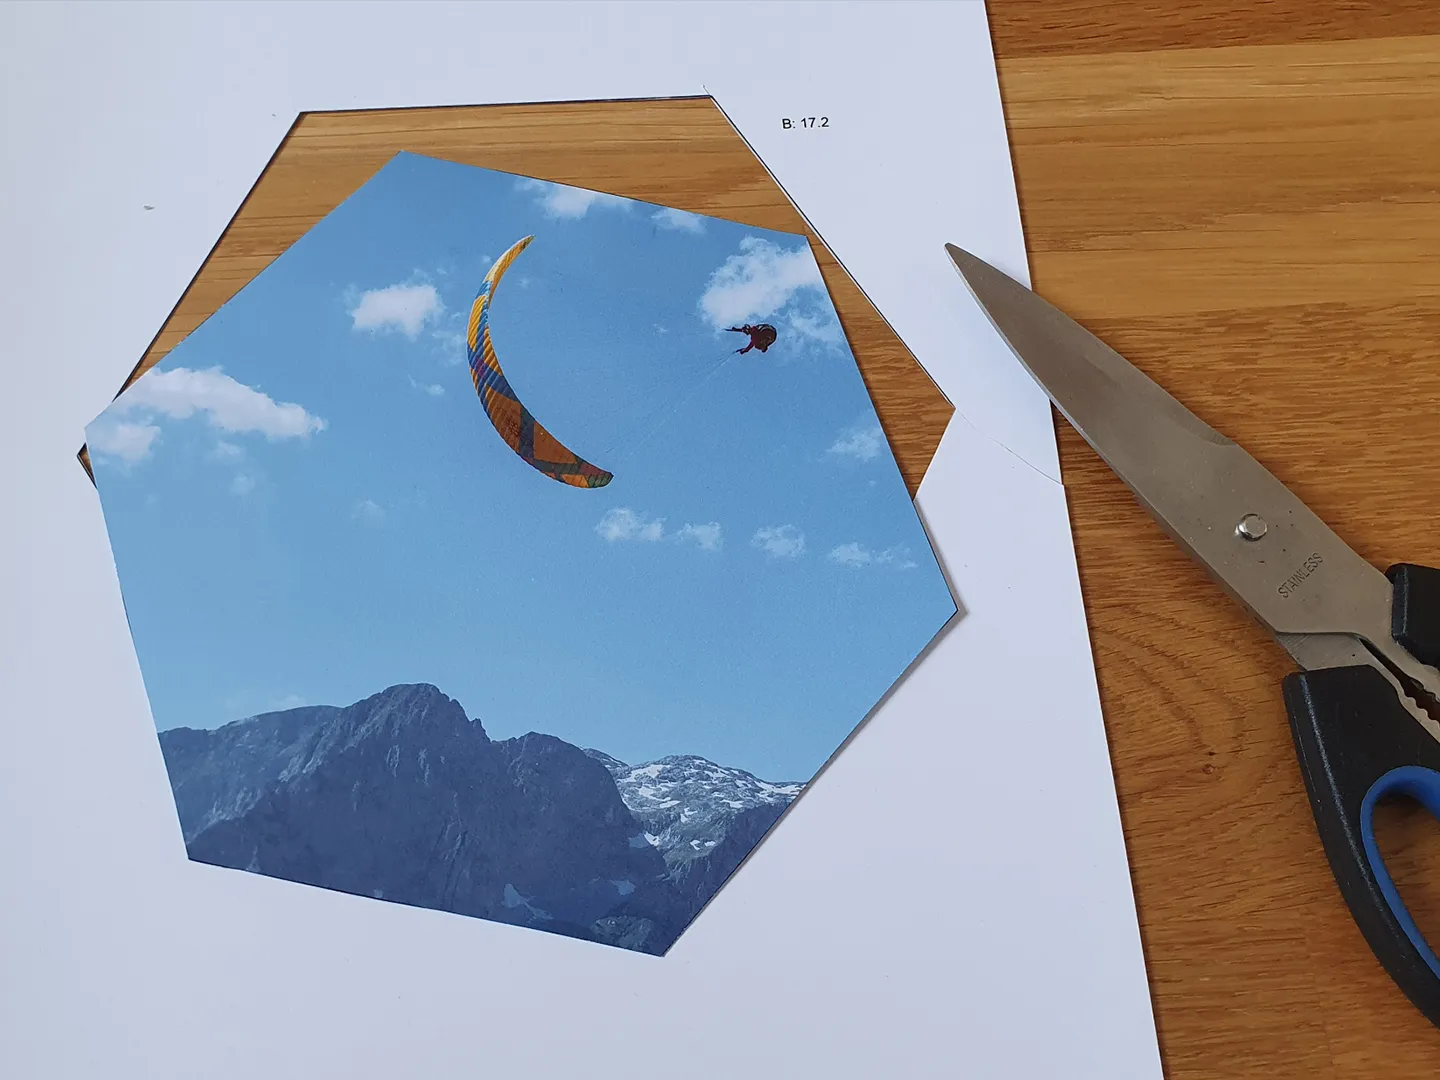
There are 3 png files in the download (masks.zip), which you can use to add as a mask for your pictures. When printed with 172mm in width, they should match the tiles.
Add Magnets
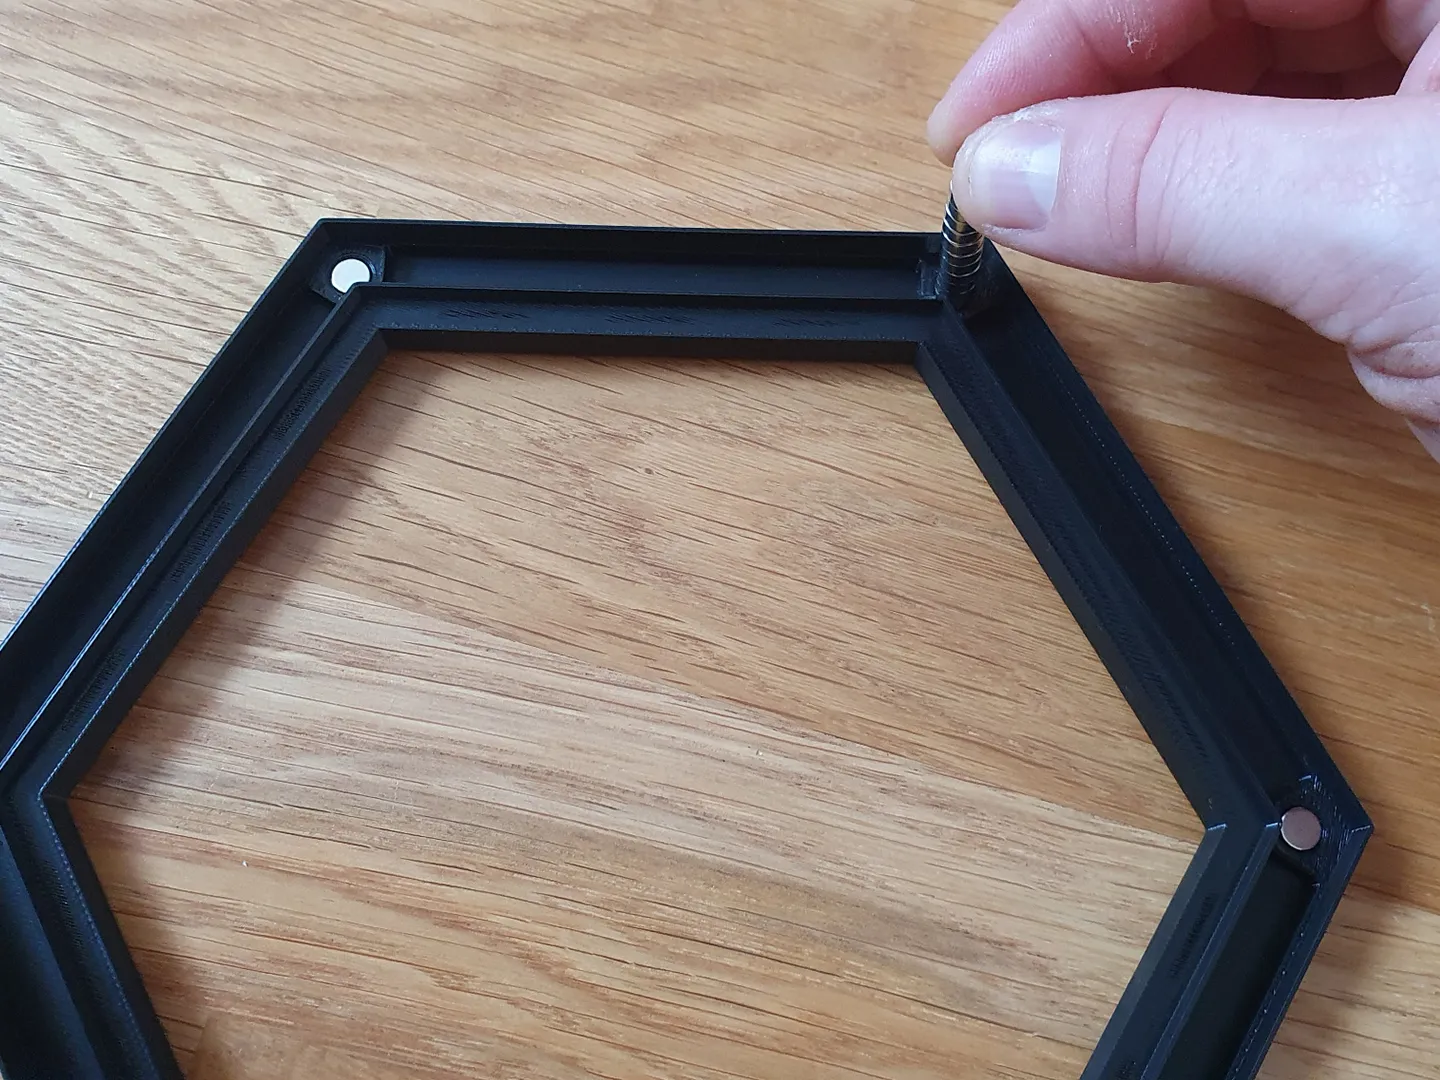
The hole for the Magnets is a tight fit (so no superglue is needed). You have to hammer them in.
Magnet dimensions:
D: 6mm / H: 3m (Makersupply: CA007)
Cut Acryl
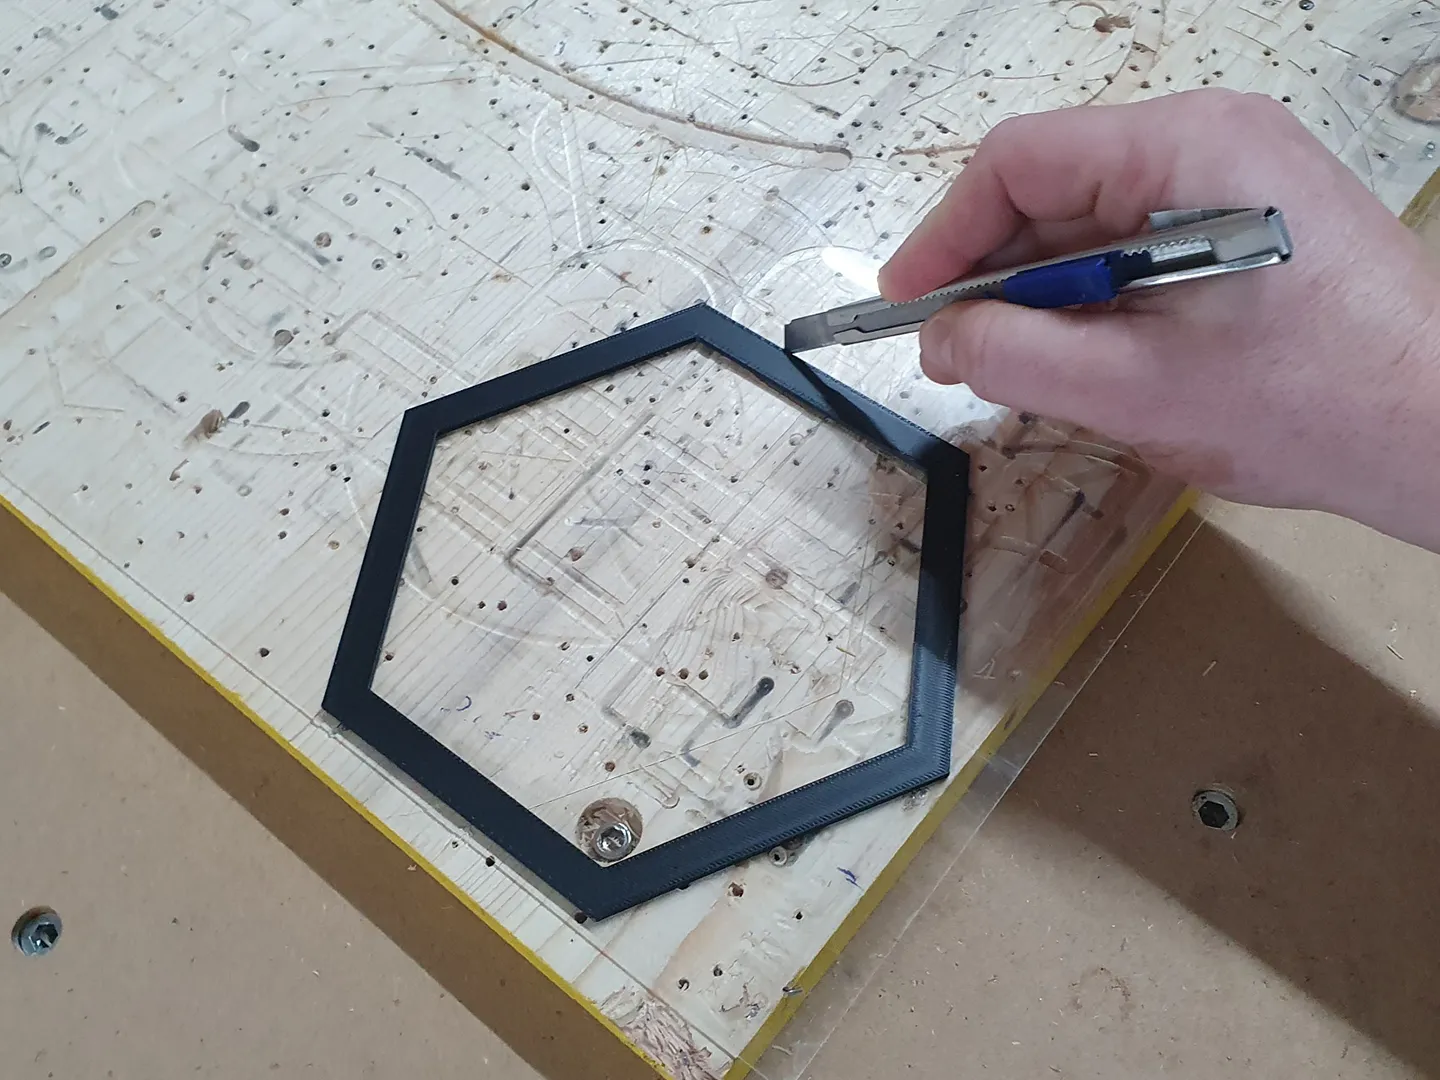
You can either use the provided “Template_Pictures.stl” to cut an 0.5mm - 1mm thick acryl glass sheet, or you have access to a CNC router then you can mill thicker acrylglass up to 2mm. There is a dxf file for the toolpath in the downloads included (Hexa500x1000_sheet_3mm.dxf)
Assemble Glass
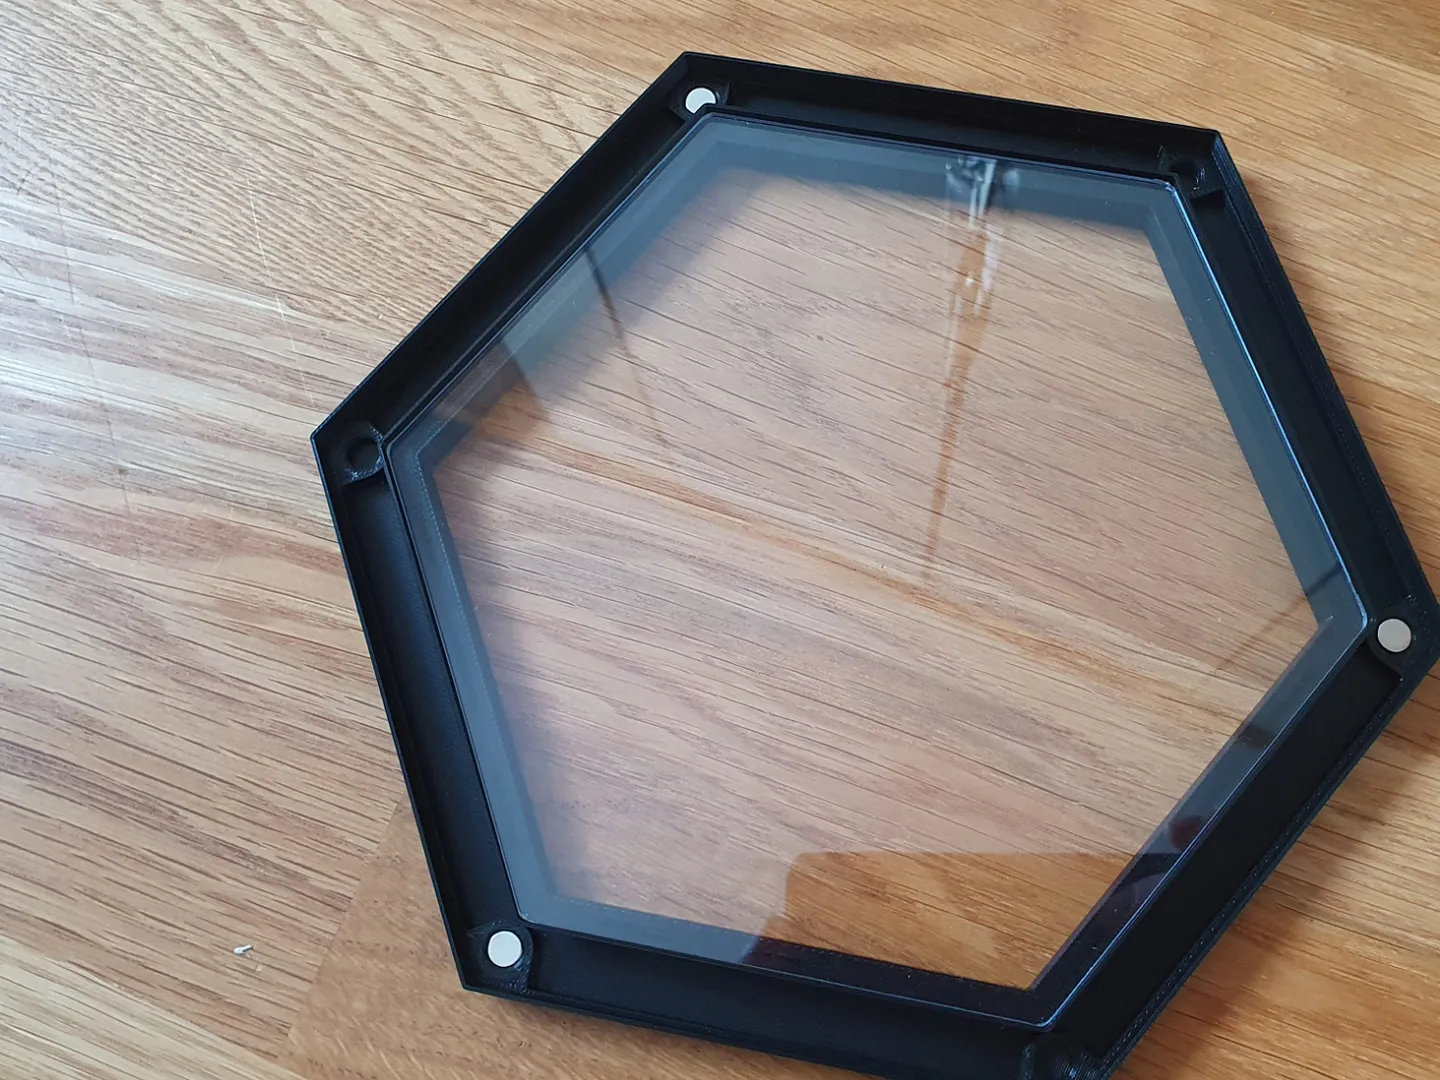
Add Picture
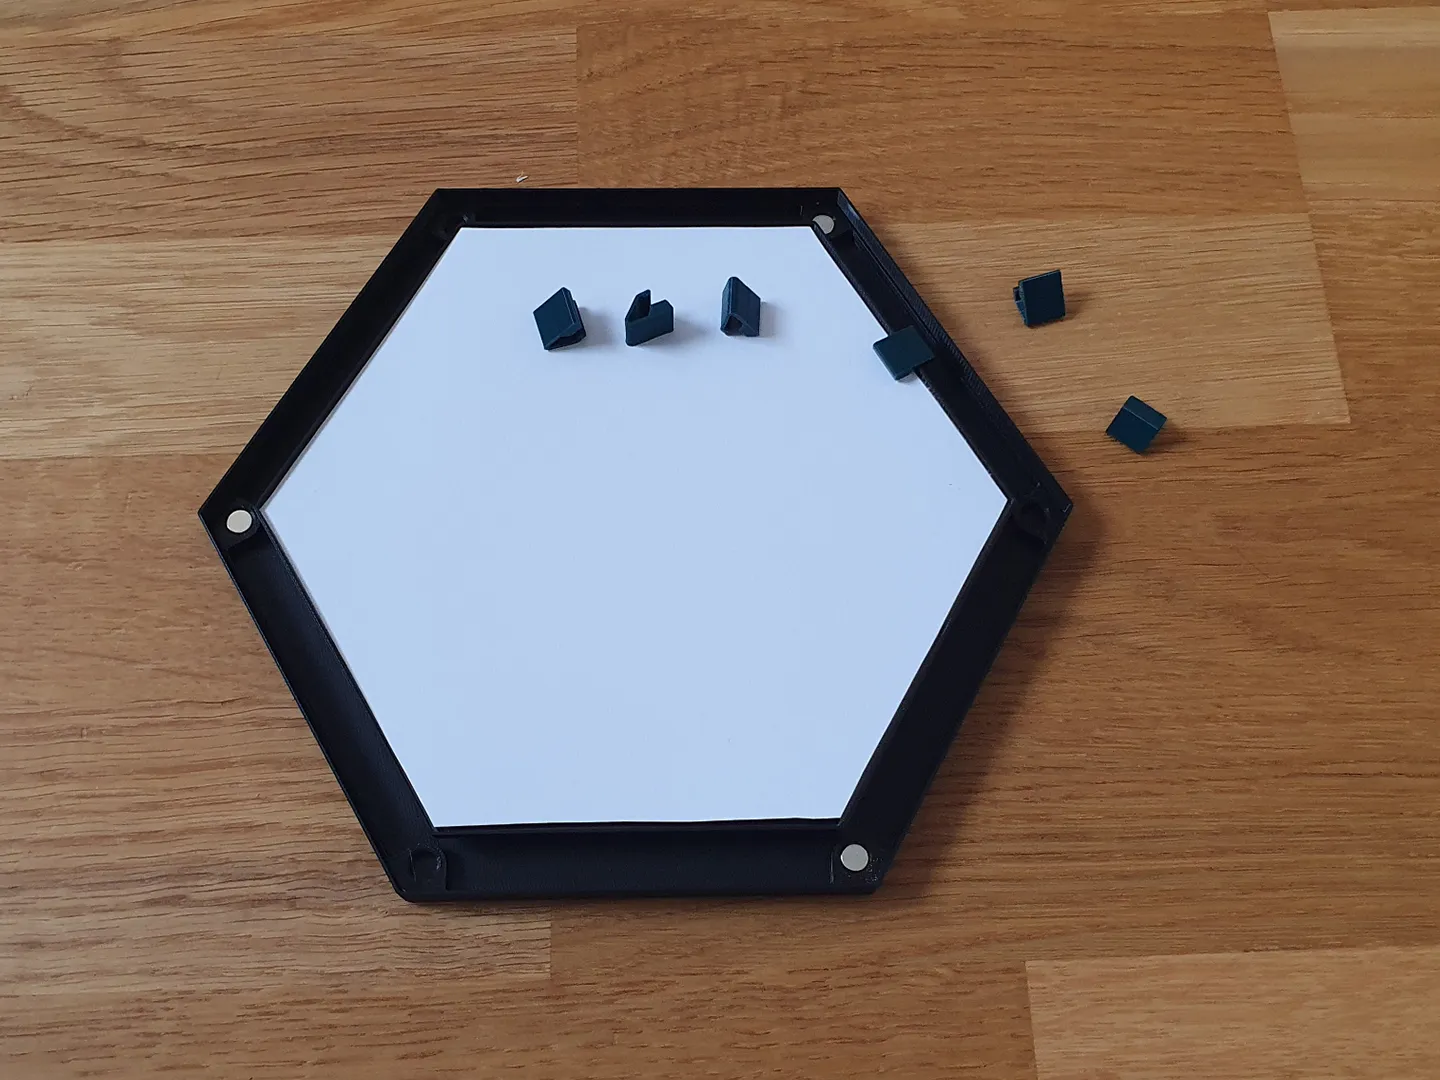
Add the picture and the clips. They should snap in place. Depending on the thickness of your acrylglass, or if you will add the picture without a glass, you maybe have to provide some cardboard backpack to get to a thickness where the clips will clamp.
Snap to the wall
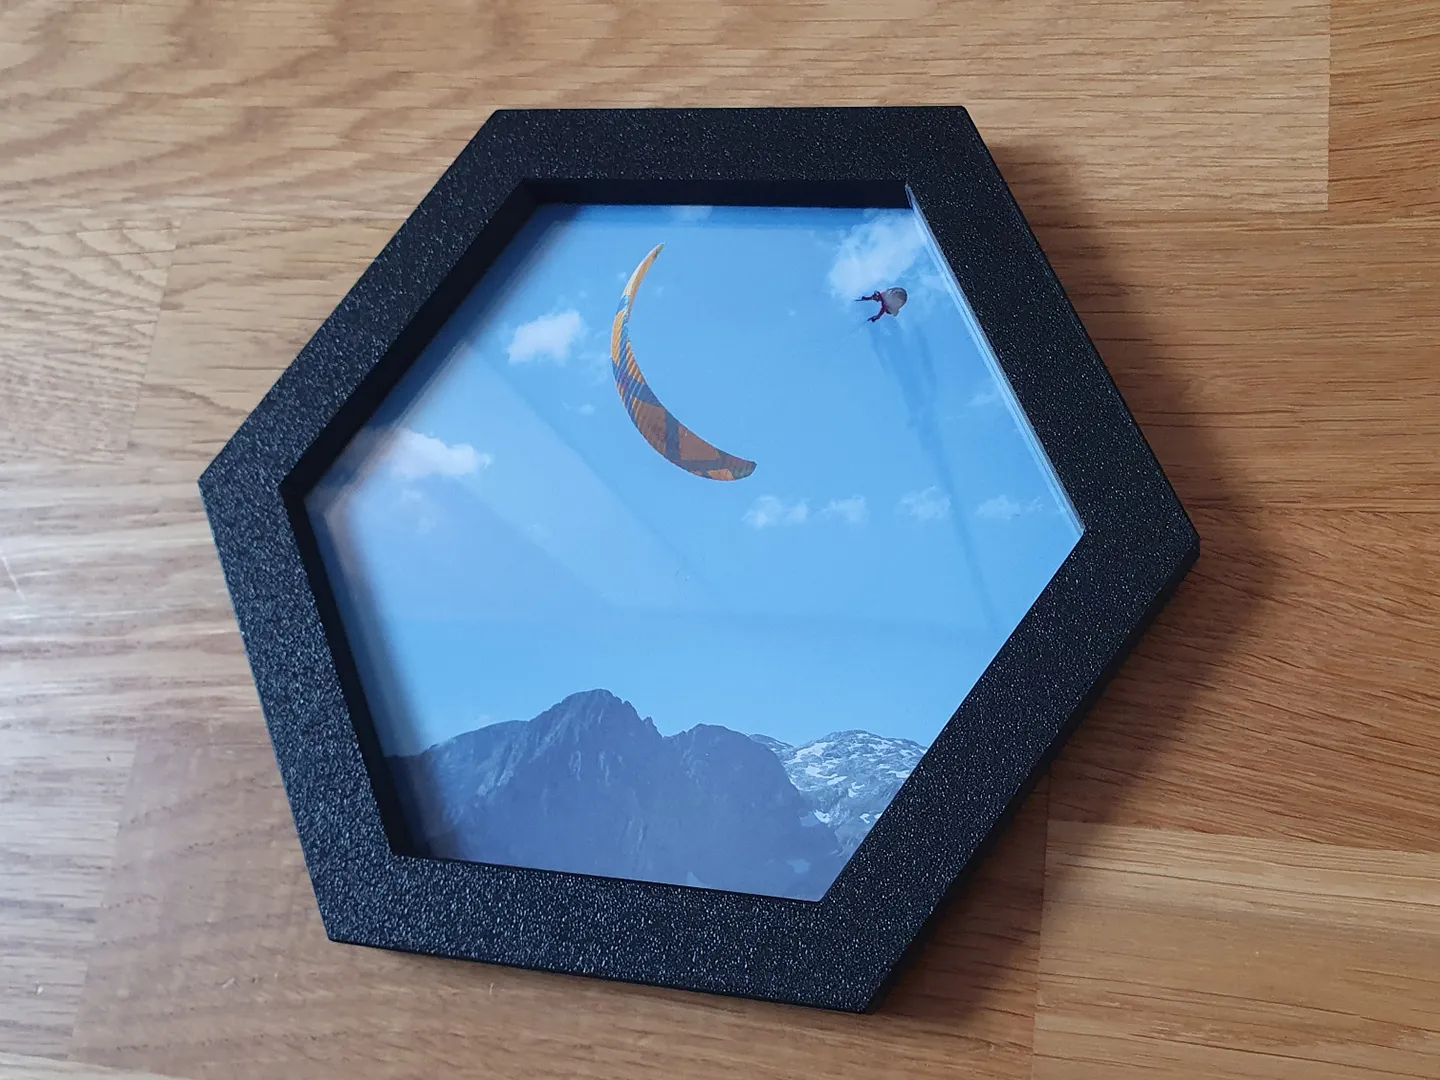
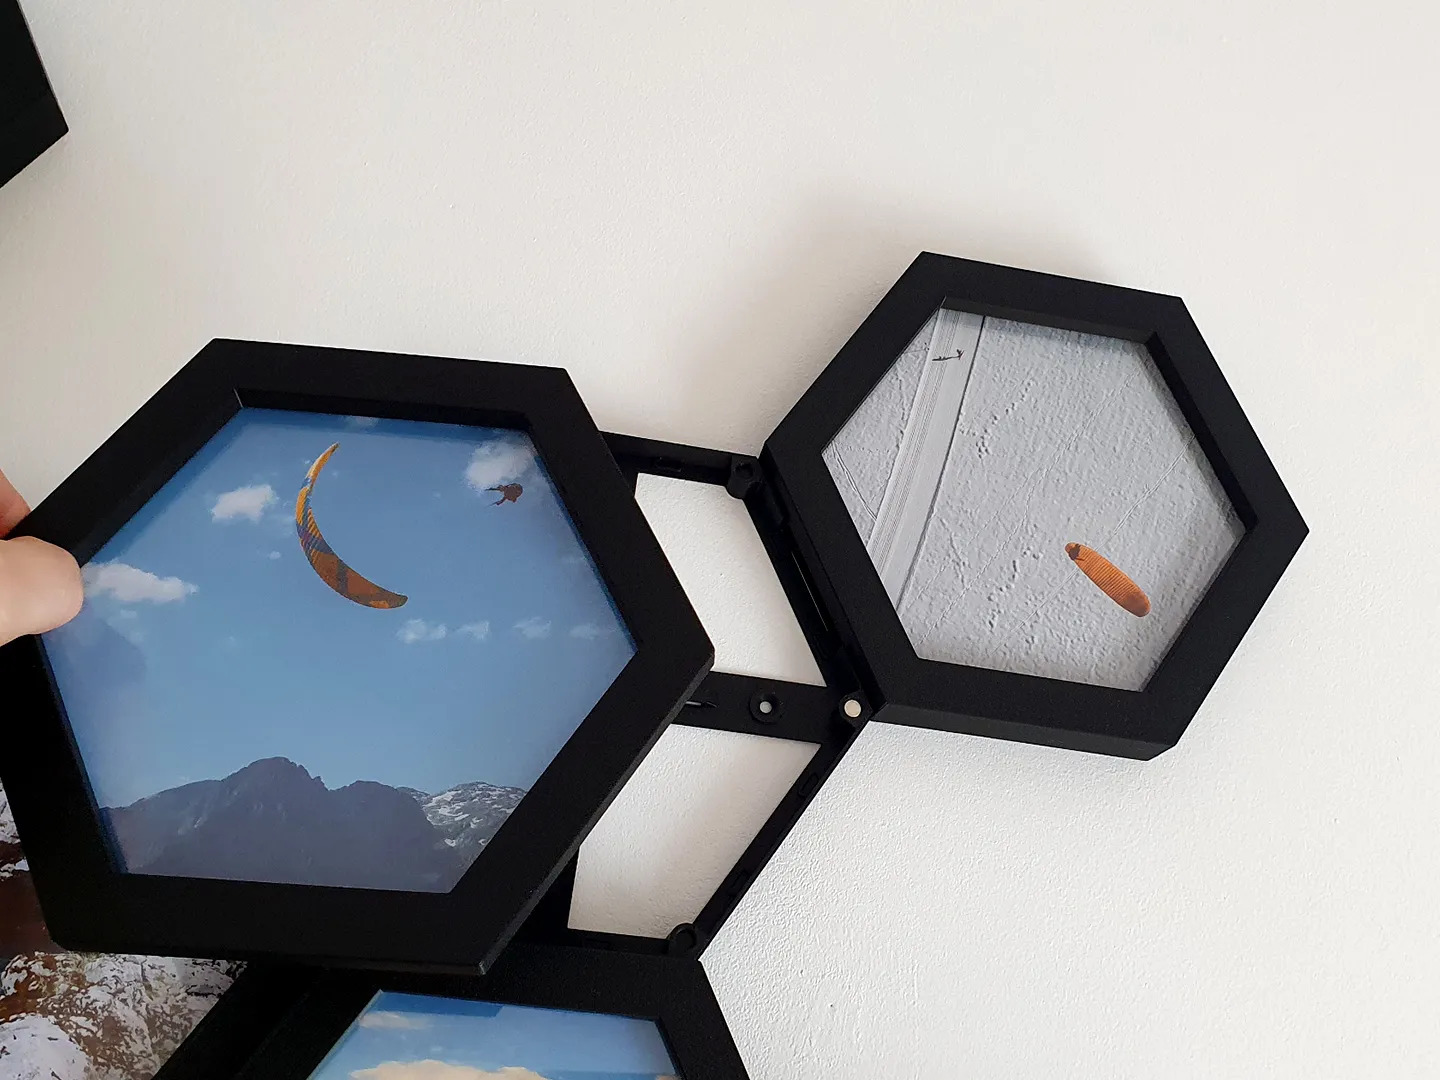
This remix is based on

License



Comment & Rating (24)