
Round Self-Watering Planter Ribbed (Medium)

Print Profile(2)



Description
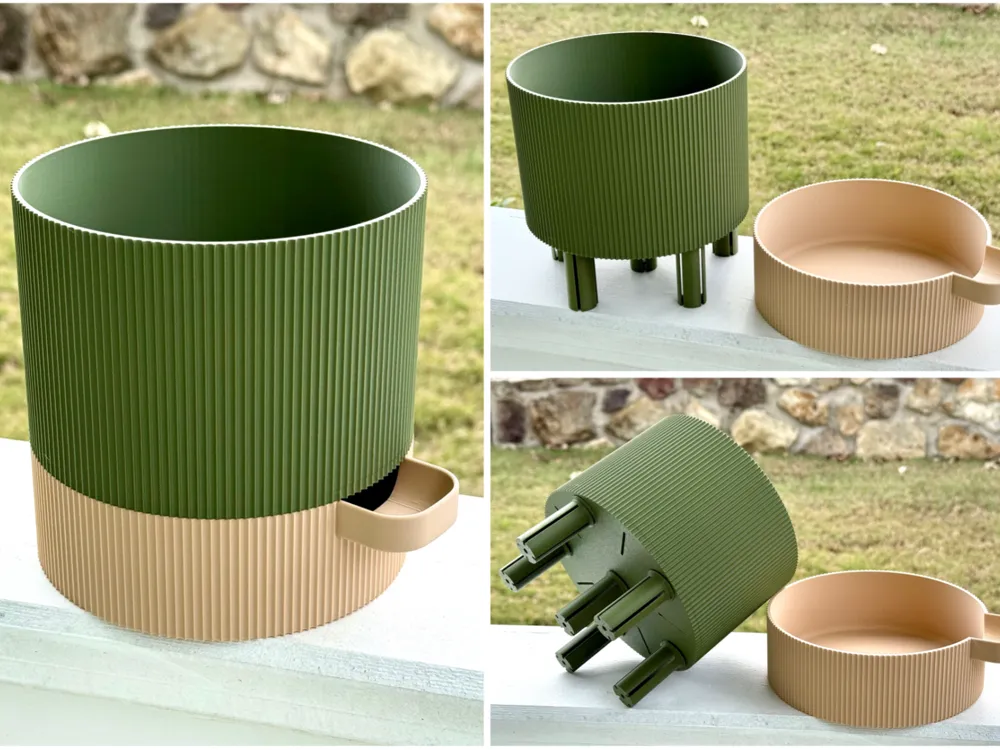
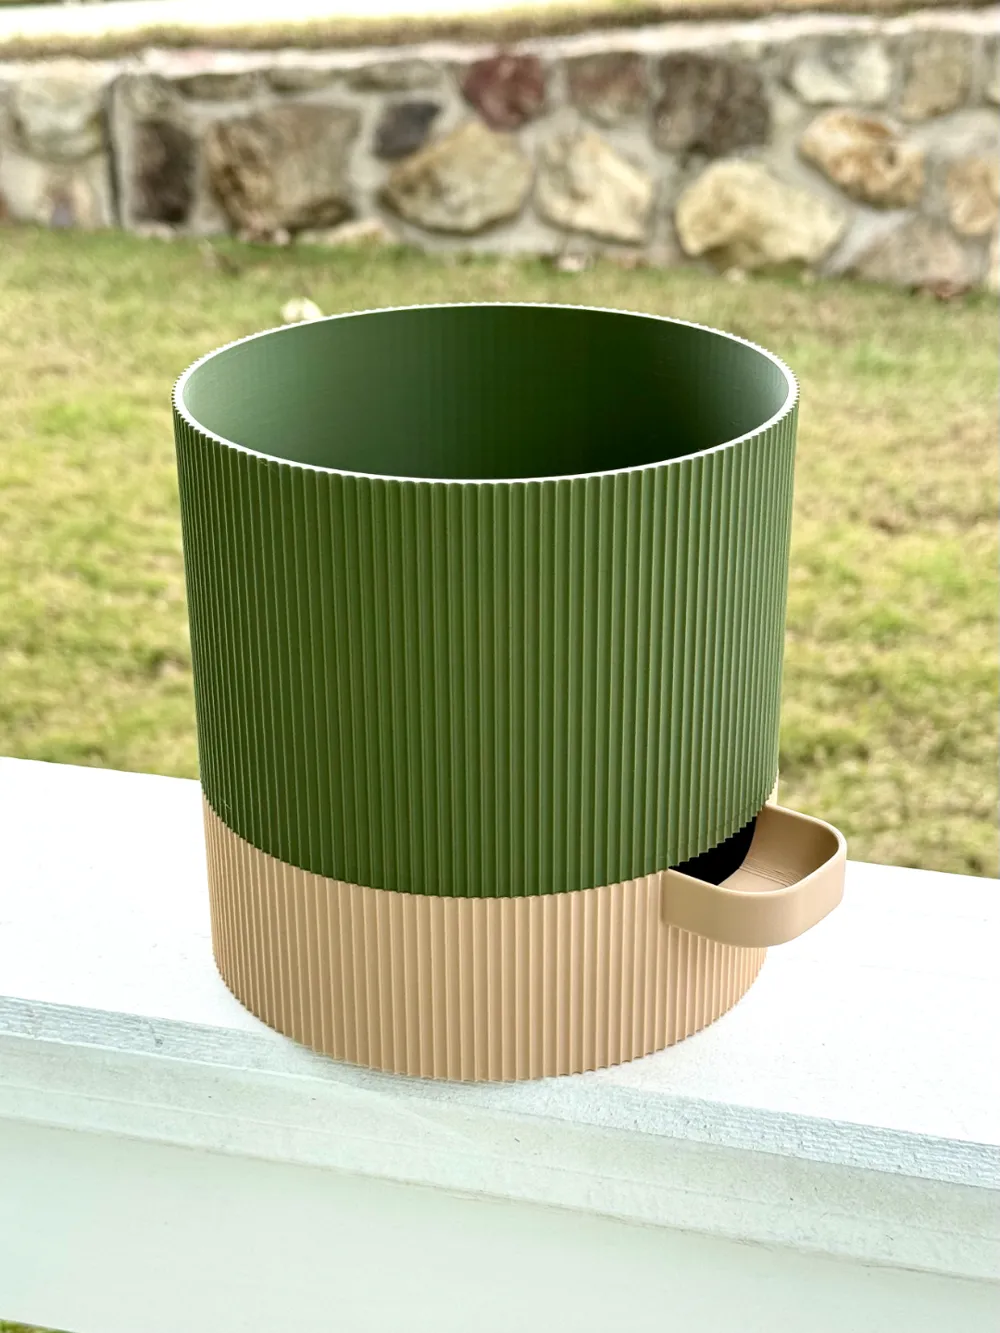
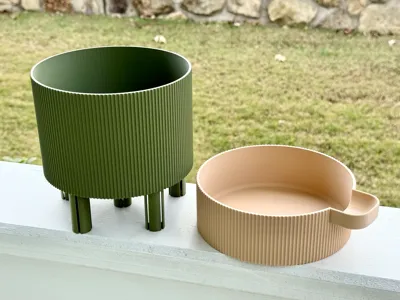
I designed this round self-watering plant pot to elegantly display my indoor plants while keeping maintenance low and reducing my risk of overwatering them. I put quite a bit of thought and intention into this design, so I hope you all can enjoy it as well!
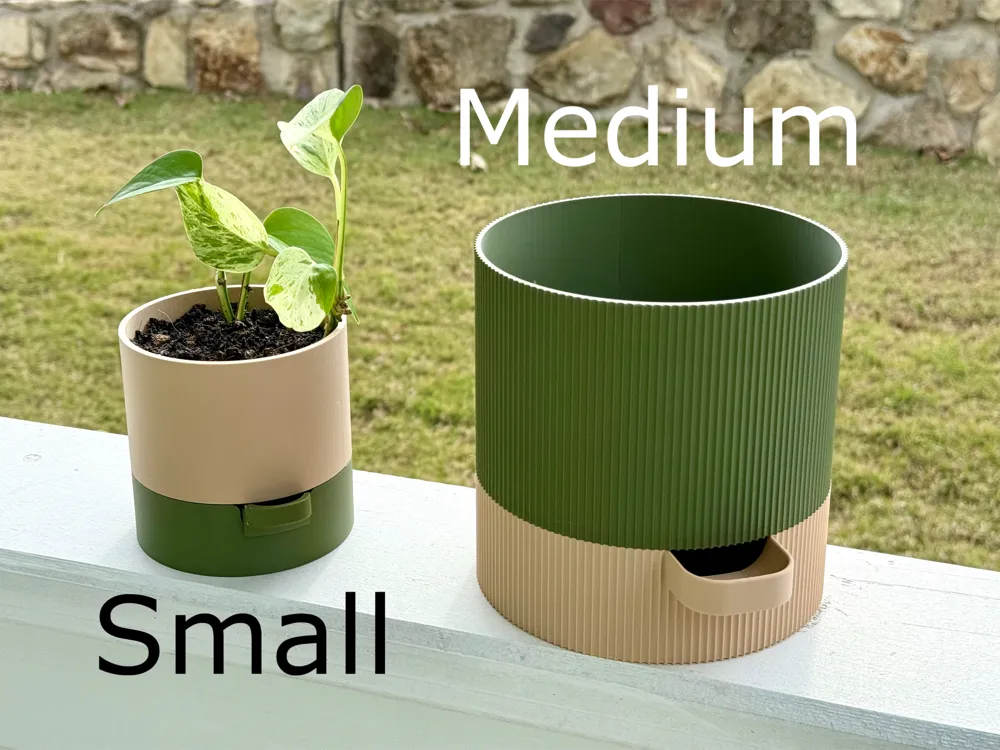
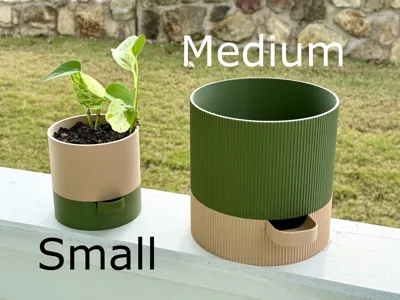
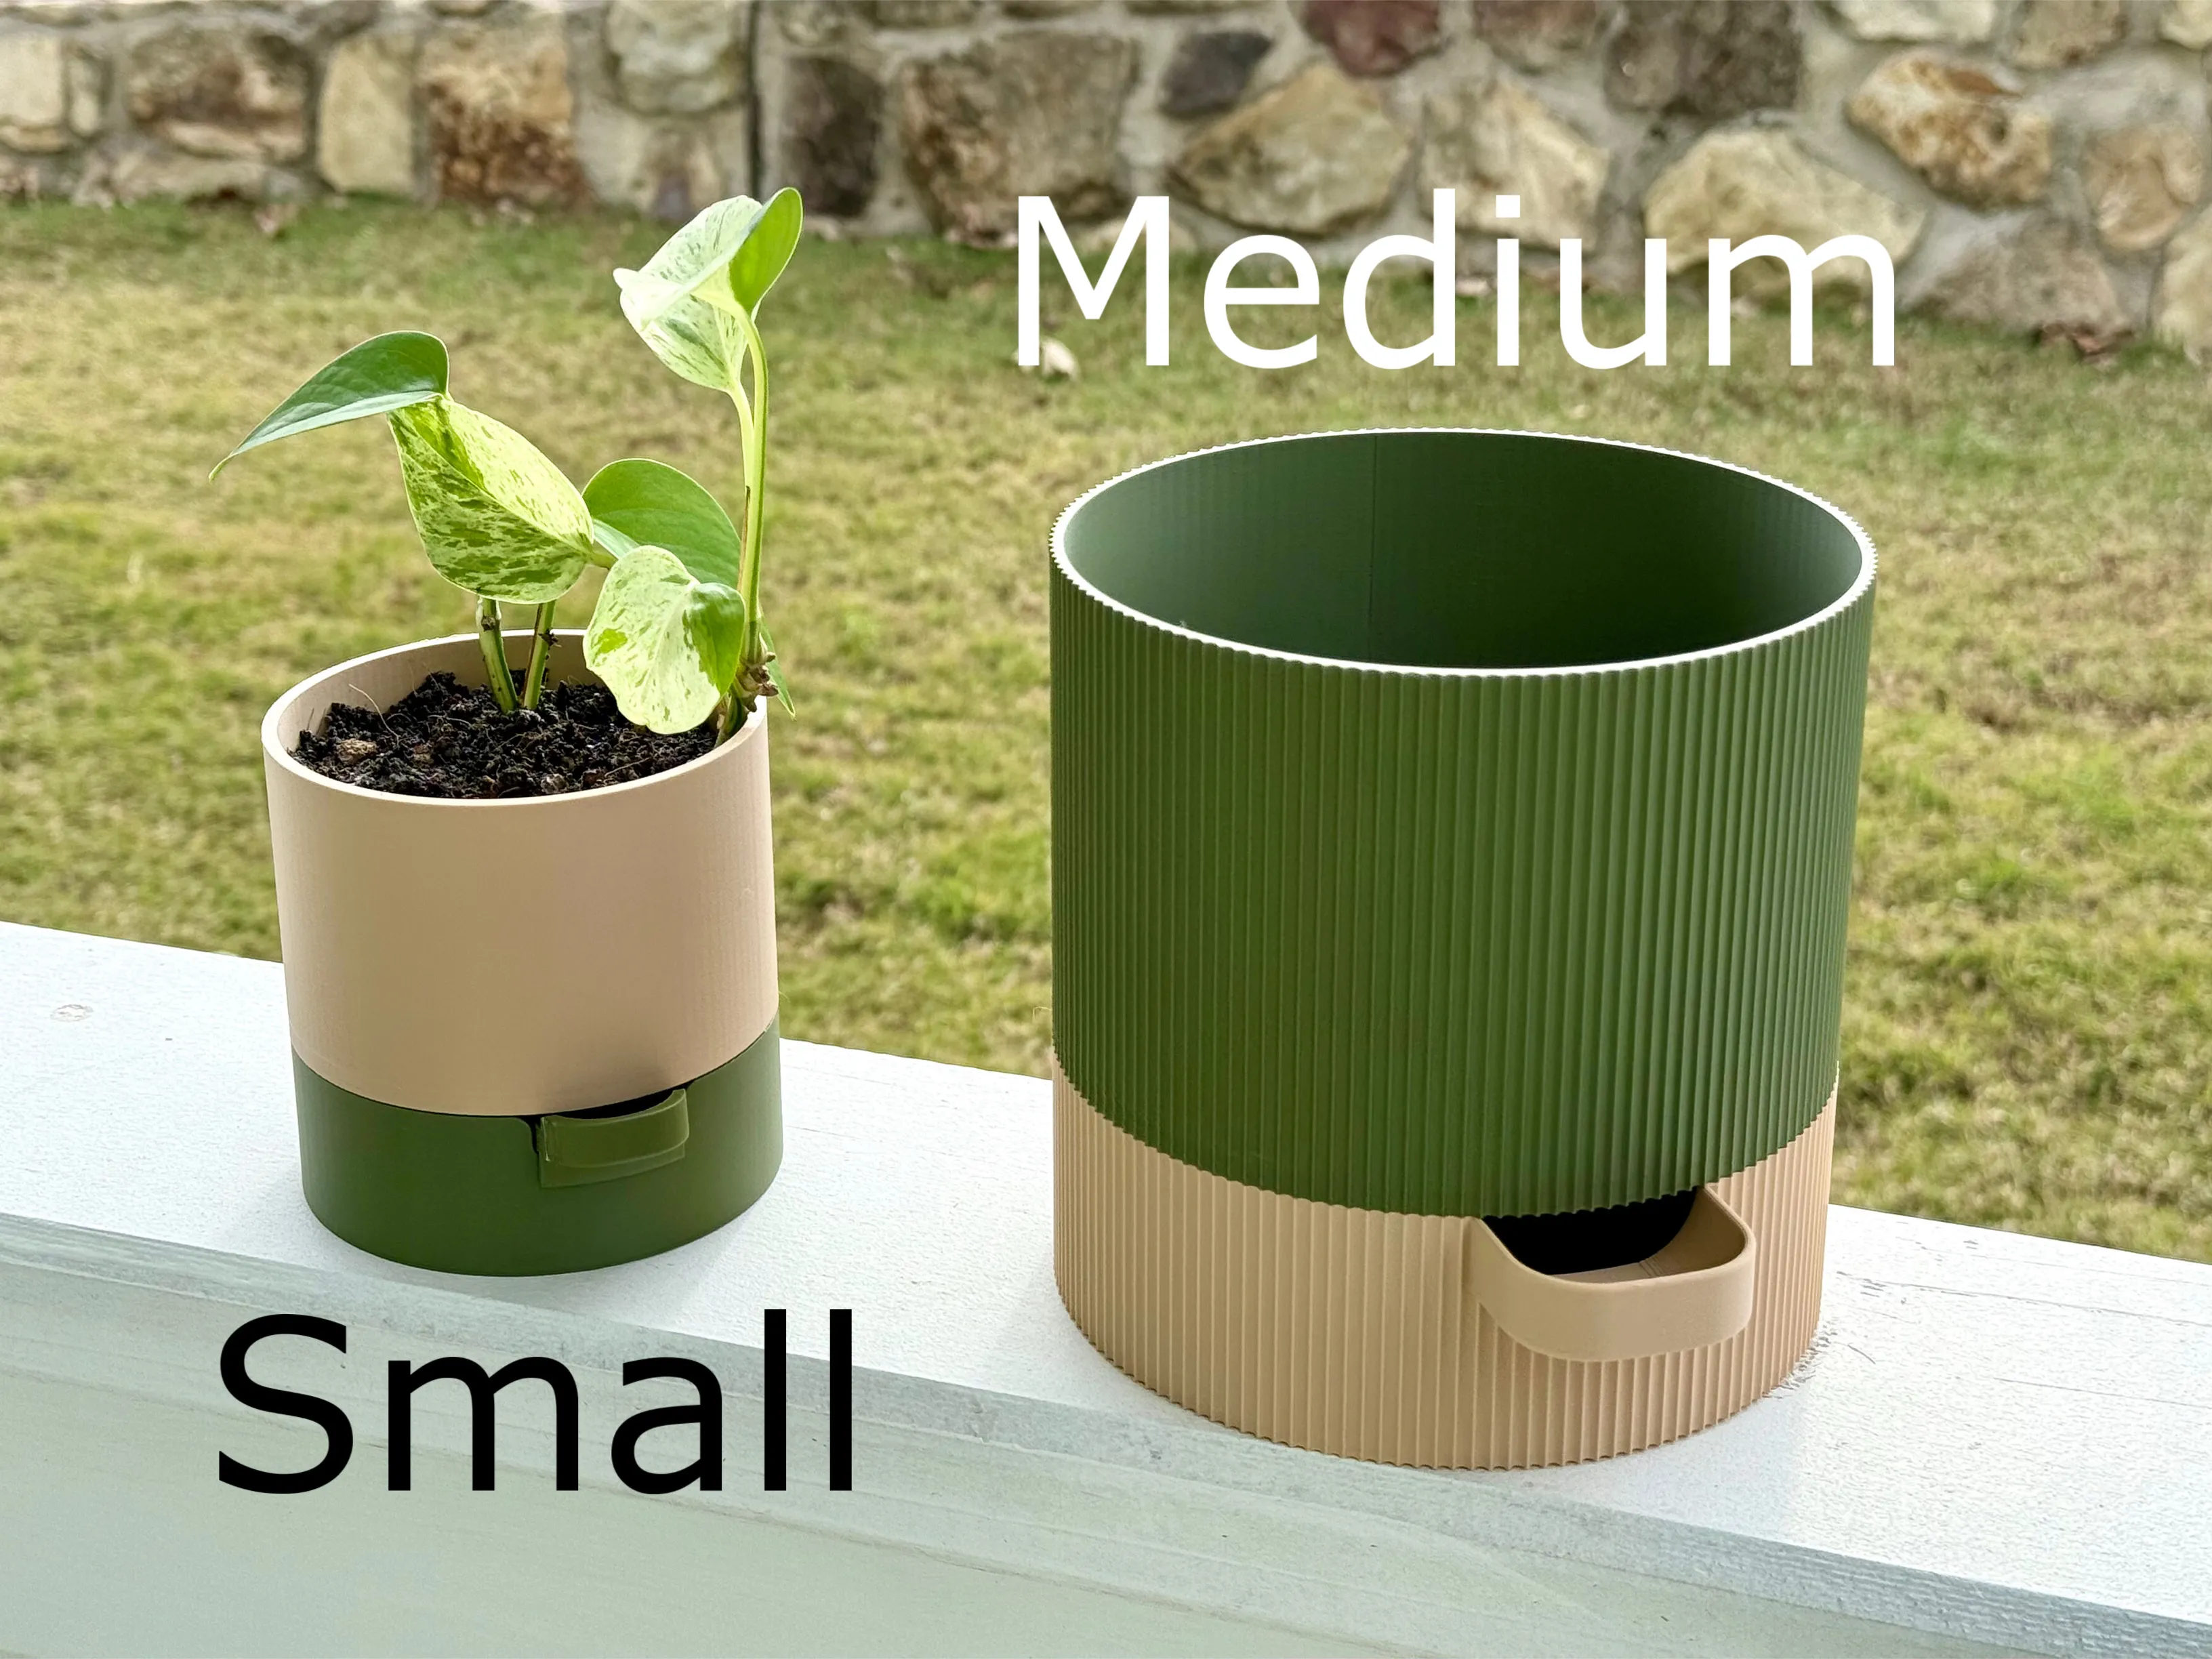
Note: This is the Medium size version with a Ribbed Shell of my self-watering planter. Compared to the small version, this larger size increases total volume, adds additional legs, and incorporates the water intake directly onto the plant tray. For the smaller version, you can find it here: https://makerworld.com/en/models/825326#profileId-768909
Planter Size
This is my medium-sized planter (15 cm diameter) designed for mid-size houseplants. For this size, I'd personally plant a maturing pothos, a young monstera, some snake plant cuttings, or any other medium-sized houseplants.
If you're looking for a smaller self-watering planter to house your smaller plants, seeds, or cuttings/propagations, I'd recommend my smaller planter (10 cm diameter). You can find two version here:
- Small Smooth Planter: https://makerworld.com/en/models/776835#profileId-713587
- Small Ribbed Planter: https://makerworld.com/en/models/825326#profileId-768909
Planter Features
- Low-Maintenance Self-Watering Design
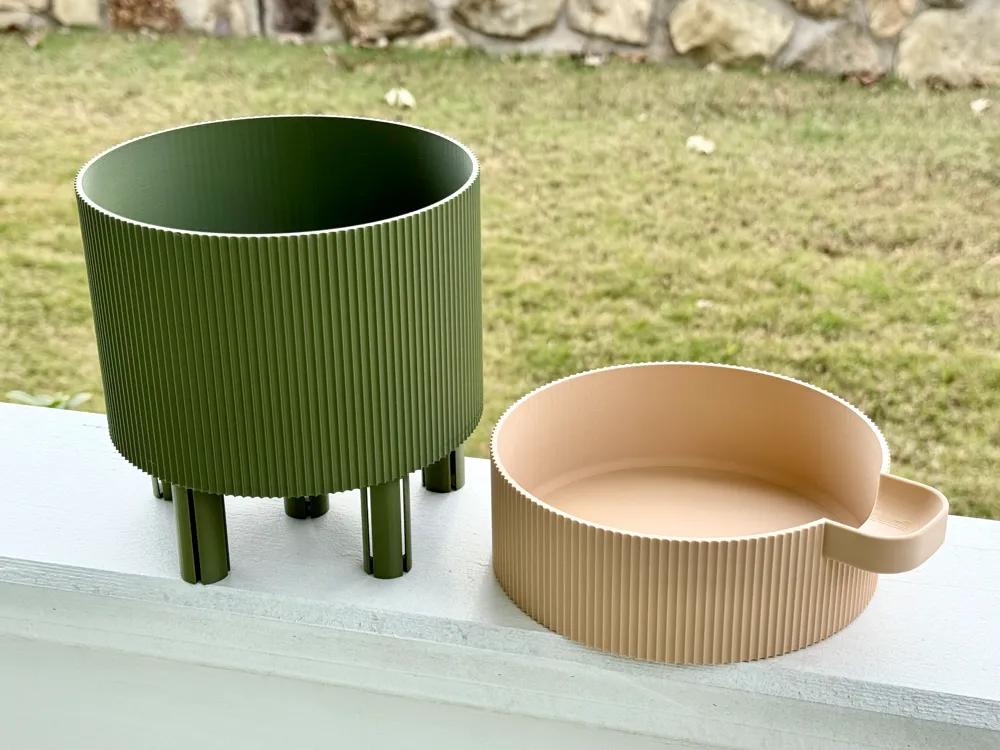
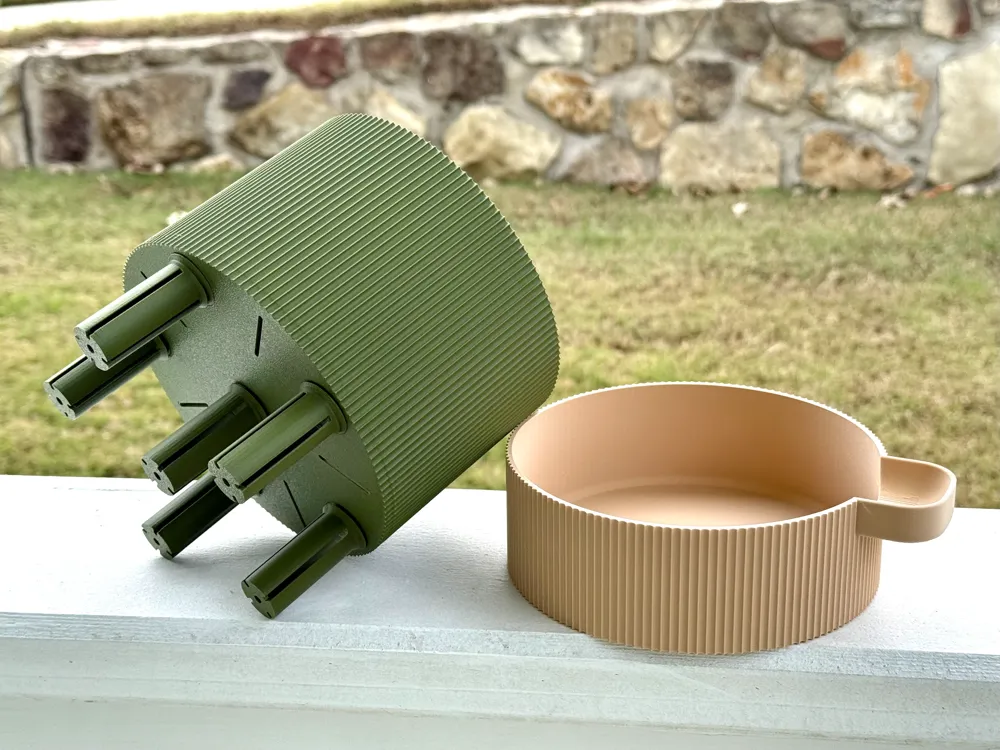
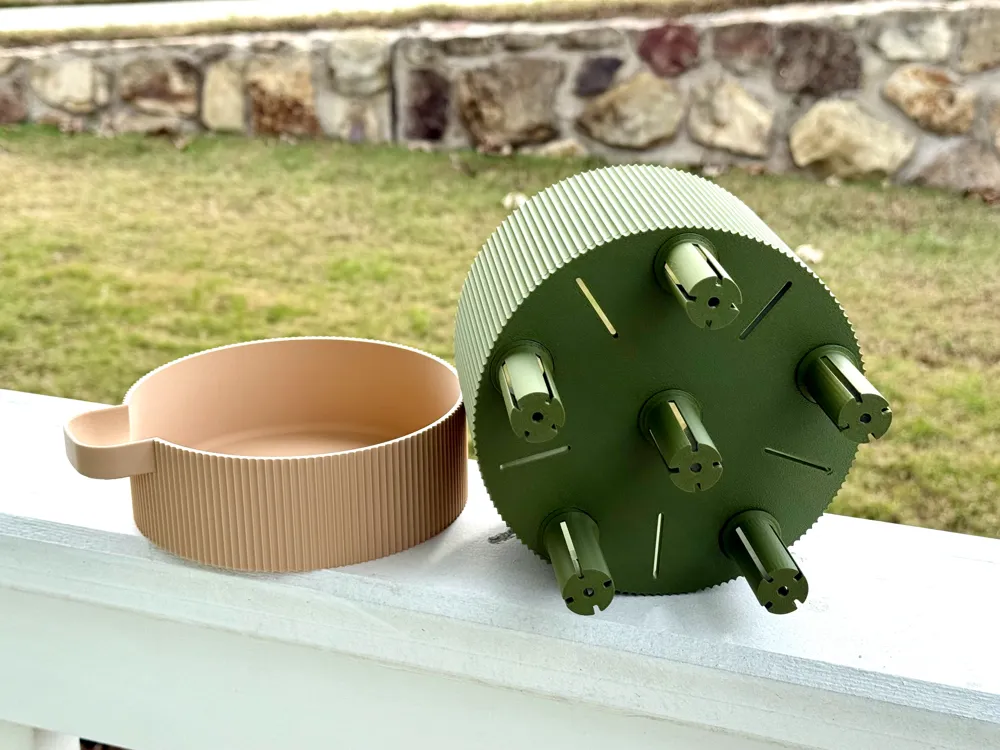
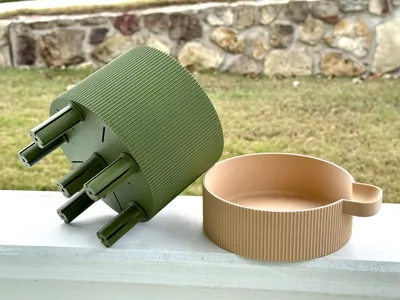
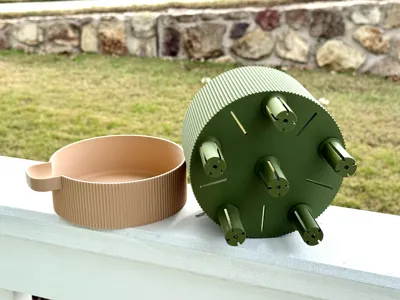
- Wicking Legs for Capillary Action
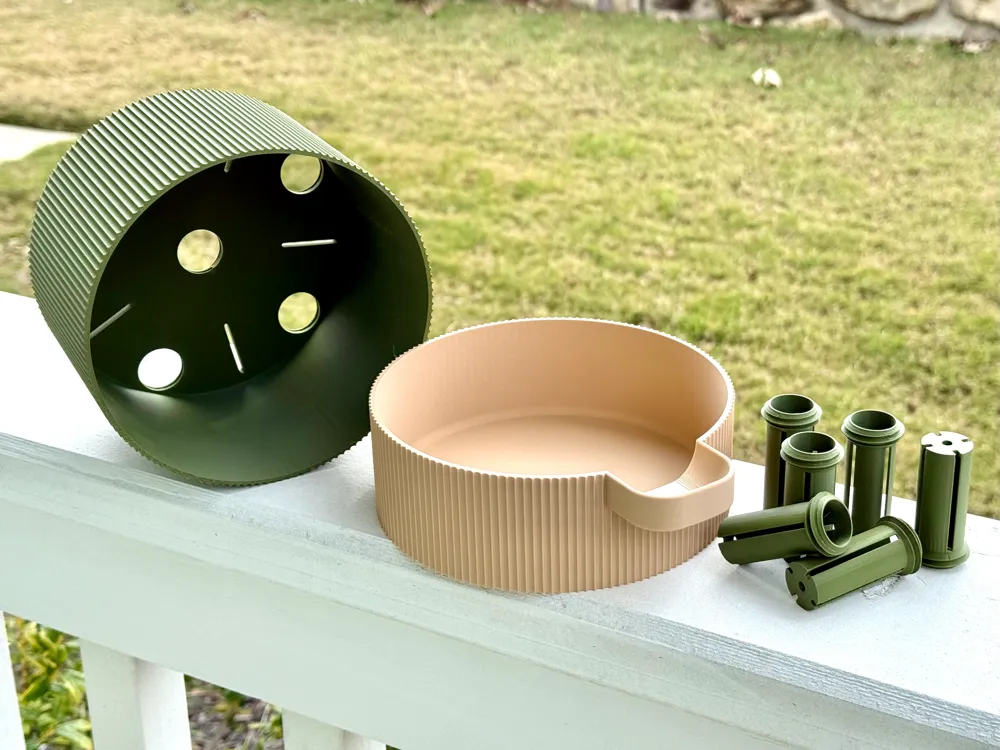
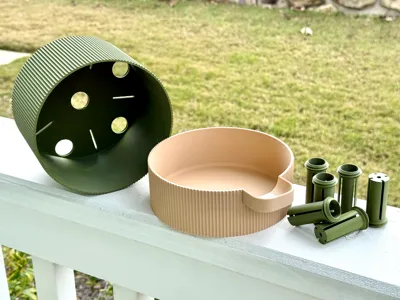
- Screw-In Legs for Easy Printing
- Drainage Holes to Prevent Pot Flooding
- Water Reservoir Tray with Water Intake
- Rounded Interiors for Easier Cleaning (Tray and Planter)
Assembly
- Print both plates (I have them separated by color, but you may choose to re-arrange them)
- Gently screw the planter legs into the bottom of the planter (do not overtighten)
- Place the plant pot onto the planter's watering tray
- Add your potting mix to the pot and fill the legs with soil (this is what allows the legs to suck up the water from the tray)
- Add your plant(s) and enjoy!
My Print
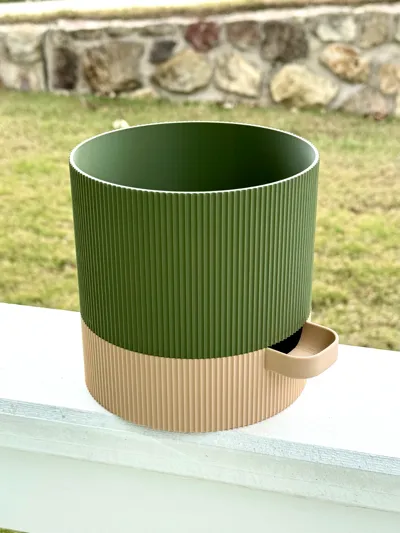
In the model photos, I printed my planter out of Bambu Lab's Matte PLA in:
Conclusion
I'm still relatively new to the 3D printing hobby, but I like to think that I'm an aspiring designer by night (outside of my day job). So, I would love to see you bring this design to life through your own prints and photos! And, if you really love this print, you can boost me to keep my design dreams alive! Cheers!
Boost Me (for free)
I'd be honored if you boosted me to help keep my design dreams alive, allowing me to continue designing products!
License

You shall not share, sub-license, sell, rent, host, transfer, or distribute in any way the digital or 3D printed versions of this object, nor any other derivative work of this object in its digital or physical format (including - but not limited to - remixes of this object, and hosting on other digital platforms). The objects may not be used without permission in any way whatsoever in which you charge money, or collect fees.


Comment & Rating (624)