
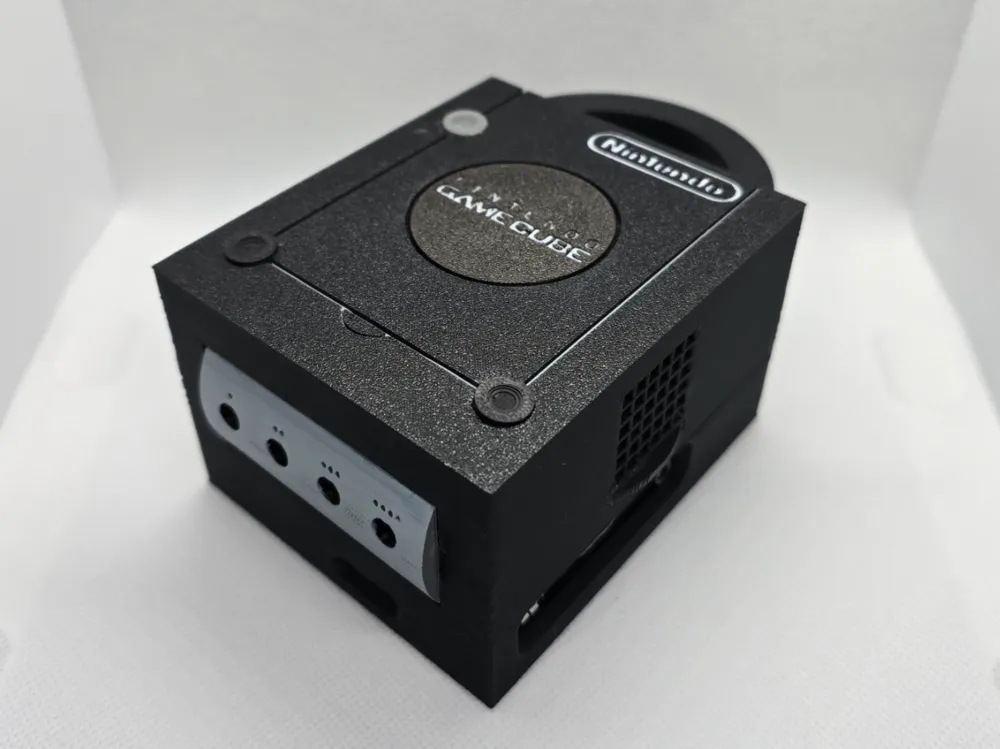
Pintendo GameCube - Pi Case!


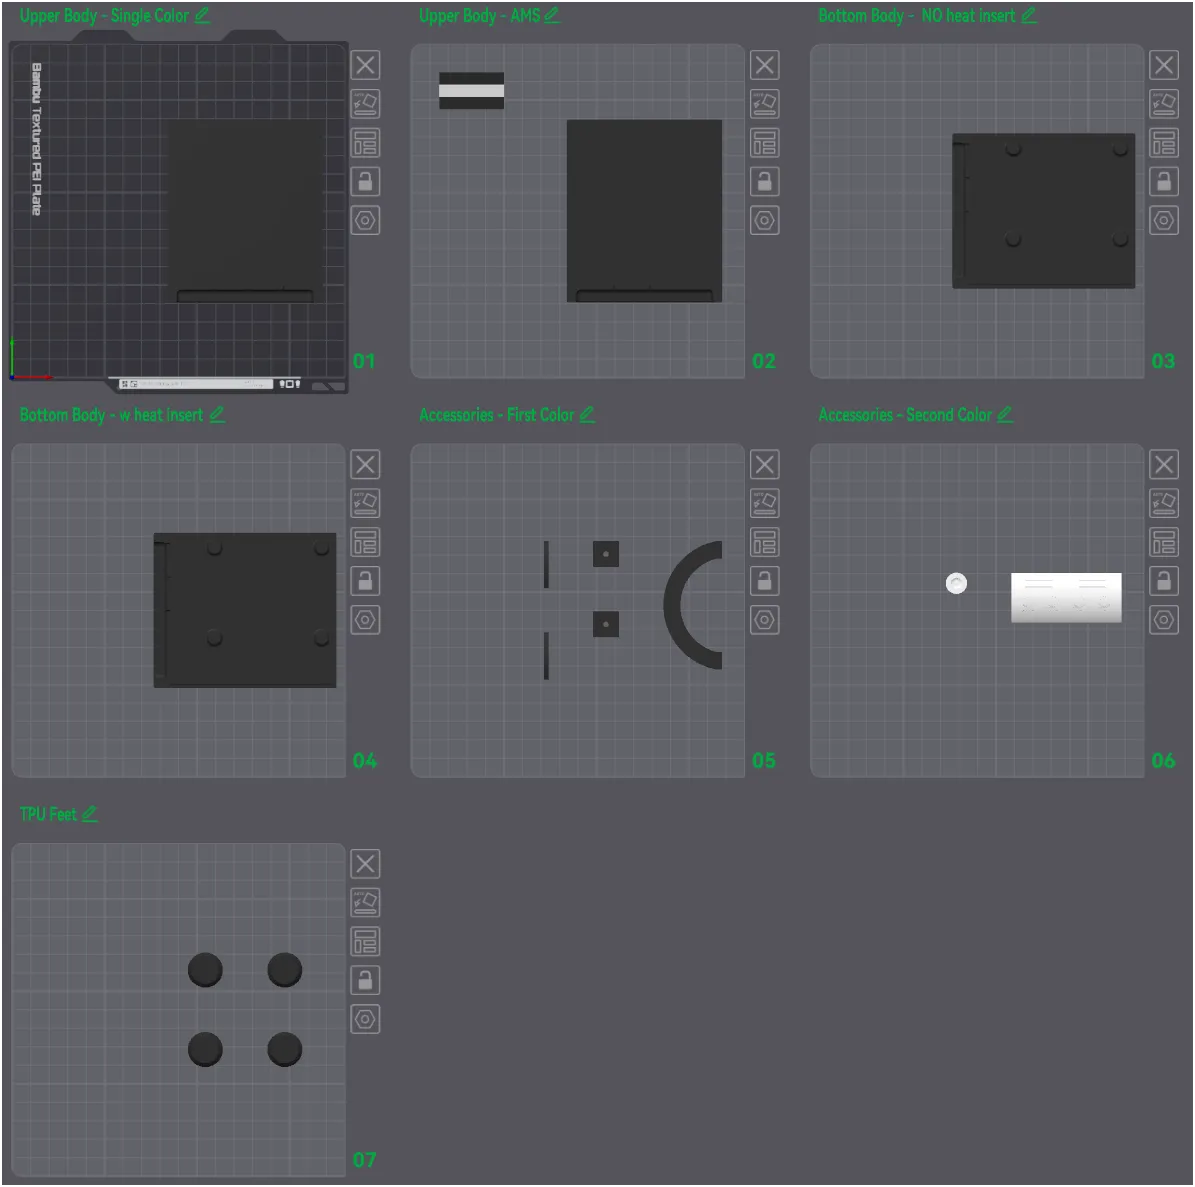
Print Profile(3)


Bill of Materials





Description
Boost Me (for free)
Want to see more designs? feel free to give me a boost, It helps me to create more designs and improve others!
Membership
Curious about my commercial license? Join my membership to get access to all my models!
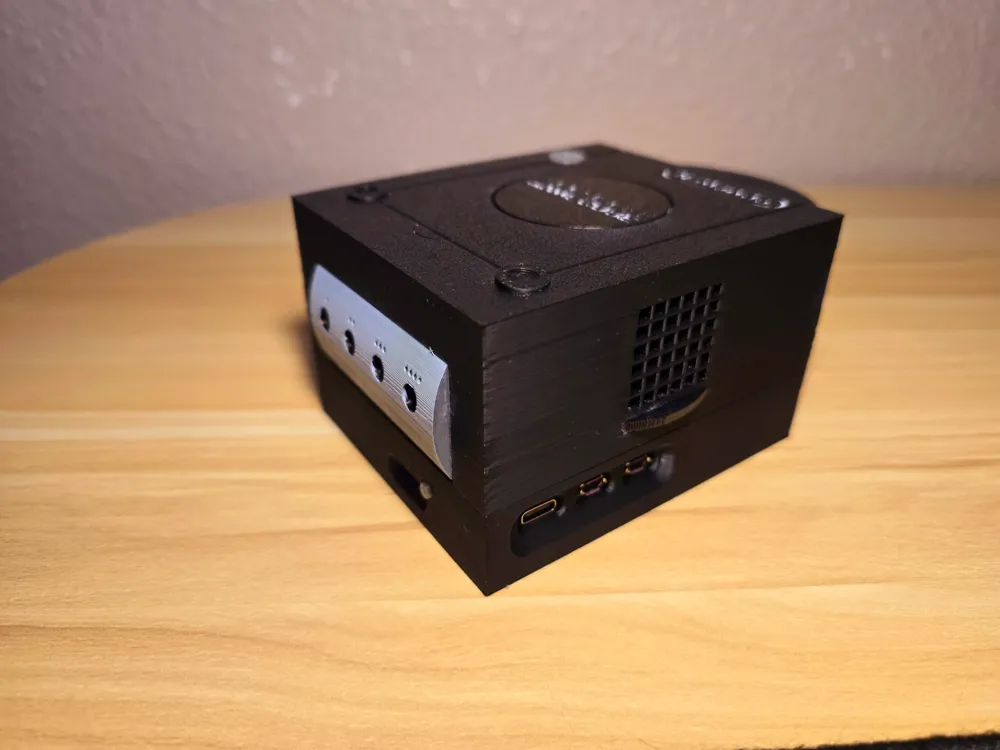
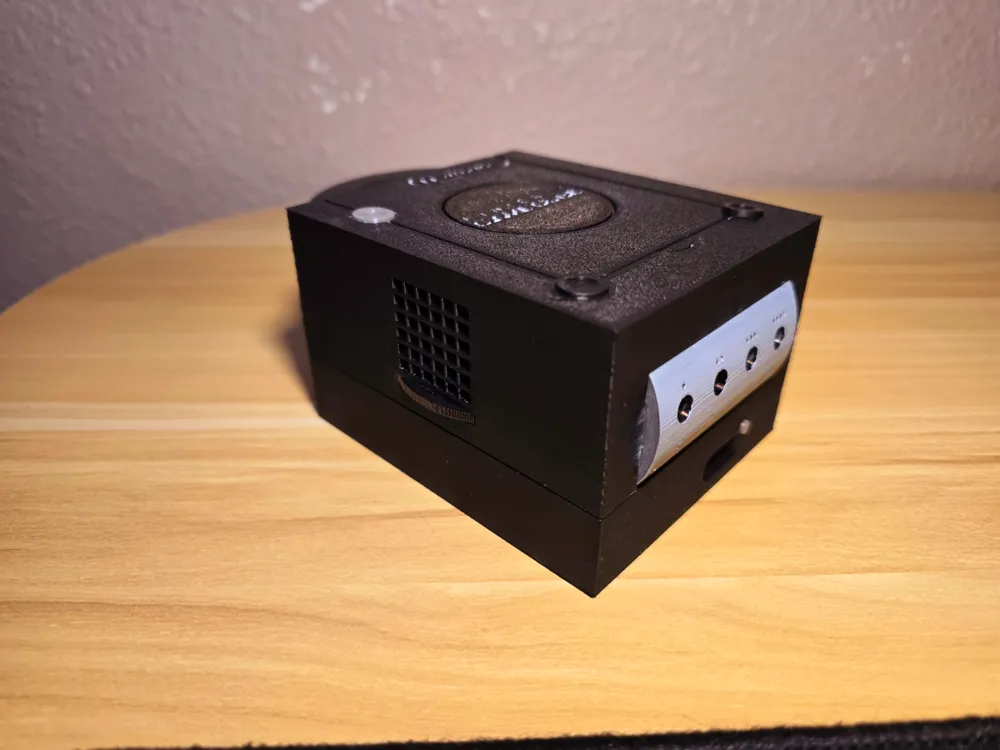
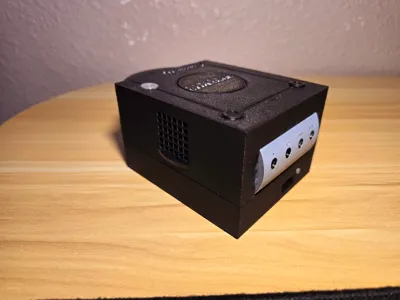
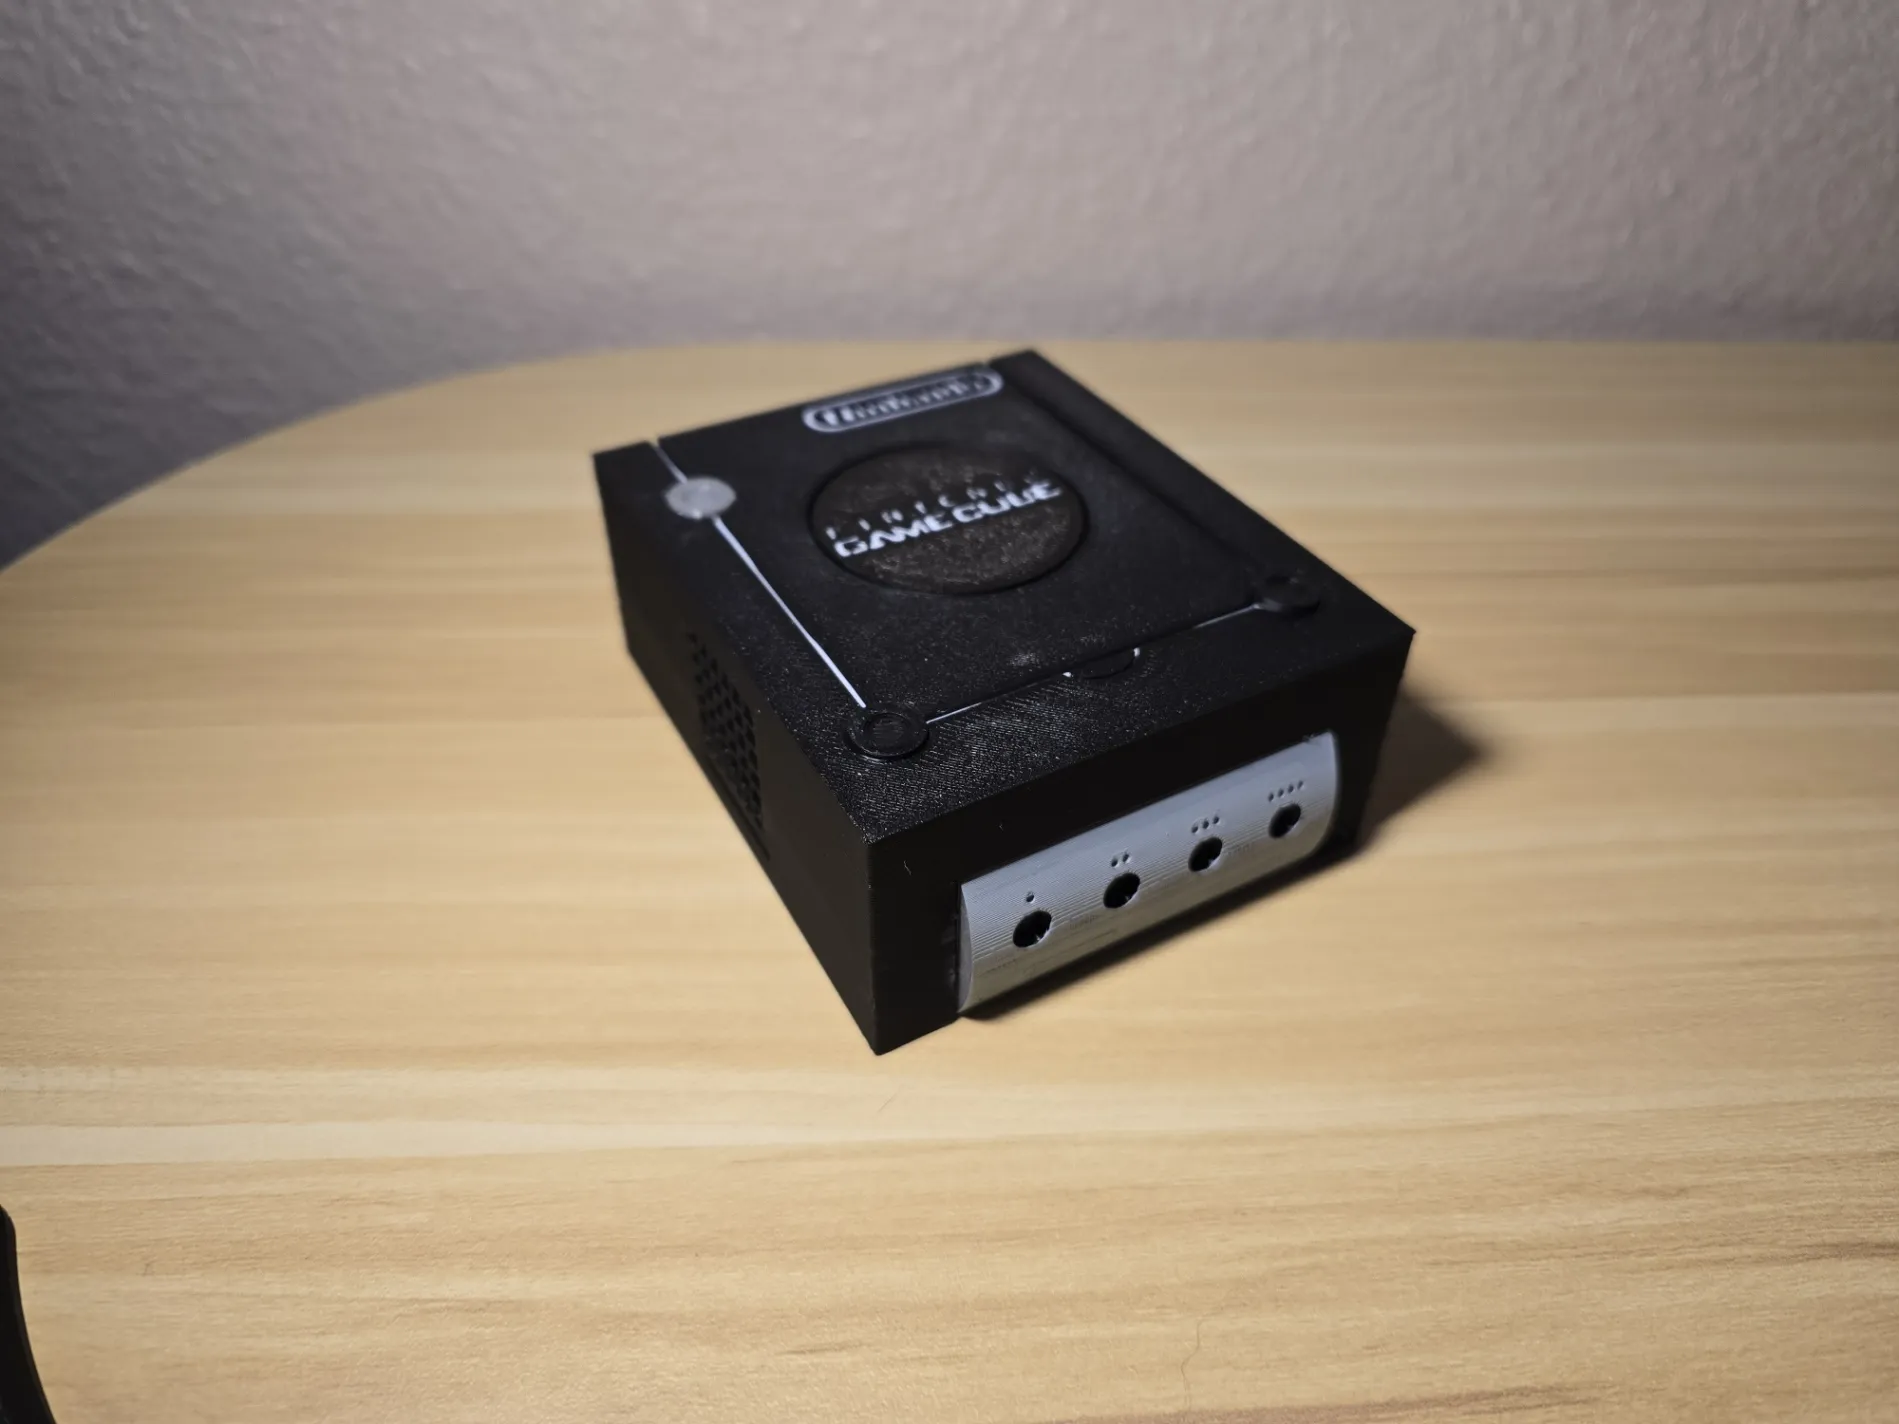
Now bringing to MakerWorld this Nintendo GameCube-inspired Raspberry Pi Case!
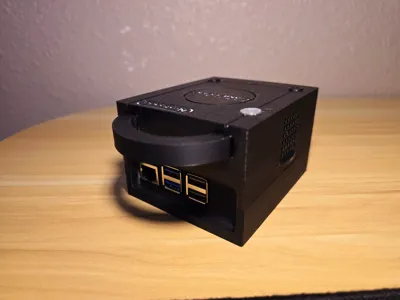
This Raspberry Pi case draws inspiration from the beloved Gamecube console and is compatible with Raspberry Pi models 3, 4, and 5! It has enough clearance to use an active air cooler, M.2 Board, and much more! Each print profile differs from the Pi model you are using. Whether you prefer to print it all in one color or take advantage of the AMS for multi-color prints, you'll find all the necessary options.
I also listed all the recommended filaments for this case, all these filaments closely match the colors of the most common GameCube consoles released.
Happy Printing!
----- Update 1/14/2025 -----
Separated each raspberry pi into its own print profile to make things easier and more convenient.
Improved fitment on Pi 3 and 4 with Pi 4 on the correct port orientation.
Hardware Needed
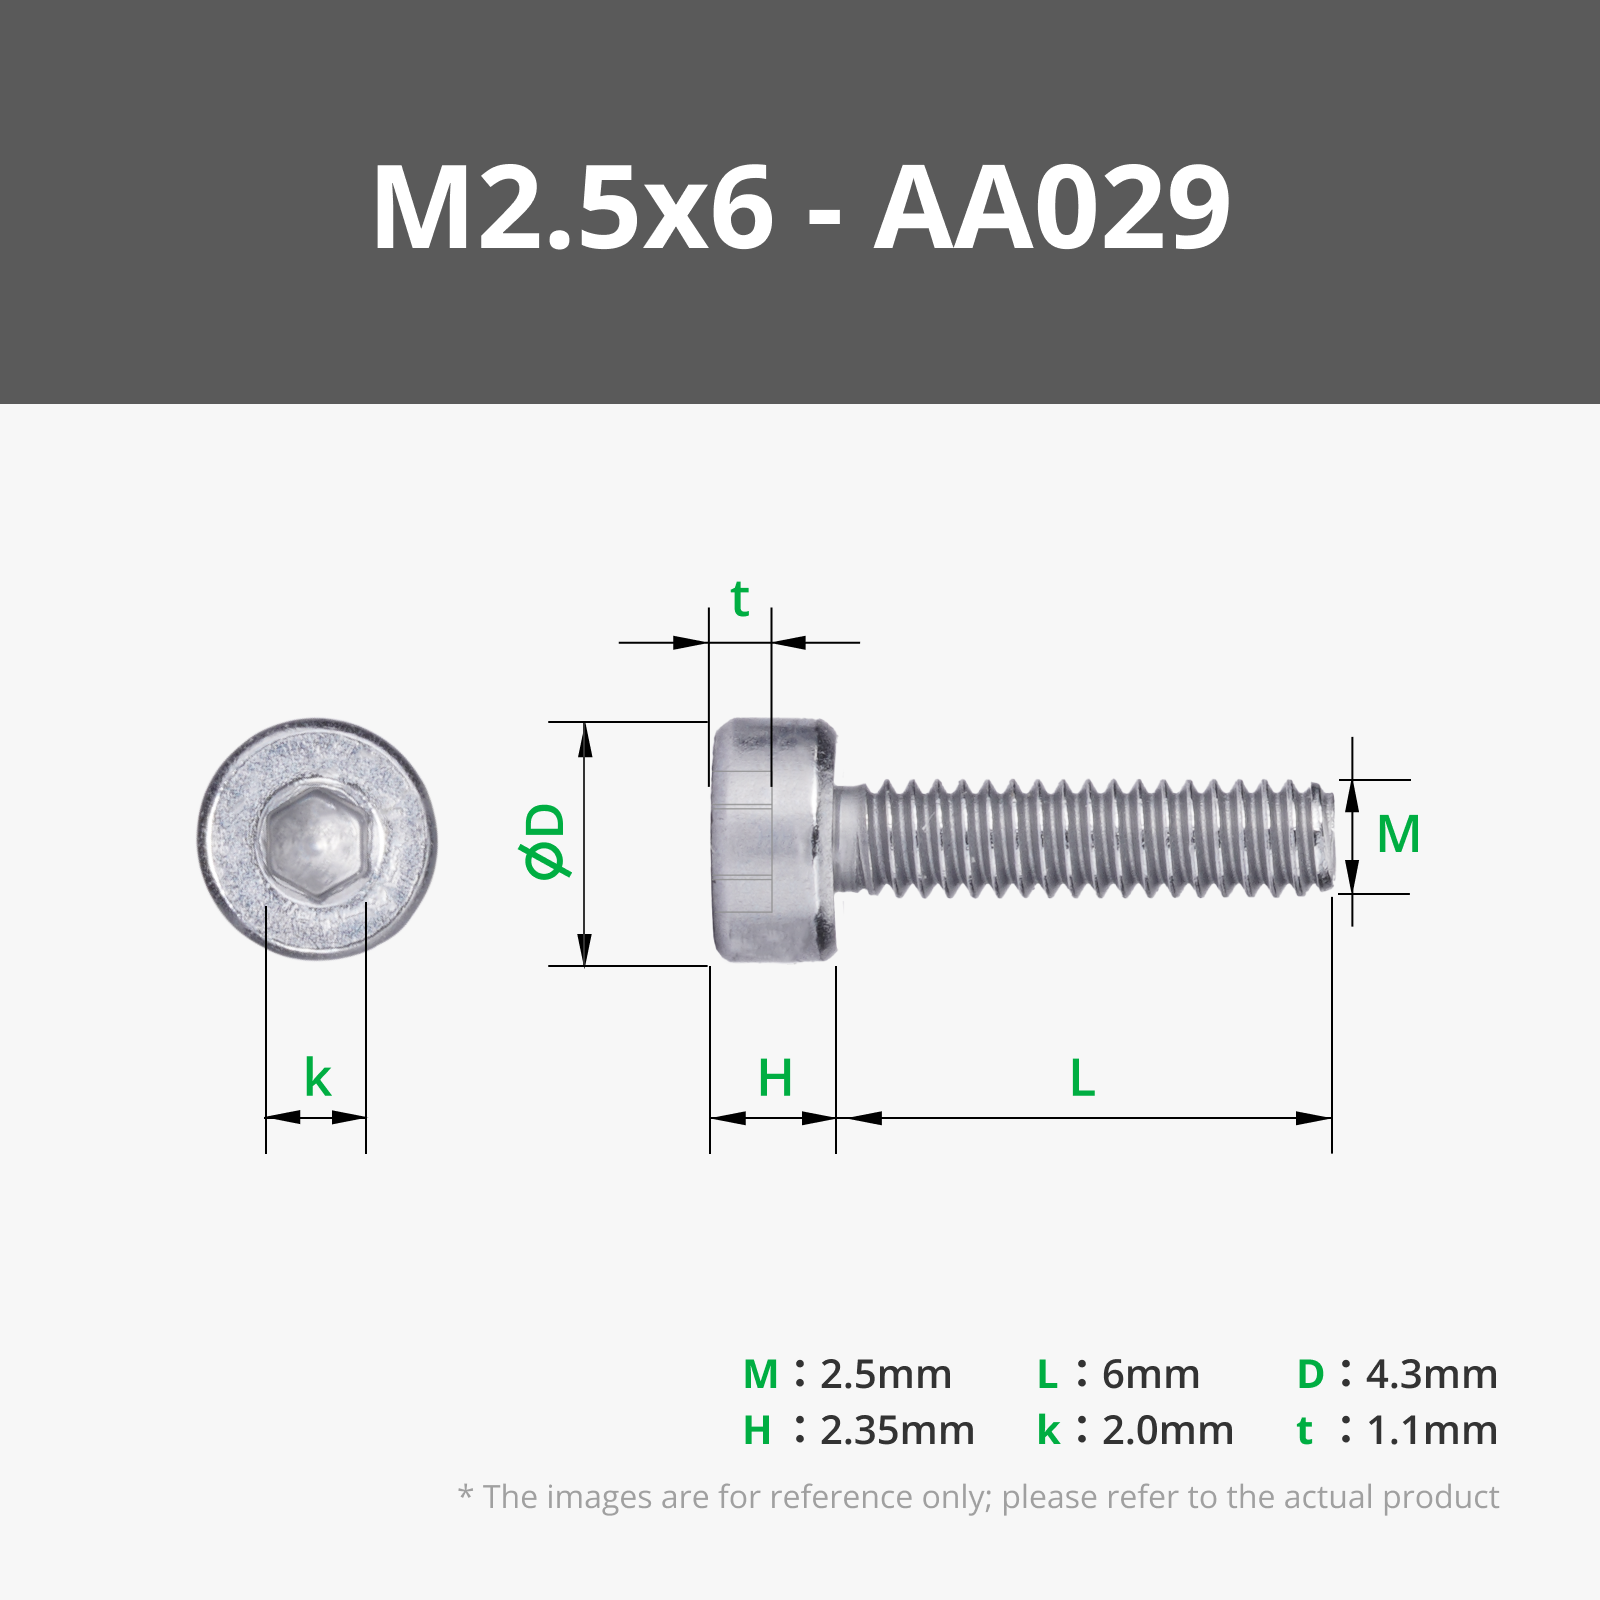
- Qty 4 - M2.5X6 Screws
- Qty 4 - M2.5 heat inserts (Optional)
- Qty 2 - 30mm Fan (Optional - See the last step) These come with m2.5 screws, make sure they're at least 8 mm long (longer than that can protrude and pierce the outside wall.
Instructions
Add the power botton from the inside. Note: If you printed the case for the Raspberry Pi 3 or 4 you can skip this step as they do not have a dedicated power button and the print for these do not include it
(Optional if you printed the bottom section for heat inserts) Press in the Qty 4 - M2.5 Heat inserts | 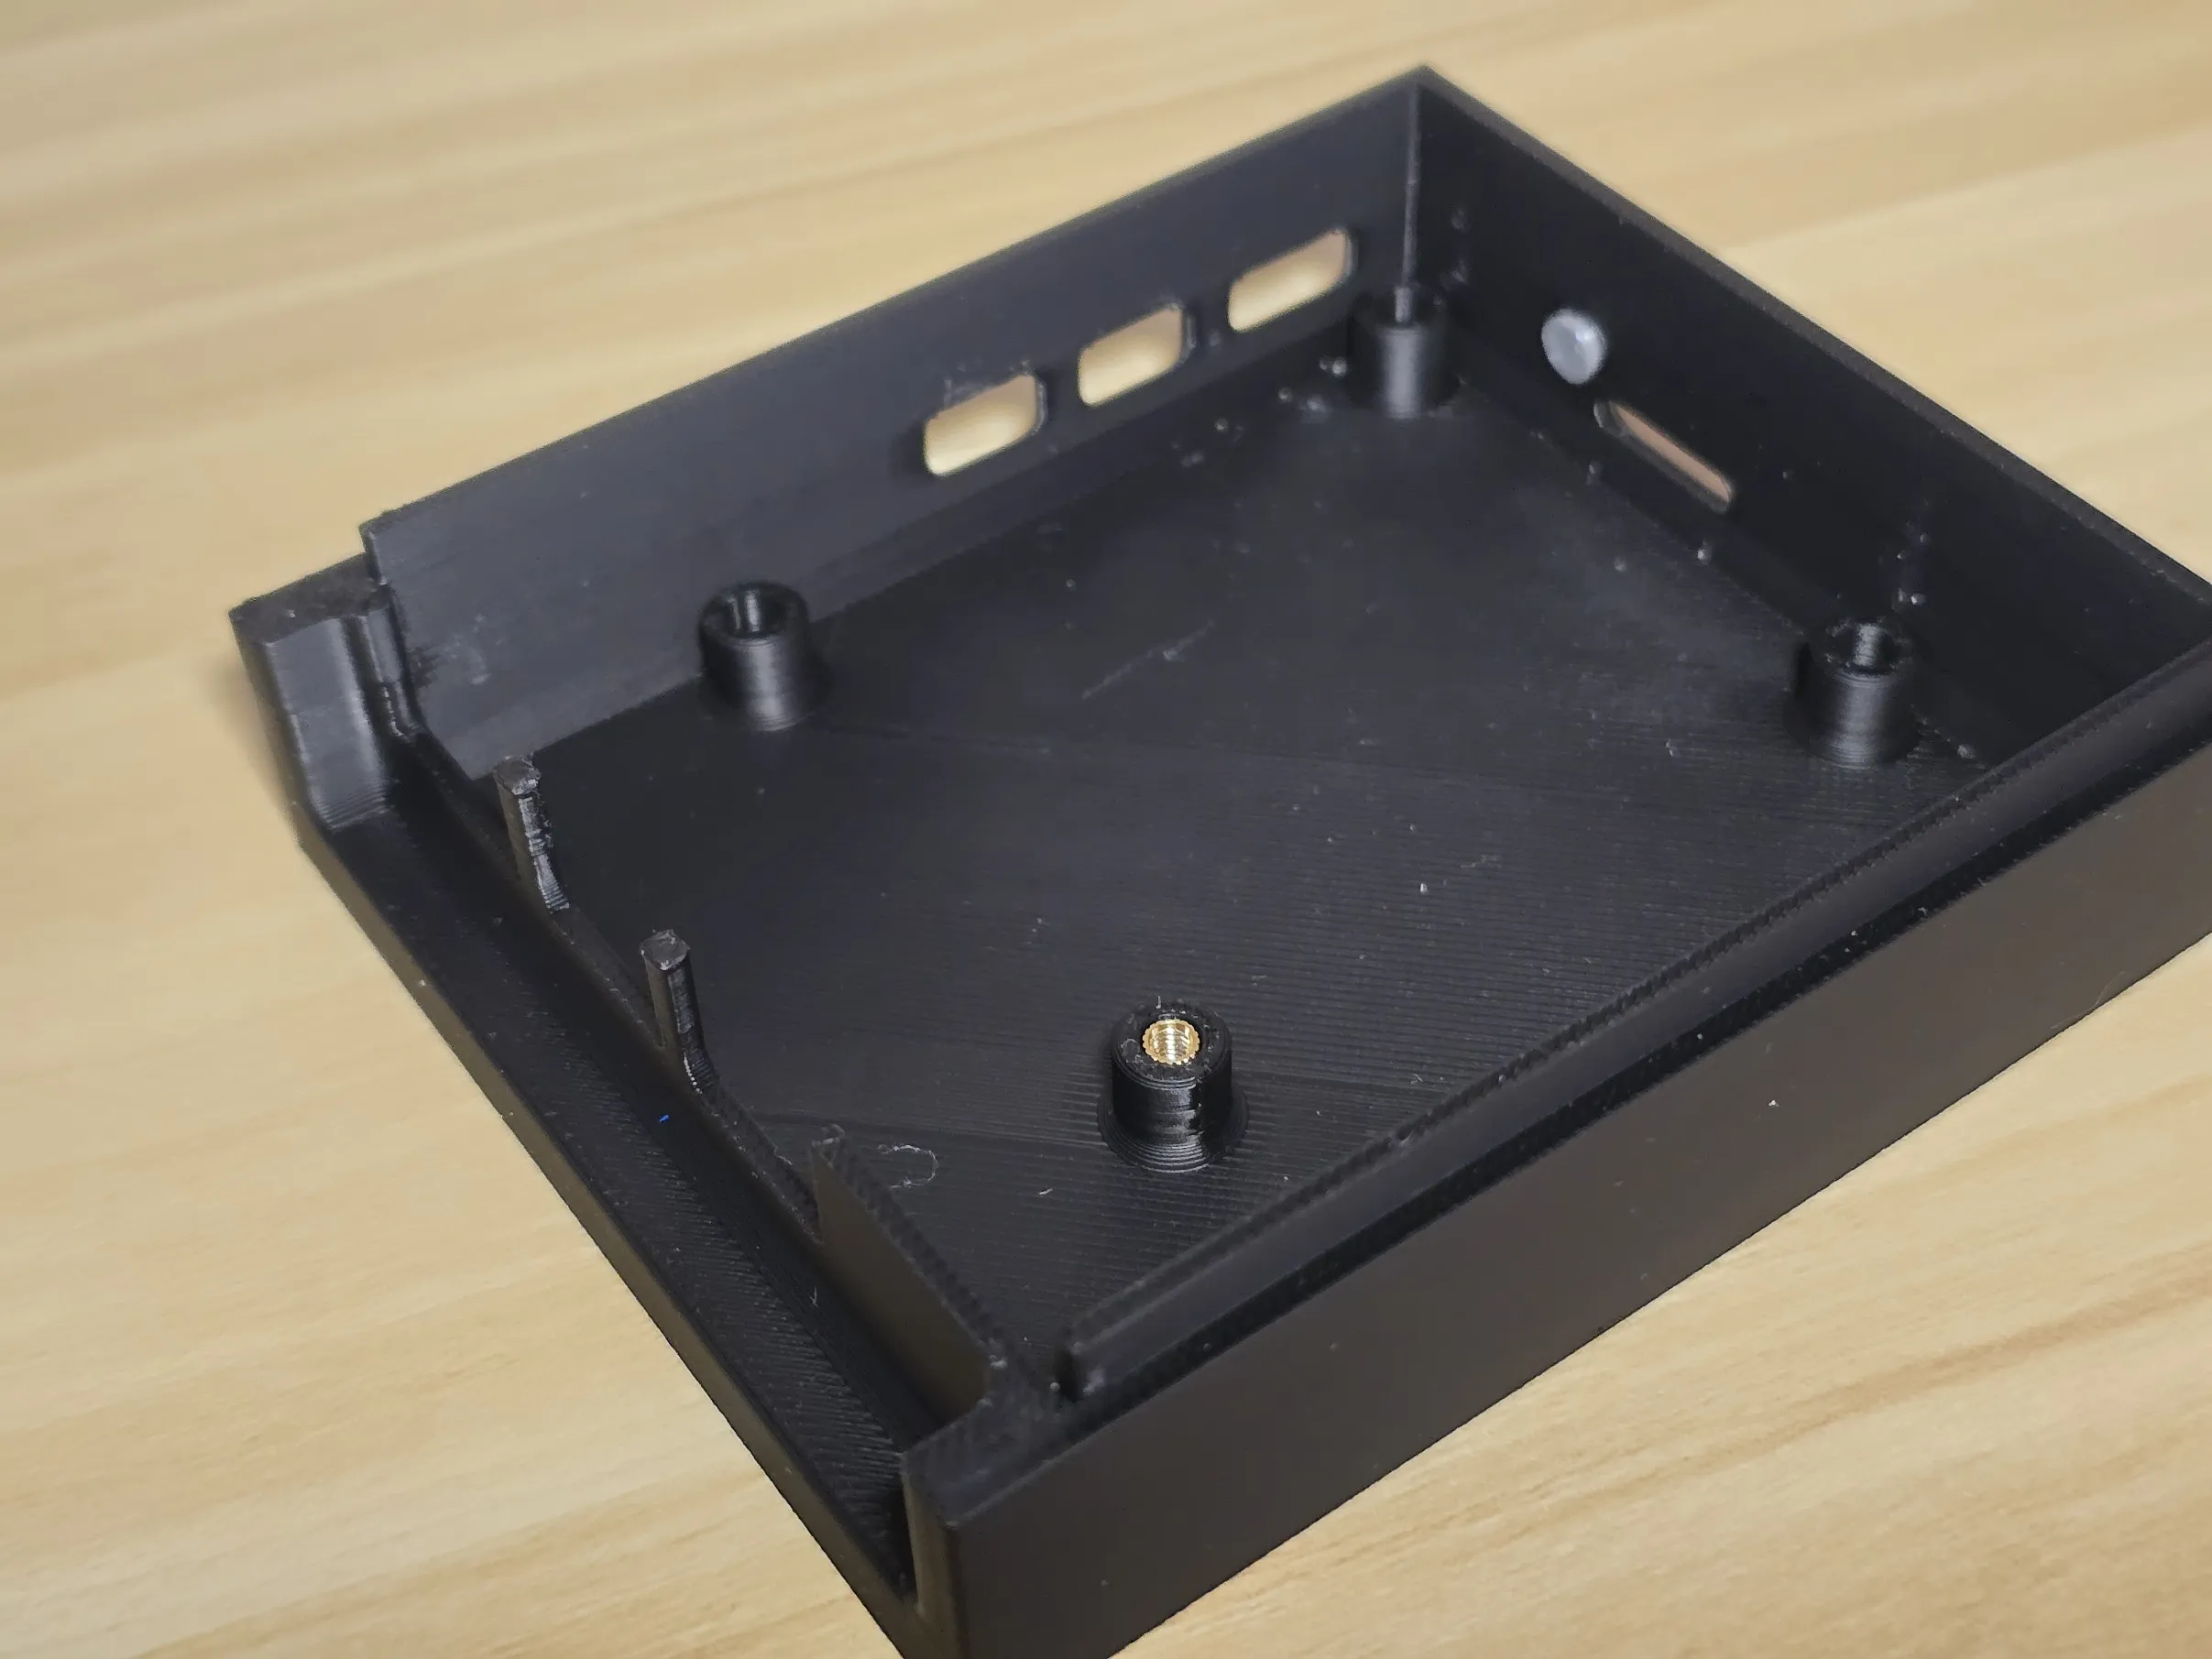 |
Slide in the Raspberry Pi and ensure the power button is parallel to the printed button. The second image shows the correct alignment of the Pi, now you can bolt in the Pi to the case. | 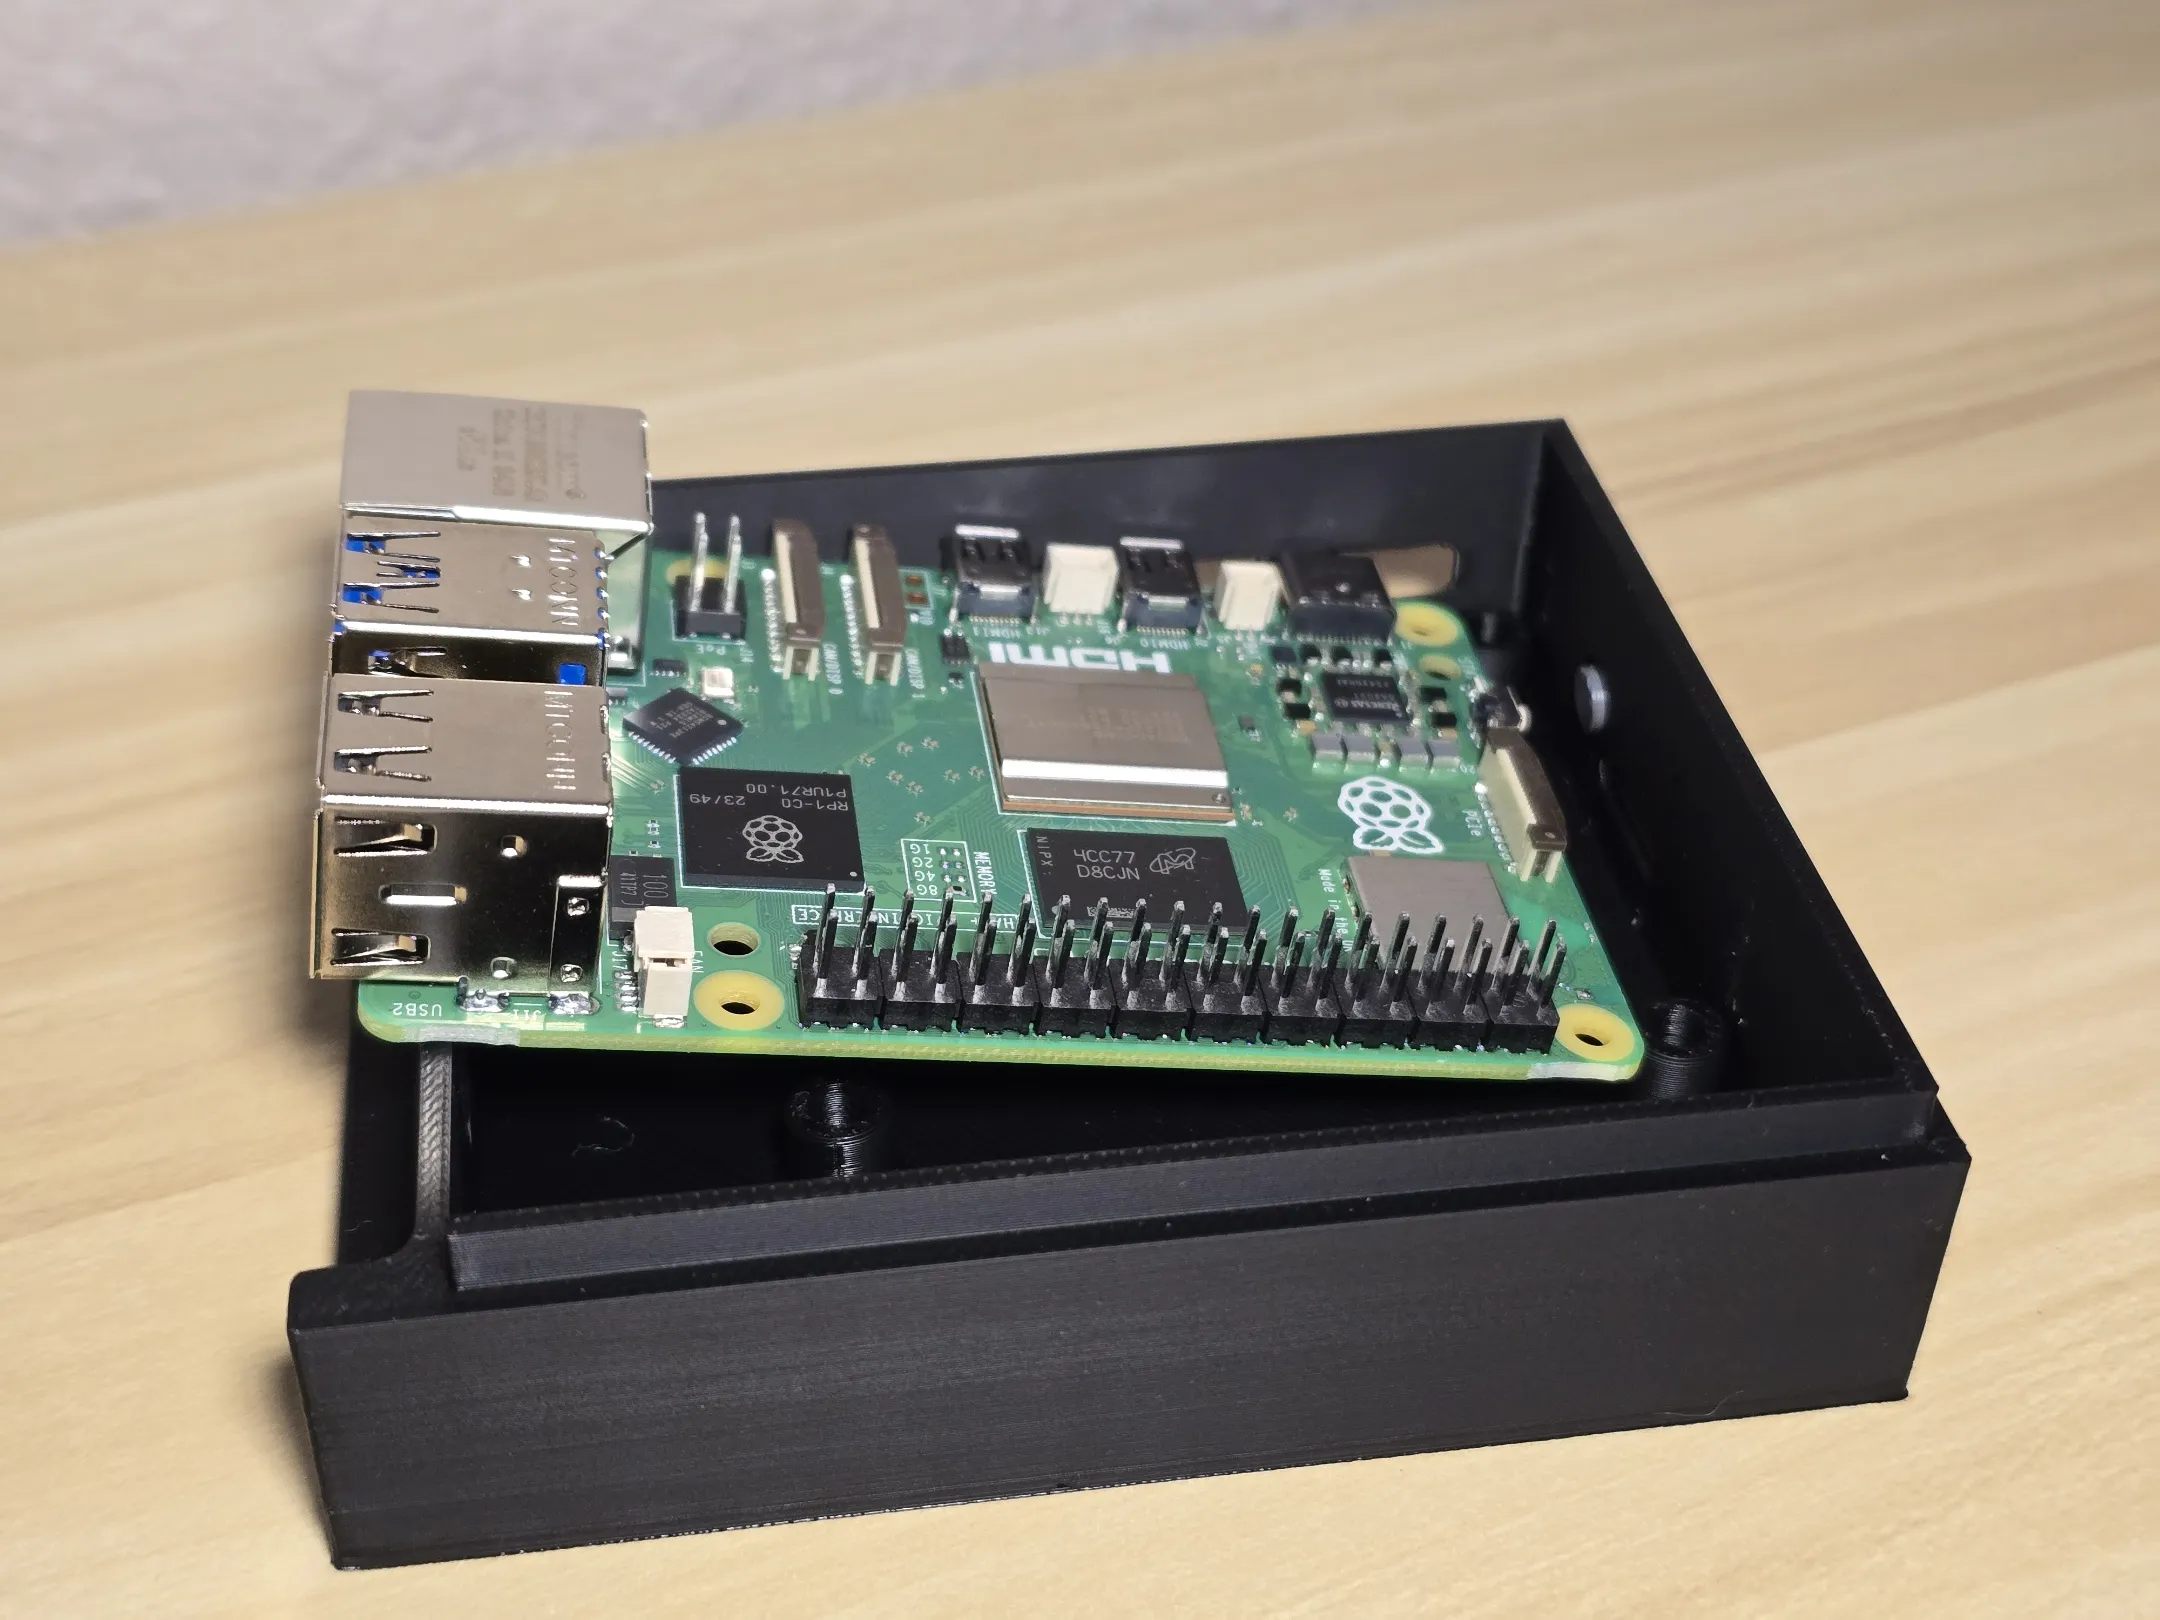 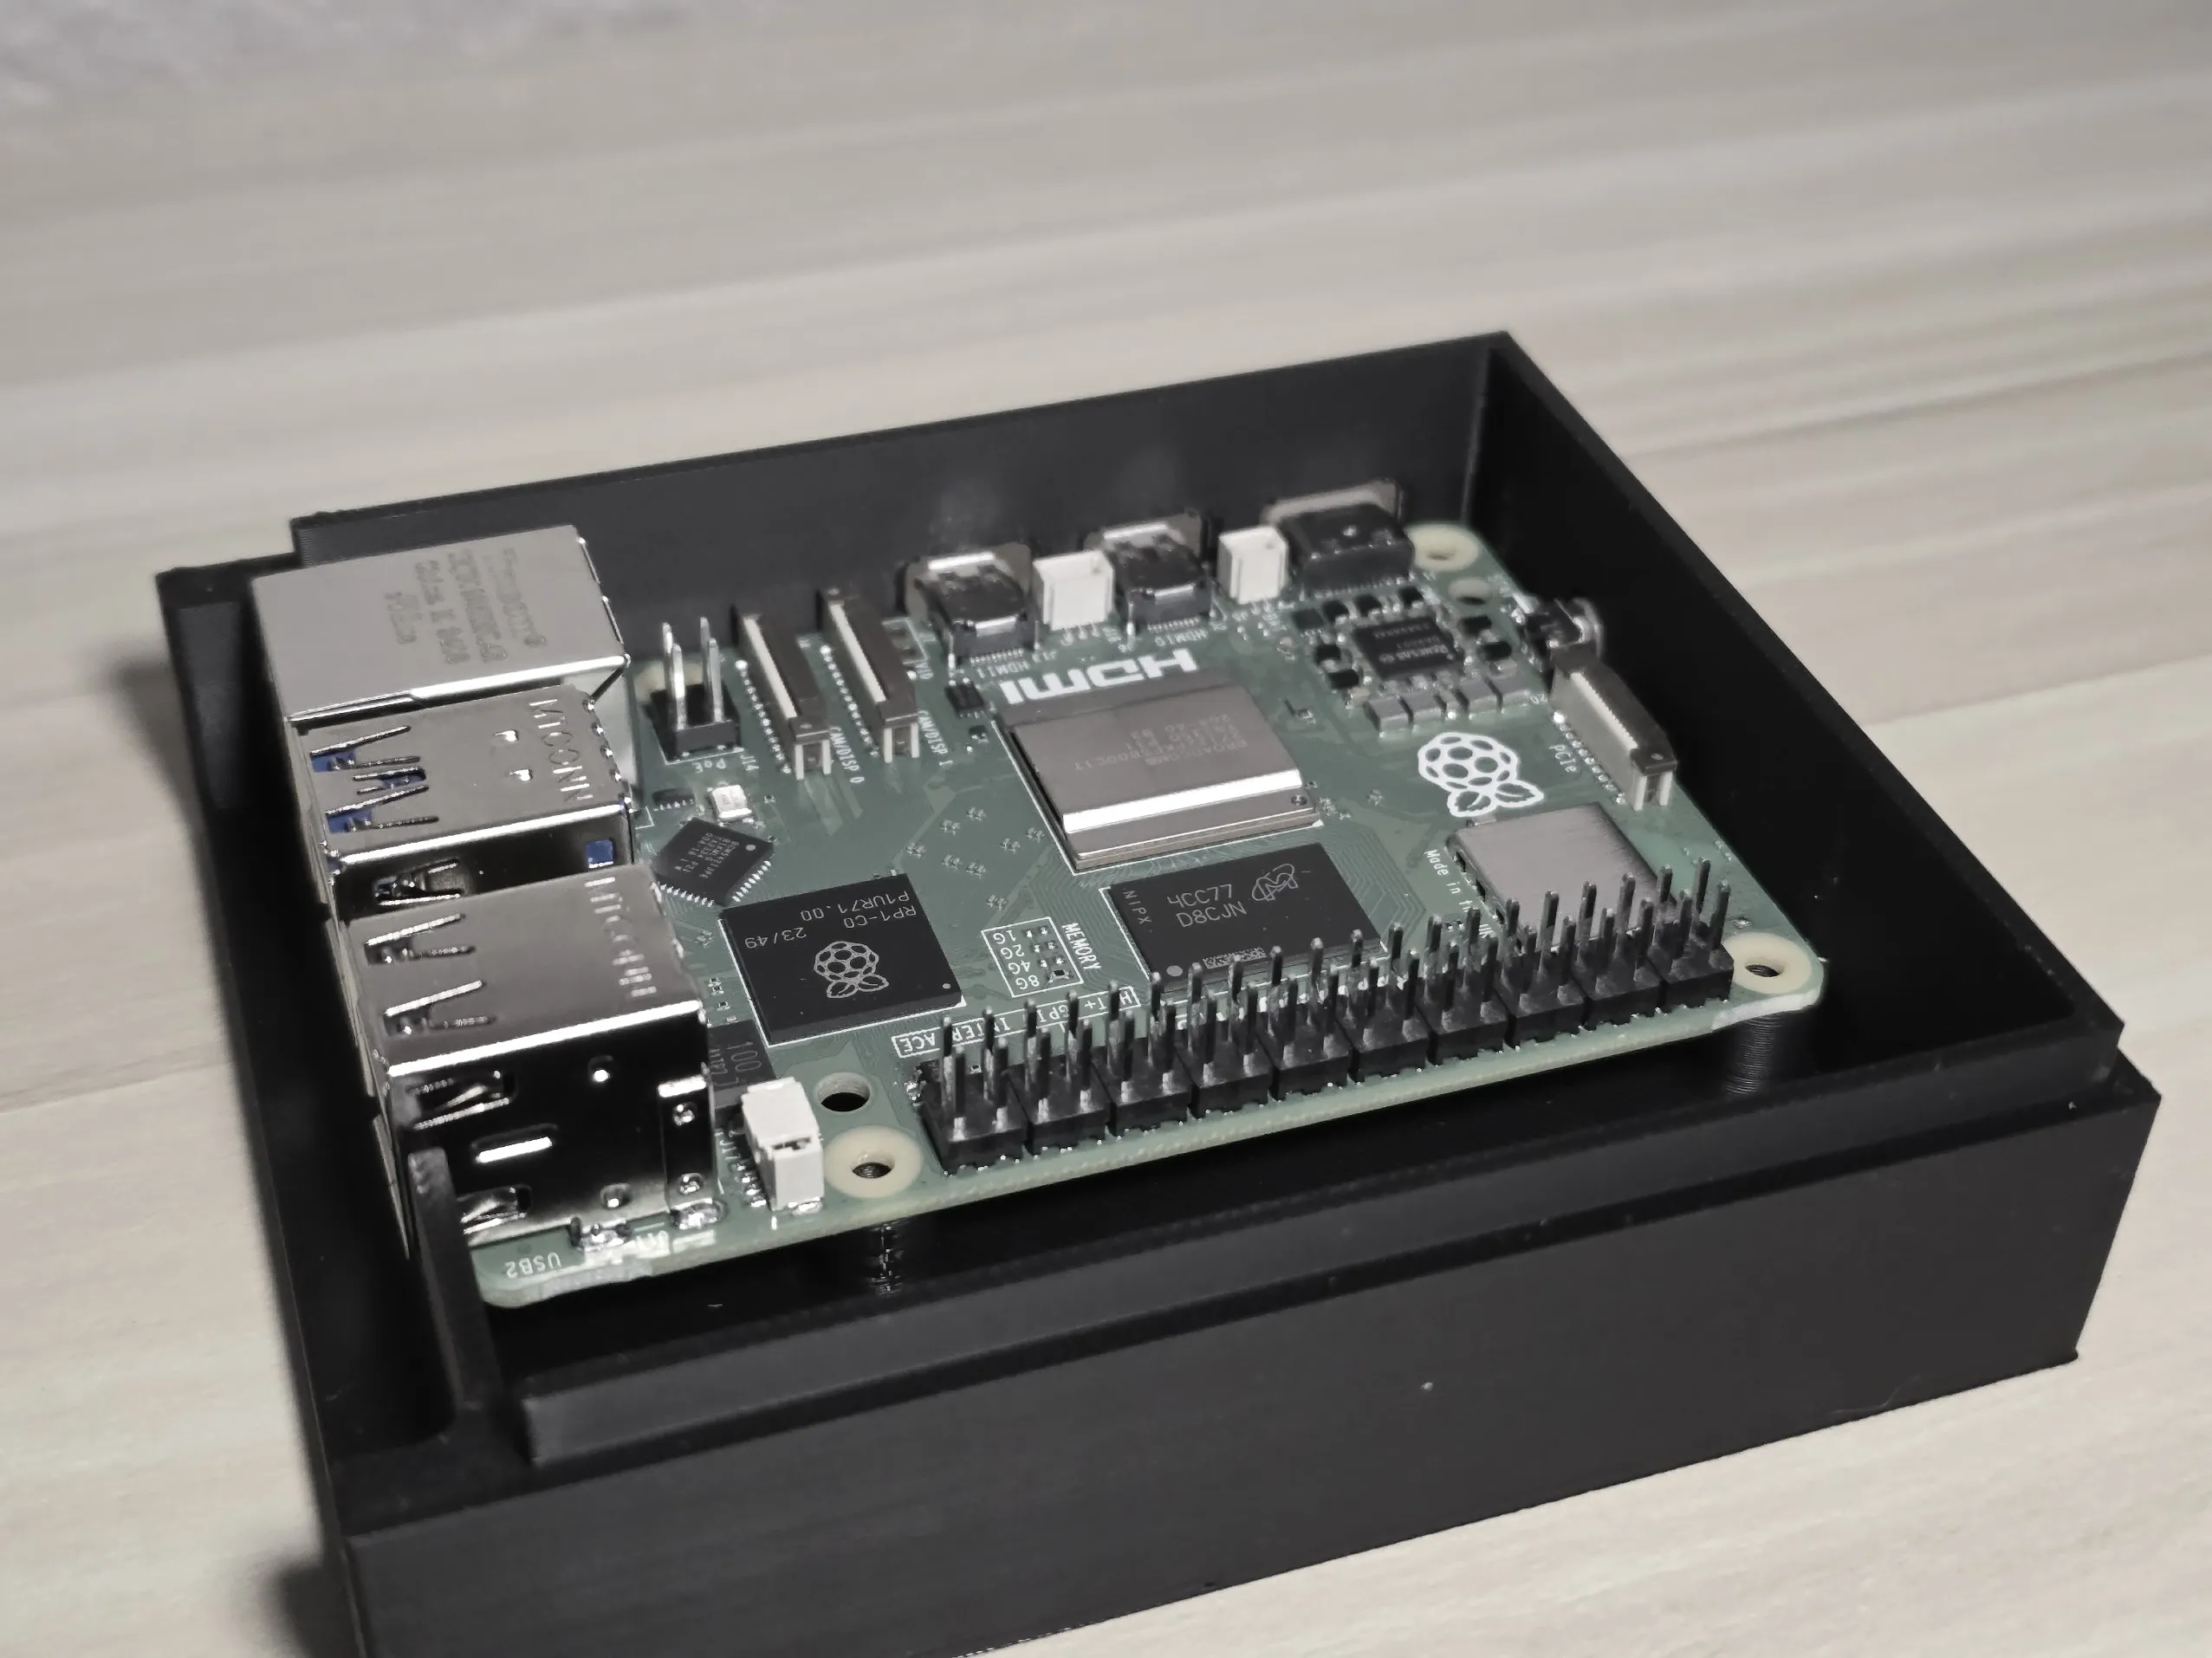 |
Glue in the Grey power botton on the top of the case.
Glue in the front controller port plate. |
 |
| Glue the side wedges in. | 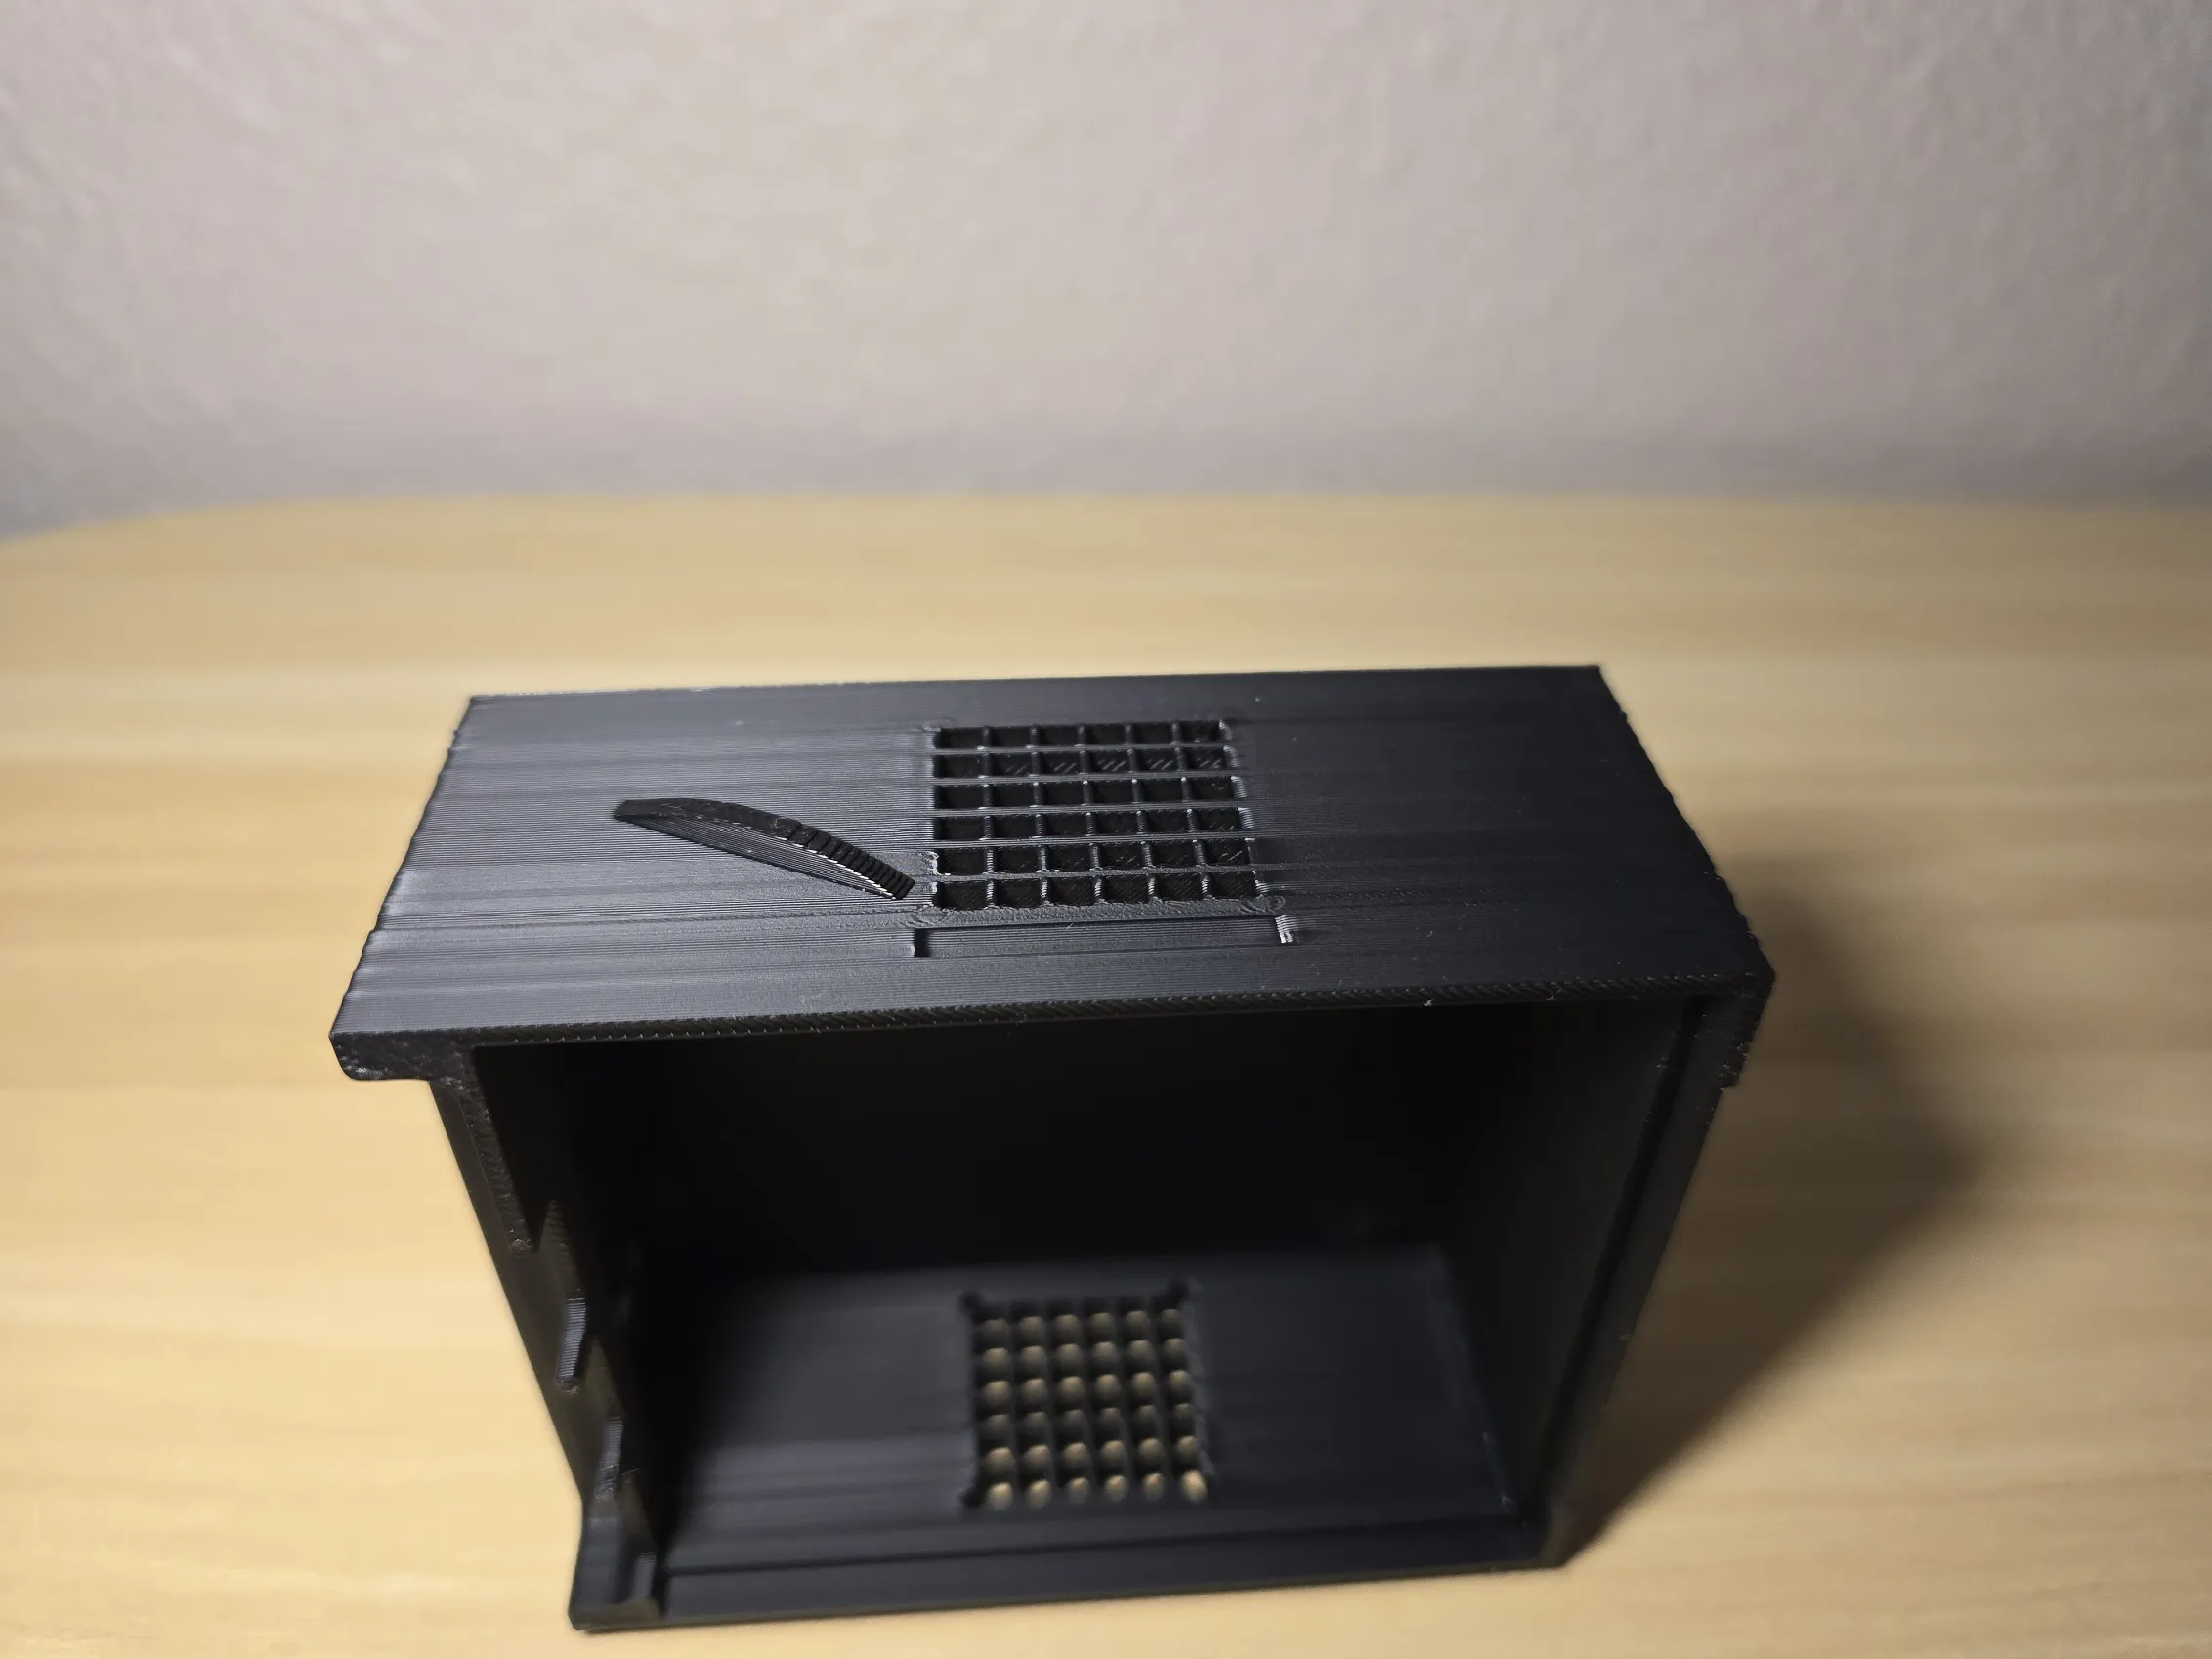 |
| For this last step, you have two choices: you can either insert the handle and use an M3 screw to bolt it in place to ensure the handle does not come out. Or you can insert the handle as deep as you can and add glue to ensure it stays in place. Whichever you choose, this is how it should look when you are done. | 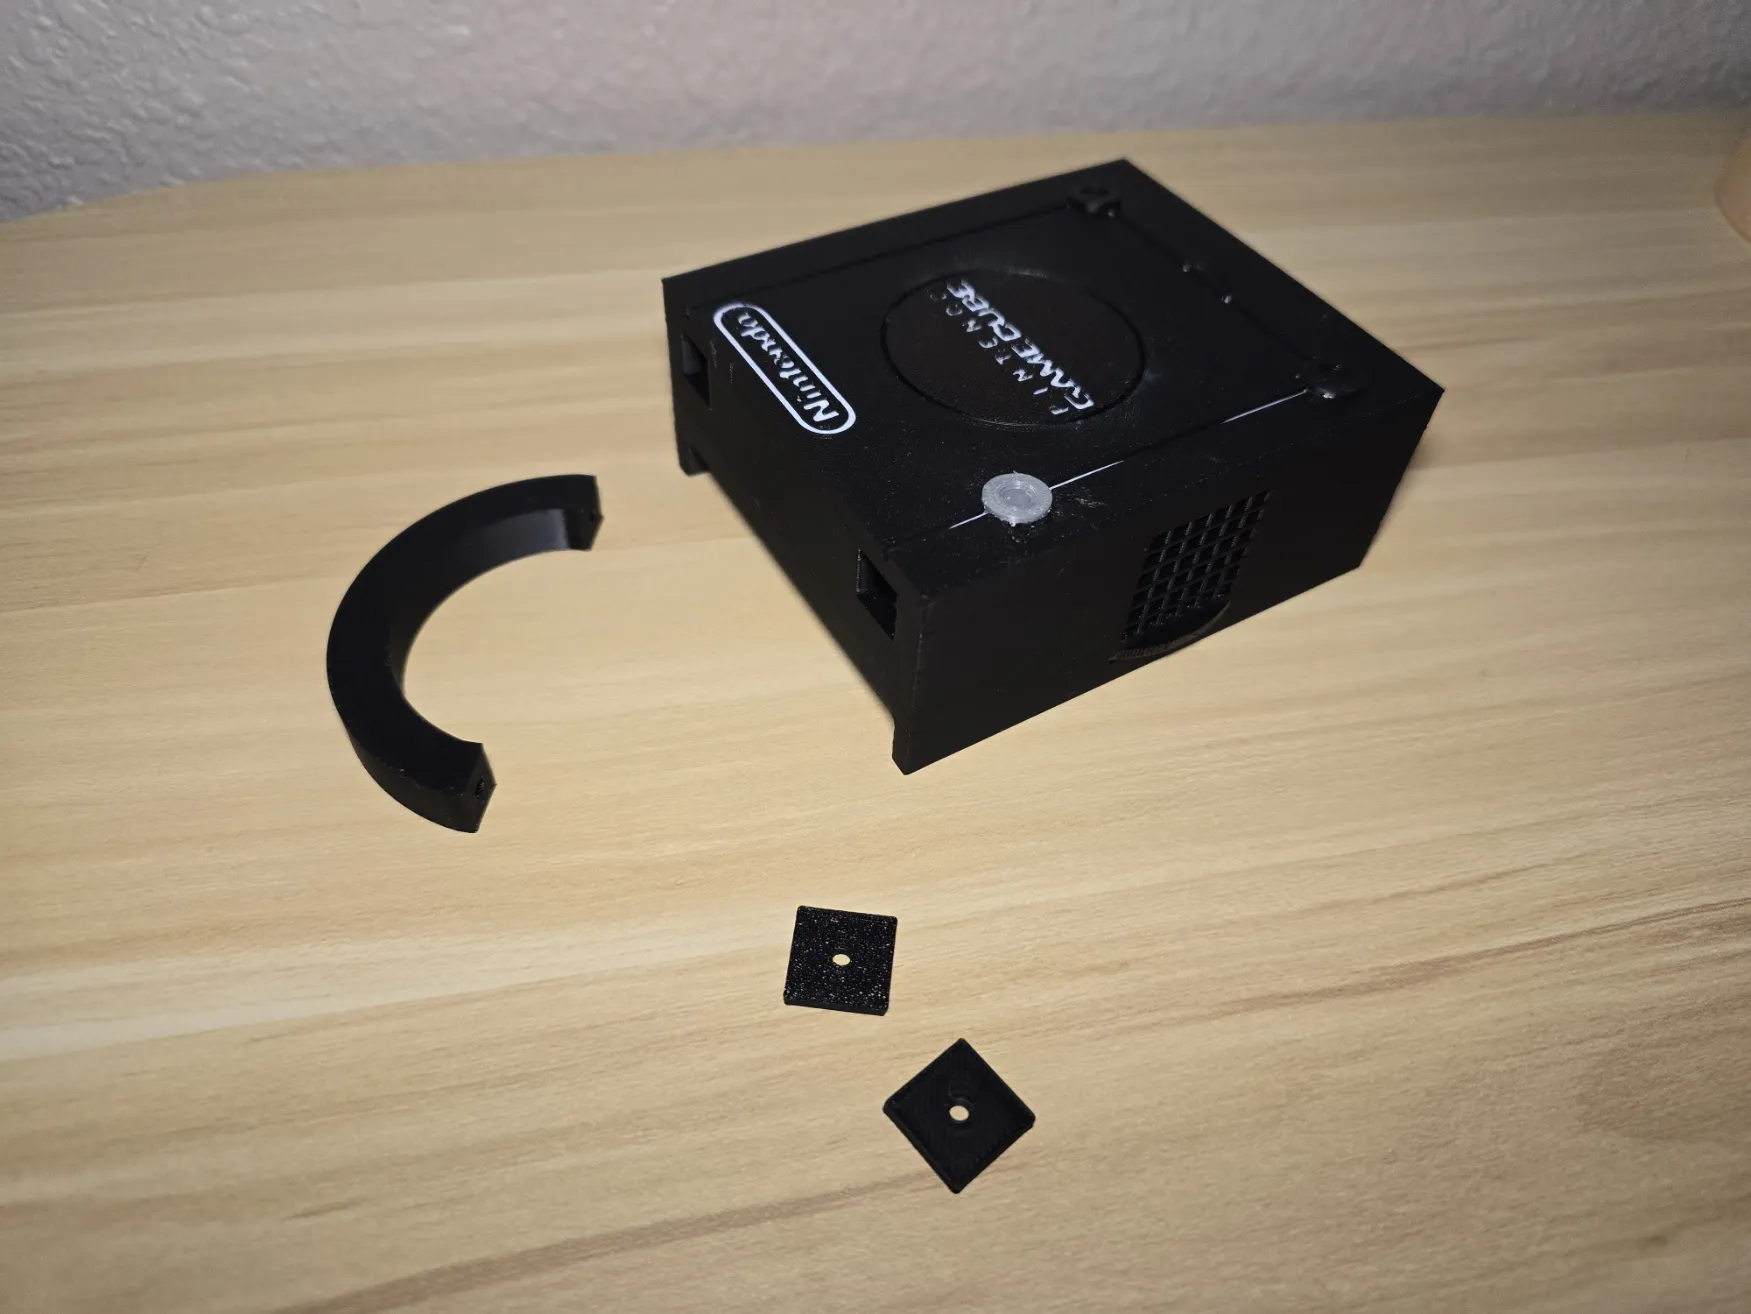 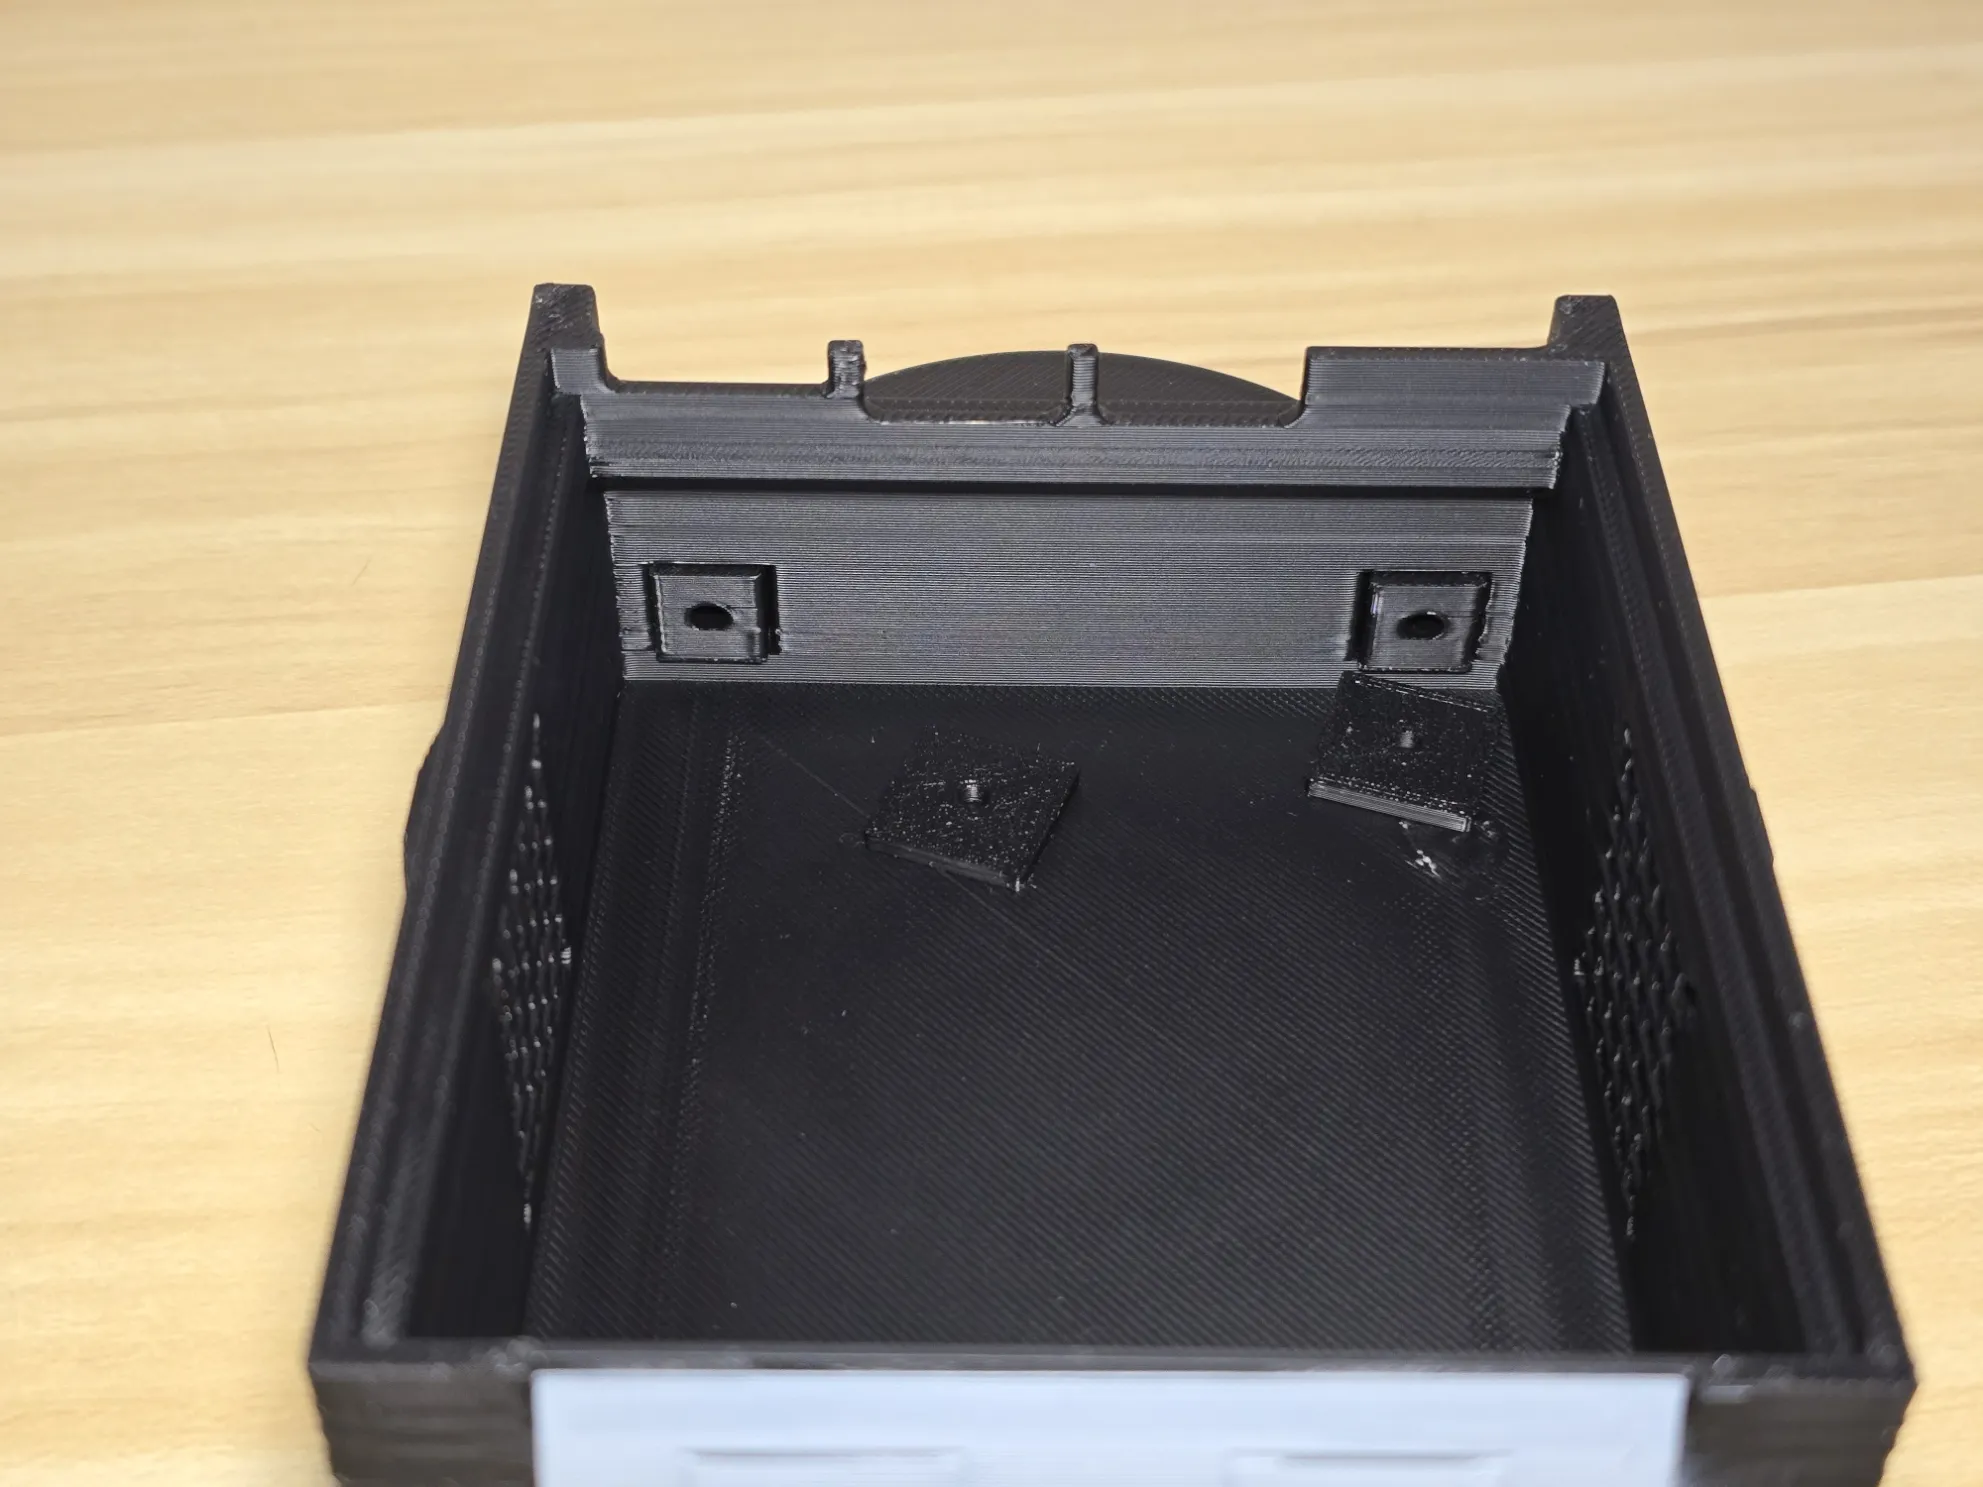 |
The side vents were designed to use a 30mm fan on each side (inlet and outlet). These are completely optional; however, they help circulate airflow. .
It utilizes the screws that came with the fan. If your fan didn't come with screws, Use M2.5x8 mm long (max) or M2.5x6 mm long (recommended)
Also if you are using 2 fans, consider using one as inlet and the other as outlet. This will help maximize airflow (see your fan's airflow orientation) | 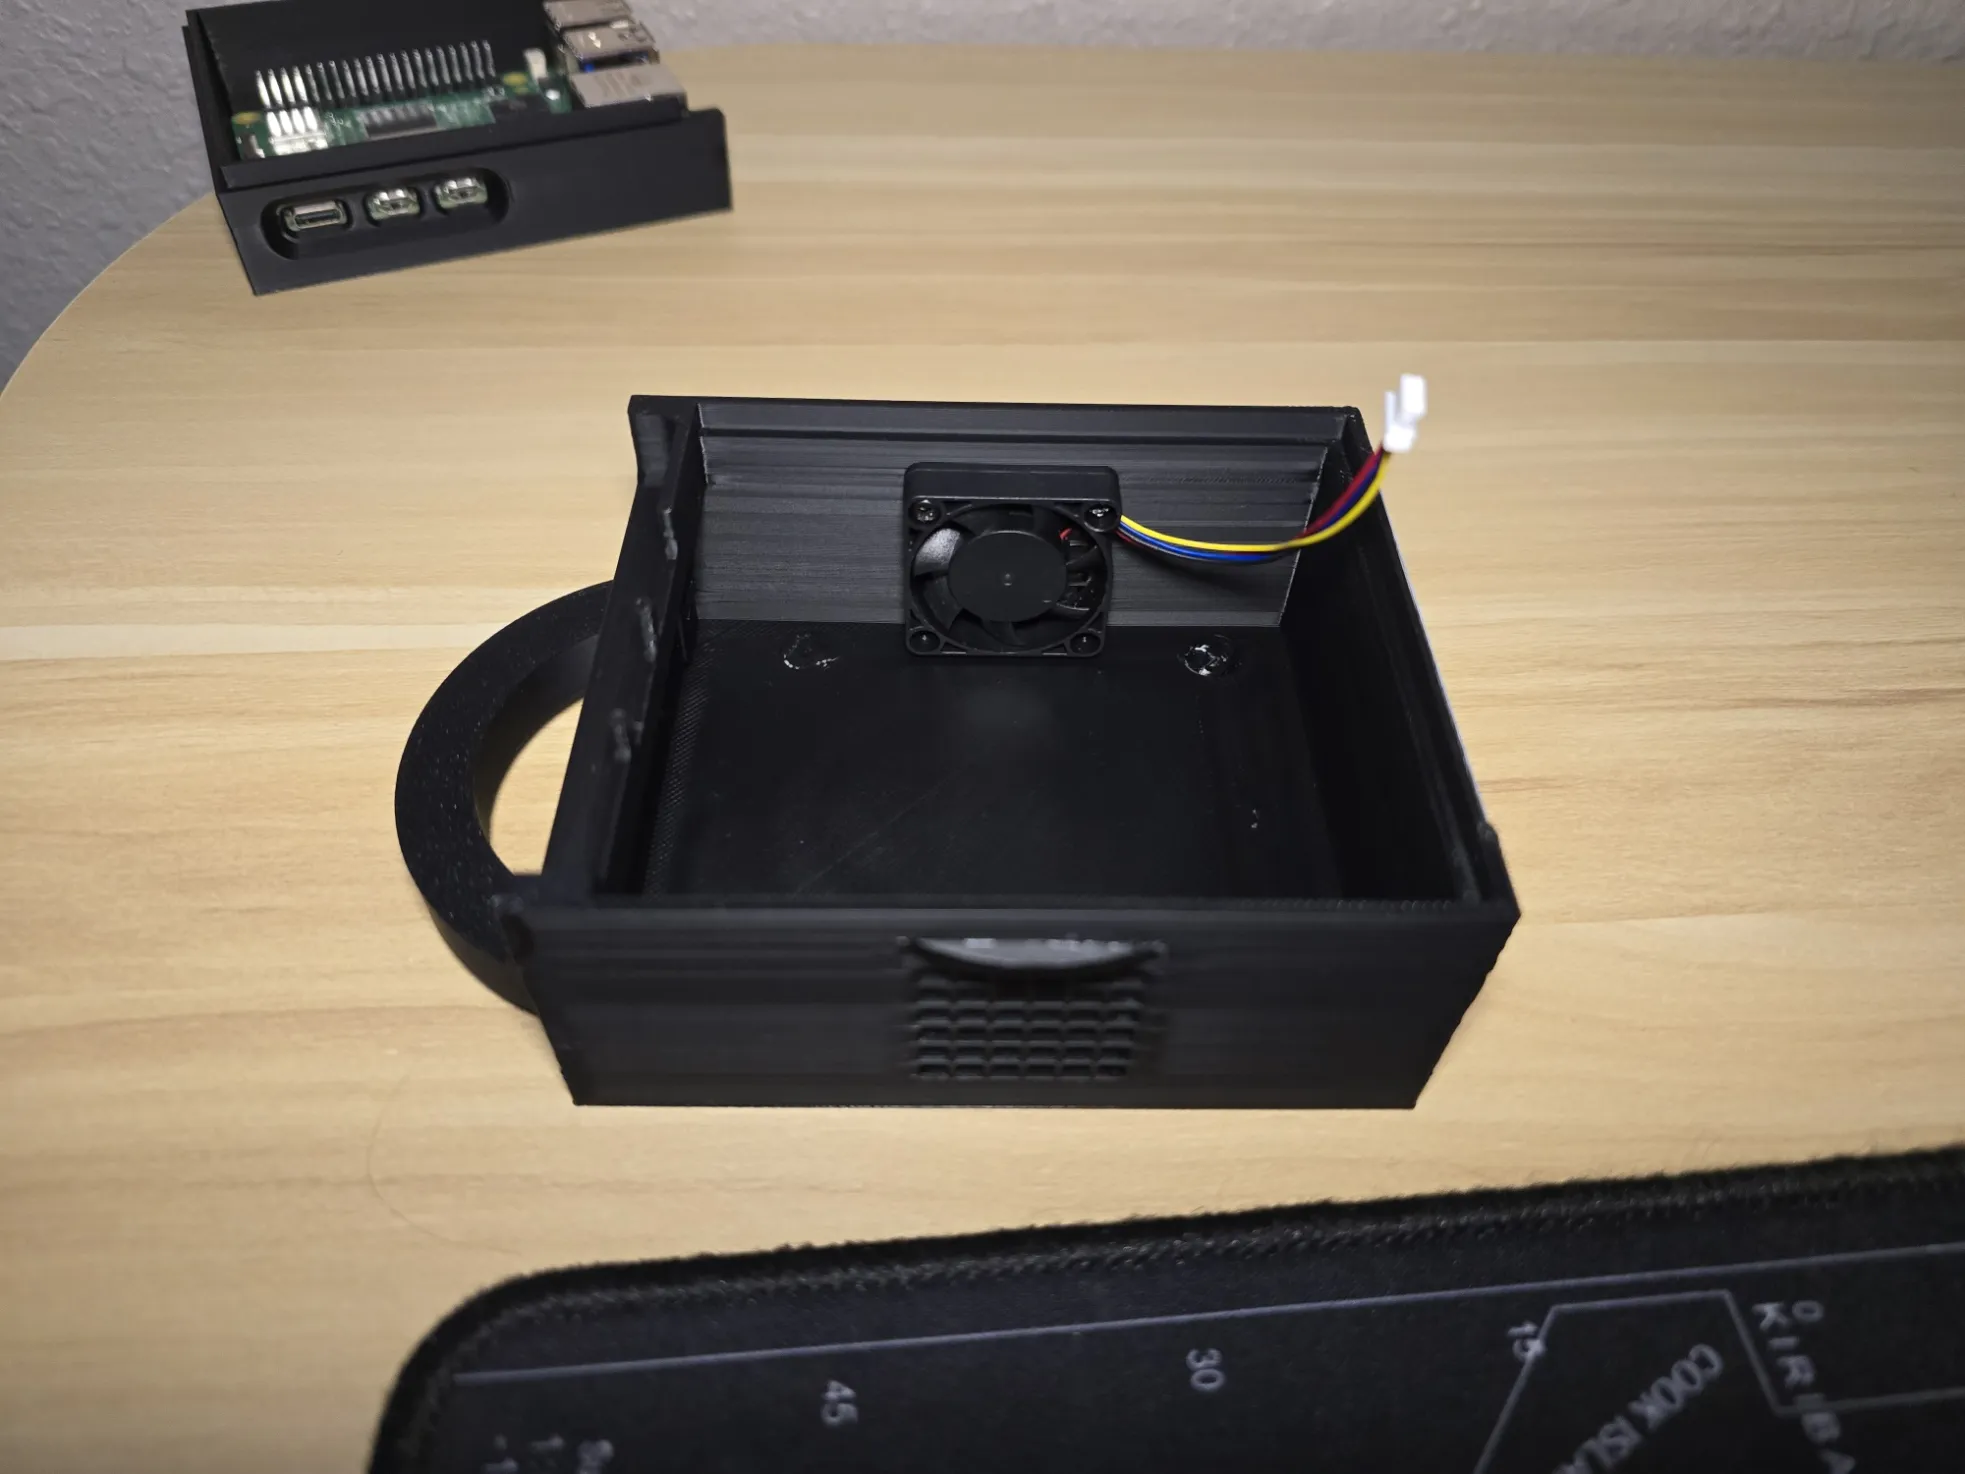 |
License

You shall not share, sub-license, sell, rent, host, transfer, or distribute in any way the digital or 3D printed versions of this object, nor any other derivative work of this object in its digital or physical format (including - but not limited to - remixes of this object, and hosting on other digital platforms). The objects may not be used without permission in any way whatsoever in which you charge money, or collect fees.


Comment & Rating (43)