
Bambu Filament Box Wall Storage - Recycle/Upcycle
Print Profile(1)

Description
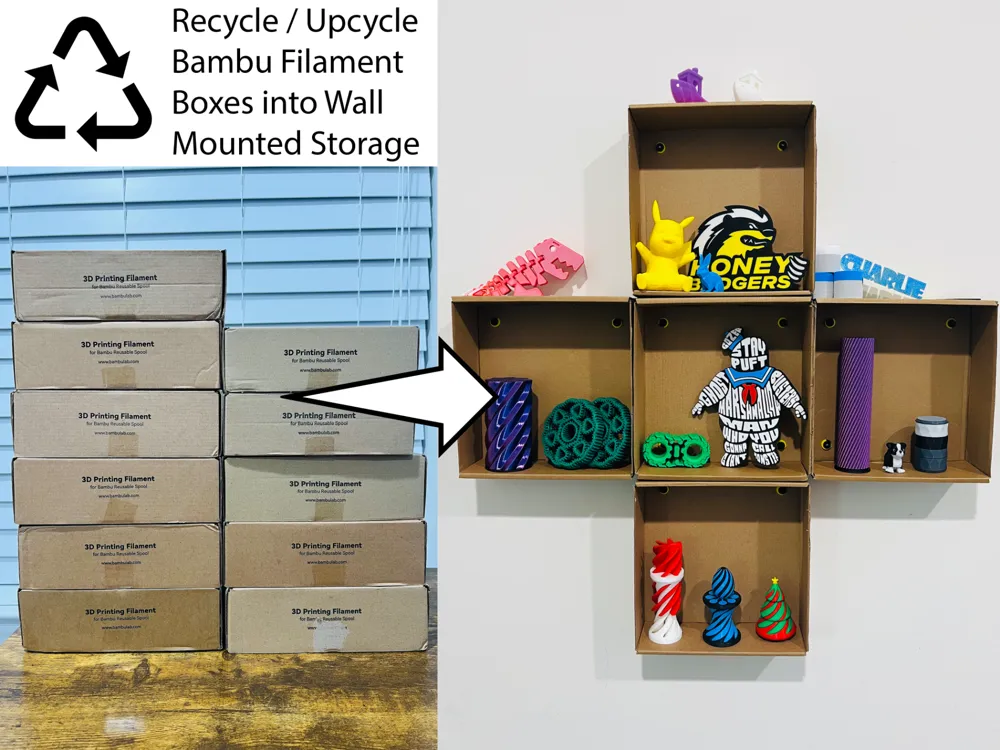
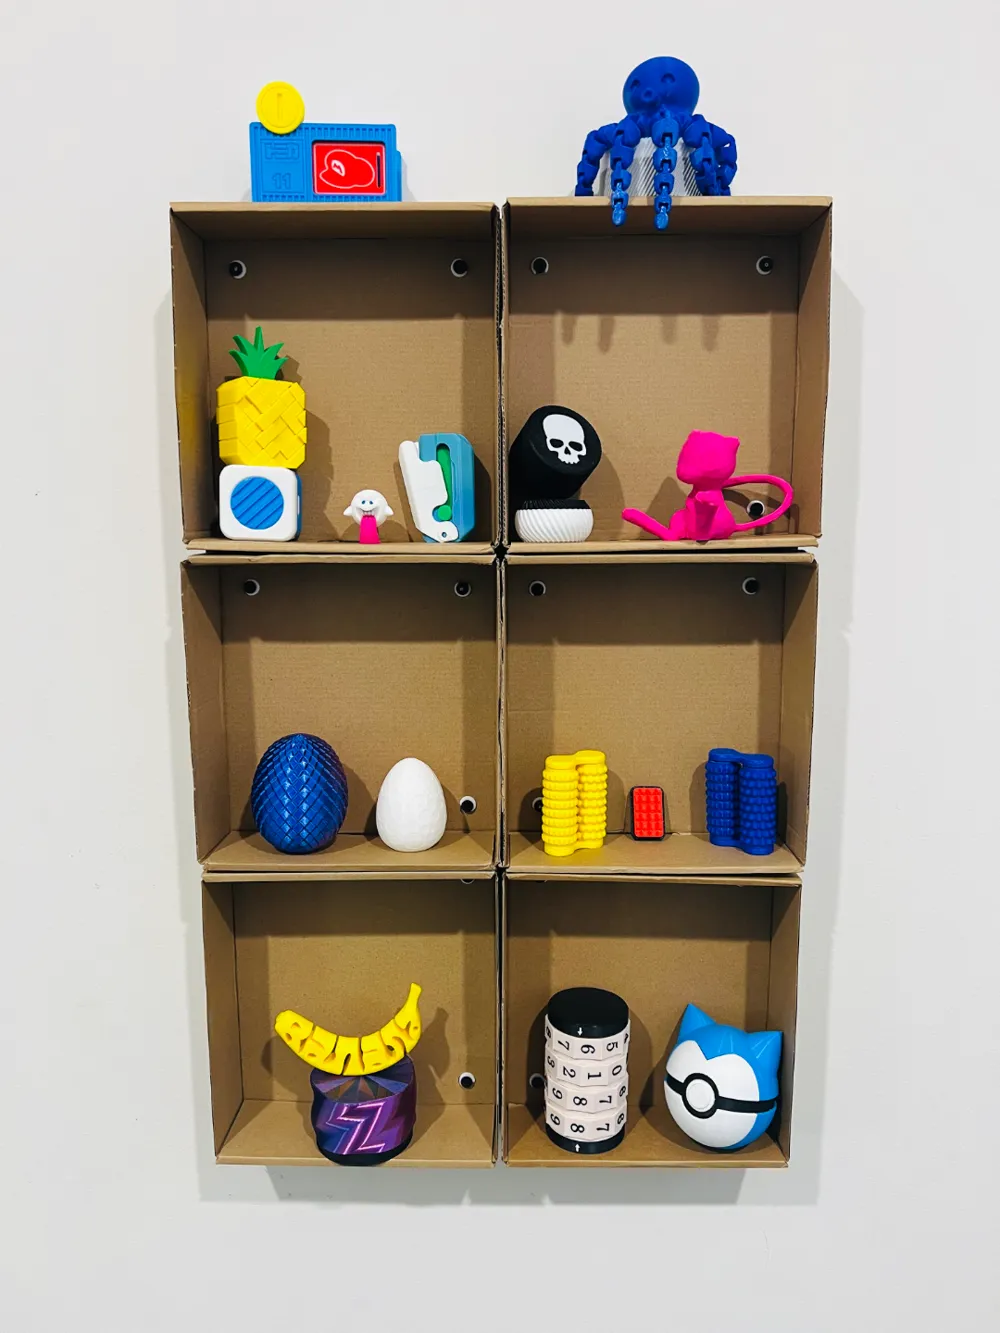
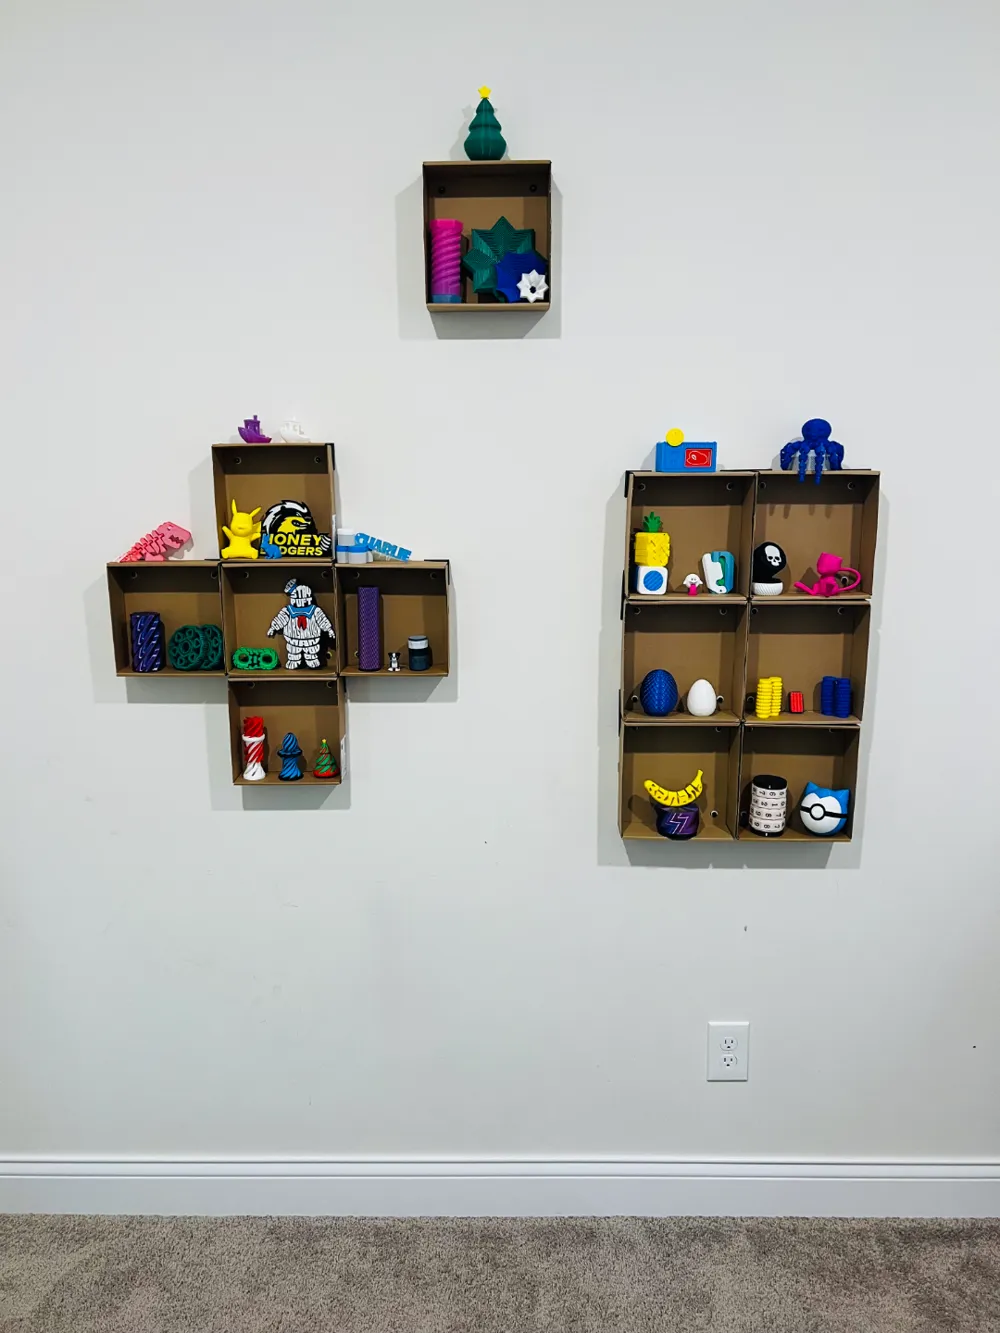
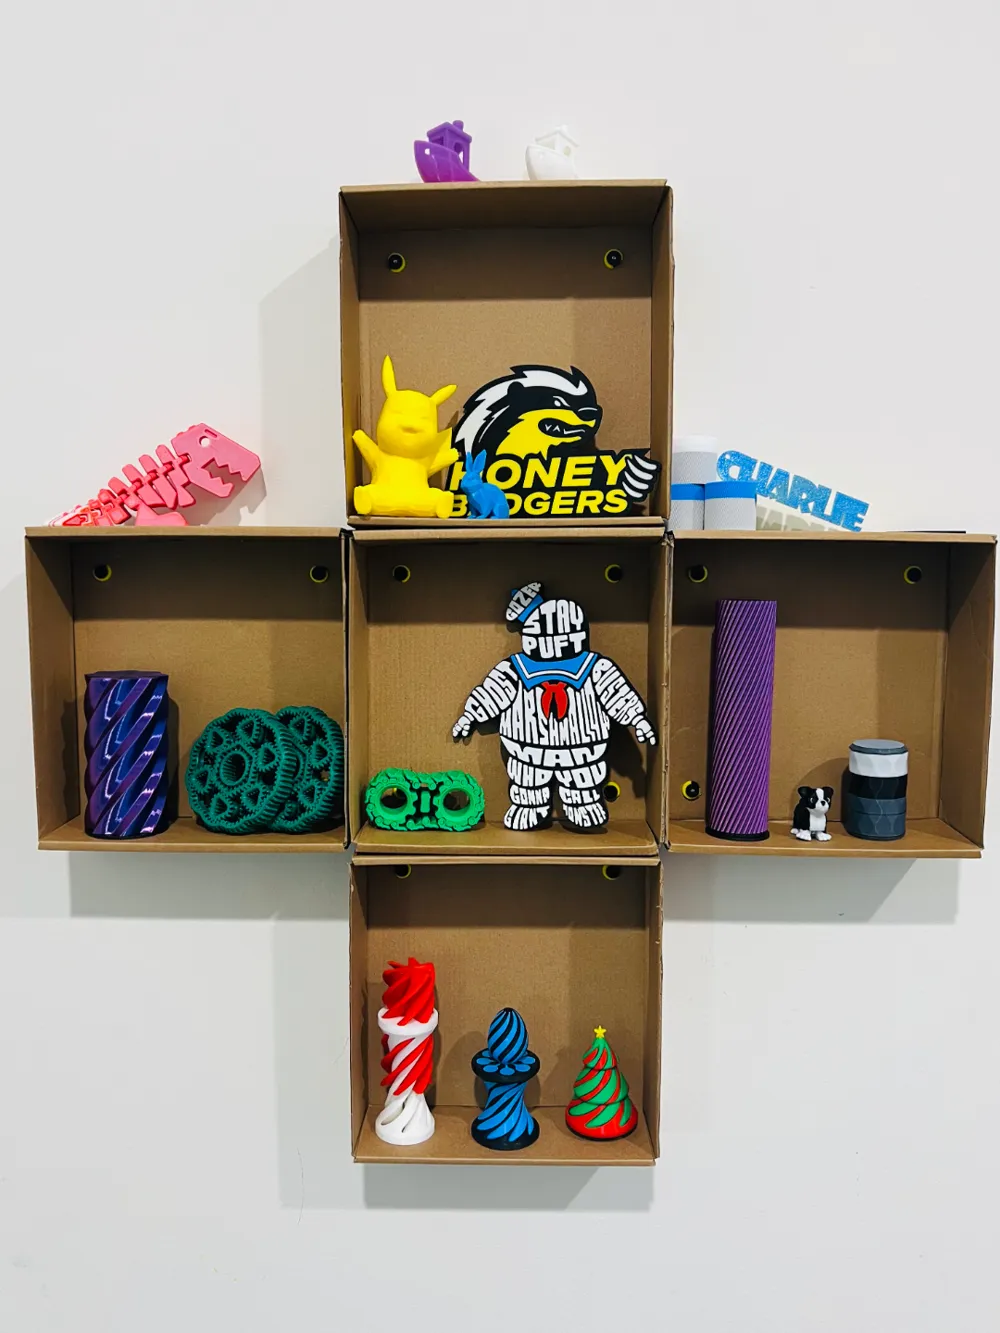
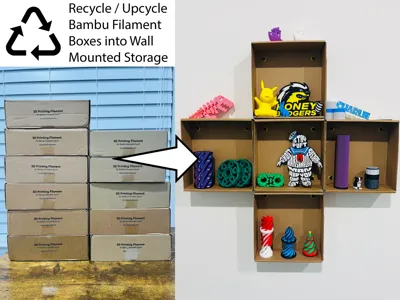
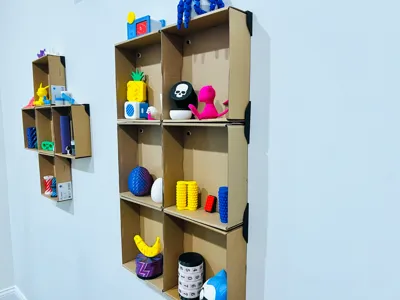
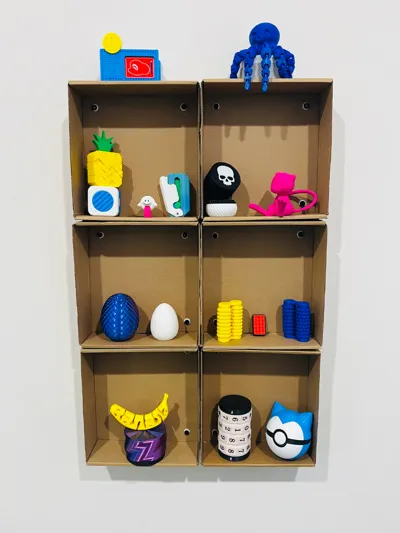
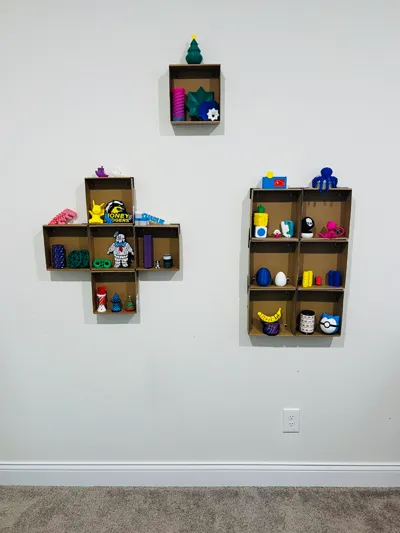
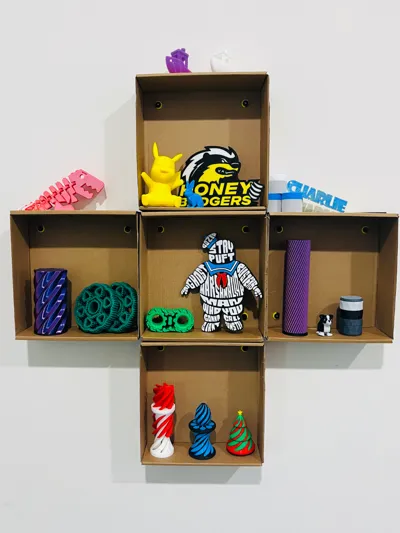
Create an upcycled wall storage unit to display all your amazing prints using empty Bambu filament boxes! This project is fairly easy, doesn't use a lot of filament and can be a lot of fun to do with your kids (note - parents are responsible that the work is done safely - safety first). Plus, you pick the design!
What else are you going to do with all those boxes ;)
Boost Me (for free)
If you appreciate recycling/upcycling, love this project or just appreciate good design, I would love a boost!
Tools
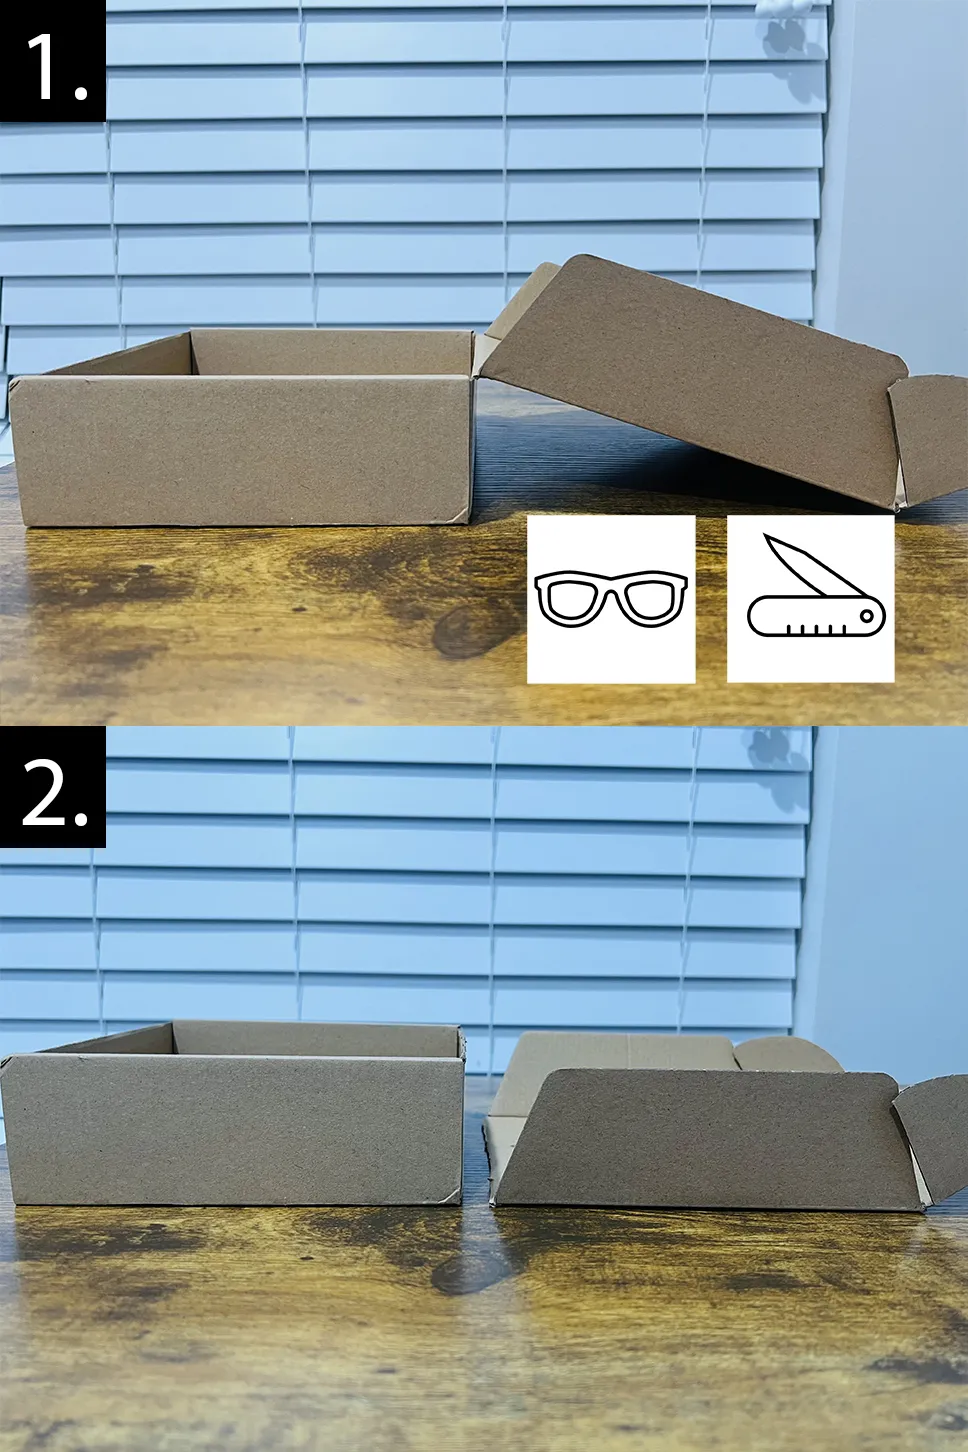
- Hobby Knife
- Hammer
- Level
- Pencil
- Safety Glasses
- 3/8 Socket Extender (optional, but recommended if you use the hole punch method)
Purchased Parts
- Finish Nails - 3d x 1-¼" recommended
- These finish nails have the small head that are counter sunk into the bracket stud
- Examples
Instructions
- Remove the lids from all your empty Bambu filament boxes using a hobby knife
- Determine the brackets needed
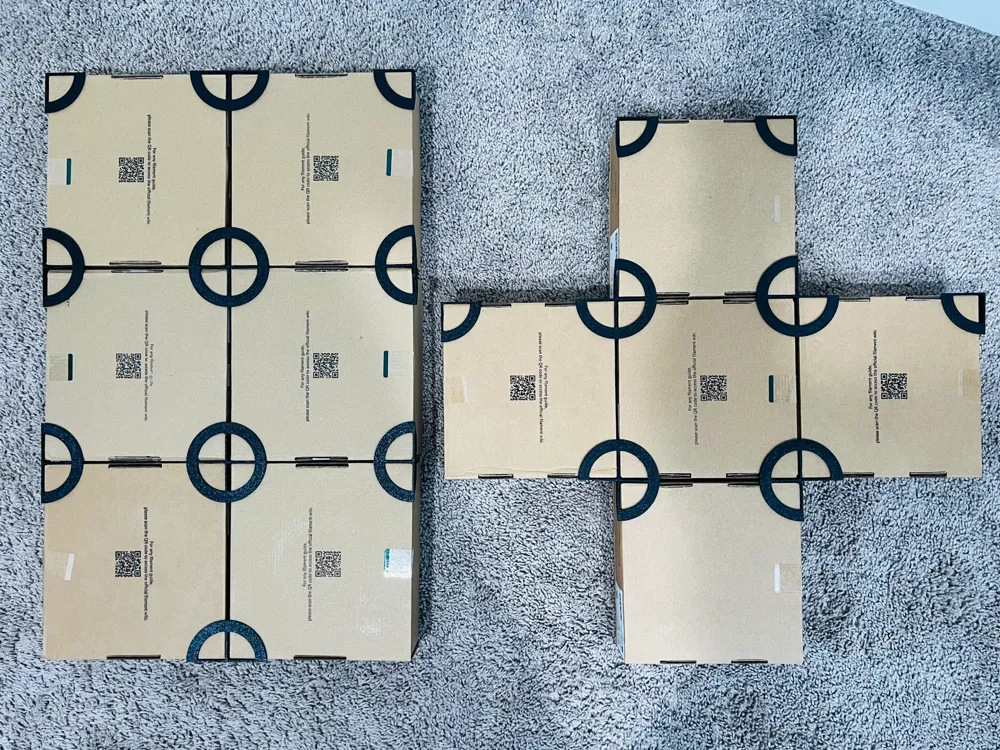
- Lay your design out on your floor
- I recommend you use only spool boxes or refill boxes for a single design, as the brackets will align with every corner!
- Plan to have the thick walls of the box be the top or bottom
- Determine how many brackets you need to print; write them down
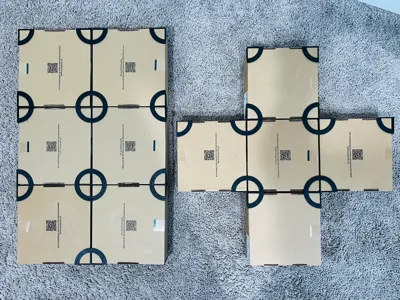
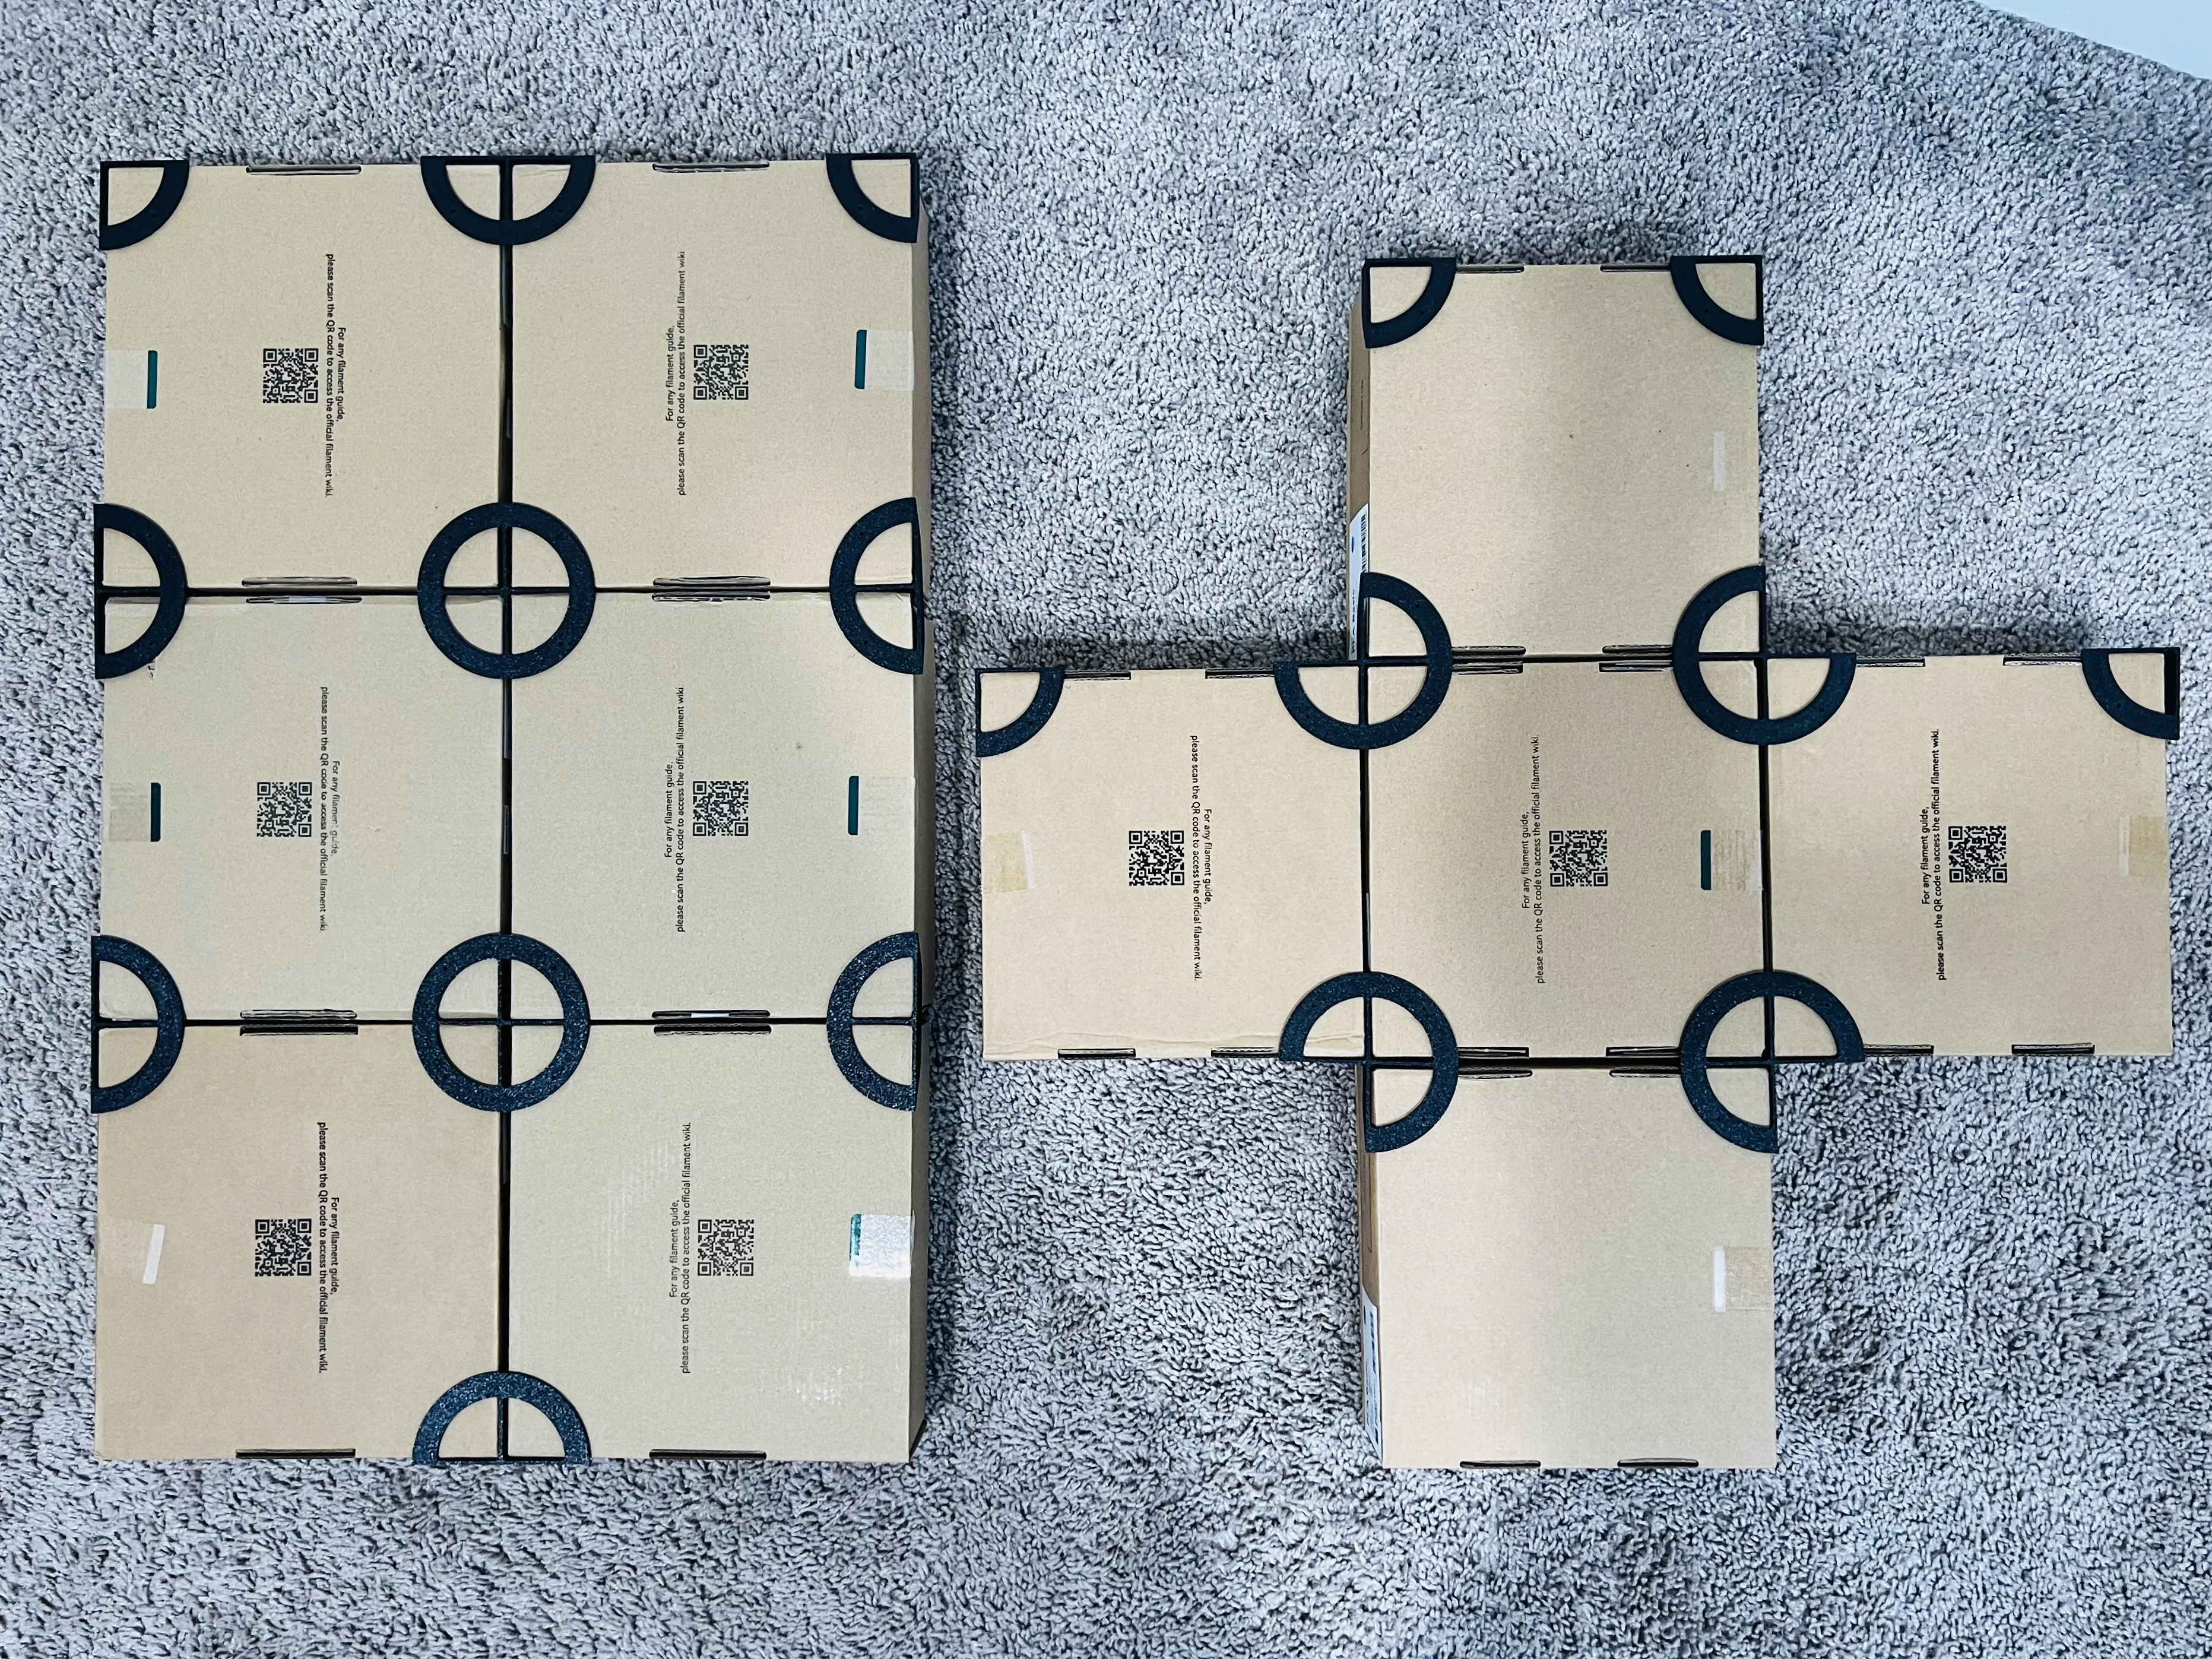
- Example1: The 2x3 grid in the picture below requires (2x 1WayBrackets / 6x 2WayBrackets / 2x 4WayBrackets)
- Example2: The Plus grid in the picture below requires (4x 1WayBrackets / 4x 3WayBrackets)
- Lay your design out on your floor
- Determine the hole making method
- Determine if you will be using the hole locator method or the hole punch method
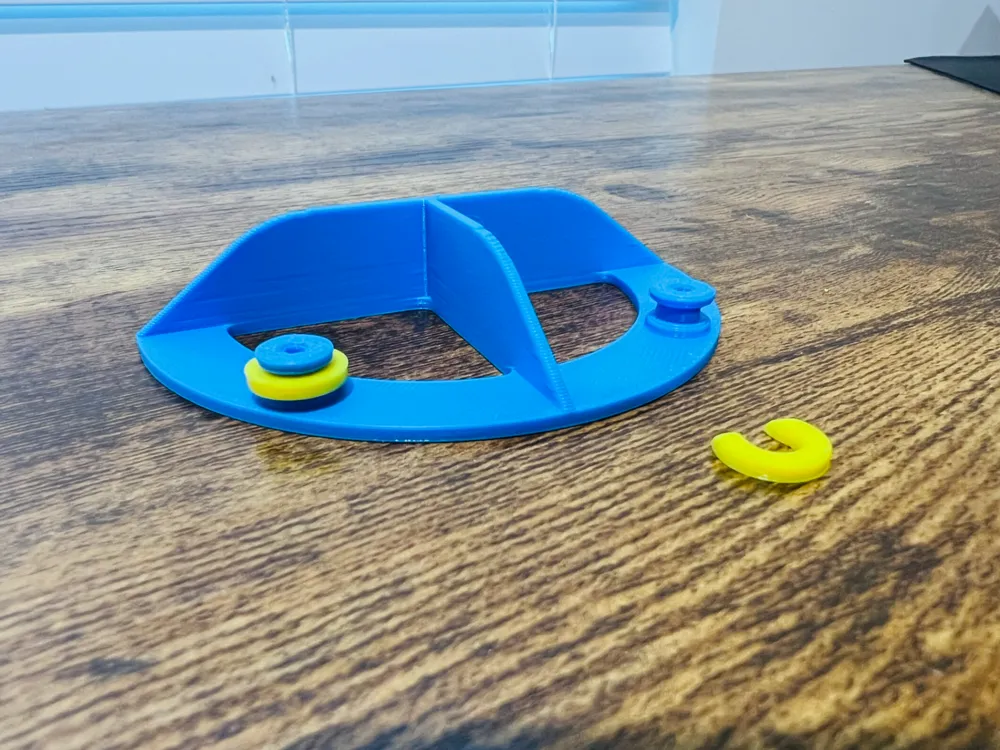
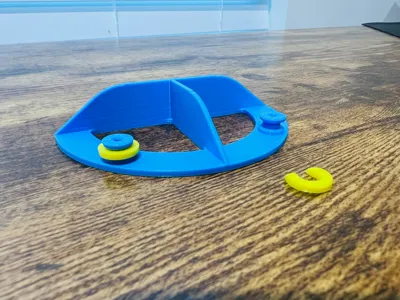
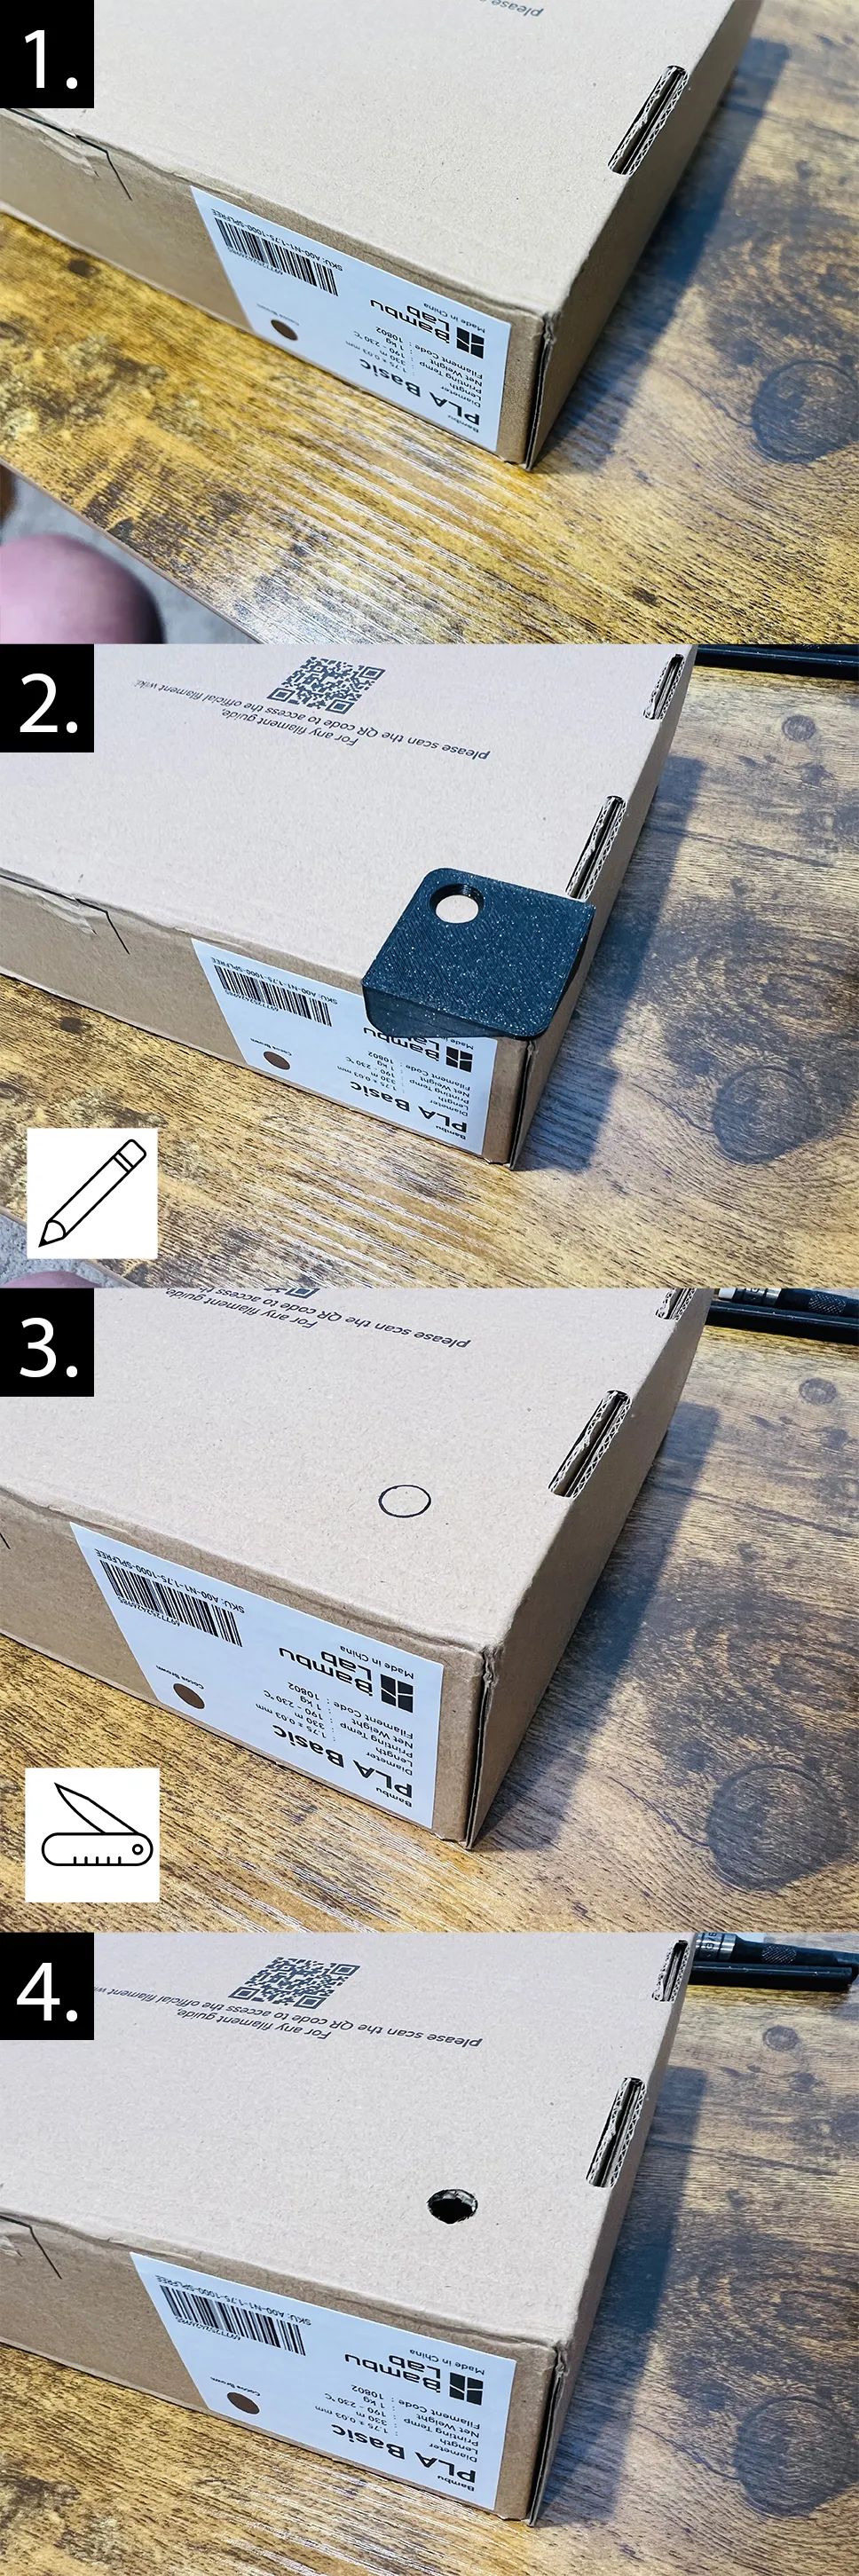
- Hole Locator - Print a simple locator that you will use to mark where the holes should be located and cut them out with a hobby knife. This method is good for making 1 or 2 units. Requires the hole locator plate (~5g of filament)
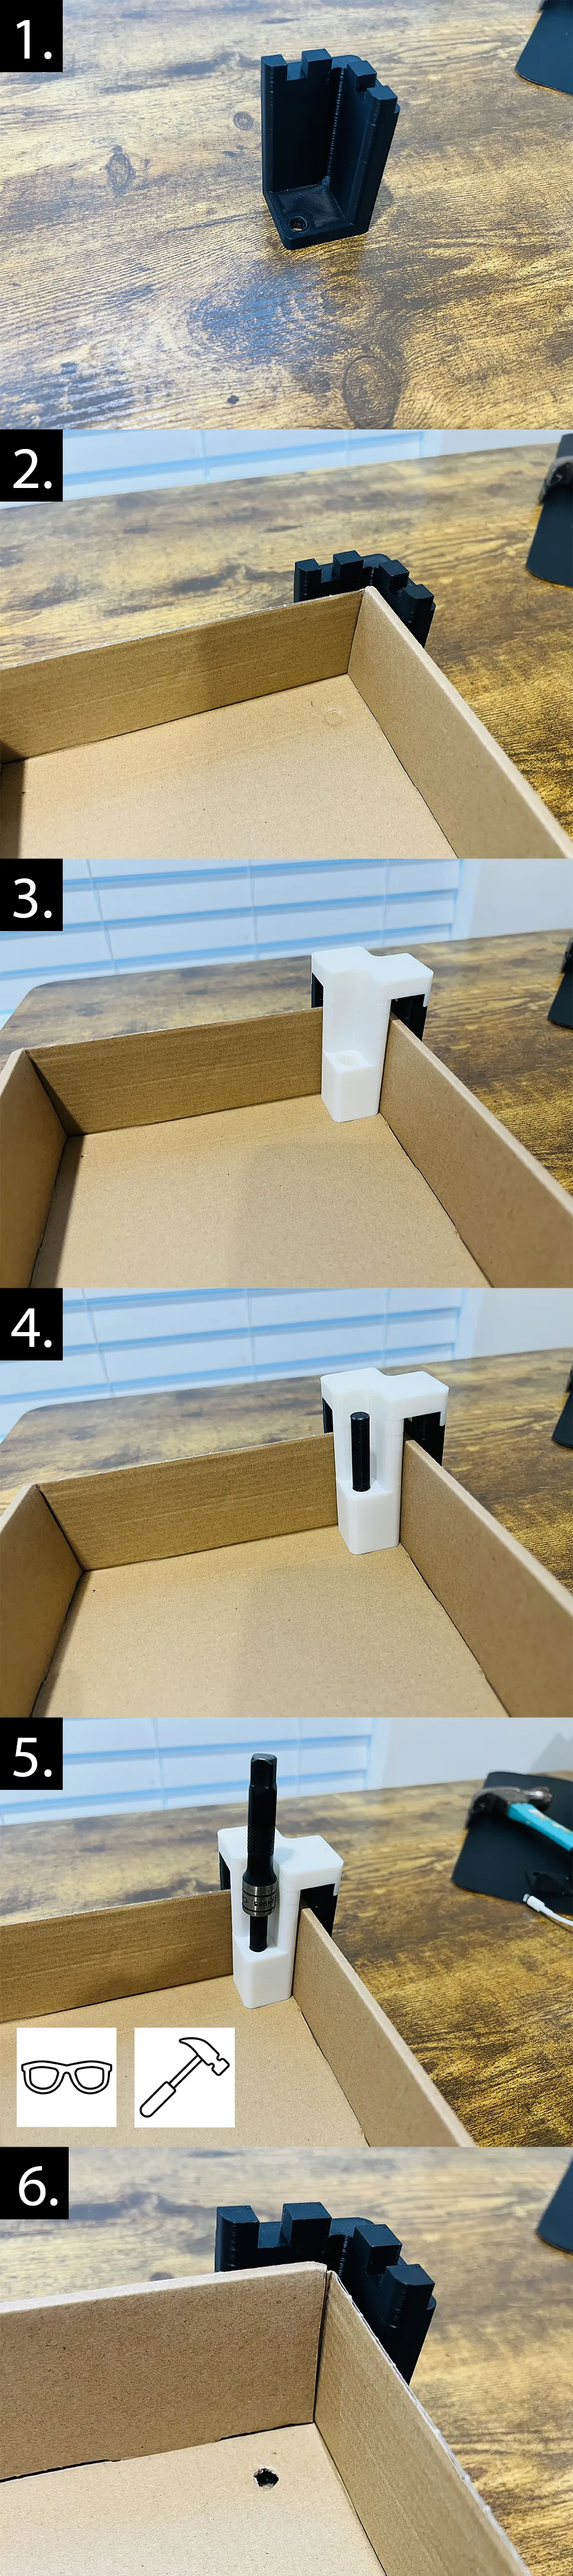
- Hole Punch - If you plan to make several units, I recommend using the hole punch (speeds up the hole making process). Requires that you print the optional hole punch plate (~110g of filament).
- Determine if you will be using the hole locator method or the hole punch method
- Print the holes tools and brackets
- Print either the hole locator plate or the hole punch plate
- Print the brackets that you need
- I recommend that you stack up the plate with as many brackets as they can hold!
- Print enough Snap Rings so there is 1 for each bracket stud
- I recommend that you have fun with the colors here; something contrasting from the bracket color looks good!
- Add holes to the box to match up with the brackets
- Each stud on the printed brackets will require a hole.
- I recommend that you mark out which corners of the boxes will need a hole and then proceed to punching them out.
- Consistency is key regarding hole location, so be sure to push the edge of the box into both walls of either the hole locator or the hole punch.
- Hole Locator Instructions:
- Hole Punch Instructions:
- Each stud on the printed brackets will require a hole.
- Assembly
- Place the studs of each bracket through the corresponding holes
- Ensure that they are all the way through
- Place a snap ring in the gap of each stud to keep the box
- Place the studs of each bracket through the corresponding holes
- Mounting
- Each stud has a clearance hole designed for a 3d finishing nail (I used 3d x 1-¼")
- You do not need a nail in every hole
- Place a nail in a top corner of your wall storage unit
- Using a level, add a nail to the other corner
- Add a few additional strategically placed nails
- You can figure out where they are needed by simulating a stud having a nail by pushing them down with your finger
- Each stud has a clearance hole designed for a 3d finishing nail (I used 3d x 1-¼")
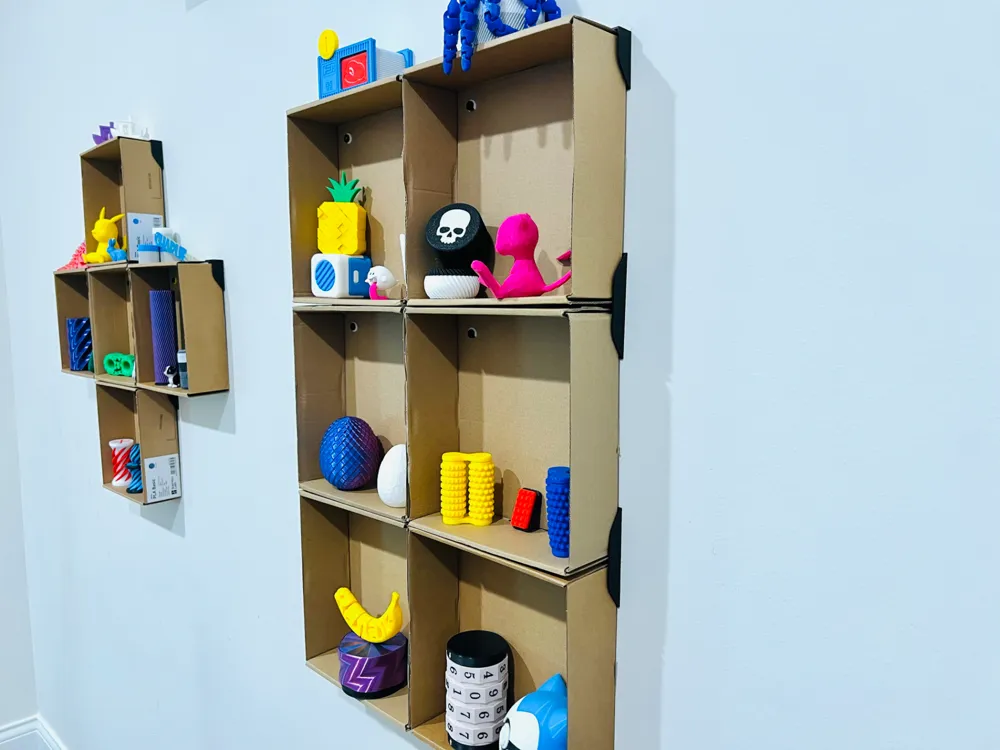
- Fill your shelves and enjoy!
License

You shall not share, sub-license, sell, rent, host, transfer, or distribute in any way the digital or 3D printed versions of this object, nor any other derivative work of this object in its digital or physical format (including - but not limited to - remixes of this object, and hosting on other digital platforms). The objects may not be used without permission in any way whatsoever in which you charge money, or collect fees.


Comment & Rating (2)