
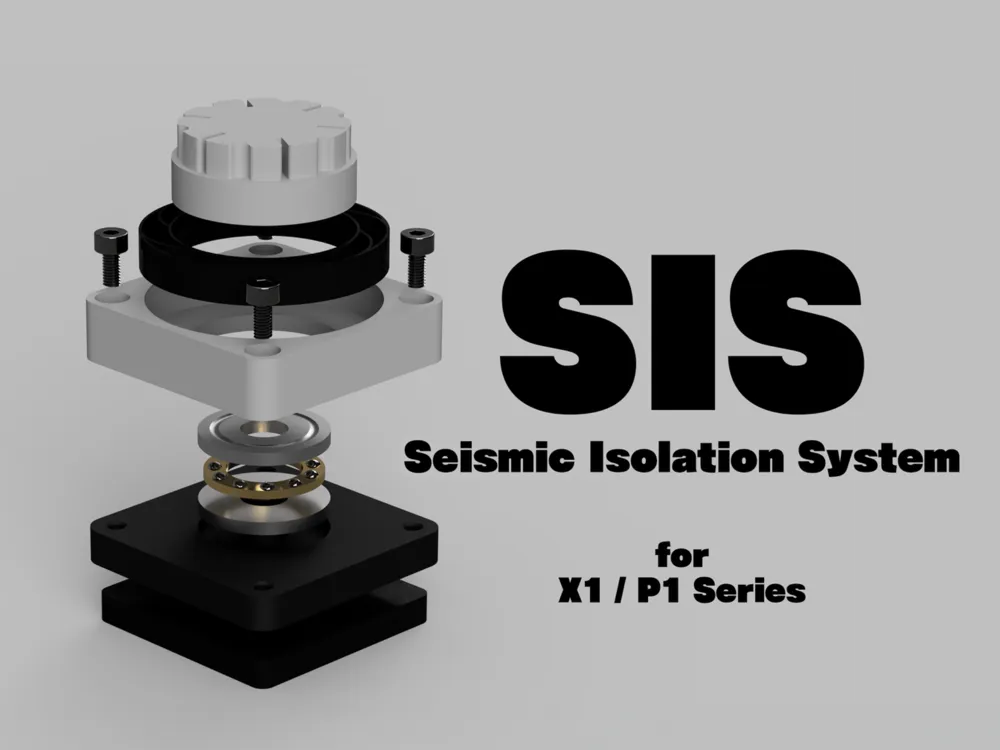
SIS - Seismic Isolation System for X1 / P1 Series

Print Profile(6)


Description
Boost Me (for free)
Hello!
Are you interested in the next-generation seismic isolation system?
Read on for more details! An amazing experience awaits you!
If you like it, please Boost me for your support!!
Project Overview
Welcome to the SIS project!
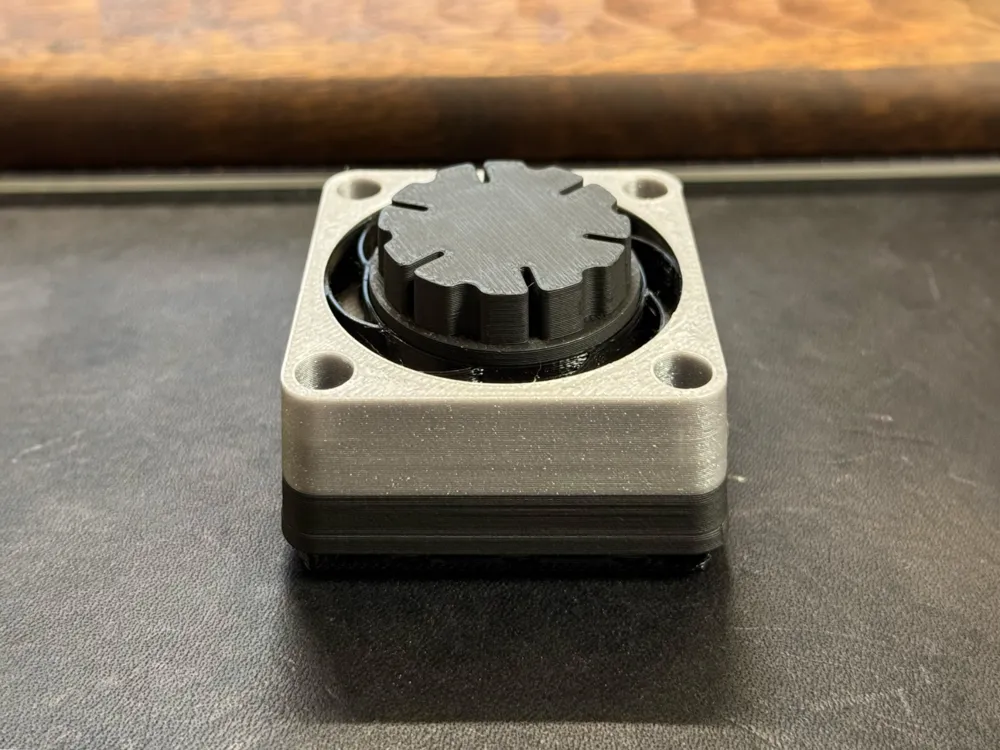
The “SIS - Seismic Isolation System -” project aims to achieve superior vibration and seismic isolation performance for Bambu Lab’s 3D printers, specifically the “X1” and “P1” series.
This project was inspired by @thrutheframe’s “HULA,” which features a sliding isolation bearing structure using thrust bearings.
This structure is a highly reliable technology that has been widely adopted in Japanese buildings to protect them from earthquakes.
Traditionally, implementing seismic isolation mechanisms in 3D printers required the use of ball bullets, which made miniaturization difficult.
However, by utilizing thrust bearings, “HULA” successfully achieved significant downsizing—an impressive accomplishment.
I would like to express our sincere respect to @thrutheframe and the “HULA” project.
The SIS project, like “HULA,” adopts a sliding isolation bearing structure with thrust bearings, and is designed to achieve the following features:
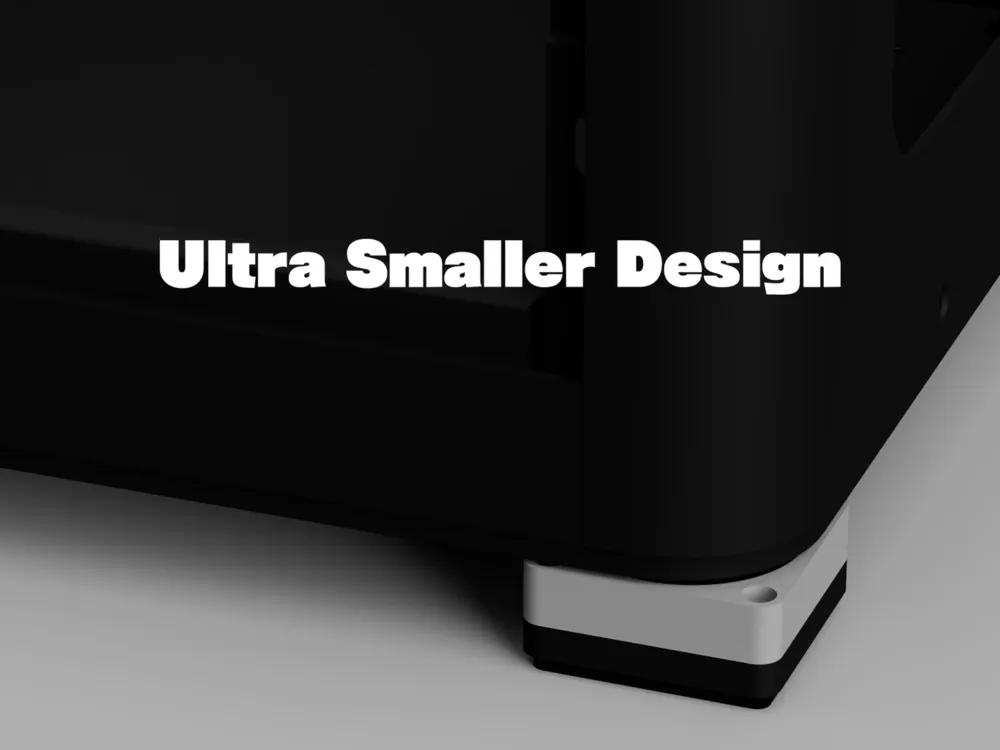
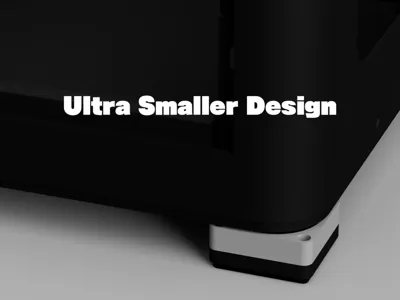
- A more compact body design
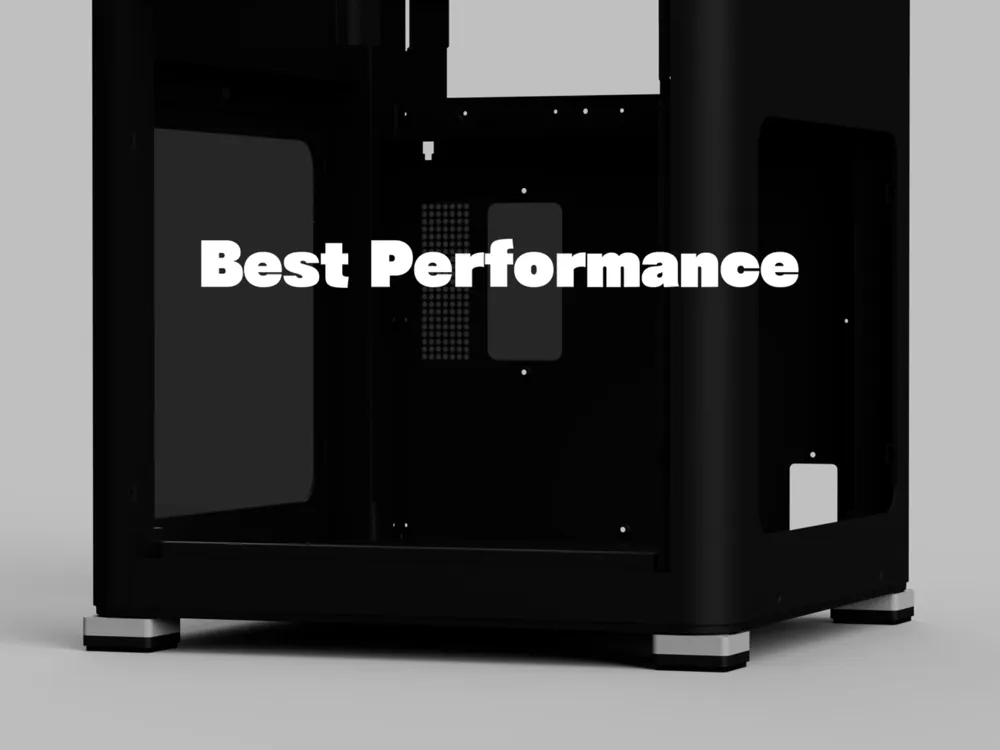
- Improved seismic isolation performance
- Enhanced cushioning capability
SIS Family
This product has accessories specifically designed for it.
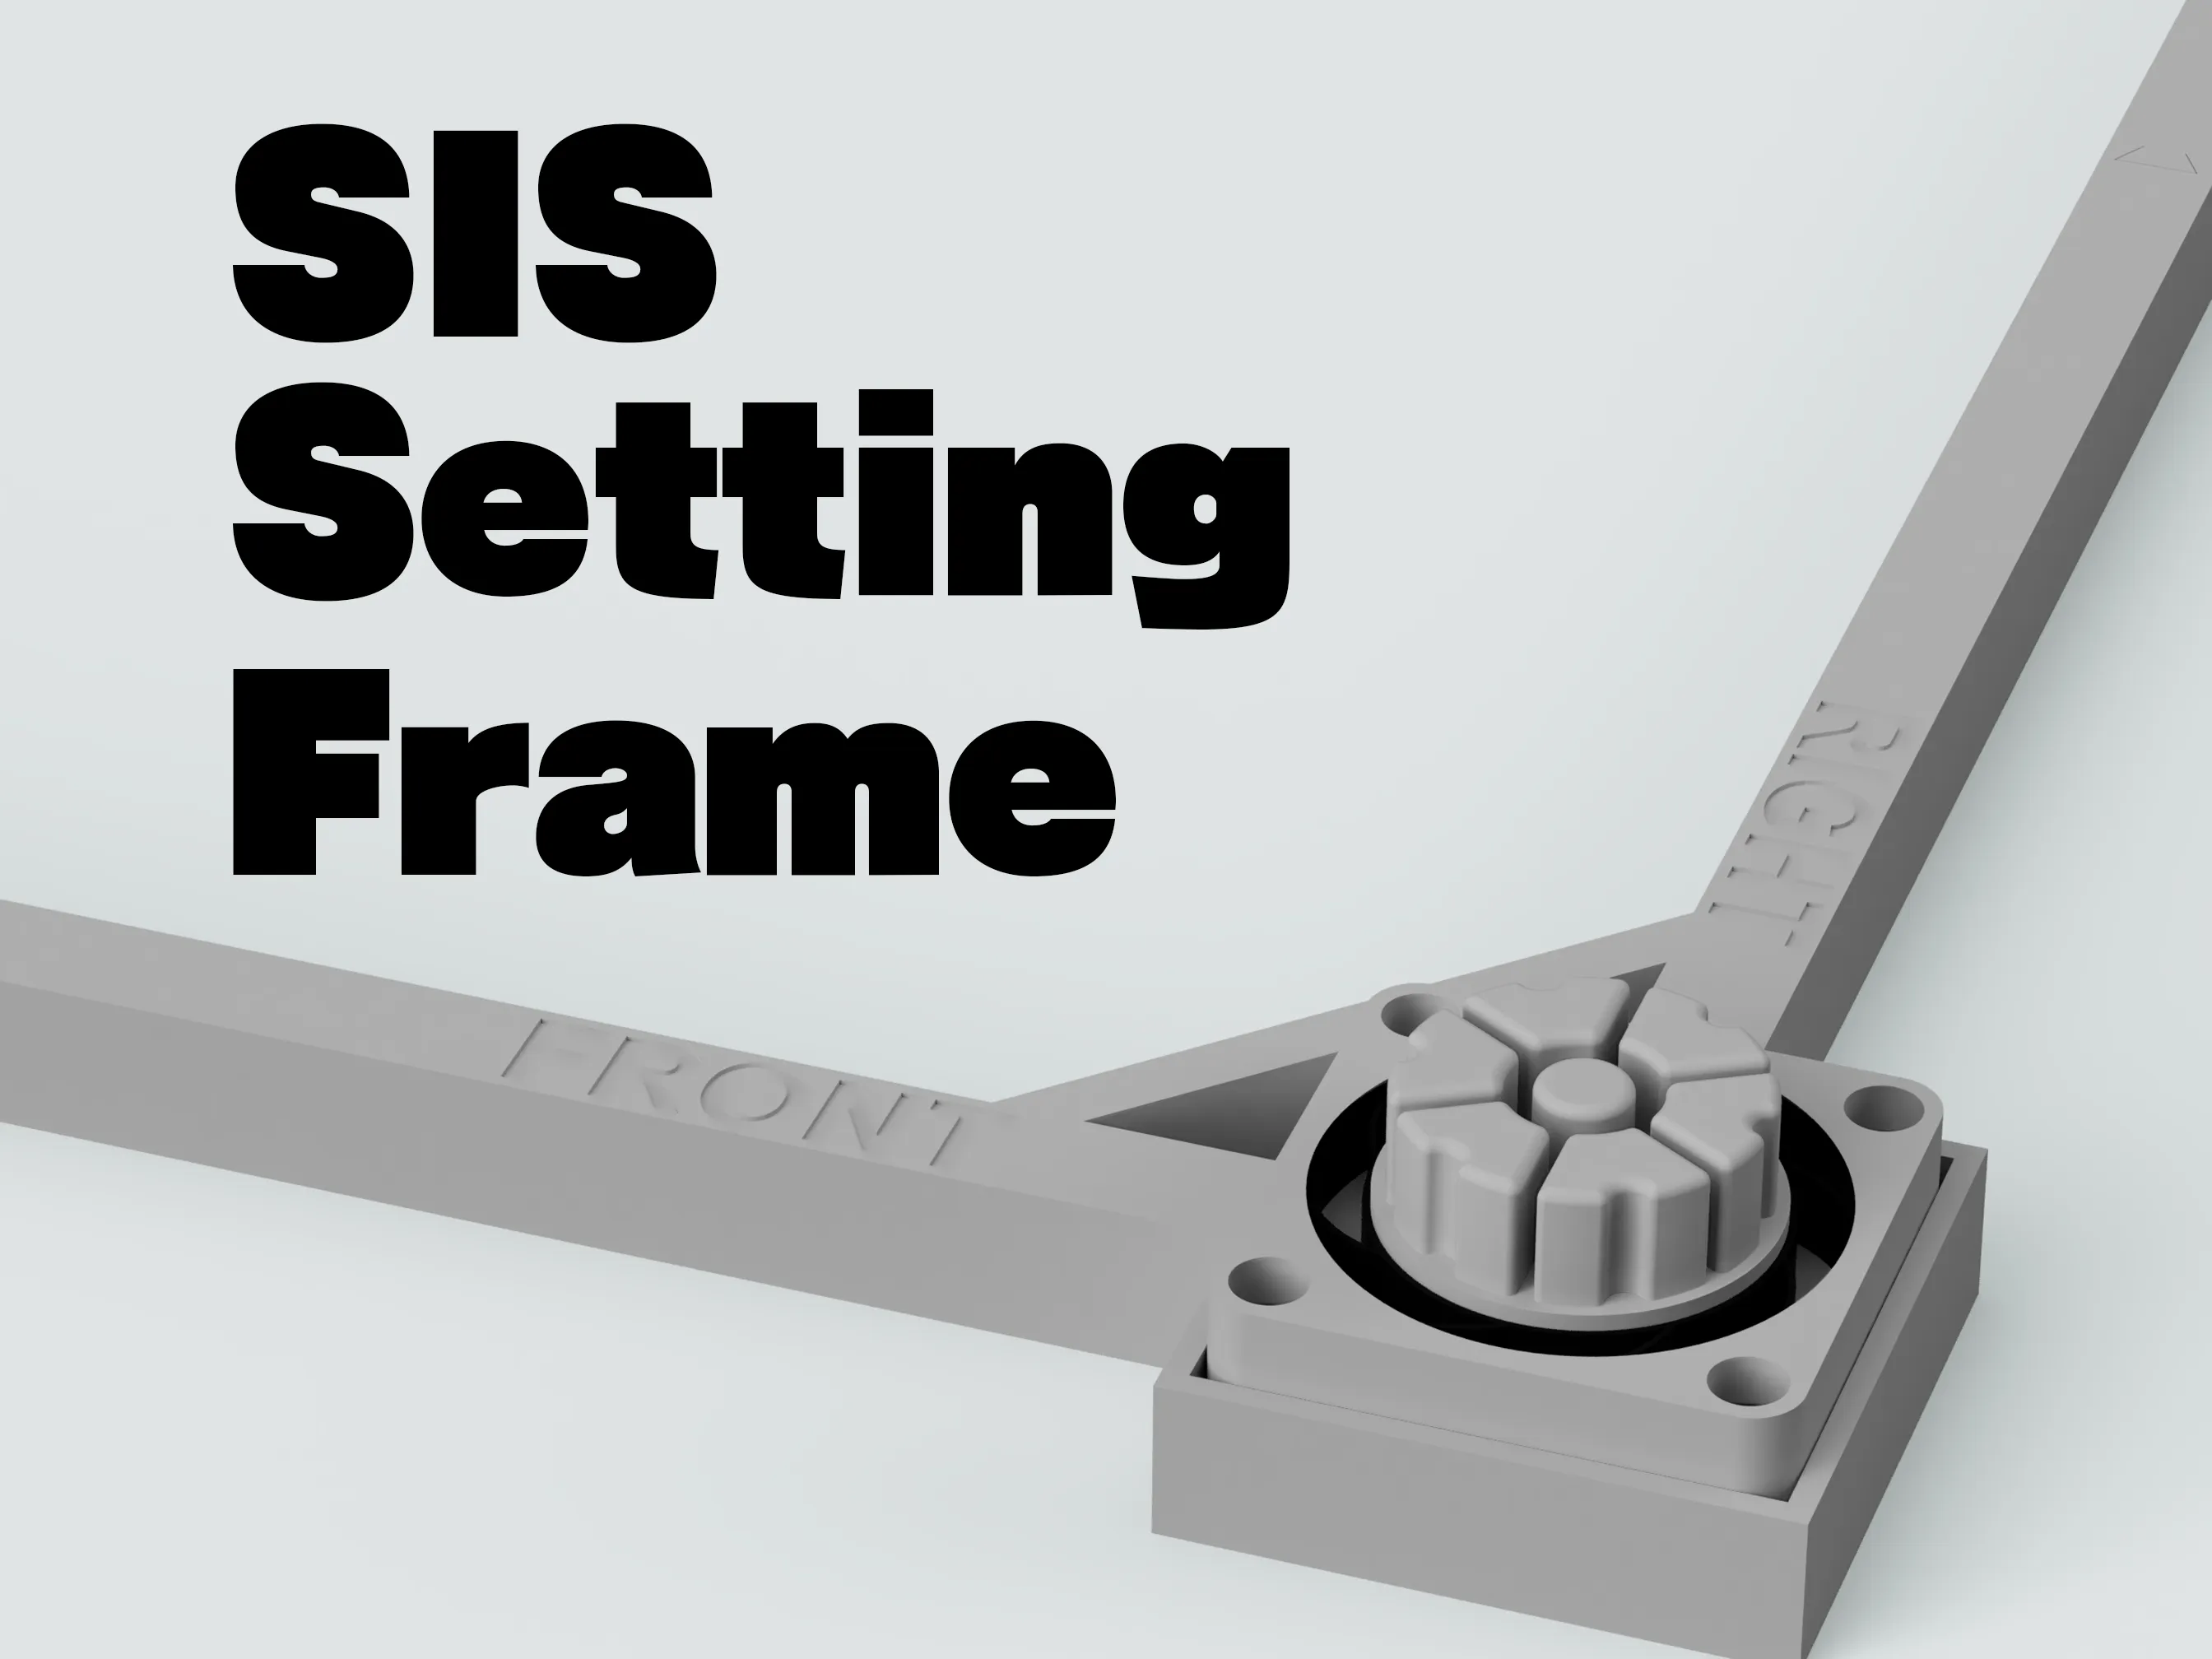
SIS - Setting Frame : https://makerworld.com/en/models/1360480
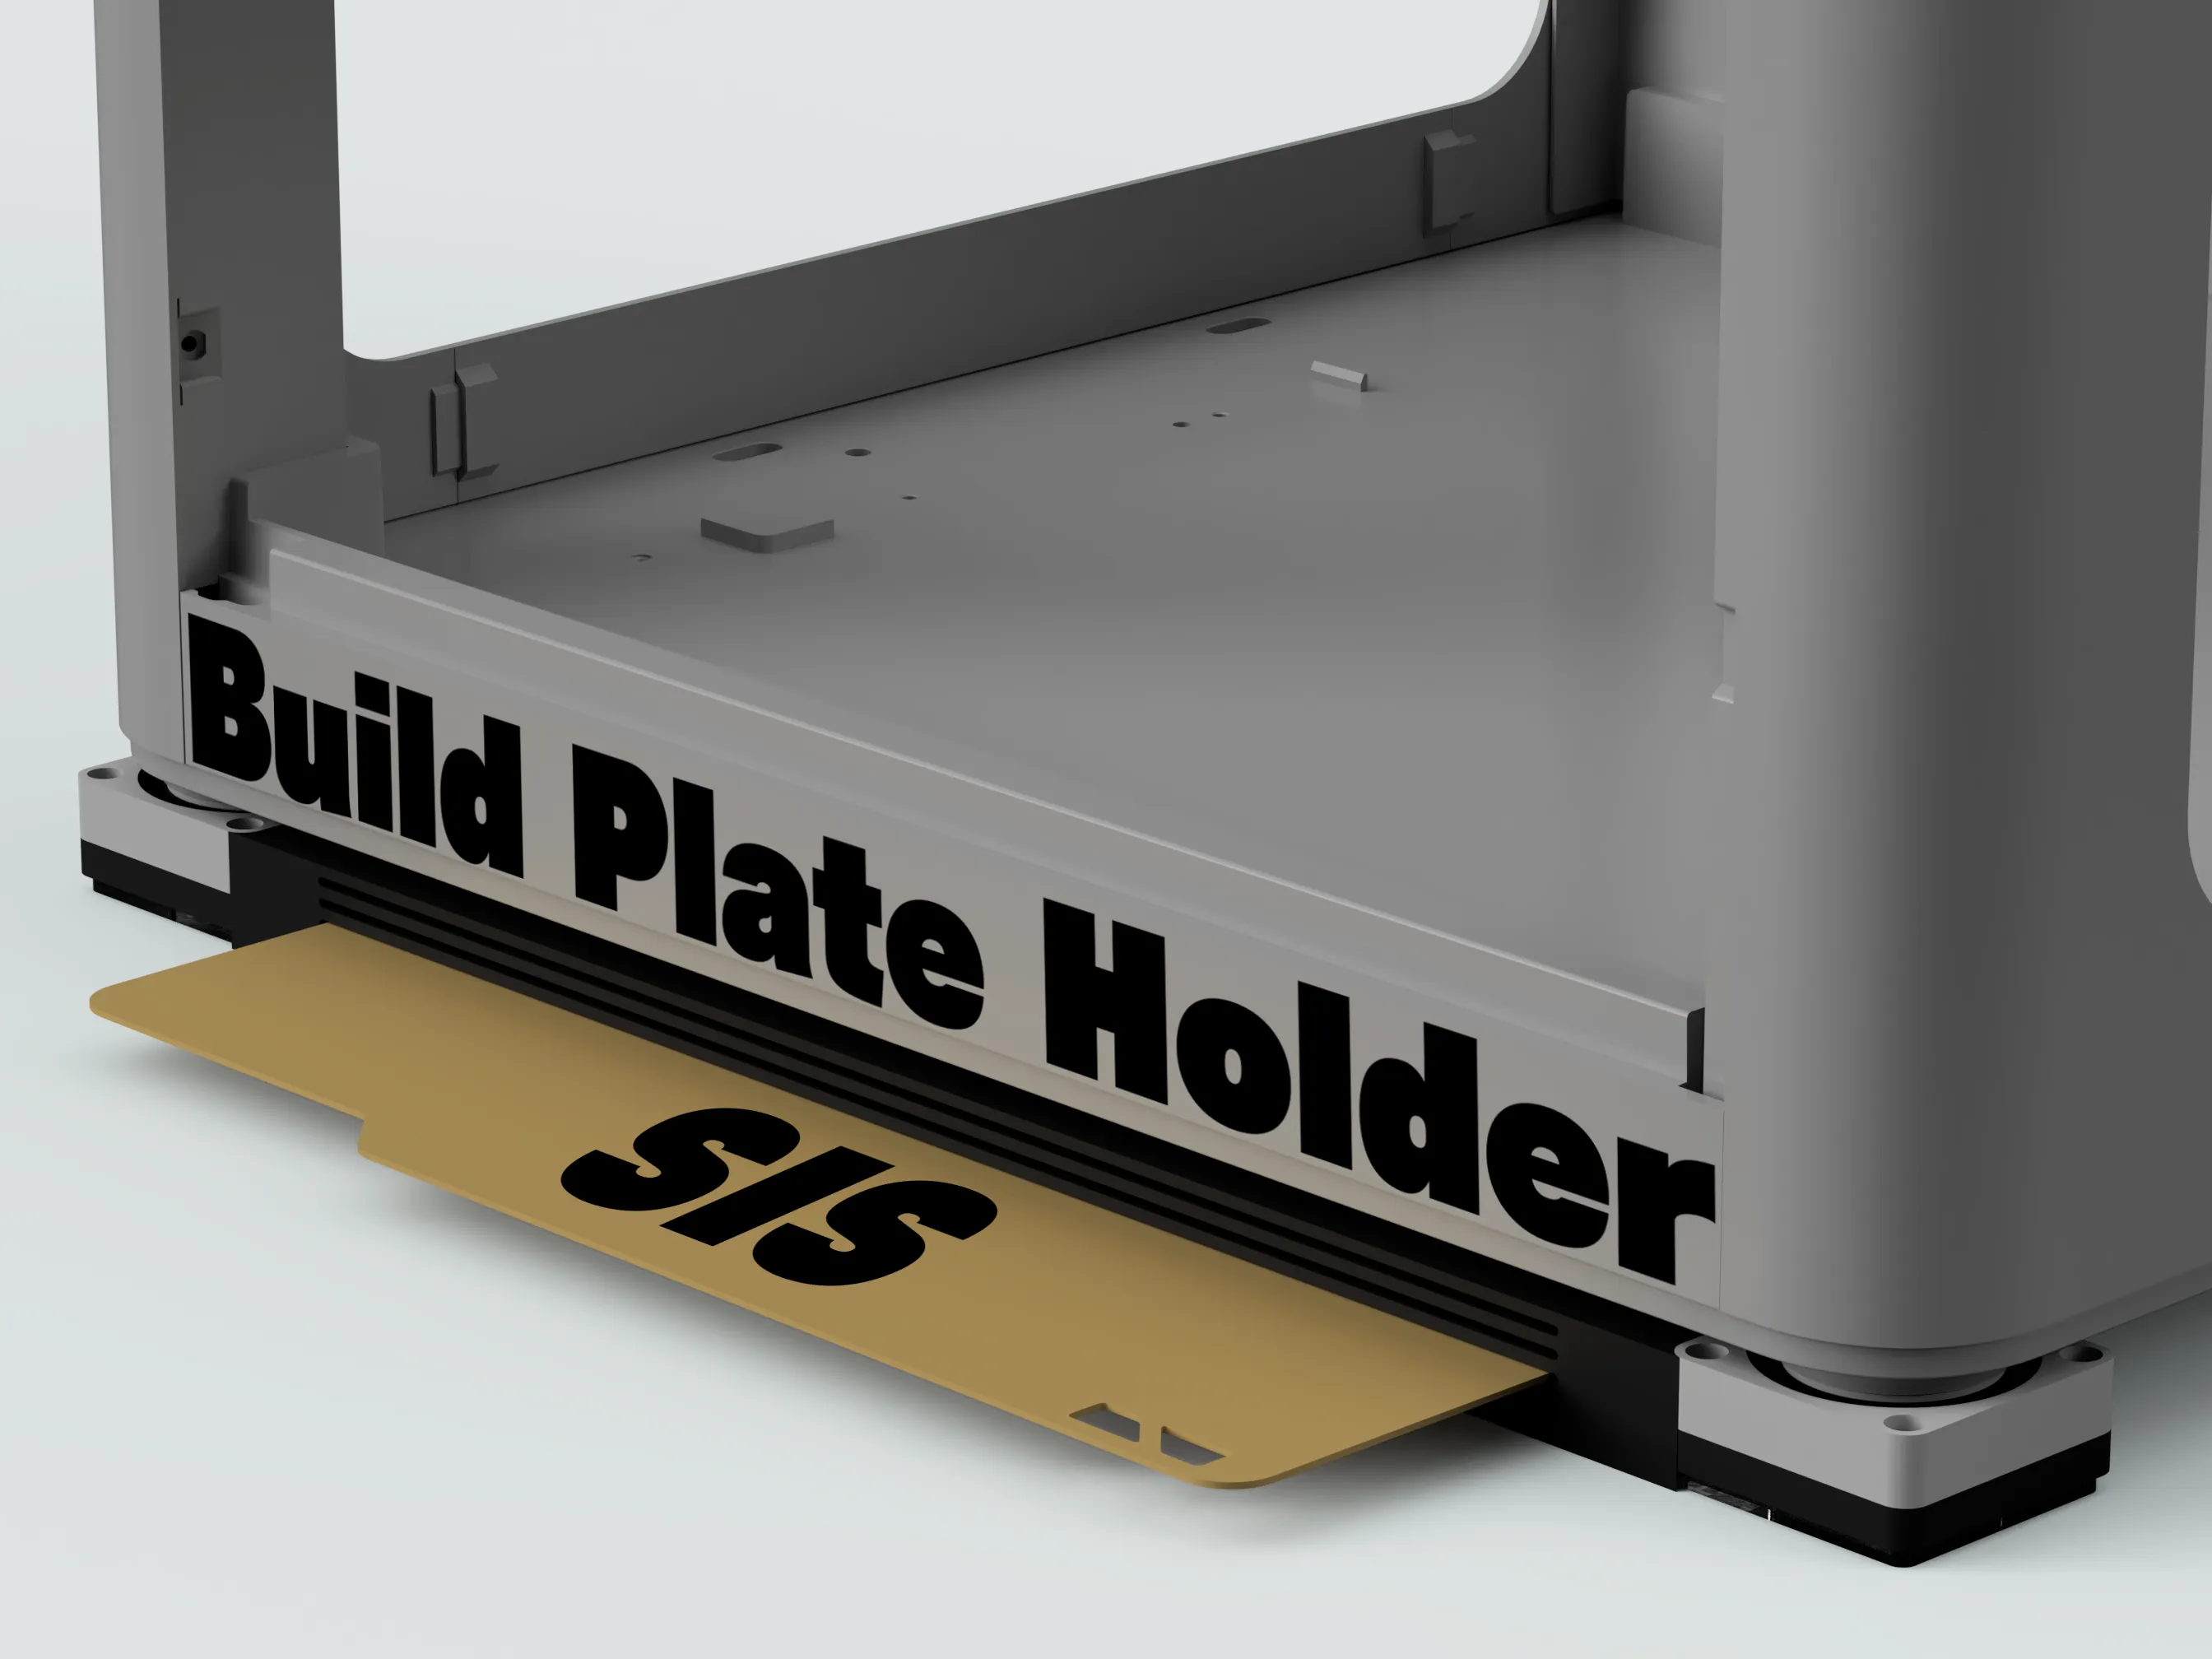
SIS - Build Plate Holder : https://makerworld.com/en/models/1360485
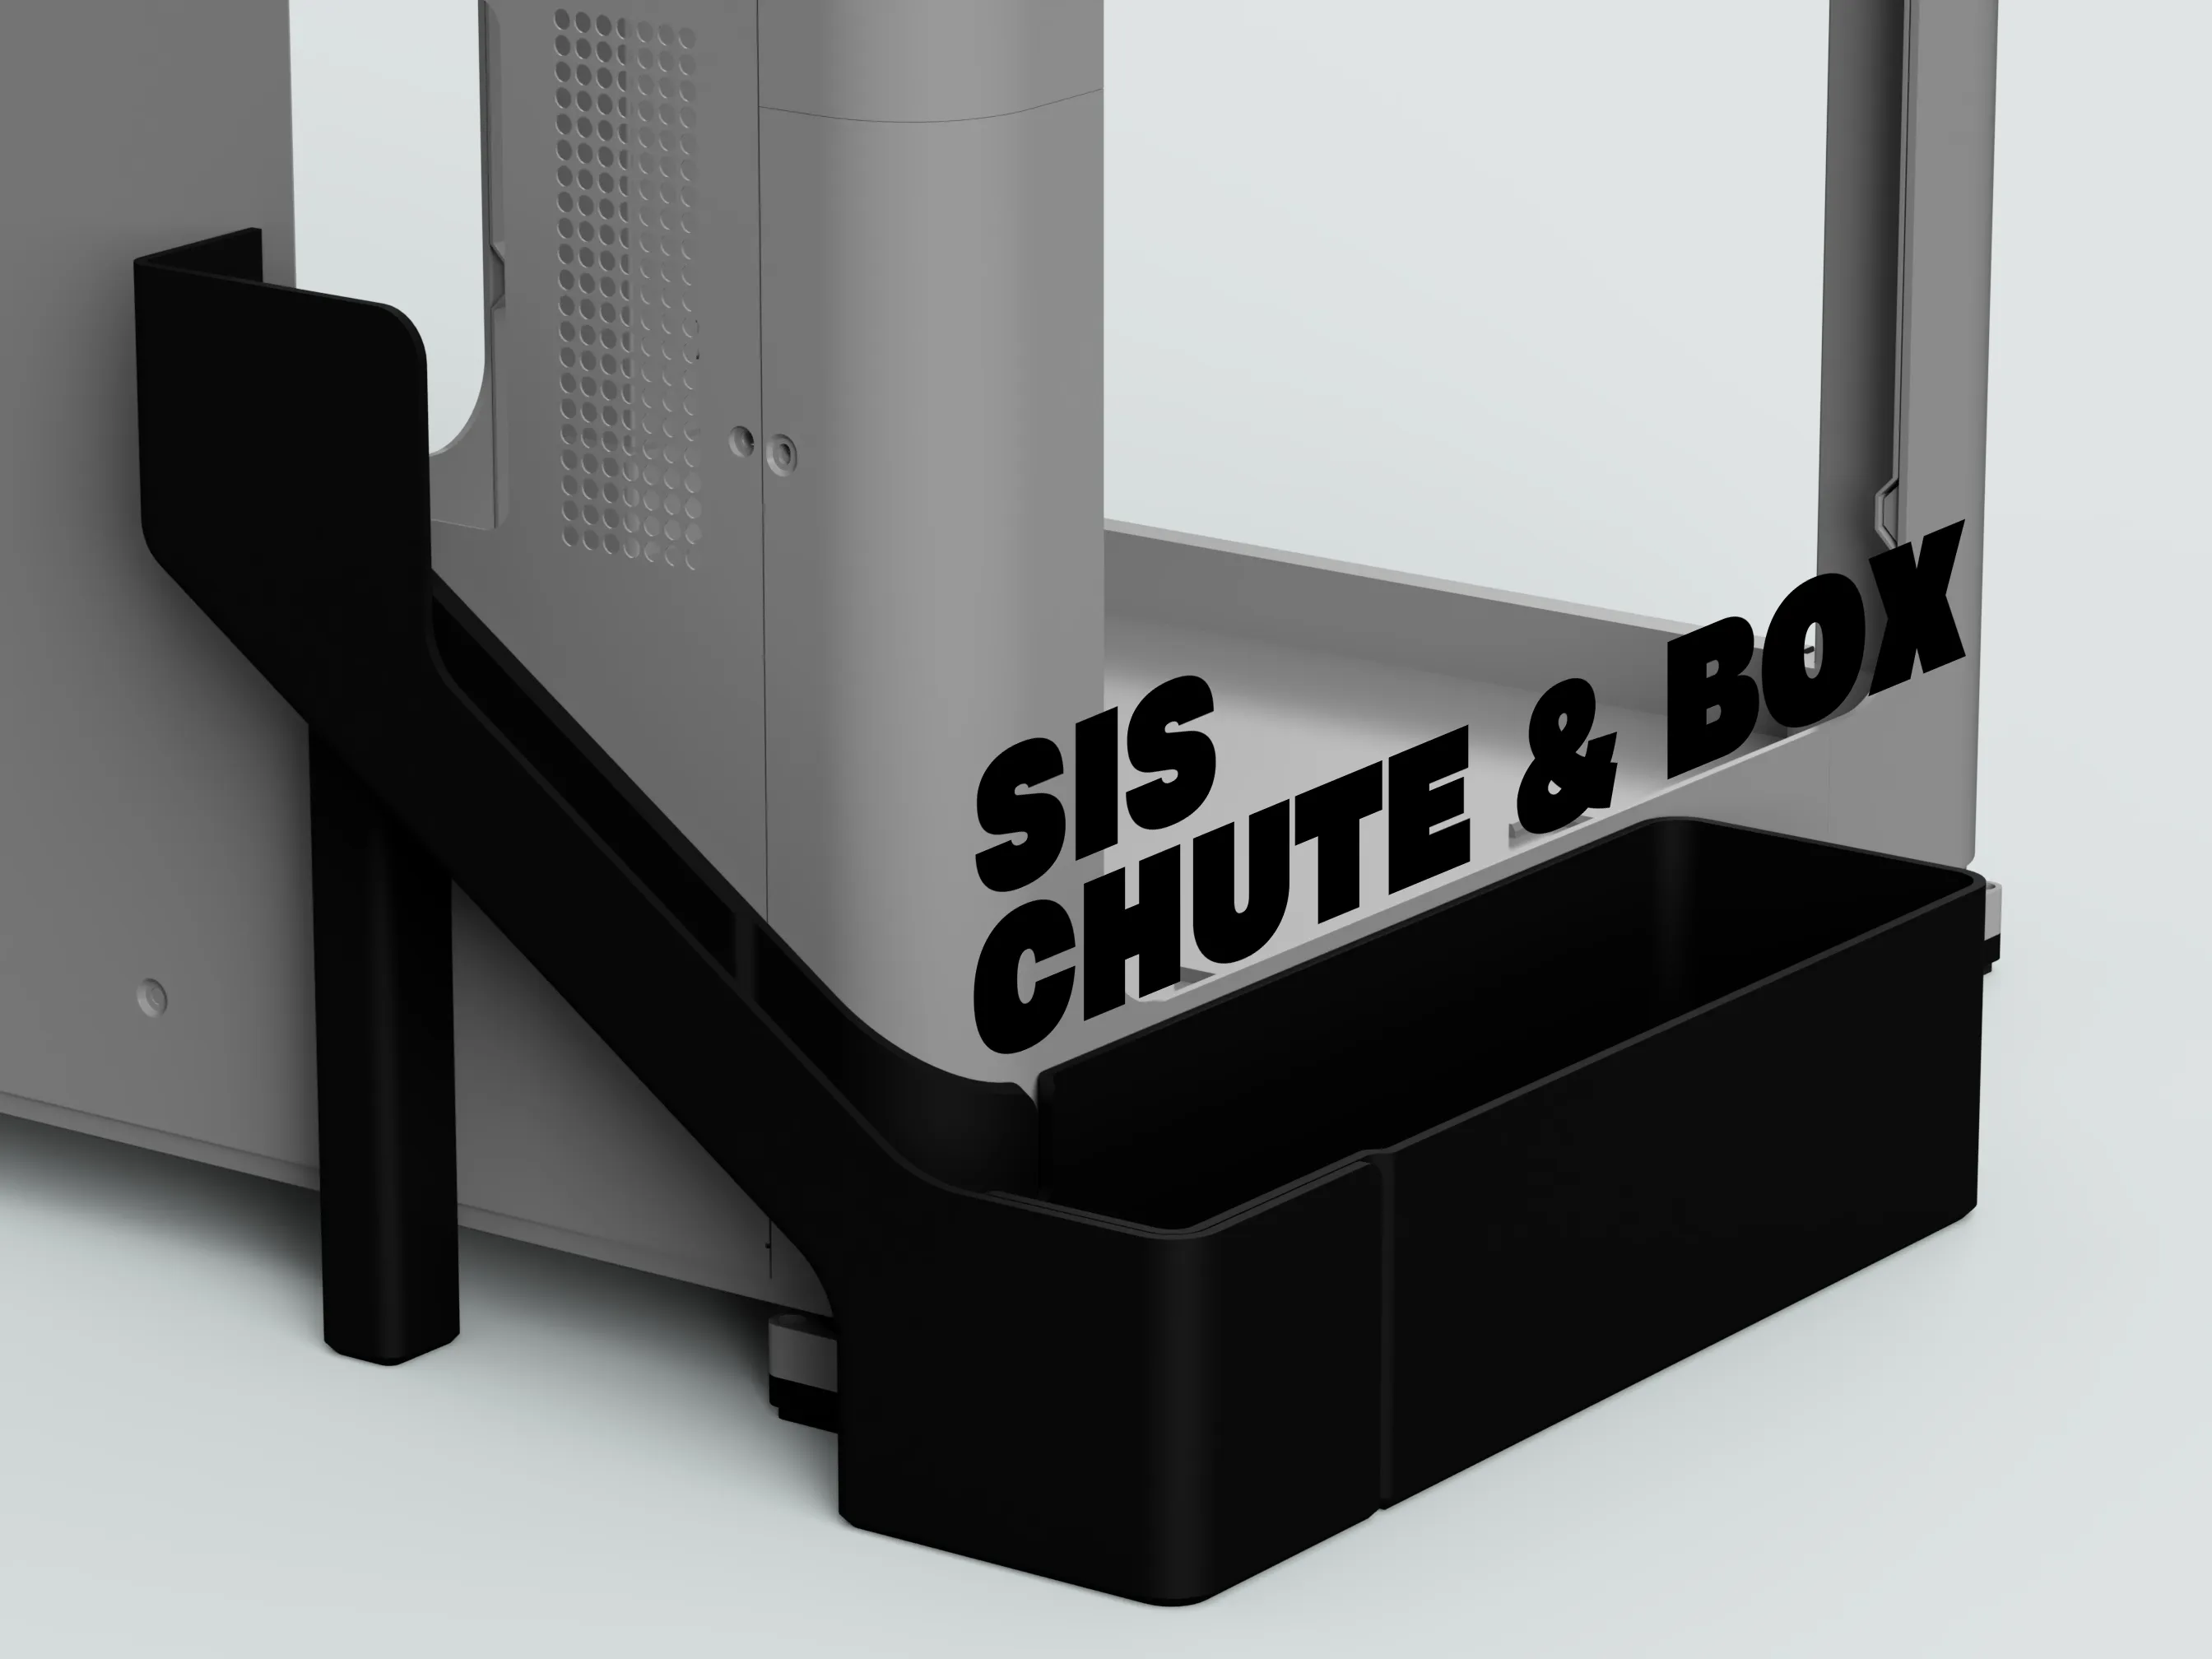
SIS - Chute & Box : https://makerworld.com/en/models/1360492
For SIS other than for the X1/P1 series, check the following.
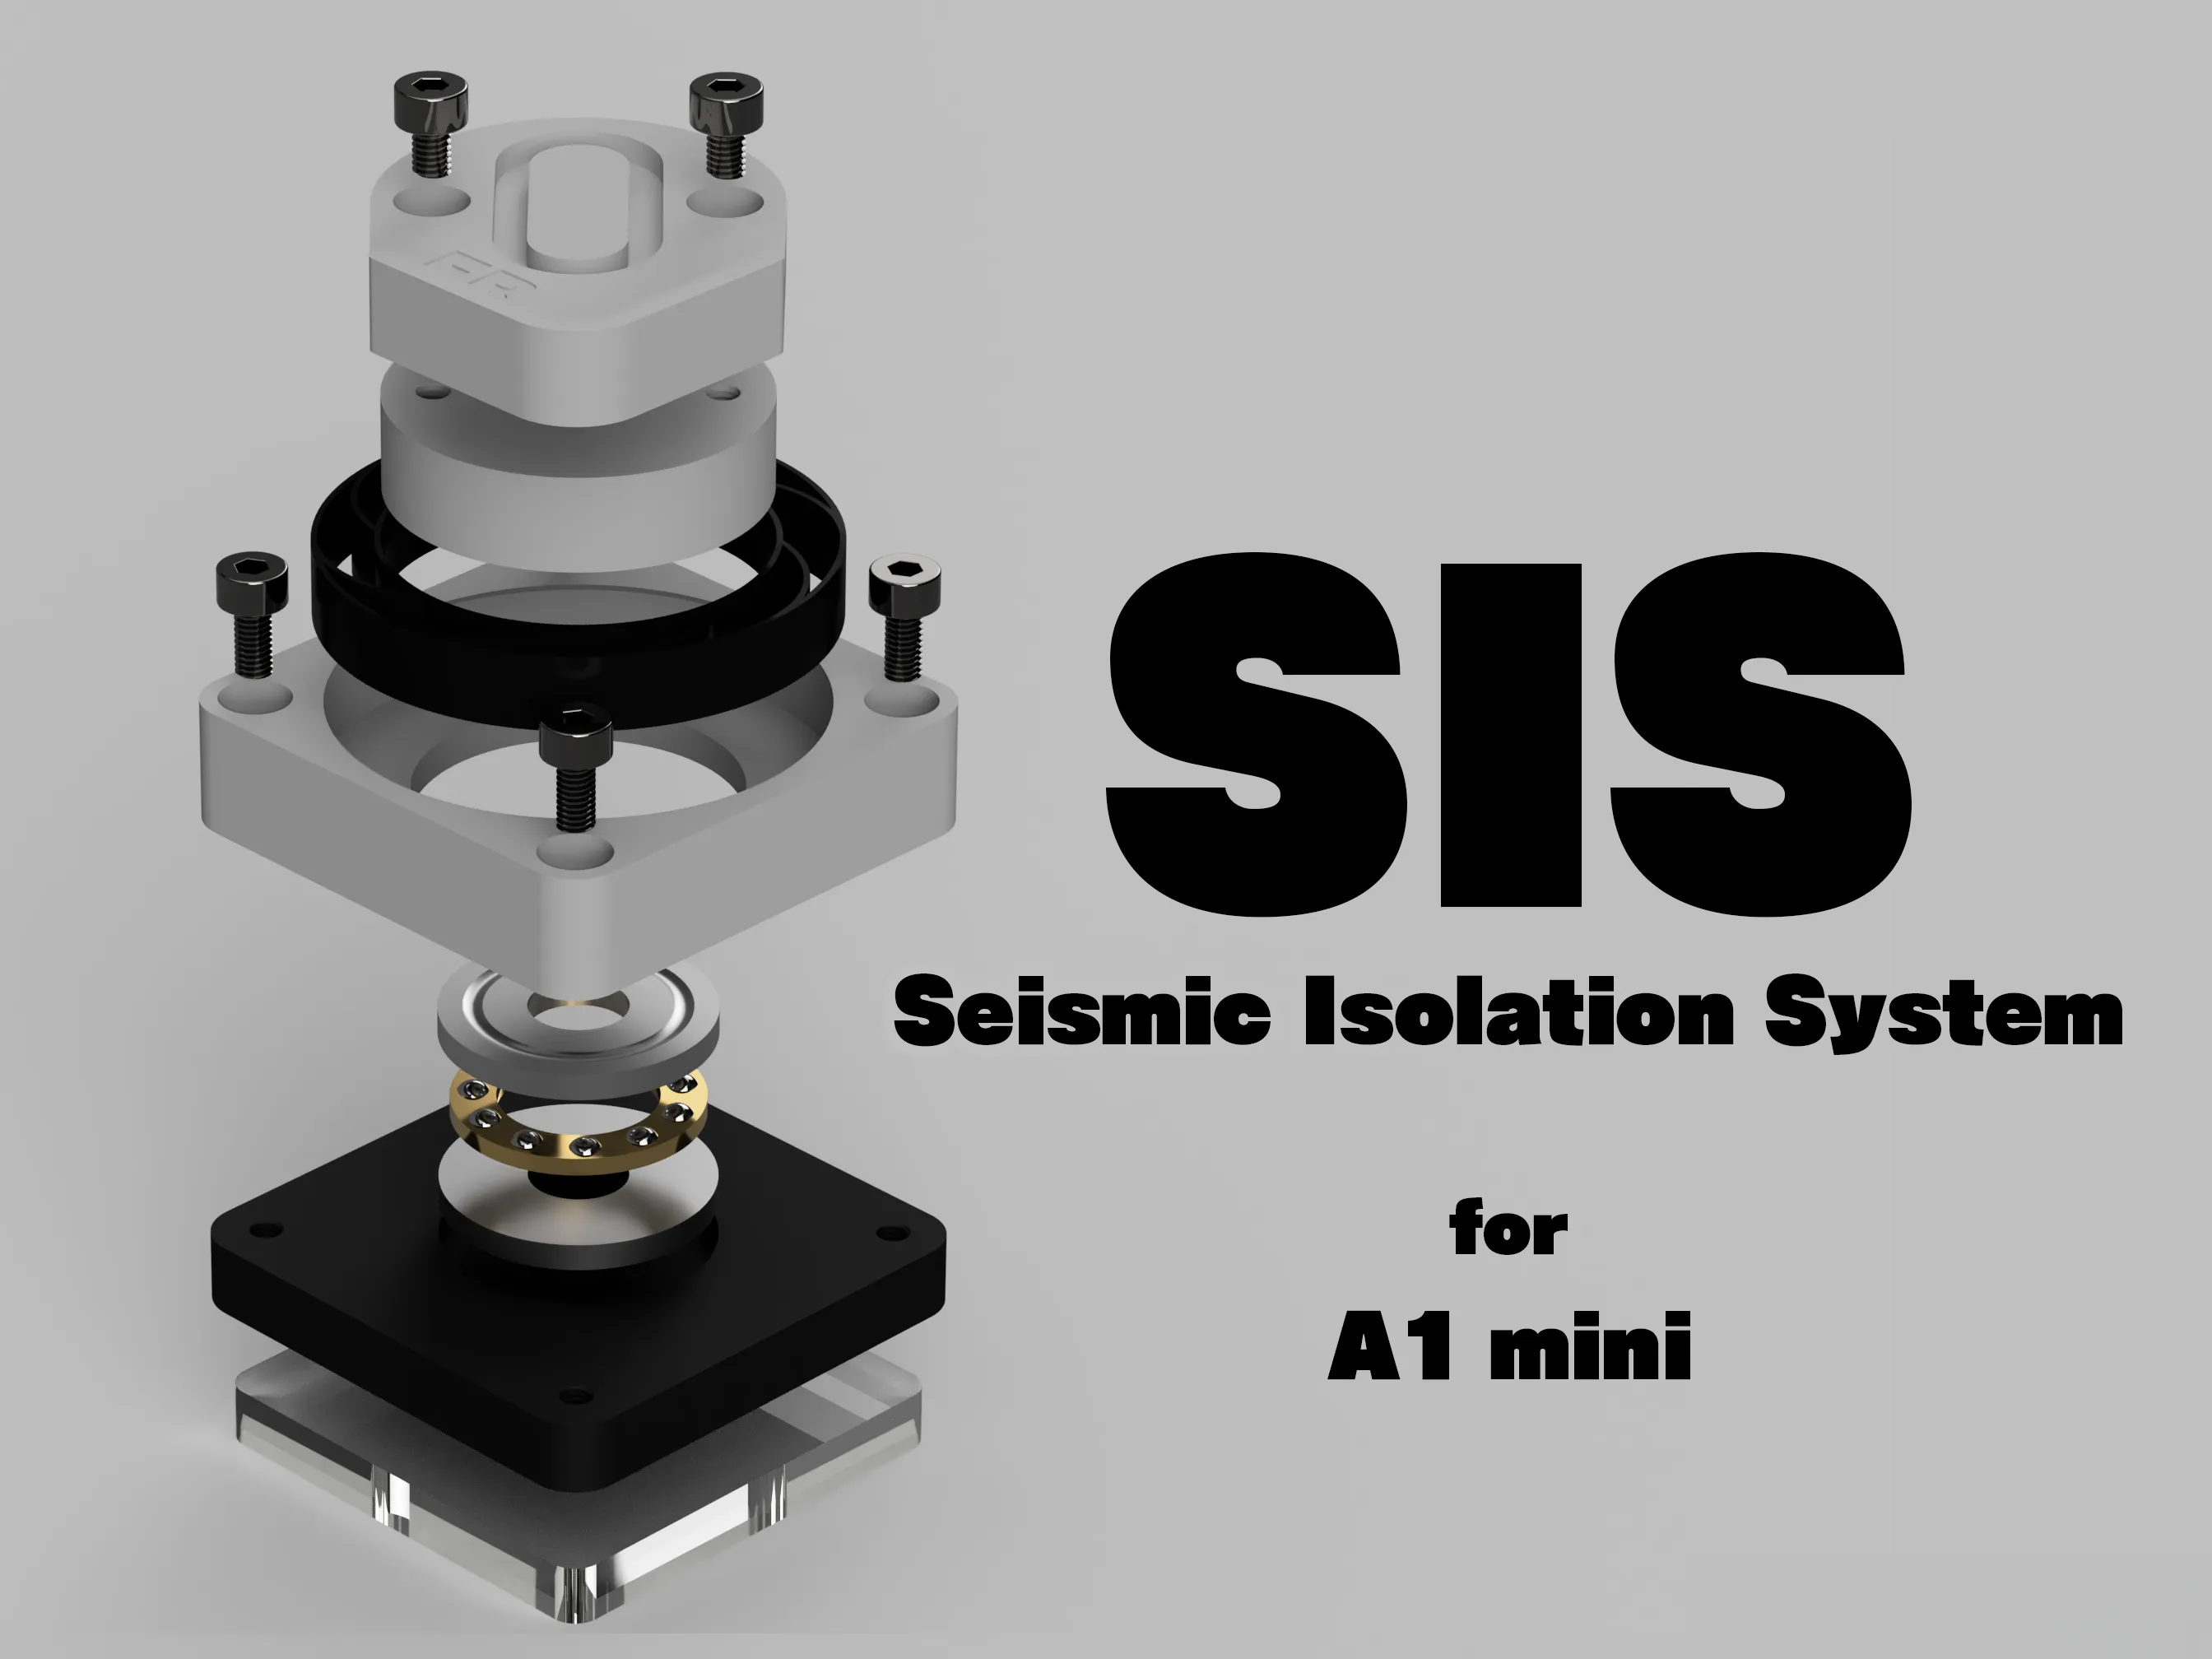
for A1 mini : https://makerworld.com/en/models/1015794
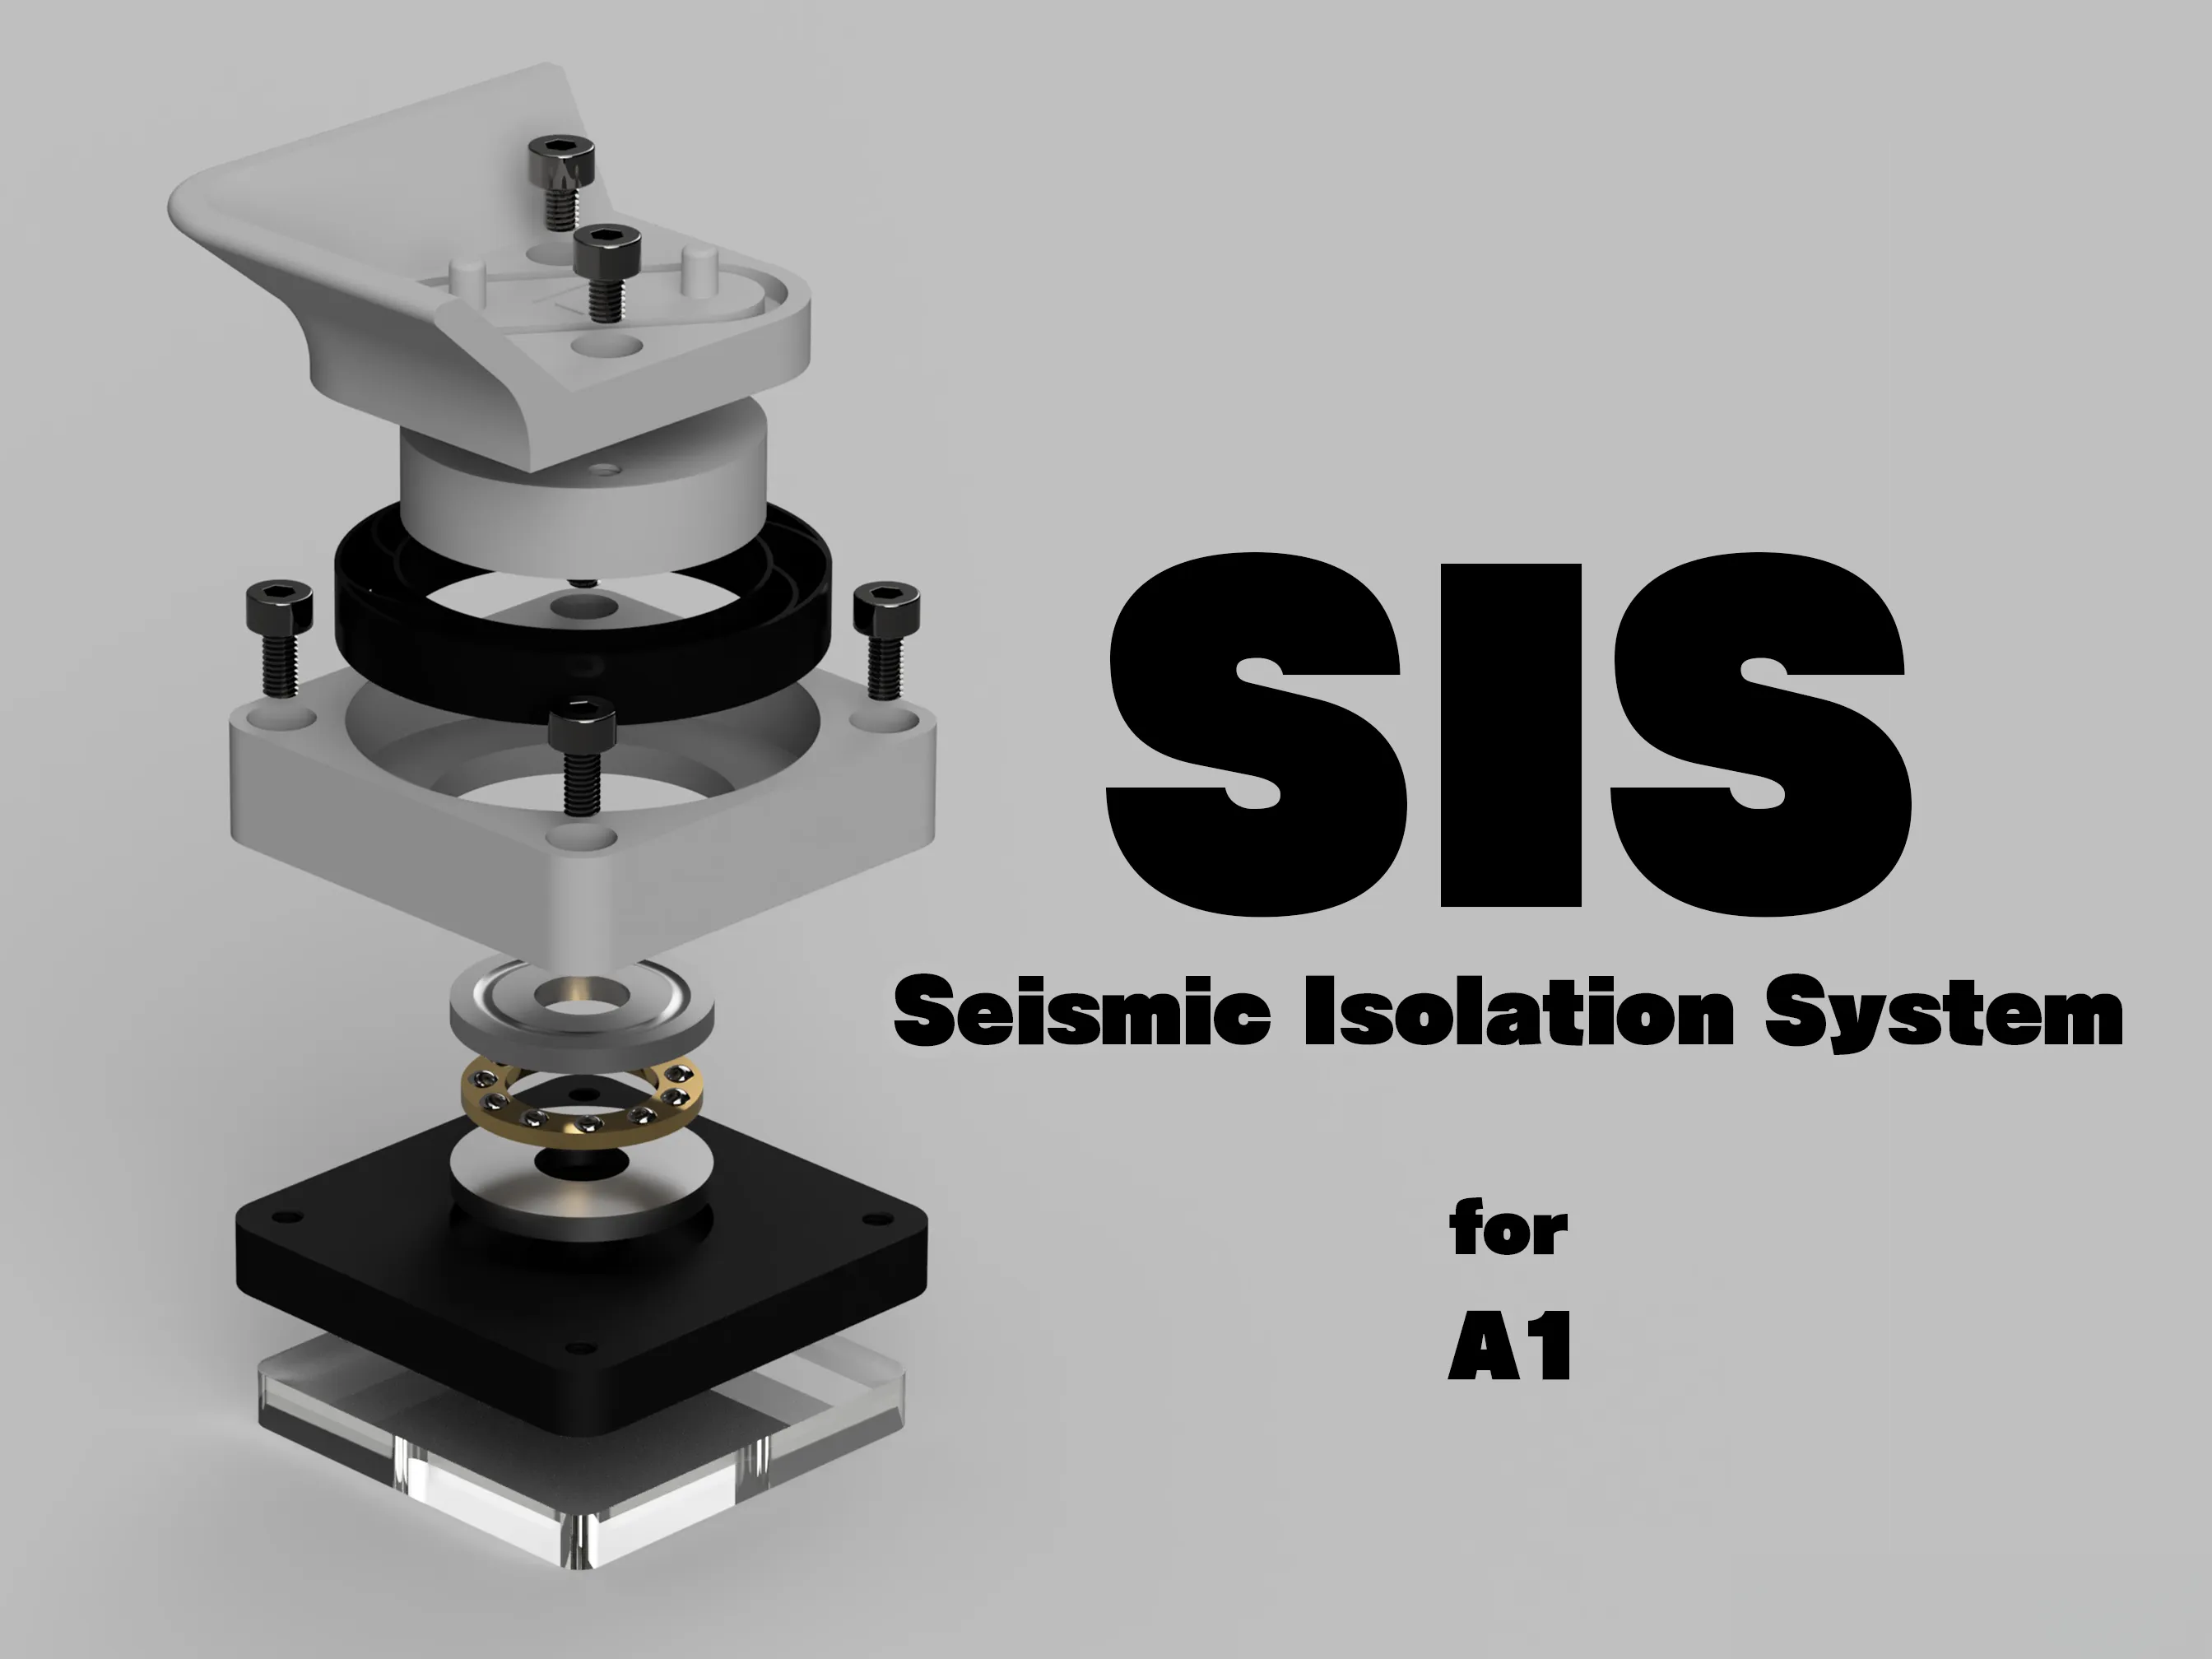
for A1 : https://makerworld.com/en/models/1081524
Seismic isolation performance of SIS
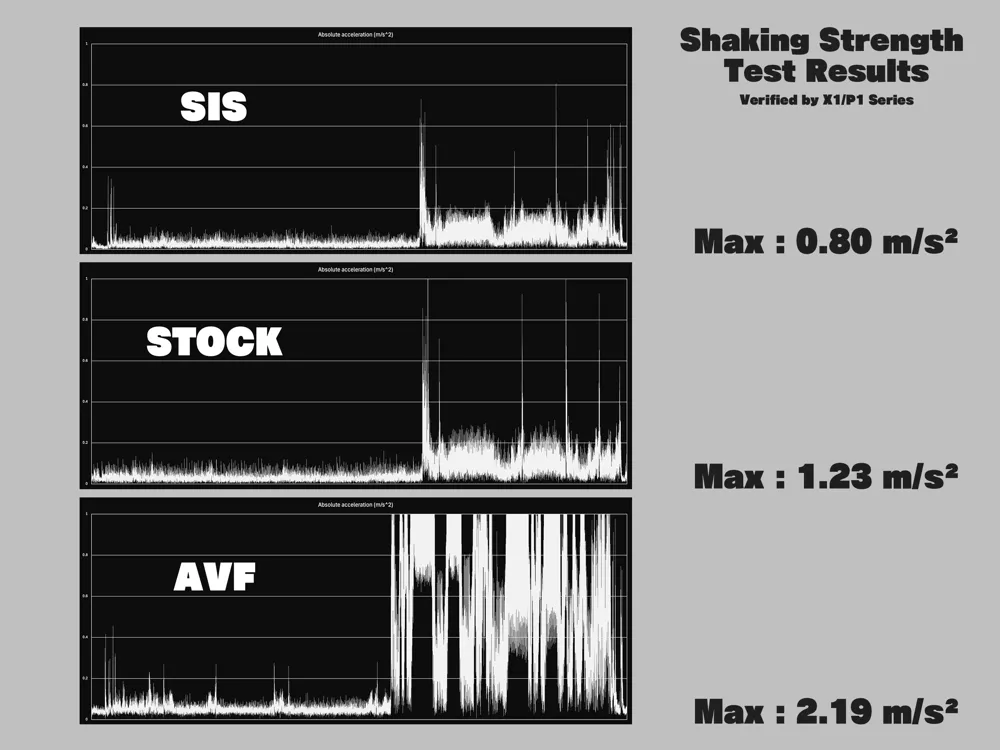
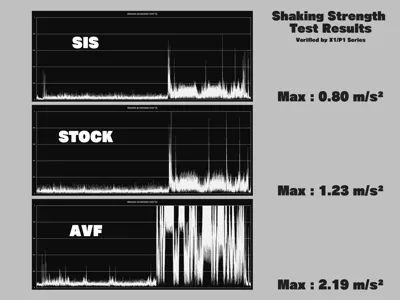
Using the iPhone’s accelerometer, we compared the vibration levels of SIS with both the stock feet and Bambu Lab’s anti-vibration feet.
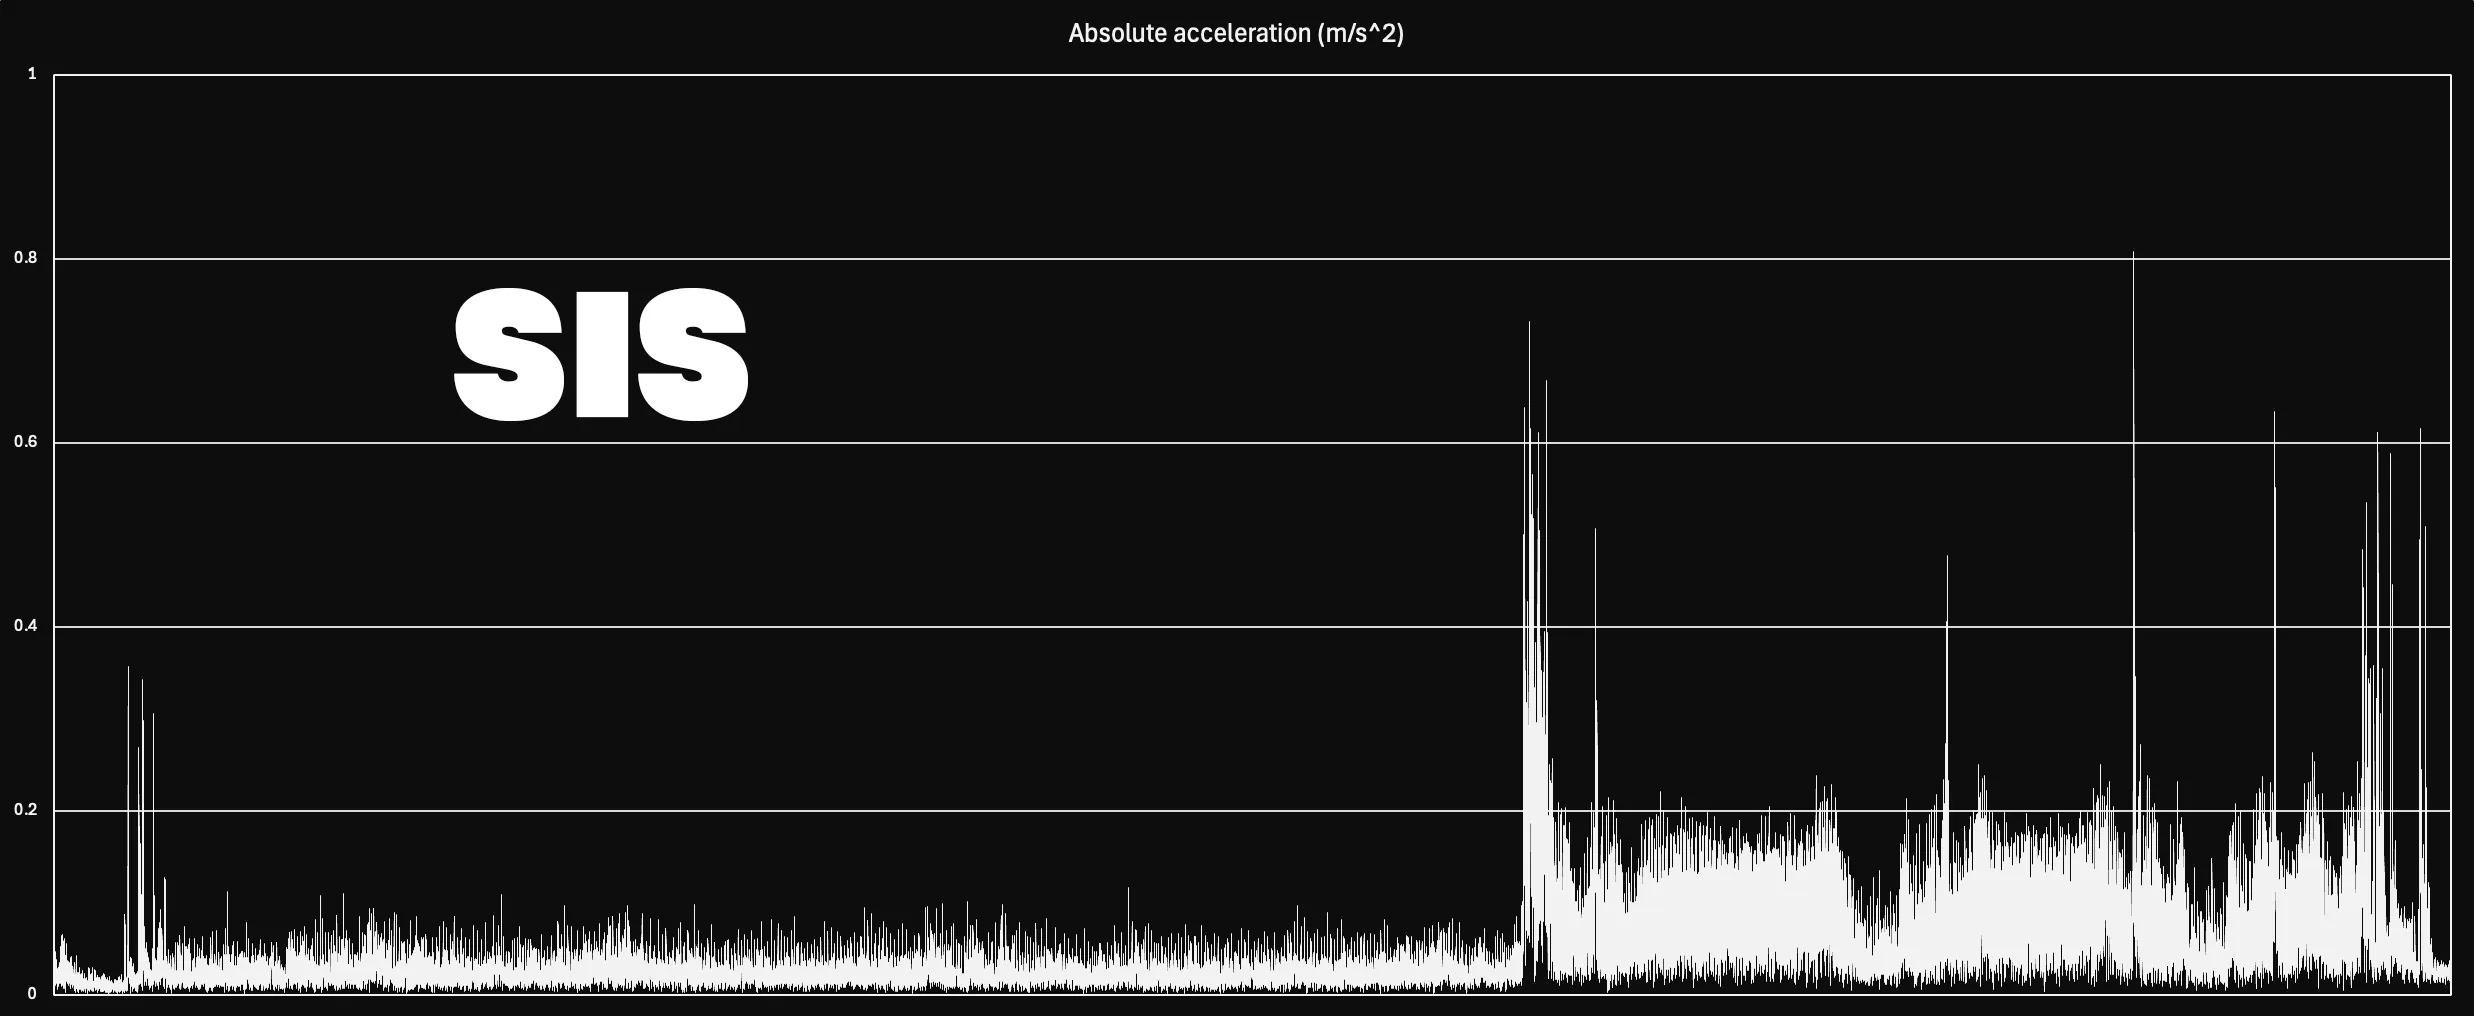
SIS reduces the printer’s body shake to approximately two-thirds of the level seen with the stock feet.
By absorbing and dispersing the vibrations generated by the printer, SIS improves both print quality and noise reduction.
Here are the test results for SIS.
Here are the test results for Stock Feet.
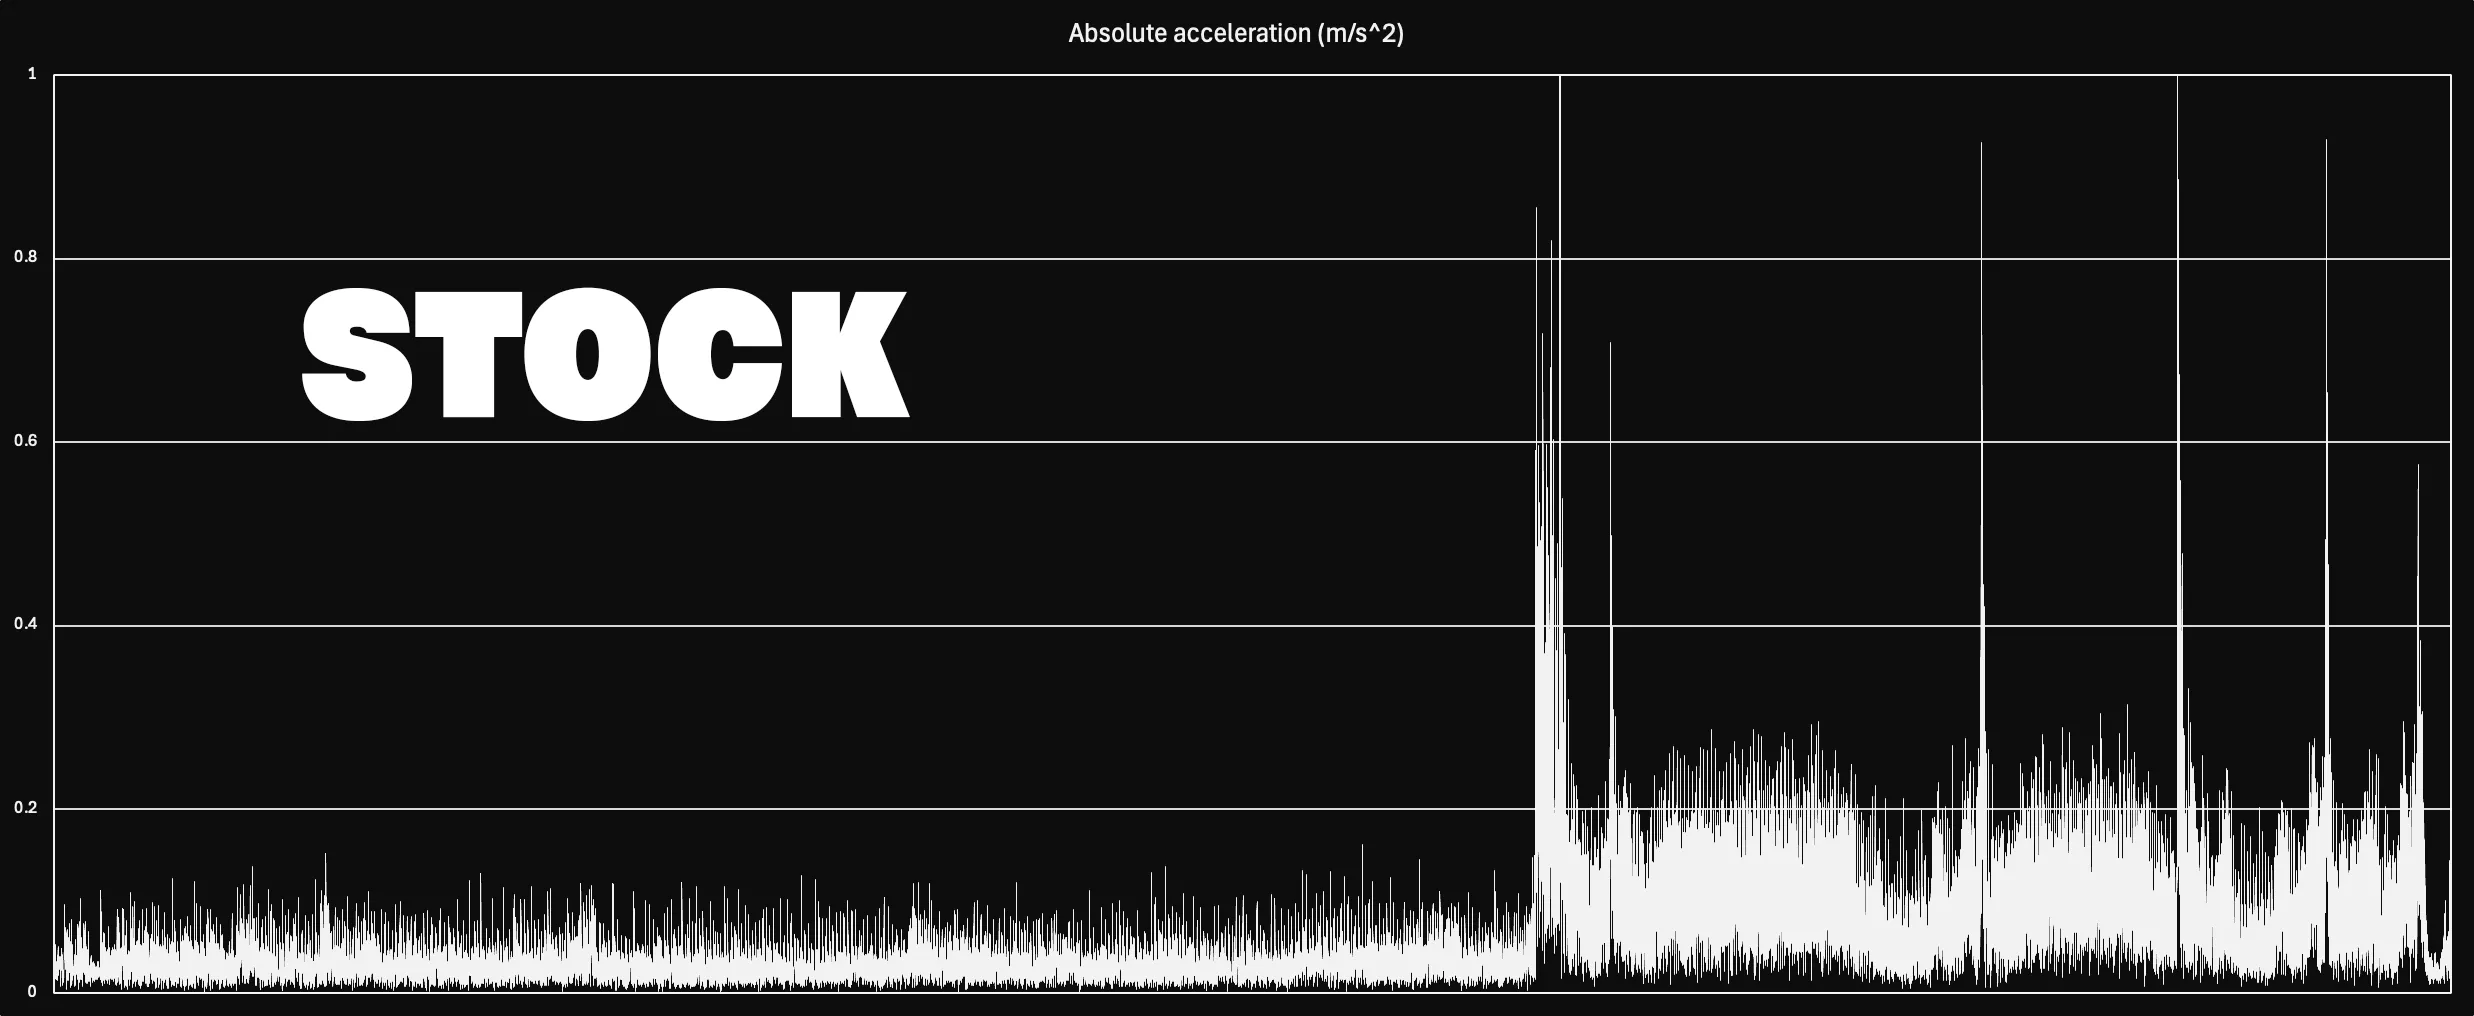
The stock feet recorded a vibration level of 1.23 m/s², exceeding the allowable threshold of 1.0 m/s² shown in the graph.
However, the Bambu Lab’s anti-vibration feet sold by Bambu Lab significantly increase body vibration.
Although they provide a similar level of noise reduction to SIS, they may negatively affect print quality.
Here are the test results for Bambu Lab’s Anti-Vibration Feet.
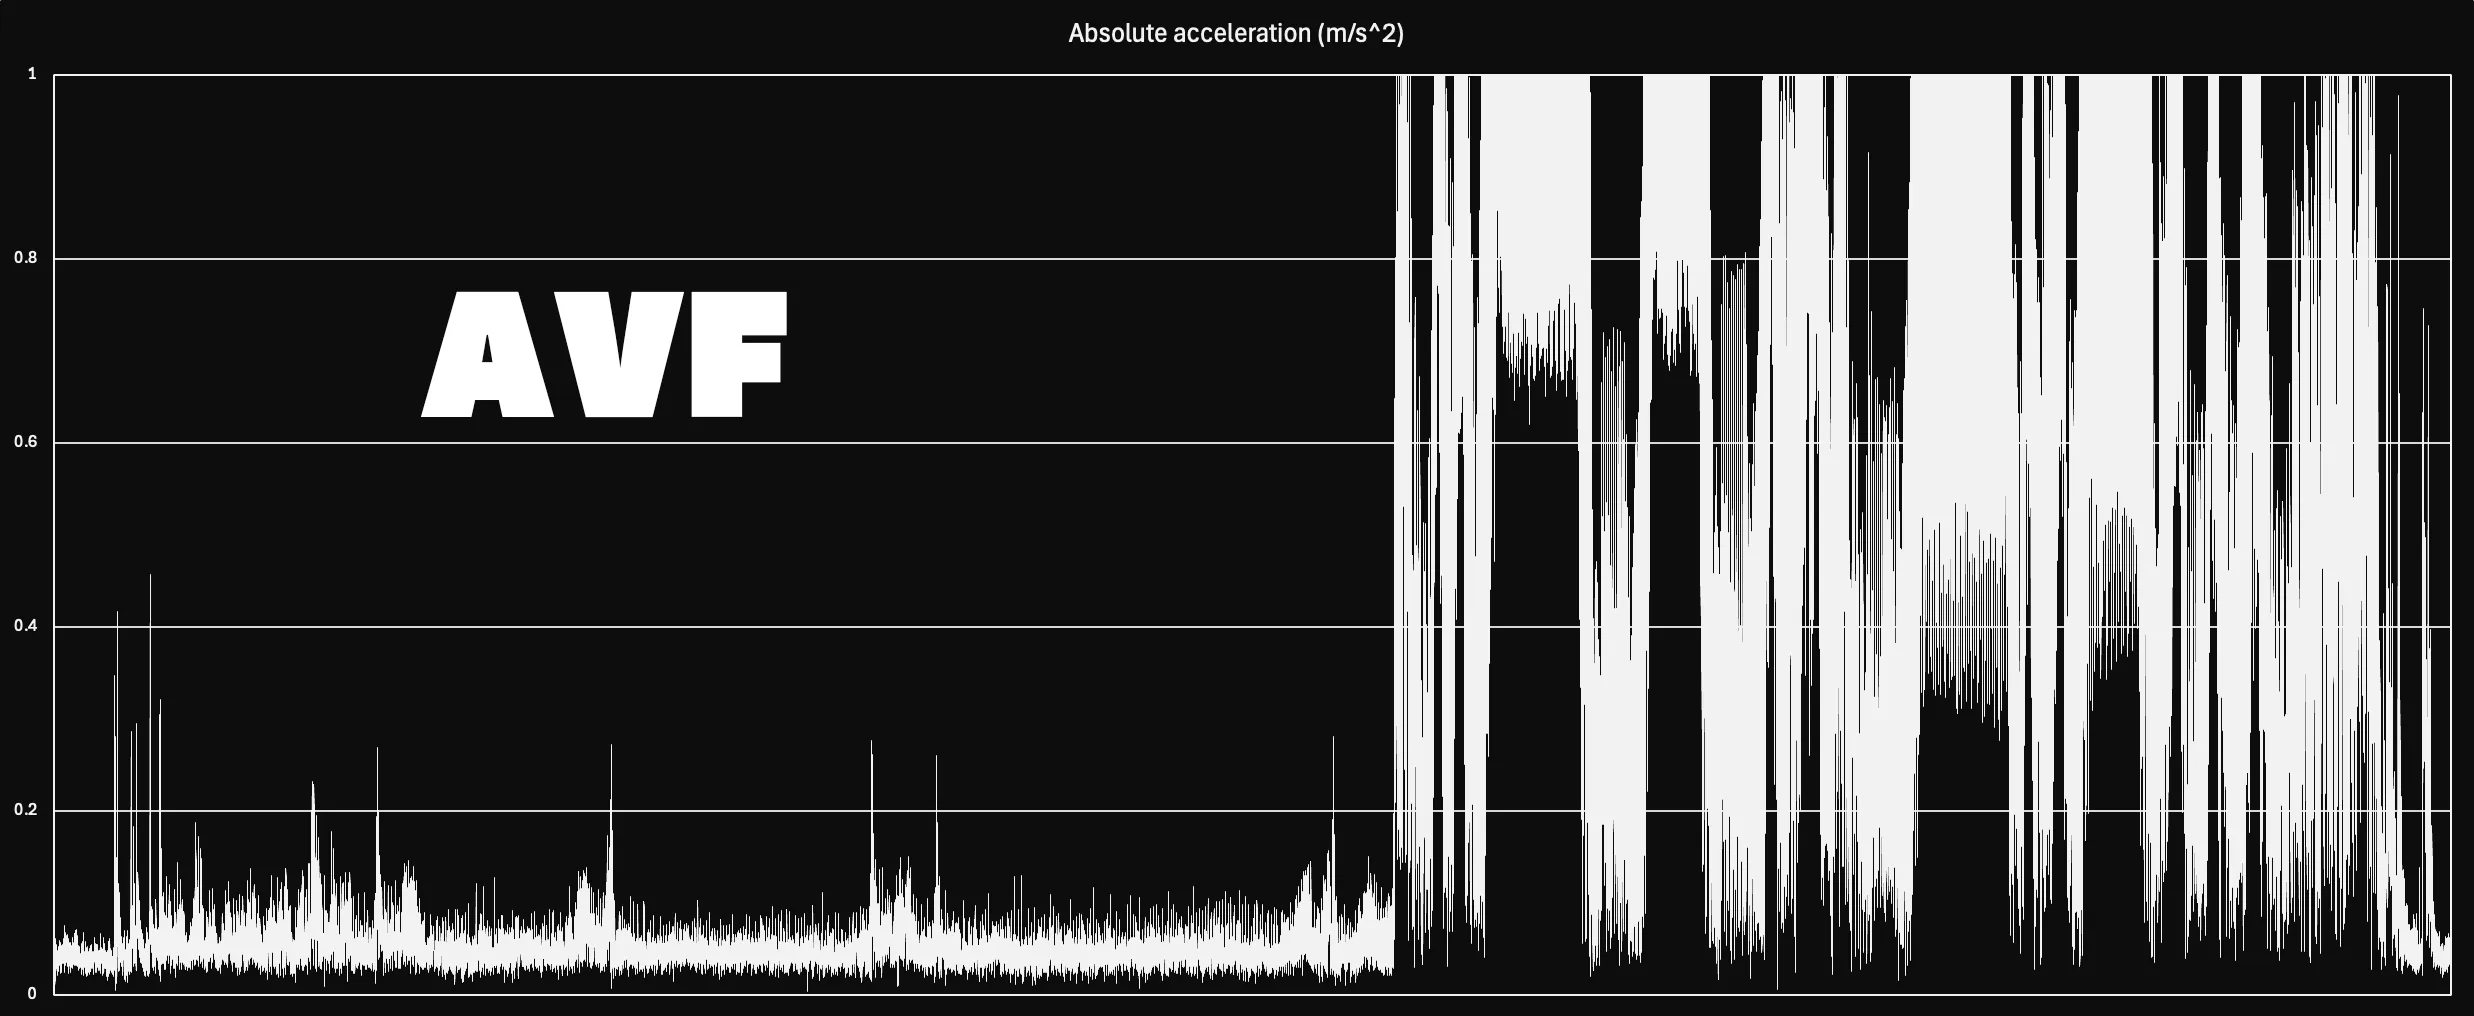
The vibration caused by the Bambu Lab’s anti-vibration feet is so intense that it cannot be properly compared using the standard graph scale.
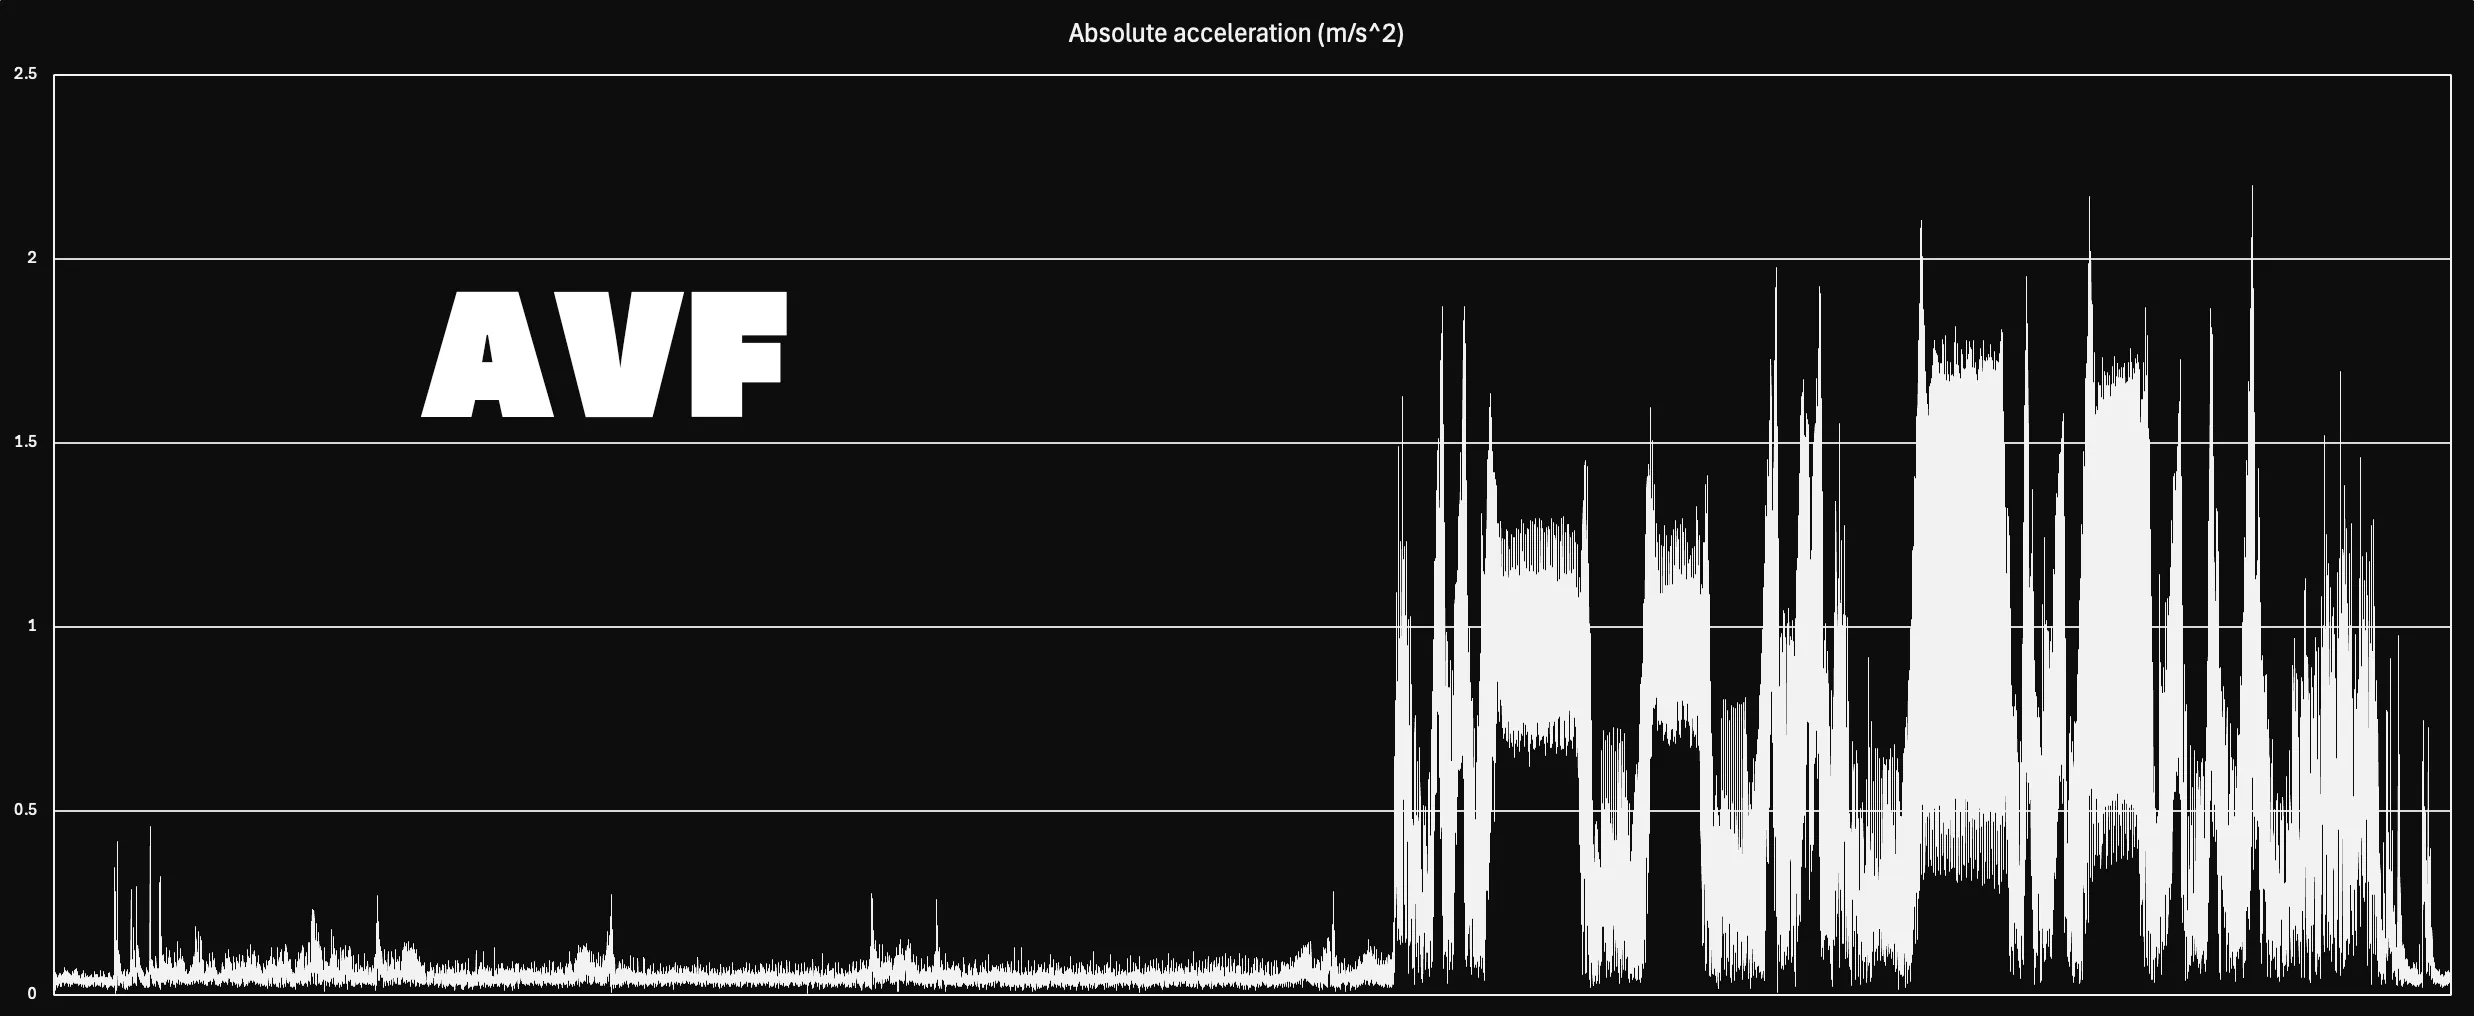
When the Y-axis is extended to 2.5 m/s², the full extent of the vibration becomes visible.
I recommend discontinuing the use of AVF and switching to SIS instead.
The vibration test is conducted at a maximum printing speed of 500mm/s.
In terms of max volumetric speed, this equals "40mm³/s," a speed that most commercially available filaments cannot handle.
In actual use, the vibrations would likely be much smaller.
The vibration test was conducted under the same conditions using the smartphone app “phyphox.”
You can check the details of the app on the website below.
What you will need
The following items are required to print SIS.
- PLA filament
The body of the SIS should be made of a rigid material with low toughness and no shrinkage.
Therefore, PLA filament is suitable, not PETG or ABS.
Any general PLA filament can be used.
- TPU 95A filament
SIS anti-vibration dampers use TPU 95A filament.
However, there are differences in hardness among manufacturers, so if you are concerned about this, please use the following Overture Highspeed TPU.
https://amzn.to/3yKCeCb
- M3 6mm bolts
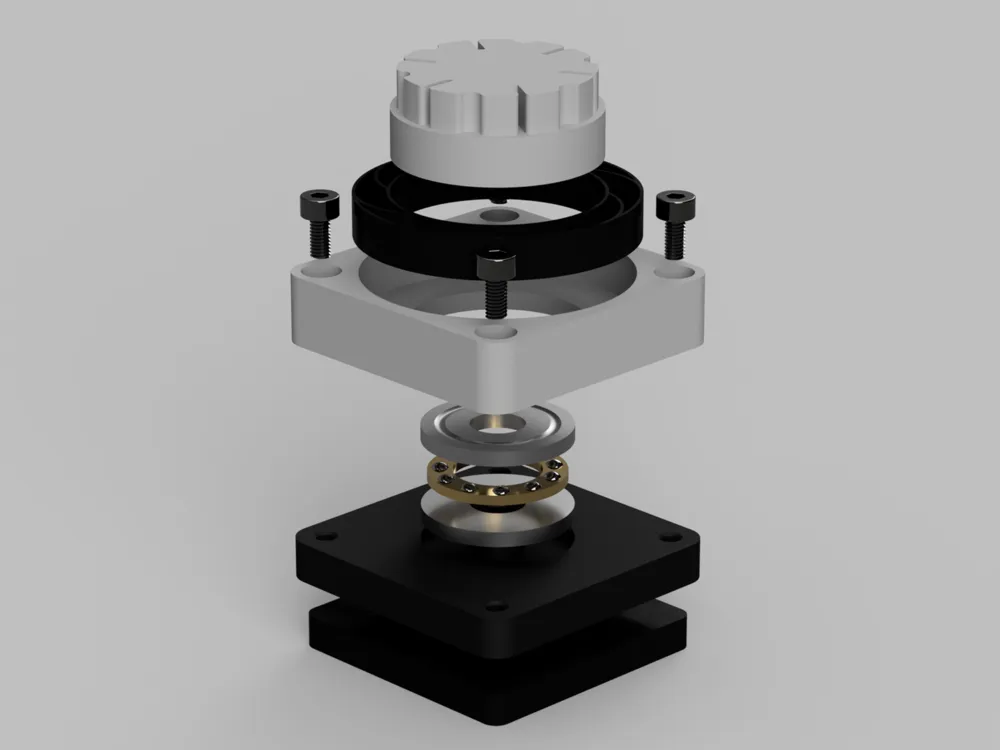
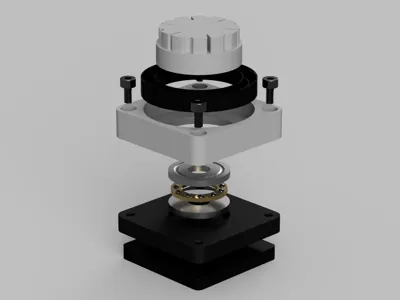
The main body of the SIS is divided into a lower cover and an upper cover.
Two or four M3 6mm bolts should be prepared for each body to secure it during assembly.
Two bolts are sufficient if they are fixed diagonally, but four bolts are recommended.
- F8-22M thrust bearing (11 ball model)
Four F8-22M standard thrust bearings are required.
There are various numbers of balls on the market, but SIS is designed to fit an 11-ball model.
If the support in the center of the bearing is 20.2 mm in diameter, there is no problem.
https://amzn.to/3Va6YE6
- Earthquake proof gel mats (if needed)
Earthquake proof mats can be used instead of TPU mats.
40mm 40mm x 5mm gel mats from other manufacturers can also be used.
* See later description for details.
About SIS Features
SIS involves precise measurements and design to control bearing behavior and maximize its effectiveness.
The design, adjusted to micron-level precision, ensures excellent sliding performance, smooth operation, and no wobbling.
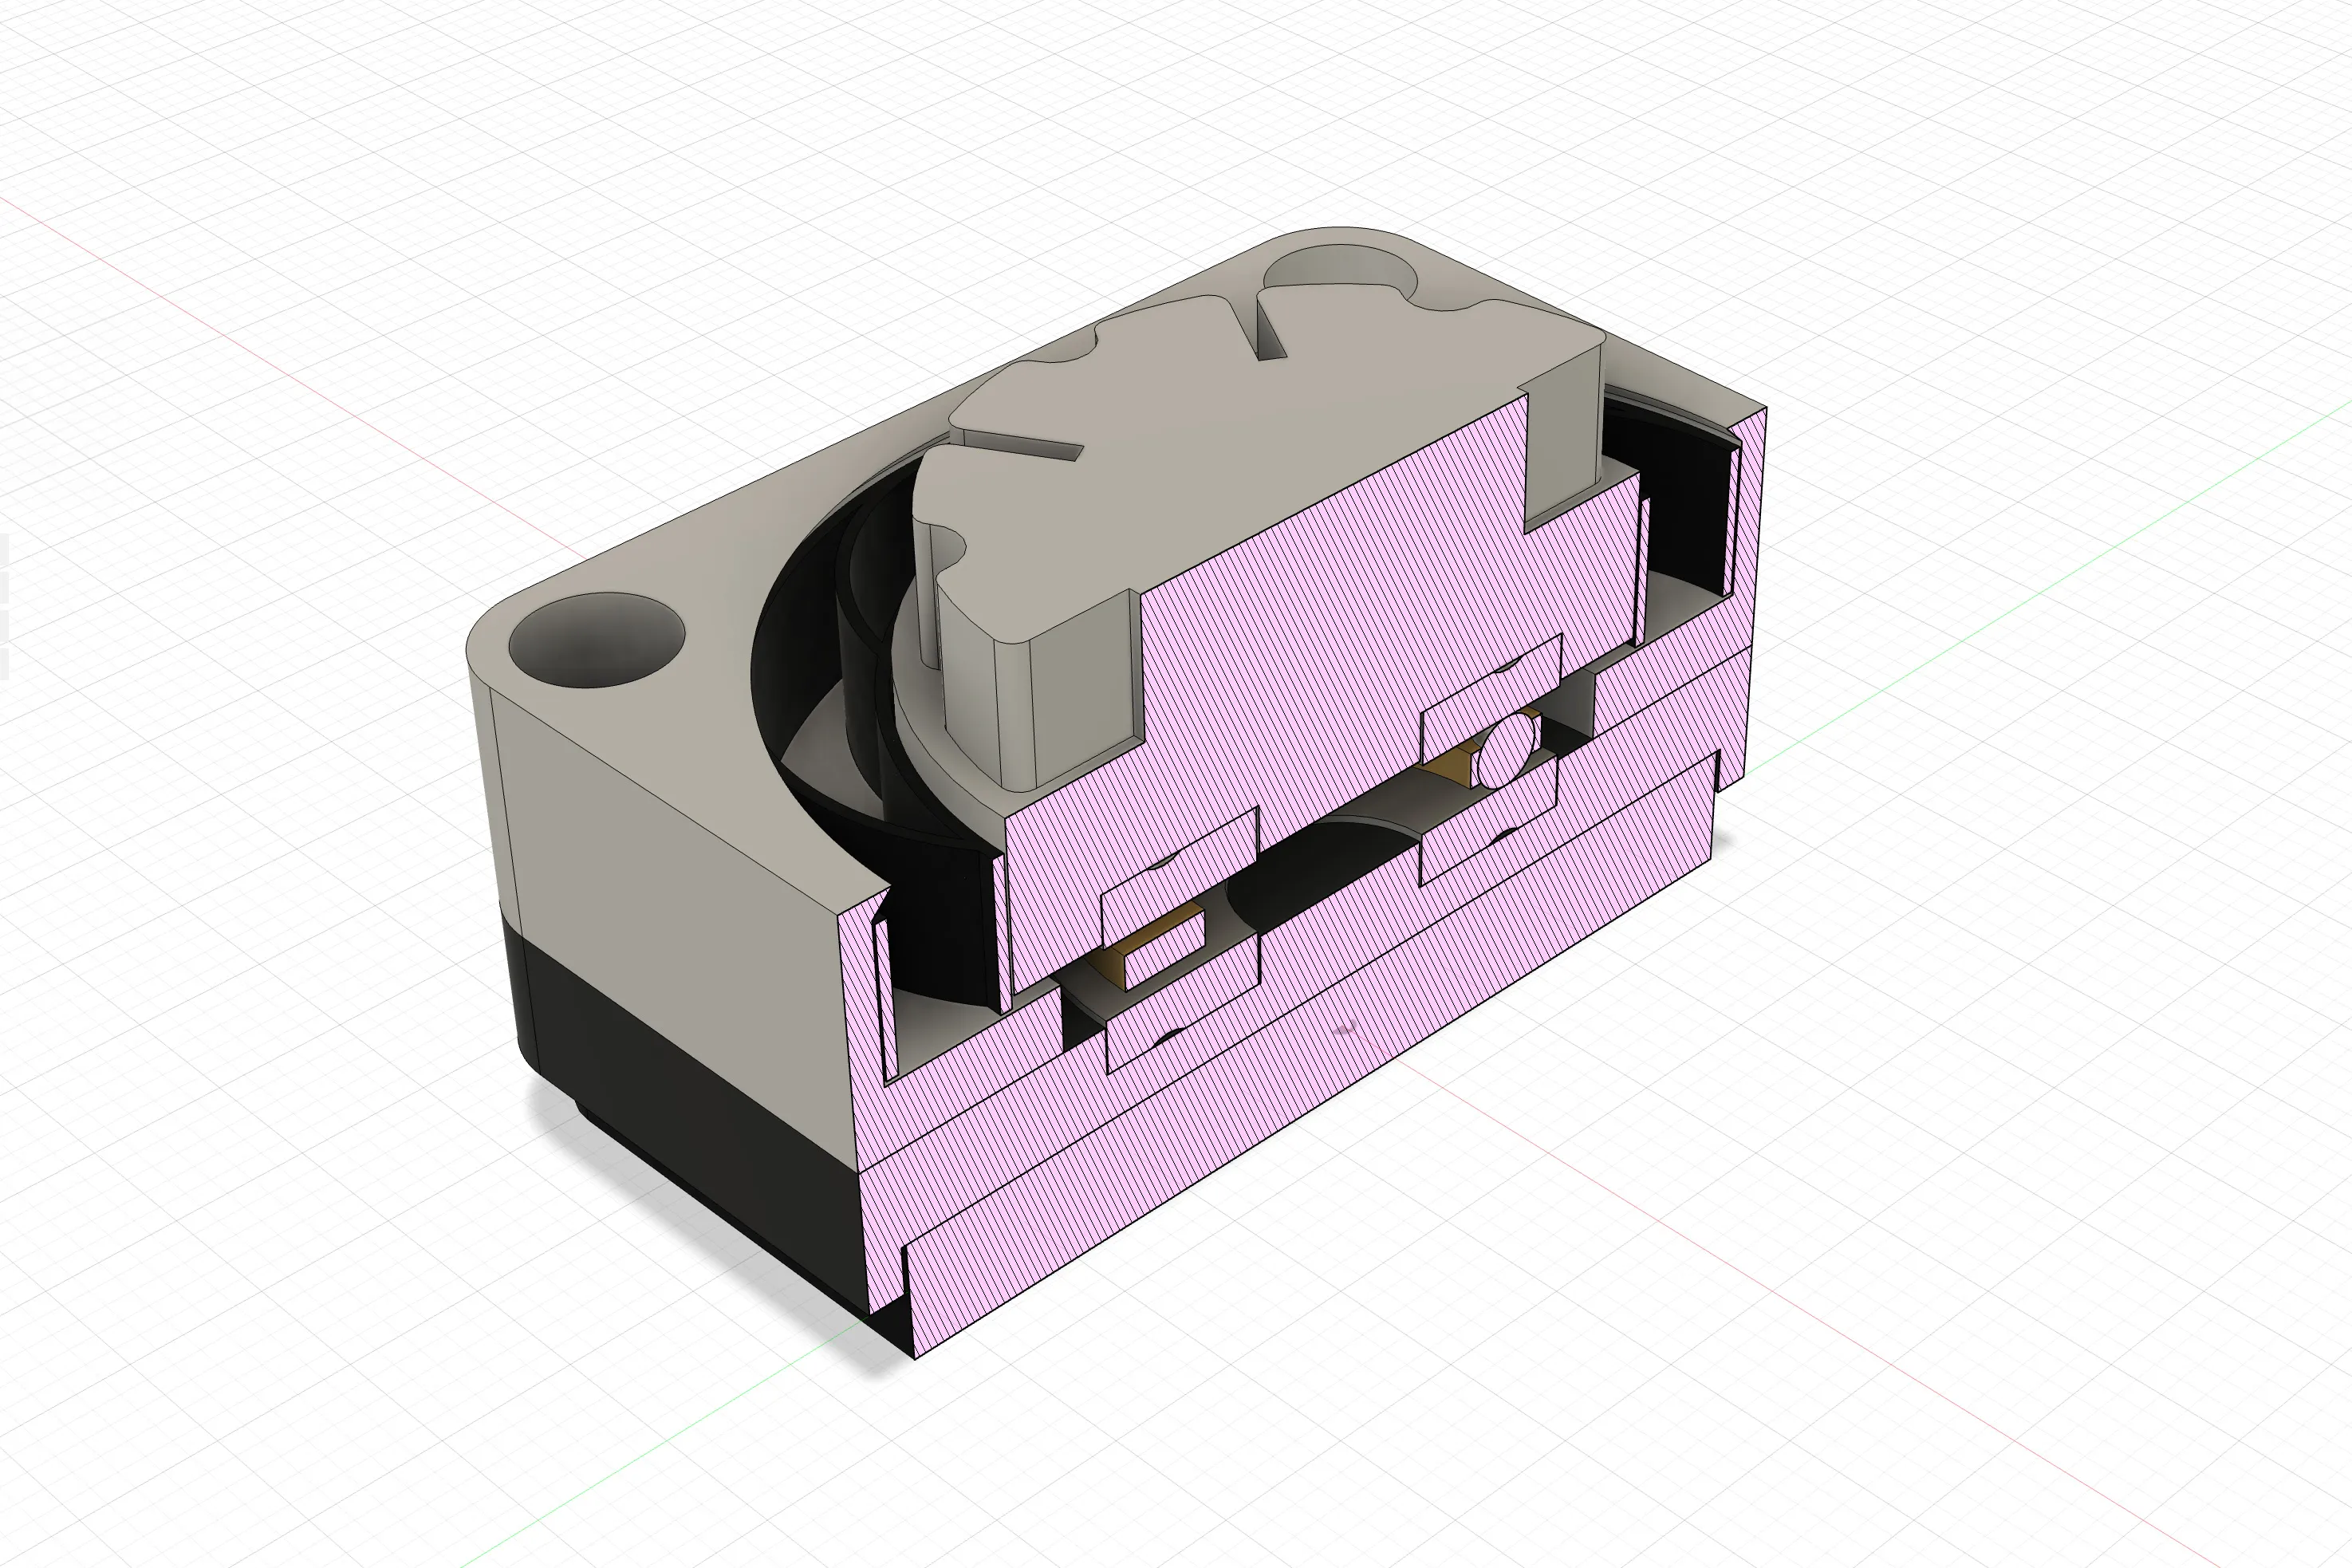
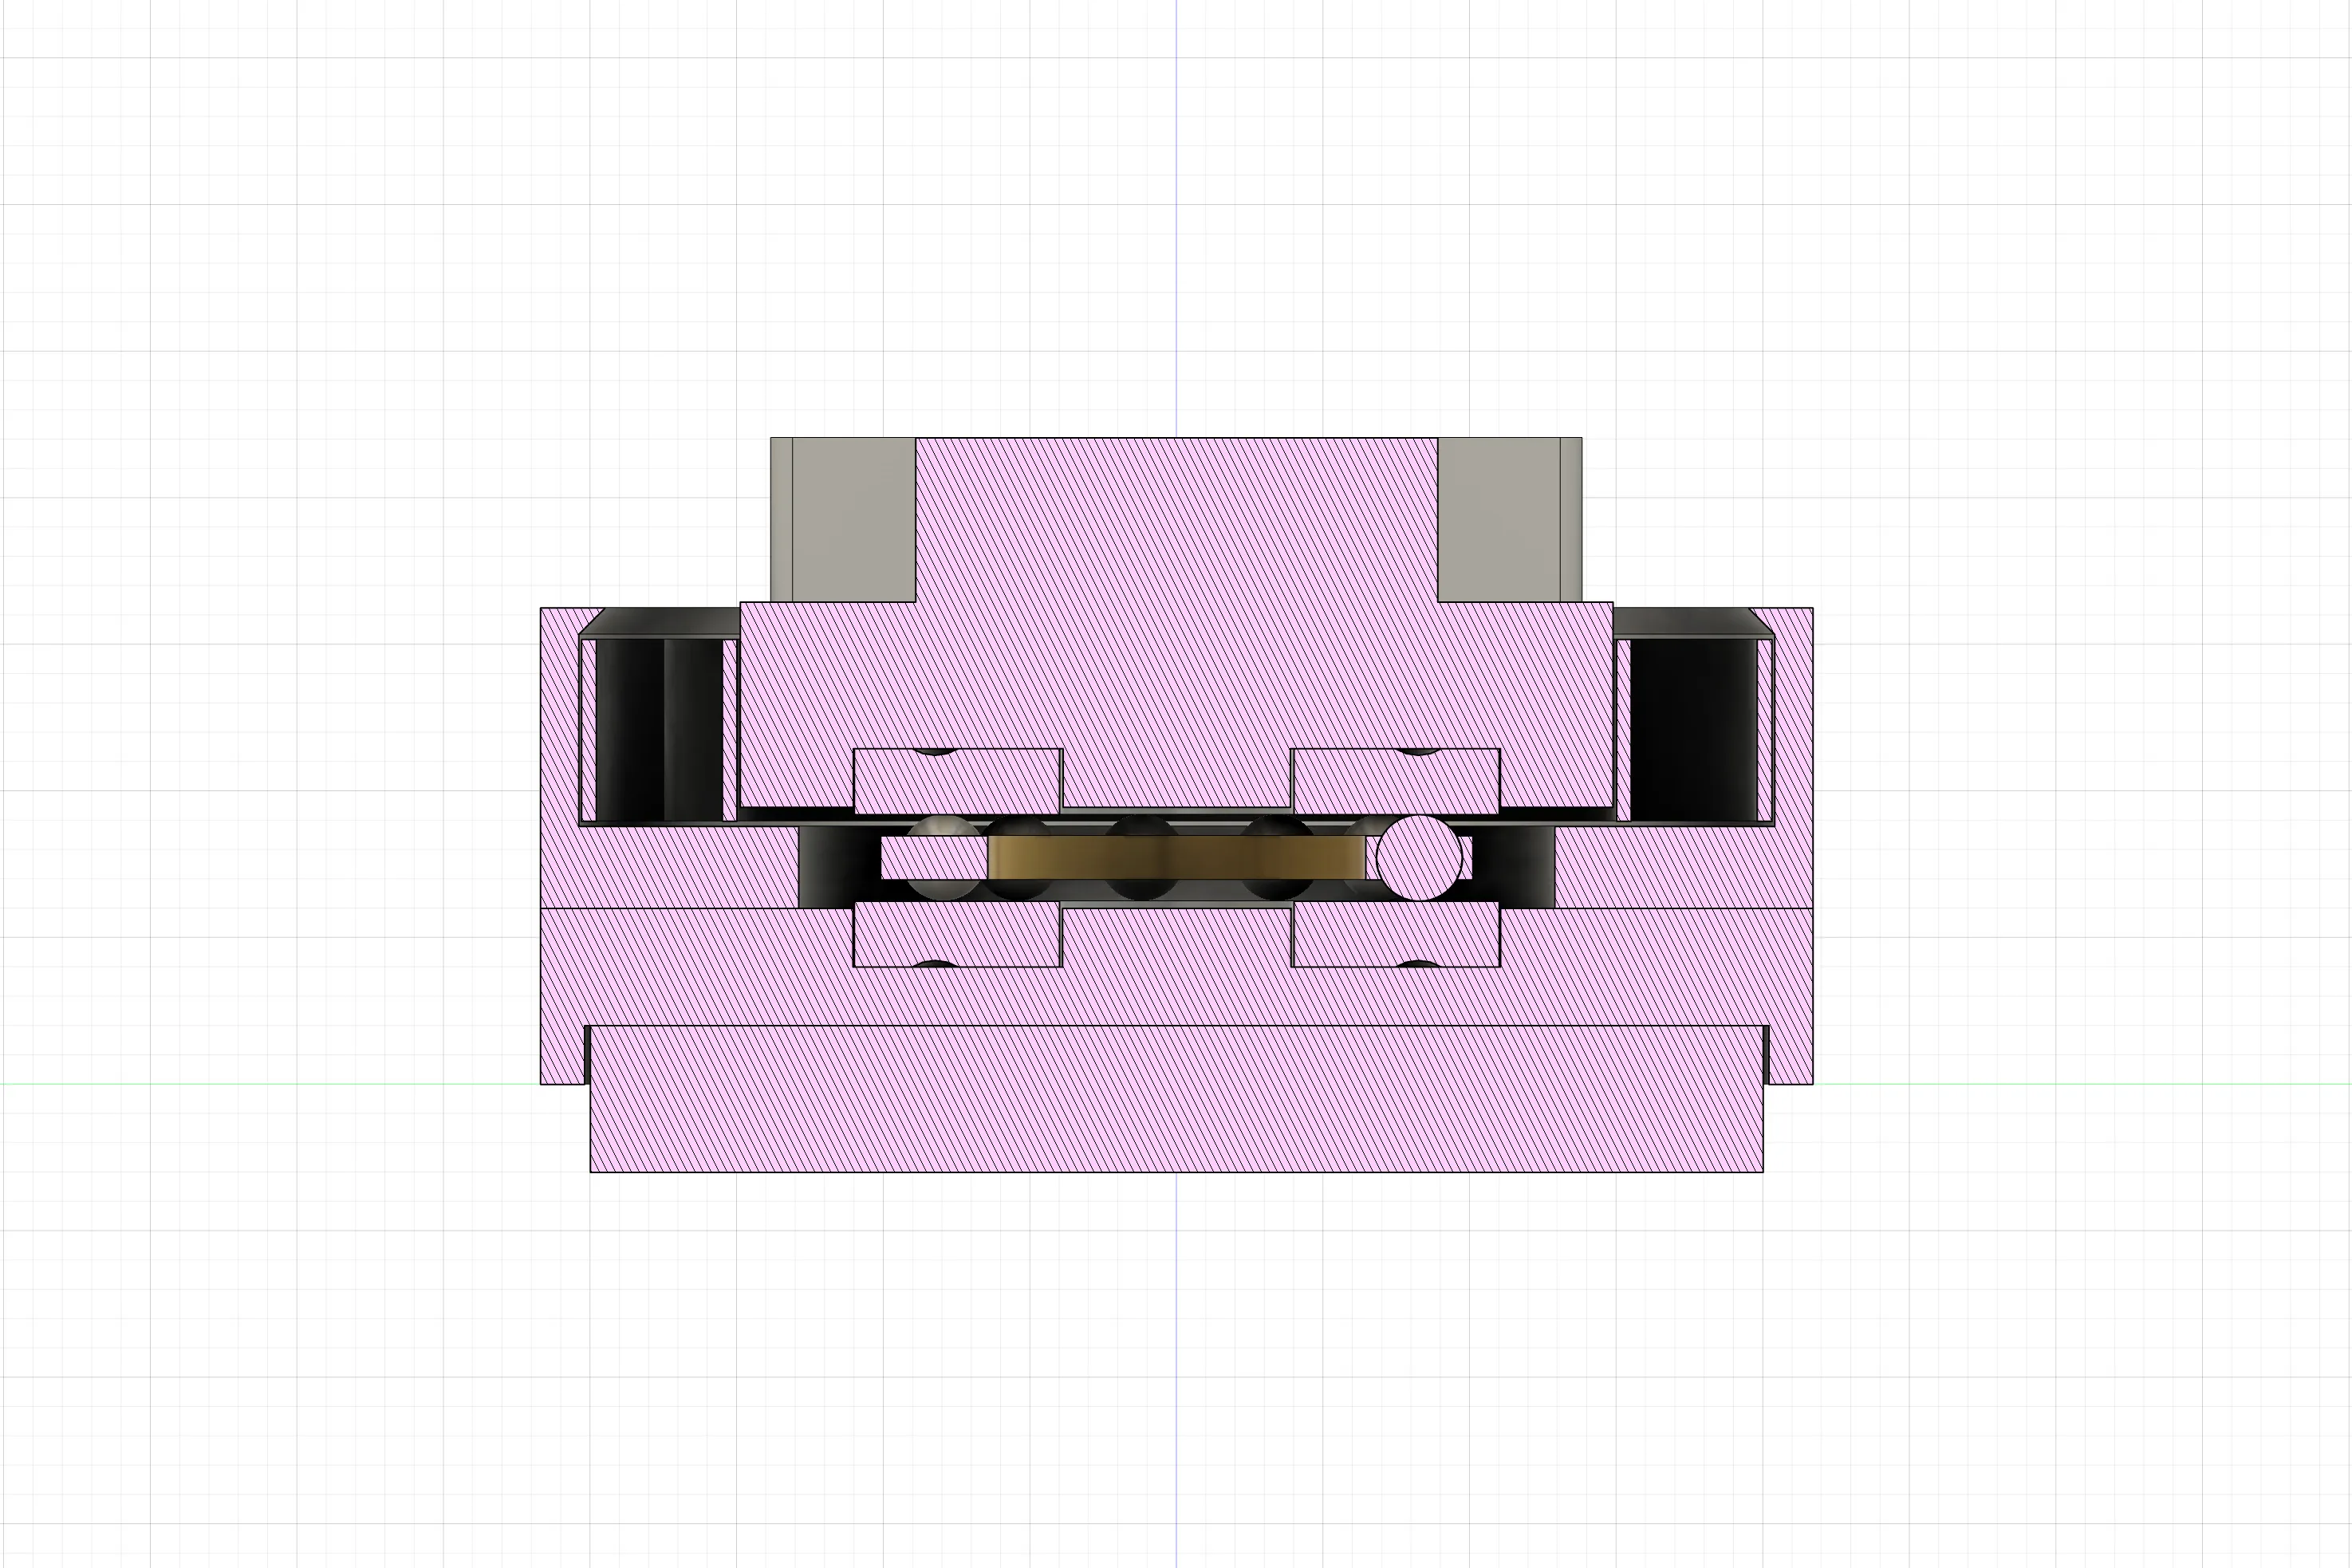
This precise design ensures that the bearing washers and Cage & Balls do not contact the parts and operate properly within the maximum operating range.
This provides even better seismic isolation.
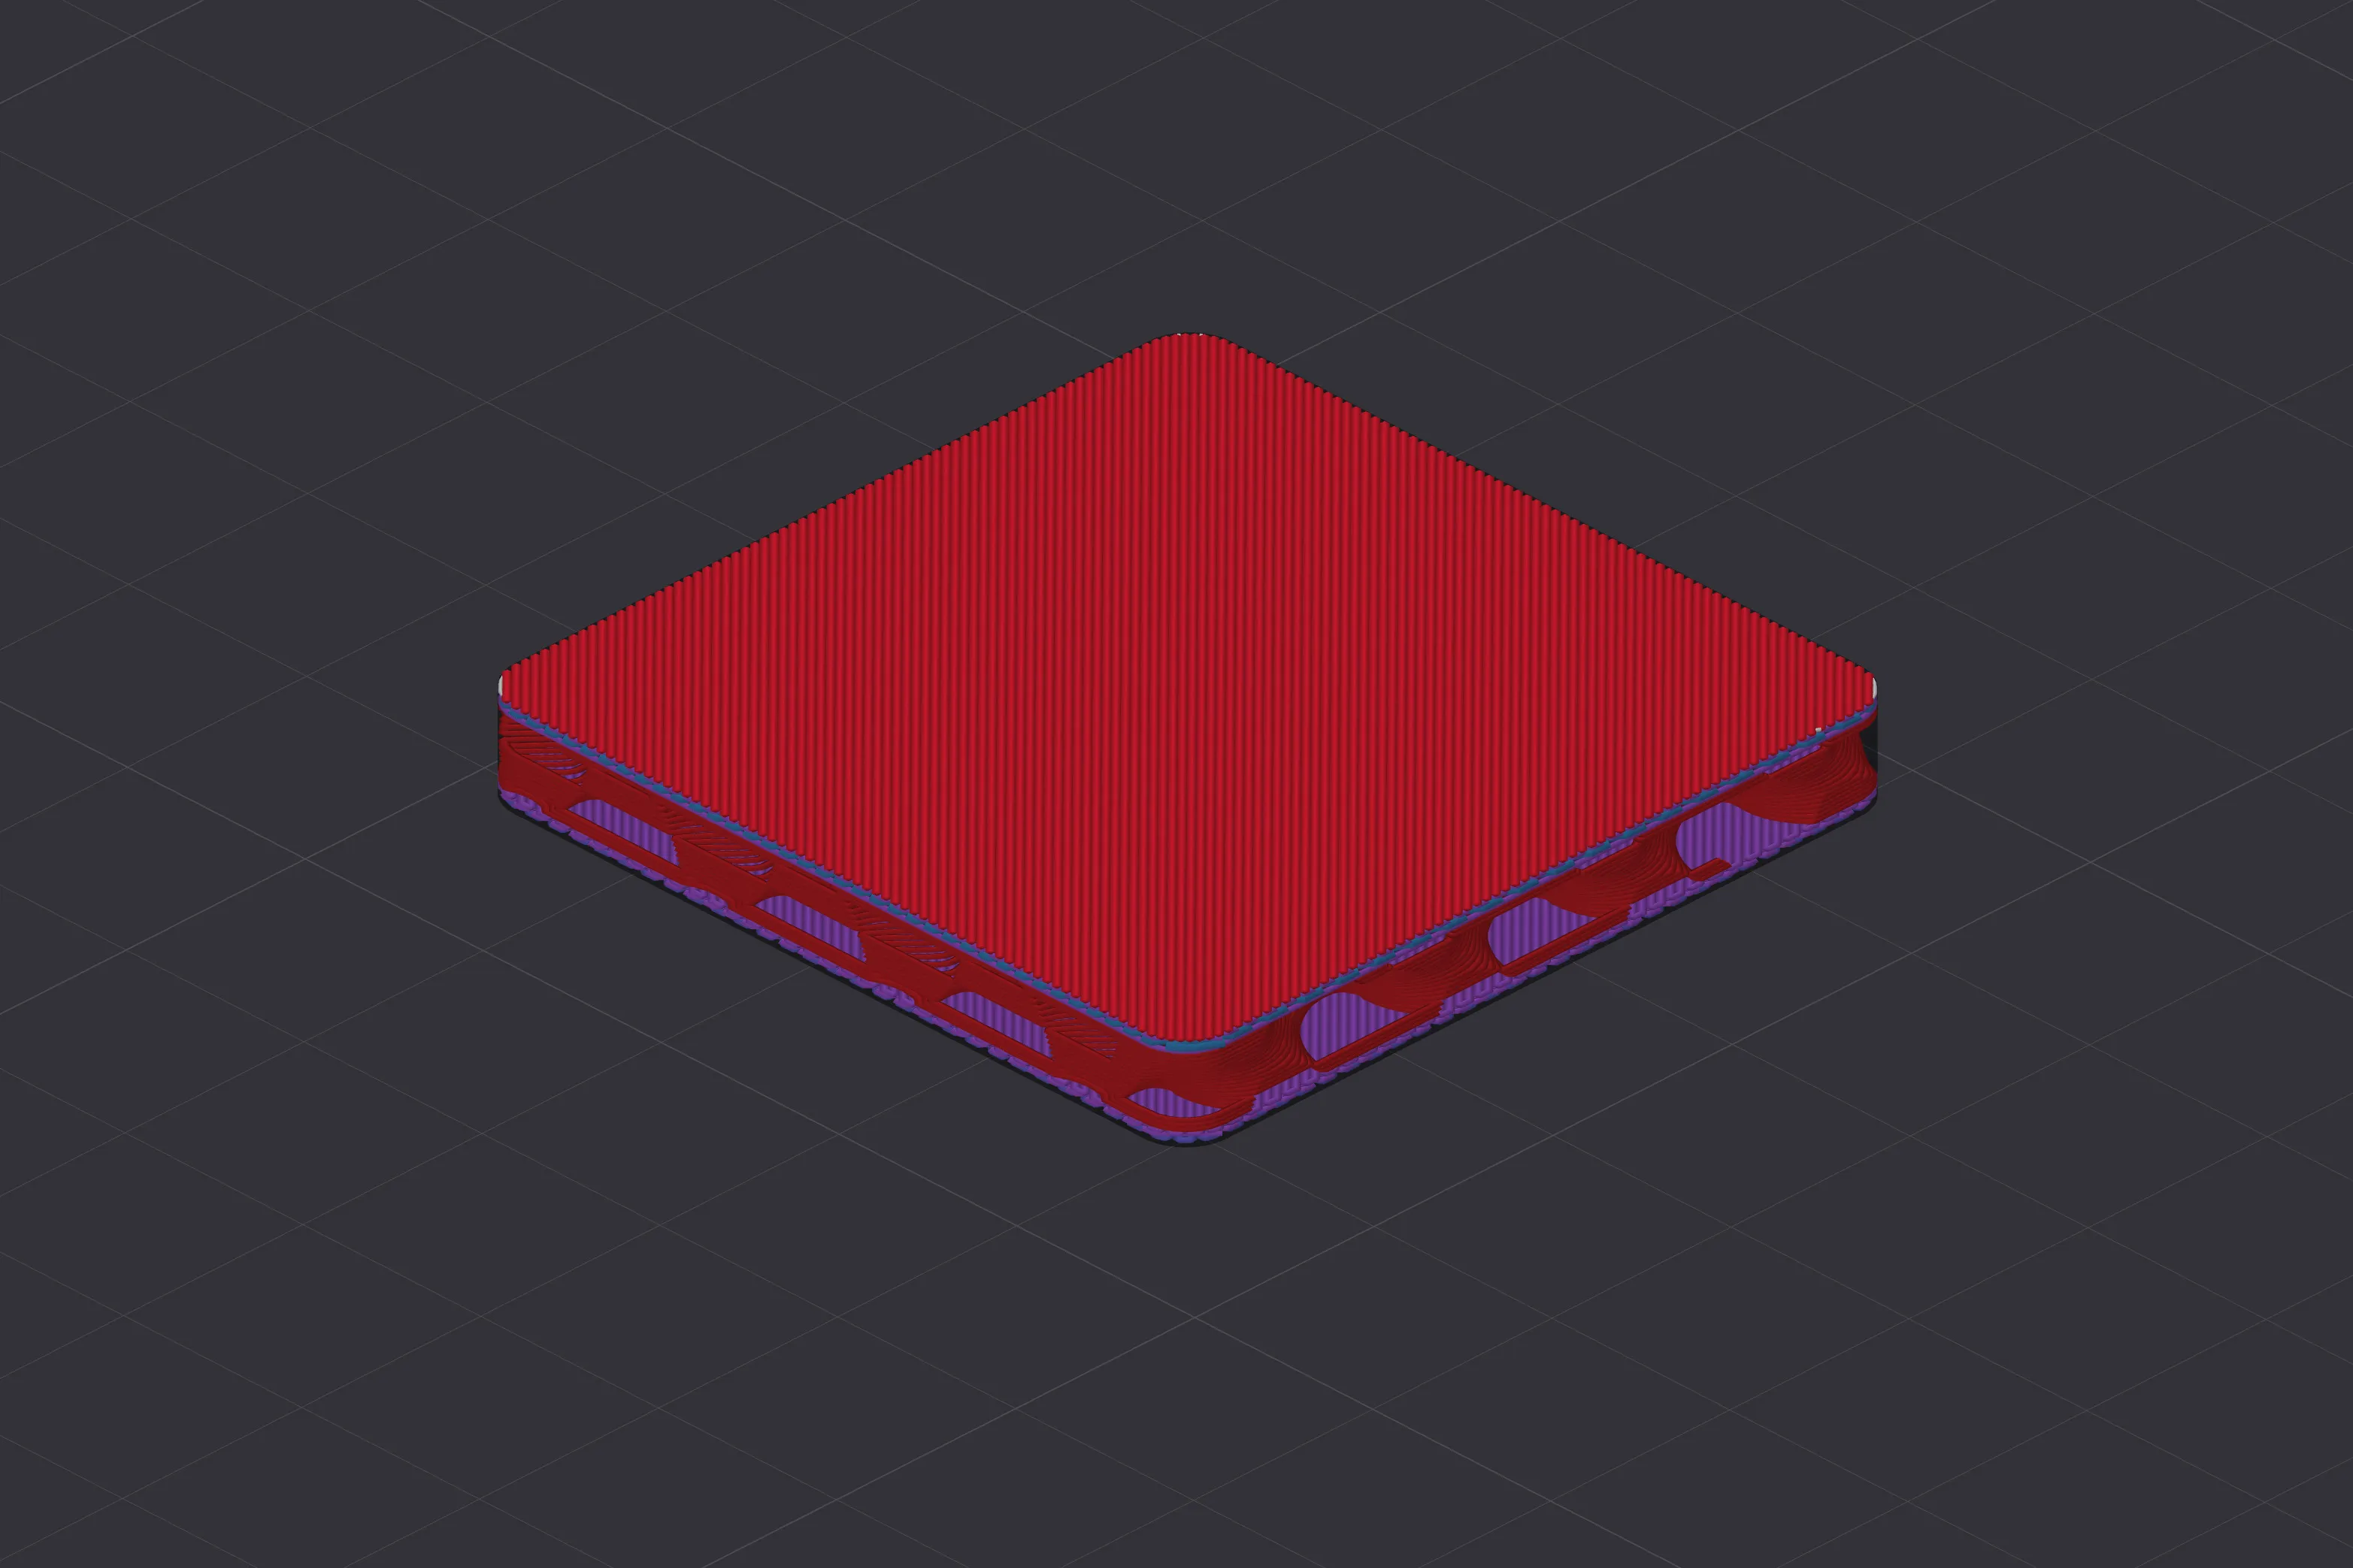
The dampers are specially designed with a thickness of 0.5mm using TPU material.
They feature eight ribs connecting two circles, providing moderate elasticity and damping force.
Prior to reaching this design, nearly 50 dampers were created and tested iteratively.
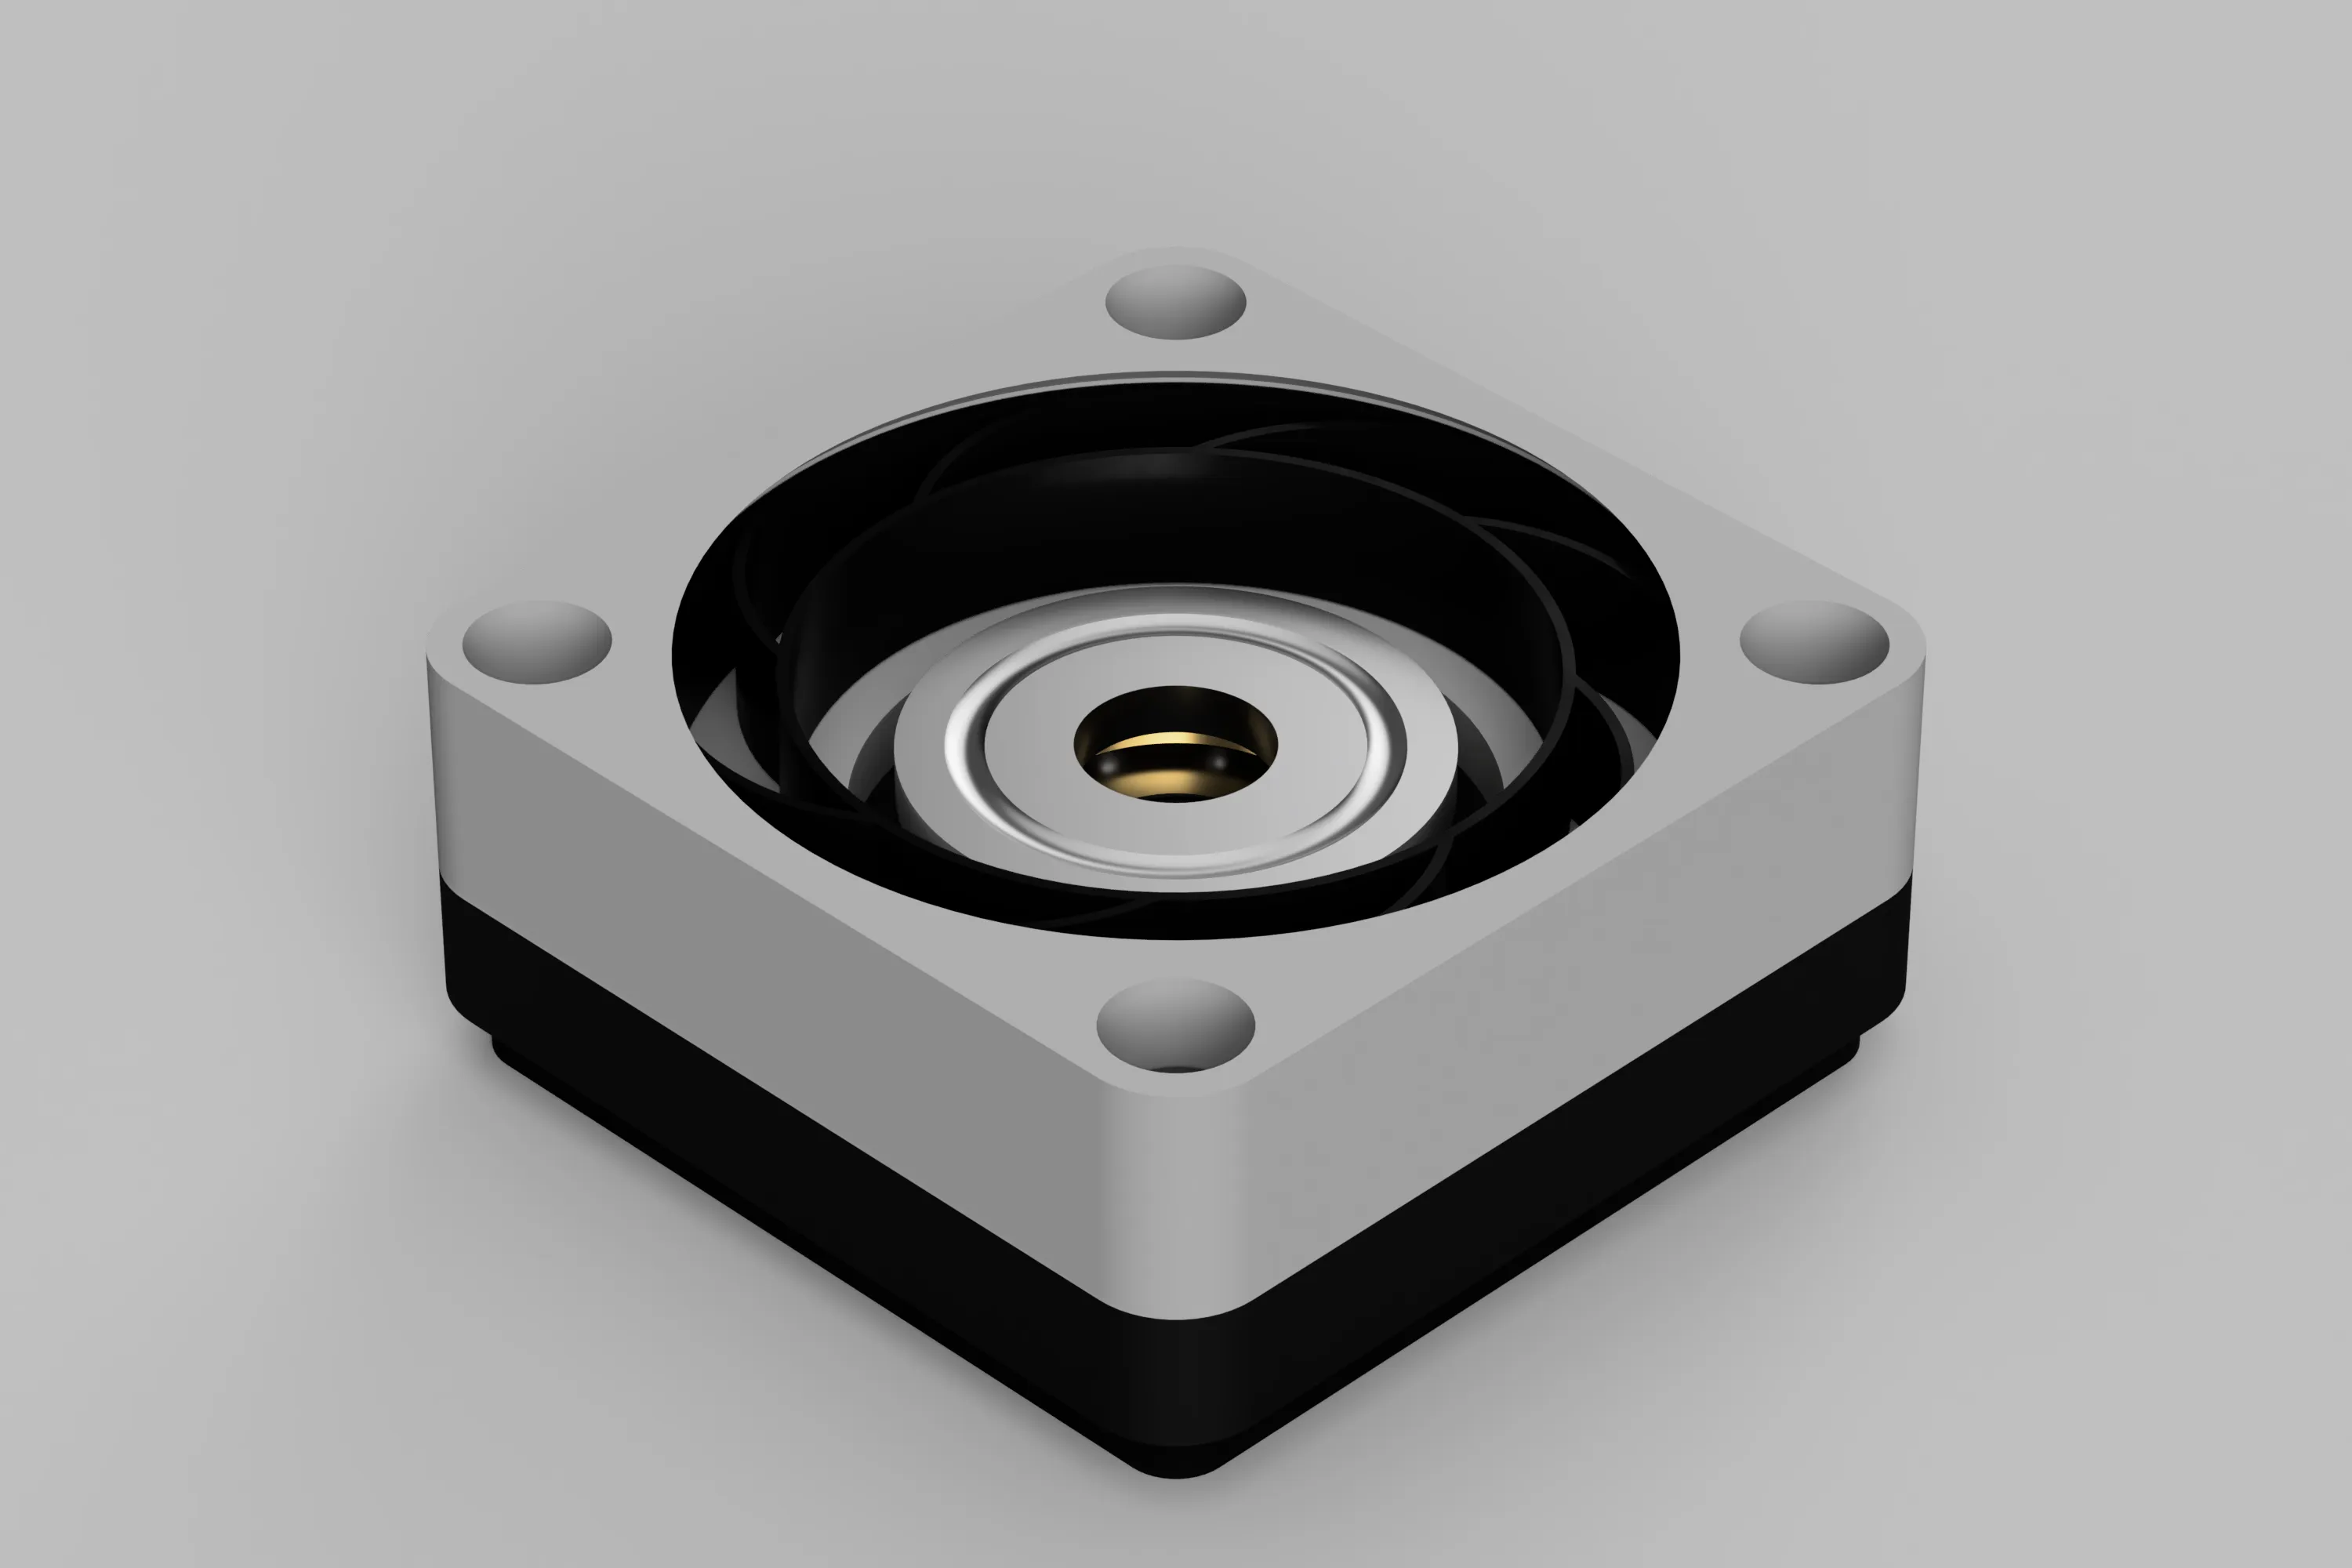
TPU mats optimize modeling options to maximize effectiveness.
The thickness of the top and bottom surfaces were adjusted and the wall surfaces were removed to bring out the flexibility of the TPU.
This contributes slightly to the seismic isolation effect.
Additionally, SIS is compatible with superior commercial noise and vibration-resistant gel pads compared to TPU.
The 40mm x 40mm x 5mm gel pads provide even more powerful vibration isolation capabilities.
You can get four of these pads in Japan for only $0.64.
DAISO is AMAZING !!
https://jp.daisonet.com/products/4549131944020
Higher-performance gel pads, which serve as an alternative to DAISO products, can be purchased on Amazon.
If you’re aiming for top performance, the ELECOM TS-F006 is highly recommended.
https://amzn.to/3PfIVRP
I was given information about the mats sold on Aliexpress.
You can purchase them below.
Thanks for the info! @alexloe
https://www.aliexpress.com/item/1005007409323784.html
Updates
Version 1.1
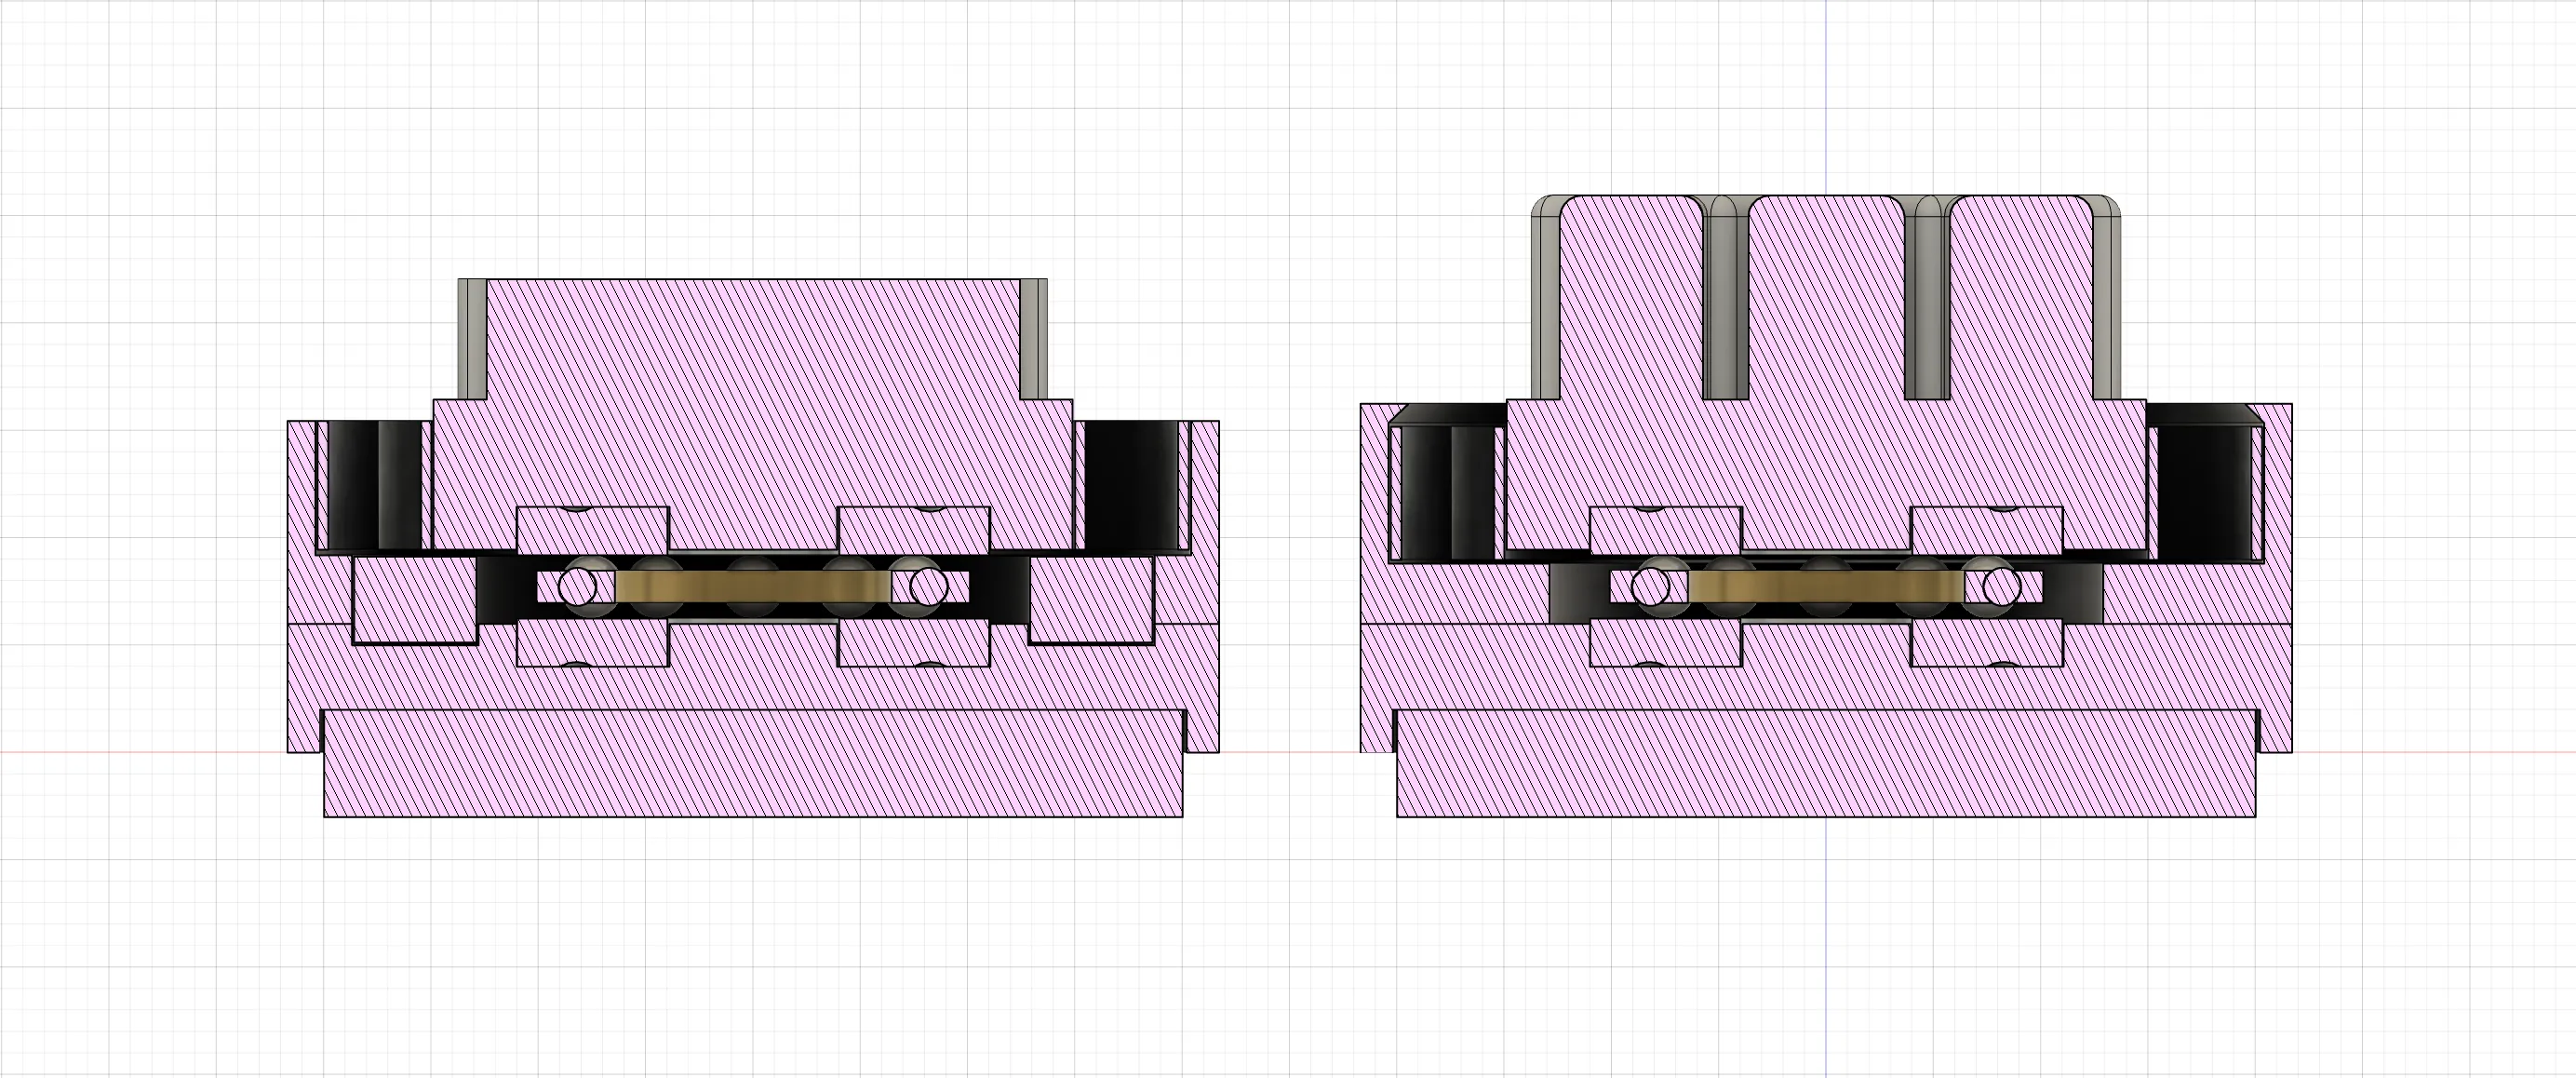
The body structure of SIS has been simplified to reduce the number of required parts.
A component that optimizes the bearing’s range of motion has been integrated into the main body, and a stopper has been added to prevent the damper from coming loose.
I have received many questions and inquiries about the design of Axis Feet.
I have received so many that I have released the Axis Feet and several other designs that are in line with the latest Bambu Lab’s design.
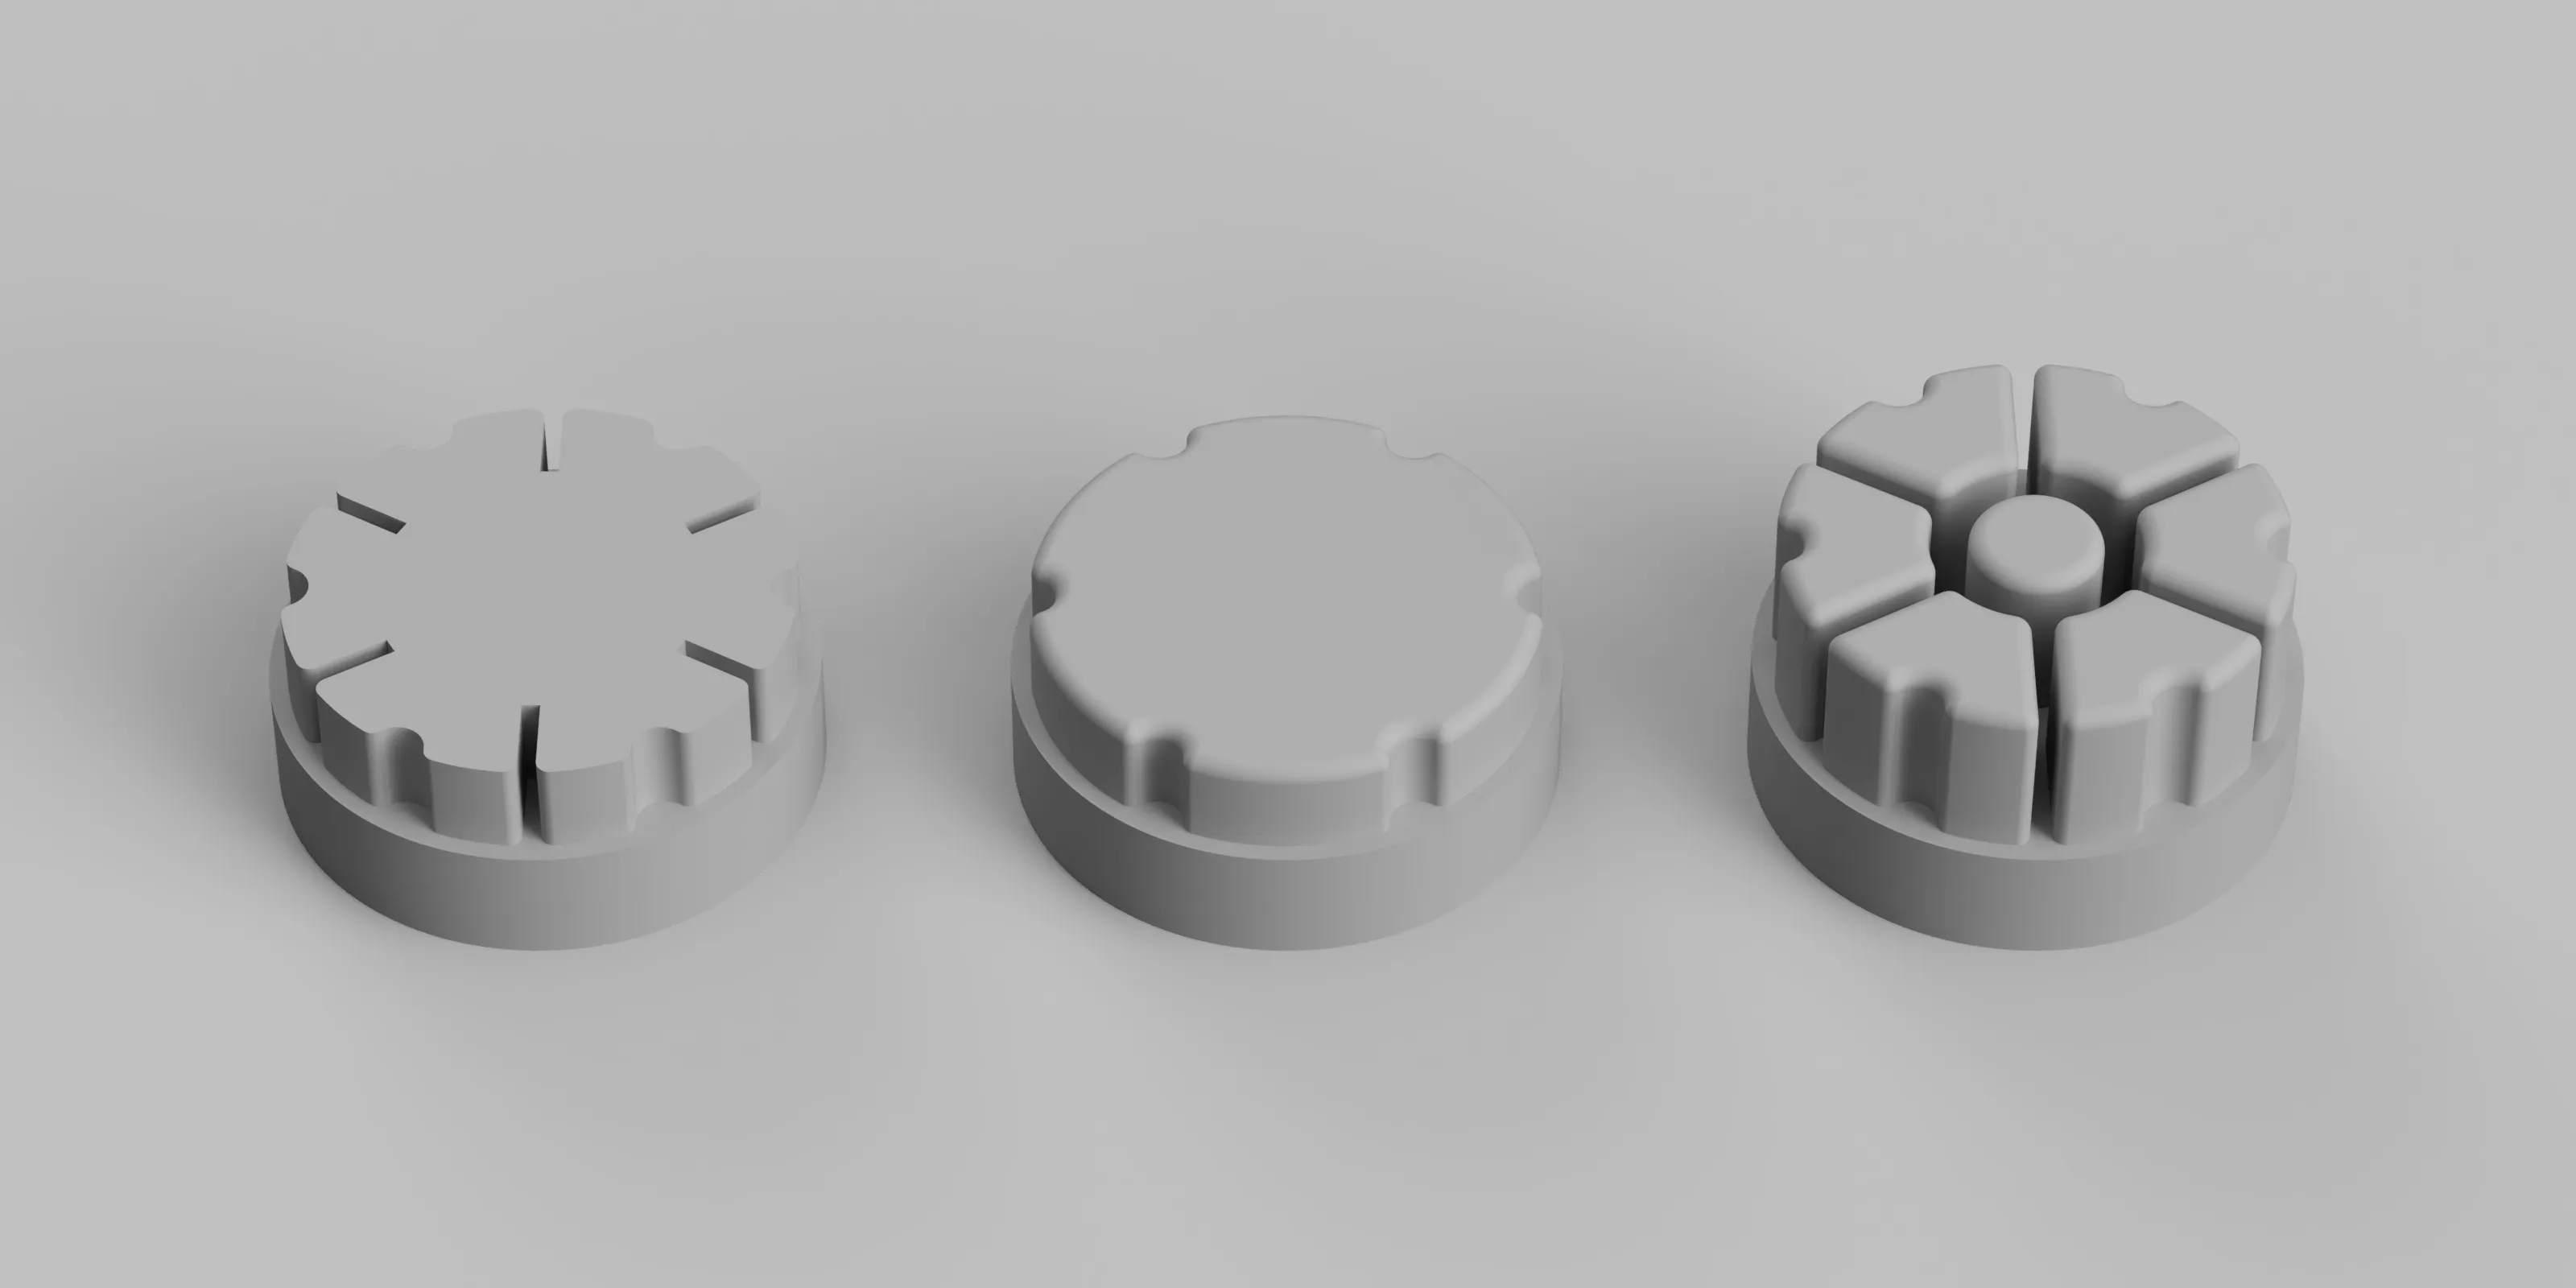
The printing profile has been changed to match the Bambu Lab’s design.
For other feet data, please check the attached STEP file.
I guarantee that all of them can be used without any problems.
Version 1.2
The bearing’s range of motion has been further optimized.
Additionally, since the hardness of TPU can vary depending on the manufacturer or material aging, we have added a softer damper model.
I recommend trying the standard damper model first, and if you feel the shock absorption is too stiff, please try the soft version.
The print profile has also been updated.
Previously, due to a bug in Bambu Studio that caused the first layer of the damper to fail, Arachne was specified for outer wall generation.
However, with a new approach introduced in this update, we’ve confirmed improvements.
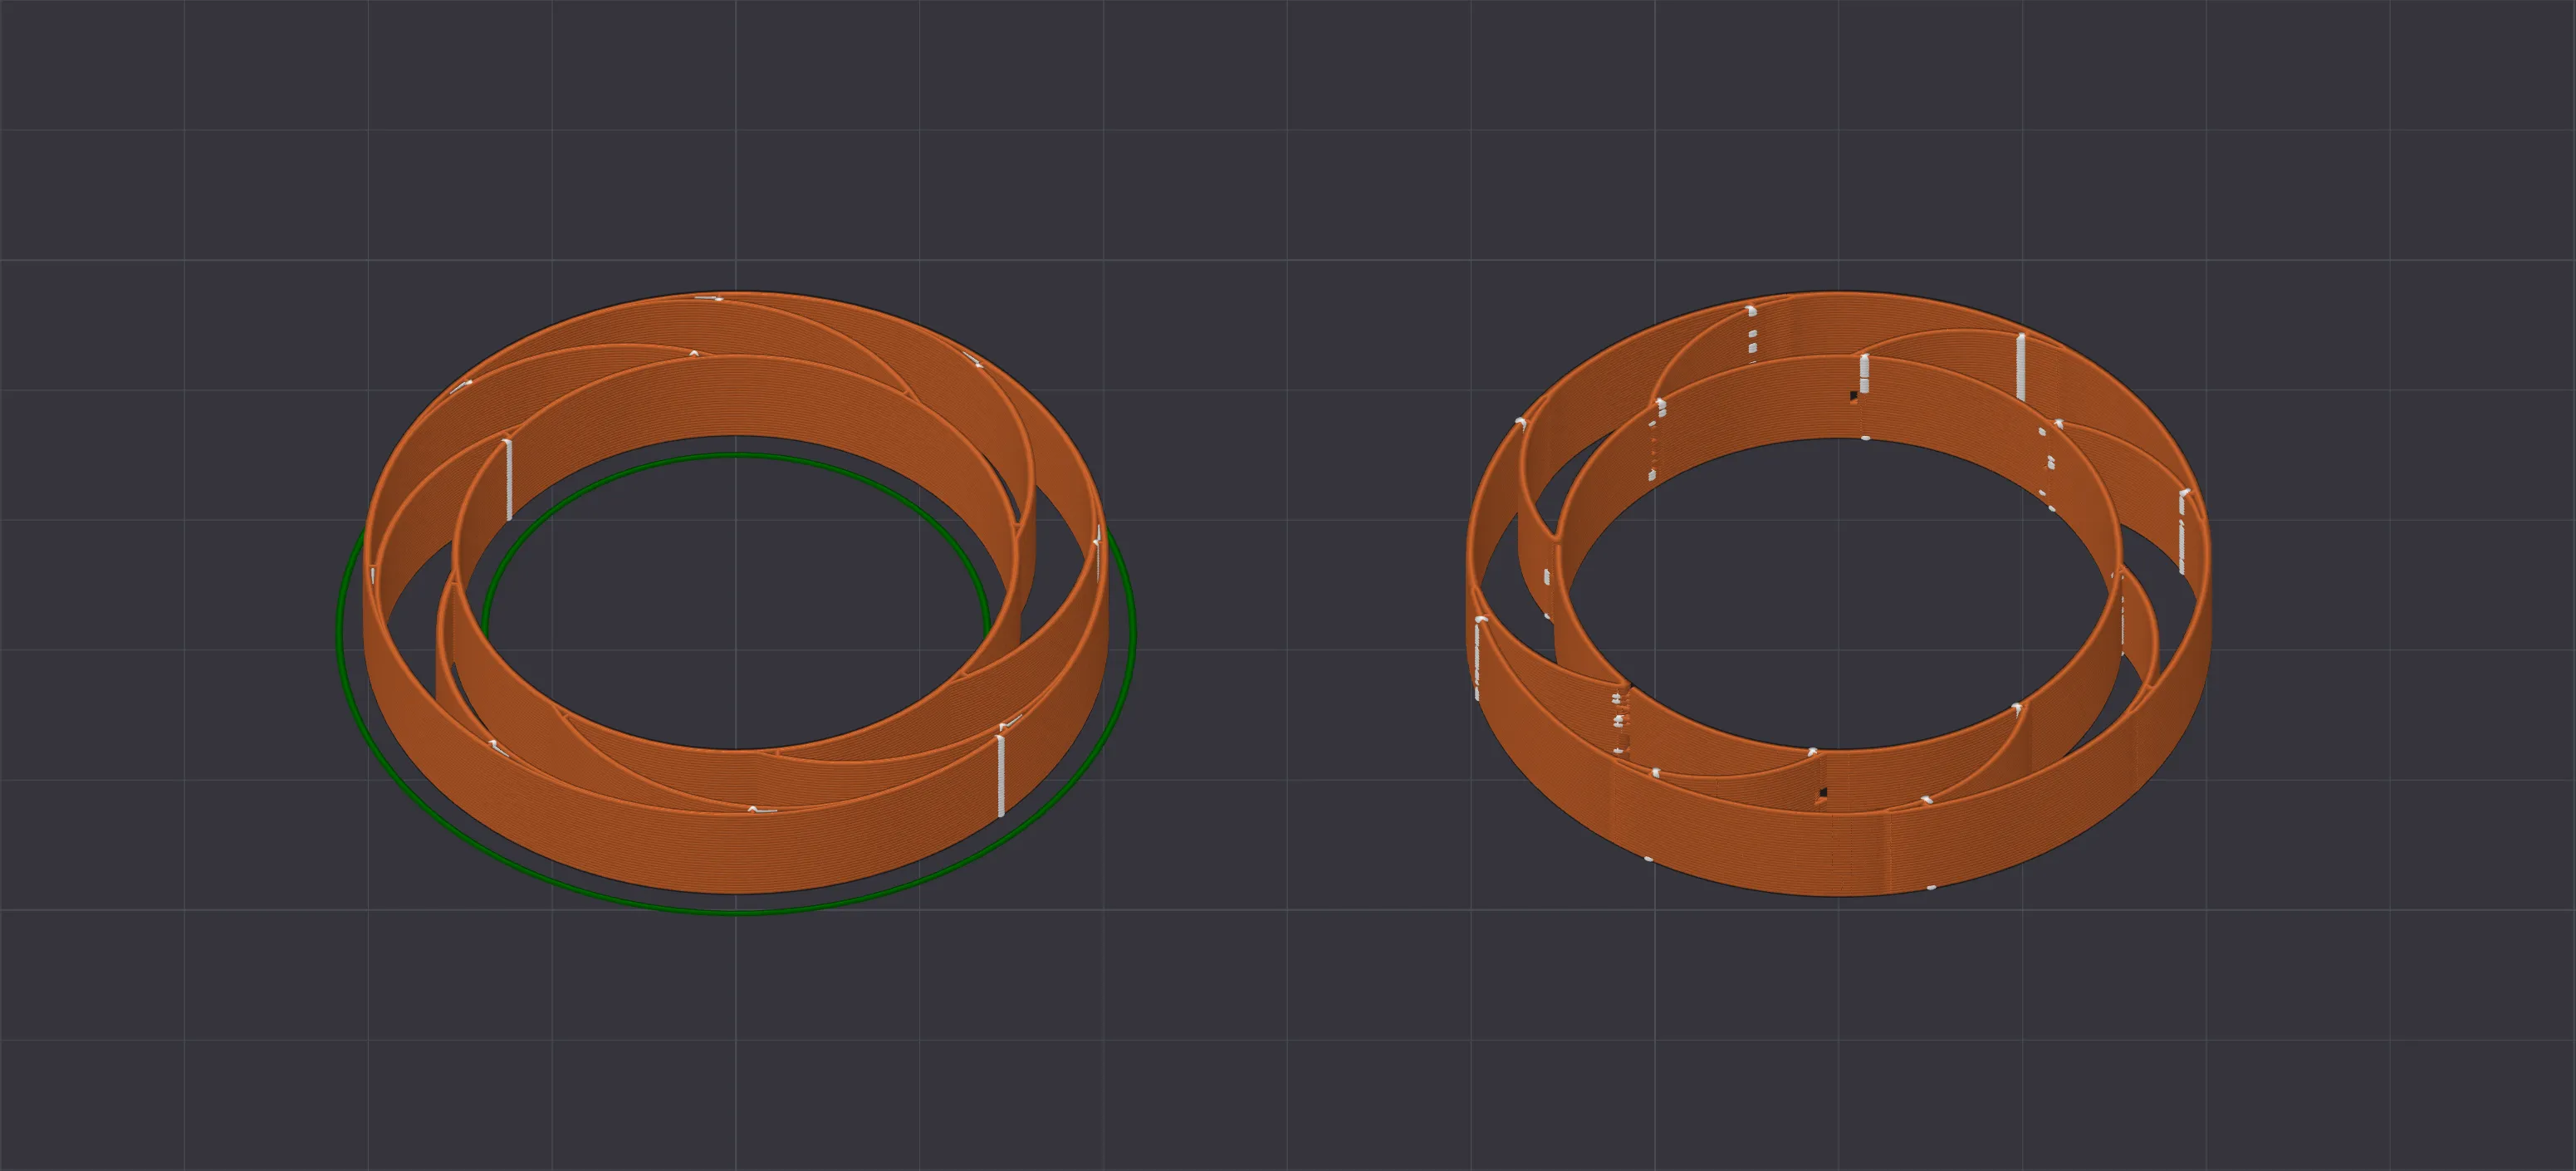
Left : New Print Profile , Right : Old Print Profile
Print quality has been verified, but if your print fails, please manually switch the relevant parameters back to Arachne.
SIS Assembly
Please refer to the following instructions for assembling the SIS.
- Attach Housing Washer to Bottom Body
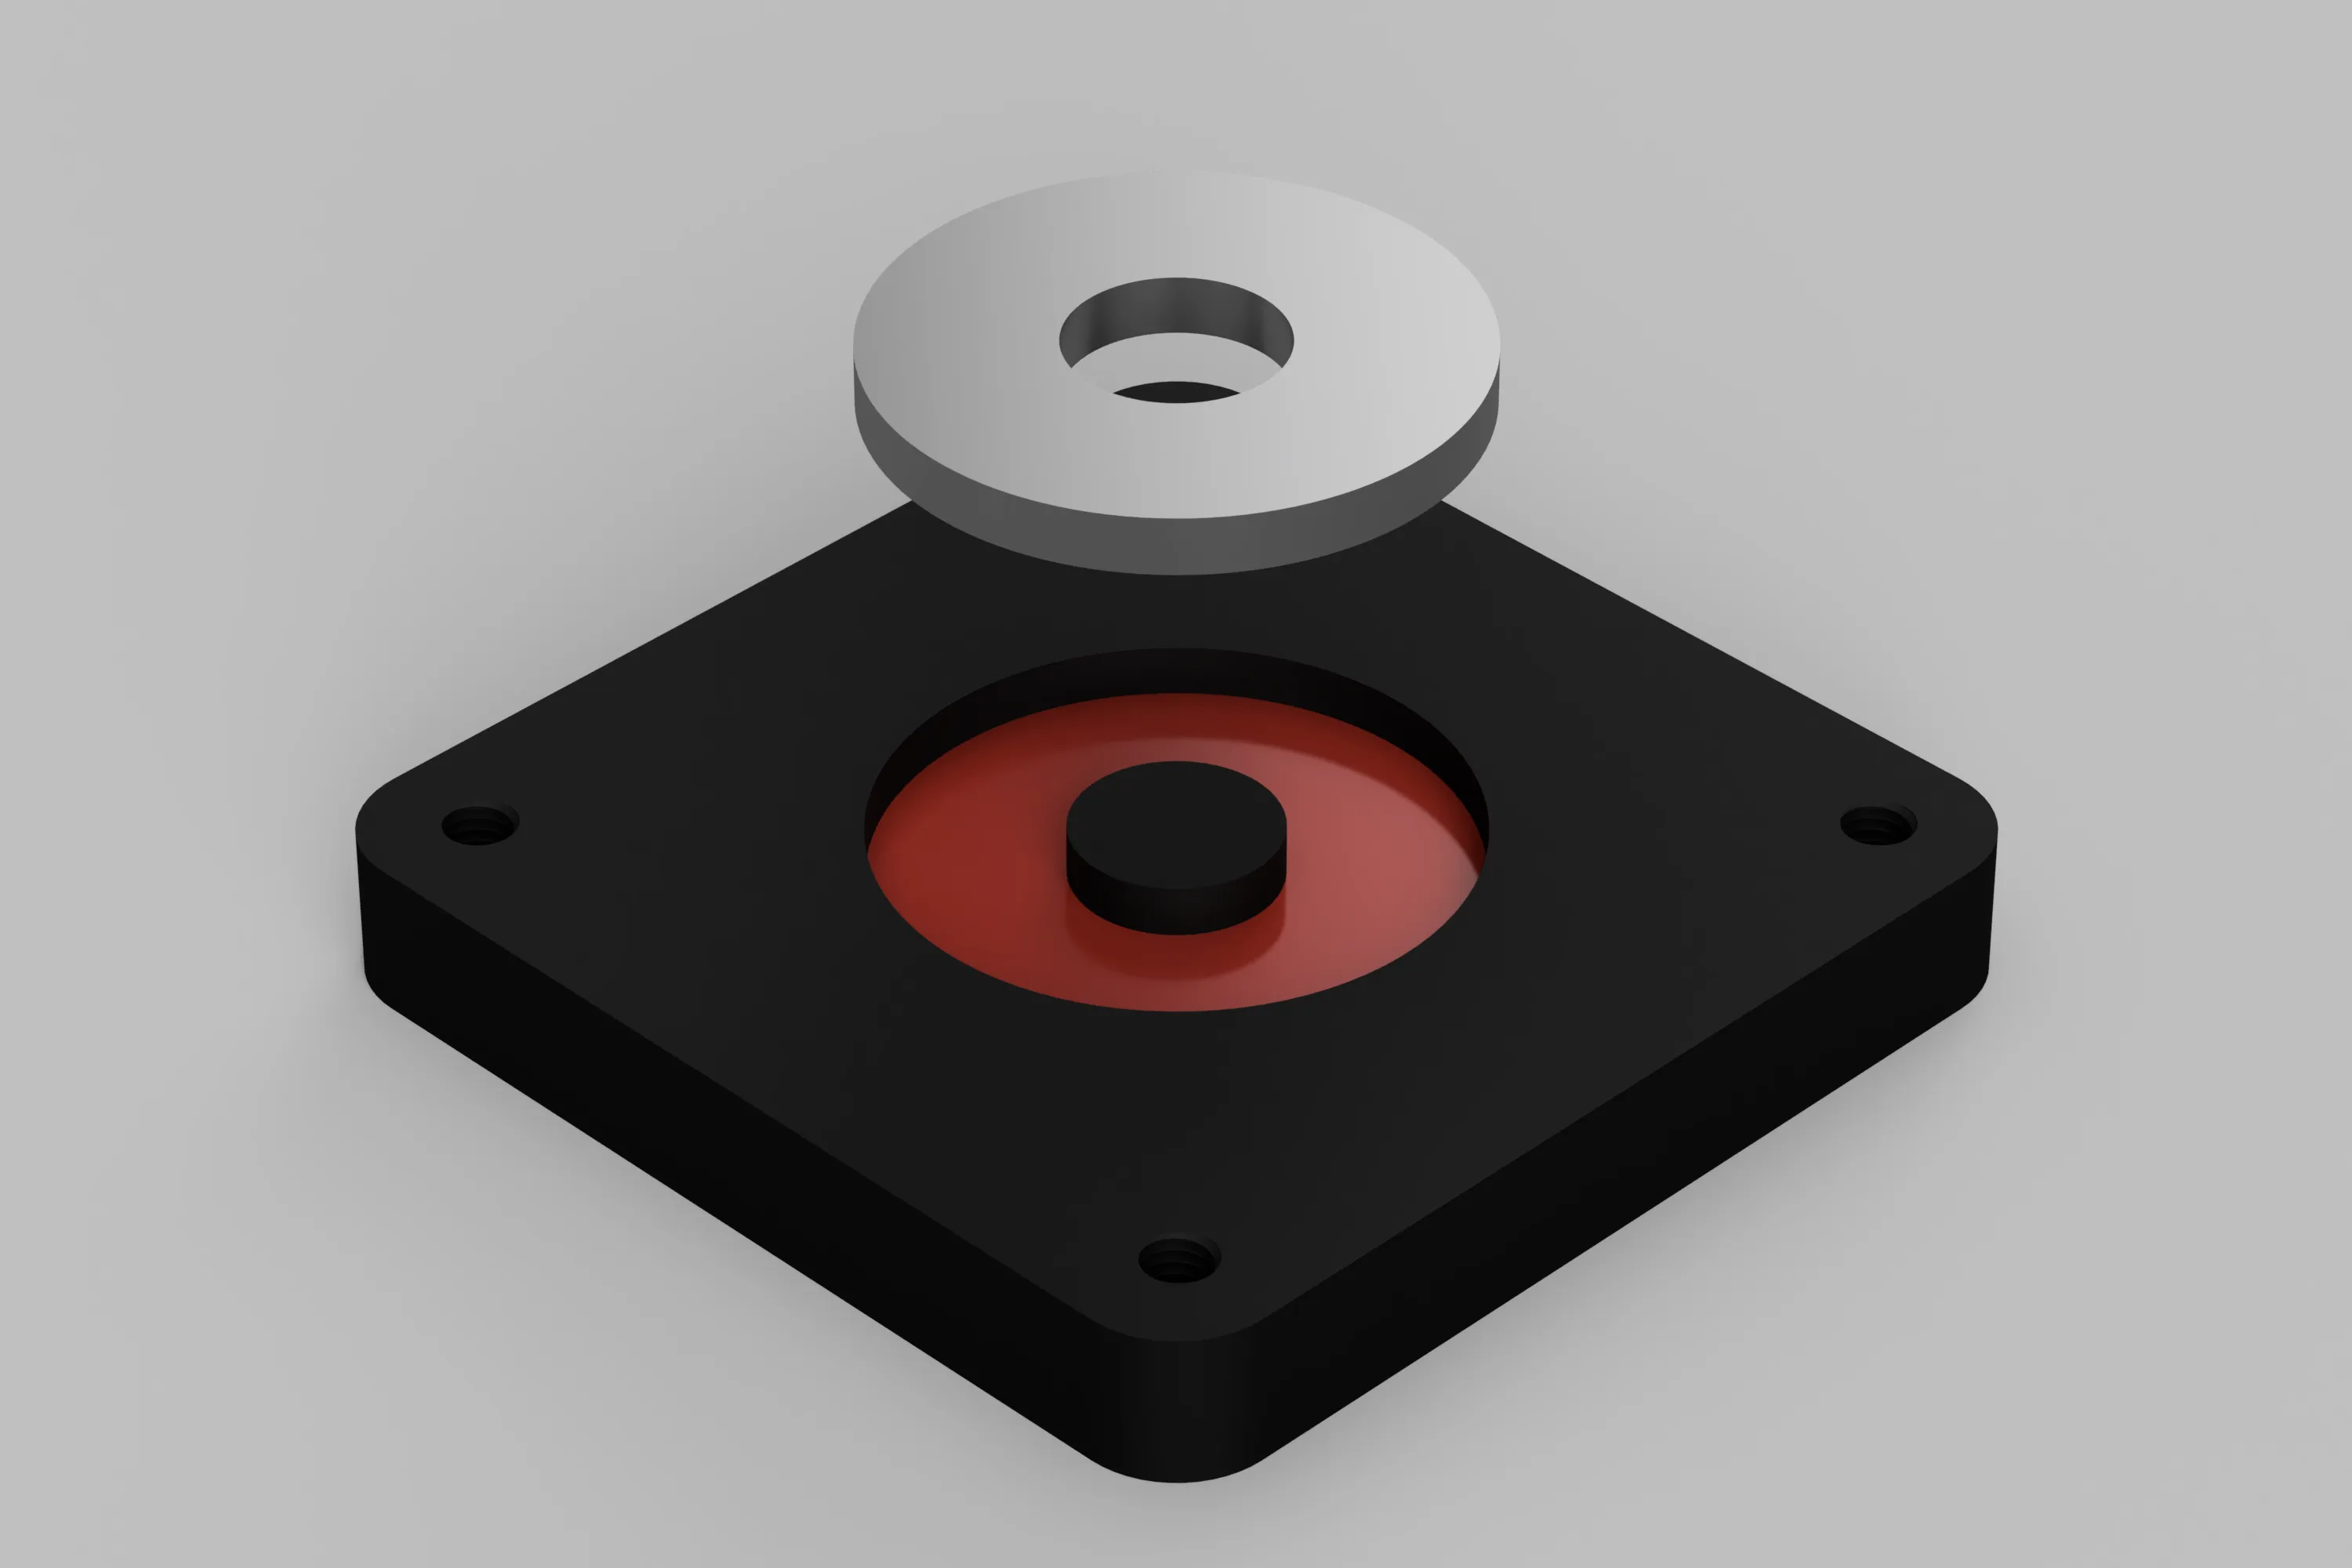
First install the “Bearing Housing Washer” in the red area of the Bottom Body.
The Housing Washer should be installed with the smooth surface without grooves facing up.
Fixing Top Body to Bottom Body
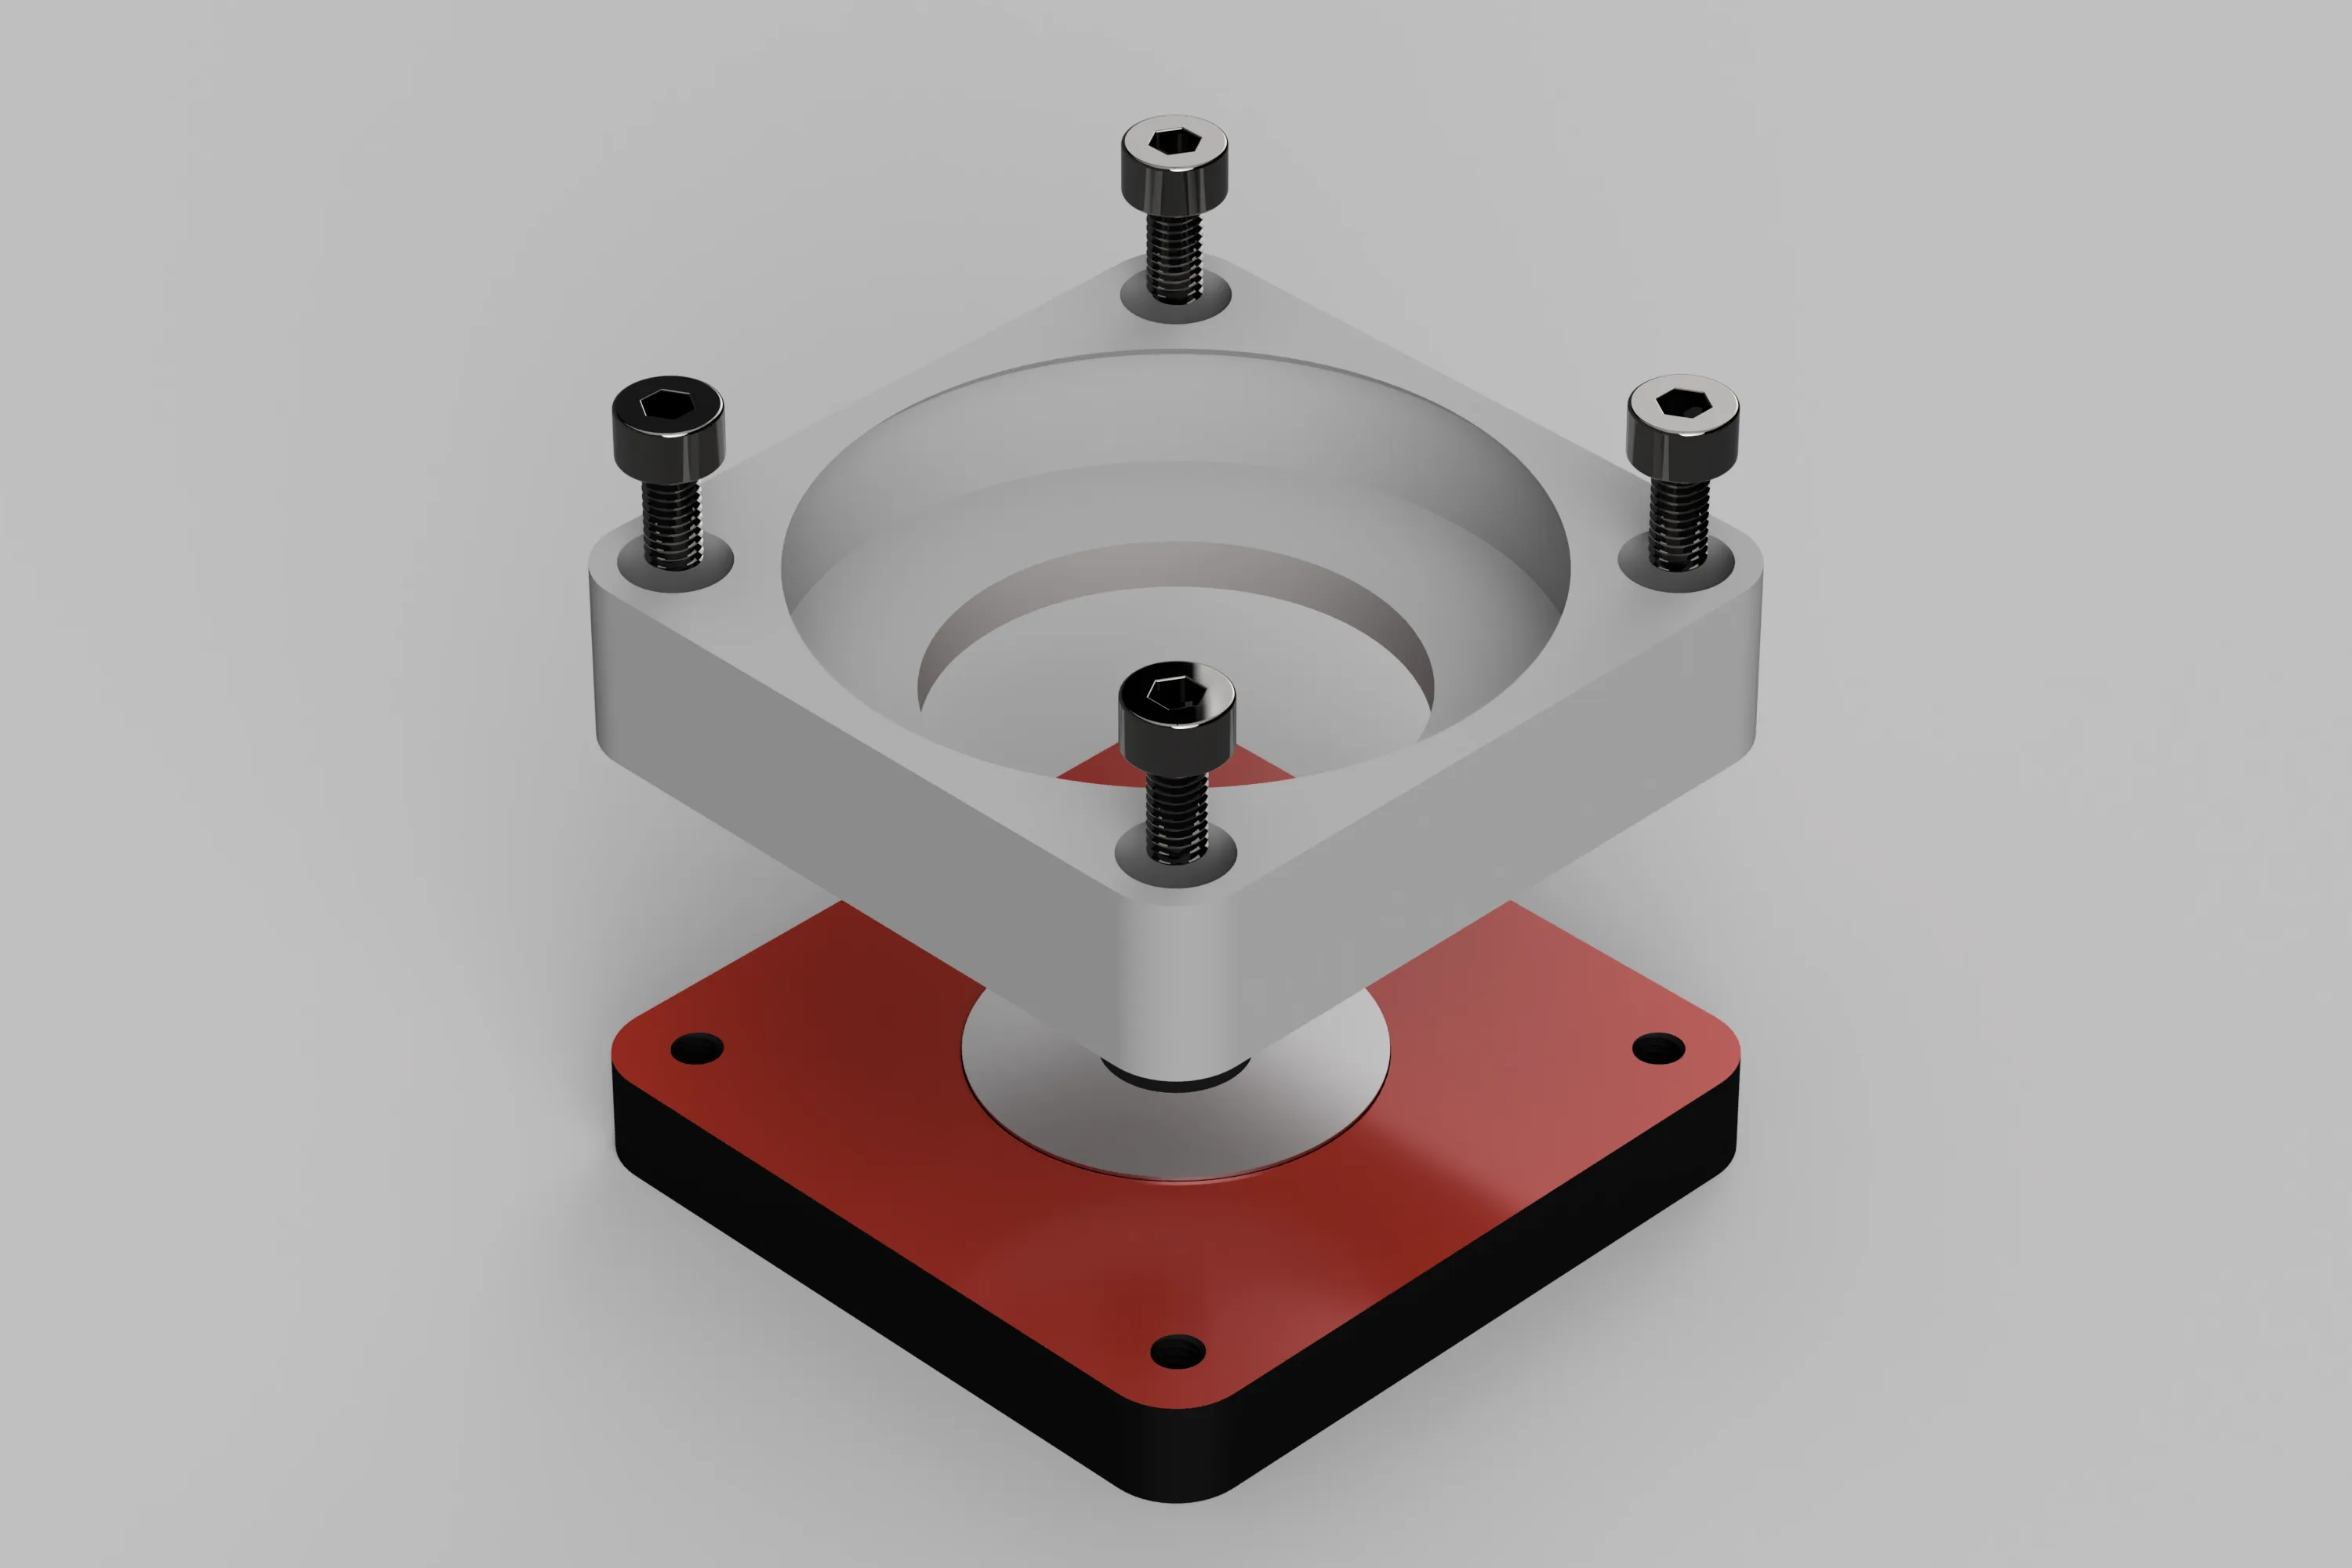
Align the Bottom Body with the Top Body and secure with M3 6mm bolts.
Fix at least two M3 6mm bolts diagonally, or all four if possible.
Place Cage & Balls on Housing Washer
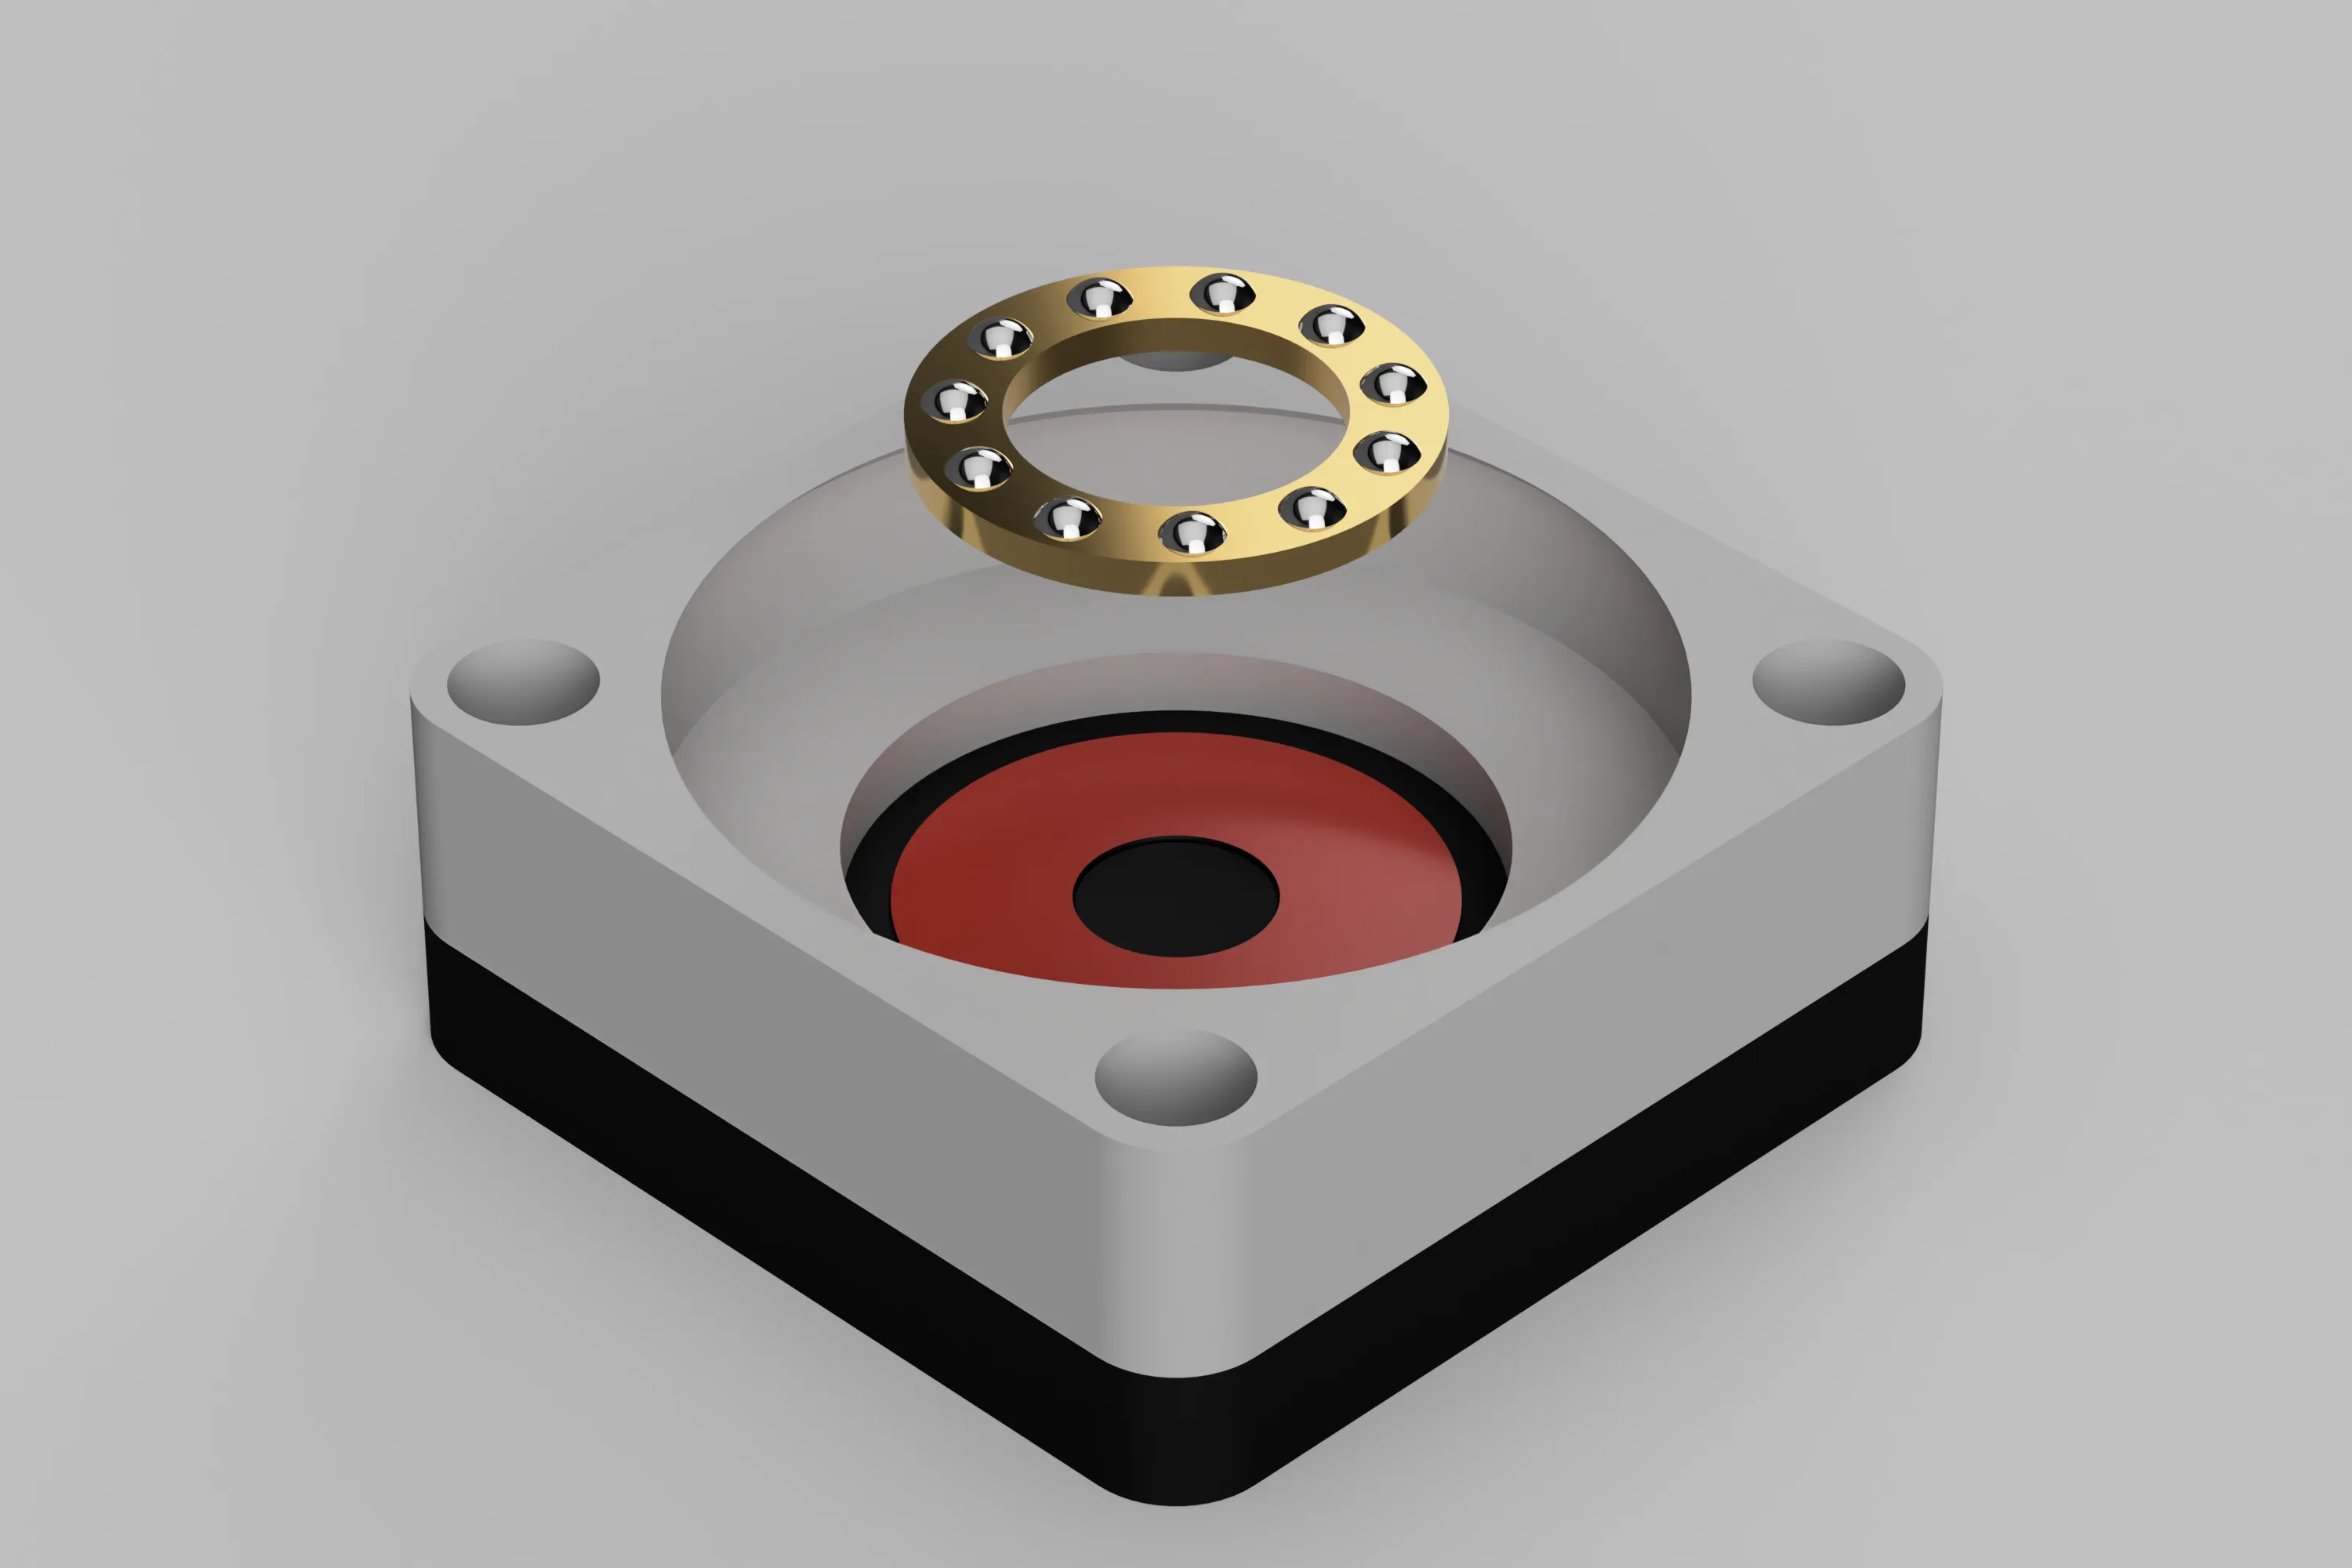
Place the bearing Cage & Balls on the Housing Washer.
Be careful not to touch the bearing balls with bare hands, as they will not slide smoothly.
Storing the damper in the body
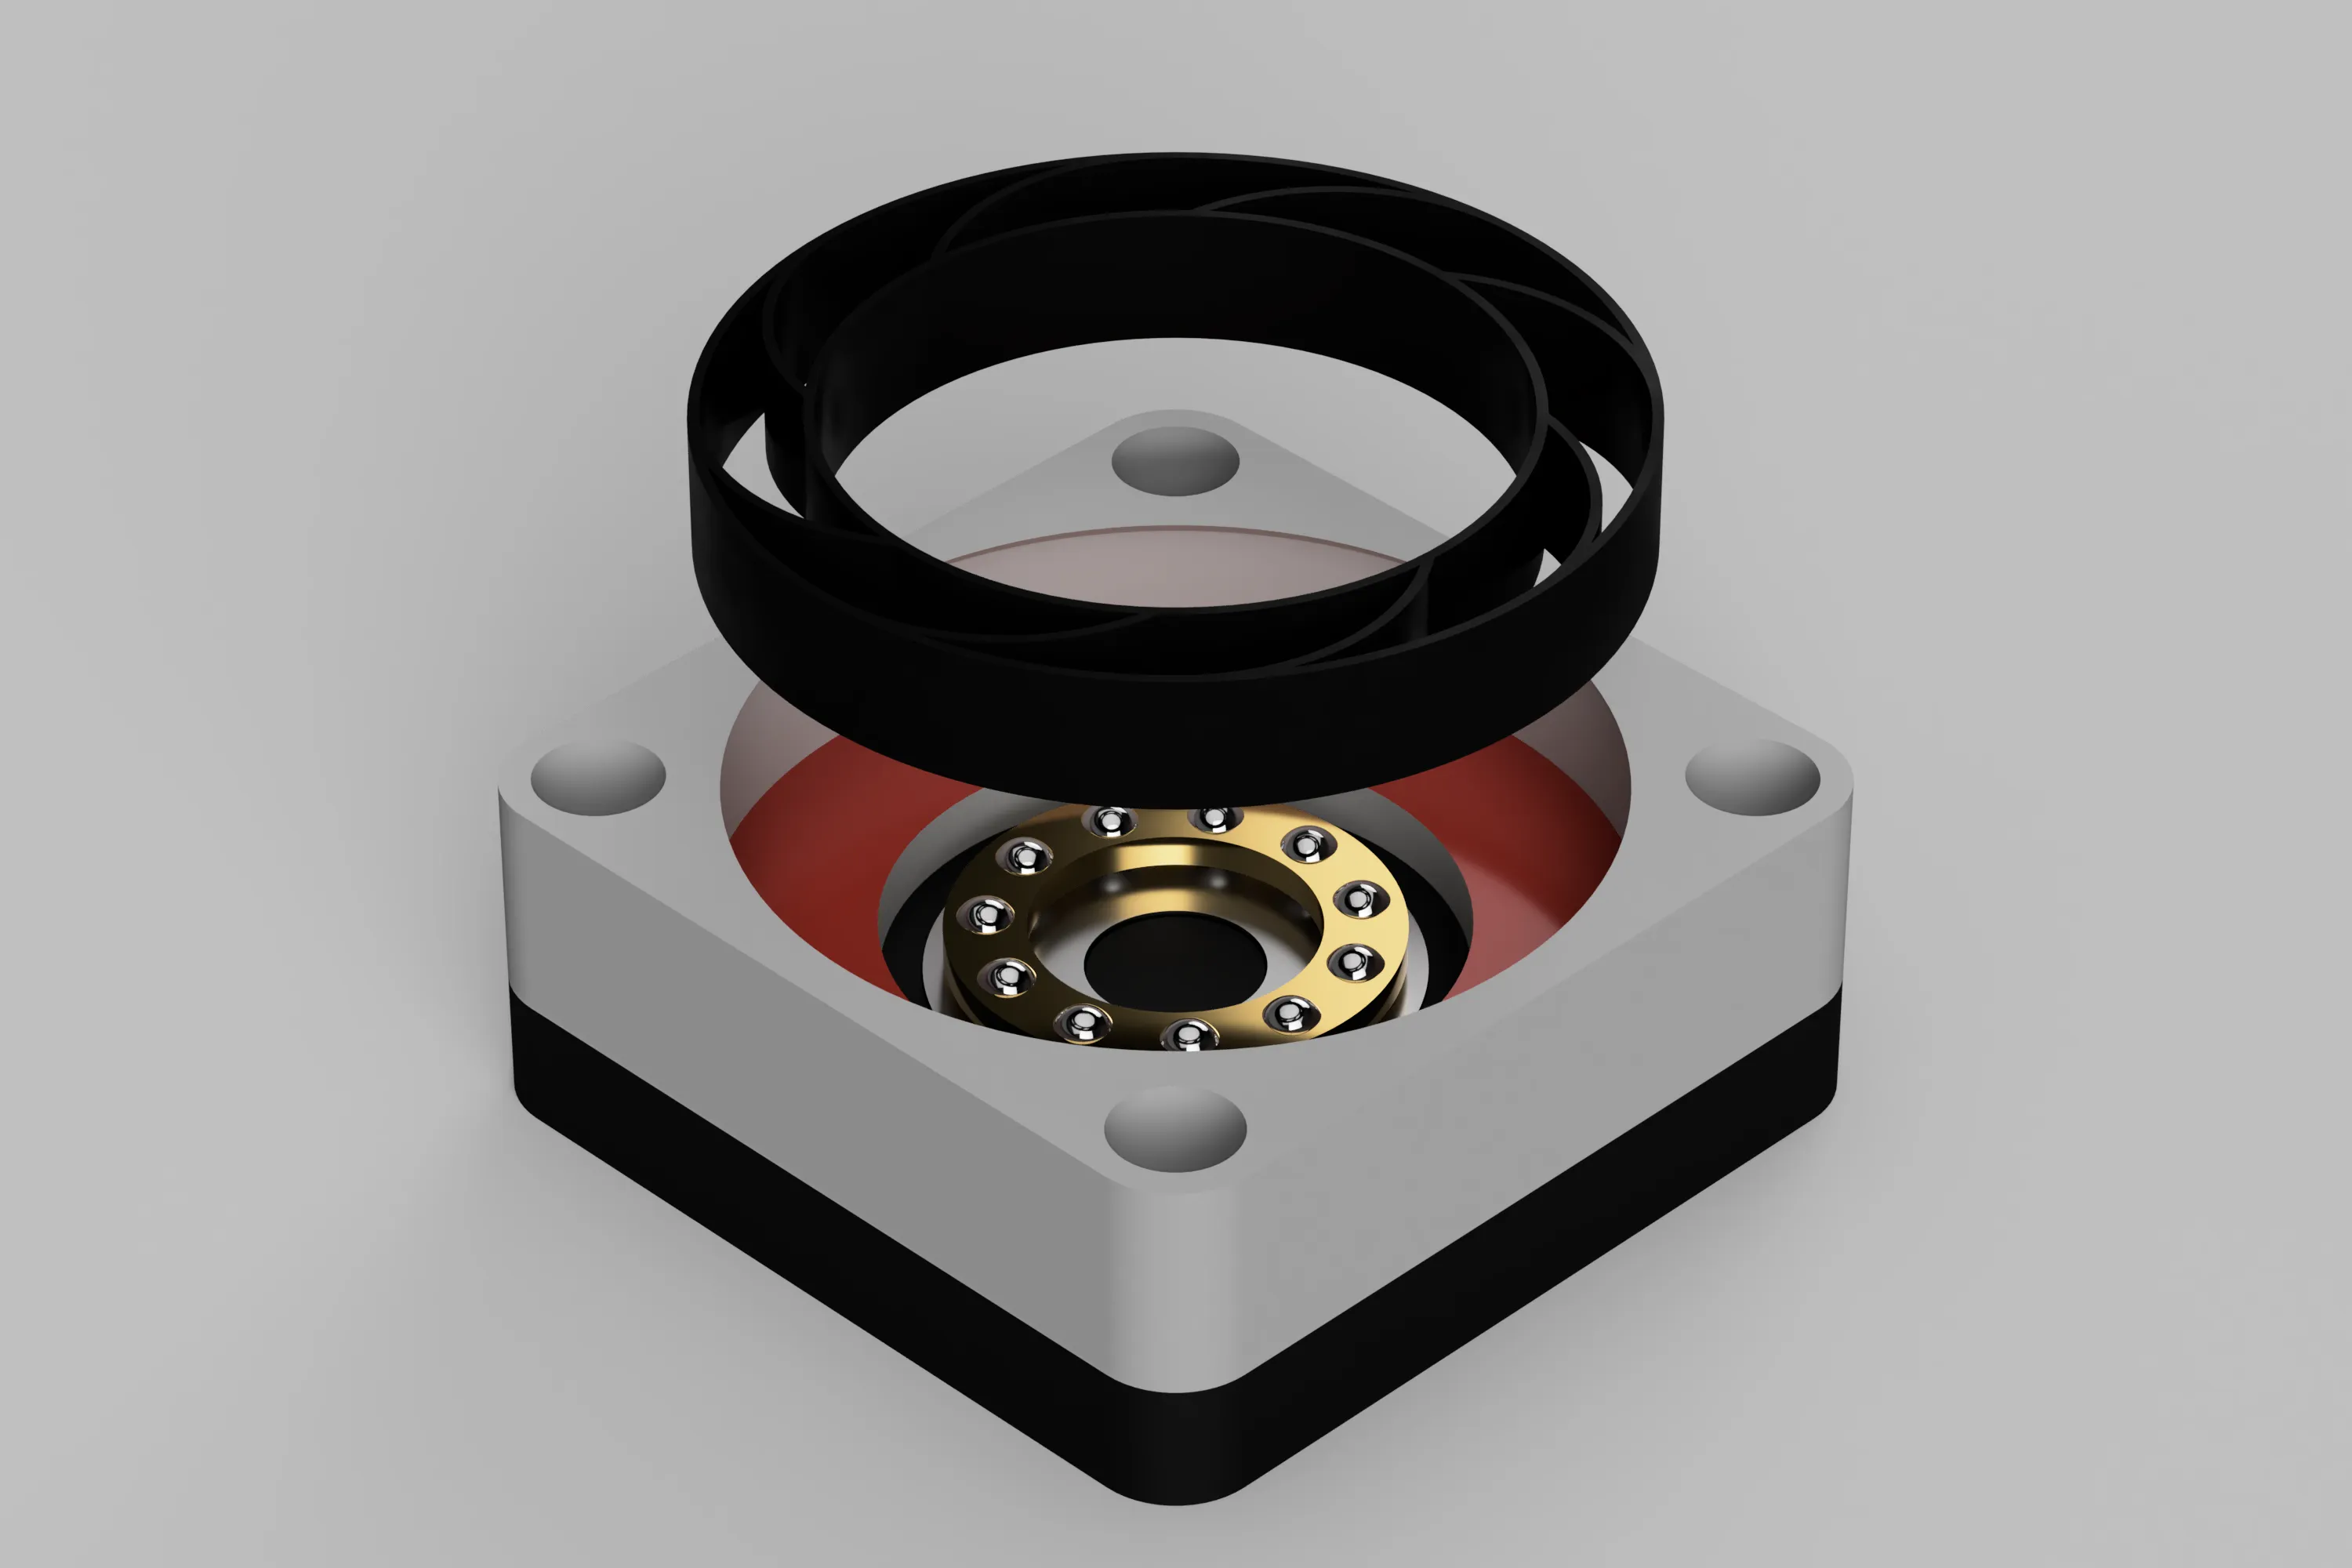
Push the damper into the body and store it.
The top body has a slight return to prevent the damper from coming off, but the TPU damper can be inserted without any problem.
Attach Shaft Washer to Axis Feet
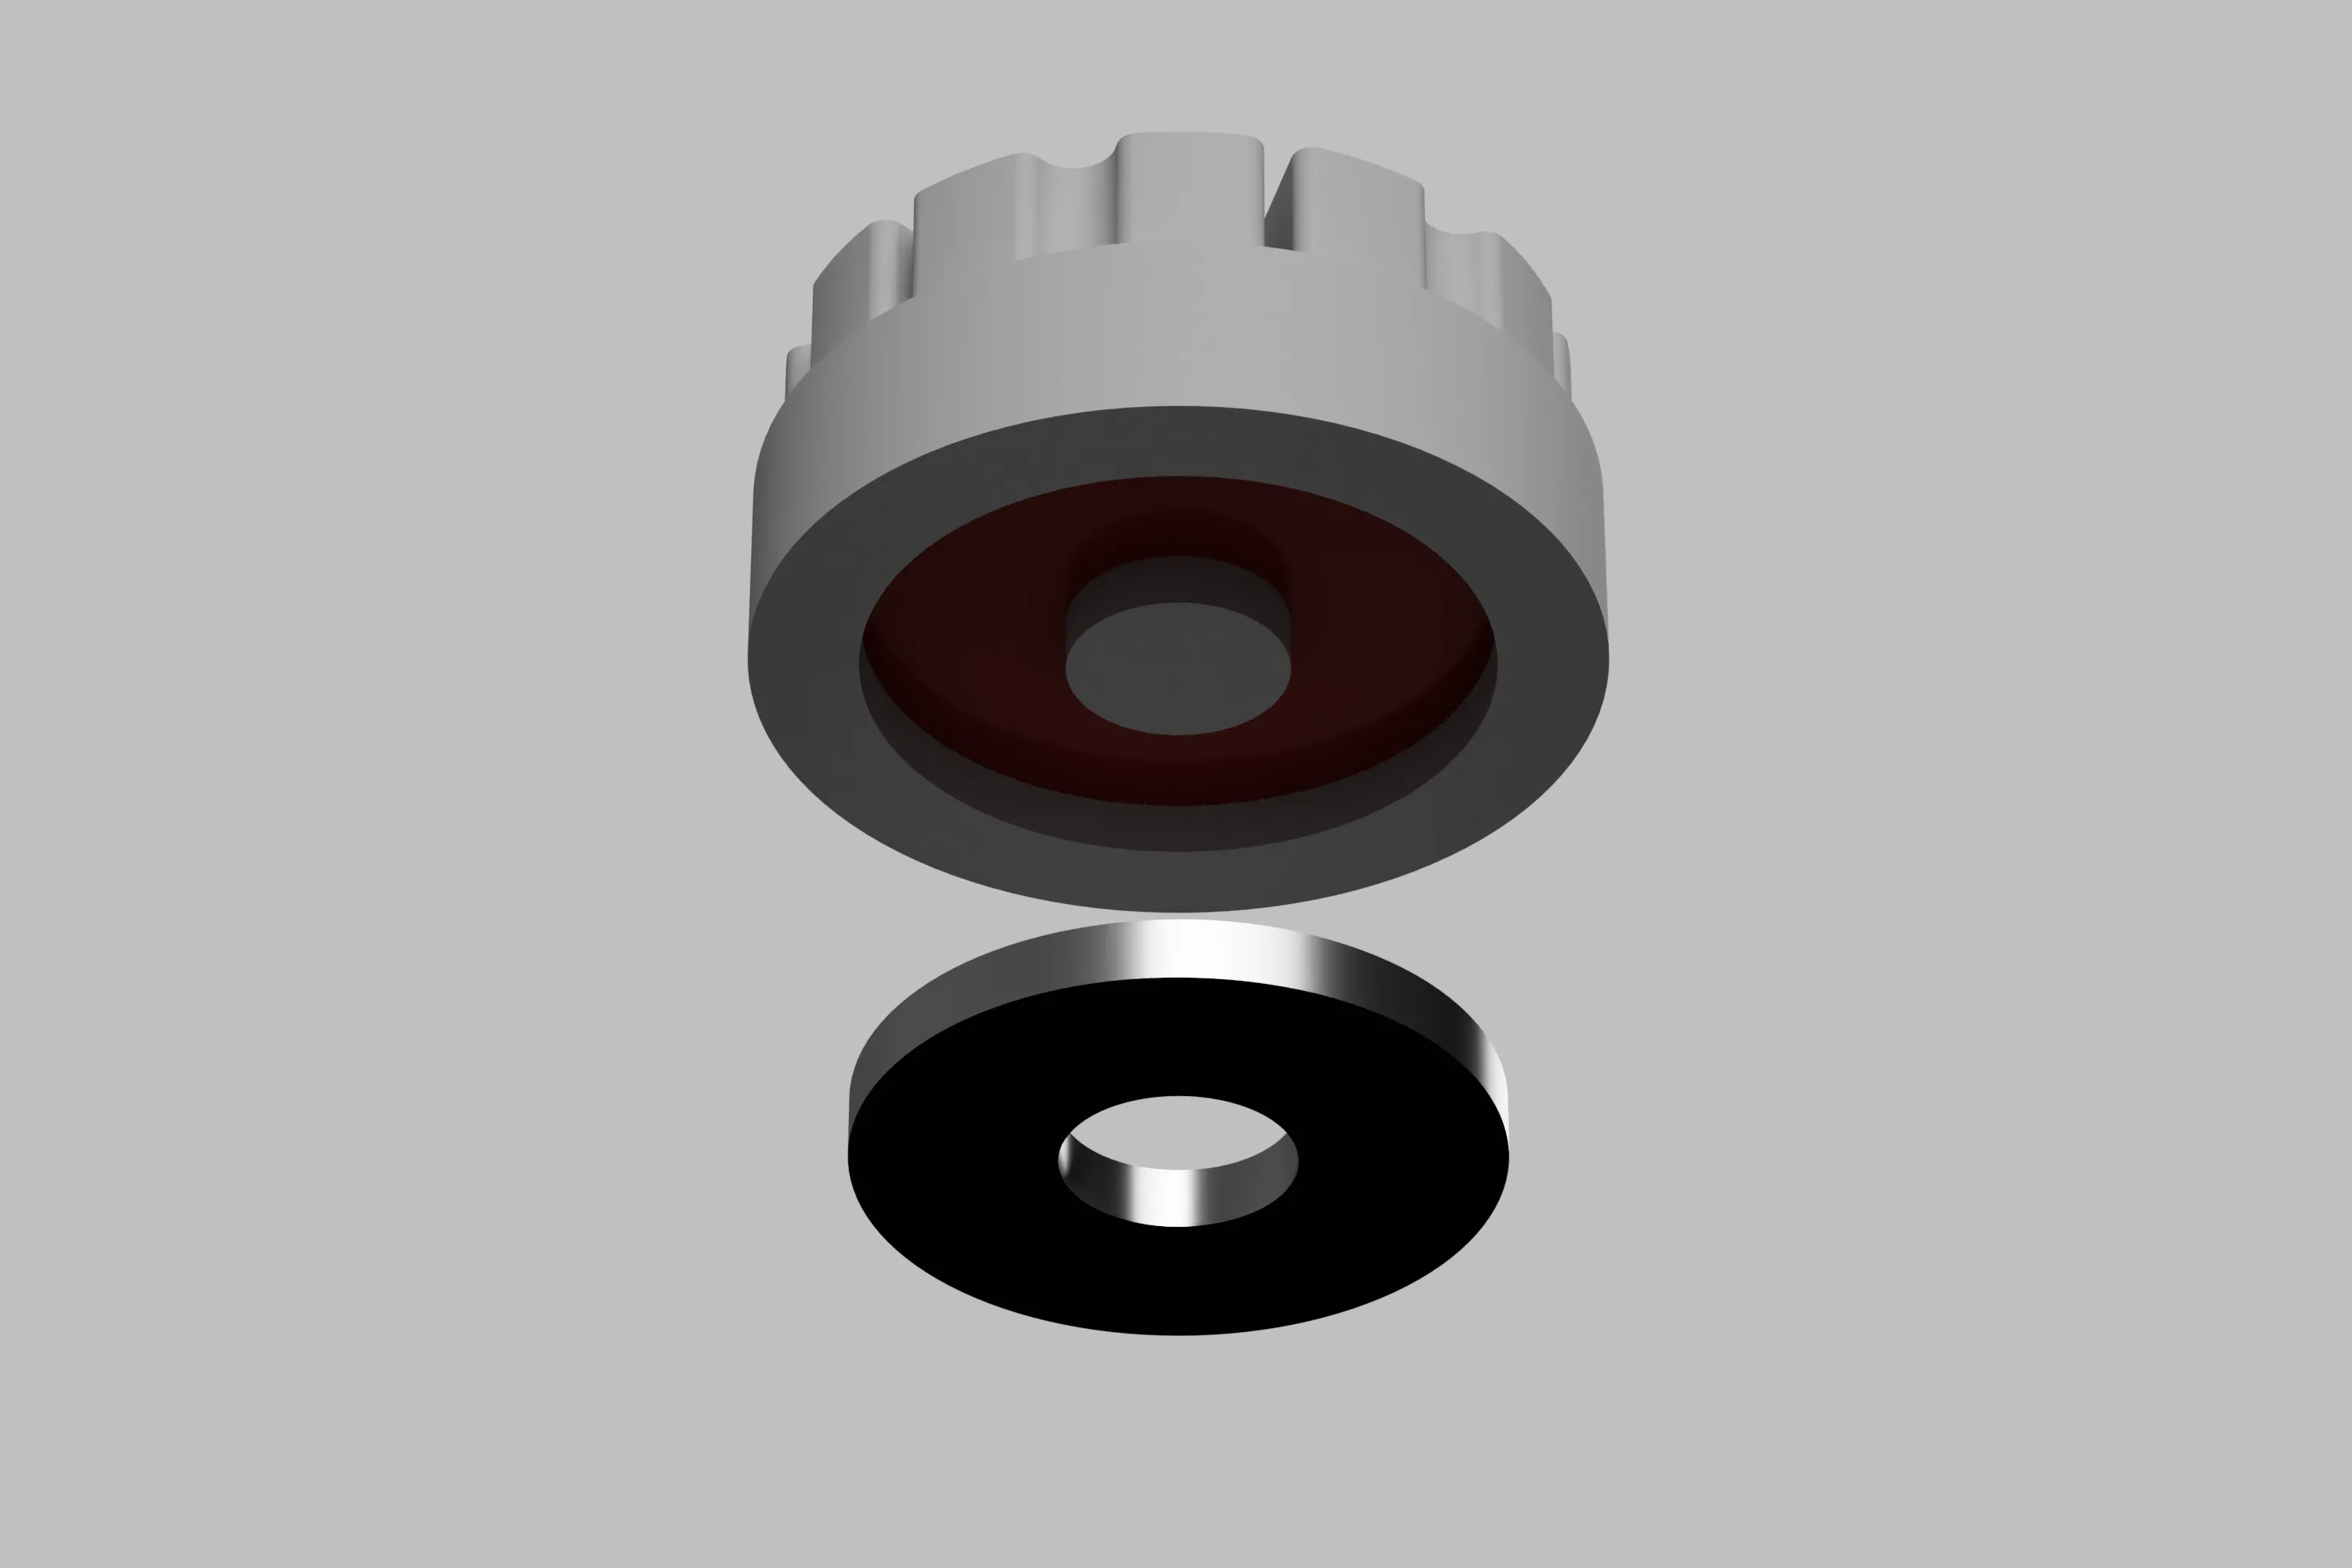
Push the Shaft Washer of the bearing into the red area of the Axis Feet.
The Shaft Washer should be installed with the smooth surface without grooves side down.
Place Axis Feet on the body
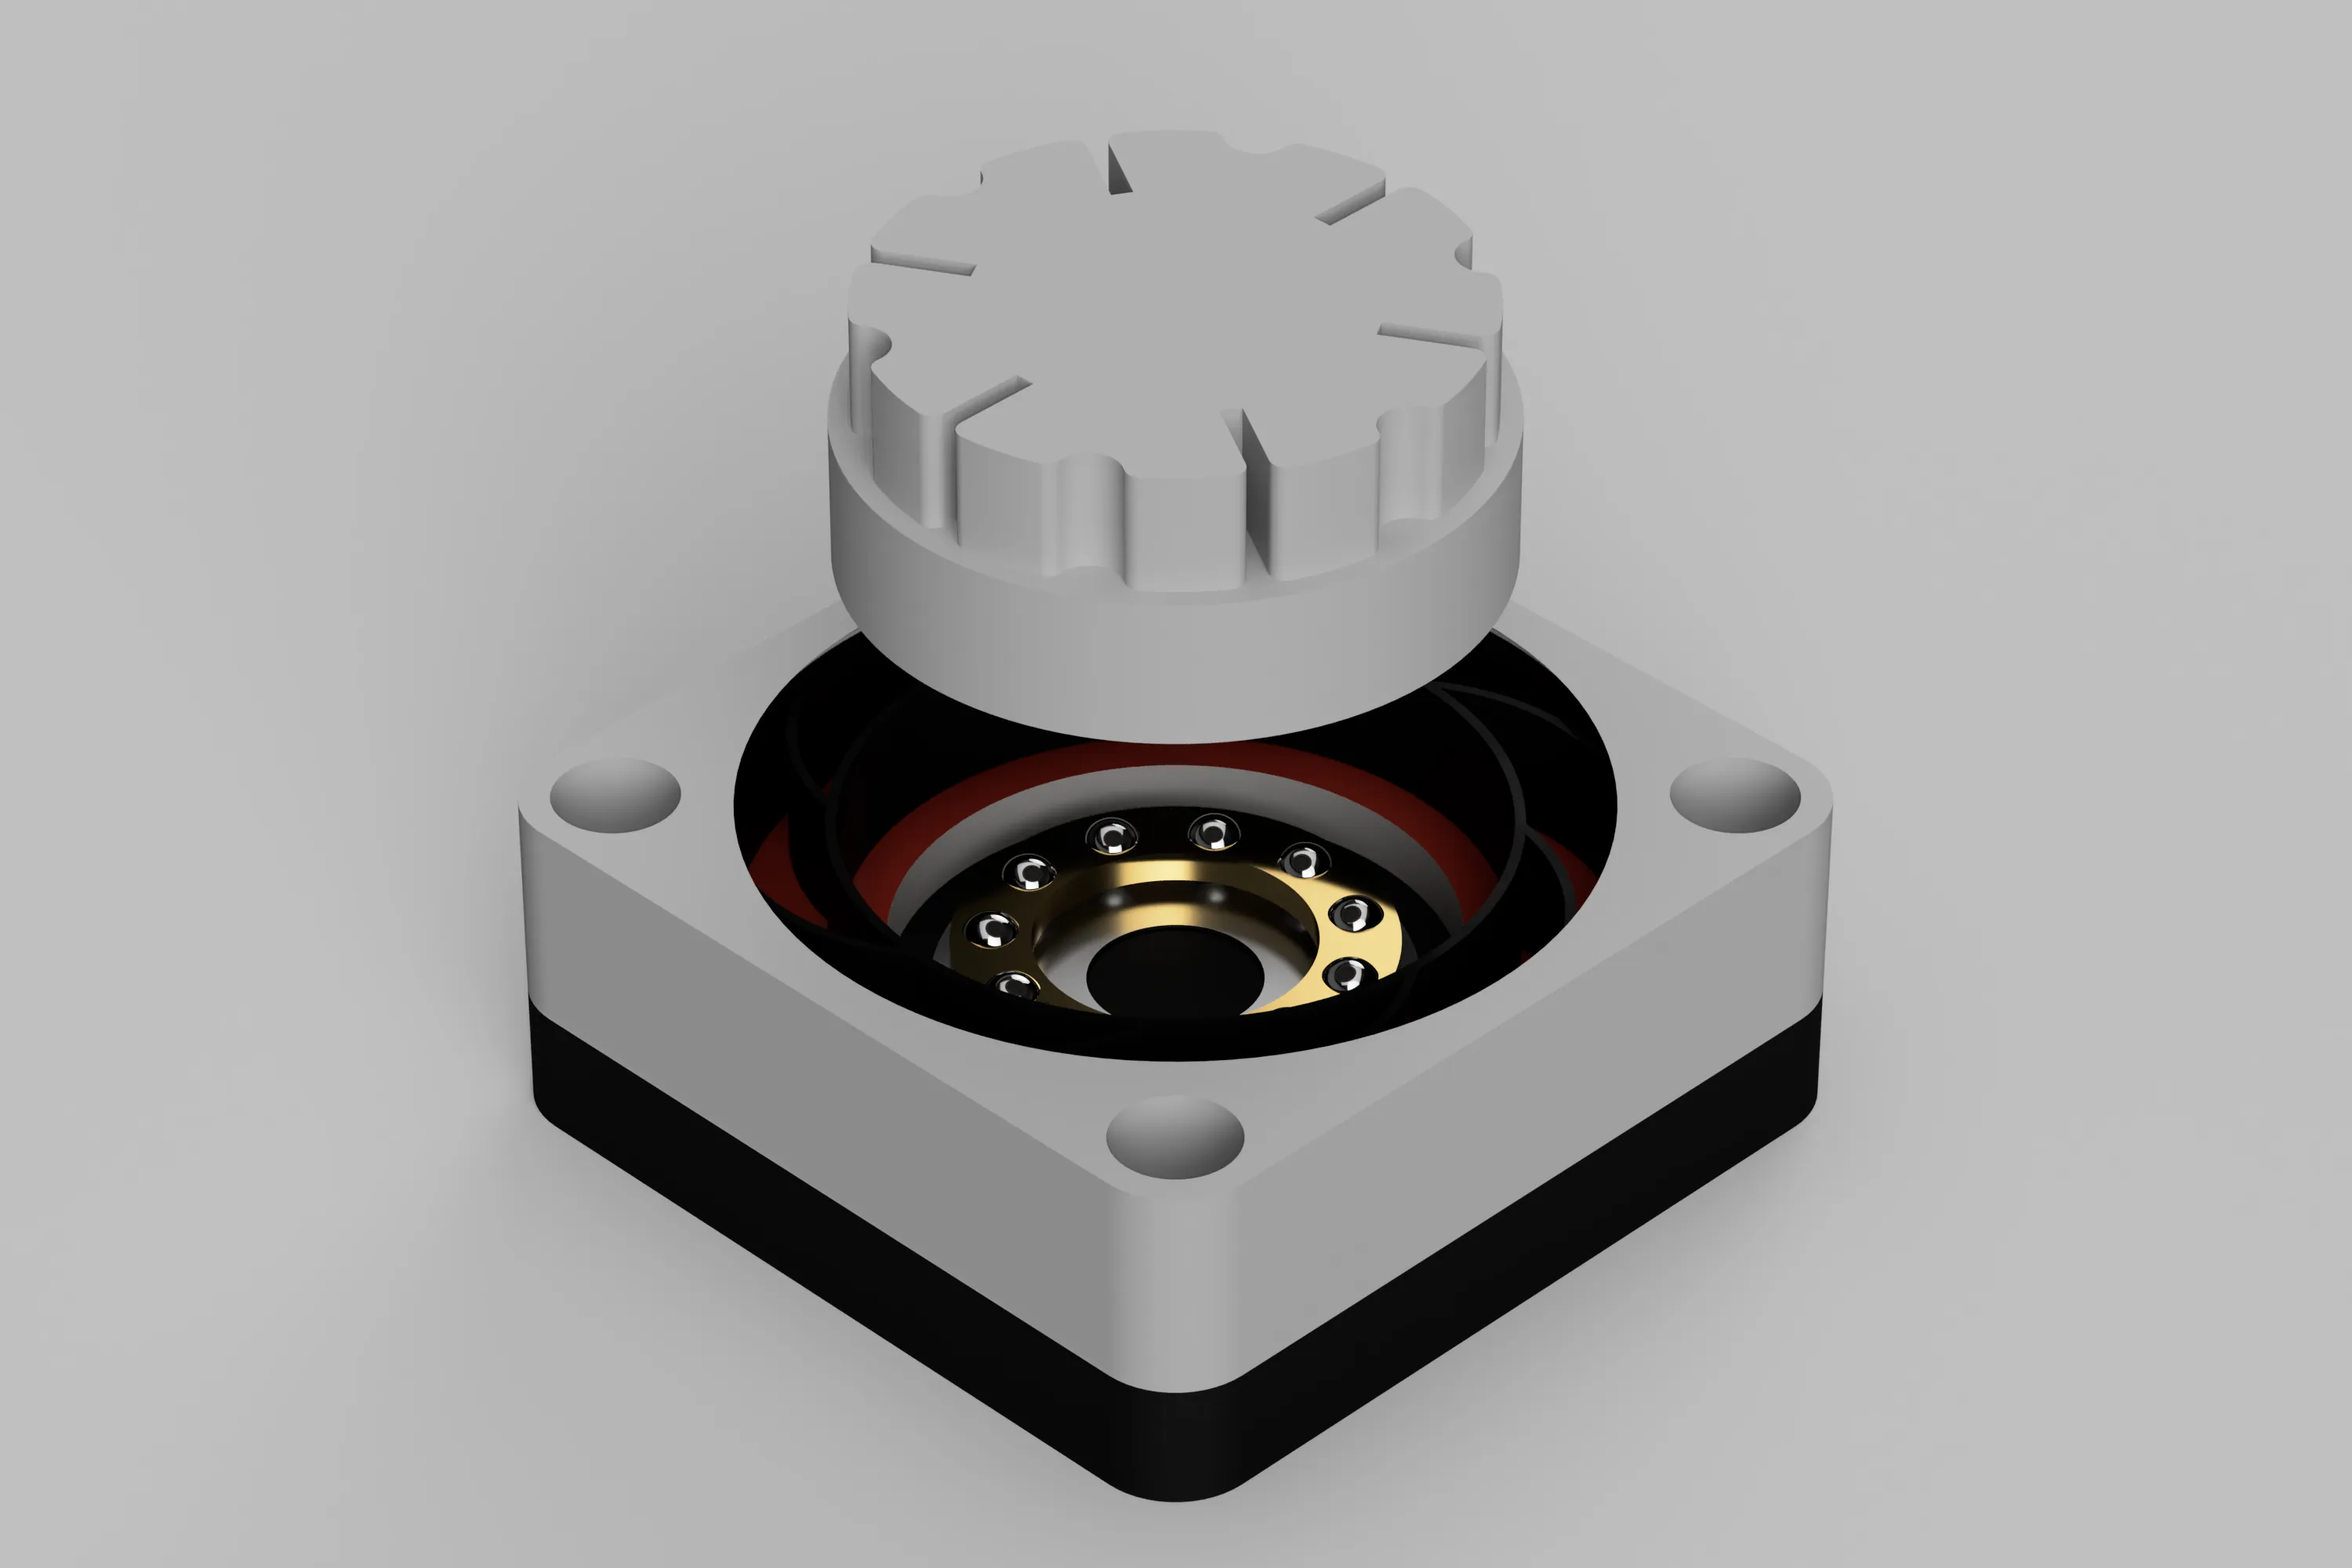
Align the Axis Feet with the center of the TPU damper.
Attach the mat to the main body
Finally, attach a TPU mat or an earthquake-proof gel mat to the recess on the bottom surface of the bottom cover.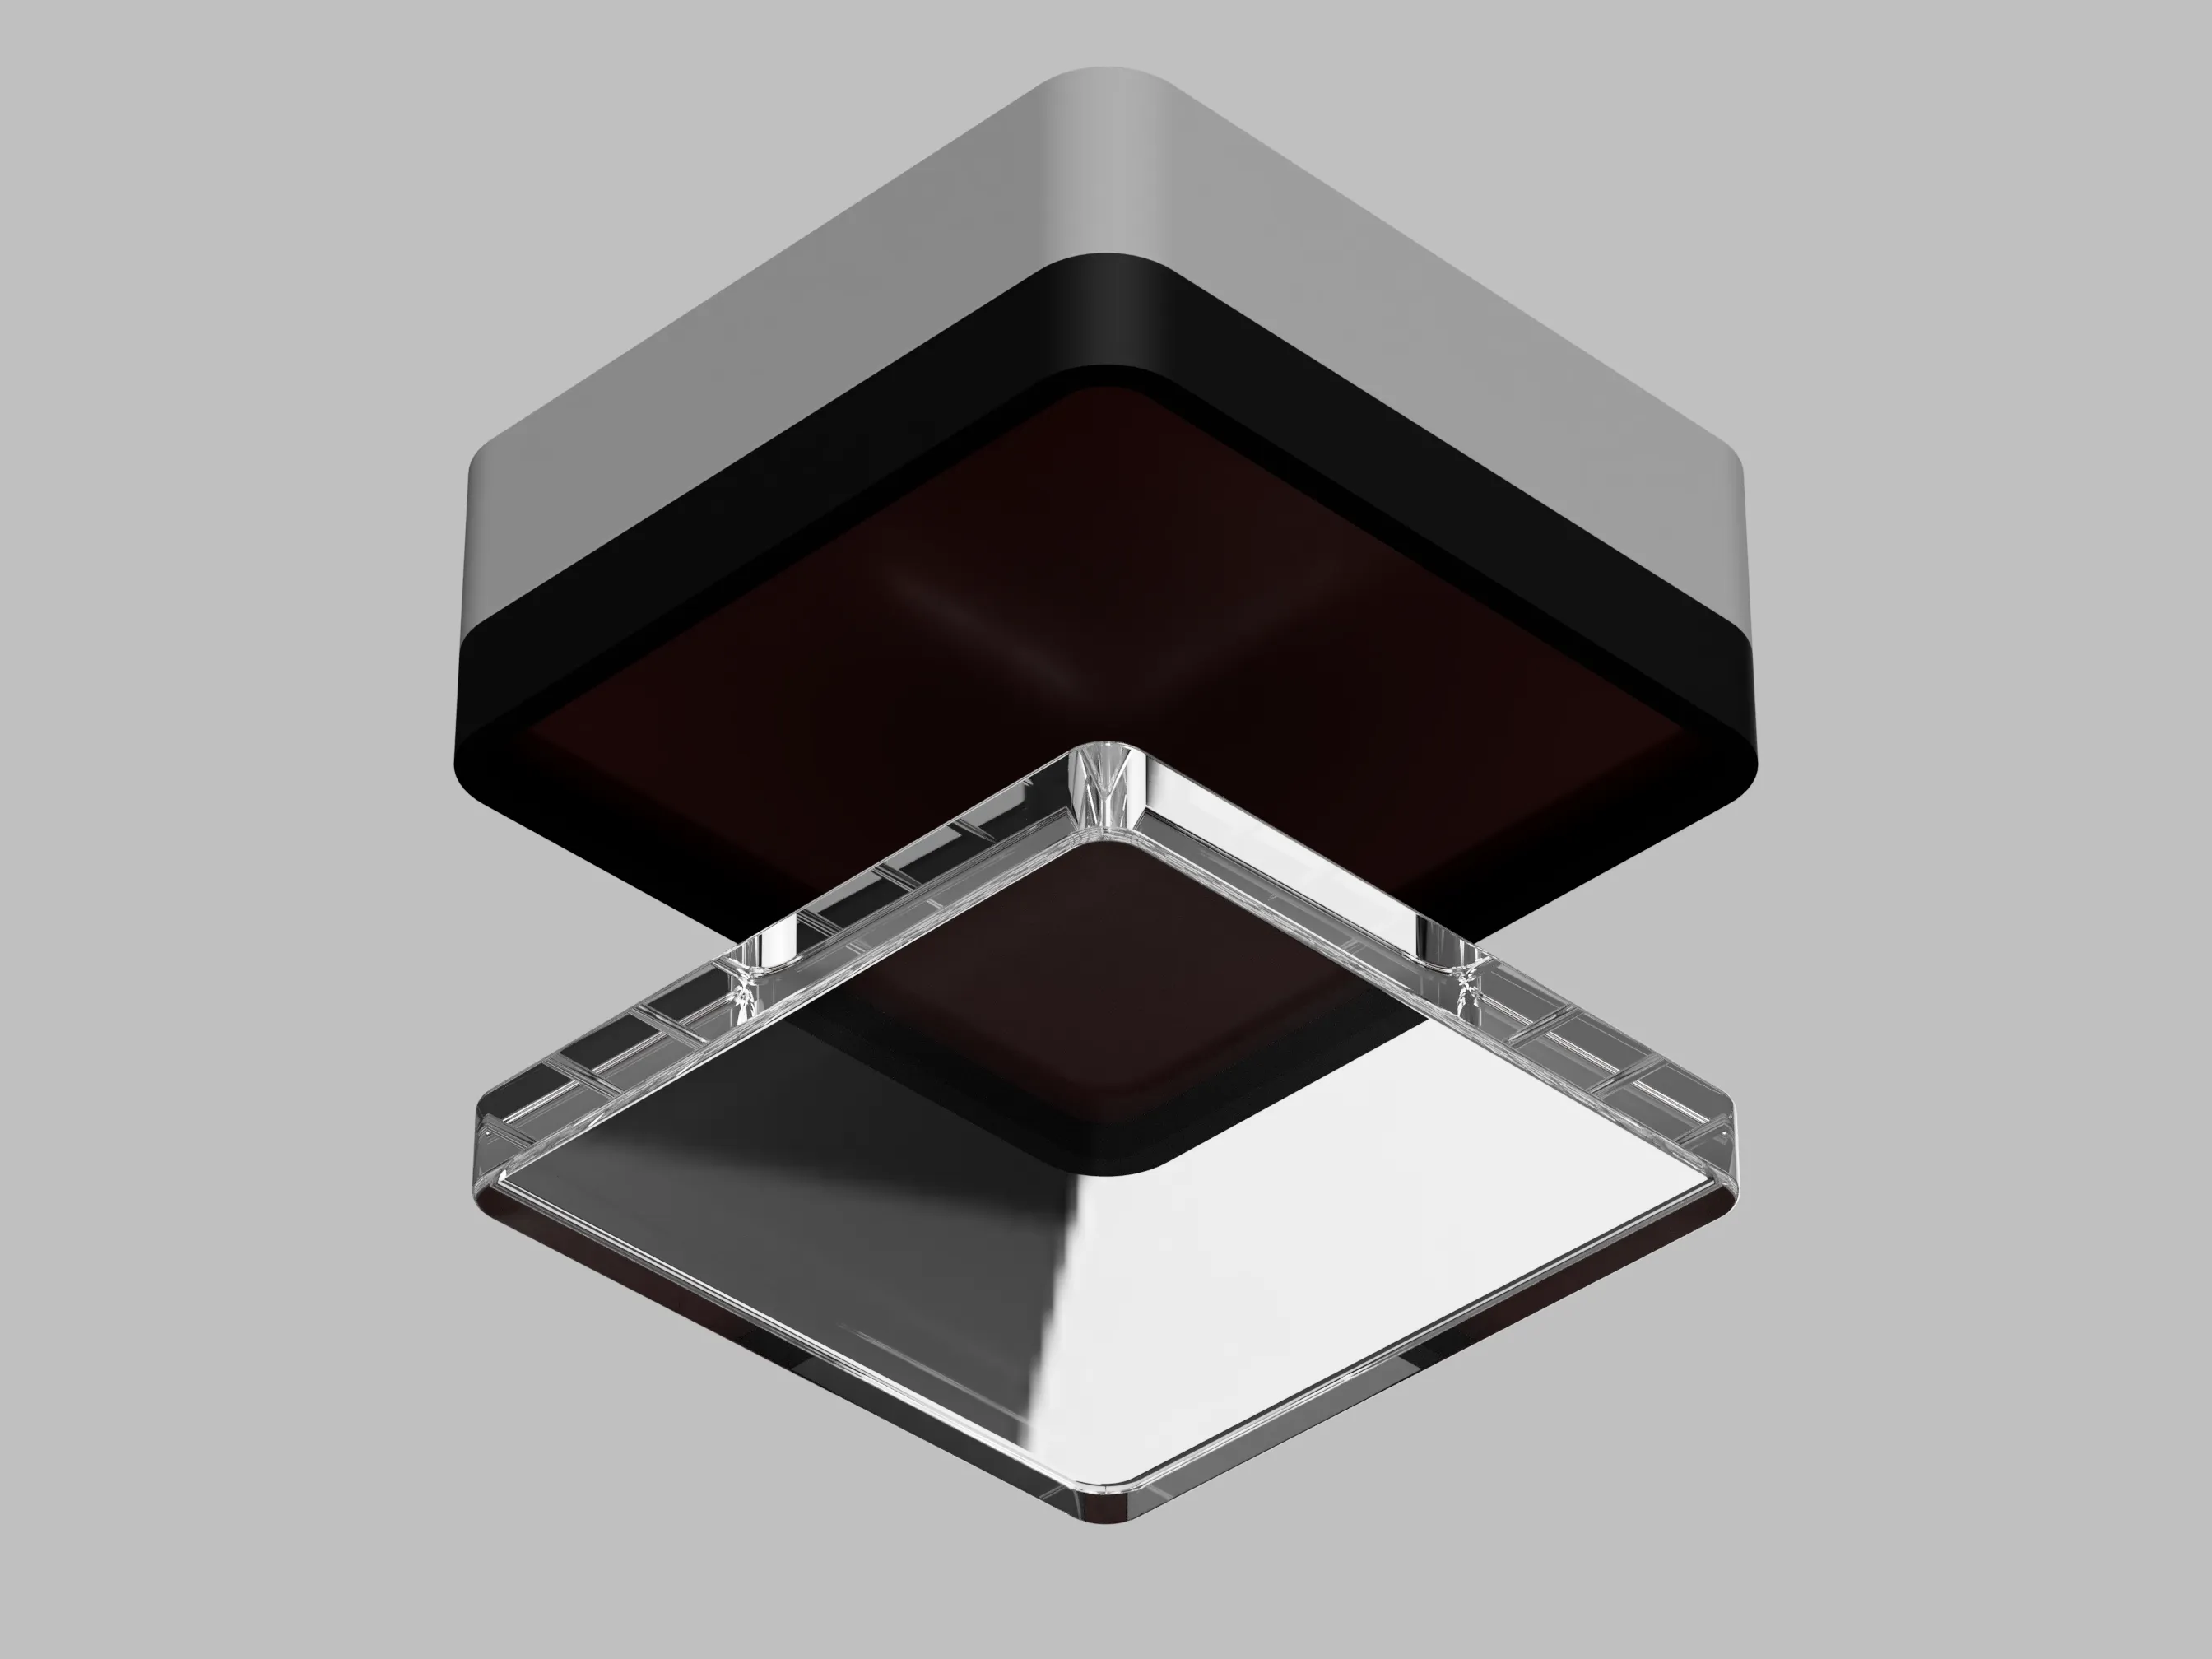
If you’re using a gel mat, since it is adhesive, remove the film on one side only before attaching it.
Peel off the remaining side when fixing it to the installation location.
Repeat steps #1 through #7 a total of four times to complete all SIS.
Installation Notes
When attaching the SIS to the X1/P1 series, please remove the rubber feet attached to the printer.
The SIS is designed to fit into the area where the rubber feet are removed.
Please follow the installation instructions to ensure safe use of the 3D printer.
License

You shall not share, sub-license, sell, rent, host, transfer, or distribute in any way the digital or 3D printed versions of this object, nor any other derivative work of this object in its digital or physical format (including - but not limited to - remixes of this object, and hosting on other digital platforms). The objects may not be used without permission in any way whatsoever in which you charge money, or collect fees.


Comment & Rating (430)