
Playstation Magnetic Blocks

Print Profile(1)
Description
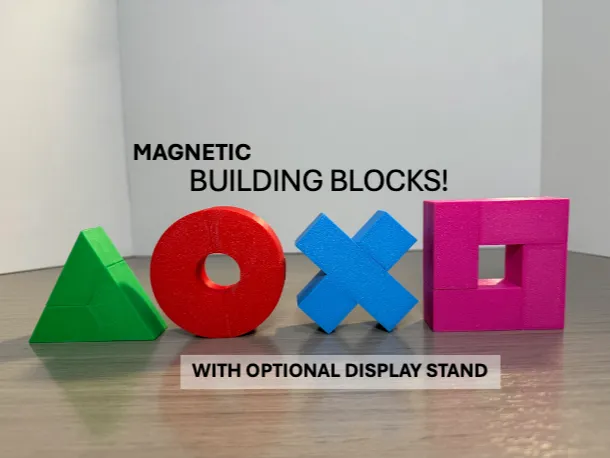
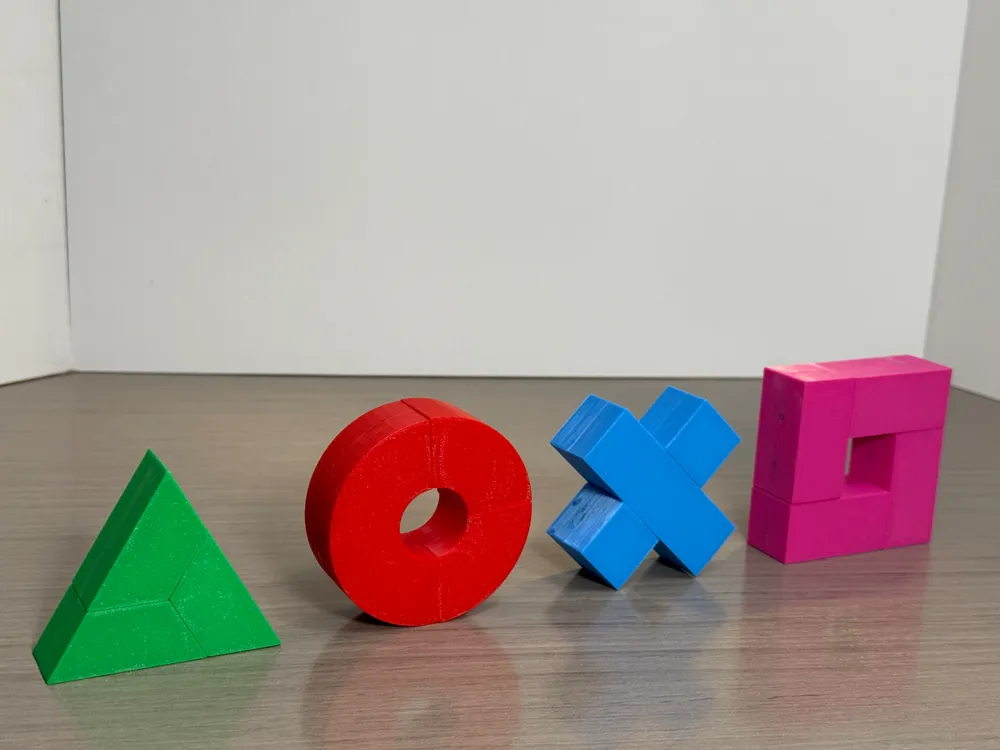
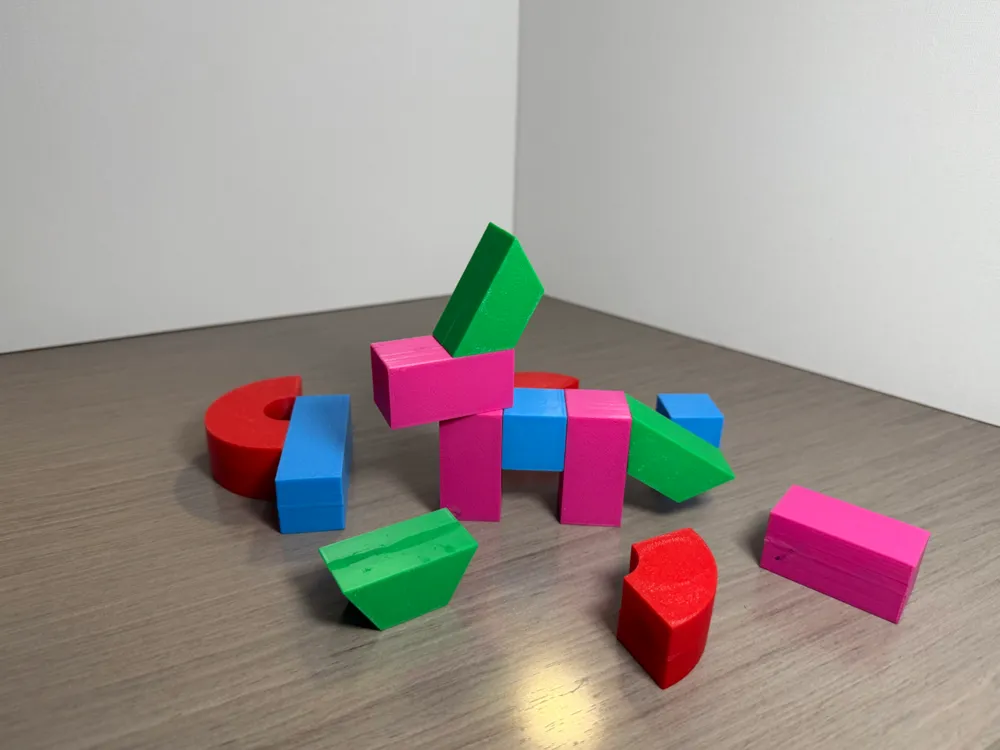
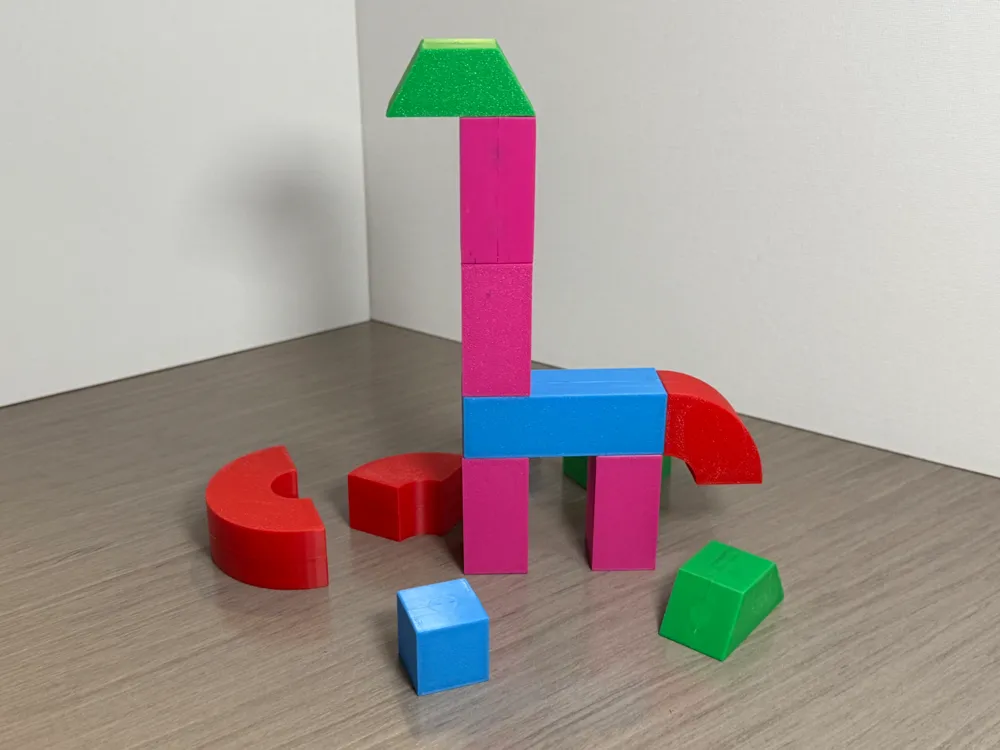
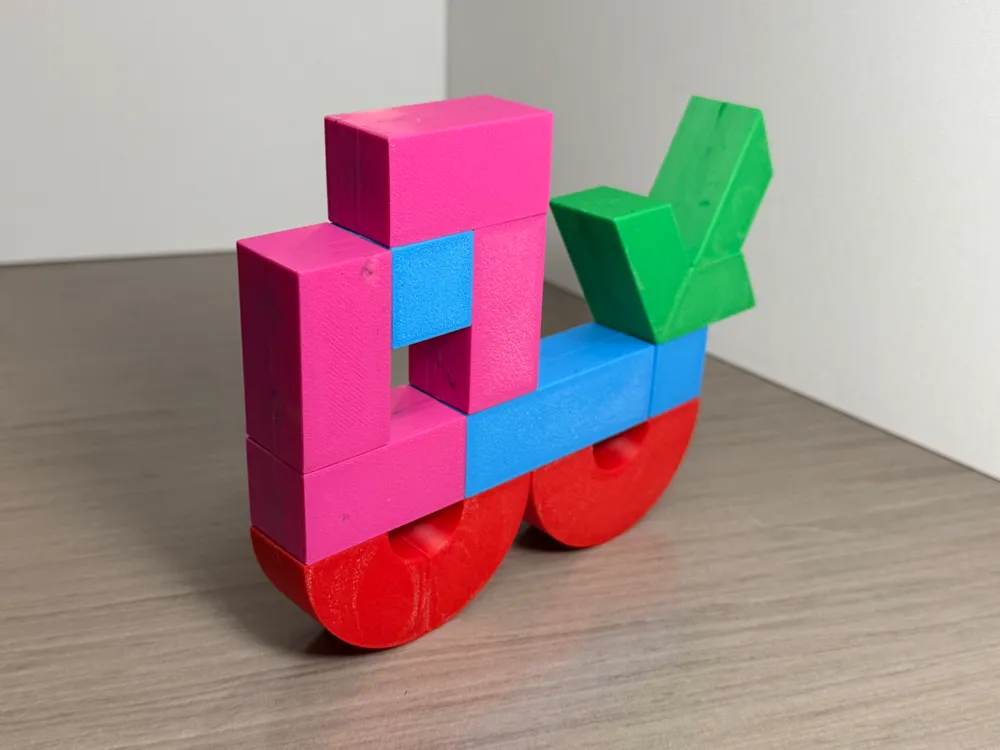
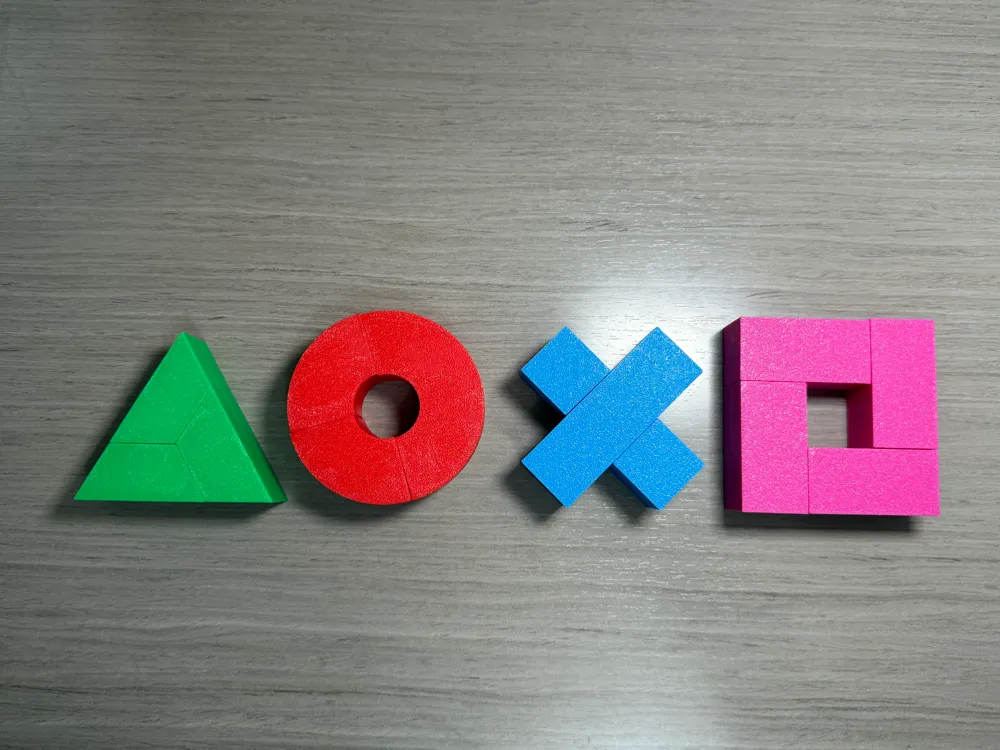
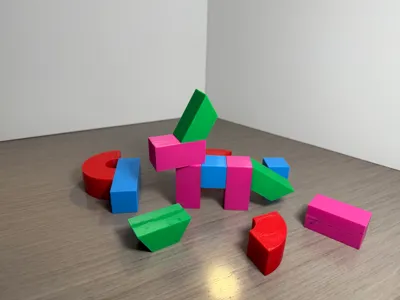
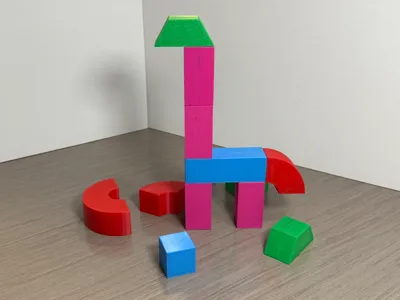
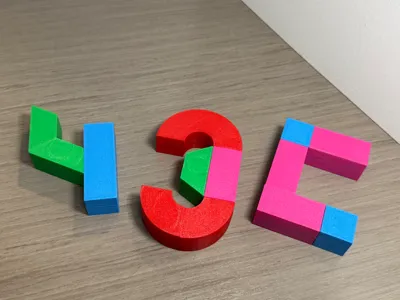
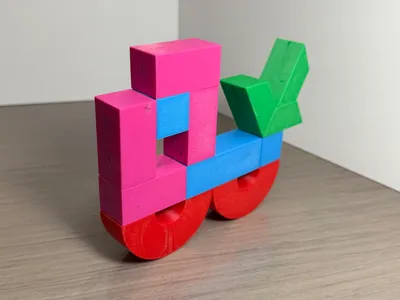
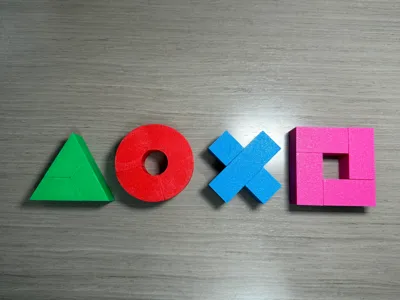
Playstation inspired Magnetic Blocks set.
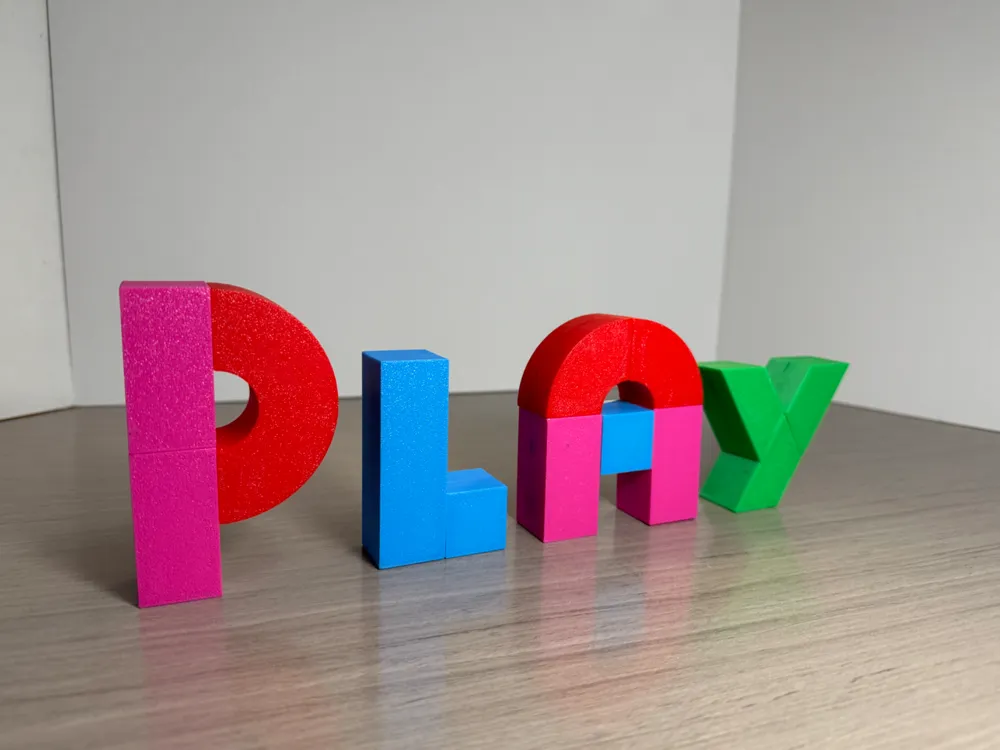
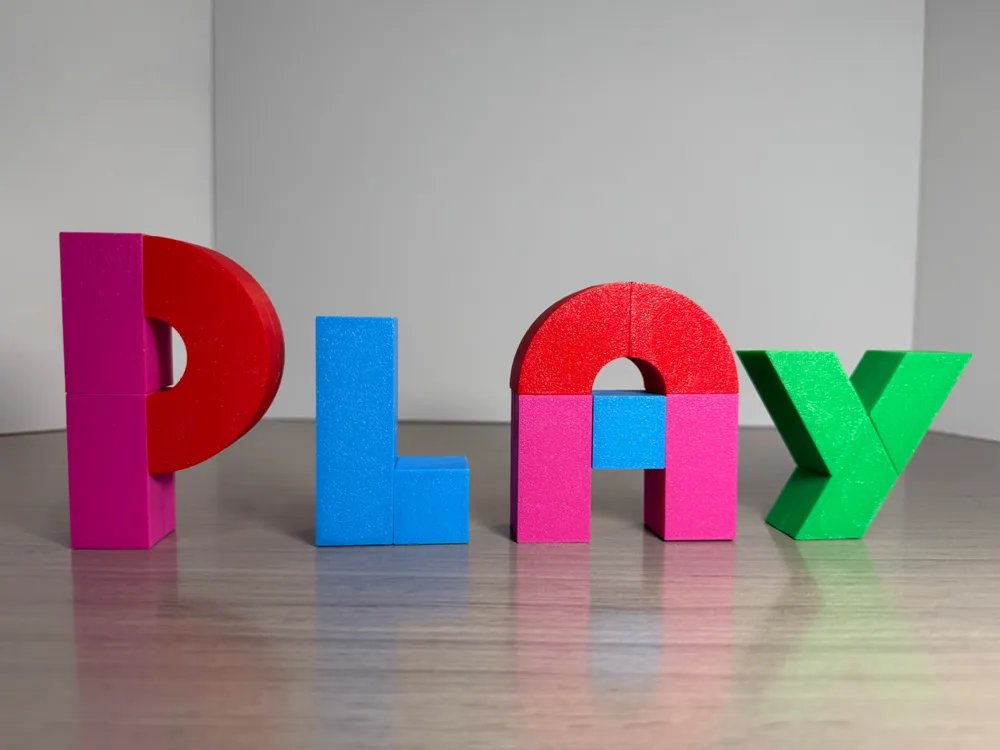
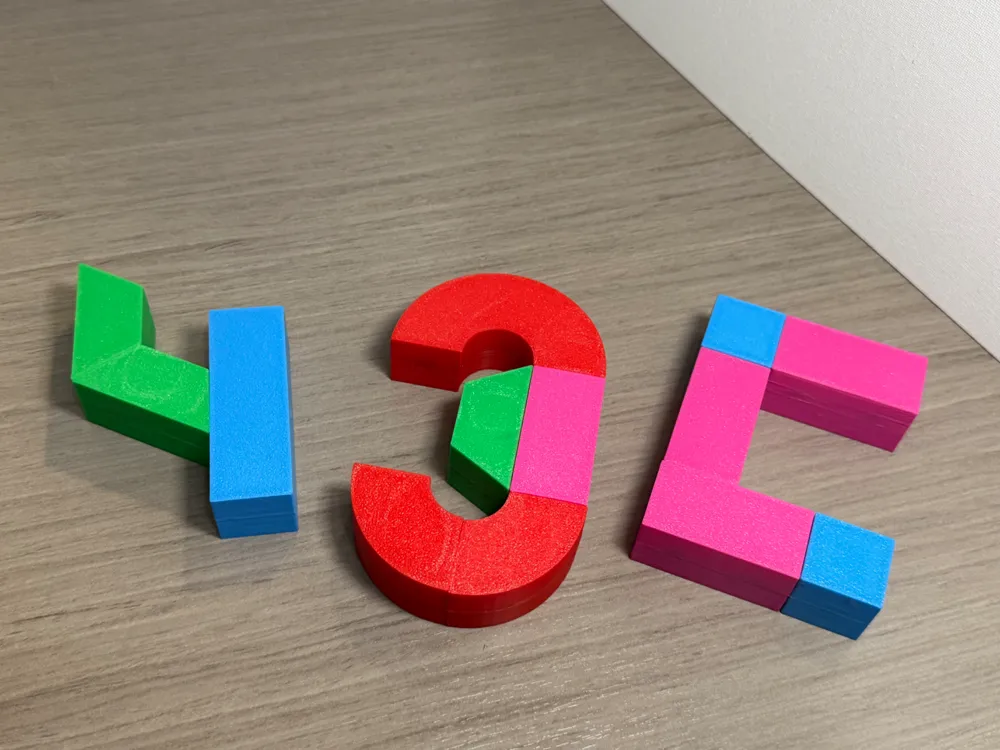
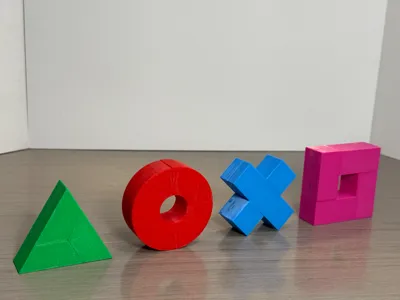
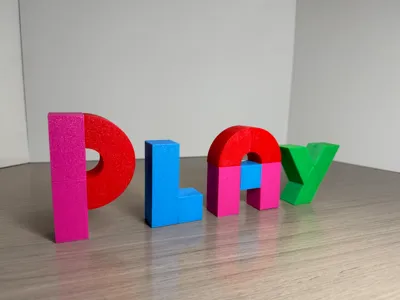
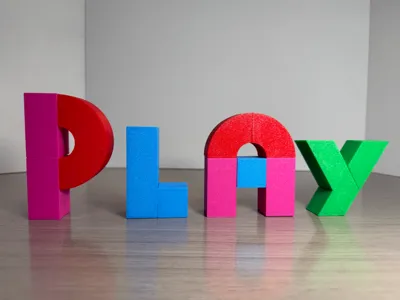
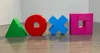
These fun blocks can be arranged in a variety of ways, including the iconic Playstation symbols: Triangle, Circle, X and Square. These have embedded magnets and will hold together when positioned with opposite polarity. The placement has been carefully calculated for optimal variations.
Details and parts:
Each plate includes all the necessary parts for each symbol, including 4 extra clips per set.
Optional remove the clips per plate and print them all at one time, they are hidden inside the competed block and can be any color or material.
The additional hardware needed are 61 small neodymium magnets. This has been designed to use 8x3mm magnets, but smaller ones should also work. These can be found here (150 pack): https://a.co/d/dwGVkTL
I also used super glue to adhere the magnets while constructing and to secure the parts together permanently.
Assembly:
Insert clips into half of each block, taking care as to not break them. I suggest a small pair of pliers. Ensure the legs are not spread apart otherwise it will difficult to attach the other piece.
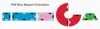
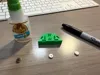
Next orientate your magnets by marking the top of a stack with sharpie and mark each one as you use them. Follow the orientation guide, matching the marked side with the black indicators. The opposite side for white. Tip - mark off and set aside the number of magnets needed for the piece you're working on and have them ready.
Place a small dot of glue in each compartment and carefully add the magnets. Taking care as to let them dry so they dont stick to each other as your building.
Finally snap the parts together, optionally adding a bit of glue to flat surfaces before. Some force may be required, but use care as to not bend them. This is where the extras can come in handy. Tip - Clamp the parts together for a few min as the glue cures to ensure the blocks are smooth and gap free.
Once assembled, these can be played with and positioned as you see fit. I would not recommend these for small children as the magnets are quite strong.
Added 3 optional stands:
2 color logo: https://makerworld.com/en/models/866210
Single color, embossed logo: https://makerworld.com/en/models/866225
Separate 2 color logo plate: https://makerworld.com/en/models/866256
Boost Me (for free)
If you enjoy this model, boost are appreciated!
Documentation (2)
License



Comment & Rating (2)