

A1 mini Print-in-Place Side Drag Chain

Print Profile(7)


Description
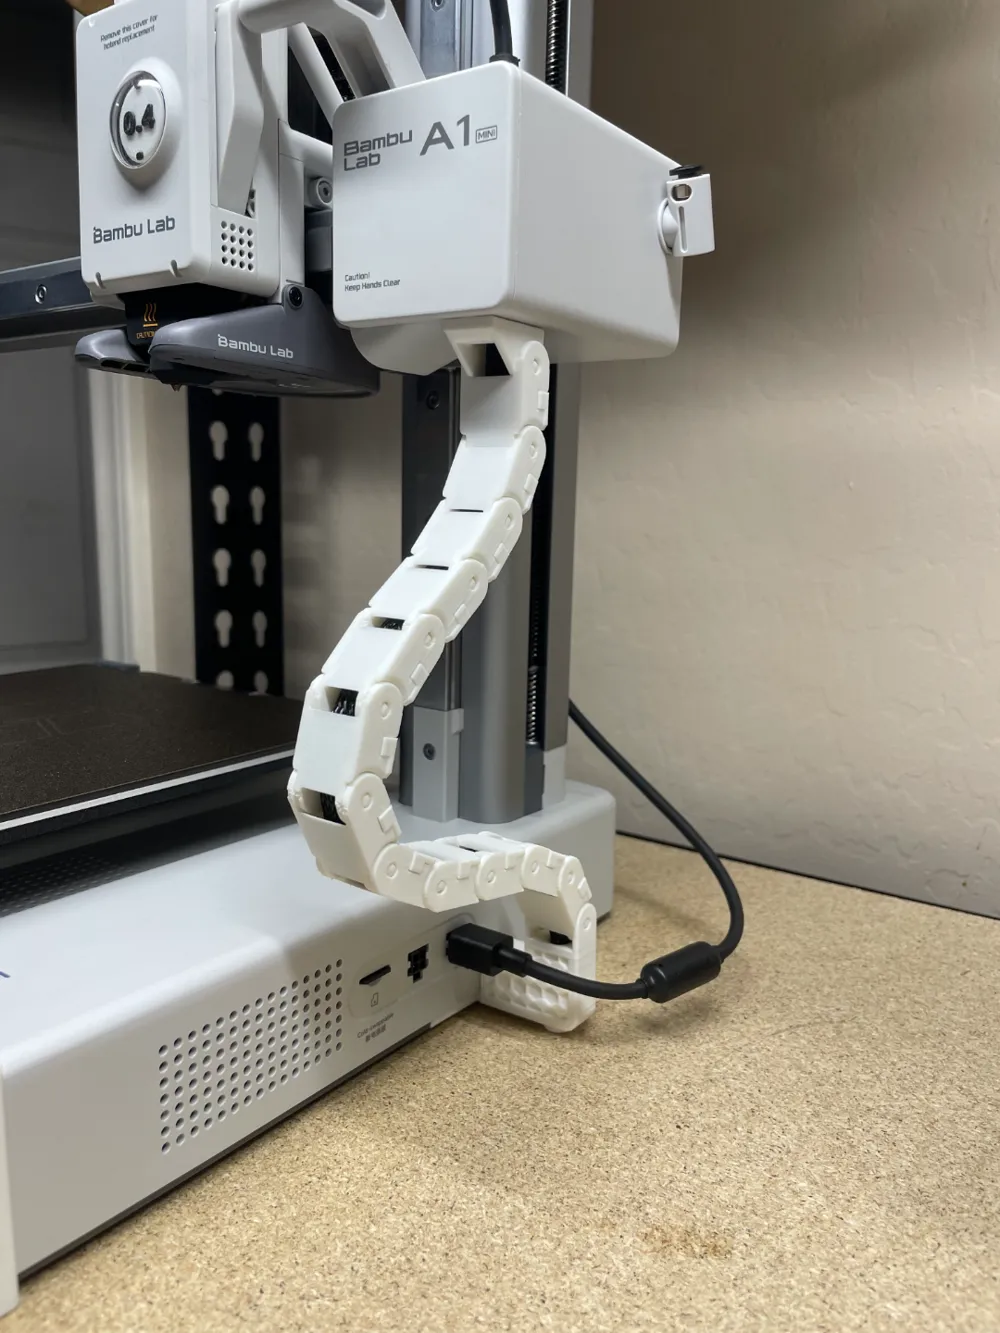
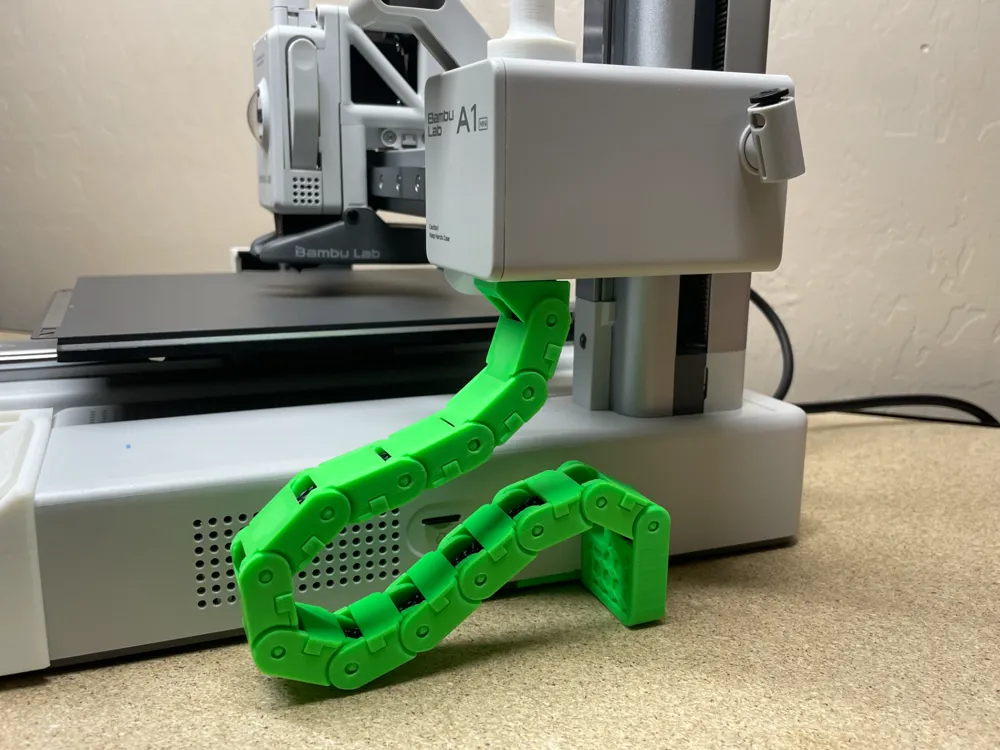
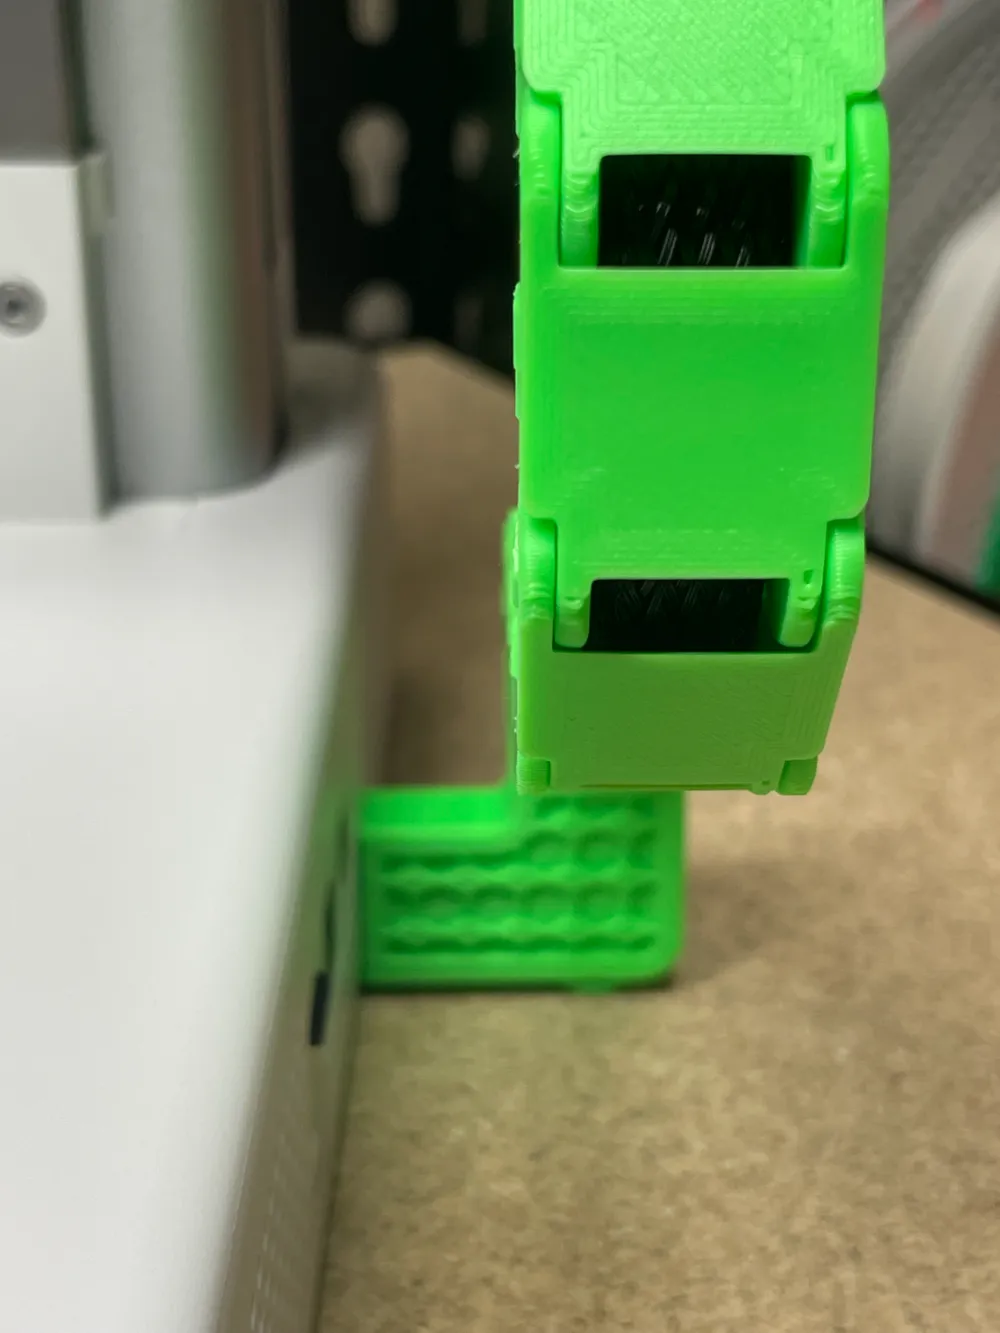
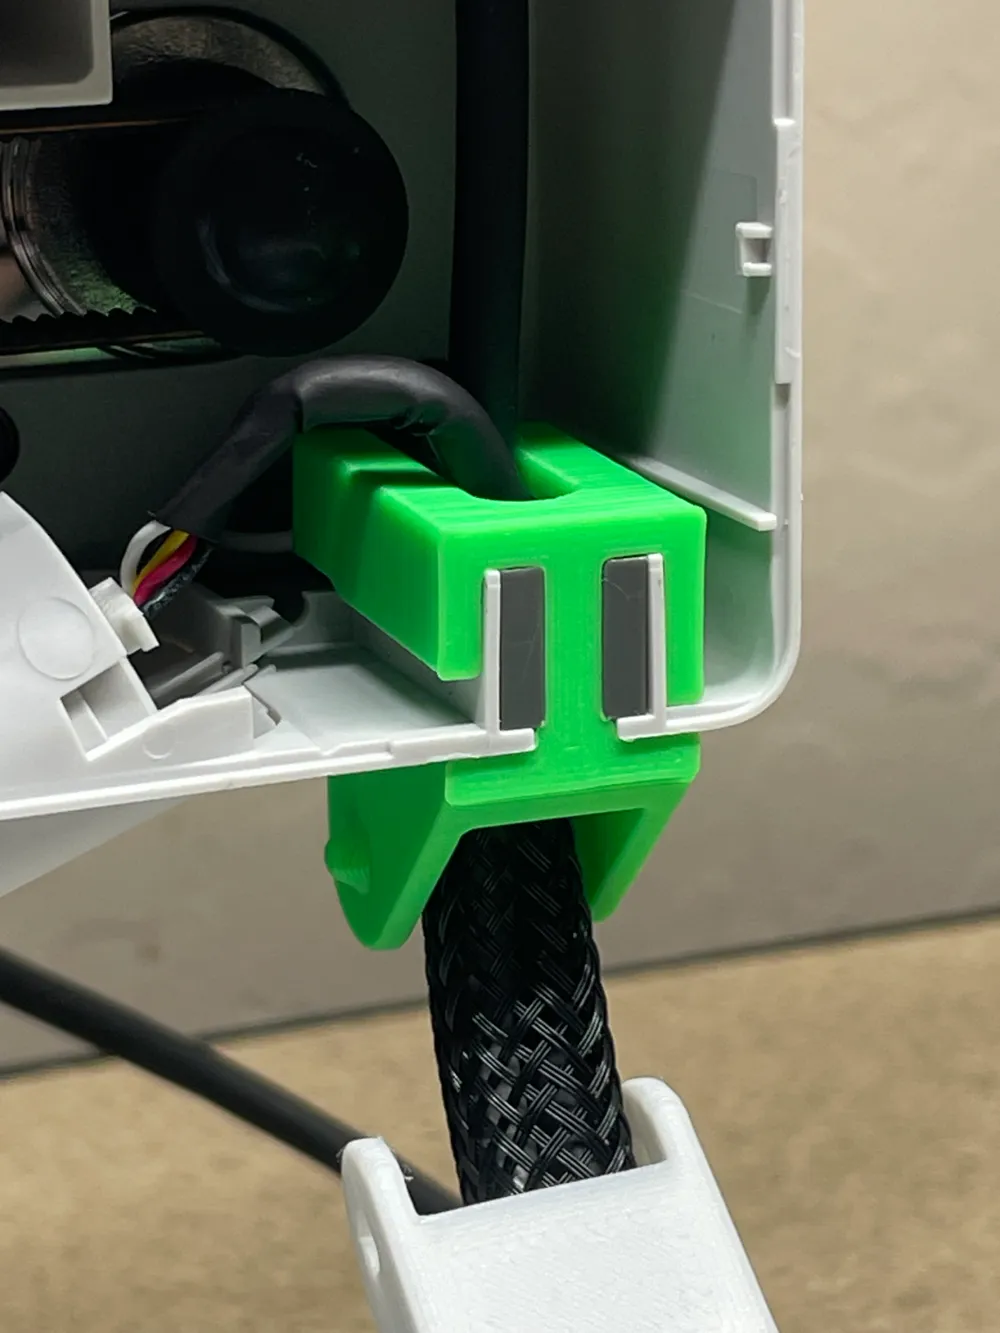
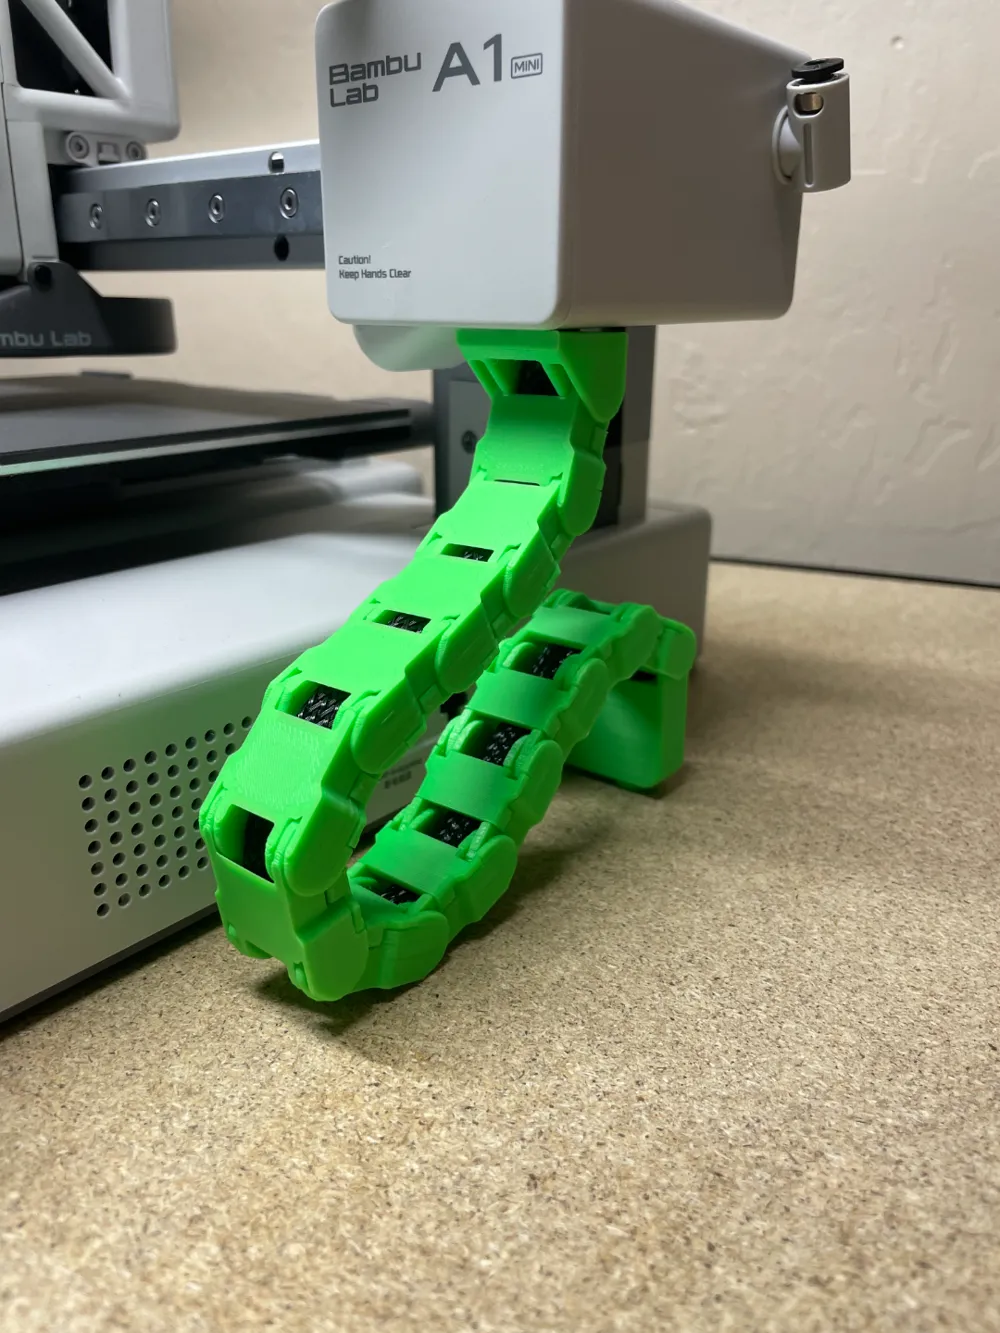
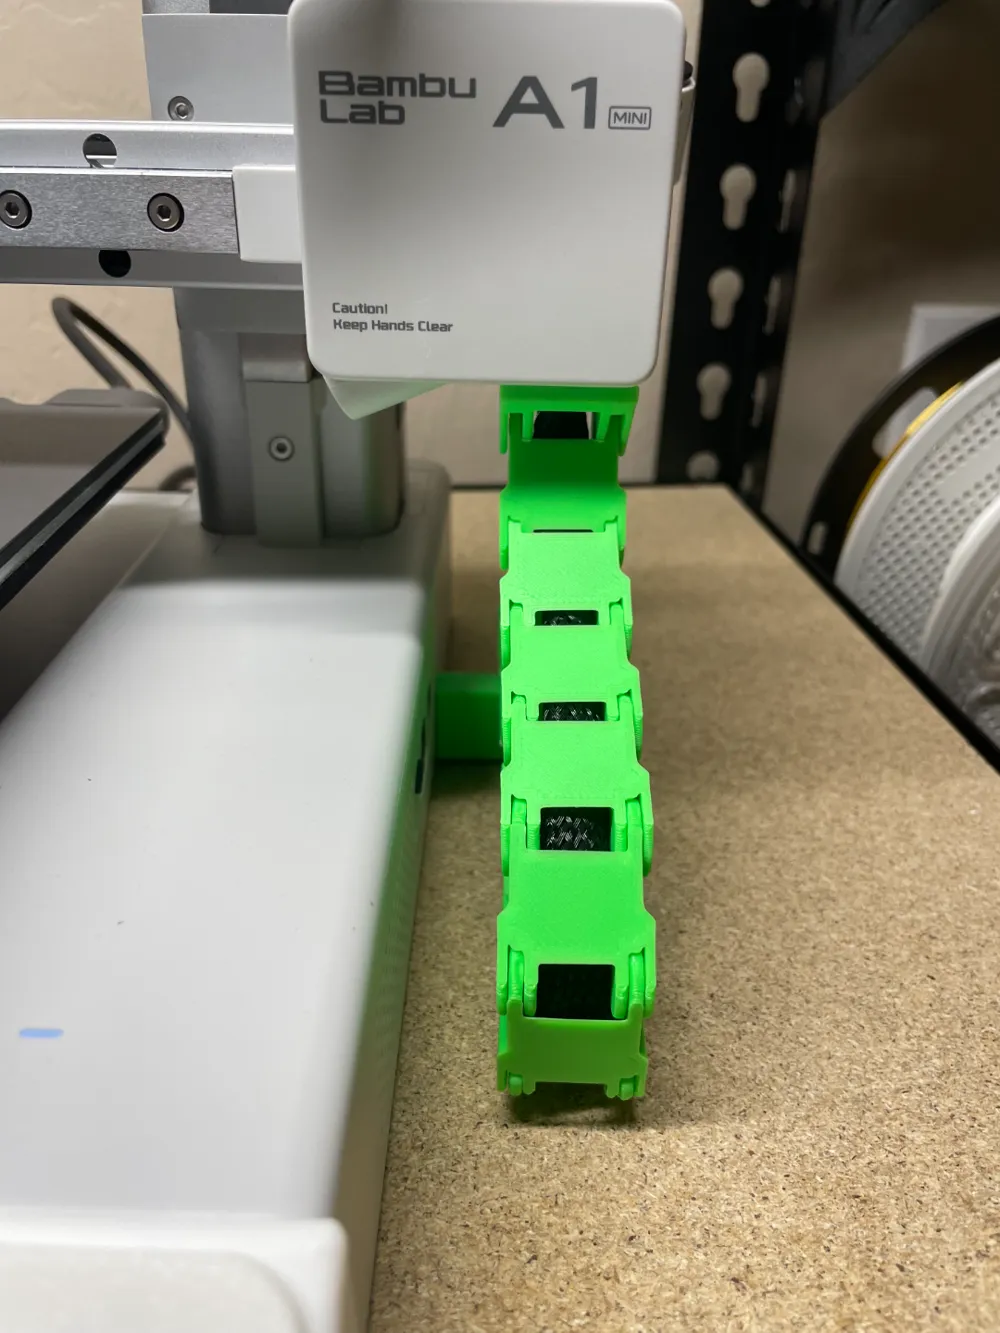
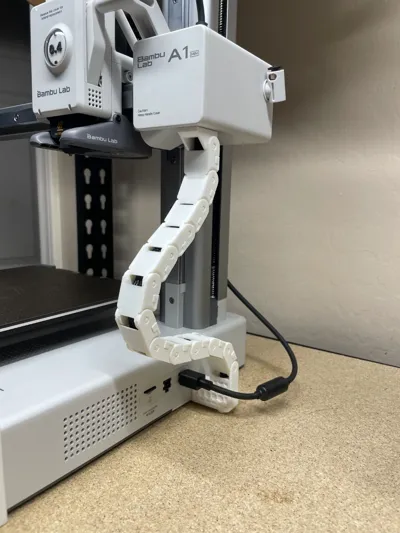
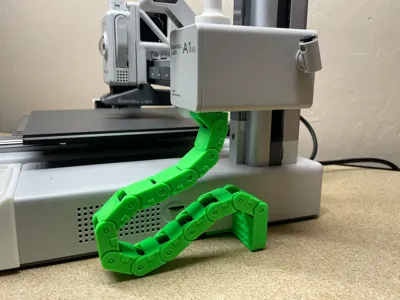
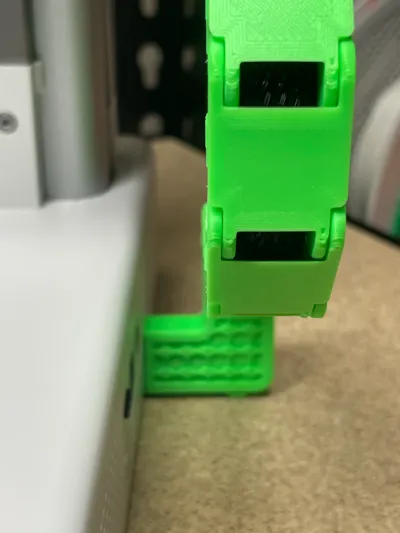
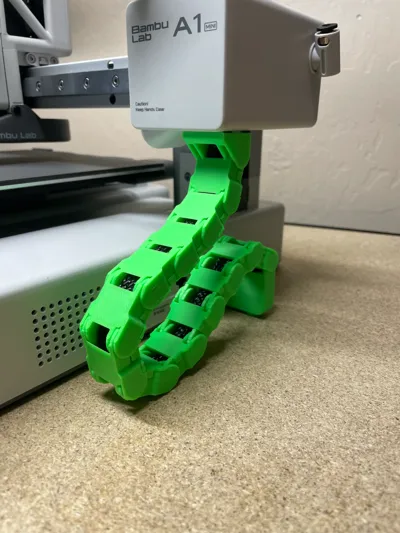
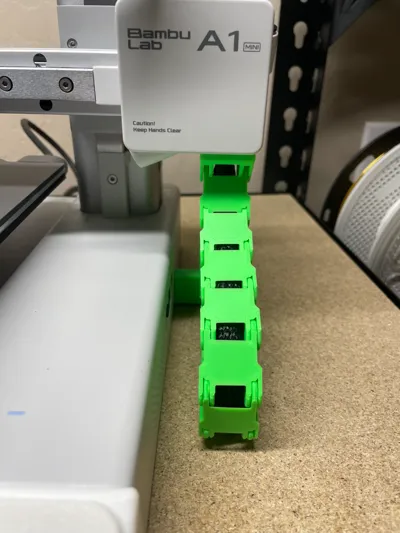
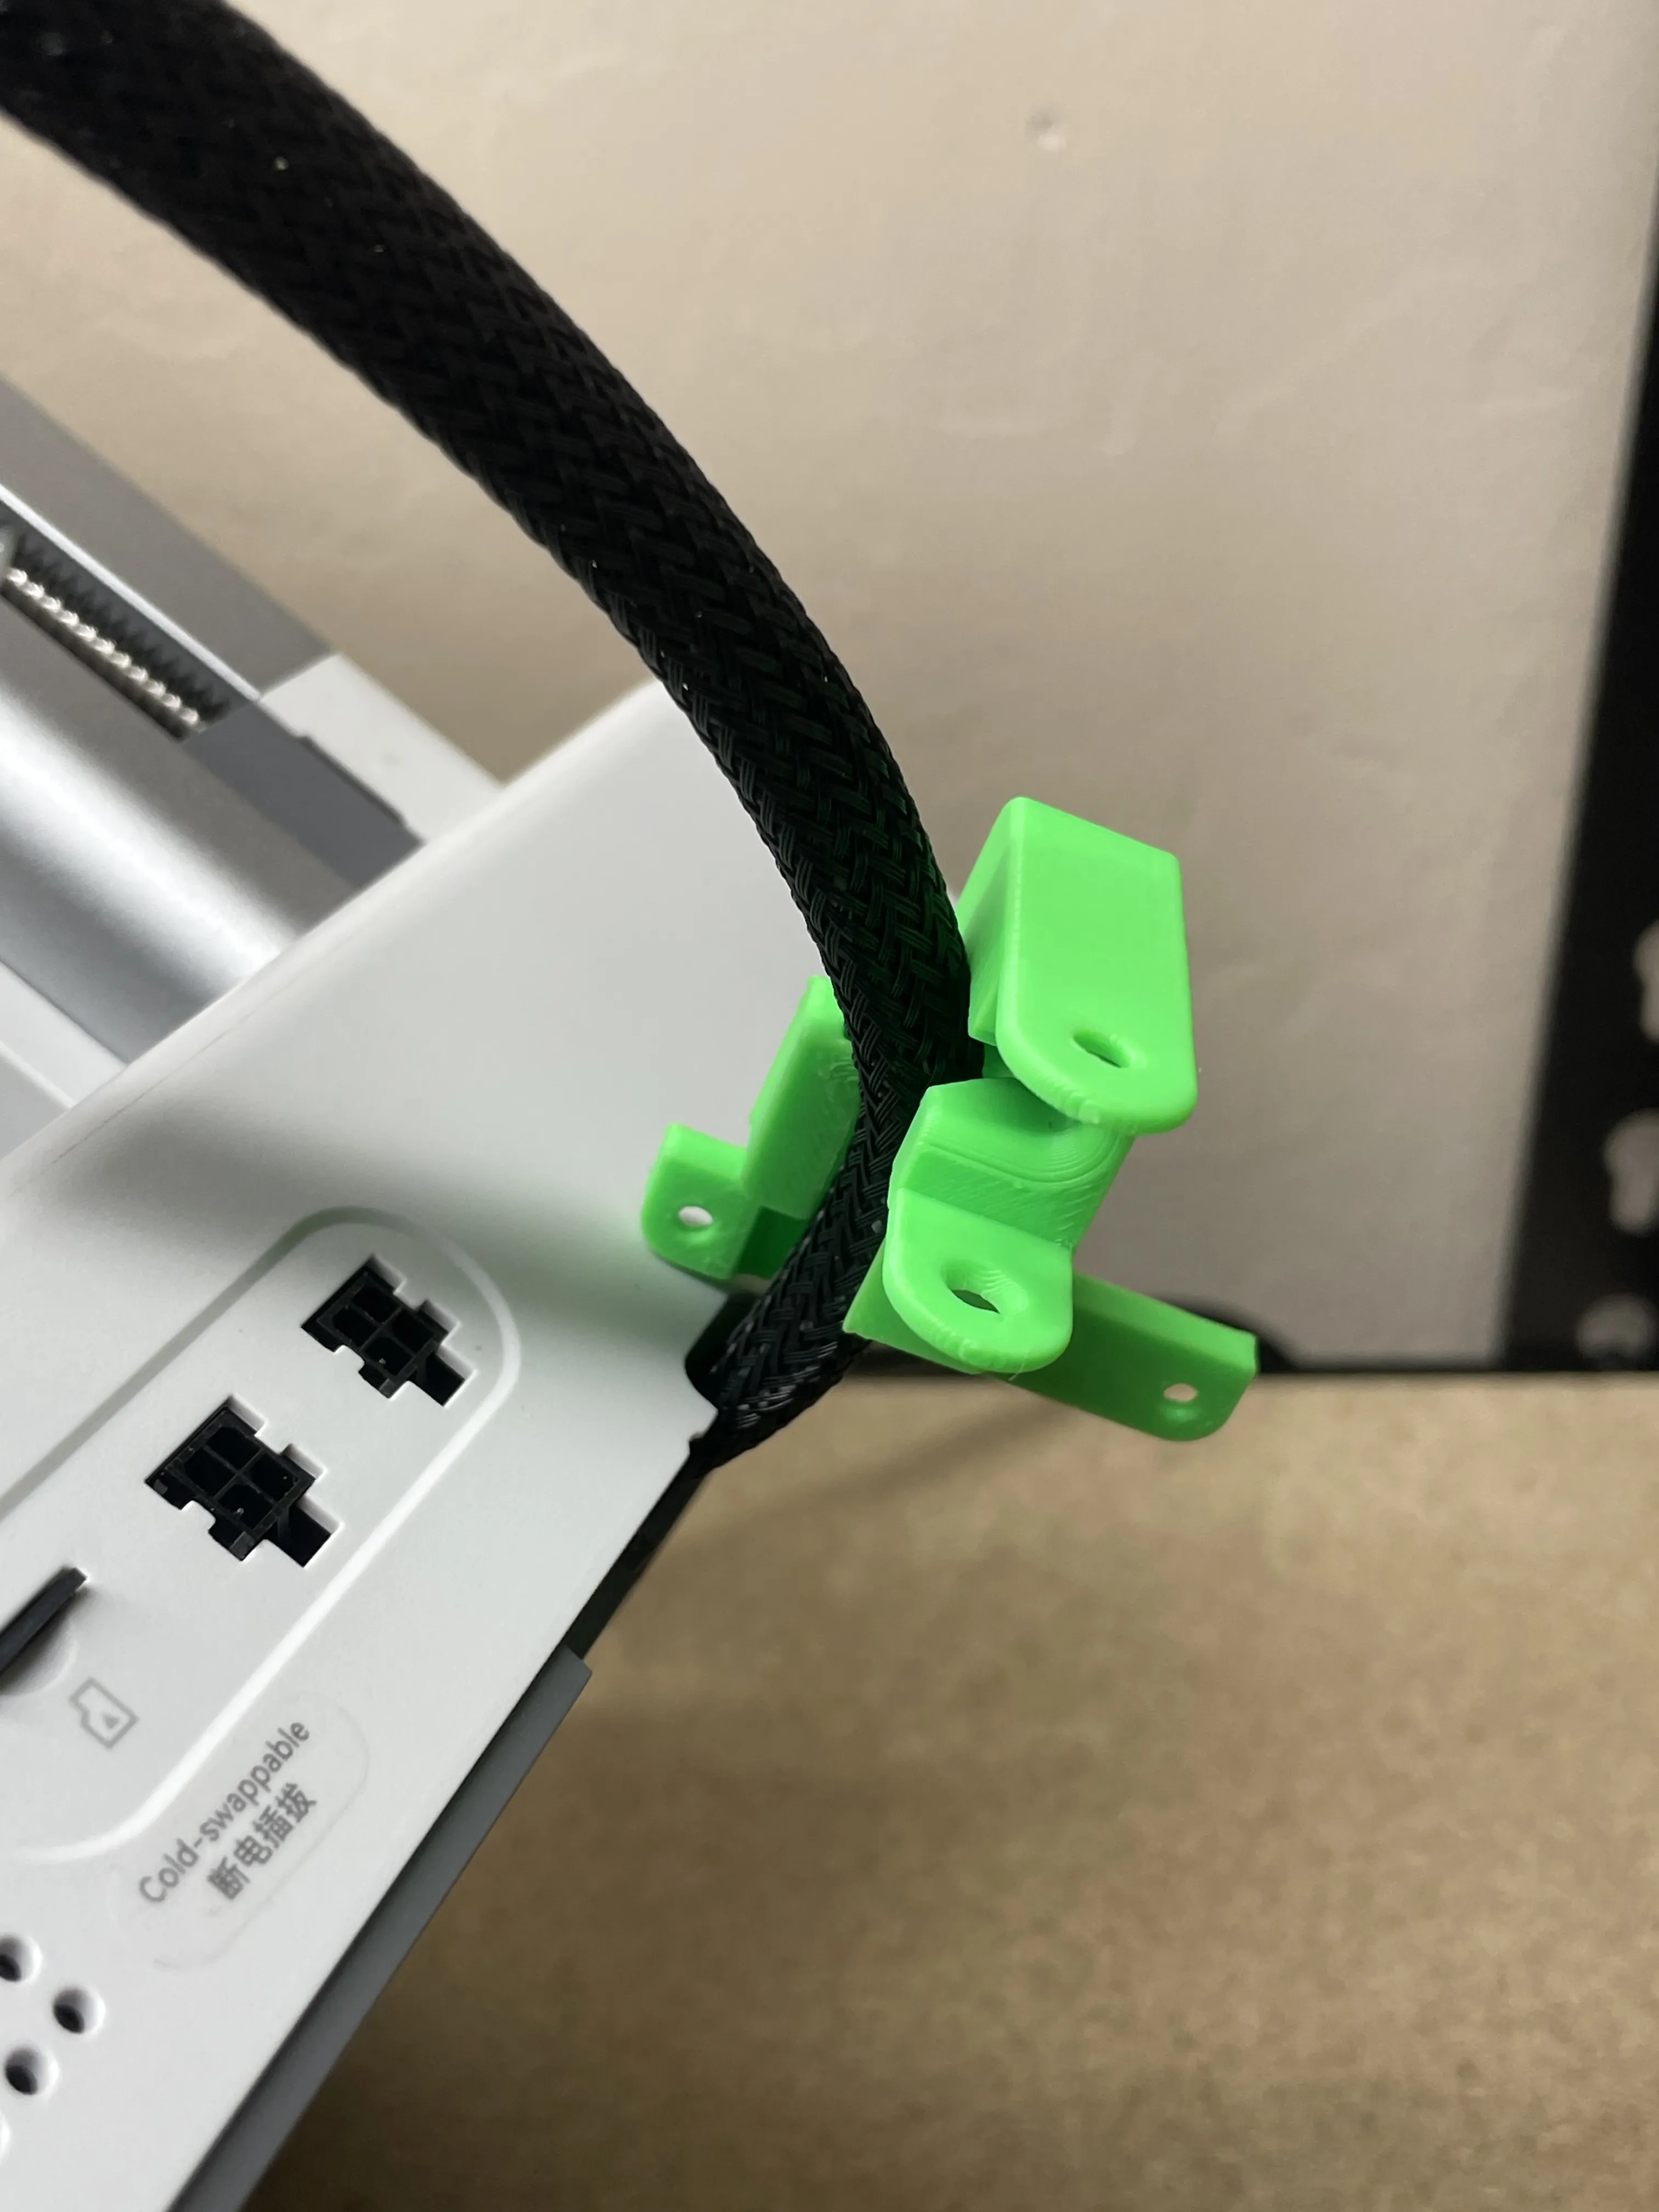
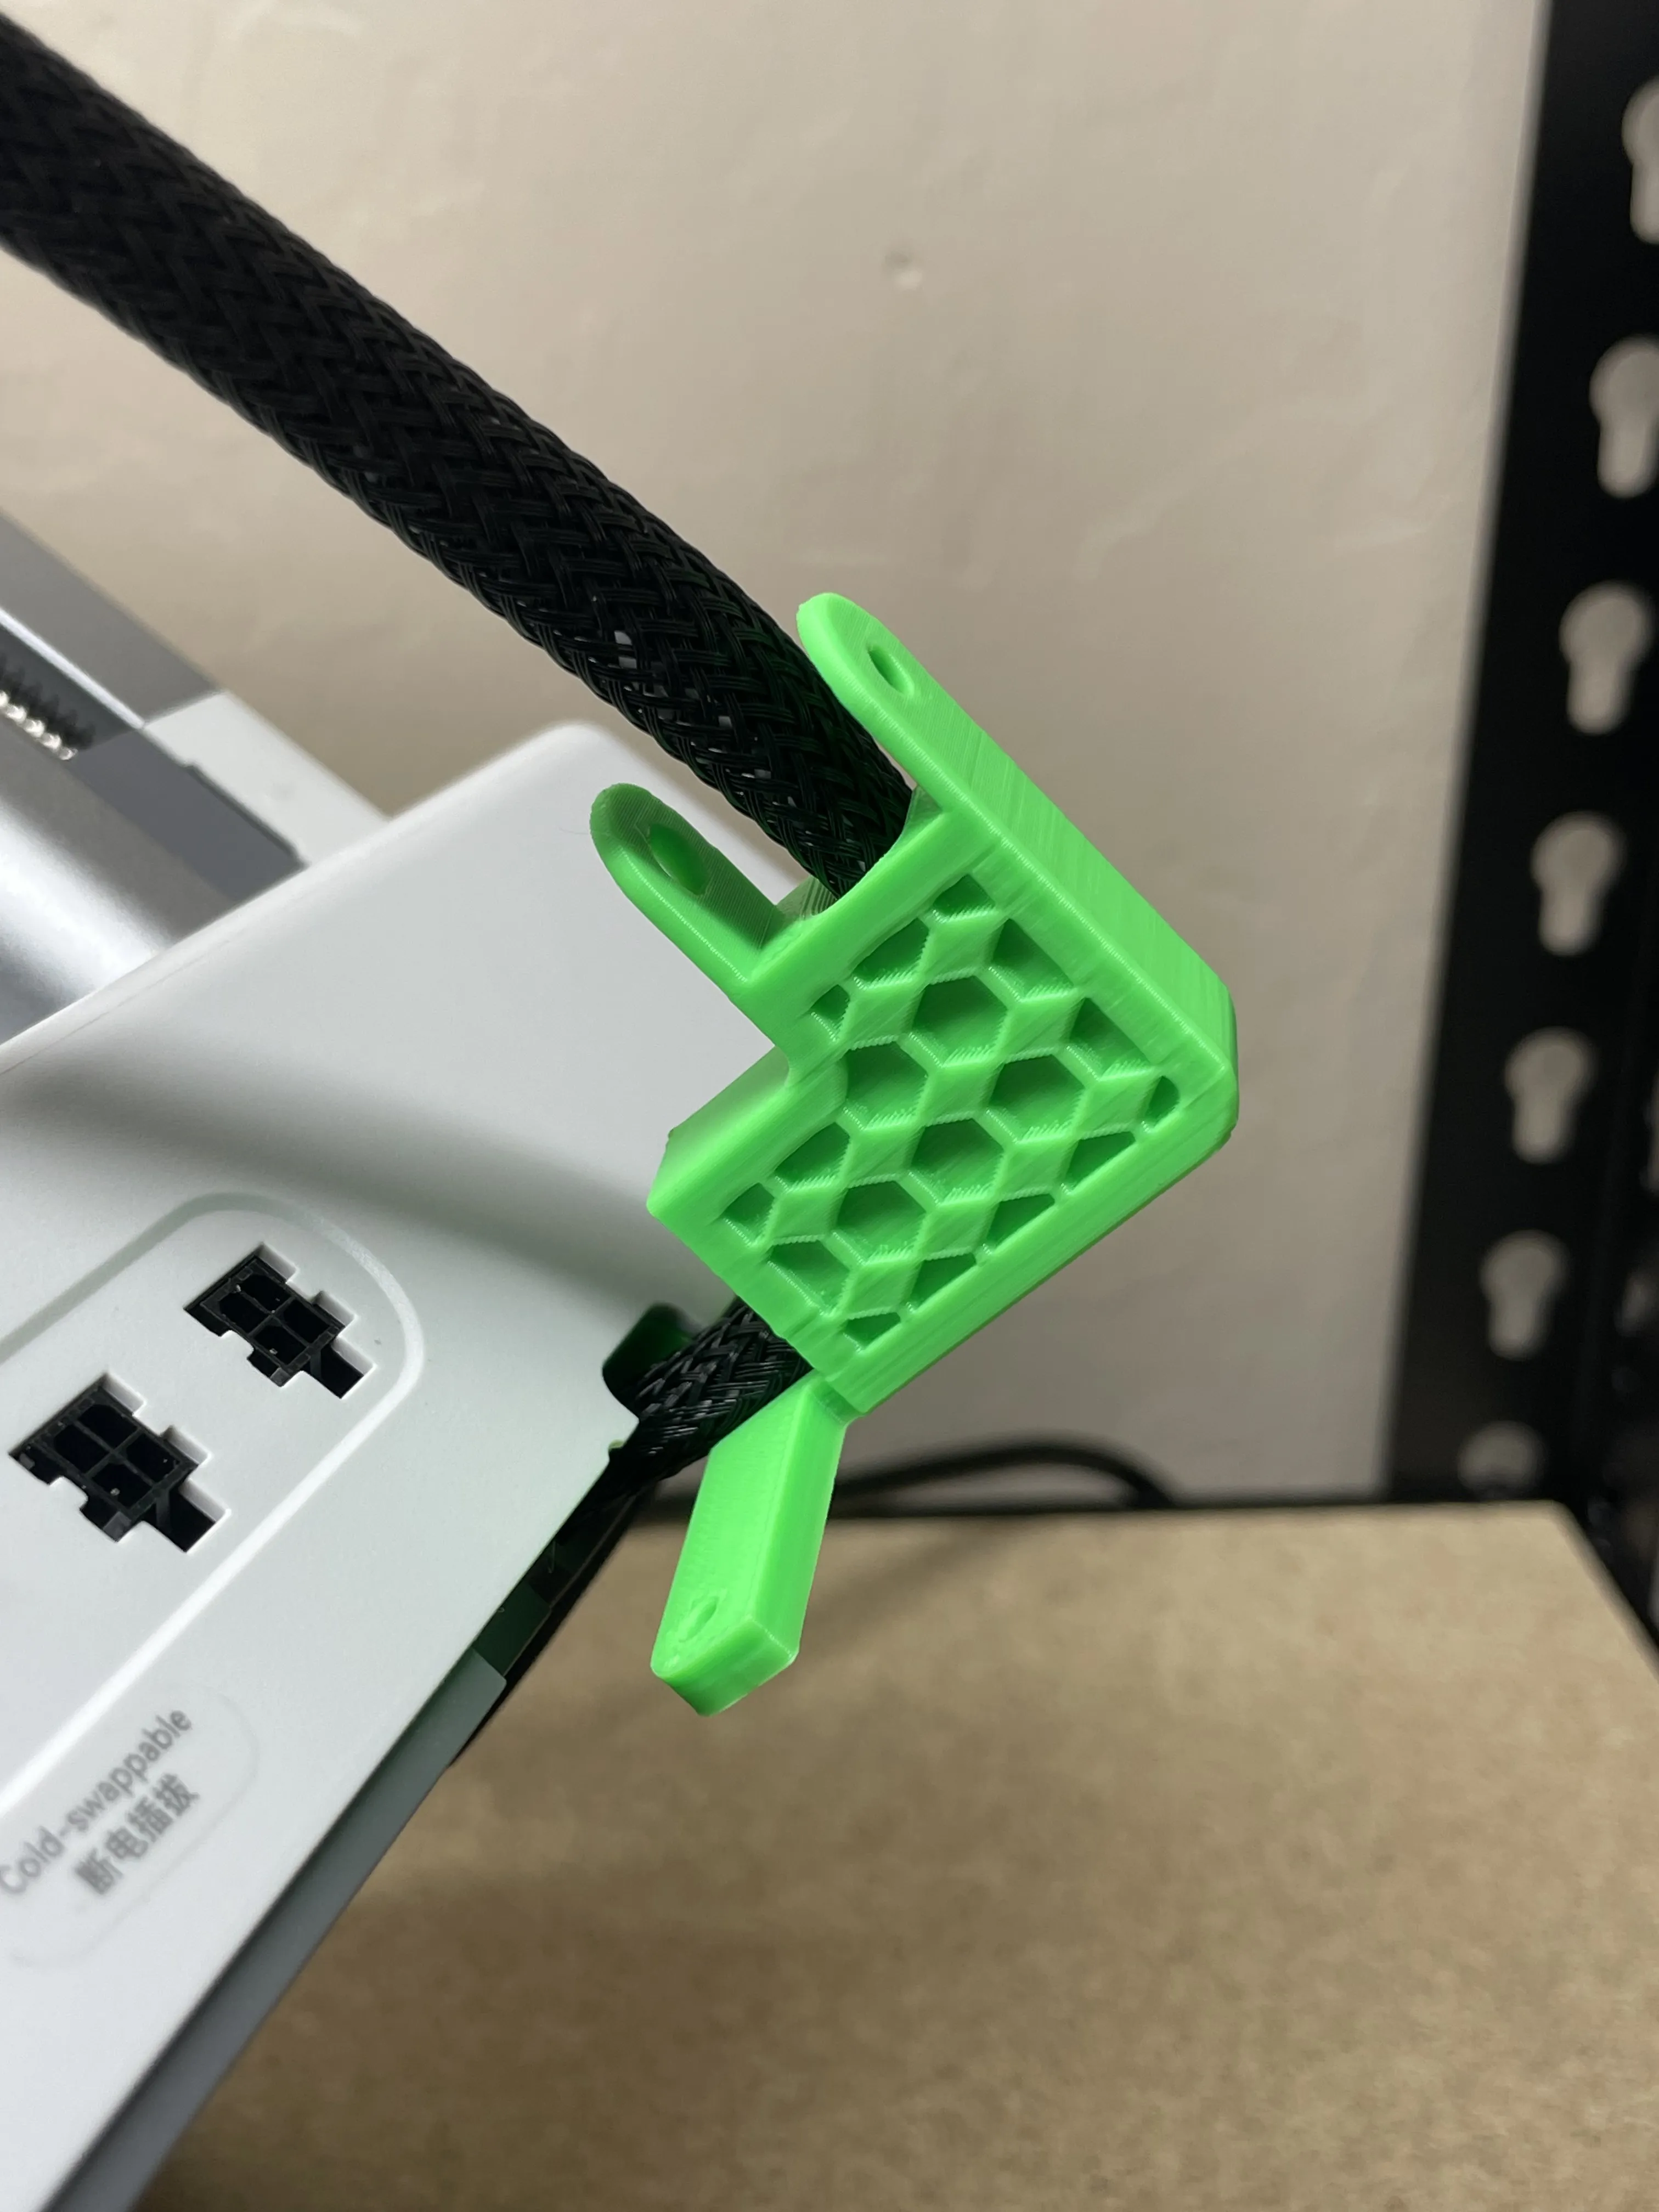
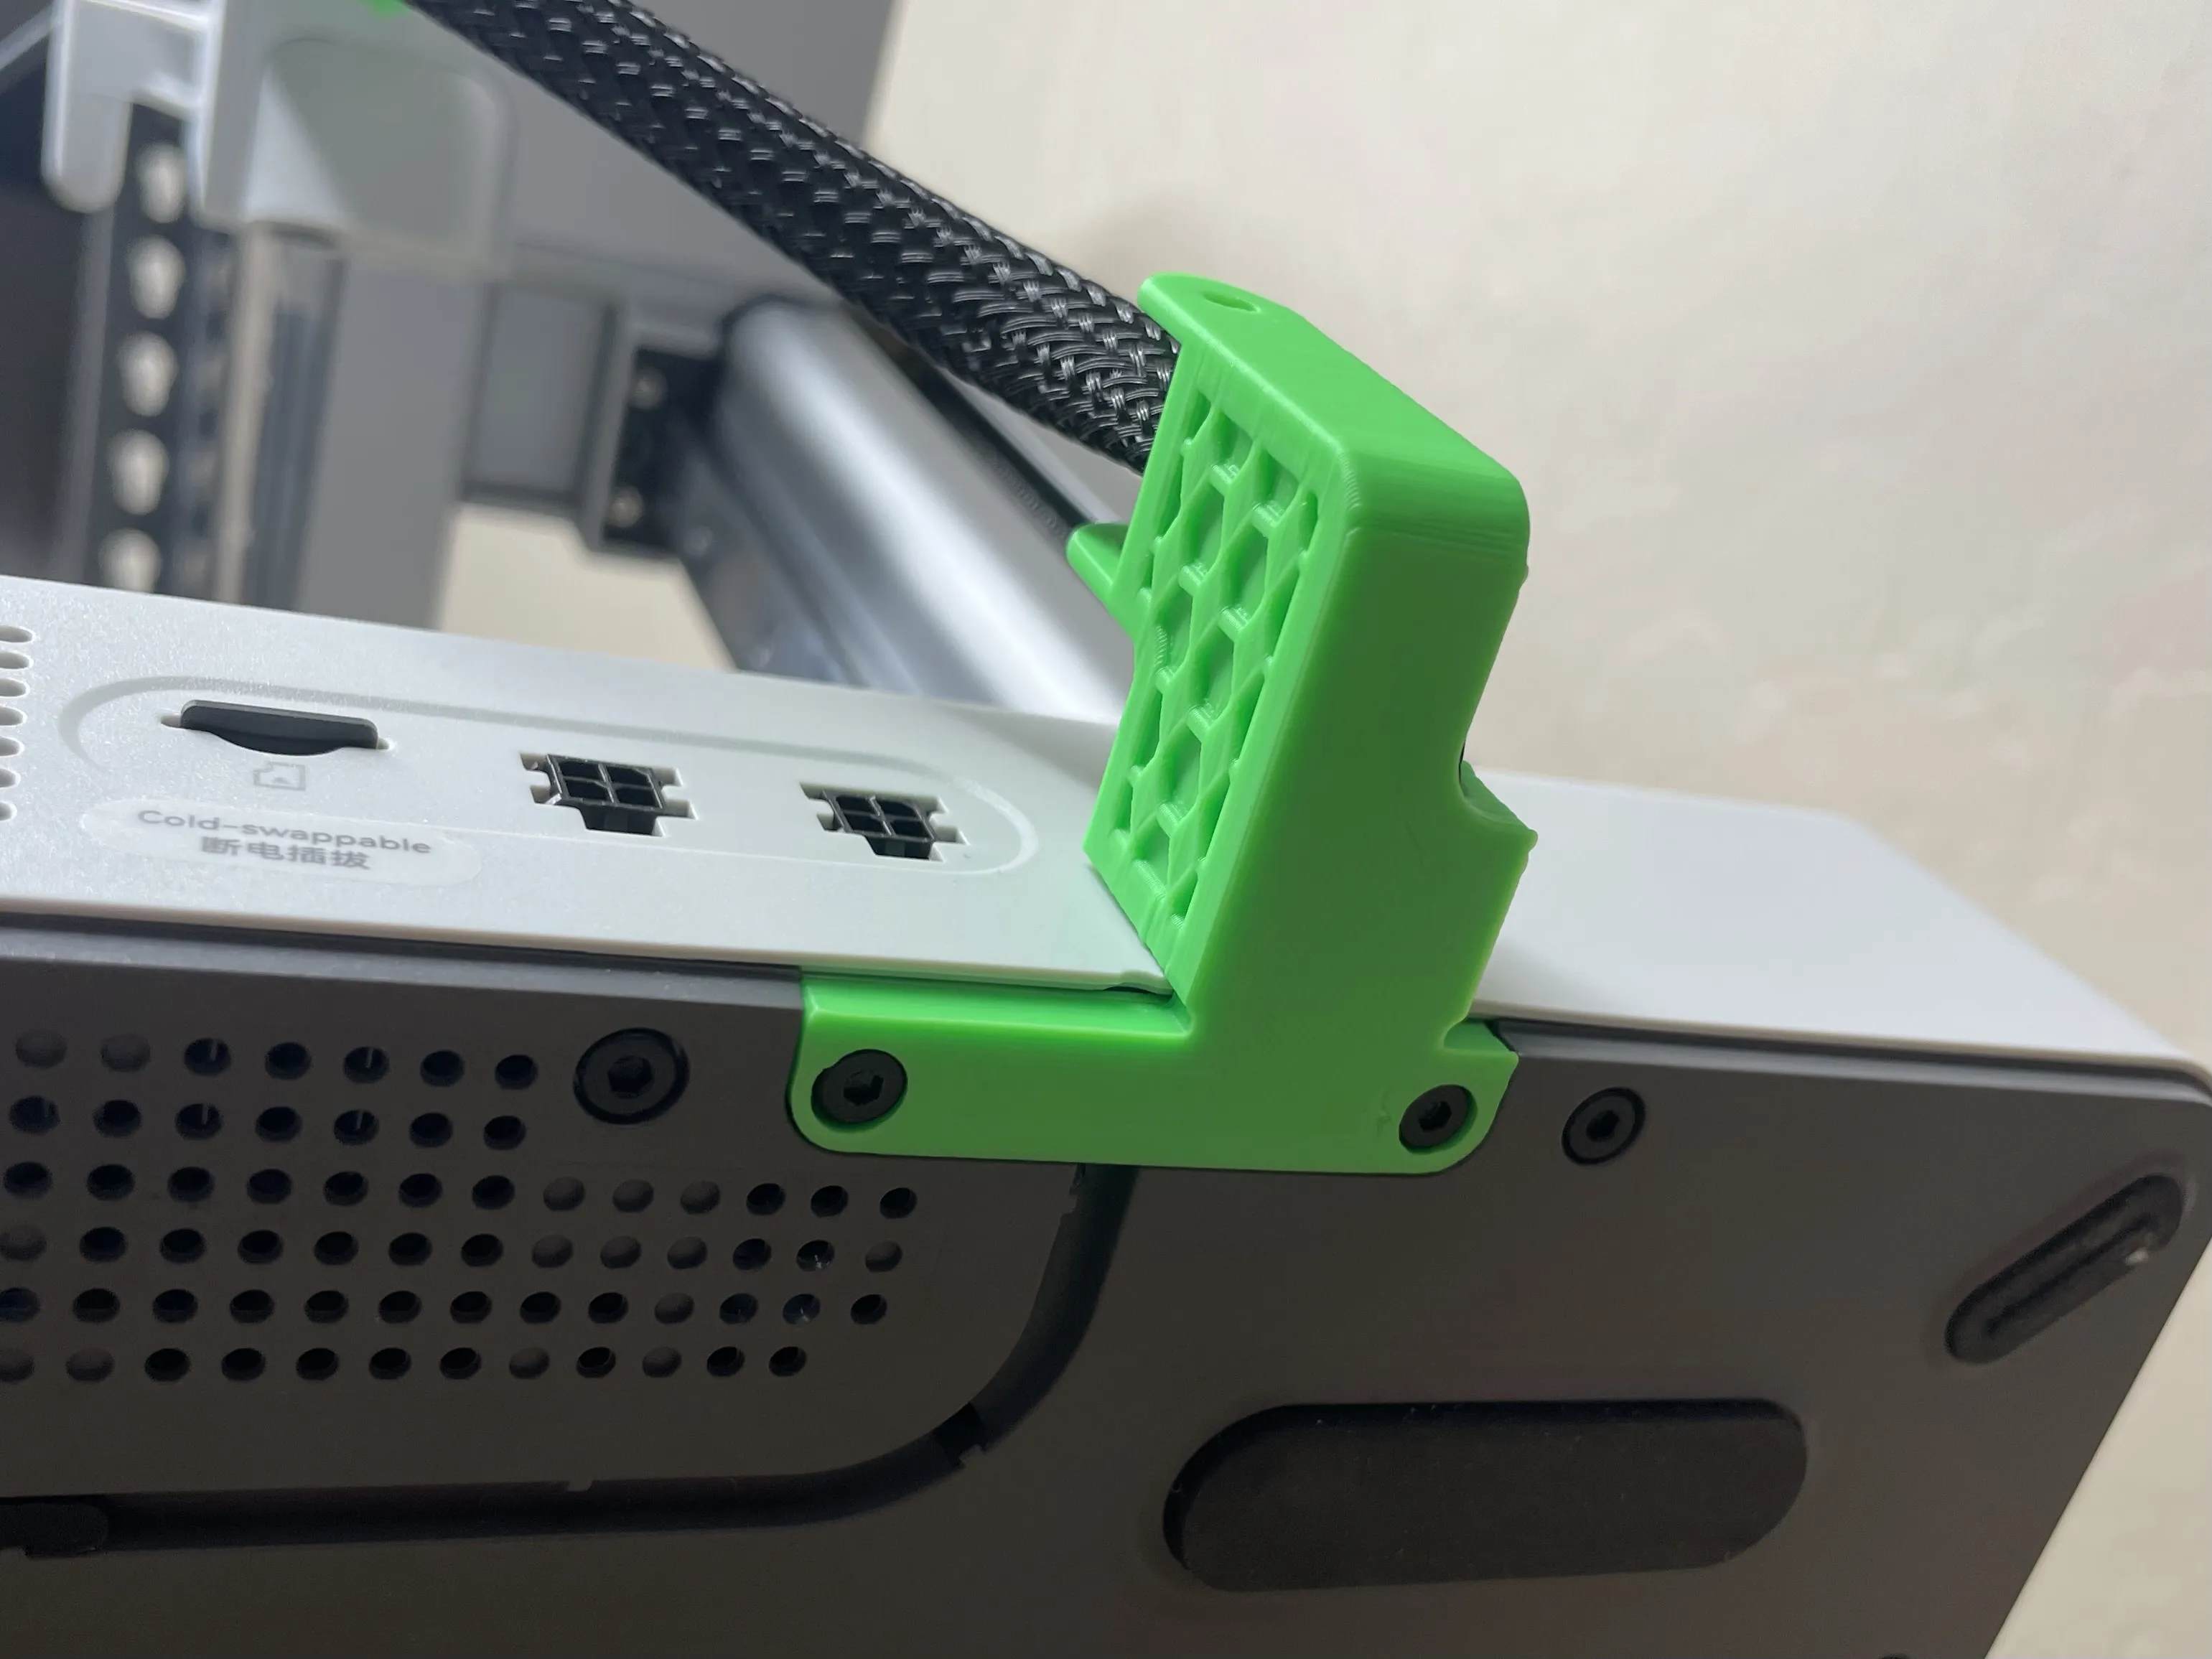
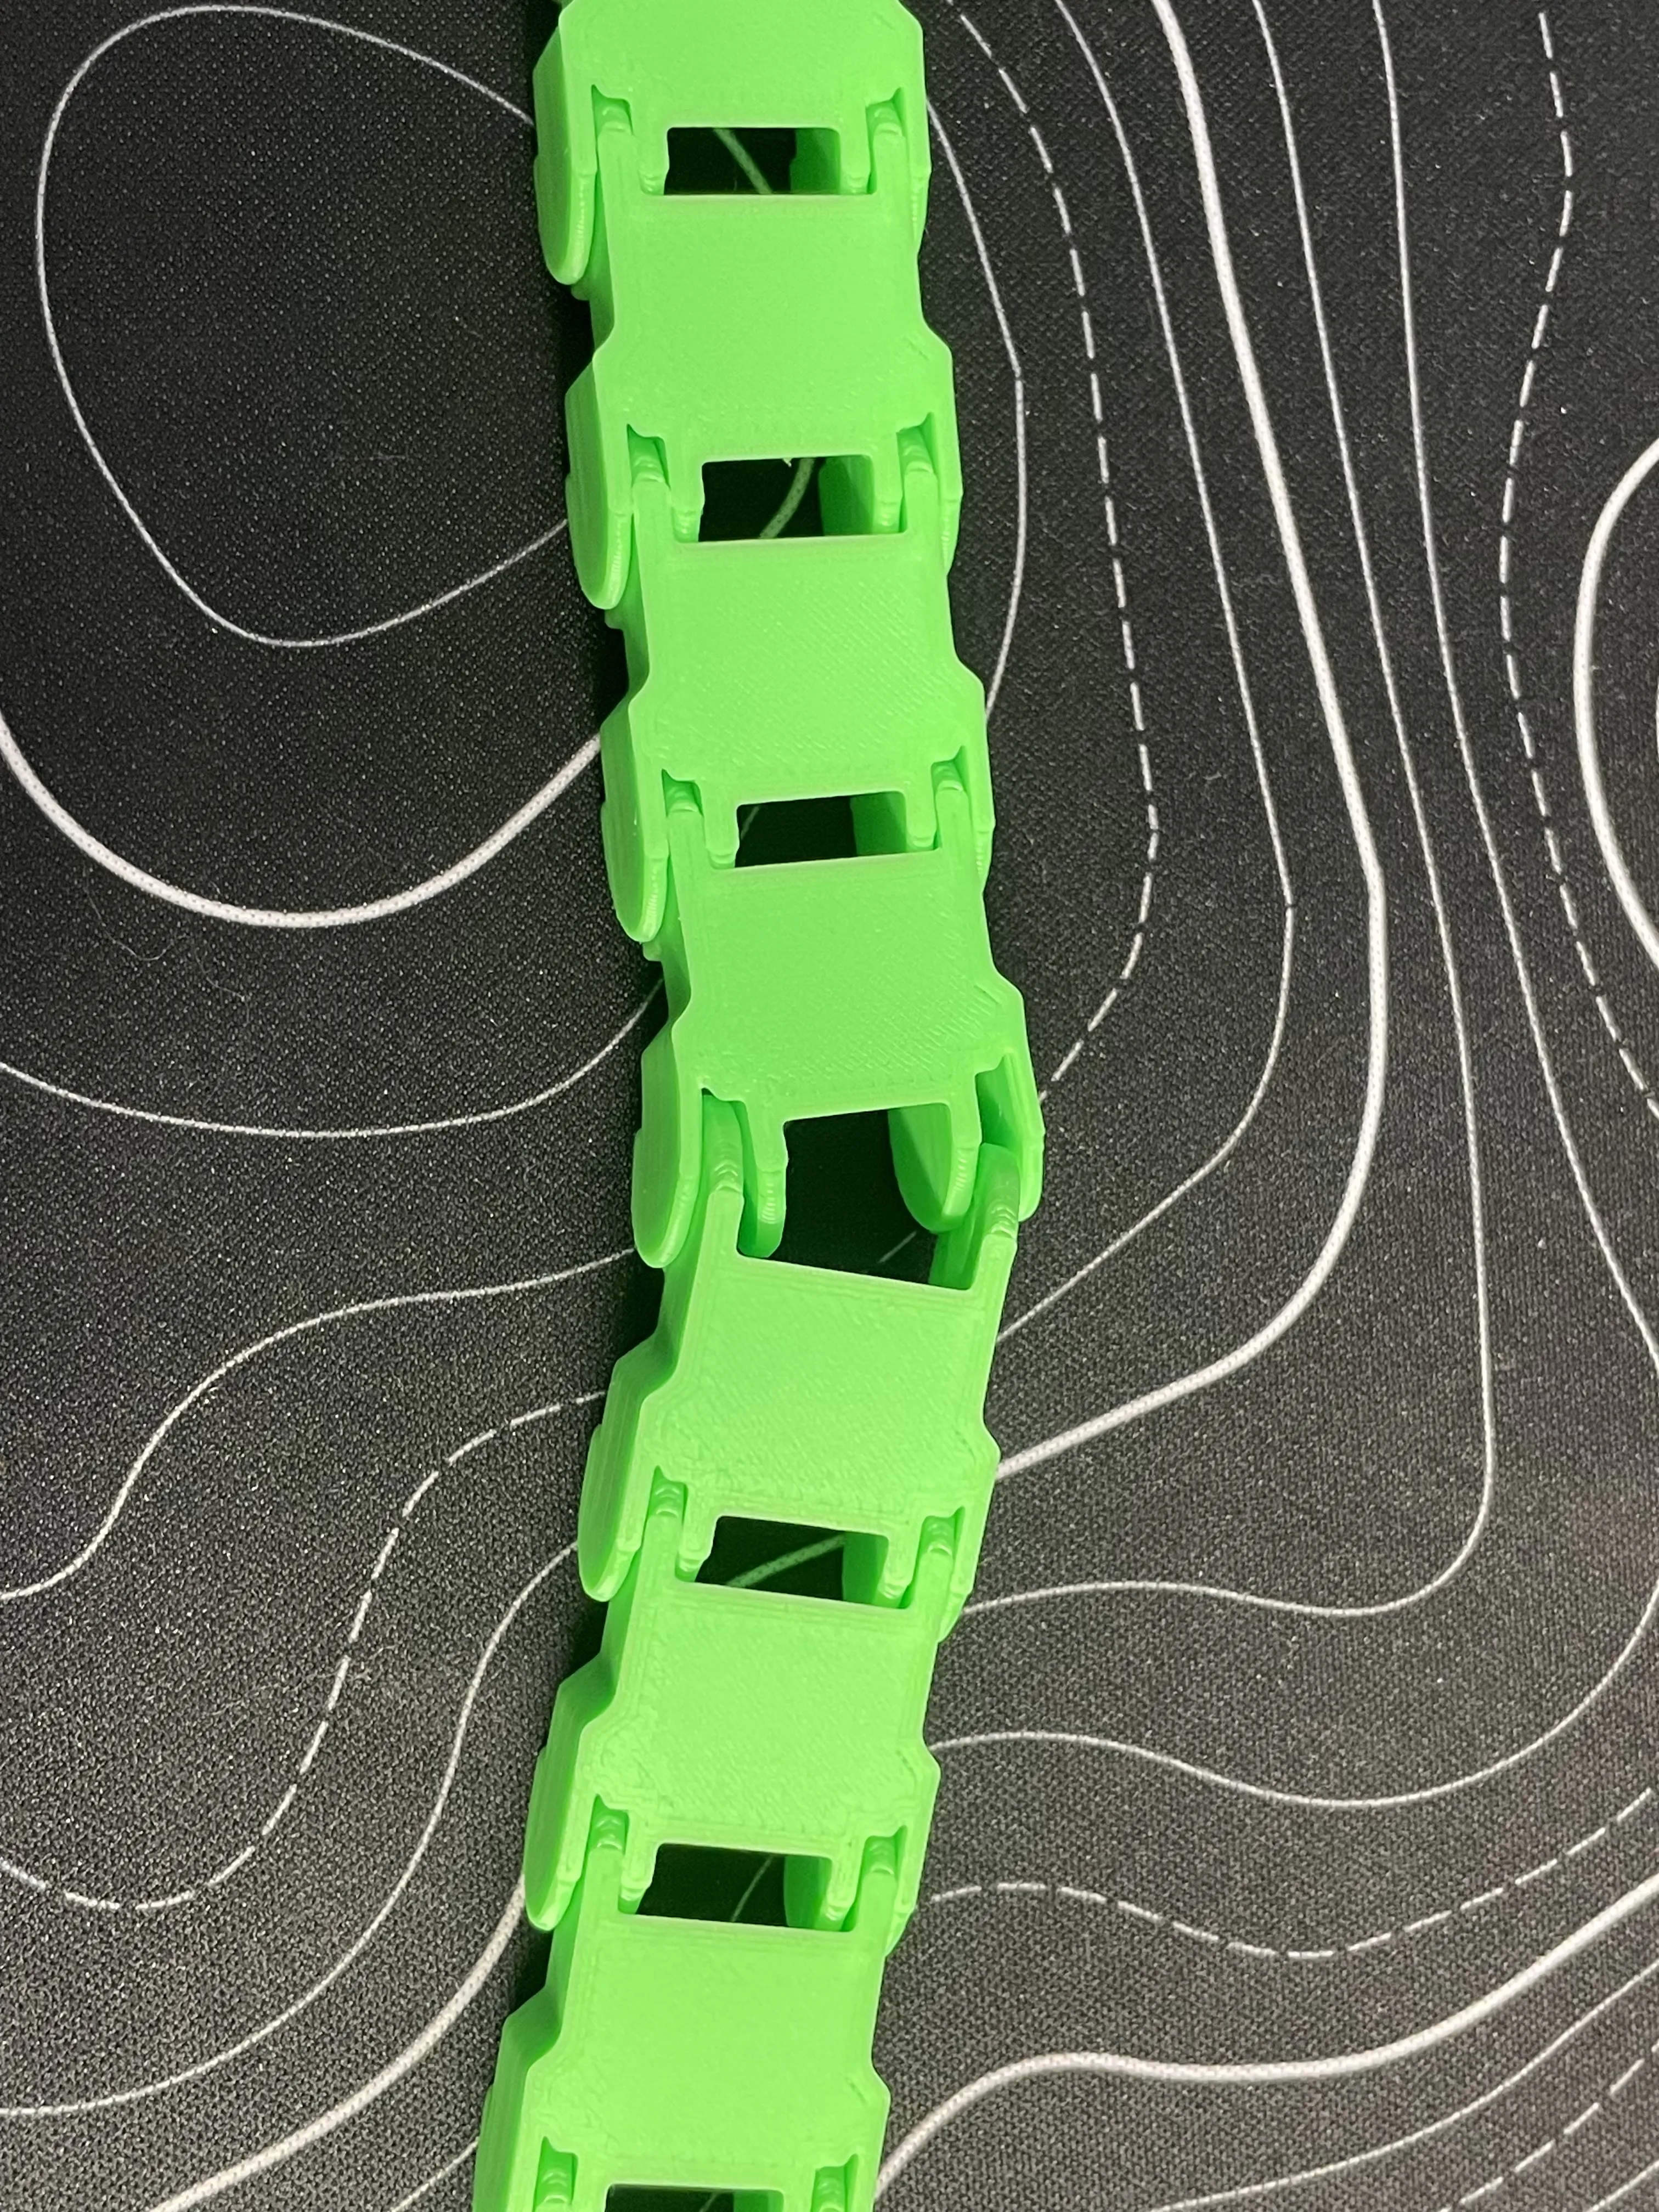
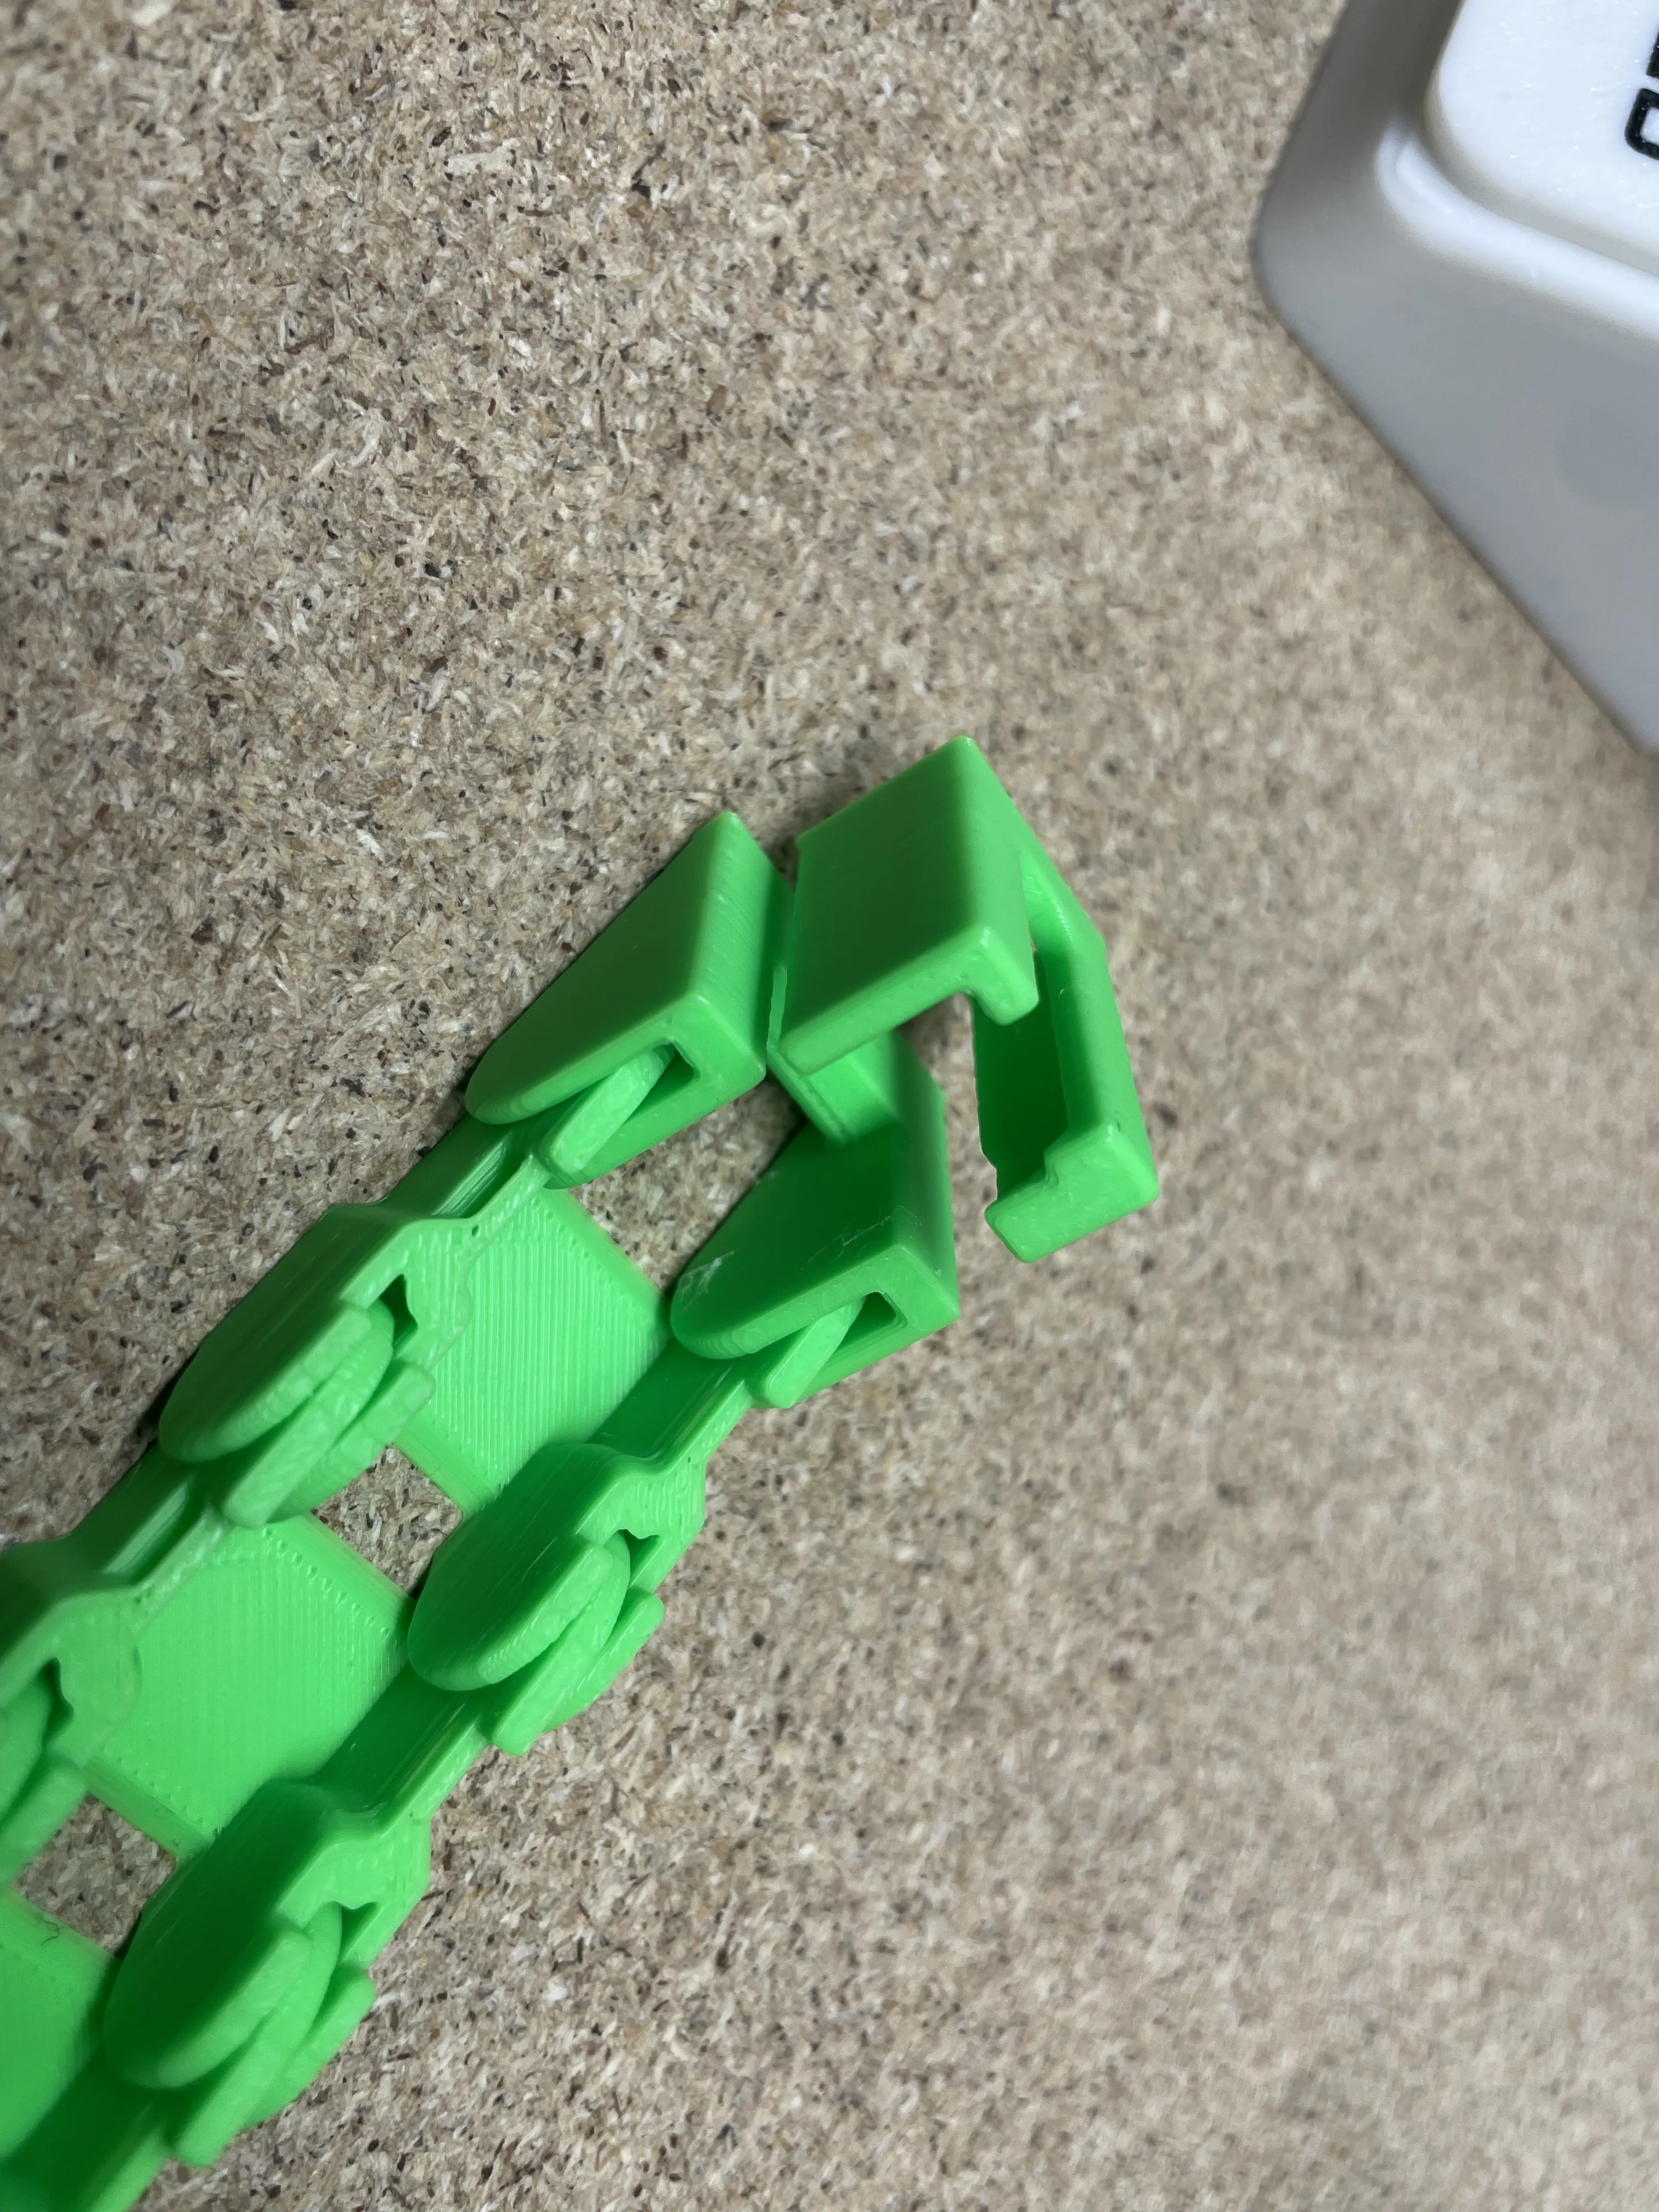
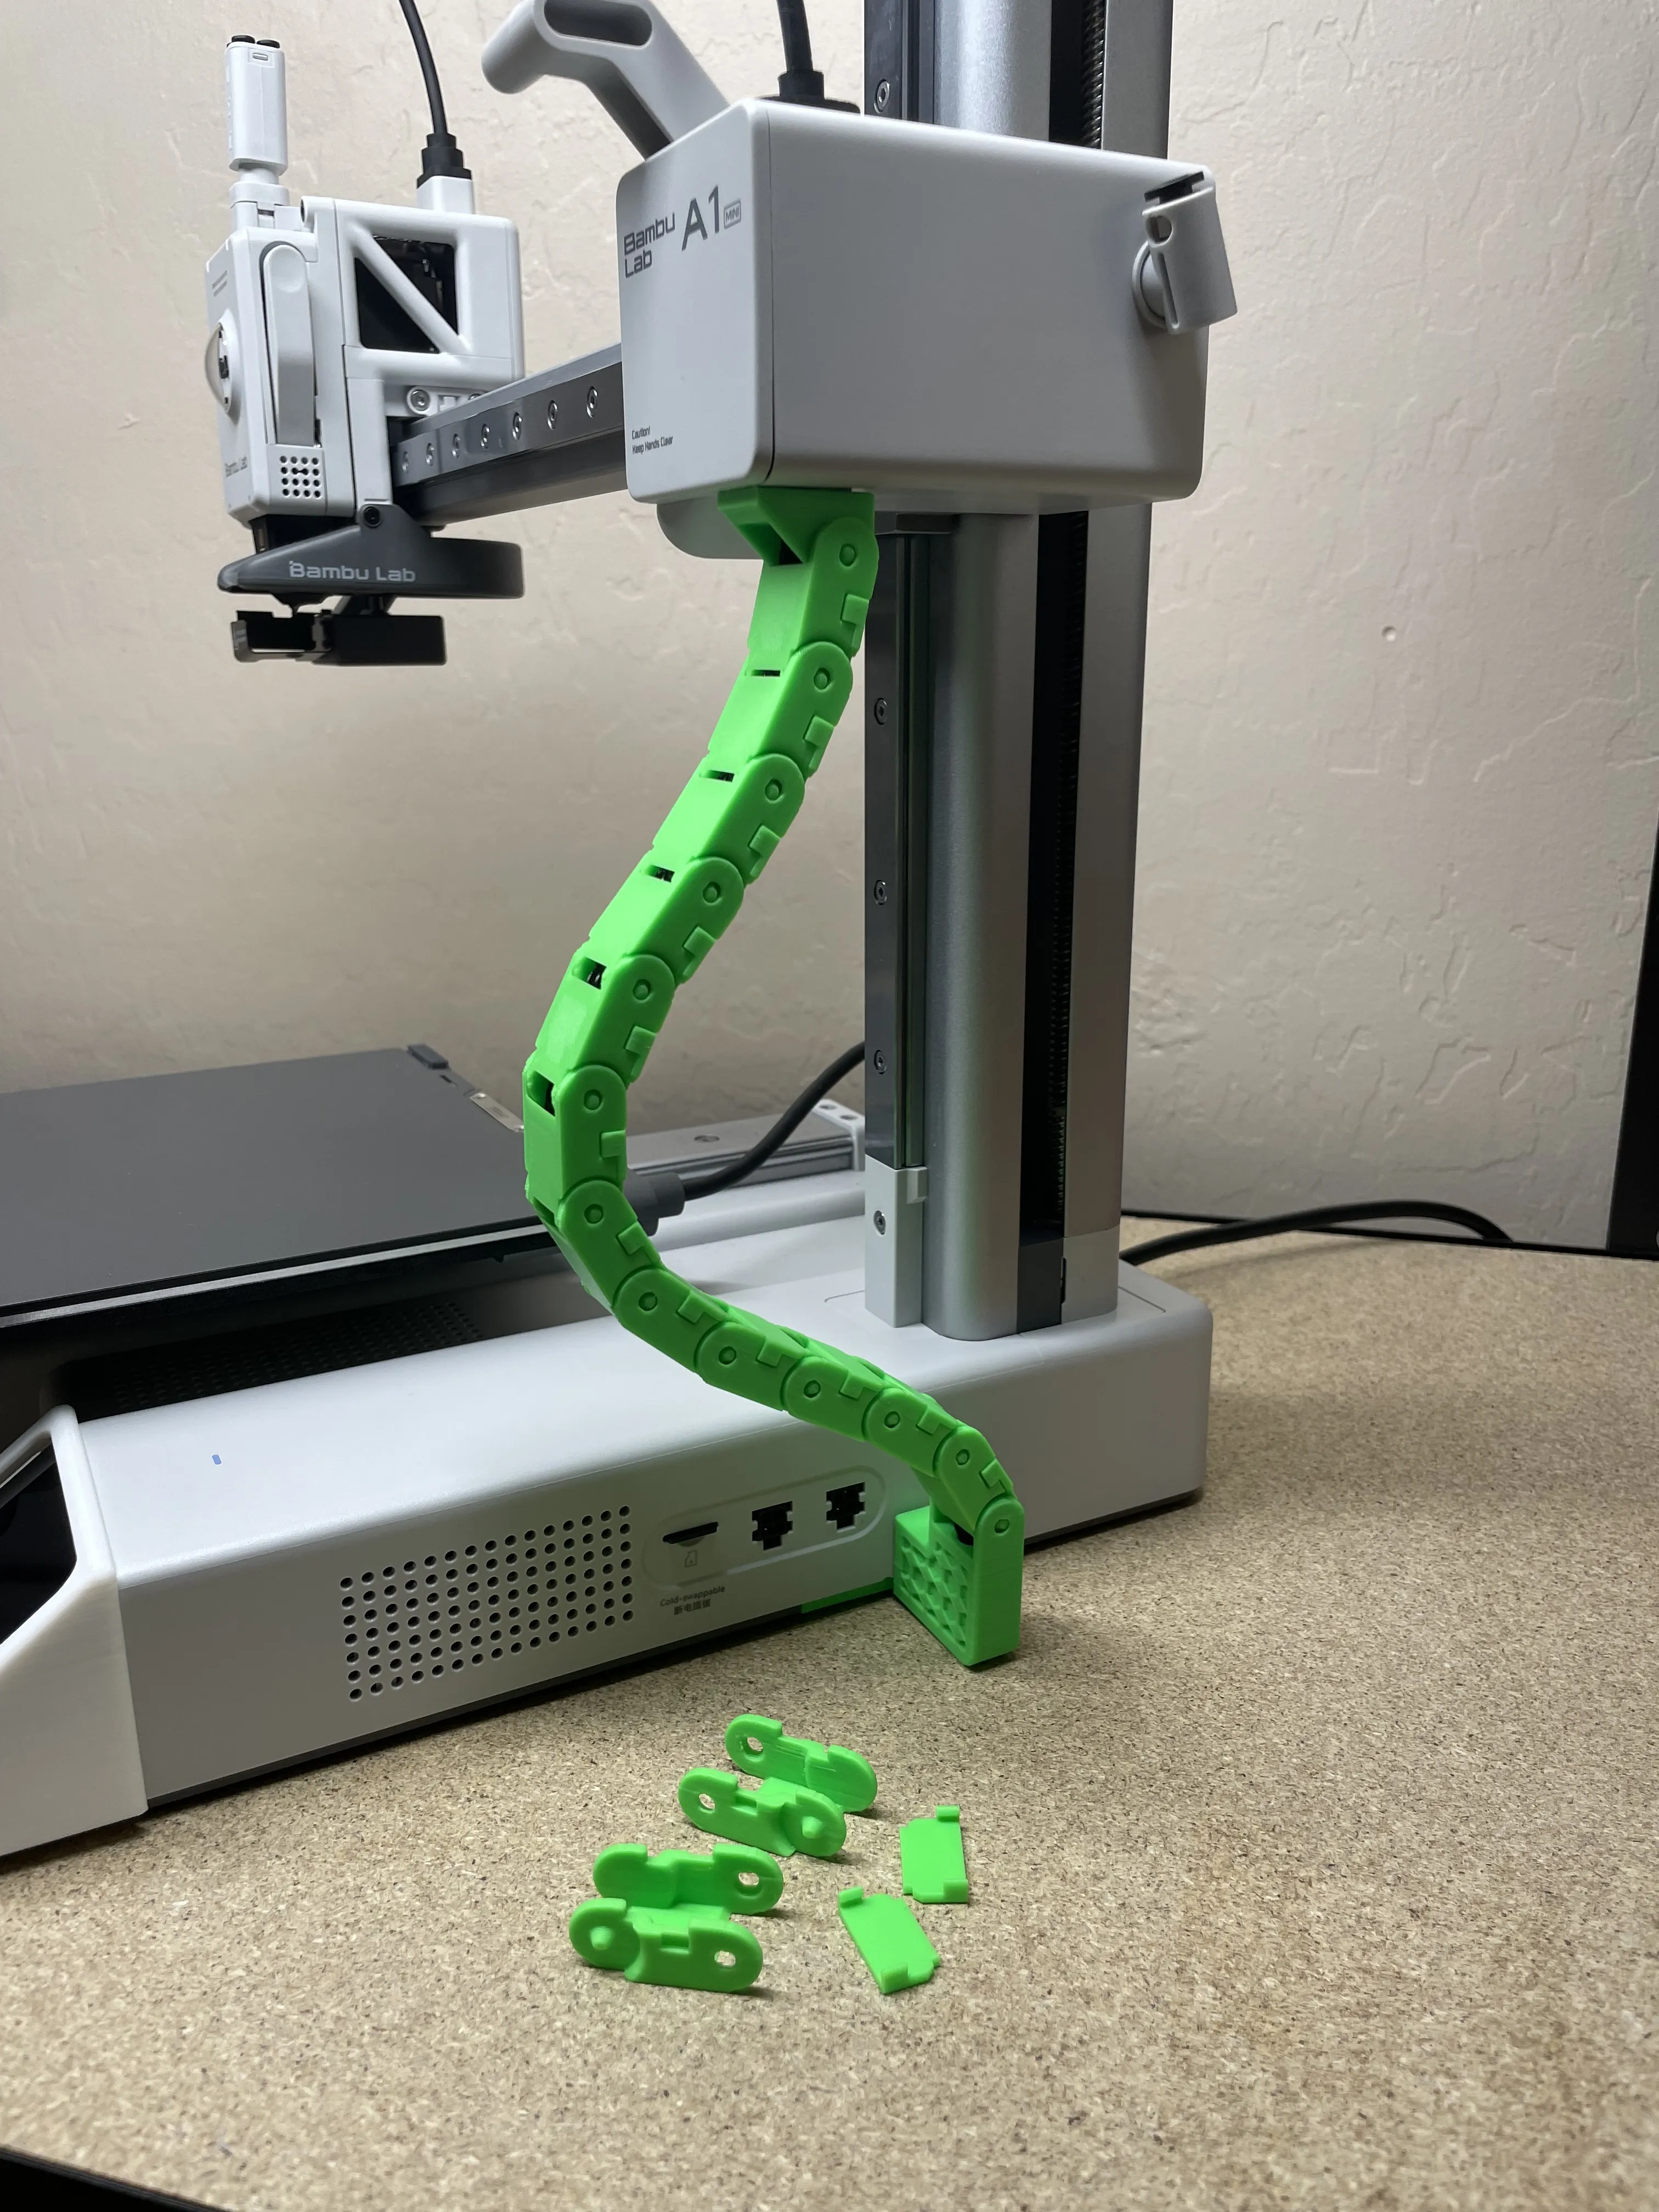
Print in place has been revamped to take the place of the original model download. The new chain style will be available under a print profile. The new PIP chain looks a bit bulkier so I still recommend the original chain. Prints with 0.25mm clearance. Compatible with AMS Lite.
Exclaimer: I strongly advise using the Bambu Lab SuperTack plate to print these parts, as the adhesion is unmatched. If you don't already have one of these, either buy one (it's awesome) or use a brim. I also do not recommend printing this in PLA Matte, as it is quite brittle and will snap easily. Prints with zero support. AMS Lite compatible! FYI, each chain is offset 20.9mm if you want to make custom lengths of this chain.
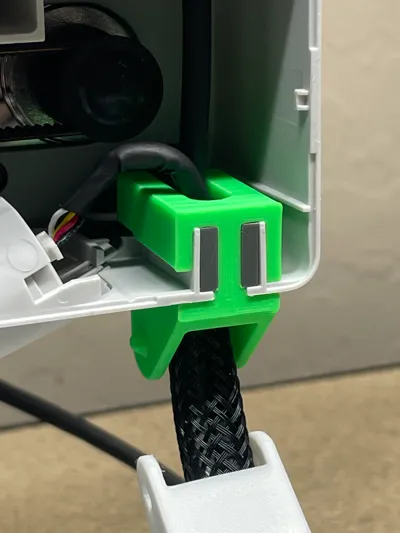
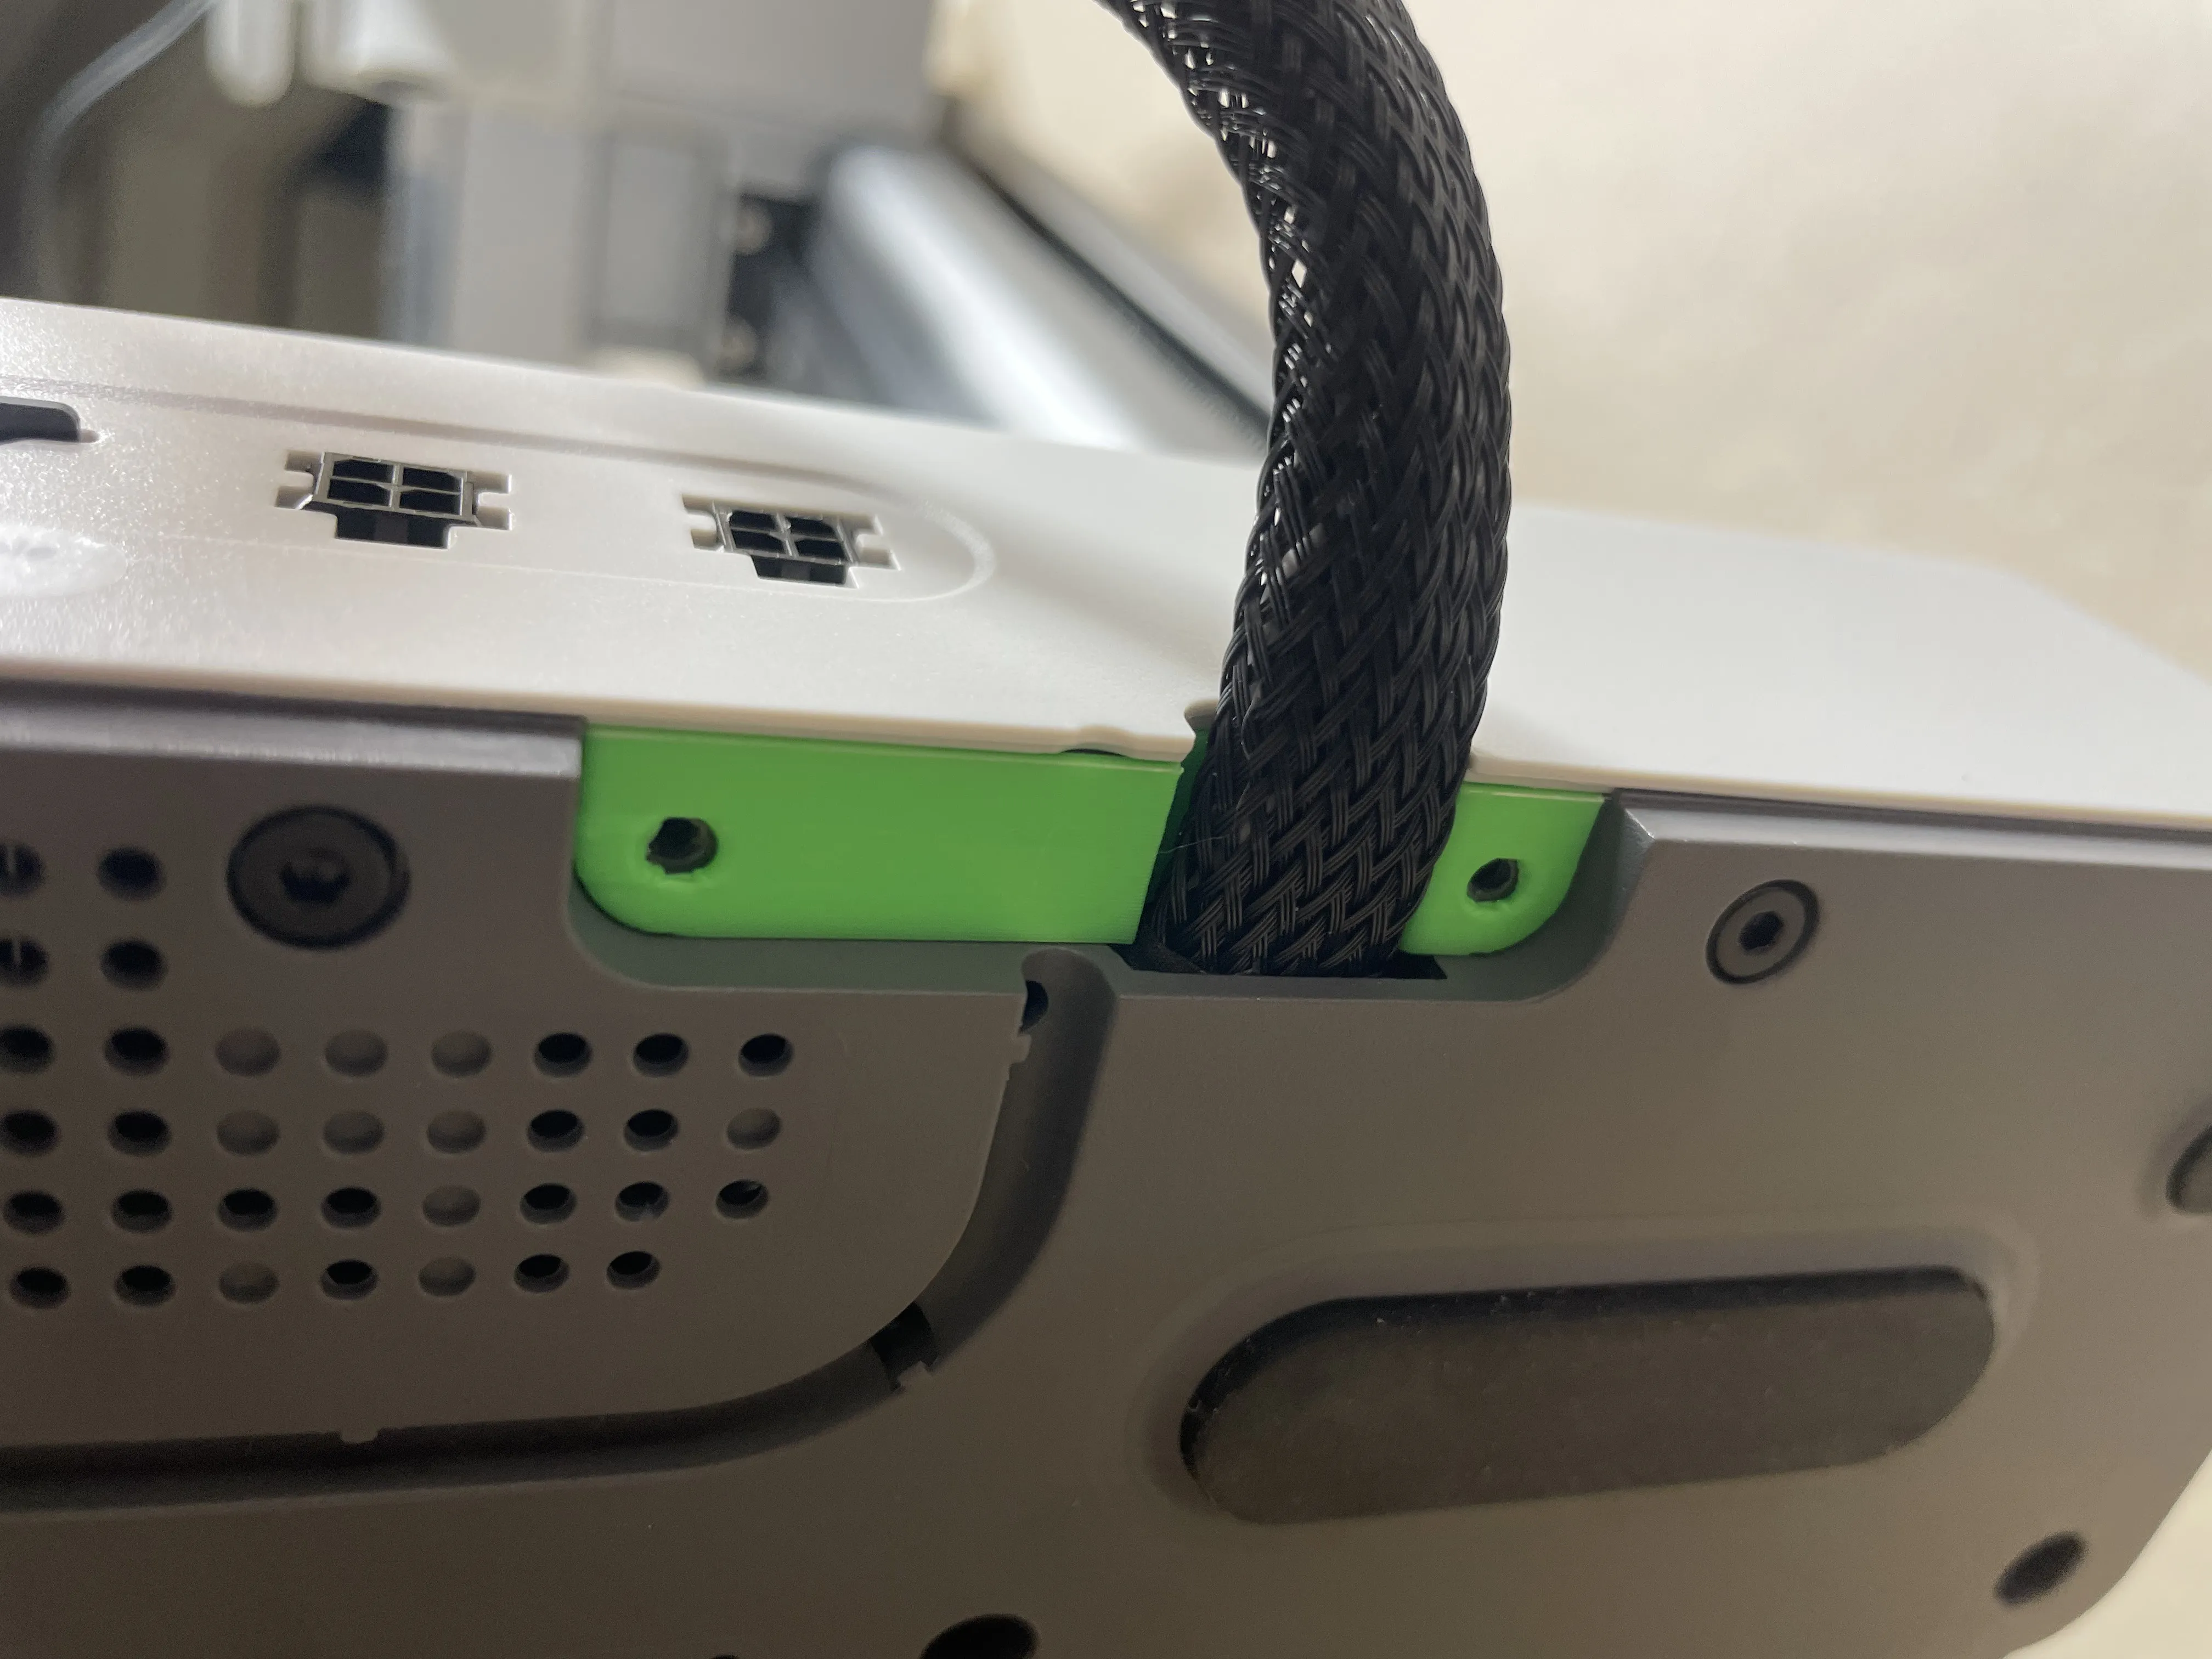
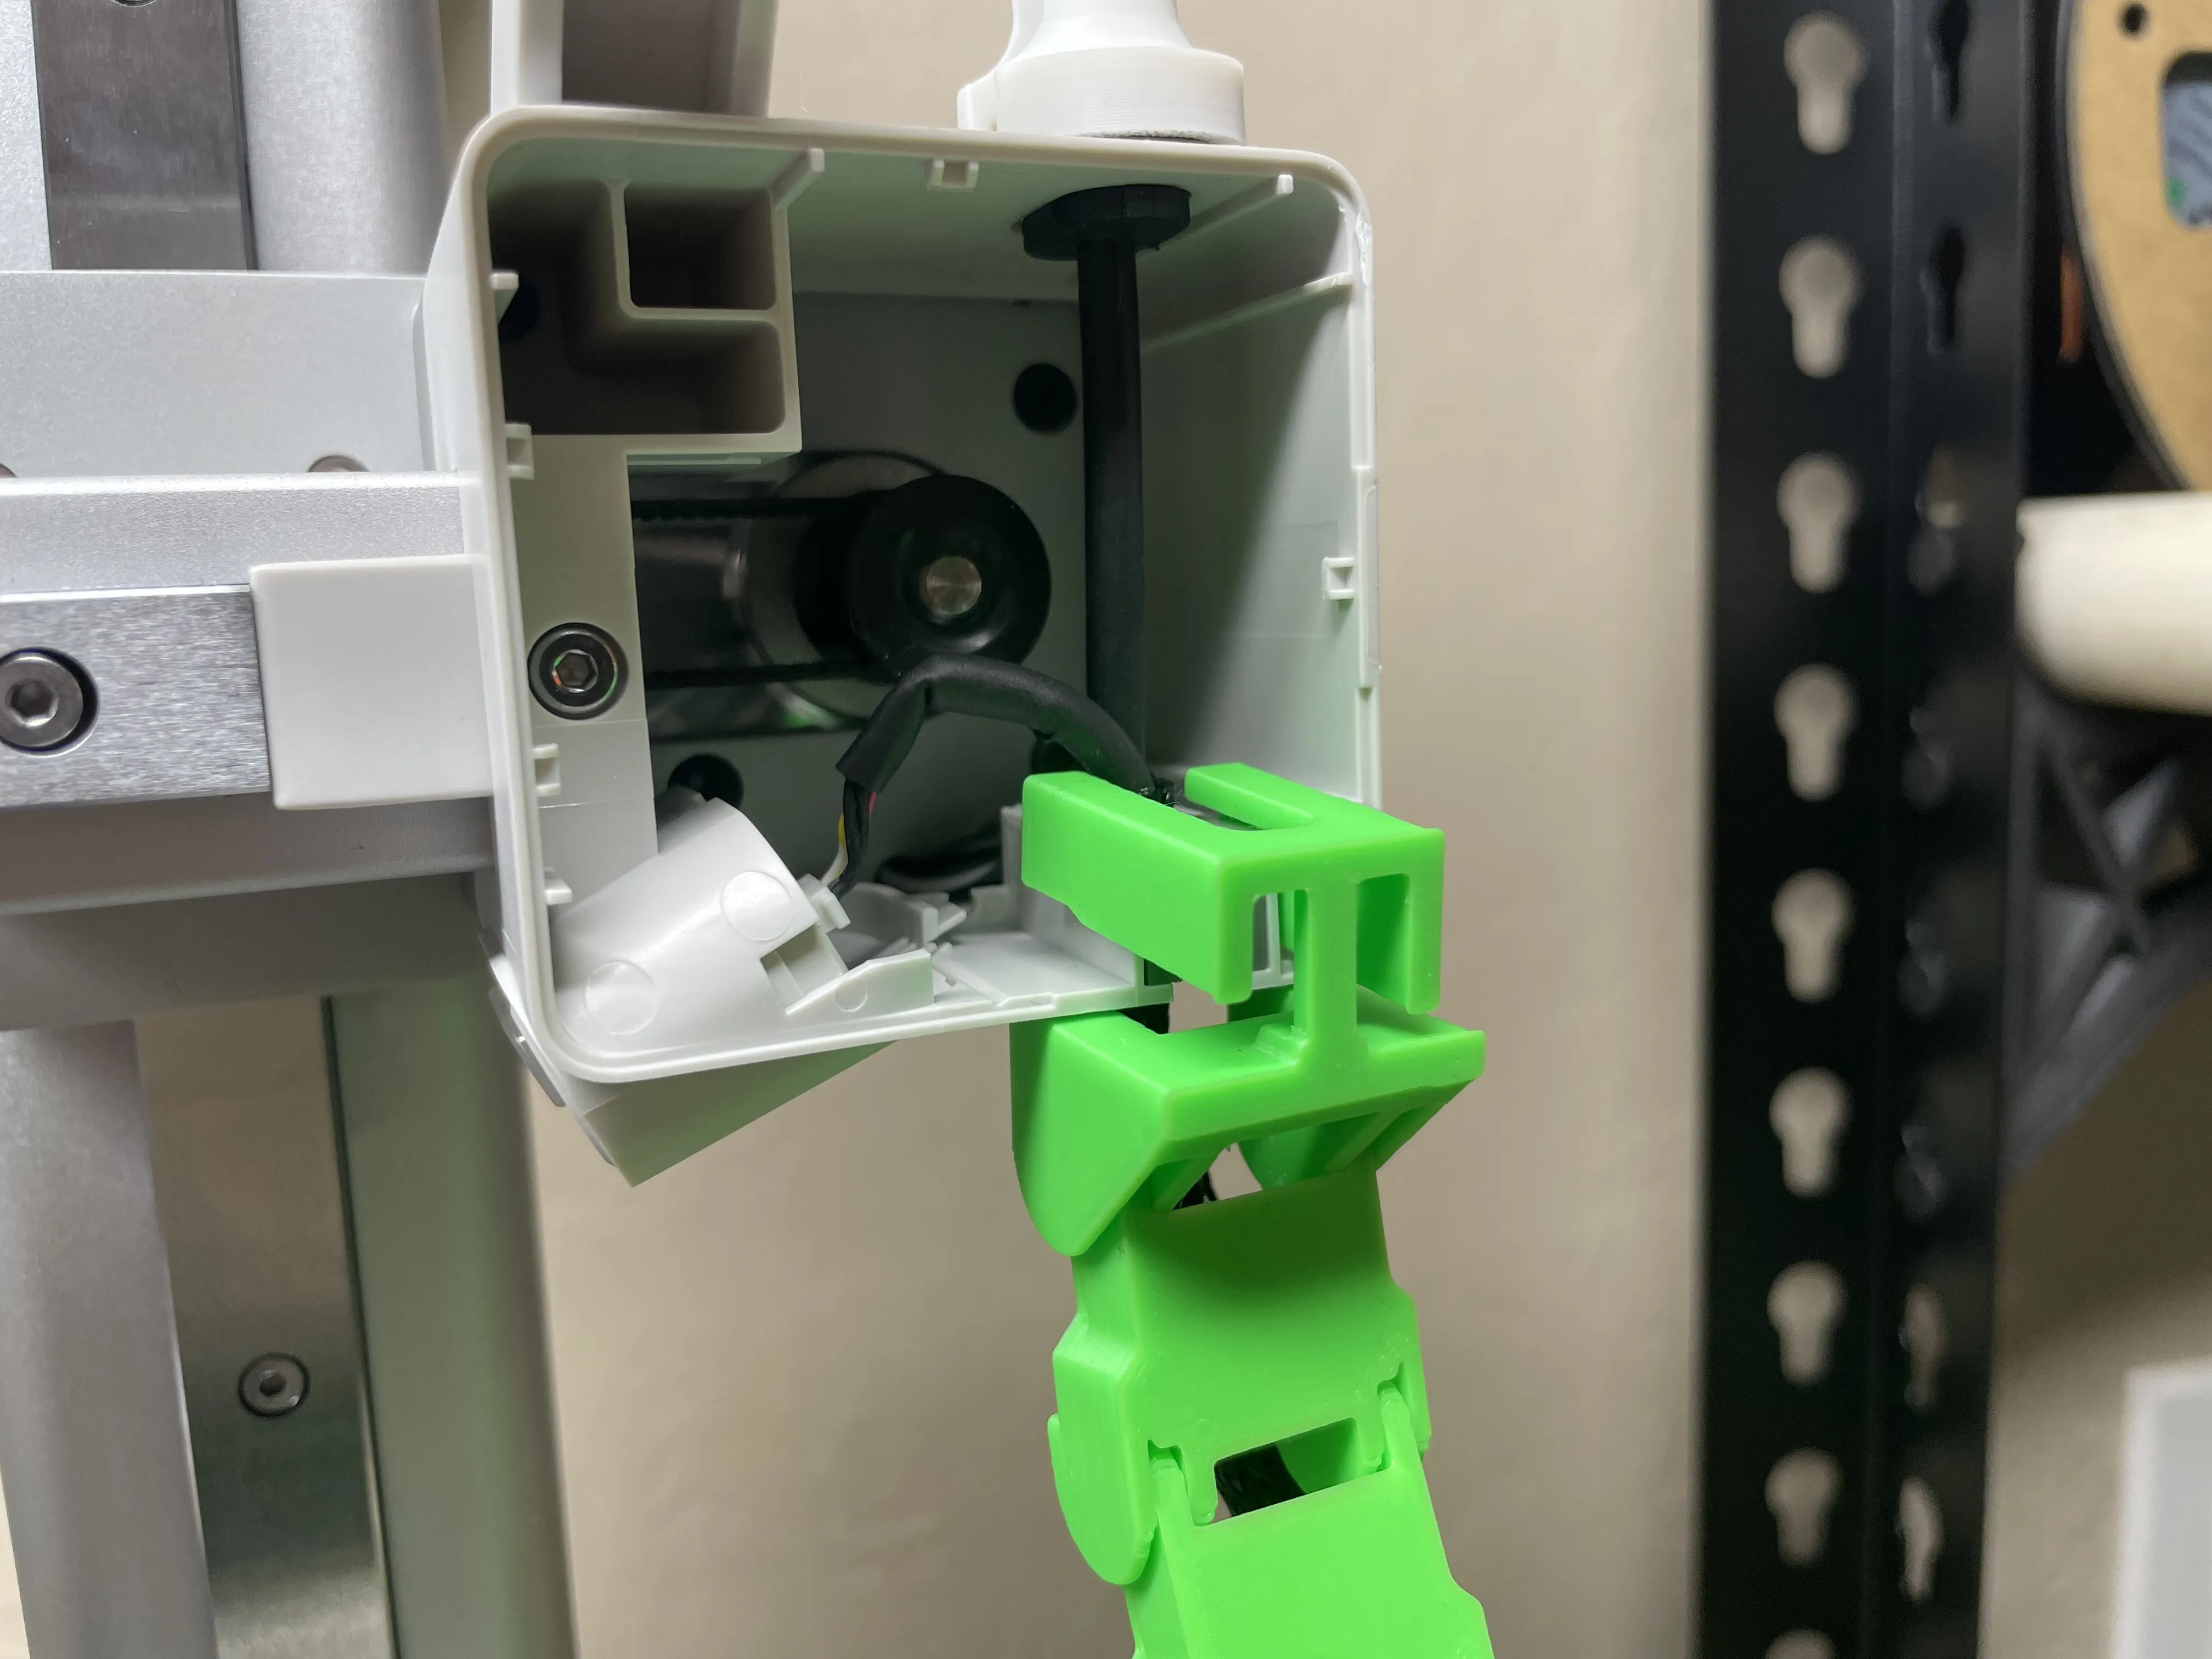
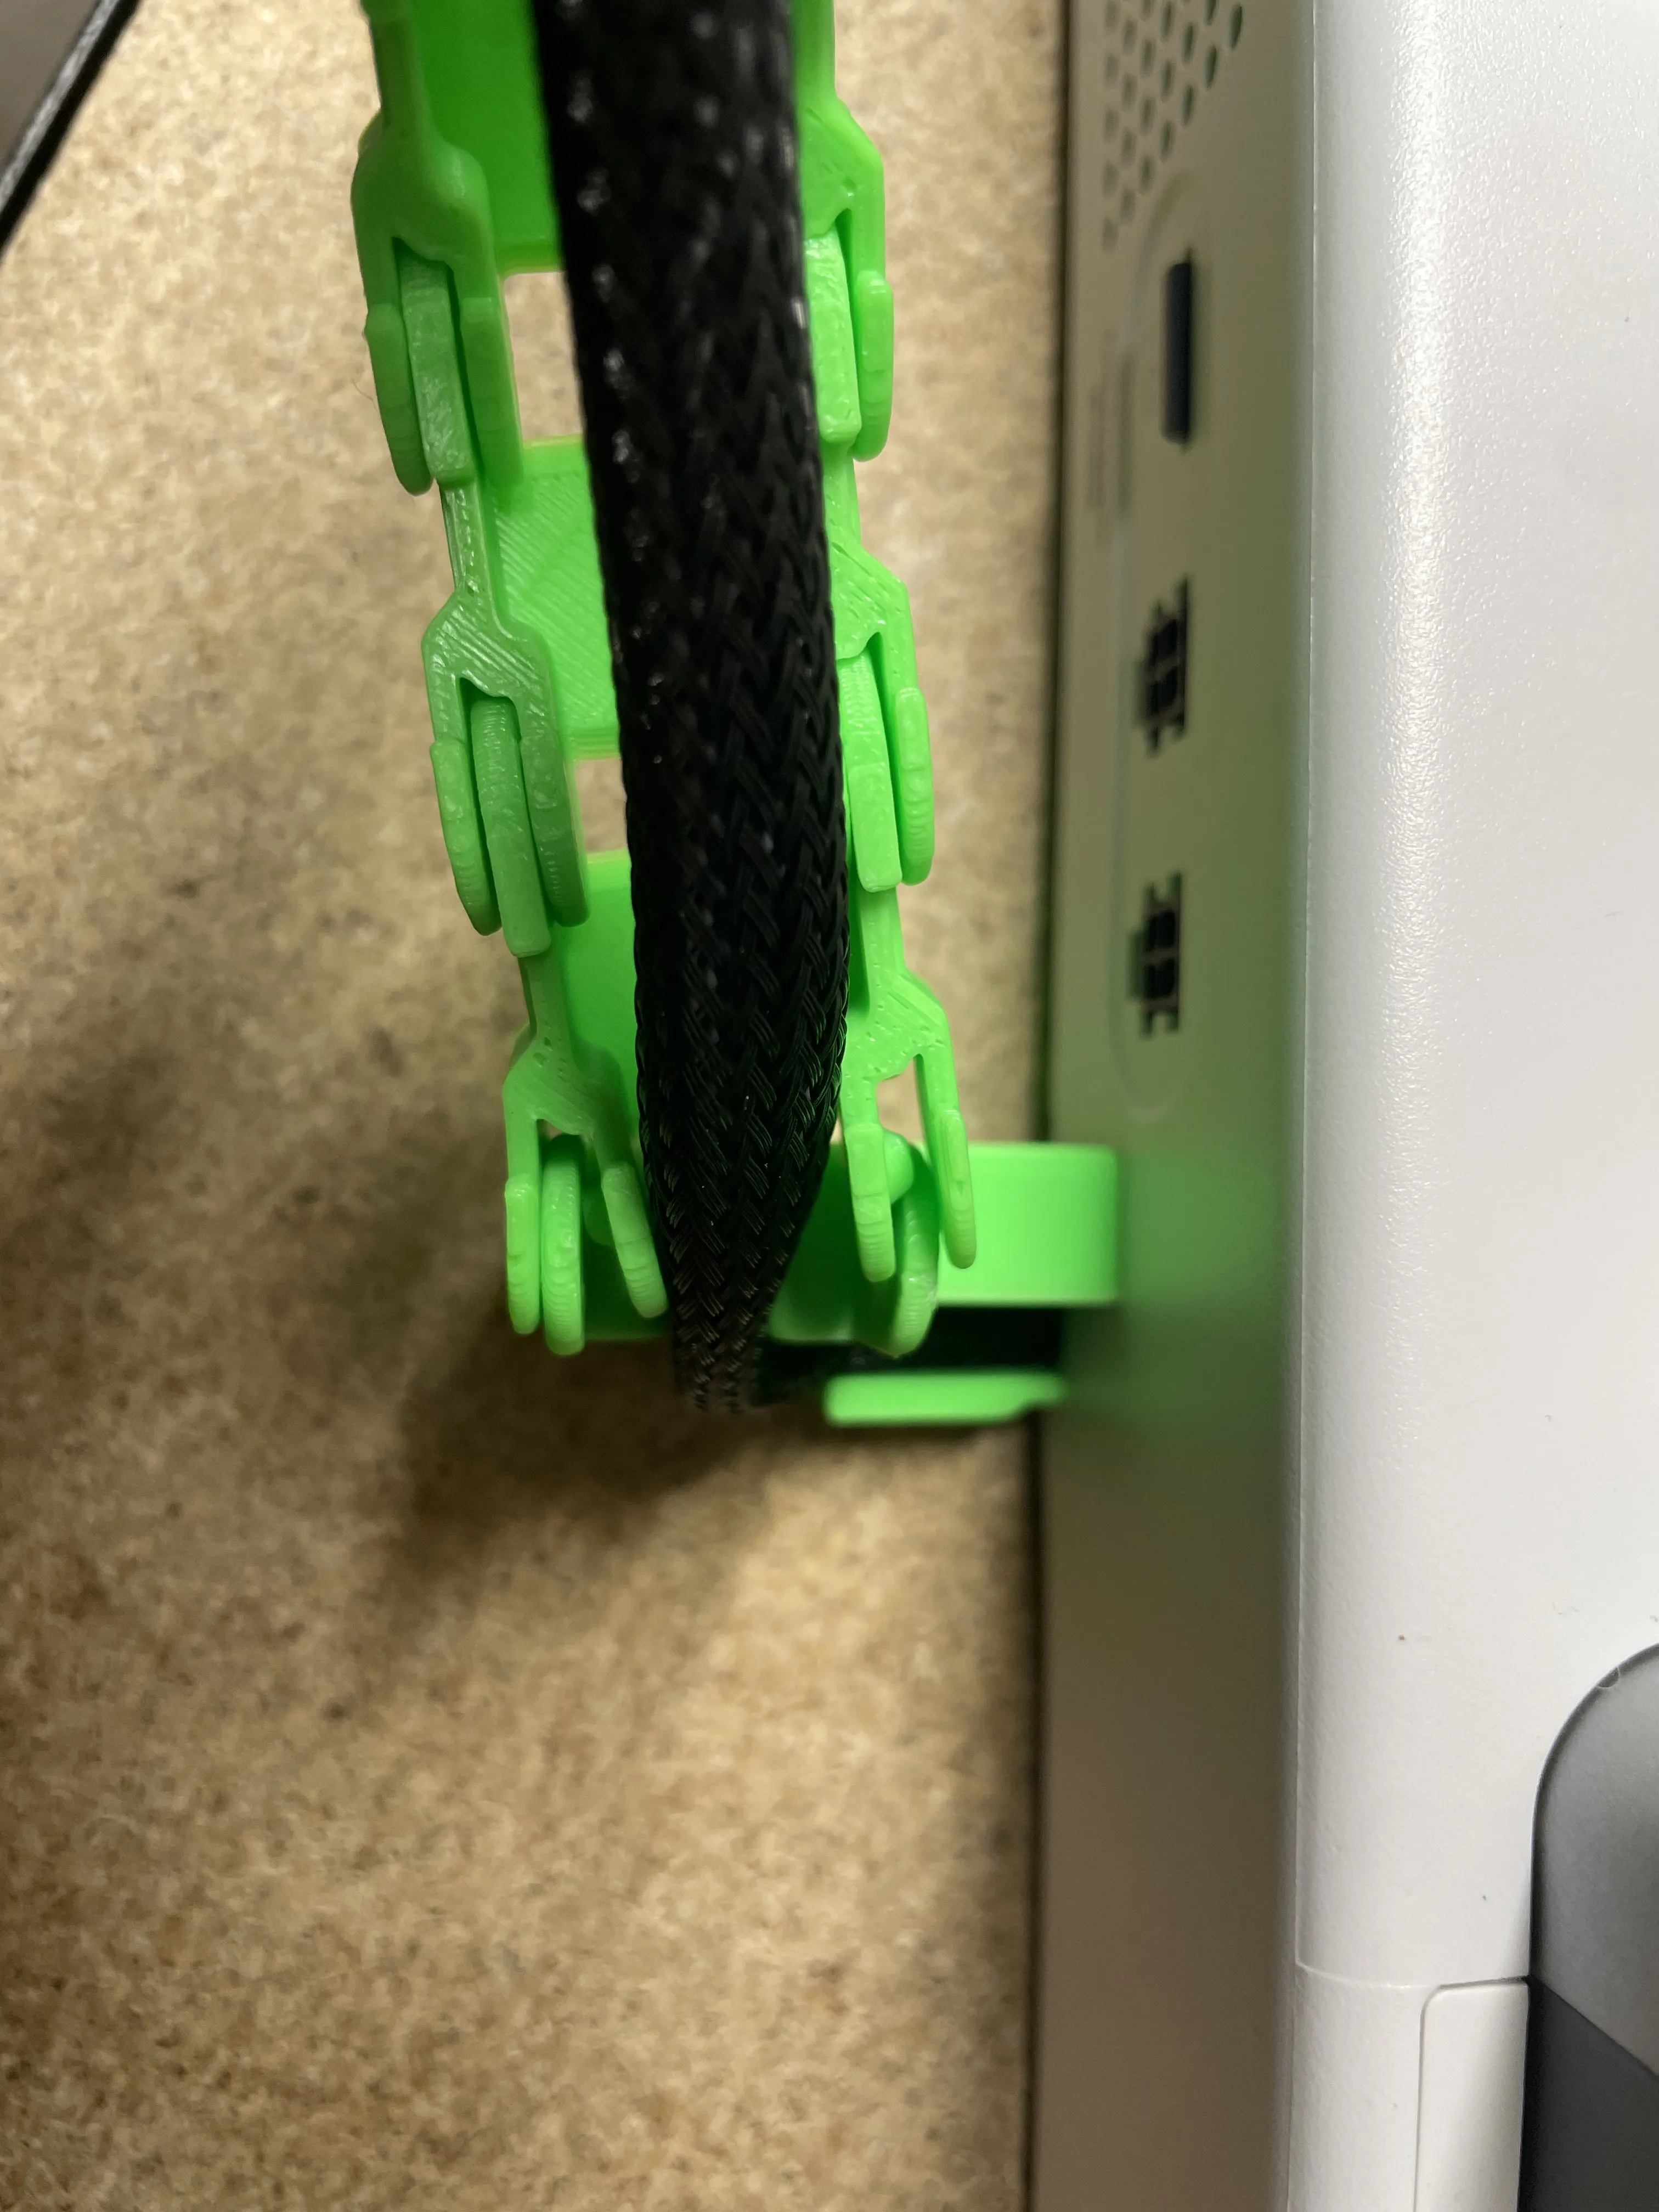
I spent many many hours designing this in Fusion360 with over 20 prototype parts. This model was made from scratch and before the other models made any changes, and this idea for attachment originated with me. This model requires zero parts that you won't already have, unlike the other models which require miscellaneous screws and nuts to secure it in place. This model will use approximately 50 grams of filament.
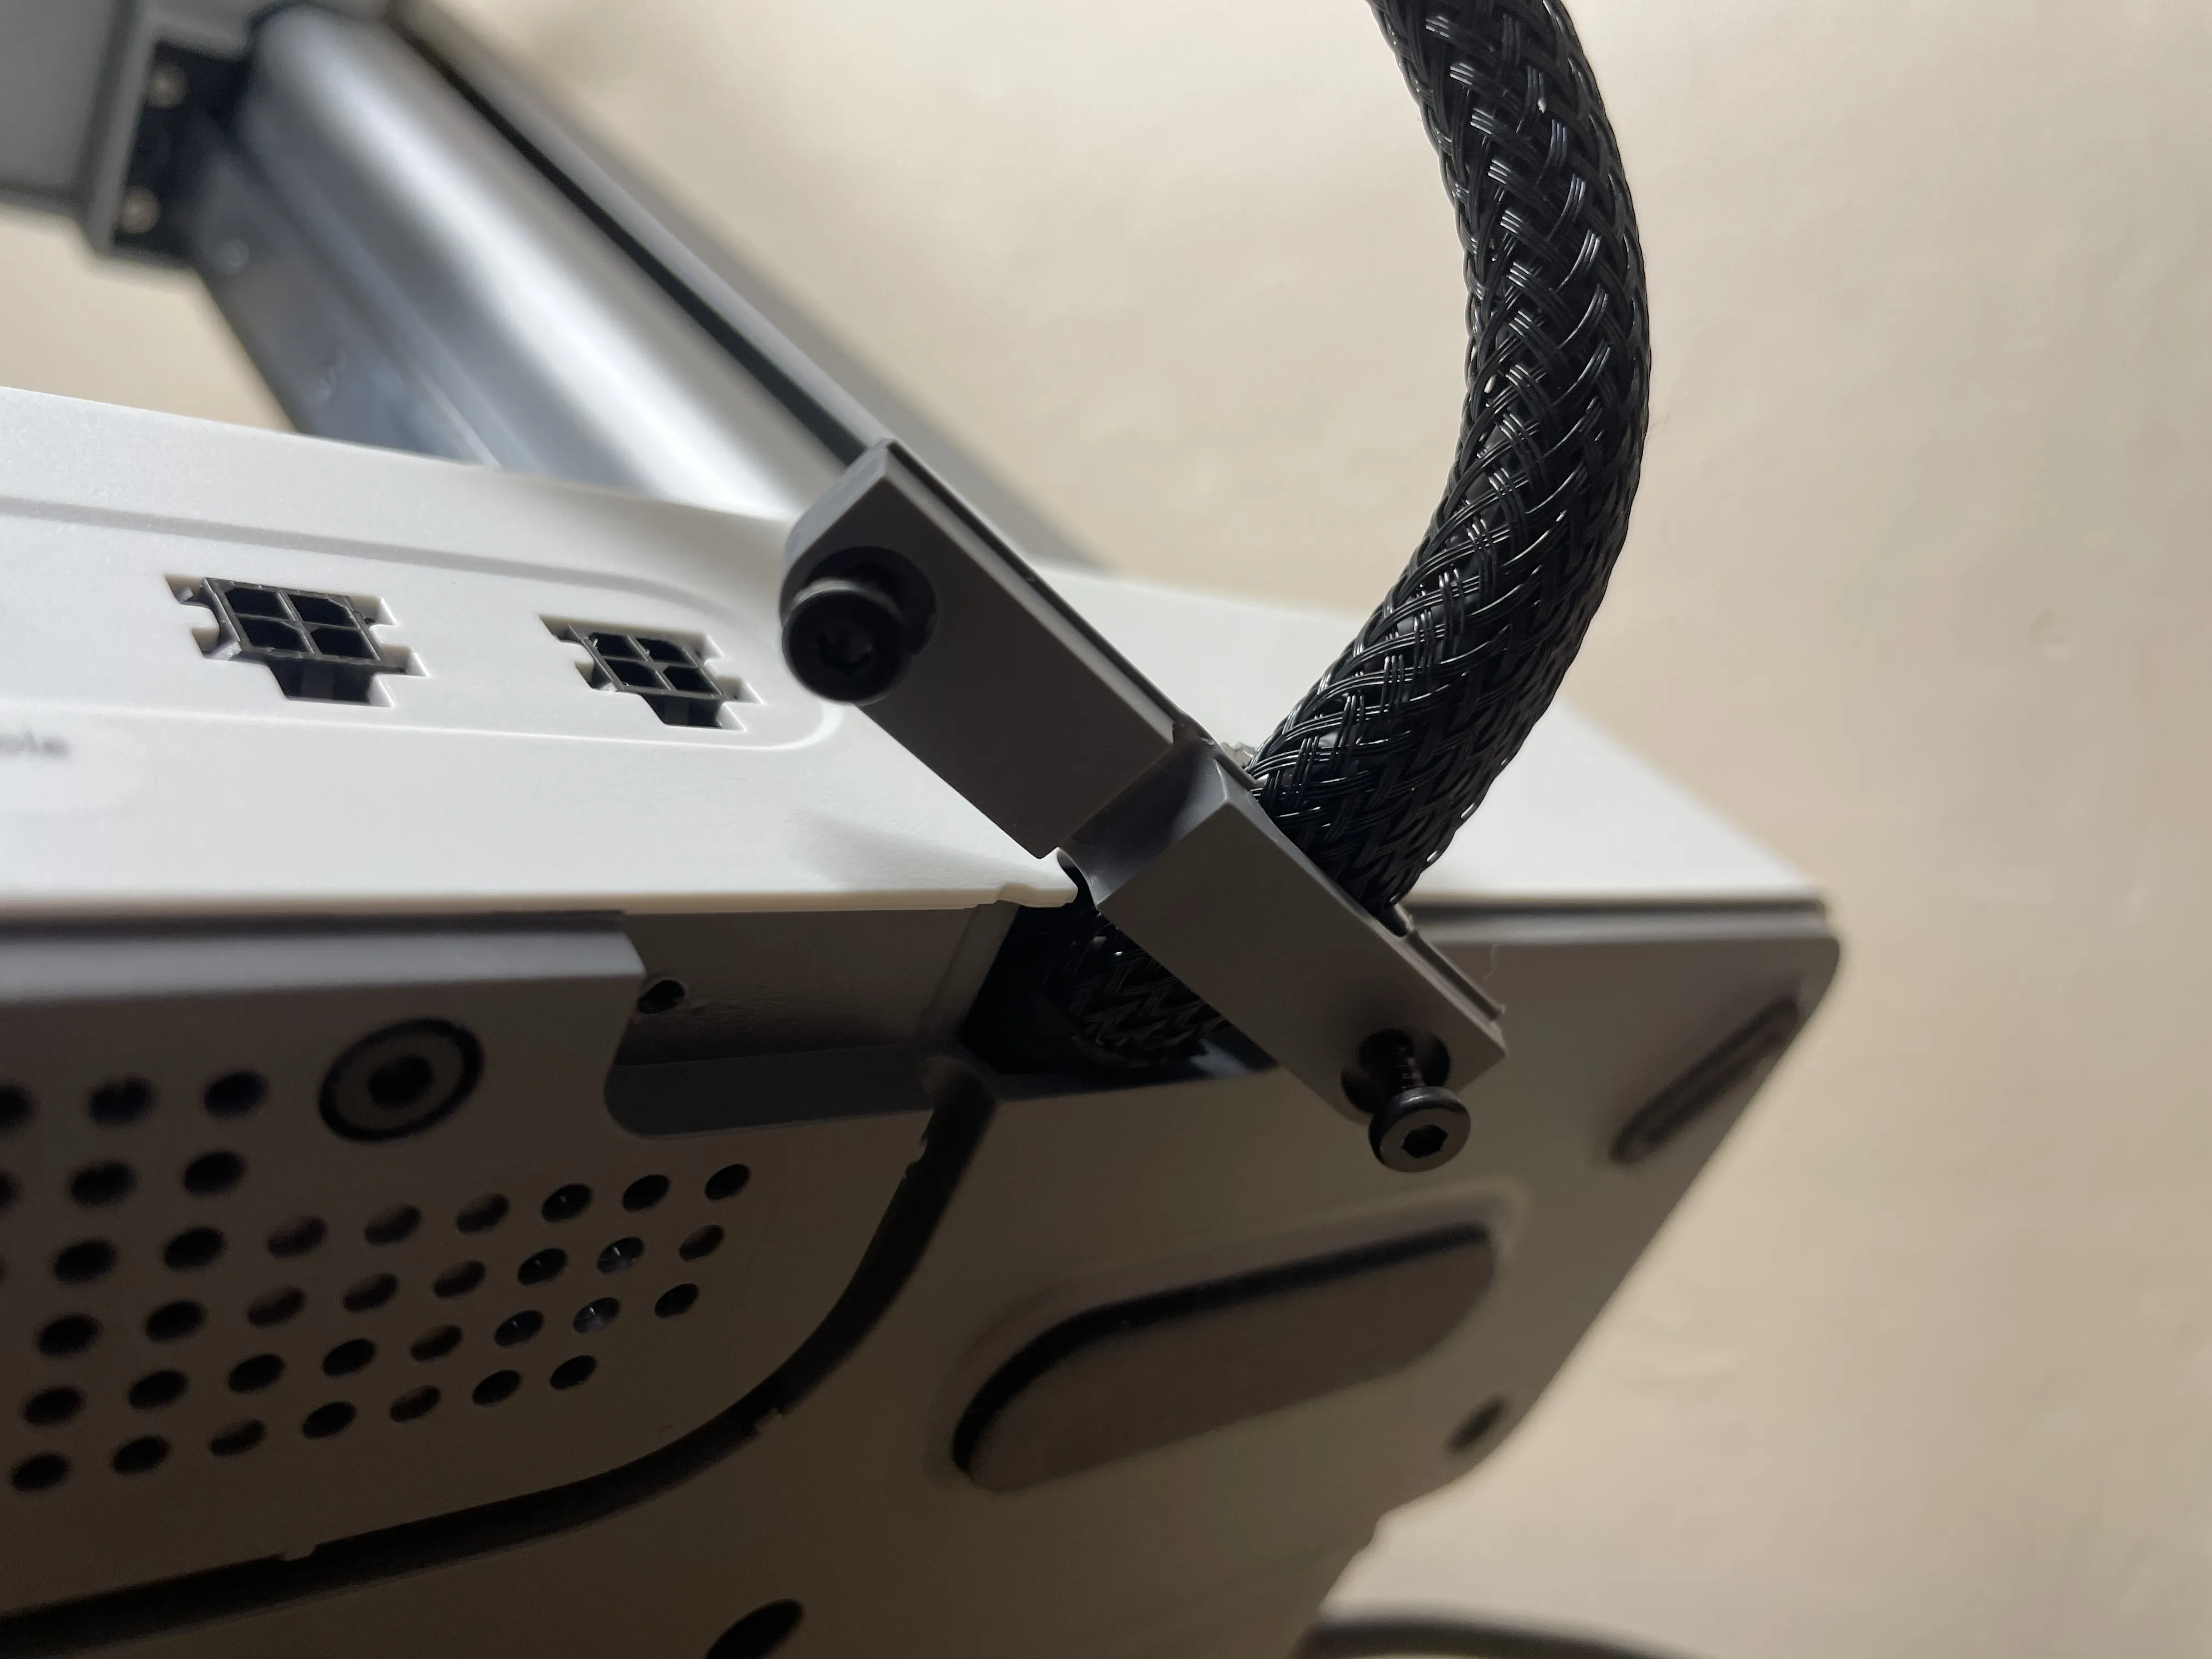
Assembly: You will need: 2.0mm allen wrench, small pry tool (or scraper), your hands, and the printed pieces. You should have two extra chain links if you don't break any.
Boost Me (for free)
I put a lot of time, effort, and filament into my designs to ensure they work well and efficiently. Boosting my models helps me out significantly, and its free for you! With this project specifically, lots of work went into it, and I would greatly appreciate your boost.
License

You shall not share, sub-license, sell, rent, host, transfer, or distribute in any way the digital or 3D printed versions of this object, nor any other derivative work of this object in its digital or physical format (including - but not limited to - remixes of this object, and hosting on other digital platforms). The objects may not be used without permission in any way whatsoever in which you charge money, or collect fees.


Comment & Rating (336)