
Gridfinity Universal Wrench Tray (Unlabeled trays)

Print Profile(1)

Bill of Materials

Description
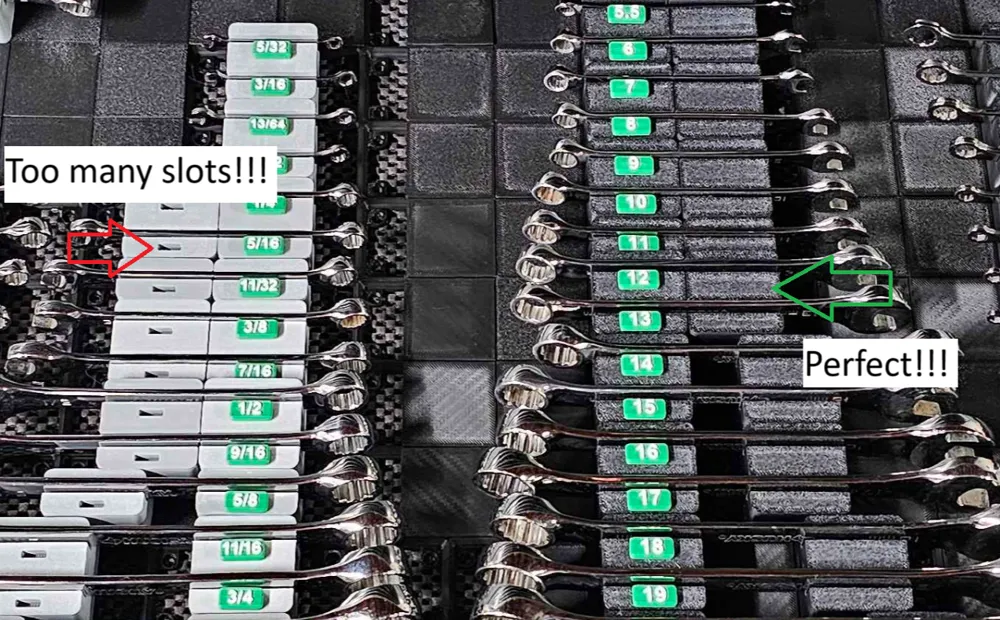
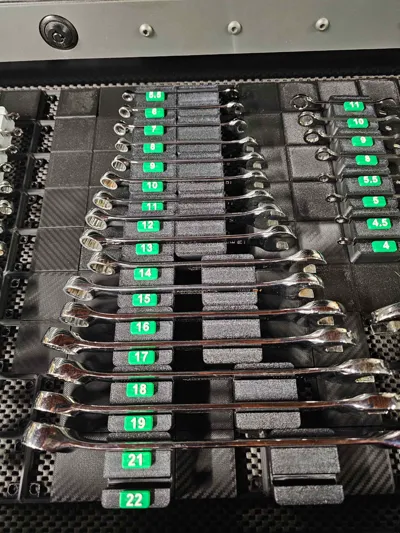
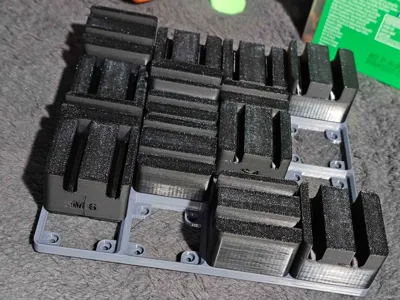
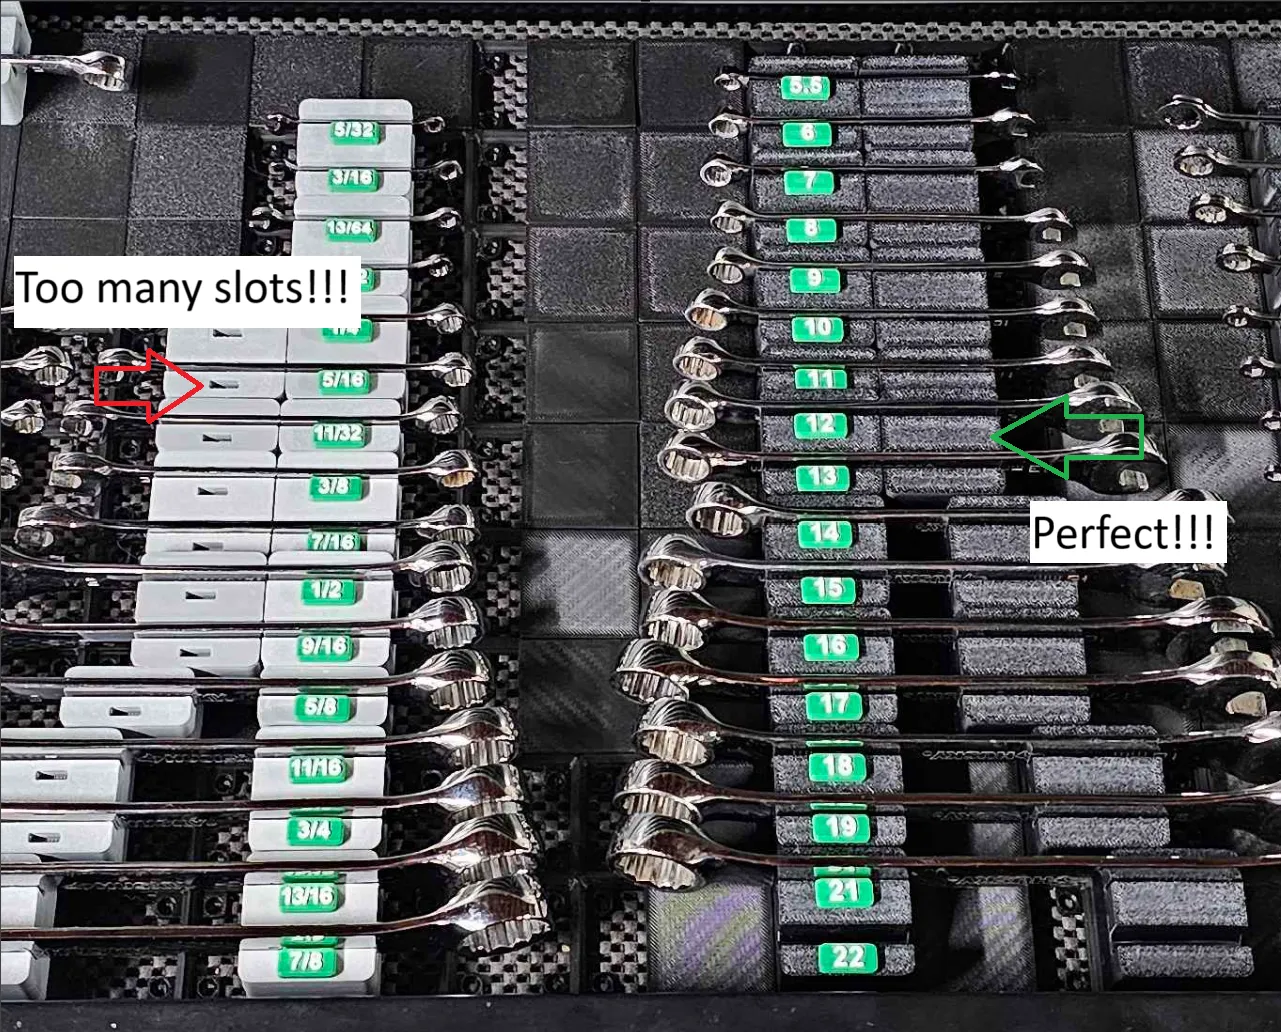
NOTE: This set is the unlabeled set, you only need one labeled tray per wrench from the Trays with labels, then with this model you print for the supporting side with no label to keep a clean look and make it less crowded with labeled to look at in your drawer(unless you want labels on both side, such as a dual sized wrench).
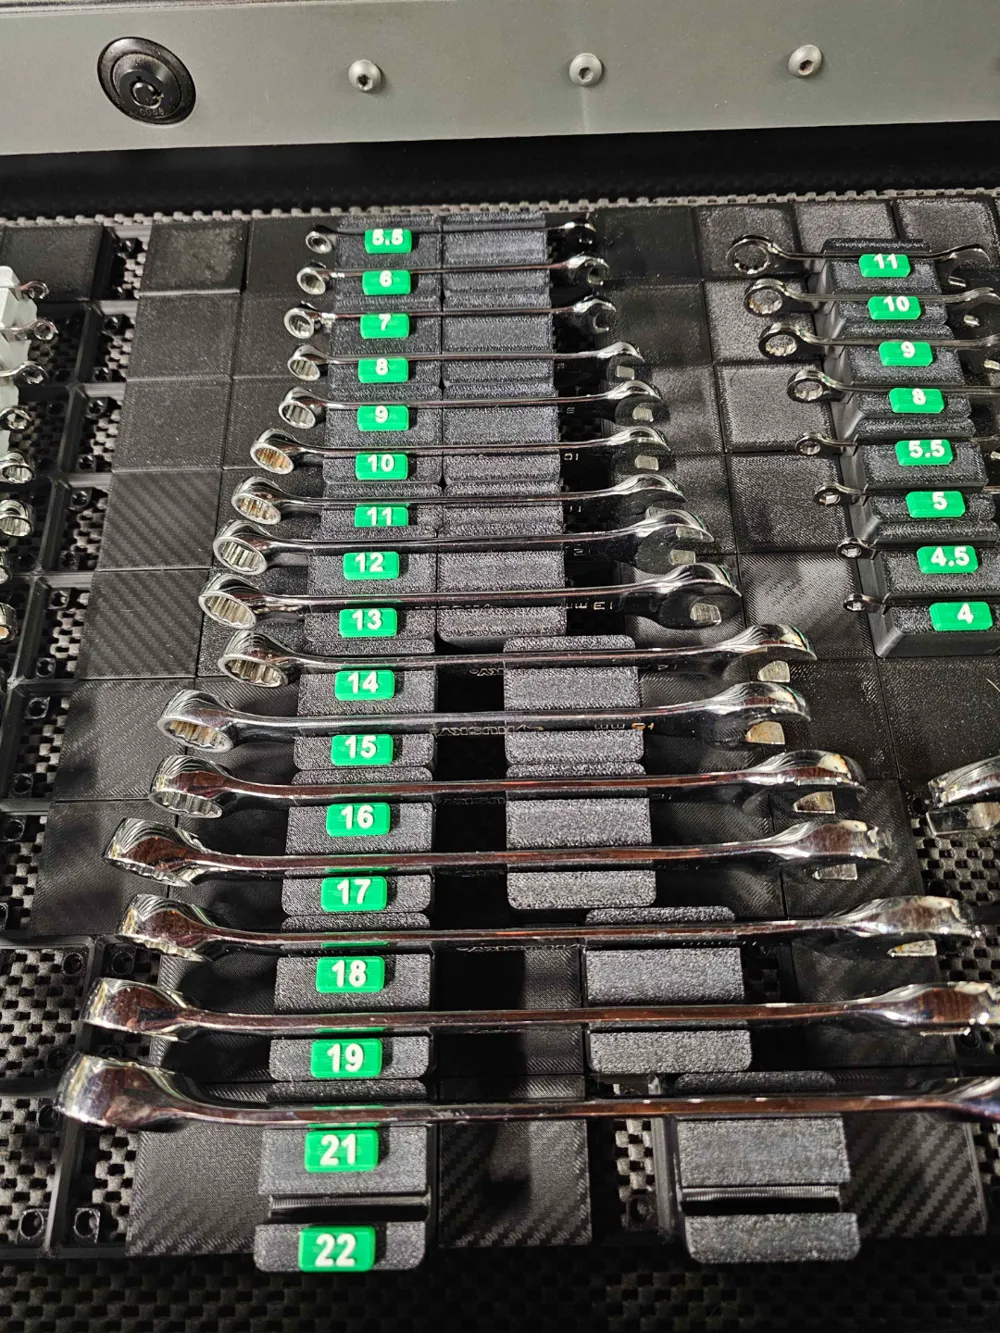
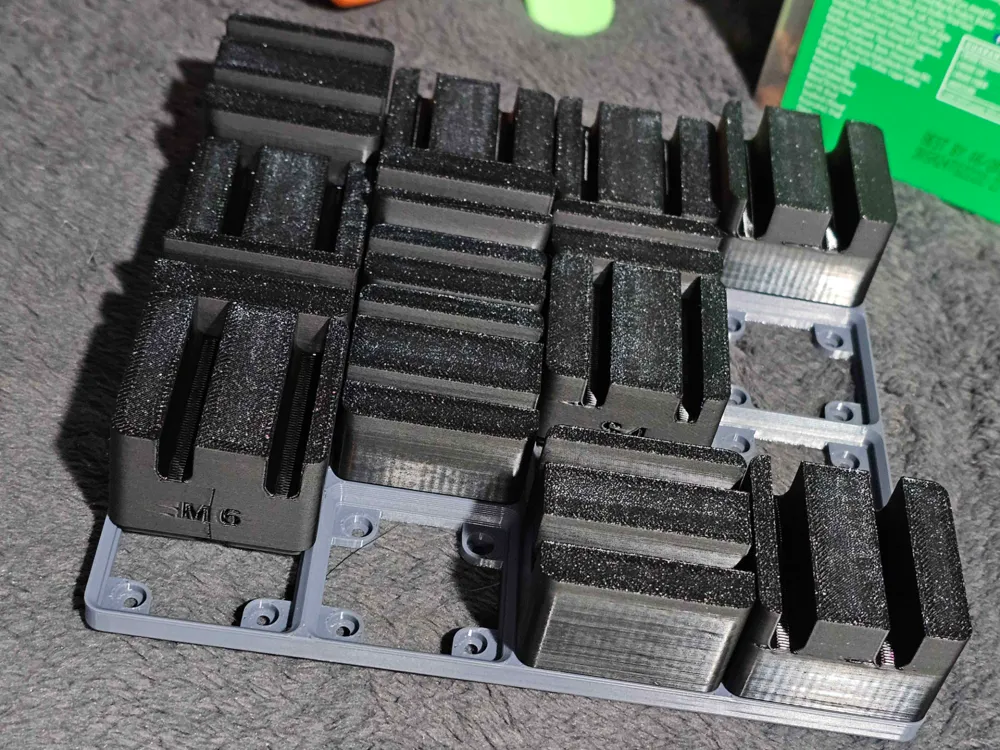
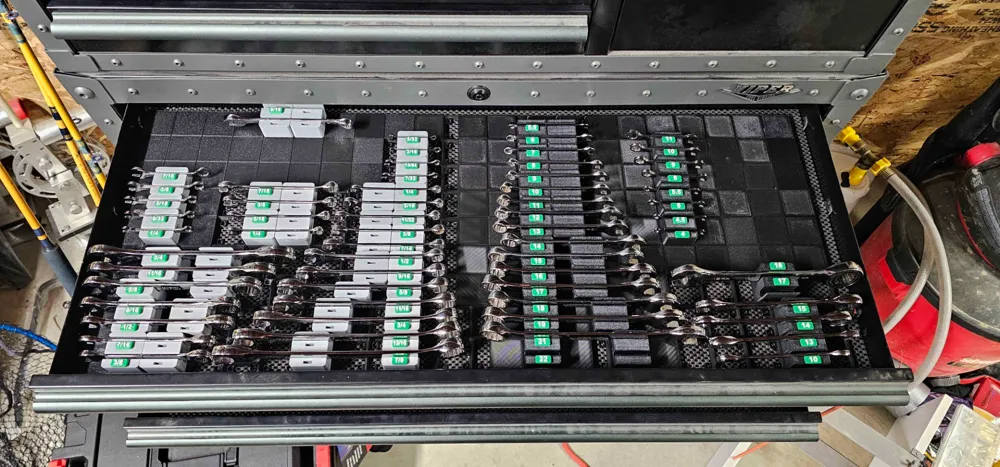
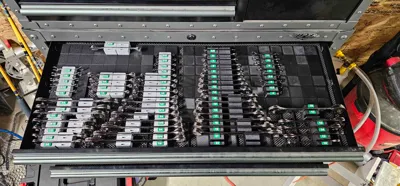
See images for examples
__________________________________________________________________
The Gridfinity Universal Toolbox Collection
Use the link above to browse the growing collection of my trays If you have a tray you would like made, please let me know in a DM and I will add it to the list.
Let me know if you have any issues with any of your tools not fitting a tray, let me know so I can resolve it and keep my trays fully universal.
_________________________________________________________________
an optional way for those who wish to contribute beyond Maker World points.
Membership
Want to sell my prints or support me outside of Boosts and downloads? Subscribe to a license level from $3-$10 a month!
Boost Me (for free)
Boost notifications keep me awake at night so i can keep modeling and stop slacking...seriously though i wake up at like 2am-4am EST randomly and check my notifications and look at the comments and pictures....And it also helps me stay motivated to keep these models free for all!
__________________________________________________________________
Intro to my universal trays
I was tired of trays for specific socket sets or tools (or just had no labels and was way too condensed). So I made a simple model and expanded it to fit any possible size while still being 100% click and print. This setup sacrifices some space saving but maximizes visibility and simplicity. Enjoy, rate, and let me know if there are any issues not noted. If you find you need a specific size or item I don't have here, let me know. Lastly let me know if there are any improvements you would like to see made.
__________________________________________________________________
Features
- fit virtually any set OR random pile of tools -you measure your own and print the appropriate tray pieces
- based on Gridfinity standard - will fit all standard sized Gridfinity bases
- 6x2mm magnet inserts. help keep the tray from coming out of their spot in the grid
- Fake-A-Magnet - A functional replacement for magnets - pin insert to hold the tray down
- optional V2 - Snap Fit Labels - Doesn't require magnets or glue, Stays secure (and still removable) with the new H-clip.
- half-size bottom grid - Some of my trays required half-sized grids to save on space and not waste filament. I came up with a mini-grid that allows for half size grid utilization while still fitting a standard GF base - you can still use regular GF trays along side my Half-Grid trays.
- Check out my "lowest profile possible" Gridfinity base if you are in need of a good base with the magnet inserts. see details below in the base plate instruction.
________________________________________________________
Instructions
download and open the profile using Bambu Studio (or your preferred slicers for 3mf print files like Orca Slicer).
If you have already gone through and printed your wrench tray set with the Labeled trays, Then you just need to count the sizes that need a second tray to support the other side of the wrench. Skip Steps 4-7 if you already printed the labeled set.
If this is your first set of the wrench trays, I would suggest starting with the Labeled trays linked above and then move to this set after you get your initial count of which wrenches will need a second tray for support.
____________________________________________
- Print one of the smallest size tray
- Use this one to see how many of your wrenches fit in the small tray
- Insert your smaller wrenches in the small tray until you feel slight (or a lot of) resistance putting the next wrench size in. The last one to fit without any resistance is your limit for smalls. Take note of how many you have that will be using smalls.
repeat from step 2, but instead, print a medium size, then repeat again for large, and the XL size.
***NOTE: Most wrenches (except for your smallest mini sizes) you will need a tray on each end to balance the weight.
__________________________________________
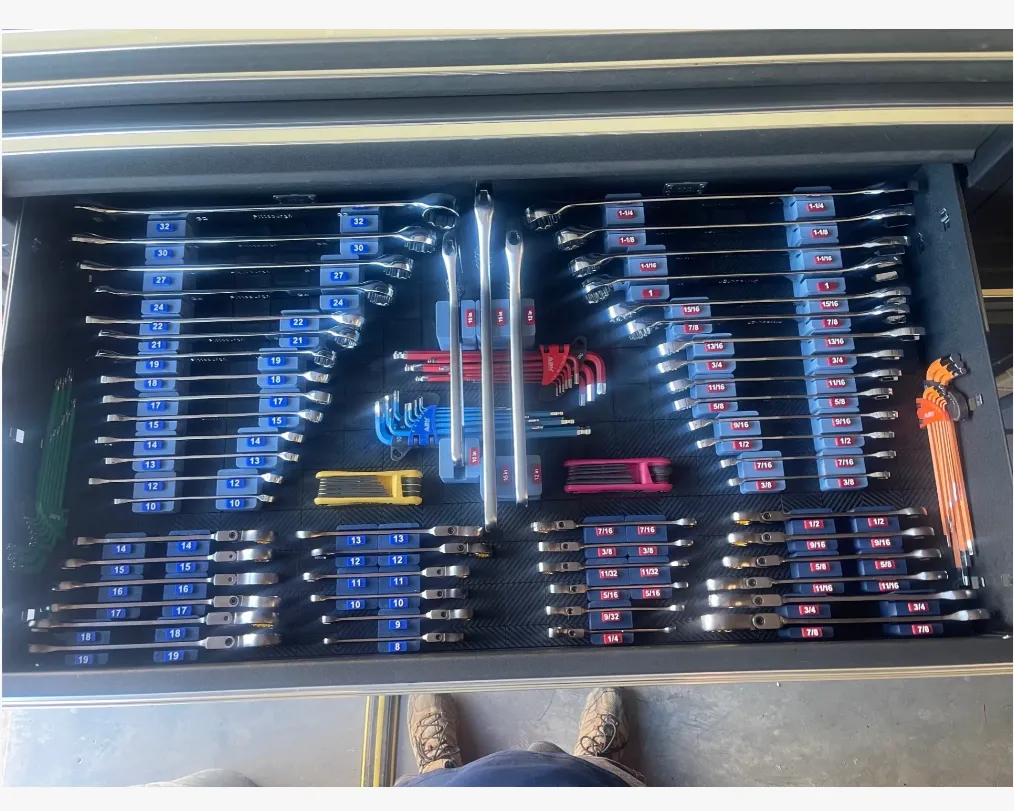
- using your noted counts for wrenches that need supporting trays(or if you just want a few unlabeled trays), Clone the appropriate number of each size needed and print.
- Note: If you have an Odd number for a tray size, you will want to print 1 single and put it in between two doubles when placing in a grid. This way it will not tip over on the end
- NOTE: I put the Top surface facing down, This makes the top surface much more smooth than before and holds the pattern of the build plate used, Including the 3d effects plates with carbon fiber and sparkle rainbow finishes. (I personally like the textured plate look with a dark color) you can also use this to match the tops of the tray with the pattern of your choice of FIller inserts for the blank spots on the grid.
____________________________________________________________
Labeling
Just kidding, there is no labeling for this specific model, but you will want labels for your other trays.
- go to my profile or click the link here to find the V2 - Snap Fit Labels, premade with an exhausting amount of common sizes (took a while making them all). They are very easy to print, use only one color change, and snap fit together. Let me know if you don't see your size available or if you have a whole set of a specific size type that I am missing.
_______________________________________________________
Base Tray
All Baseplates - Low Profile - With magnet insert - All sizes with profiles for A1, X1/P1, and A1 mini
Half-Size grid - Low Profile - filler baseplates - These are .5 x 1-6, used for filling spaces in the drawer that didn't fit a full grid. Particularly useful with my half-sized grid based trays that can lock these in place with another grid but can be used as side fillers as well. fill them with my .5x1 blank covers to give it a finished look if wanted.
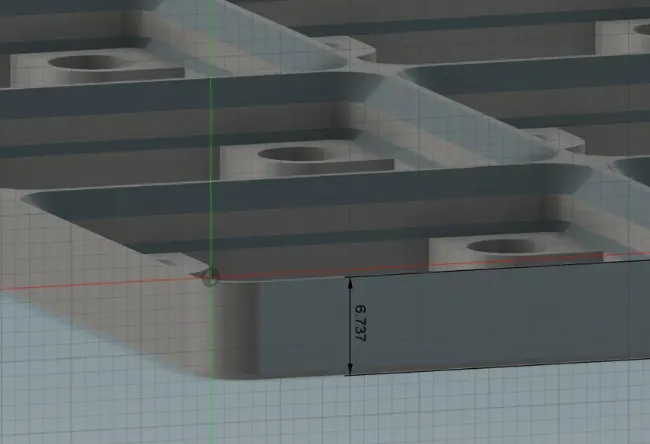
I created a specific base for my use case to get the lowest profile POSSIBLE. This maximizes the vertical space available for your tools while in the trays. It is a just standard Gridfinity tray but cut as low as possible while still having the magnet slots available. I appreciate everyone who wants to take a look and use it for these trays but my base tray is not a requirement. Any tray can be used especially if you already have a system so do not feel like you need to switch over unless my tray provides something that you need. (such as the magnet inserts, less filament, or the lowered profile compared to stock).
_______________________________________________________________
MAGNETS

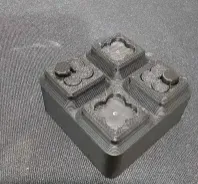
- If you wish to use magnets or my Print-A-Magnet magnet replacement to secure the trays, use the Secure-A-Magnet plate.
- Clone just a couple of the magnet securing inserts to test the fit, and print.
Insert the key in the desired position based on where in the grid it will sit. If they are a tight fit and not seated all the way, turn the tray upright and use a hard flat surface to press harder to get them to seat all the way in. The fit should be tight, if it is loose then the magnets will be loose.
Resizing: If you find the fit loose or cannot fit them at all, resize the insert X and Y axis only(not Z), up or down by 0.05mm. once the fit is good, clone as many as you need (# of trays X magnets per tray)
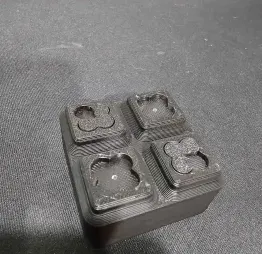

Insert your magnets or Print-A-Magnet then press it into the Grid
____________________________________________
License

You shall not share, sub-license, sell, rent, host, transfer, or distribute in any way the digital or 3D printed versions of this object, nor any other derivative work of this object in its digital or physical format (including - but not limited to - remixes of this object, and hosting on other digital platforms). The objects may not be used without permission in any way whatsoever in which you charge money, or collect fees.


Comment & Rating (58)