
Universal Skadis Mount - XL

Print Profile(2)


Description
UPDATE 2024.11.21:
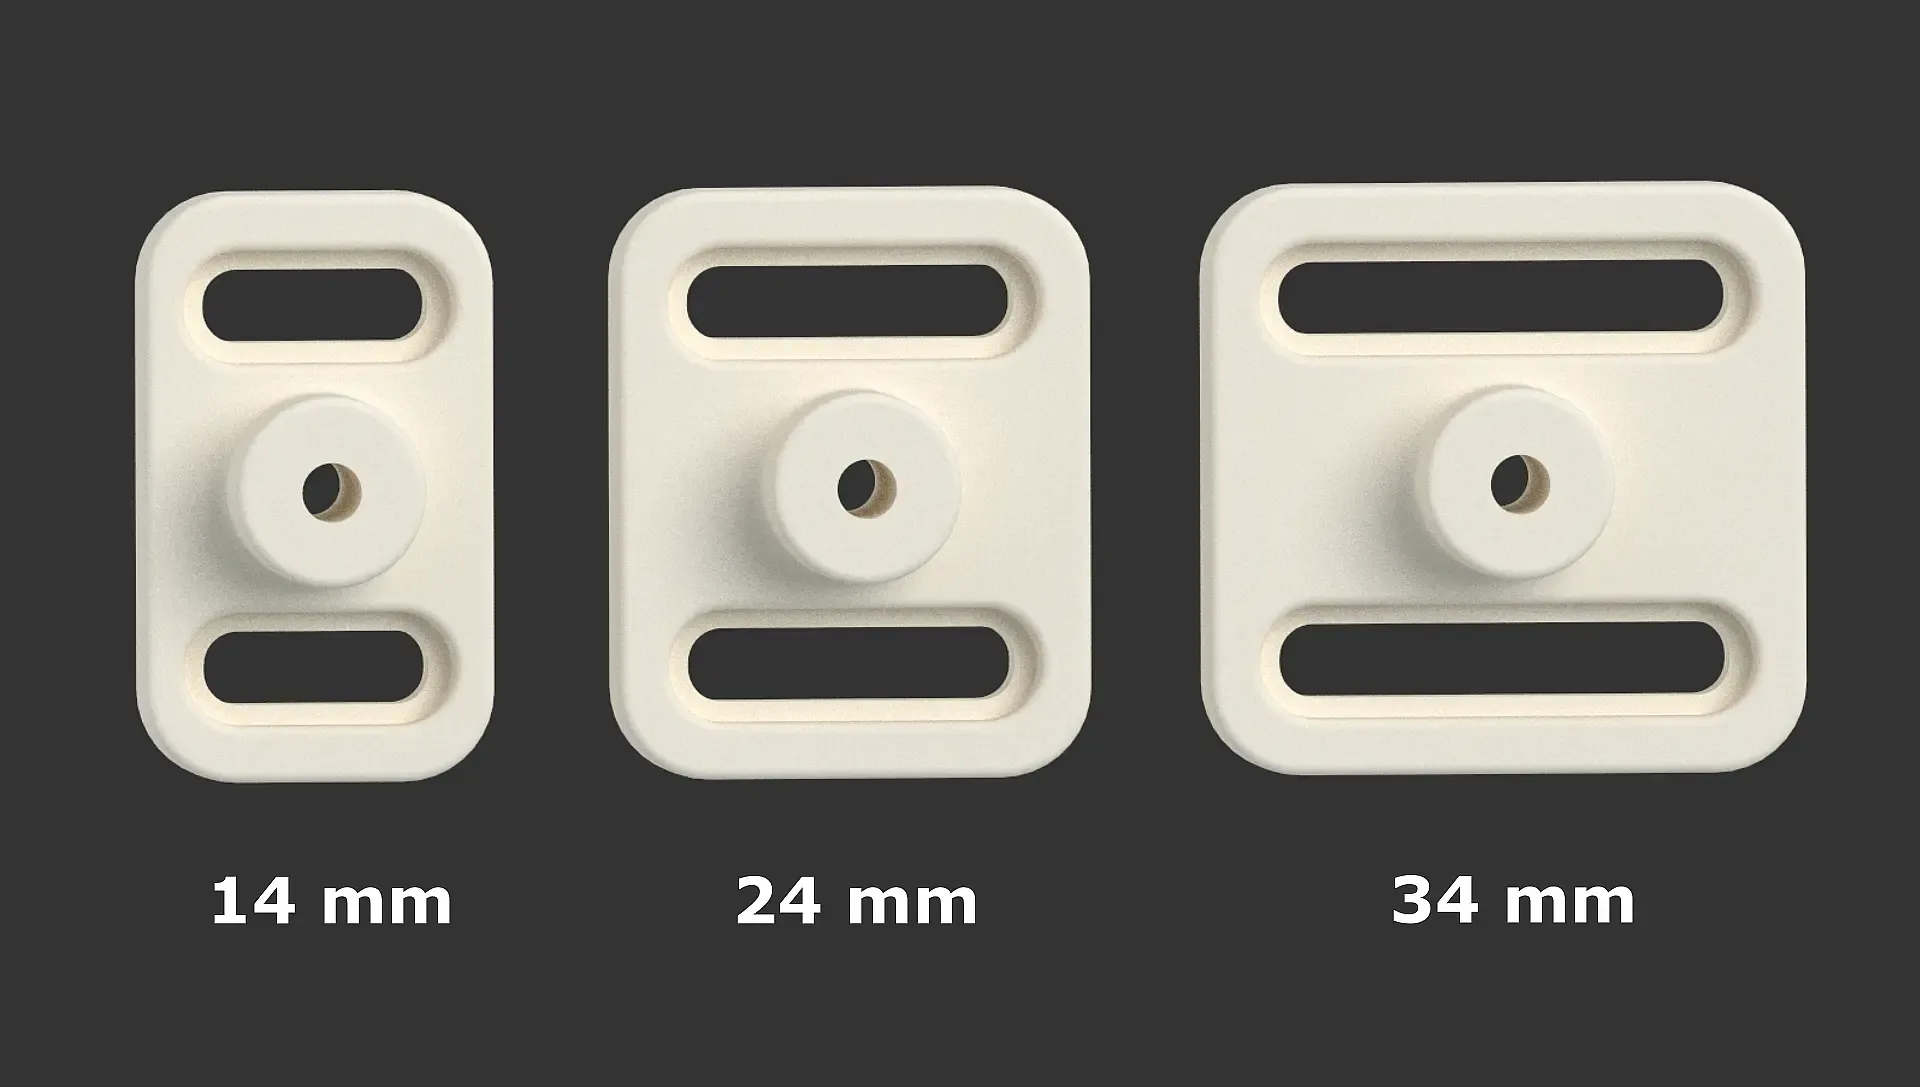
Three different sizes of this SKADIS mount are now available, offering maximum flexibility.
UPDATE 2024.11.30
Added a version for heated inserts to each size. All Versions:
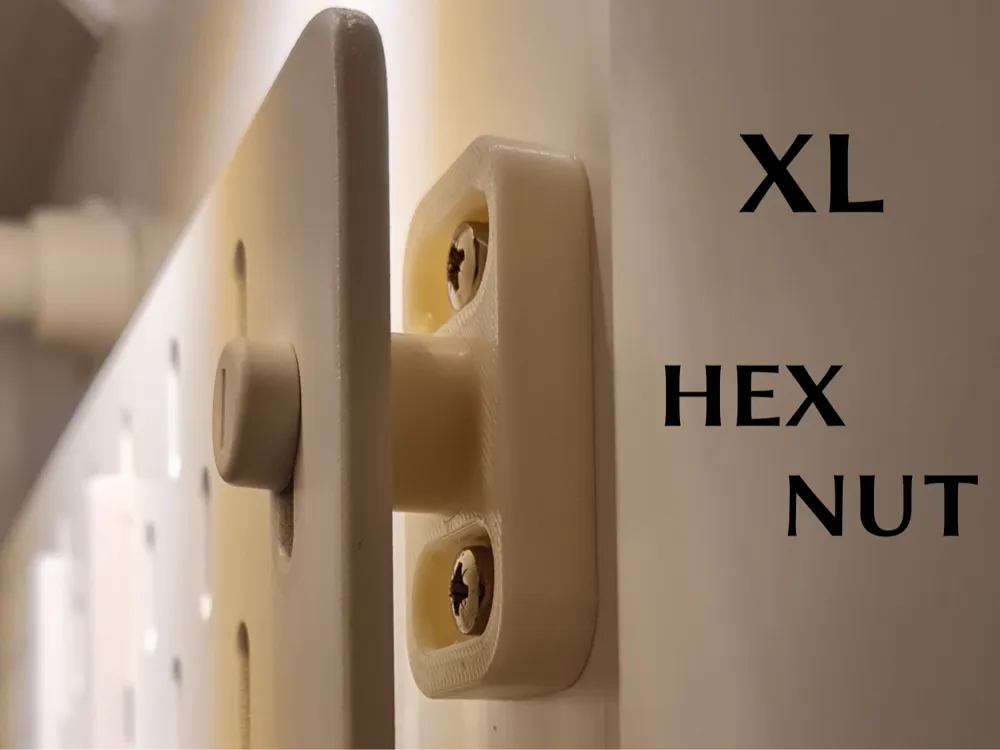
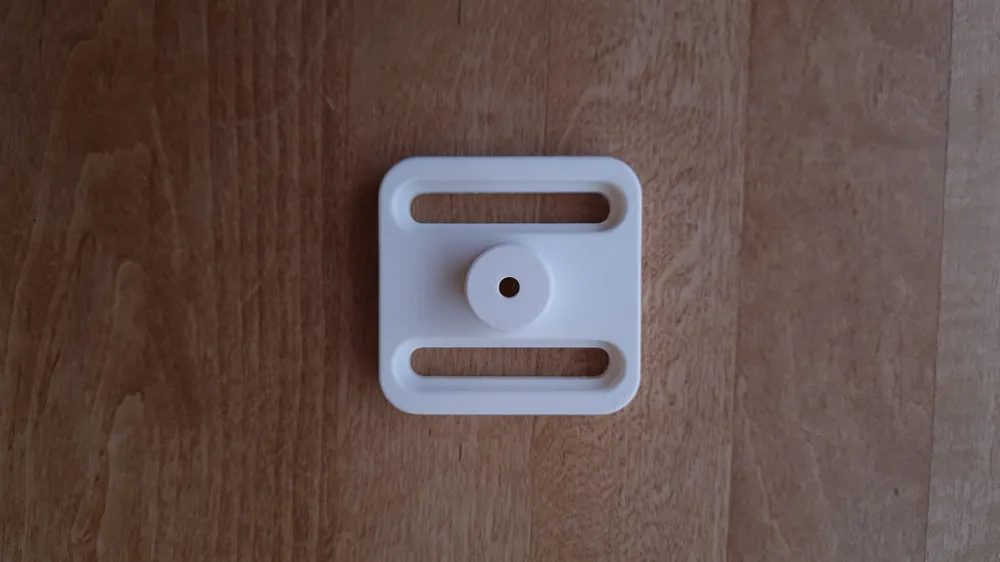
This is version XL using Hex Nuts
Looking for a sturdy way to mount a Skadis board inside your wardrobe without compromising on style or flexibility? I designed this custom Skadis mount to solve common issues with available models that often lack stability, require extra holes, and can look unsightly if you decide to rearrange things later. My model offers flexibility with slot-based screws. The hex nut thickness isn’t a concern either – there’s plenty of room to work with!
Parts Required for Mounting one Skadis Board:
Option 1: Using the original Skadis spacers at the bottom
- 2 printed mounts
- 2 M4 hex nuts
- 4 Ikea hinge screws or “Euro screws (6.3 x 16 mm Pan-Head)”
Option 2: Using 4 mounts for additional stability at the bottom
Installation Guide:
- Insert one of the screws that came with your Skadis board to press the support out of the model.
- Use this screw to push an M4 hex nut into the back of each mount.
- Attach the mounts to your wardrobe, keeping them slightly loose for initial alignment.
- Secure the Skadis board onto the mounts, allowing it to slide sideways to your preferred position.
- Once aligned, remove the Skadis screws and fasten the four hinge screws – only light force is needed as the screws are remarkably strong.
- Reattach your Skadis board.
- Follow your chosen option to install the bottom parts.
This design ensures a strong hold, easy adjustability, and a clean look that will keep your Pax wardrobe looking sharp even if you rearrange later. Happy printing!
Boost Me (for free)
If you like this mount as much as I do, please consider boosting me for free.
License

You shall not share, sub-license, sell, rent, host, transfer, or distribute in any way the digital or 3D printed versions of this object, nor any other derivative work of this object in its digital or physical format (including - but not limited to - remixes of this object, and hosting on other digital platforms). The objects may not be used without permission in any way whatsoever in which you charge money, or collect fees.


Comment & Rating (17)