Search models, users, collections, and posts

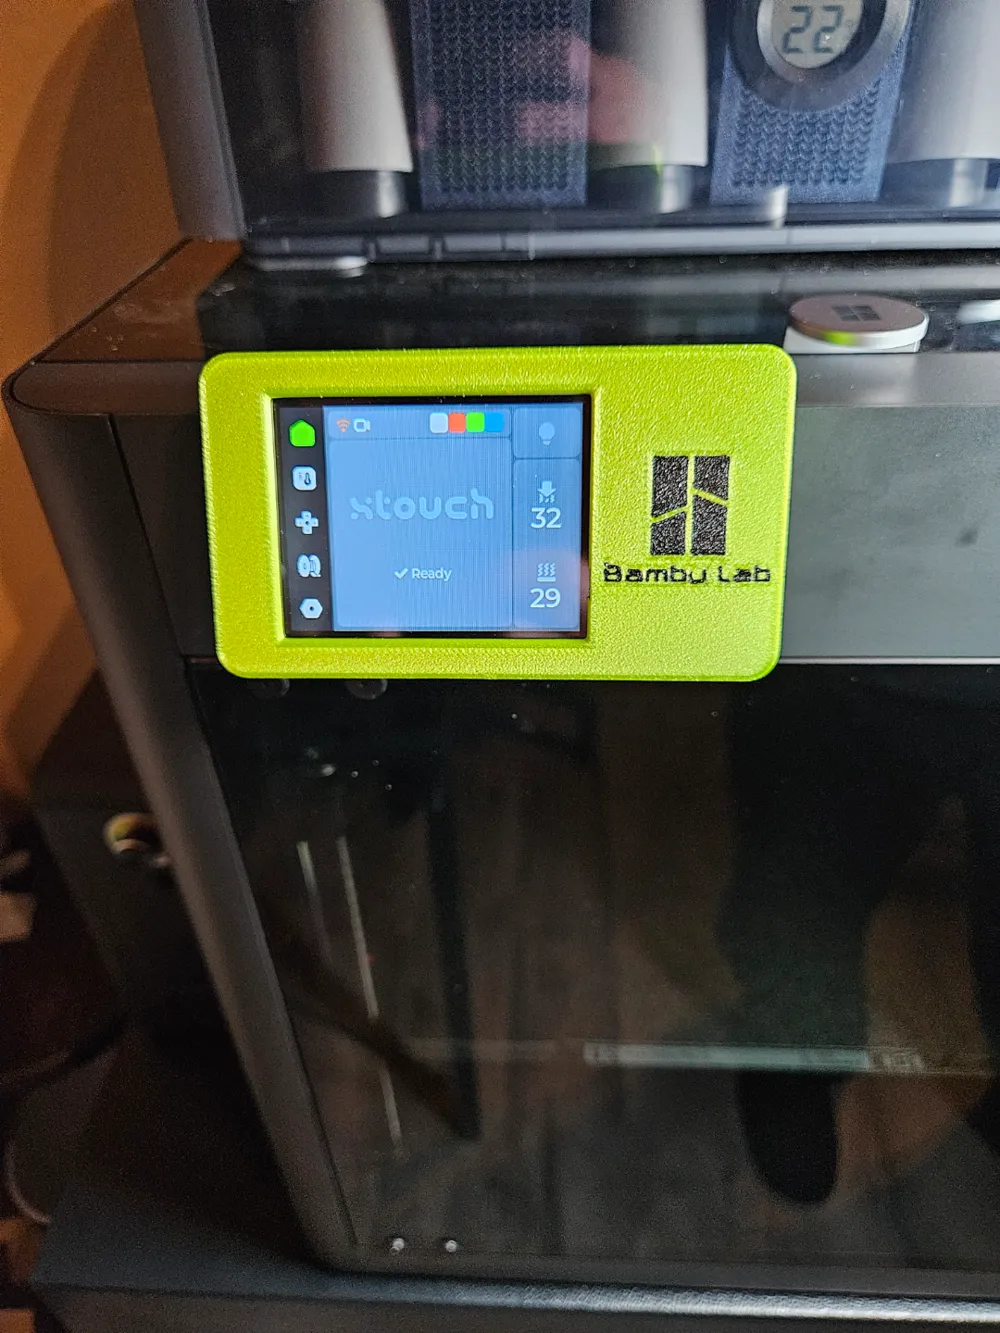
XTouch Total Screen Replacement
Remixed by
IP Report

Print Profile(3)
Multi-color Logo - 0.2mm layer, 2 walls, 15% infill
Designer
2.1 h
2 plates

No Logo - 0.2mm layer, 2 walls, 15% infill
Designer
1.8 h
1 plate

Recessed Logo - 0.2mm layer, 2 walls, 15% infill
Designer
1.7 h
1 plate
Open in Bambu Studio
Boost
15
20
10
6
61
45
Released
Description
Have been using the 2.8-inch touchscreen for a while now and decided to finally remove the original screen. https://github.com/xperiments-in/xtouch
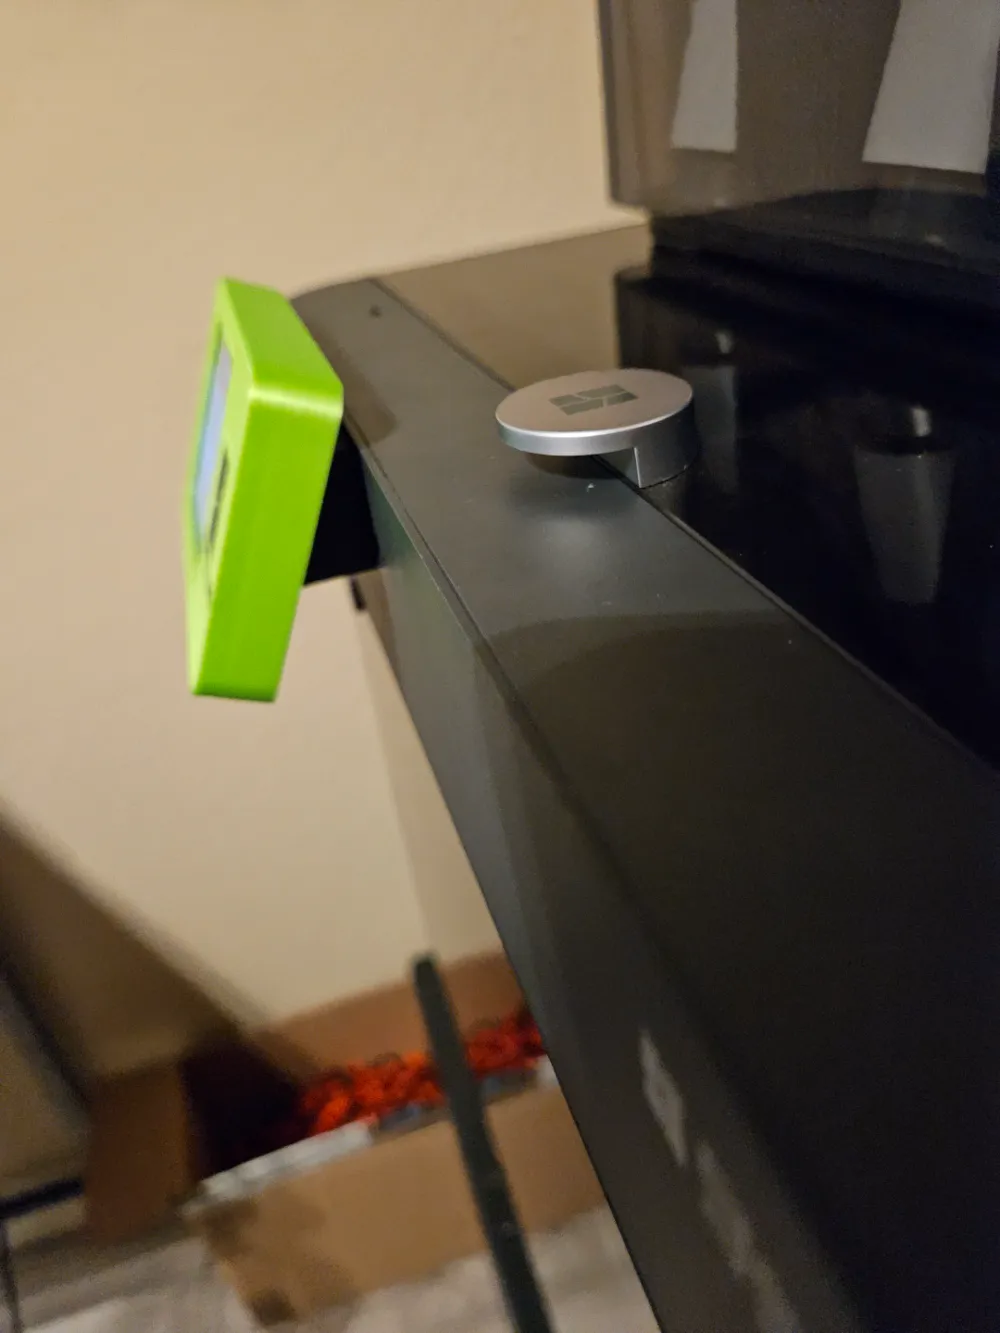
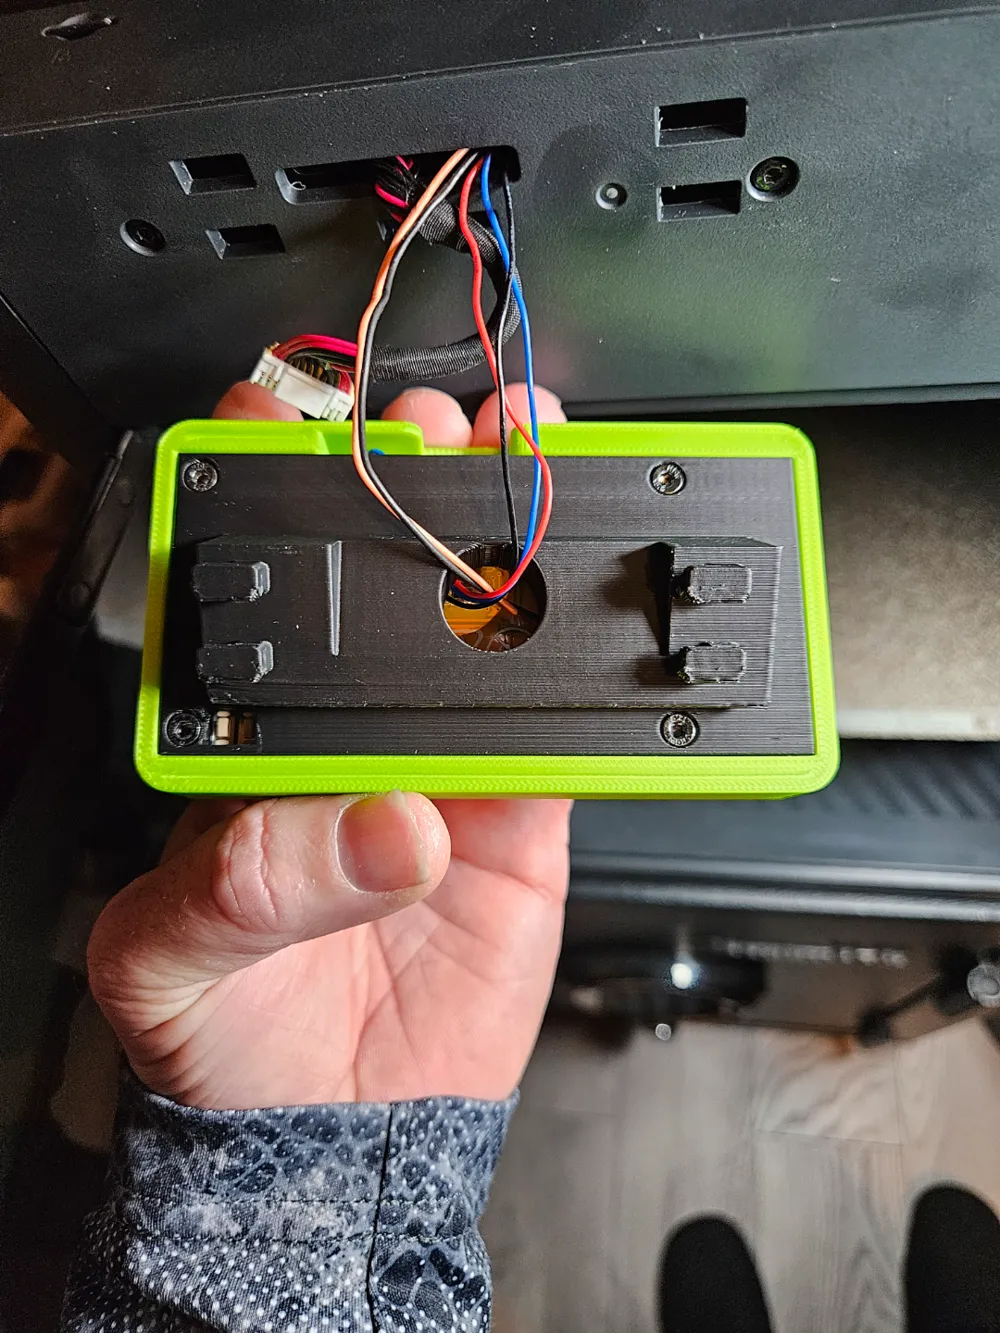
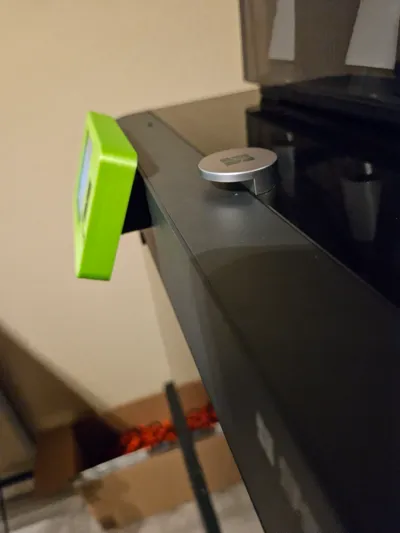
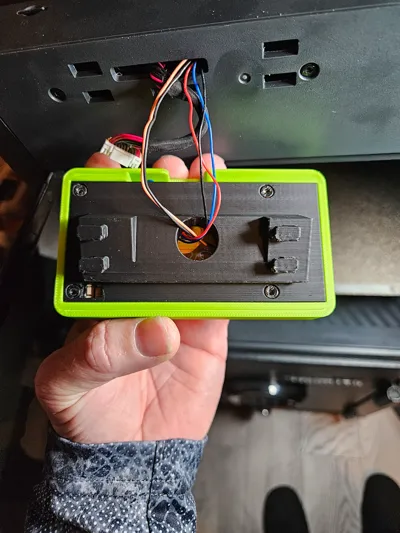
I remixed the one I posted a while back and used the outline of one off of Printables for the back. Added a cutout to access the reset button - just in case. Made it fit close to the frame and only wide enough to cover up the screws in the front plate. This means you cannot use a straight micro-USB cable!
POWER OPTIONS:
- Use the 4-pin cable provided with the ESP32 screen and either solder splice to a USB A connector or use a USB breakout device.
- Purchase a 4-pin JST 1.25mm to USB A cable from the internet (saw them on AliExpress). Check pinout before using!!!!
- Purchase a “LEFT” angle micro-USB cable, but you would have a hard time getting it routed through the opening in the front plate.
- Cut away at the plastic covering and removing any metal strain reliefs (what I did).
HARDWARE REQUIRED:
- (1) ESP32-2432S028R
- (4) M3x12 cap head screws
- (1) Power option (see above)
- (1) DS18B20 Temperature Sensor (optional)
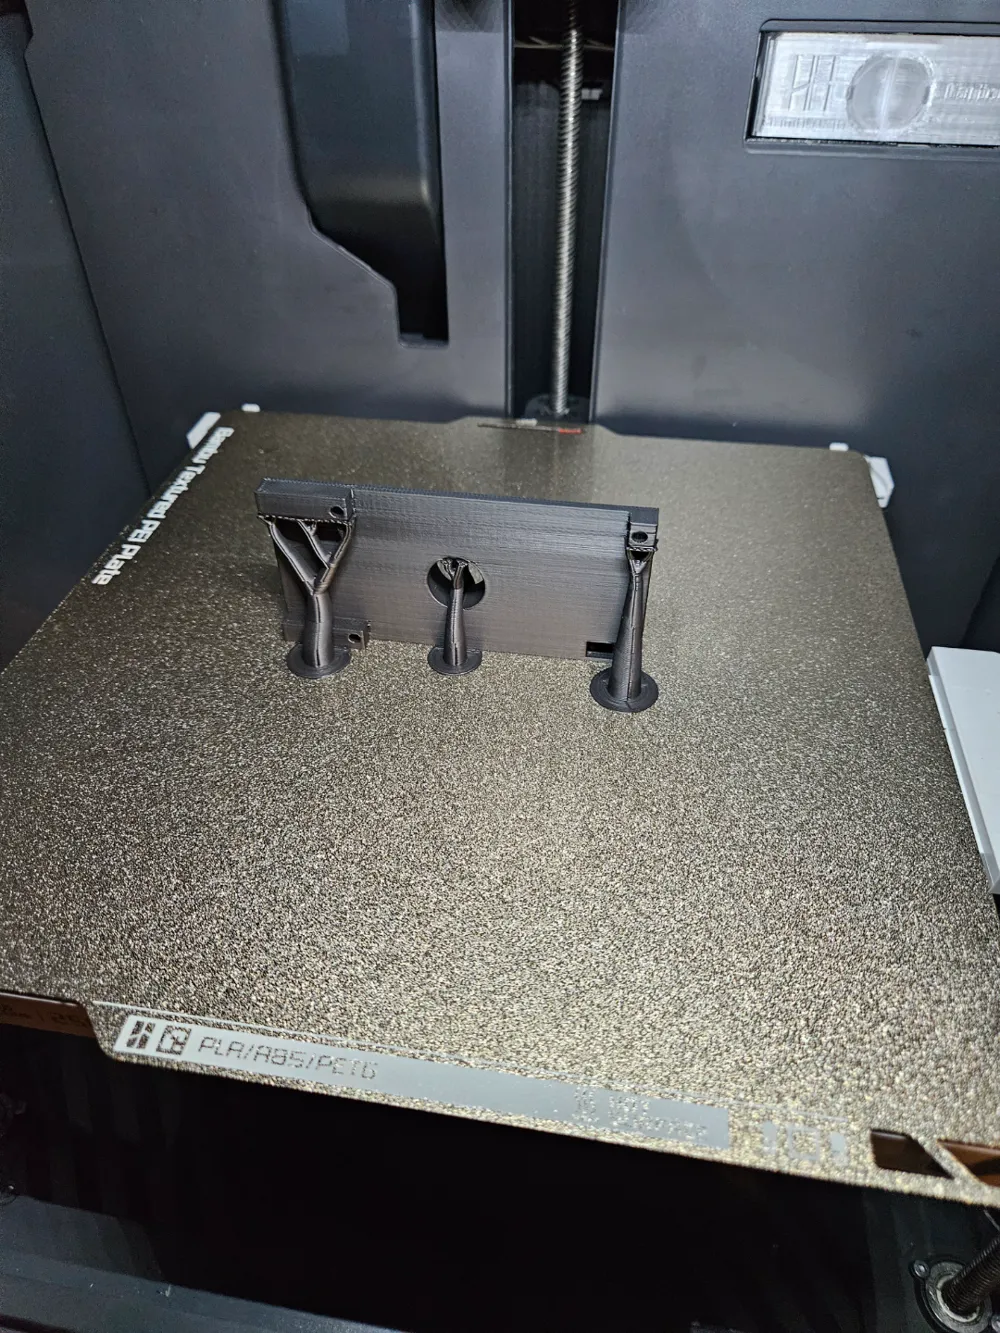
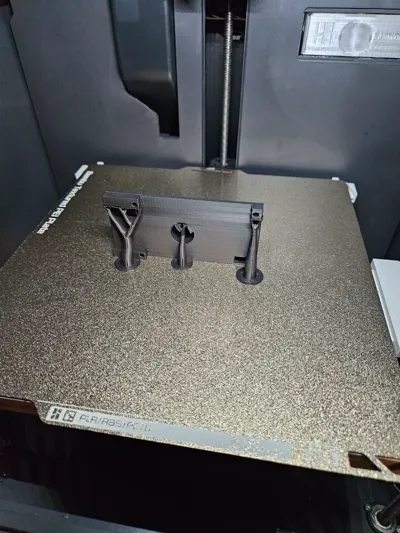
It will be tight sliding into the front plate, but it will go in. This is by design so it does not vibrate out. Make sure all support material is off of the “legs” before installing.
This remix is based on


License

This user content is licensed under a
Creative Commons Attribution-Noncommercial-Share Alike


Comment & Rating (10)