
Vent Cover
Print Profile(1)

Description
Summary
Vent Cover
What it is used for.
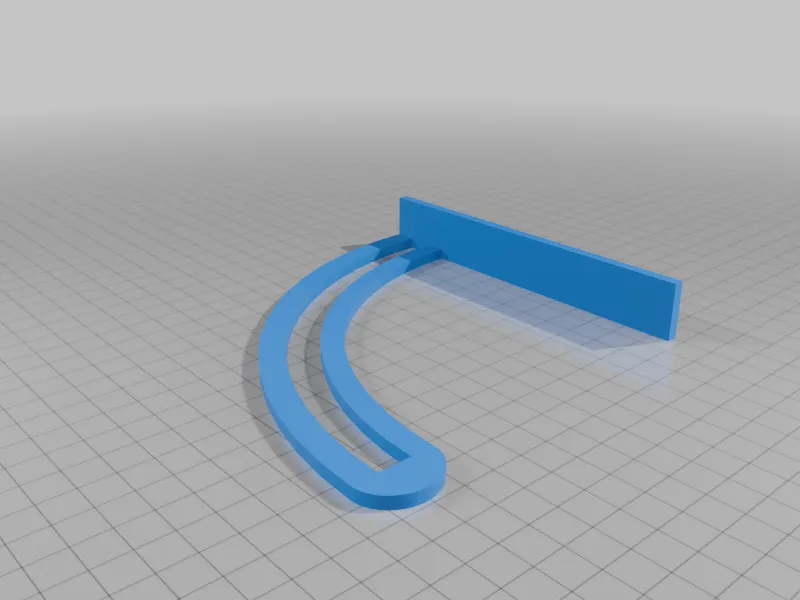
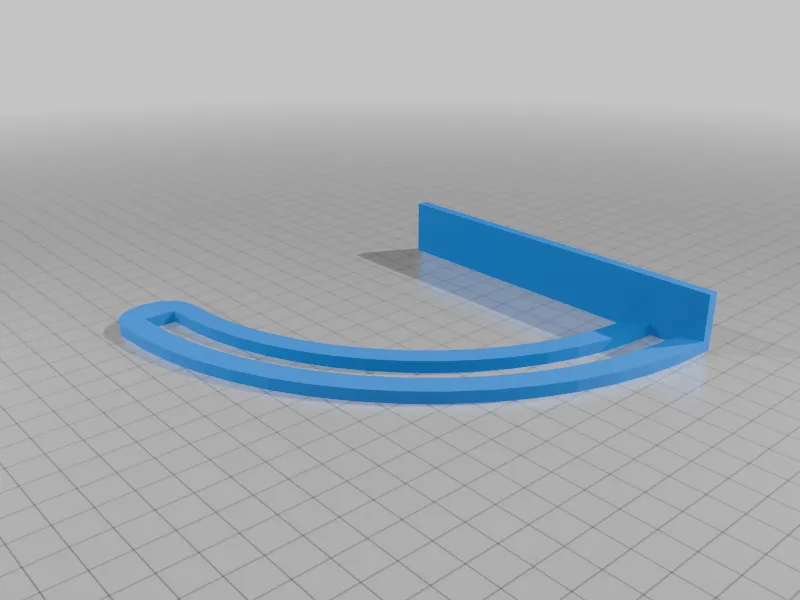
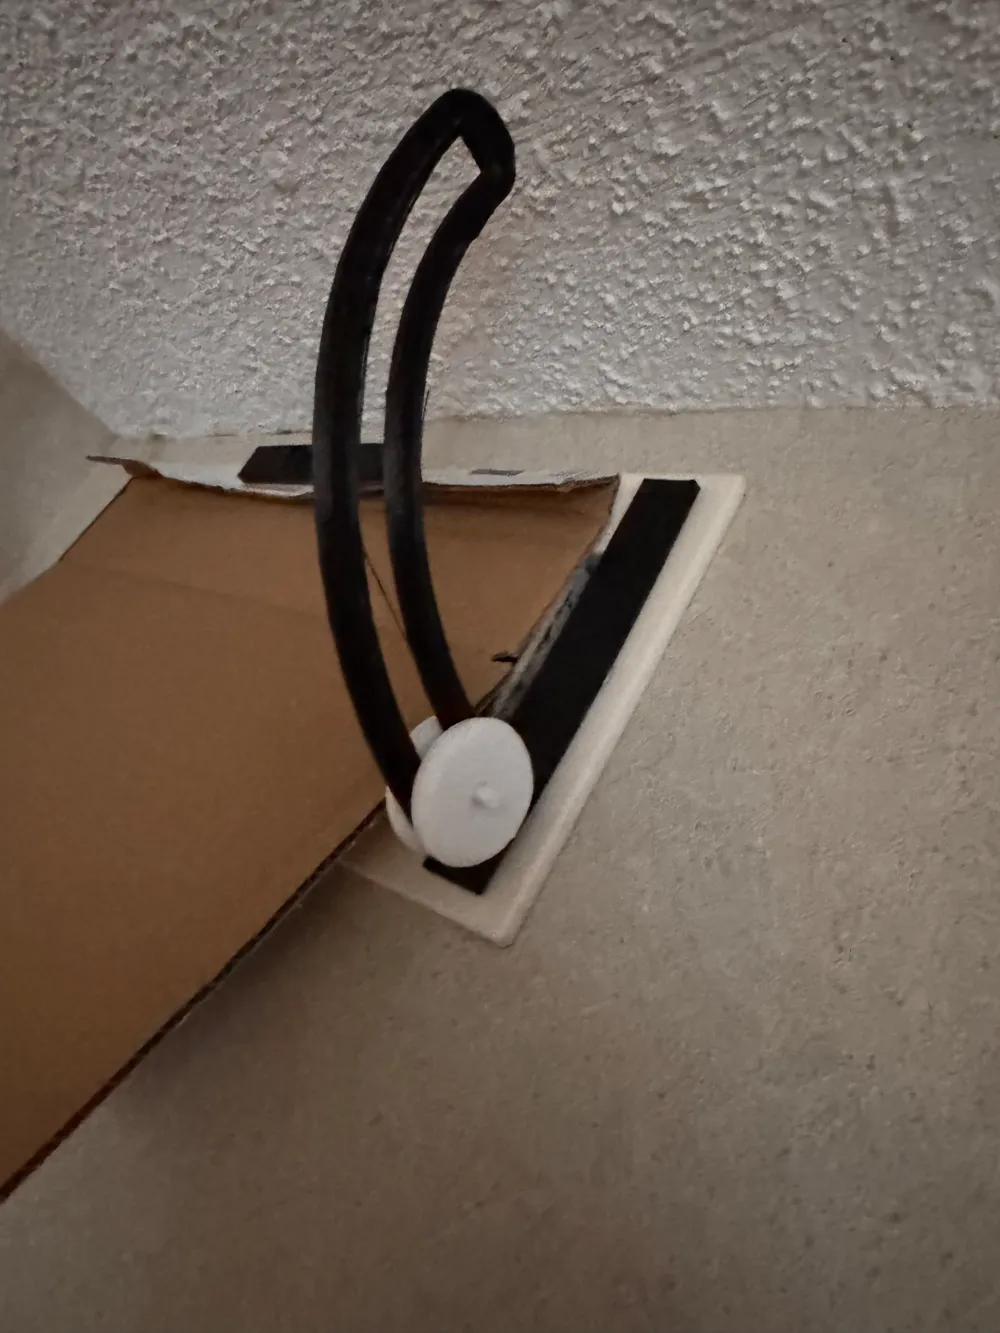
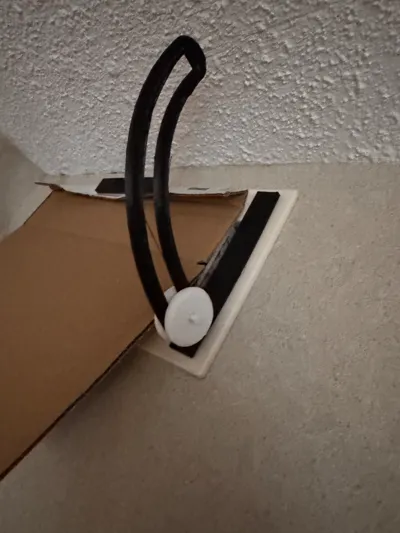
This item is made from fustarion and designed to fit over most vents I’ve encountered. Its initial purpose was to redirect air away from my face while sleeping, as I couldn’t modify the vent in a rental property. Later, I adapted it for my resin 3D printer to direct airflow toward a window by using two of these—one on the window and one on a fan, connected by an air duct. For this setup, the connectors were different, and I may consider releasing the design after further fine-tuning if there’s interest.
What to Print
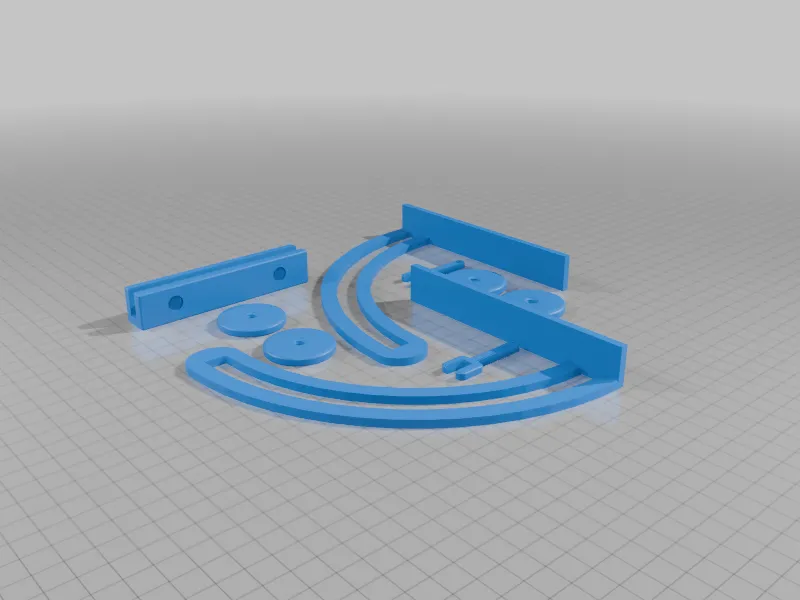
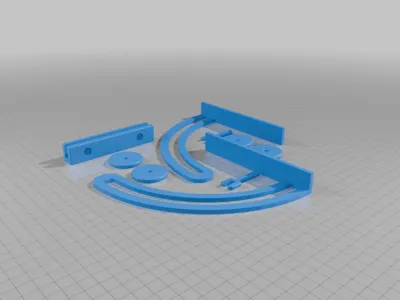
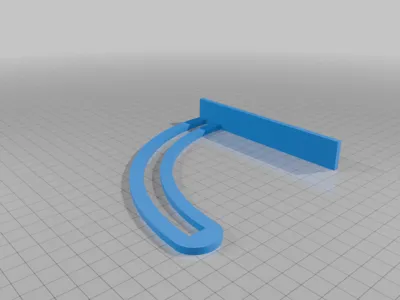
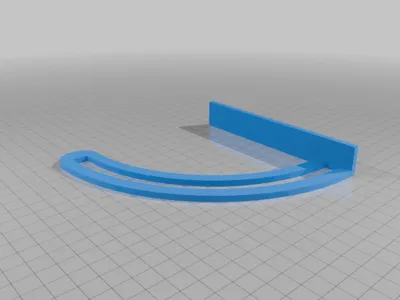
1 x Vent Cover All Parts.stl (Designed for a larger printer and was printed on an Anycubic Mega X)
OR
1 x Vent Cover Left.stl
1 x Vent Cover Right.stl
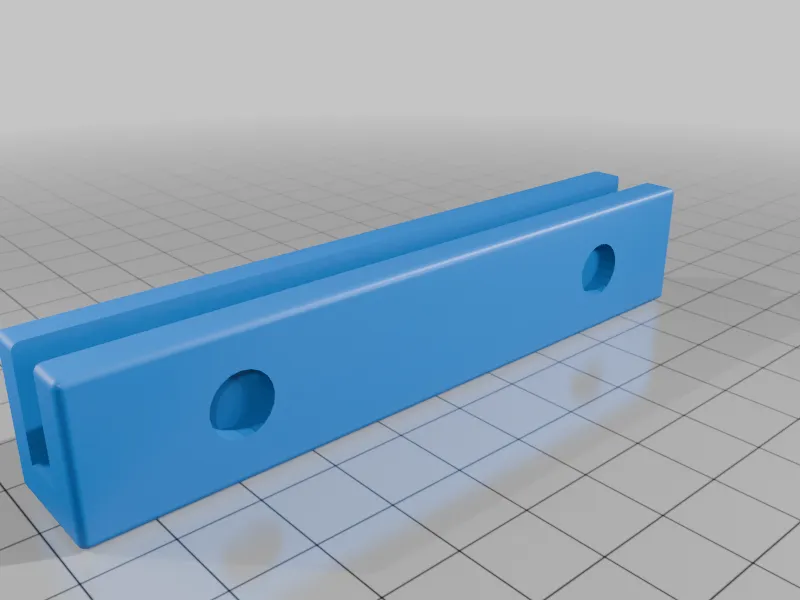
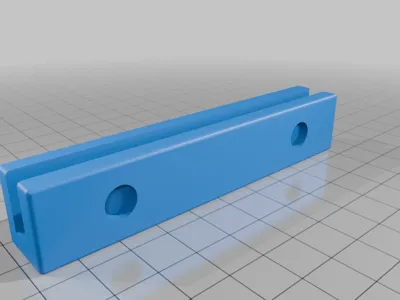
1 x Vent Cover Top.stl
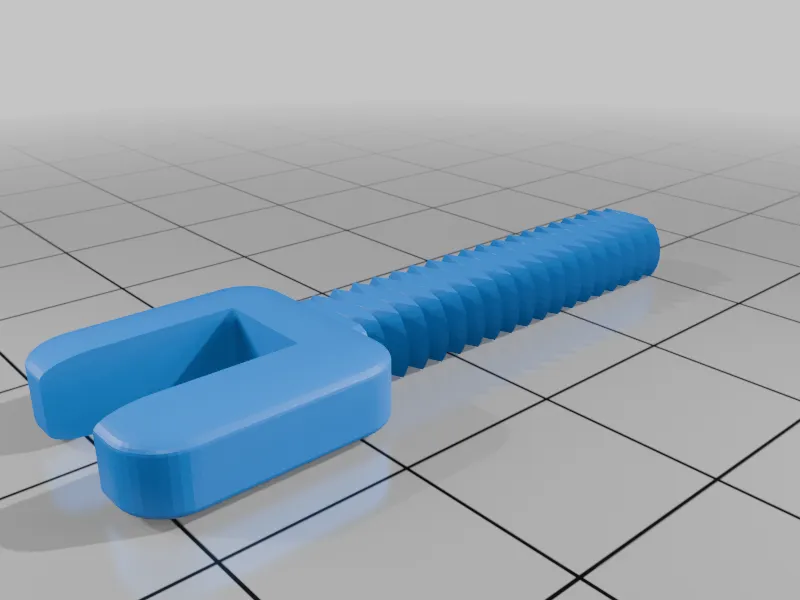
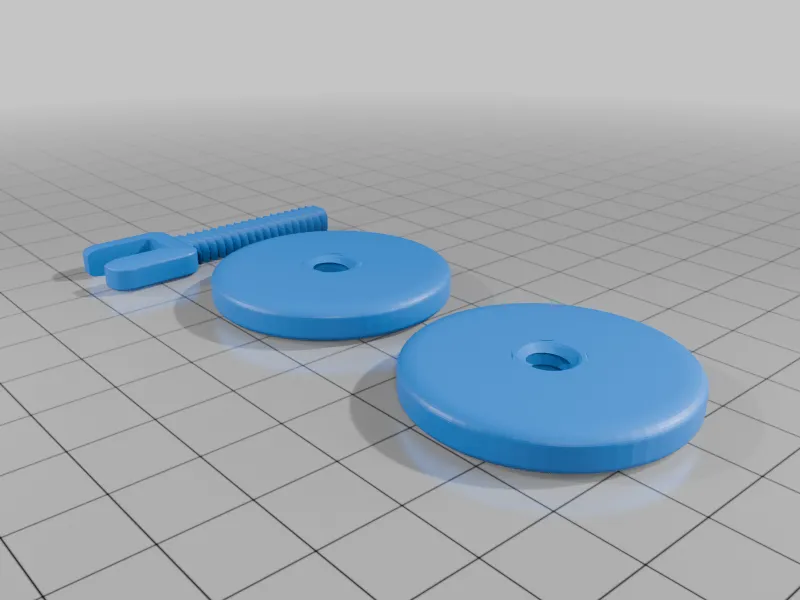
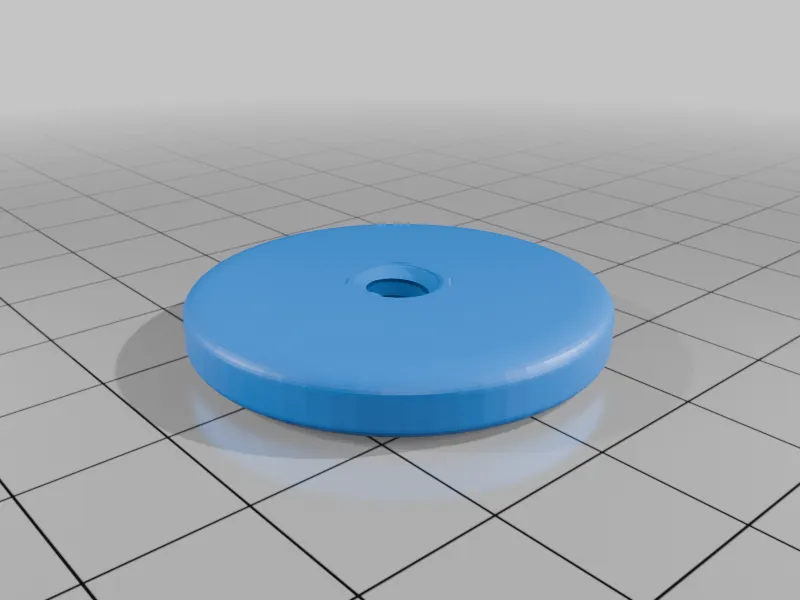
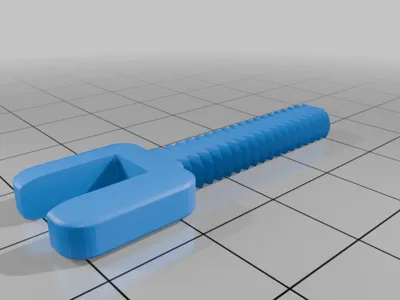
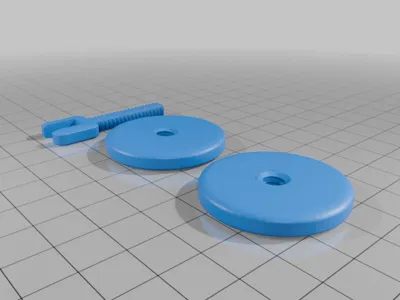
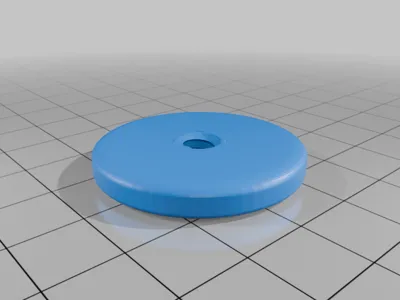
2 x Vent Cover Screw and Nut.stl (If a part doesn’t print right there are other part for Screw and Nut Label as such)
Print Settings
Printer Brand:
Anycubic
Printer:
i3 Mega X
Rafts:
Doesn't Matter
Supports:
No
Infill:
30%
Filament: Anycubic PLAPost-Printing
How to install
Using small magnets and place inside the holes. Than a piece of card board or board to cover the larger part of the vent. Than by placing the cardboard between the Top to hold to the top of the vent. Place the screws and nuts to tighten in the angle you wish the air to go in and place that on the vent as well.
Things you will need
6 x Magnets
1 x All 3D printed parts
1 x Cardboard the size of your vent
License



Comment & Rating (0)