
Sliding Vents Riser V3- Modular

Print Profile(15)


Description
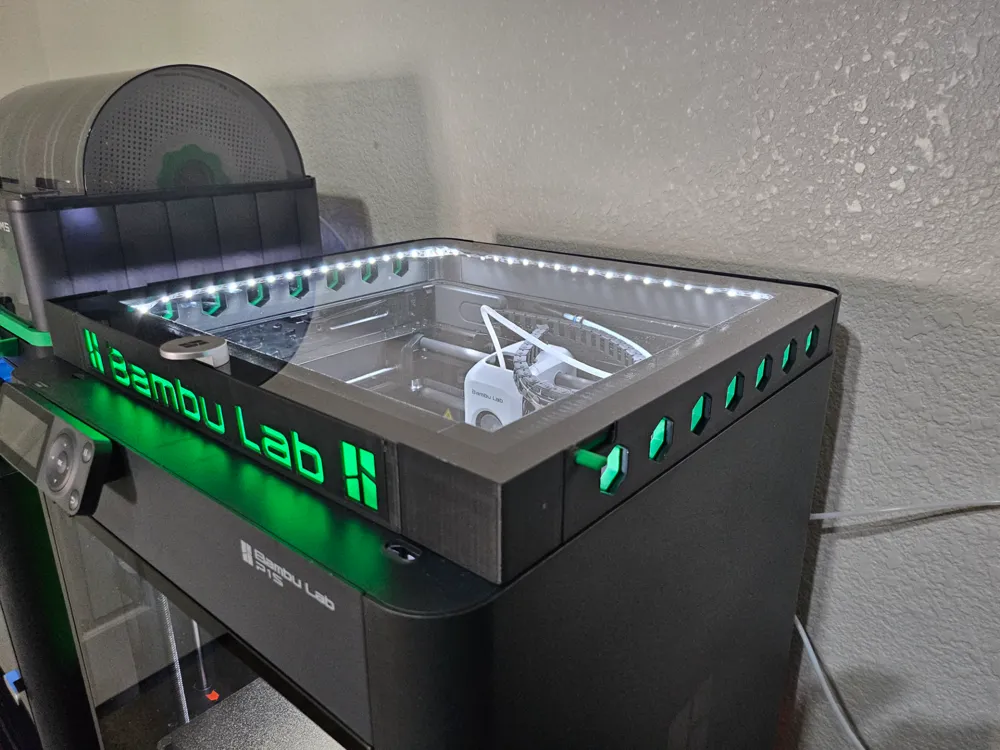
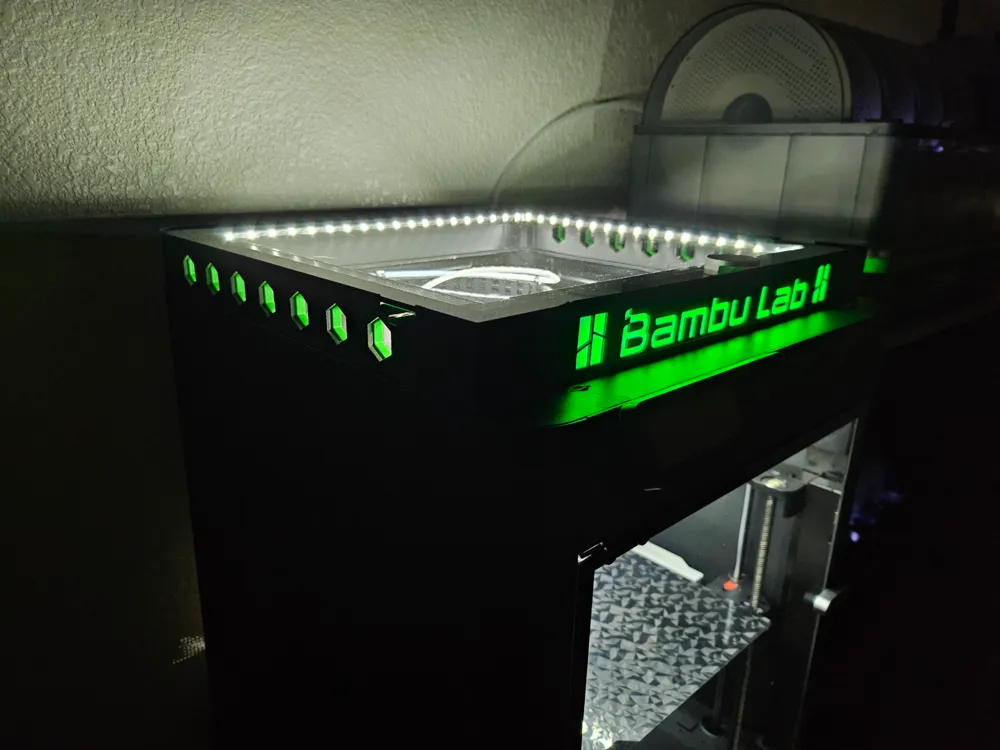
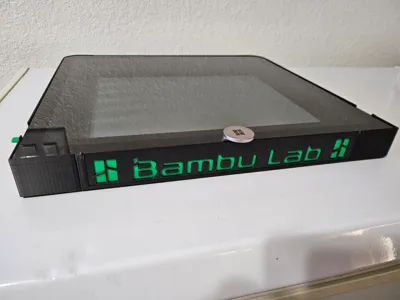
If you are looking for MORE LIGHT! BETTER VENTELATION! A EASY PRINT! WITH MINUMAL FILATMENT USAGE AND PRINT TIME!

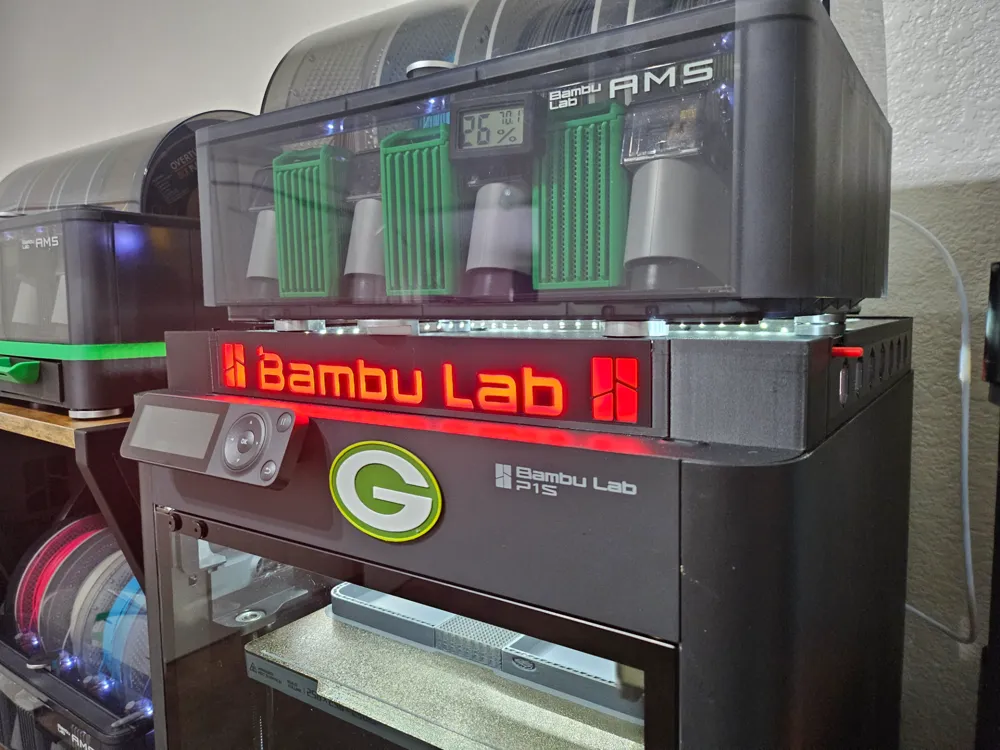
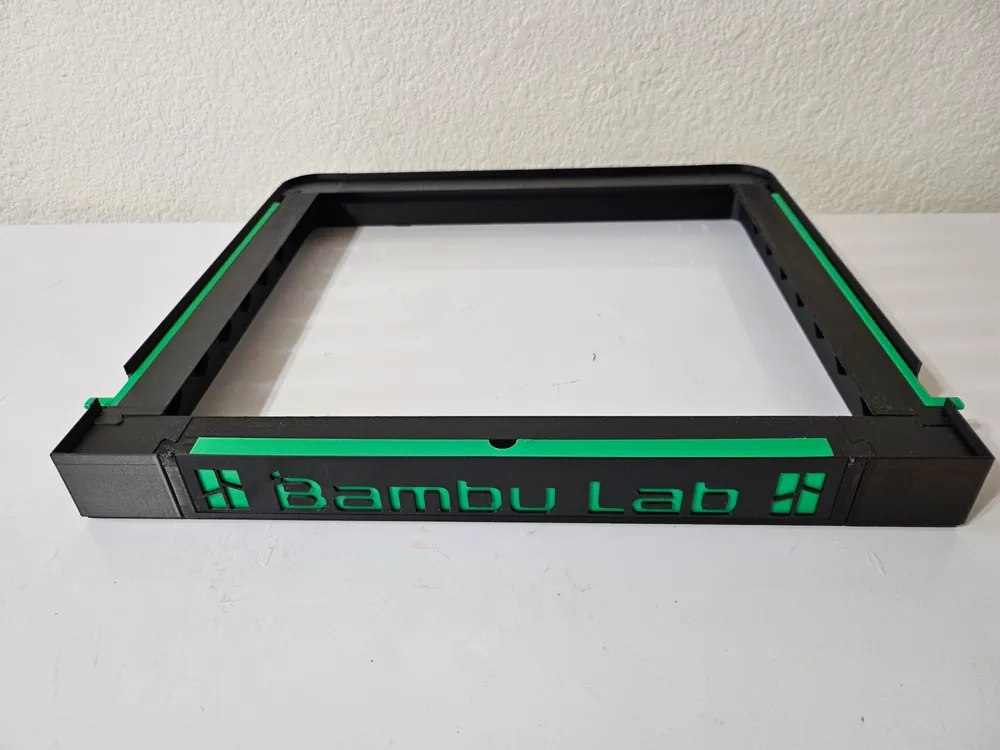
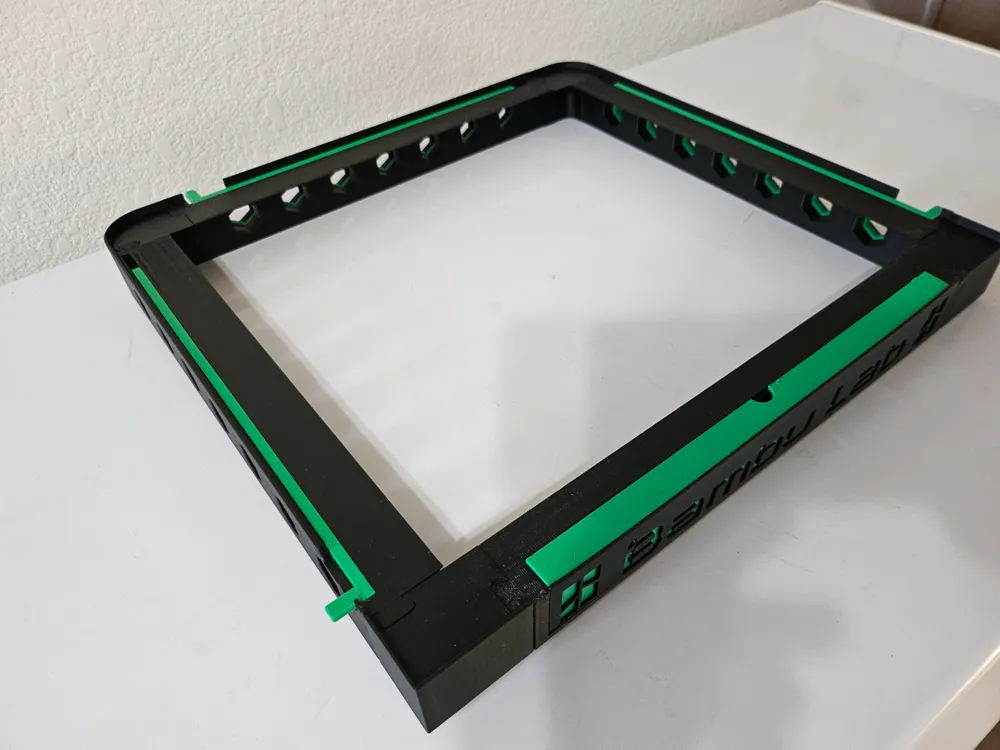
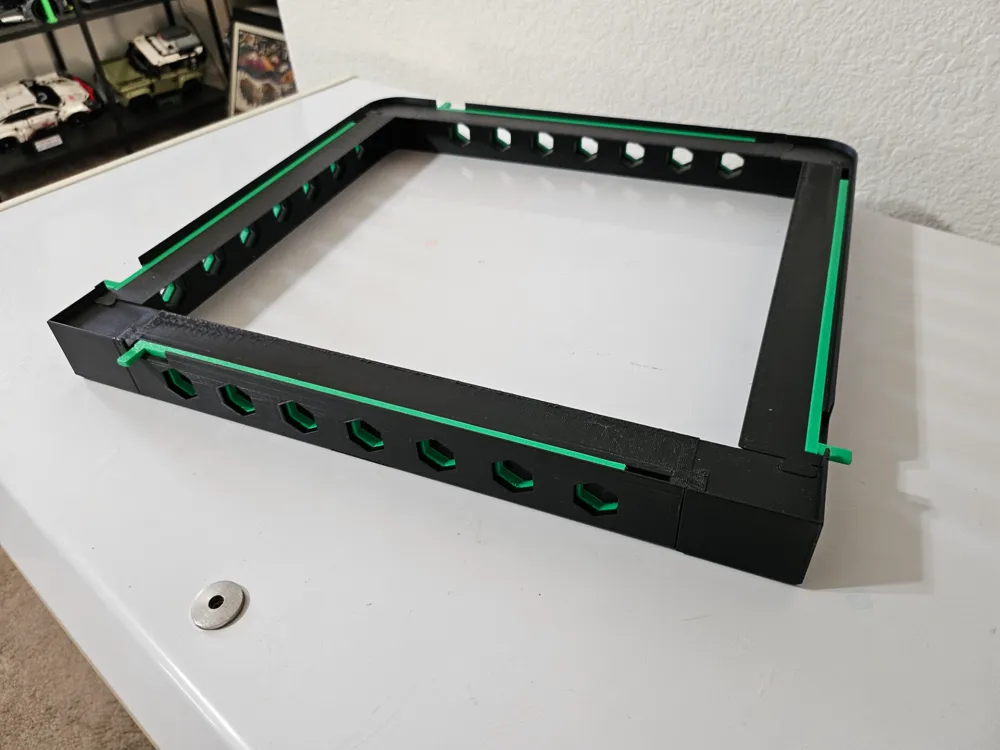
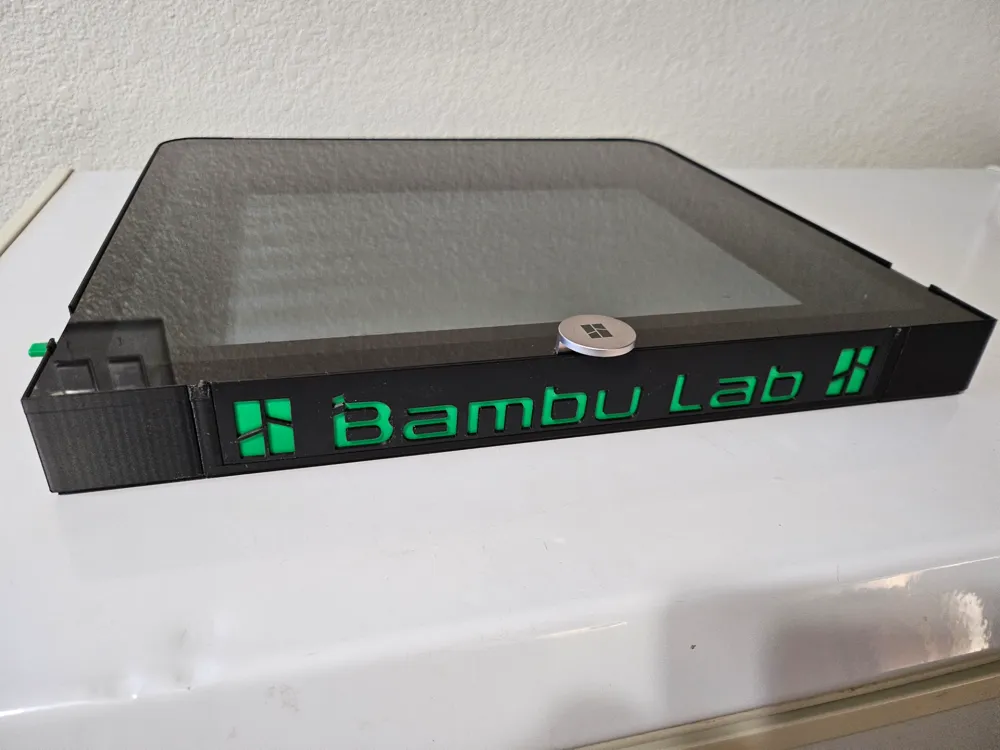
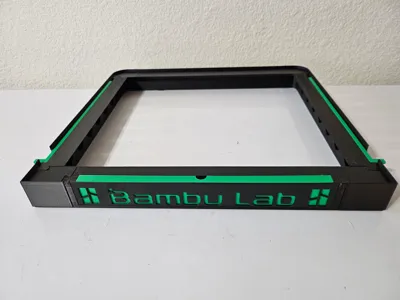
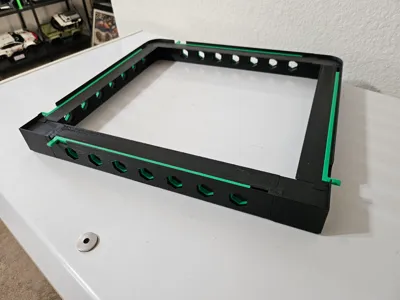
I have updated my Riser and made it modular. Now you are able to have vents on all four side or none. Just depends on your needs and set-up.
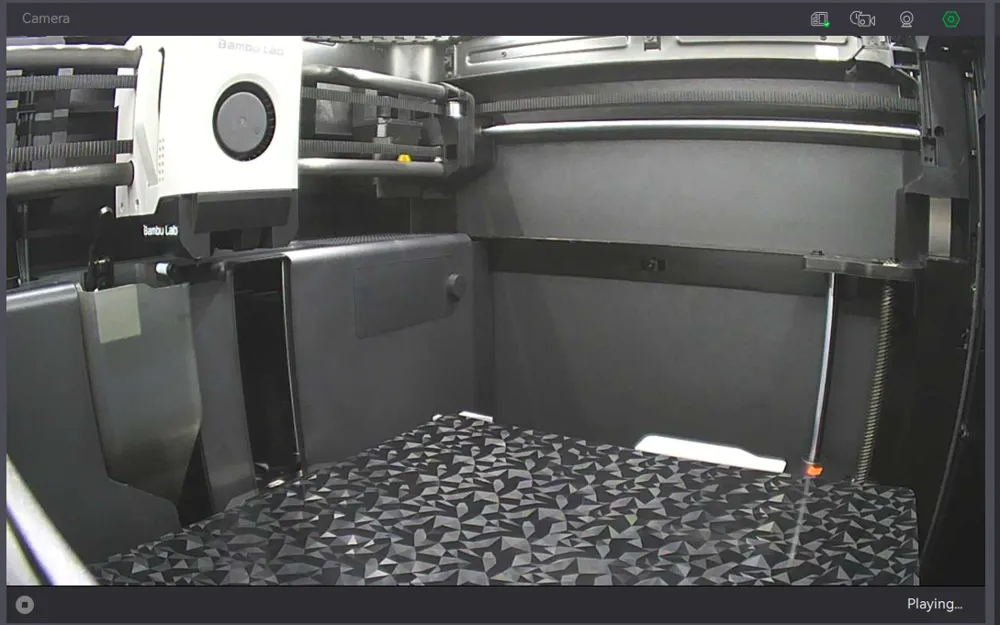
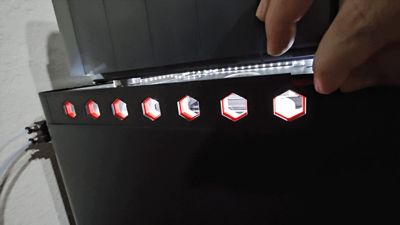
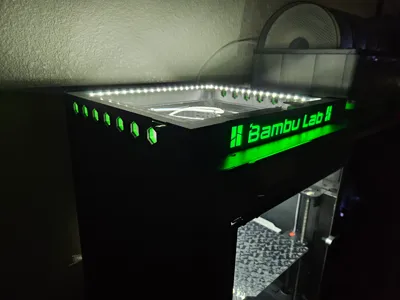
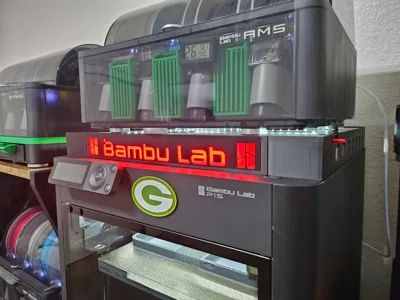
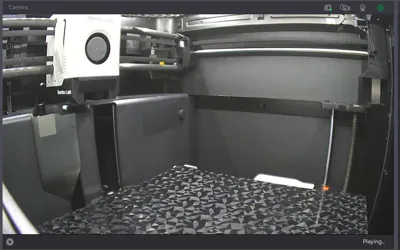
Helps give more light to the print chamber if you choose to add a LED strip to the upper edge. Also helps lift the glass lid up higher to prevent the PTFE Bowden tube from rubbing against it.
The standard model (Vented sides, solid rear, Faceplate front is under 500g of filament in total. Only supports needed on the faceplate sections.
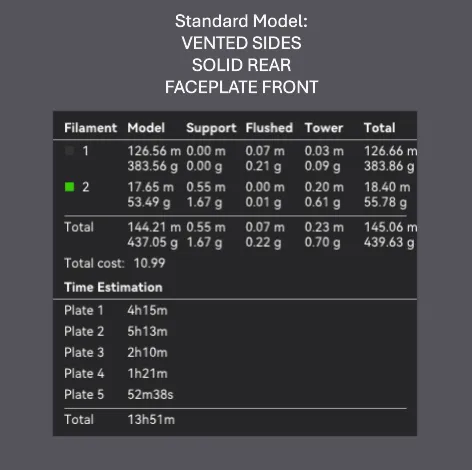
Print profile 1:
Plate 1 is for a solid rear section and the lit up front section with a face plate.
Plate 2 is for the vented sections.
Plate 3 is the corner sections.
Plate 4 is the sliders for the vented sections.
Plate 5 is the face plate that goes along with Plate 1. (This is the only object that has supports enabled for it. It needs them to support the upper edge)
Plate 6 is a blank face plate so you can add your custom text to it. (These do no not have supports enabled by default, make sure you add them if you use this faceplate)
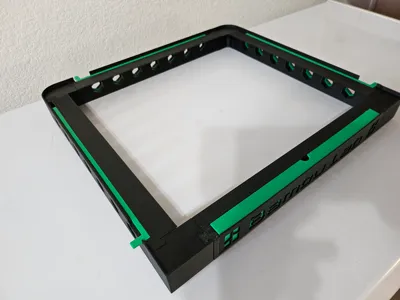
Plate 7 is optional rear corners with passthrough holes for LED/Wires if you have a X1C or want to run your LED/Wires out the back.
I have added separate print profiles for the number of vented sides, so if you would like to use one that is ready to go instead of going through the above feel free.
You can print any combination of the sides to end up with vents on what ever side you would like or need. Just pay attention to which way they slide so you end up them matching the sliders plus the orientation you want. All 4 sections will fit on all 4 sides. No glue or pegs in this models. Although to get the best alignment a drop of glue on each dovetail keep it level helps, seeing as the top rails are not a smooth flat surface on the machines. Tight tolerances but a nice snug fit. Most of the model does not require supports(faceplate being the only part that needs them due too orientation in order to have multiple colors with minimal waste) , I have designed it in a away that they are not required, but you are free to enable them in the slicer if you prefer too.
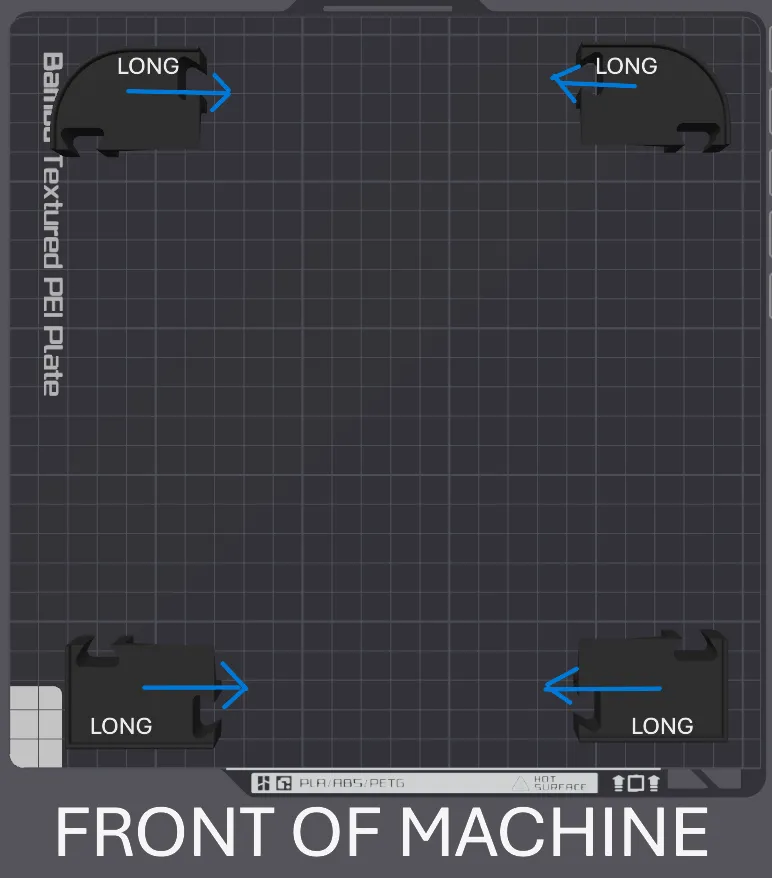
When you assemble the pieces together make sure the longer sections on the corners are facing inwards (when you are looking at the machine from the front). Otherwise it will be too narrow and long. See pic below. Thanks
Since there has been a few request for LED recommendations. I typically purchase them off Amazon. Here are the criteria I tend to follow. Non Water proof, bare PCB type. Due to wanting the most flexibility. No need for diffusers or covers. You can get either RGB style or White only. I prefer the white only in the 4000K-6000K range. Typically 8ft length. If you have A P1S/P1P get ones that have a USB 5V connection since there is a USB connection on the backside of the display on the inside rail. If you have a X1C there is apparently a way to connect on the backside (I do not own one so I am unsure the particulars on that). I will include a link to a set on Amazon that I am currently using.
https://a.co/d/1j54tRN
License

You shall not share, sub-license, sell, rent, host, transfer, or distribute in any way the digital or 3D printed versions of this object, nor any other derivative work of this object in its digital or physical format (including - but not limited to - remixes of this object, and hosting on other digital platforms). The objects may not be used without permission in any way whatsoever in which you charge money, or collect fees.


Comment & Rating (1773)