
Mini lantern
Print Profile(1)

Description
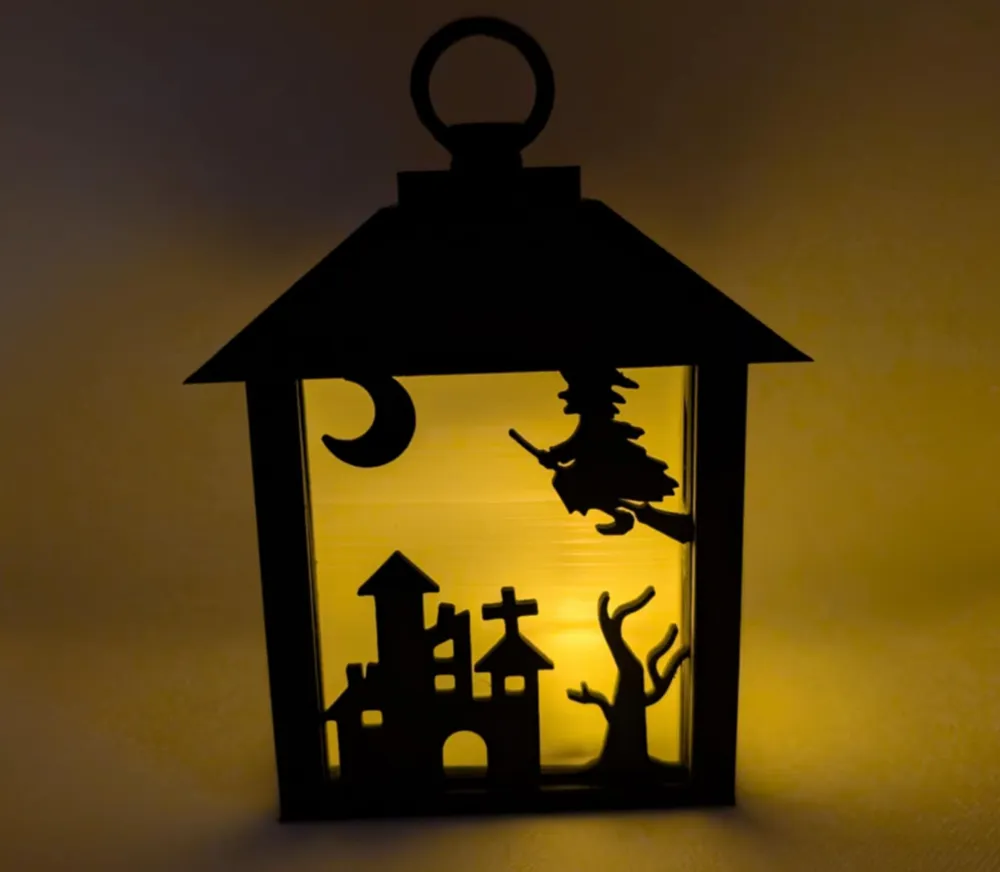
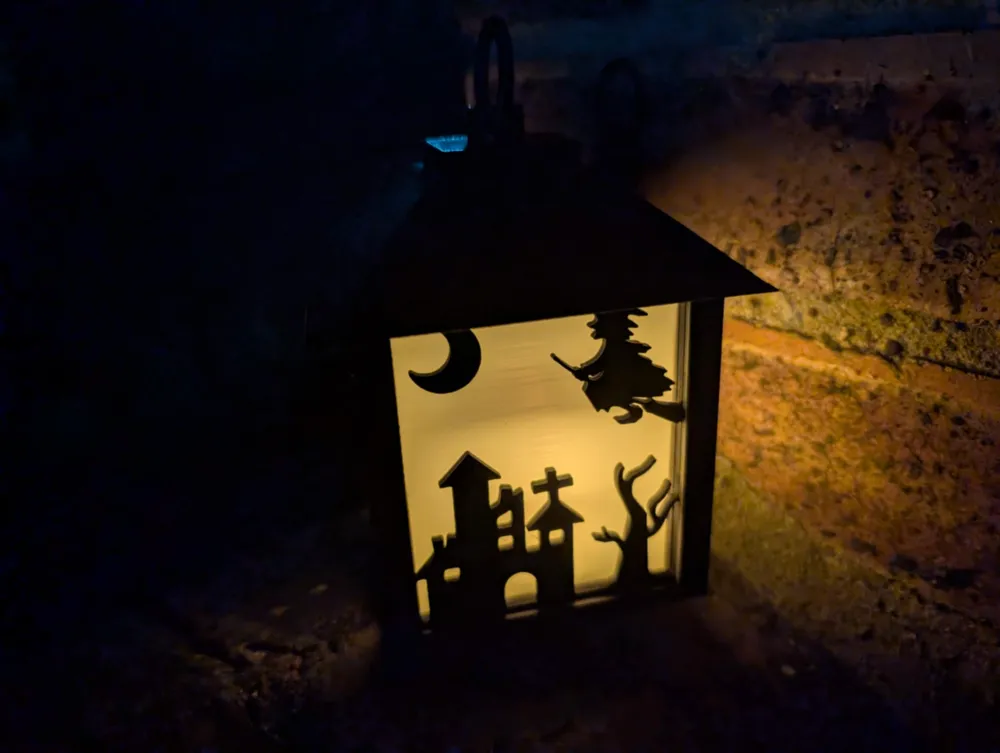
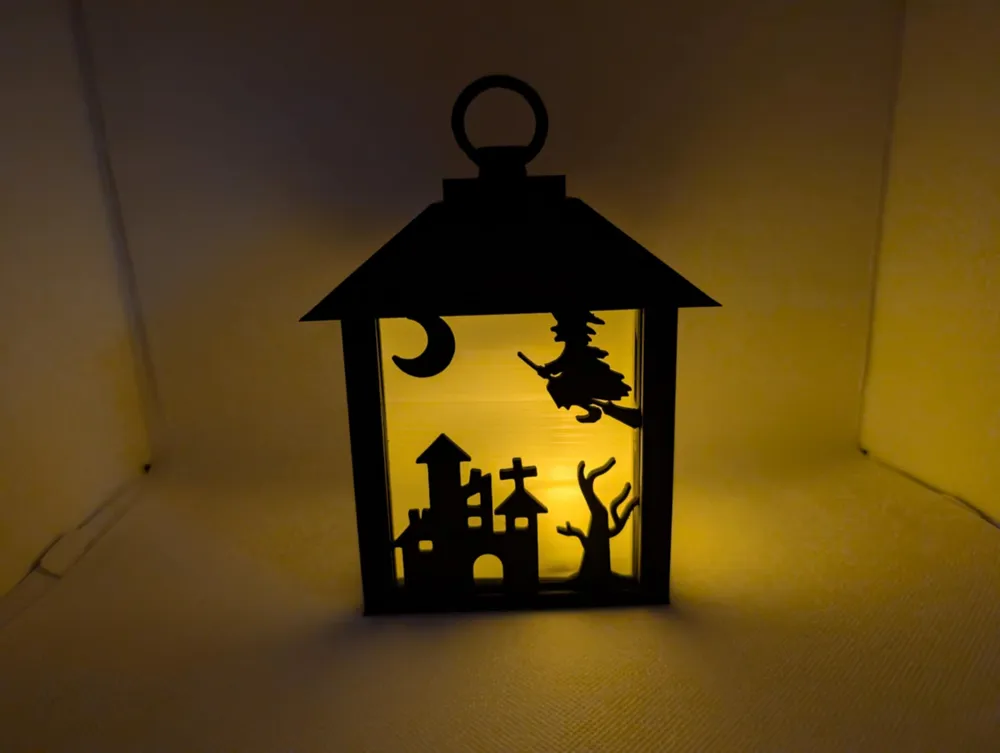
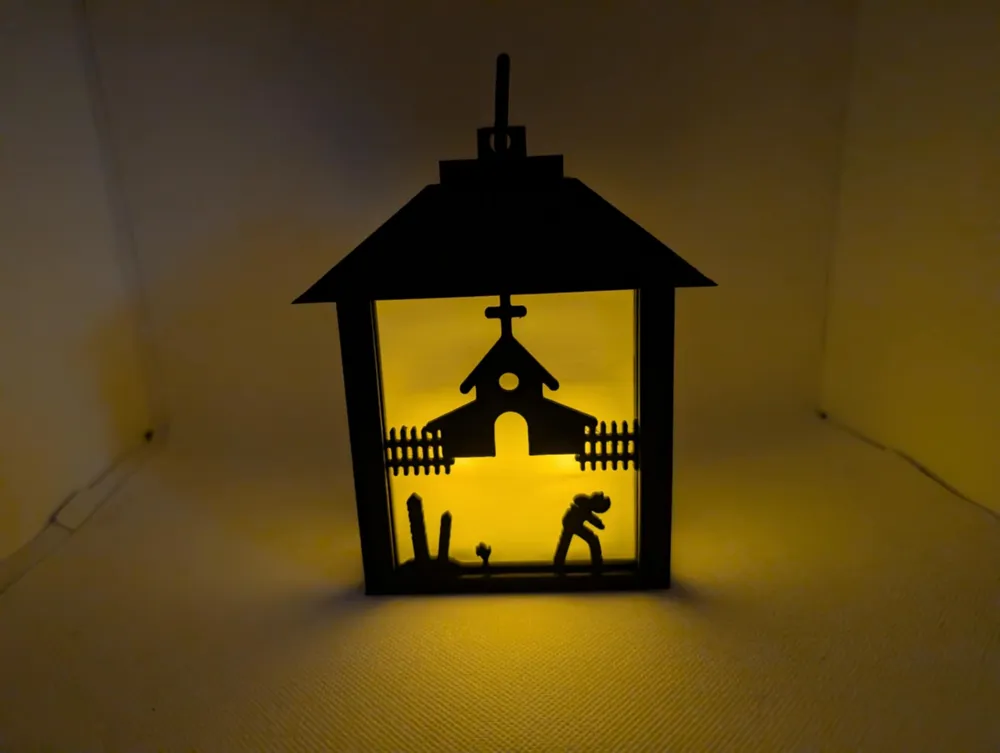
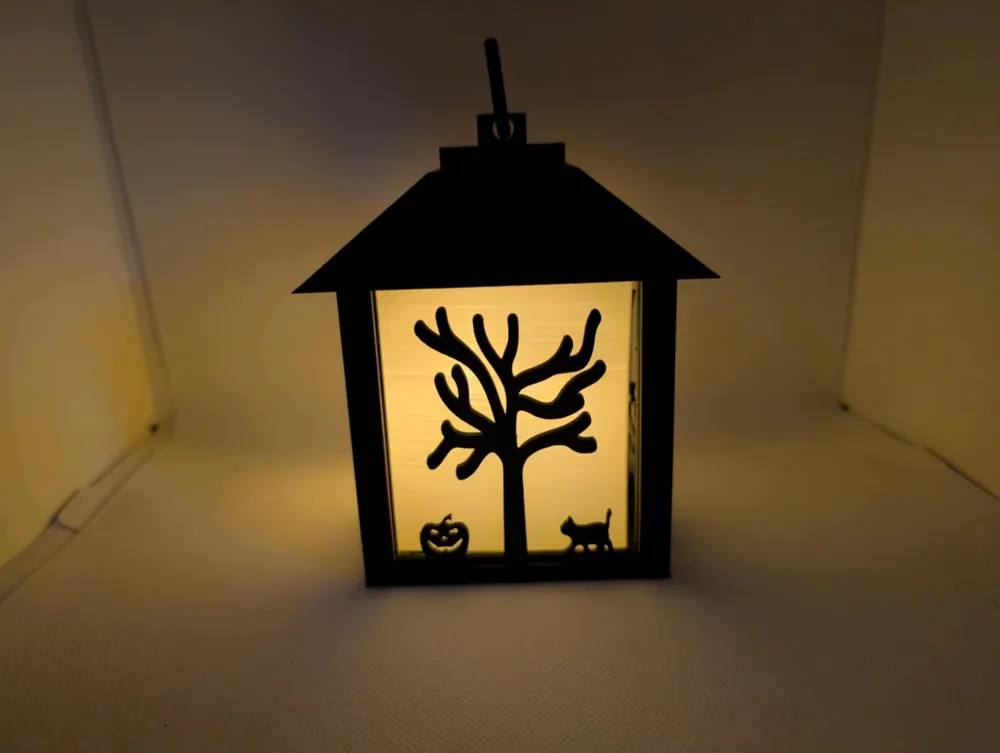
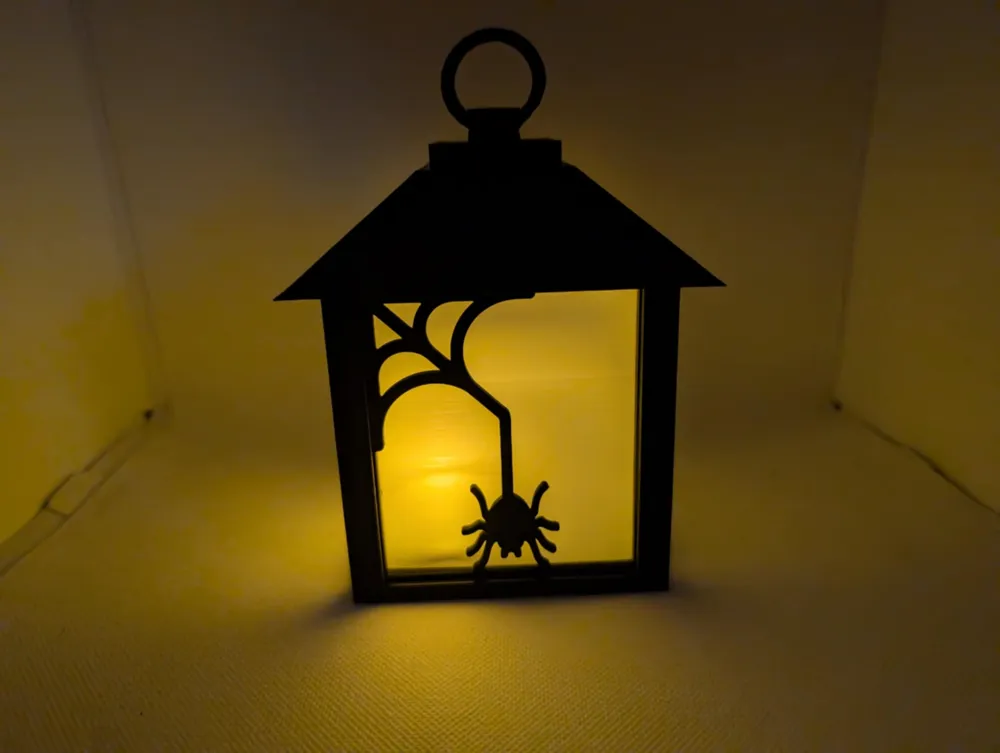
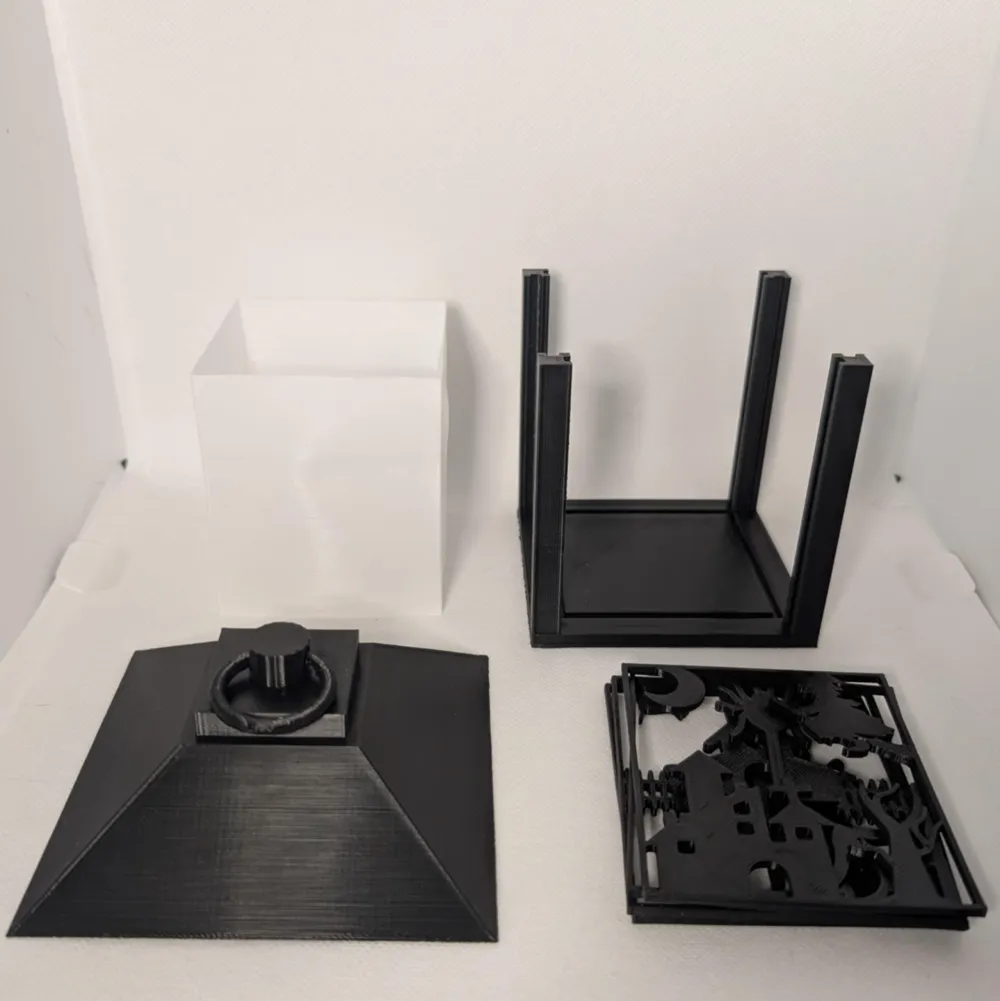
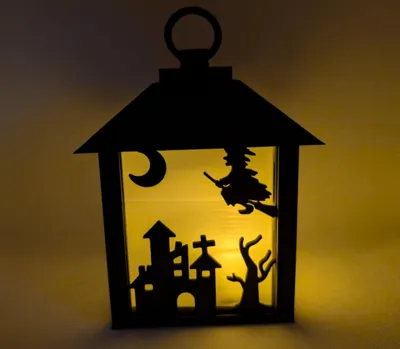
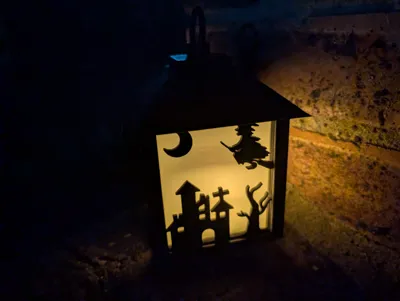
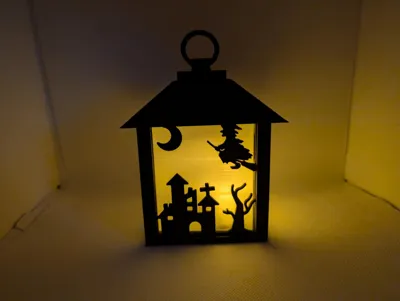
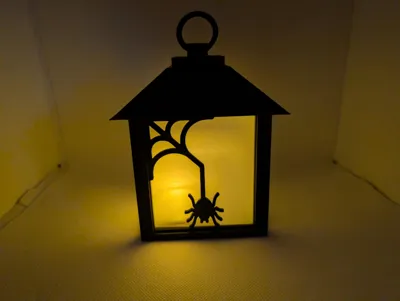
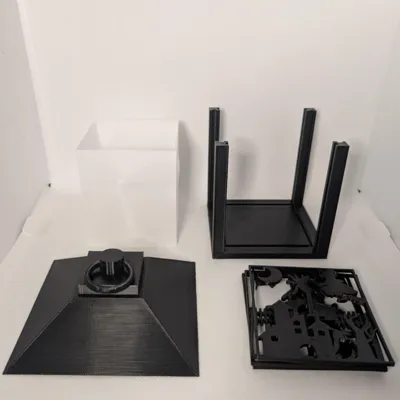
Here is my mini lantern, it is roughly 125mm x 91mm. It comes in 4 main parts
- The base
- The lid
- The diffuser (make sure detect thin walls is turned on)
- The inserts
The base
The base is made up of 4 pillars, on each of these pillars there is a slot, this slot is designed to allow the insert to slide down it. The bottom of the base has a square divet in the center, this is for the diffuser to slot in to.
The diffuser
A simple thin square diffuser. I've seen other lanterns where you have to print 1 diffuser for every side, this annoyed me as I always struggled to fit the diffuser in with the insert. With my design the diffuser is a hollow square and is only 1 piece, this should sit nicely into the square divet in the middle of the base.
The inserts
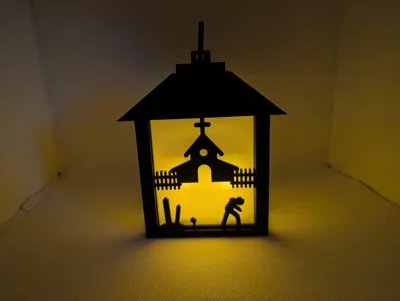
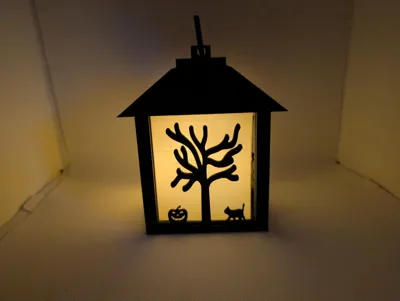
There are 4 inserts, I'd recommend printing them flat on the print bed. These simply slide down the slots in each of the 4 columns, they will be loose at first but once you put the lid on they will tighten up.
The lid
The lid has 4 square holes on the inside, these are slightly offset to the columns, this is so that the tension holds the lid to the base. The hoop on the top of the lid should come loose with a gentle twist, I wouldn't recommend hold the lantern up by this hoop, but each to their own.
Assembly
First I'd start with adding the diffuser, this should just slot nicely into the center of the base, you might decide to put superglue into the divet before hand to ensure the diffuser doesn't jiggle around, I didn't but you might.
Next slide the inserts down each of the columns, make sure they are inside the little divets and not rest on the column itself, these will be quite loose until we put the lid on.
Place 1 or 2 LED tealight candles into the base (remember to turn them on).
Putting the lid on can be a bit tricky as it is designed to not perfectly match the holes with the columns so that tension hold it together, I suggest putting 2 columns in first then gentle wrestle the other 2 in.
I hope you enjoy this model!
I know it's only a simple latern but this has taken me a few weeks to make perfect, please leave a like/comment once printed, would love to know how the prints turn out. If you have any requests for inserts, leave a comment and I'll see what I can do.
Cheers
License



Comment & Rating (4)