
Slim Parts Storage Rack
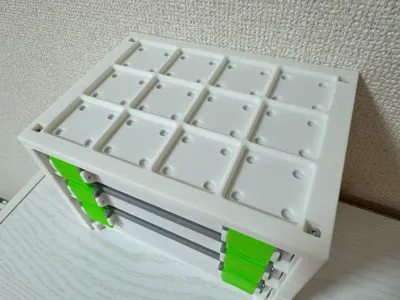
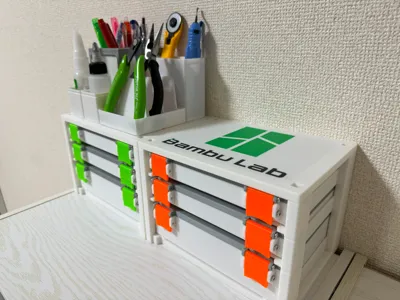
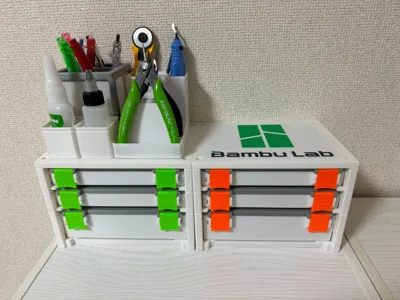
Print Profile(5)


Description
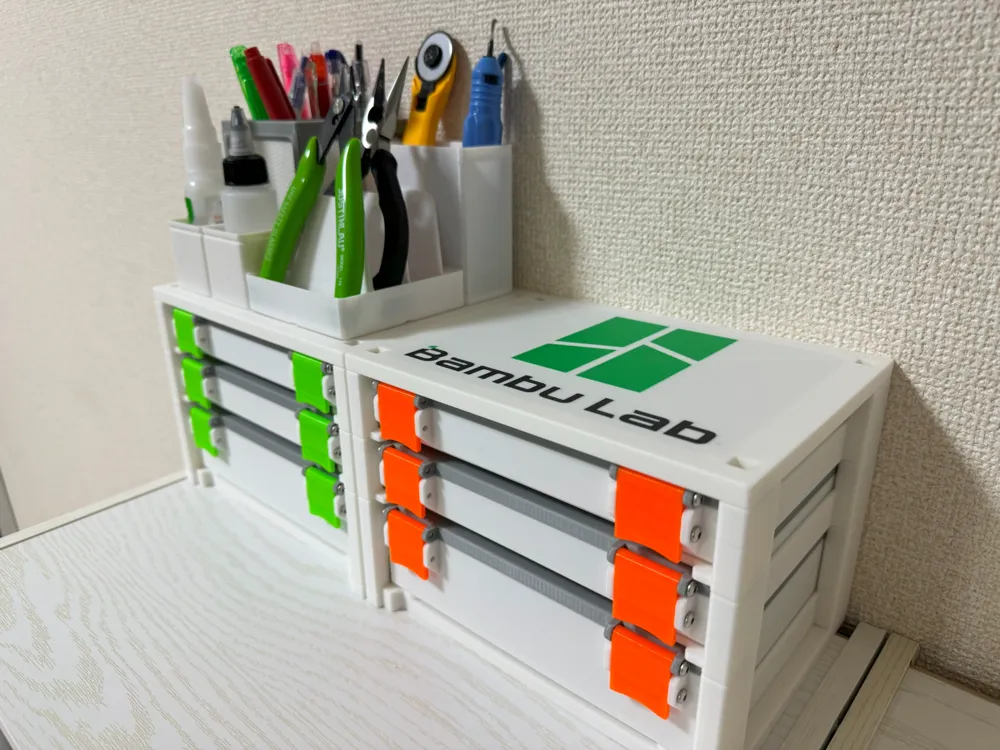
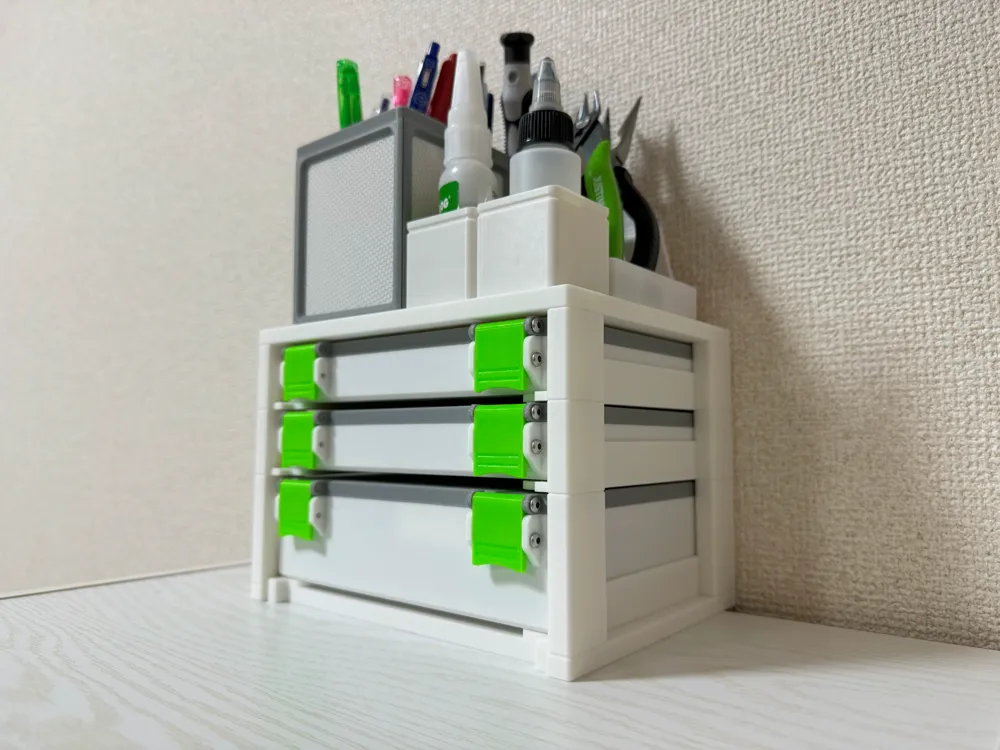
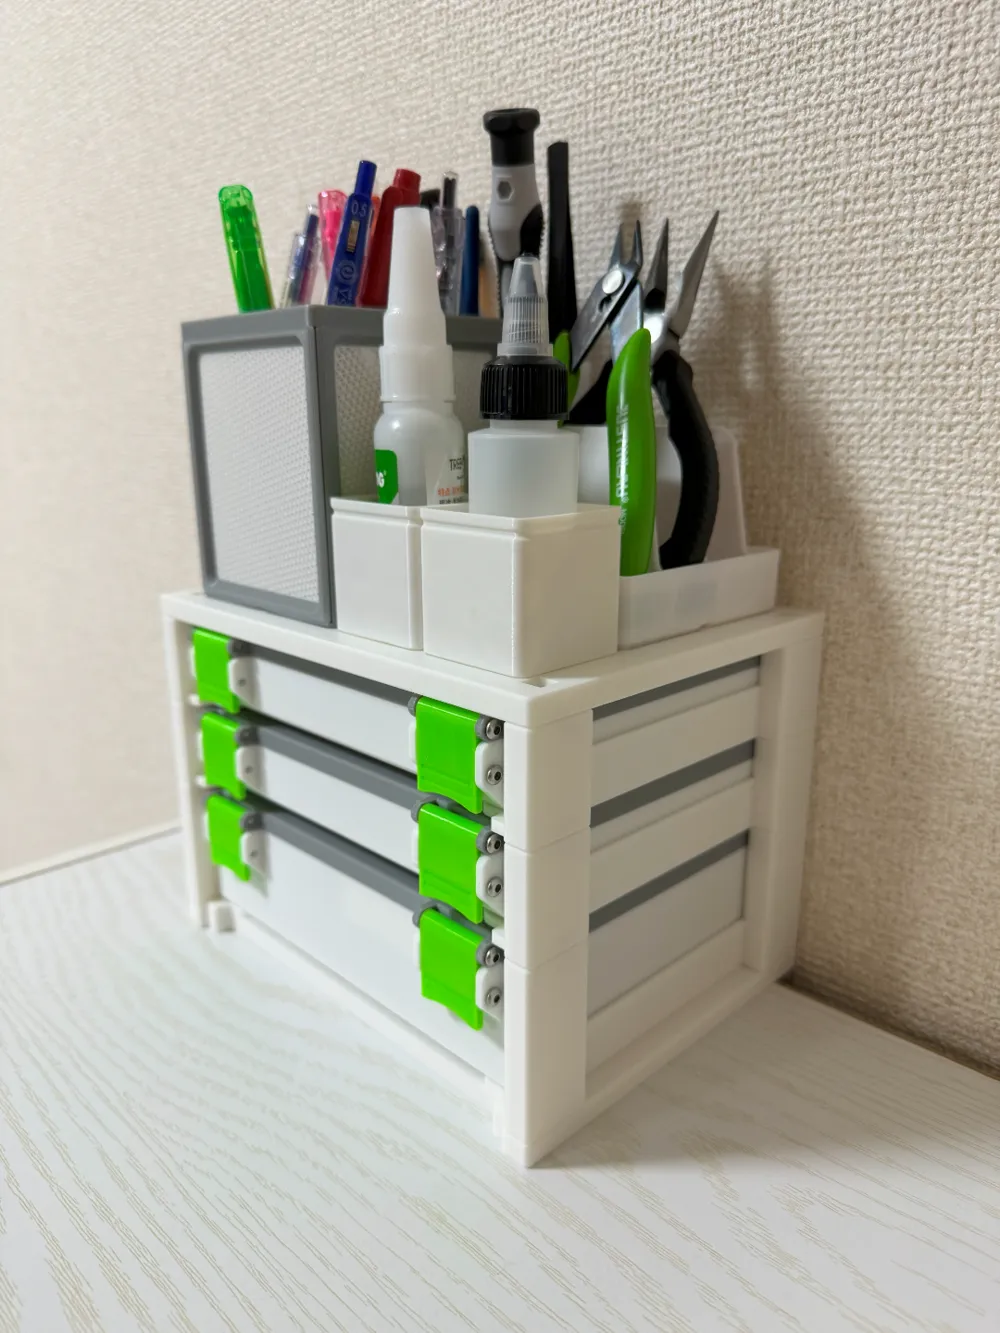
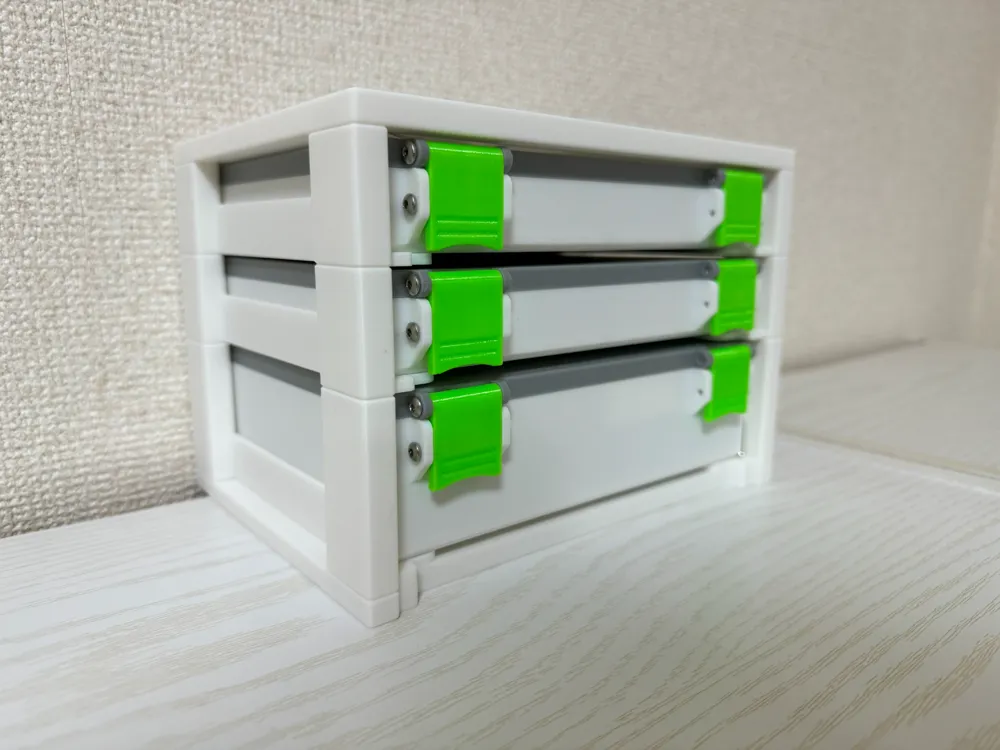
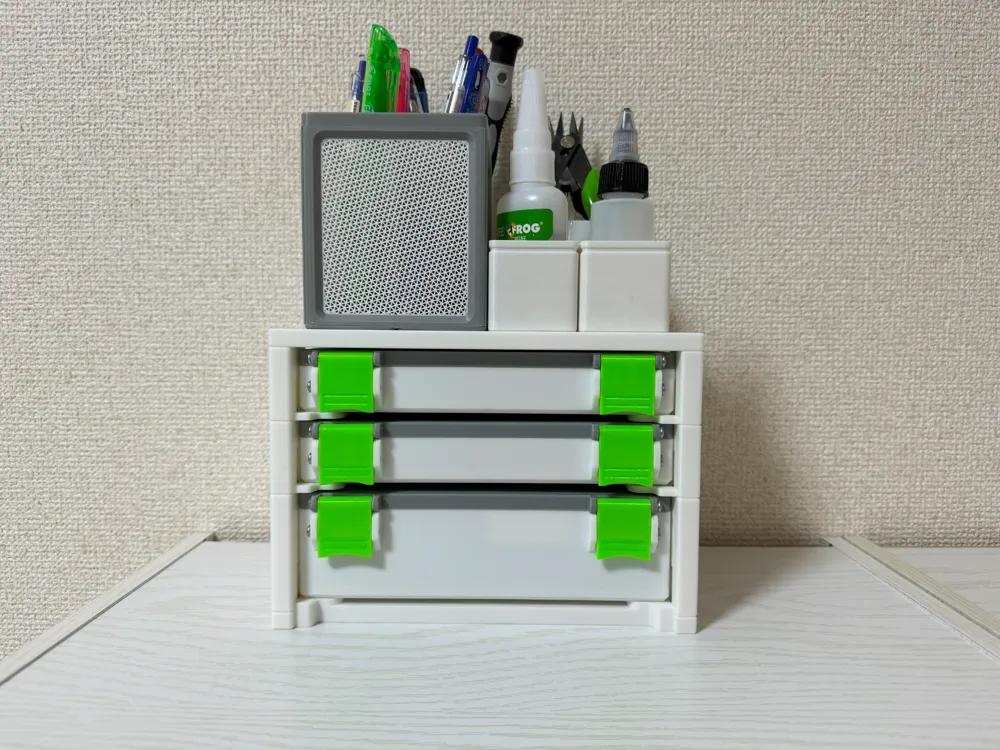
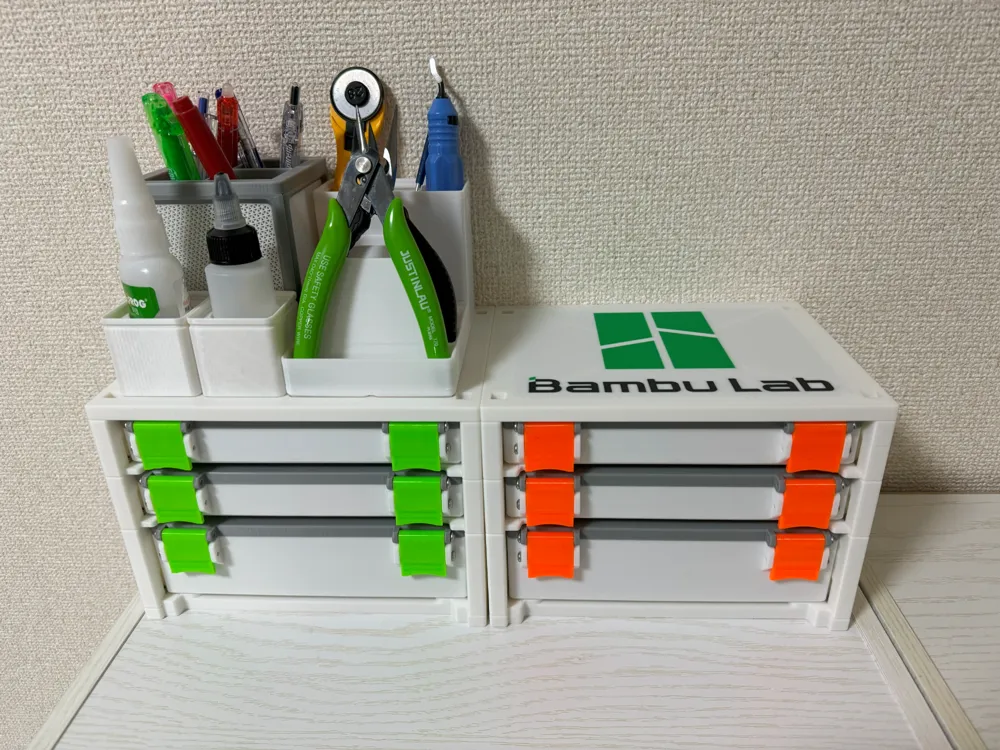
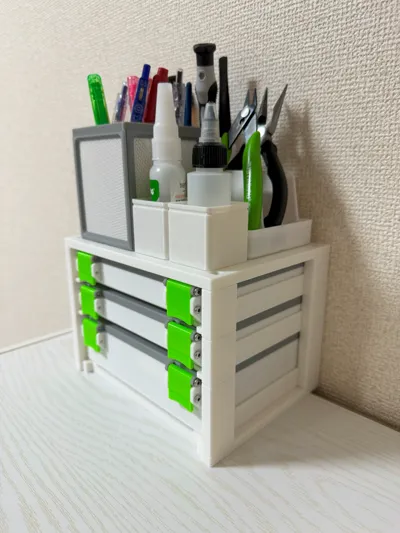
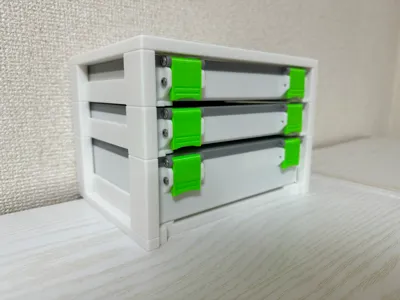
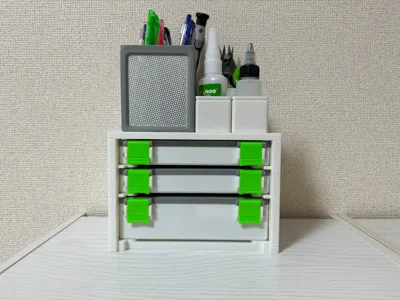
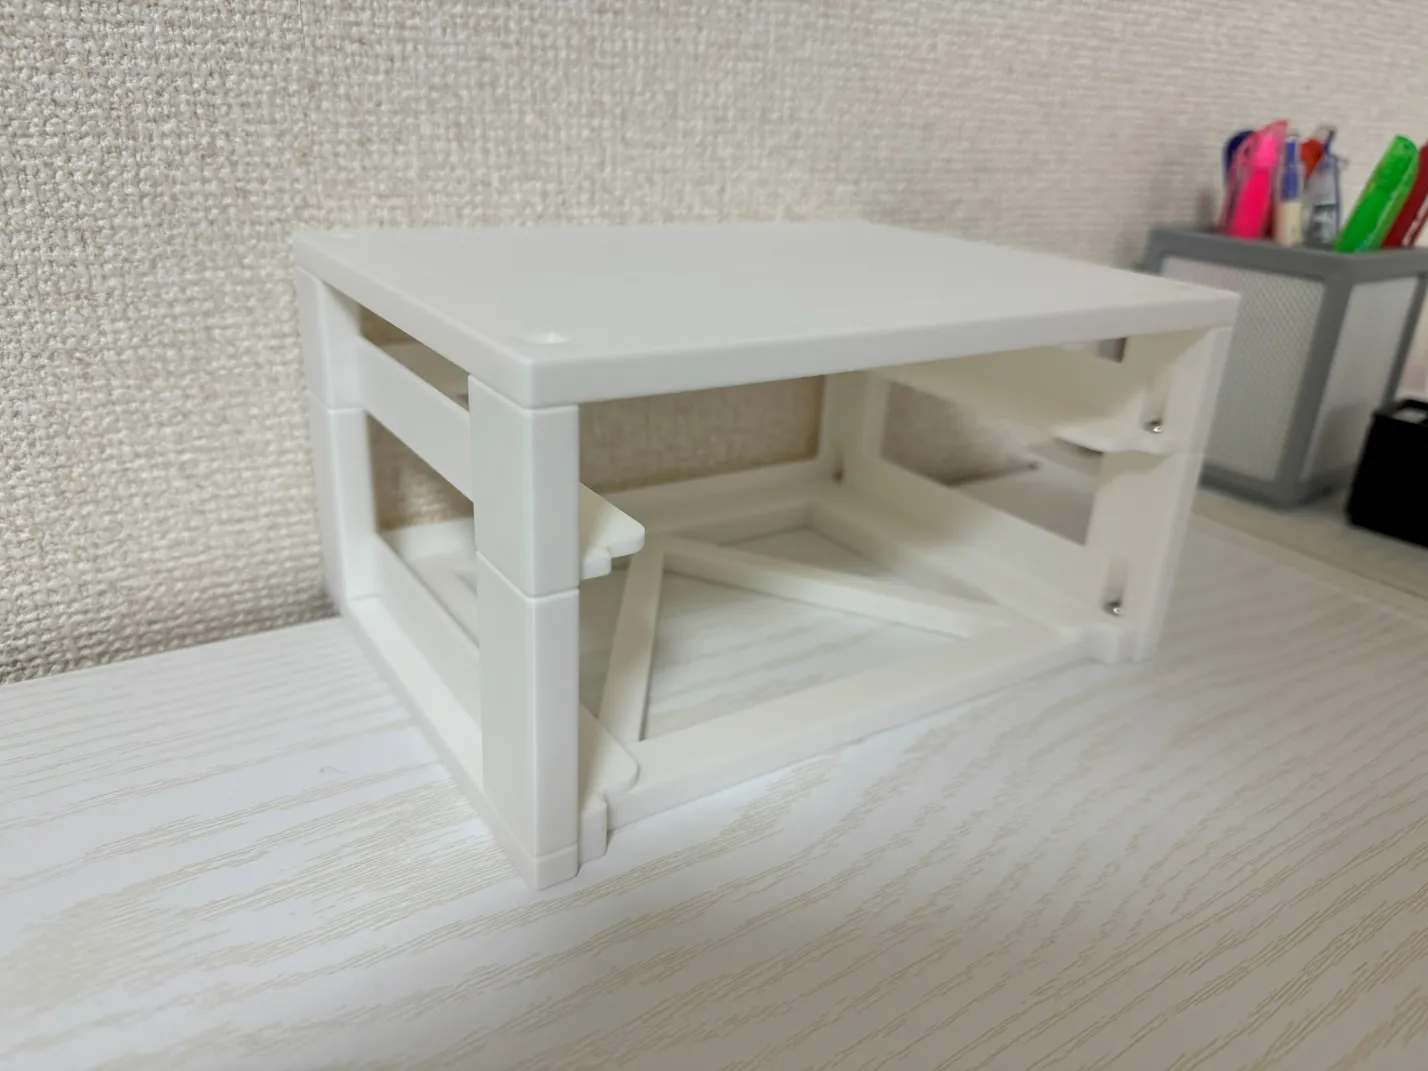
This is a rack that holds parts storage boxes.
Update
2024/10/14
The license has been changed to Standard Digital File License.
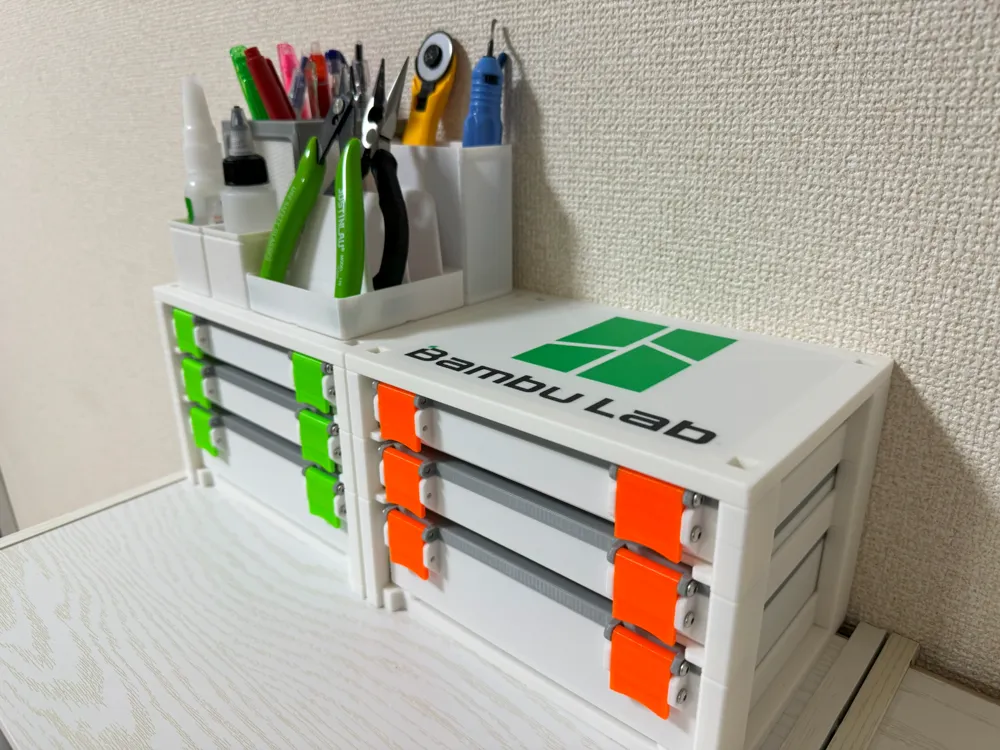
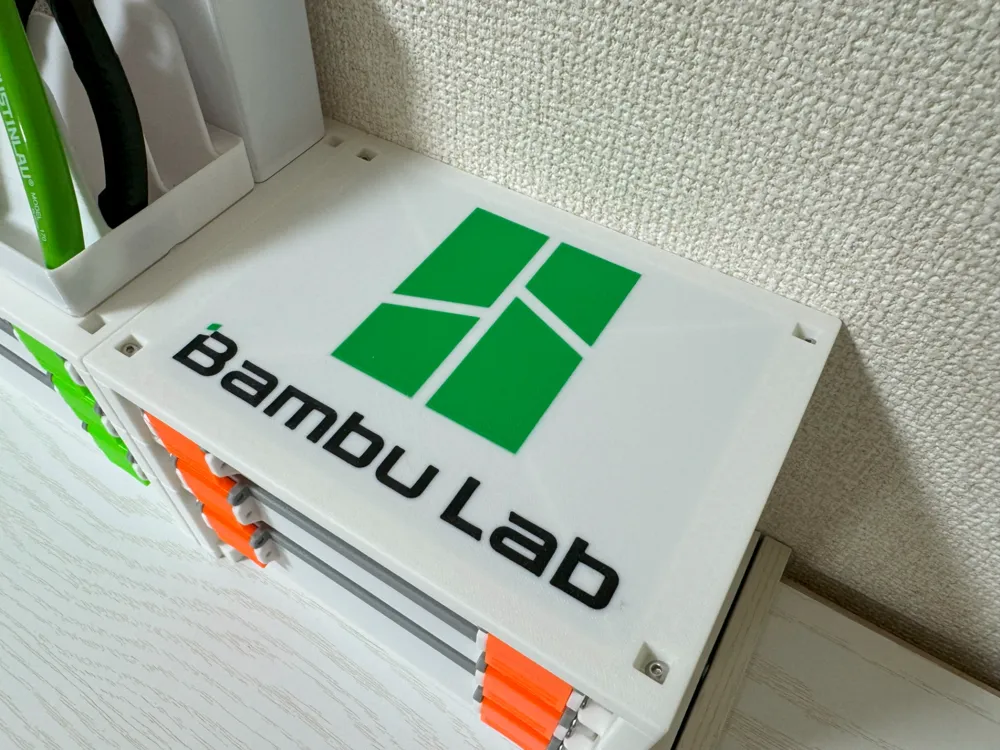
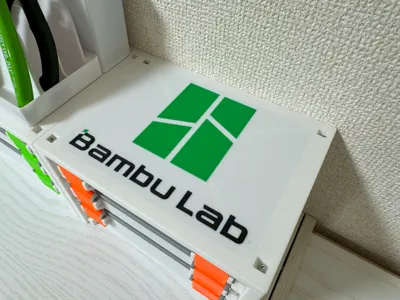
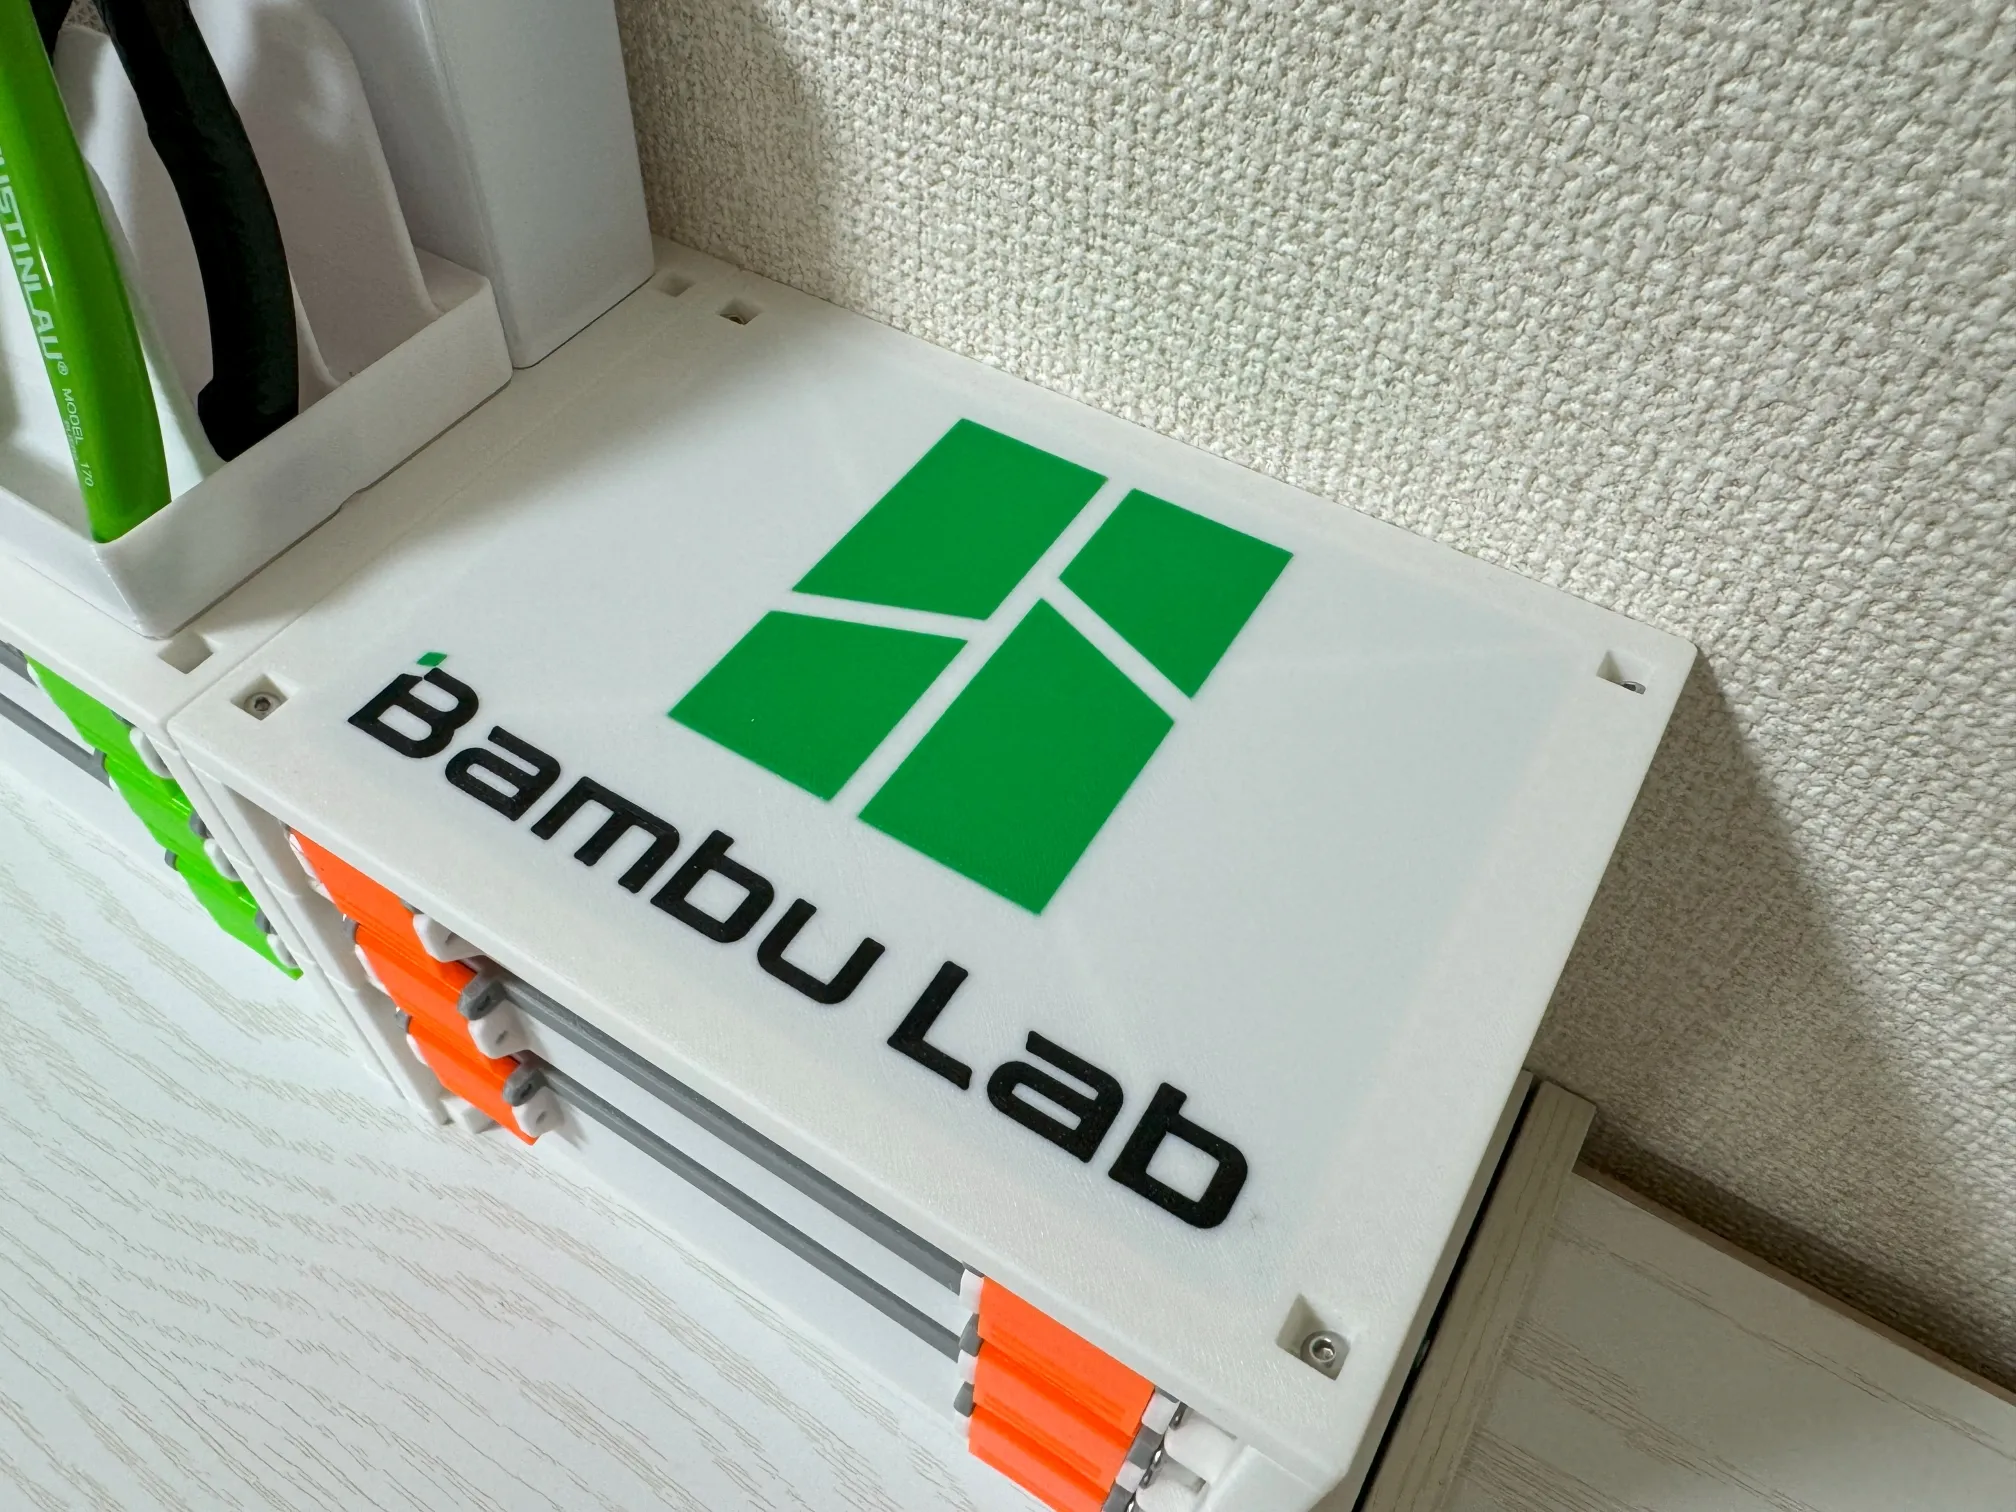
A top plate with the Bambu logo has been added.
The box is here.
https://makerworld.com/en/models/684691#profileId-613396
Refinements
- It is sturdy as it is locked with hardware. It is fixed with protrusions and screws and will not come off.
Each part is secured with a screw. M3x8 Button head (or Pan head) screws are required.
(Socket cap heads and flat heads cannot be used.)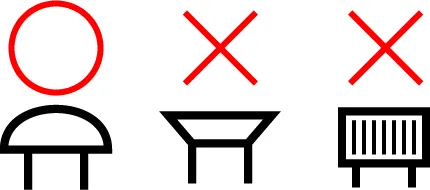
- It has to be precisely calibrated as it has very tight tolerances.
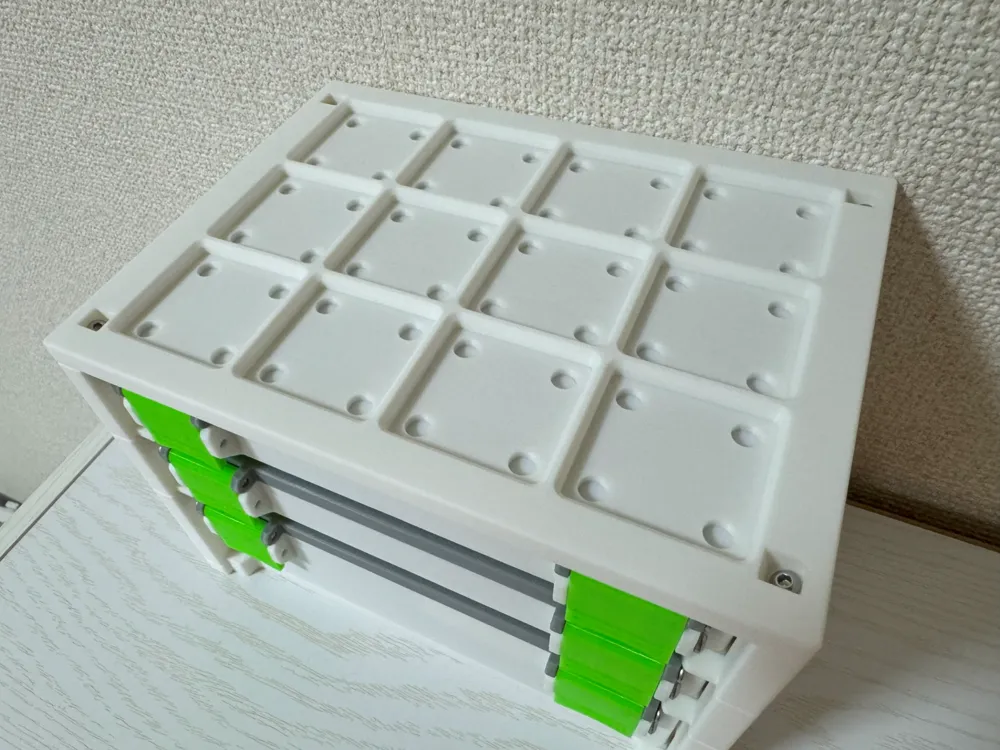
- It can hold Gridfinity 4x3x 3U - 6U.
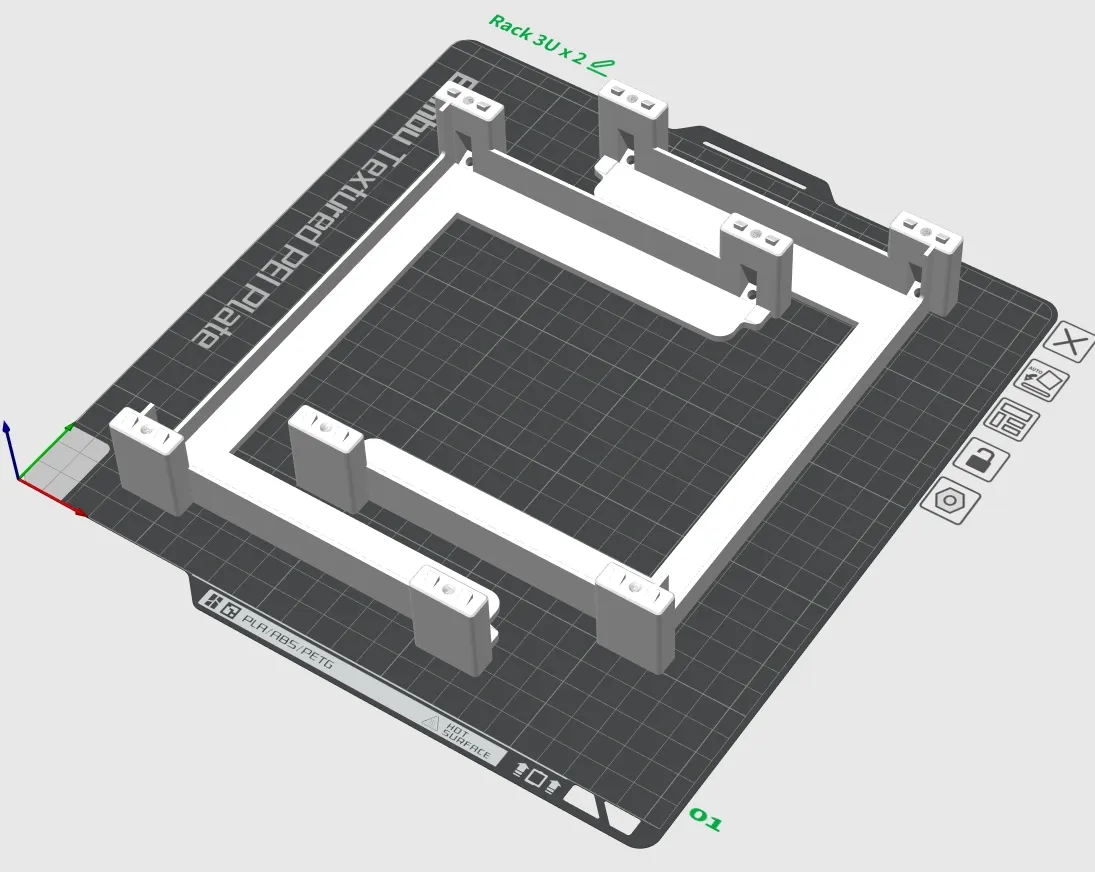
Two racks can be printed at the same time.
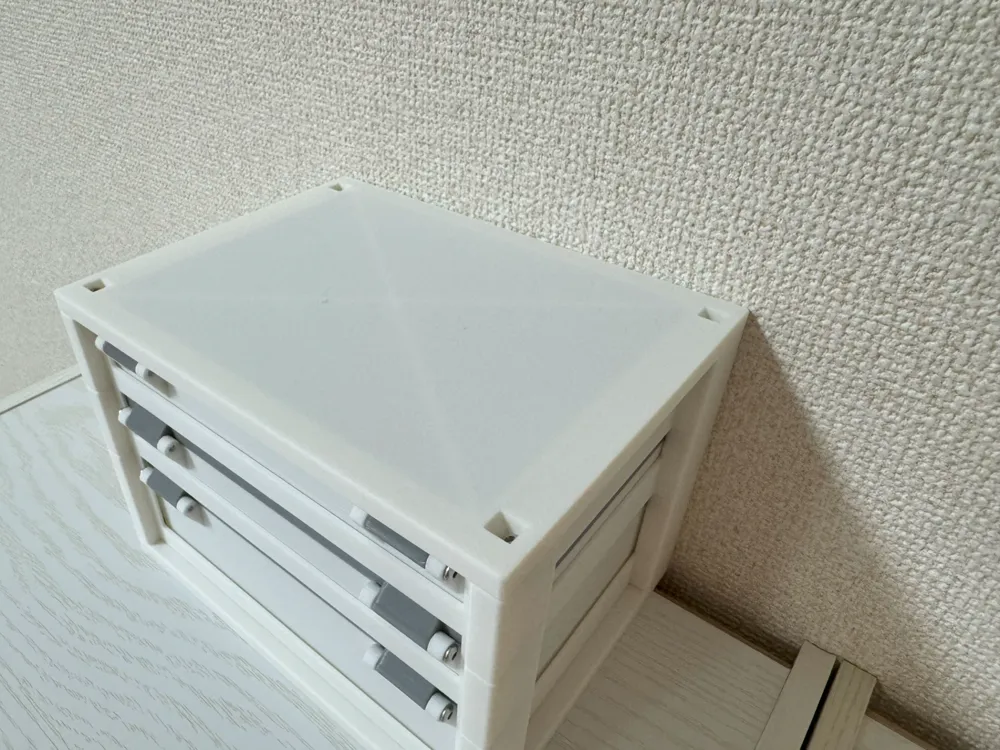
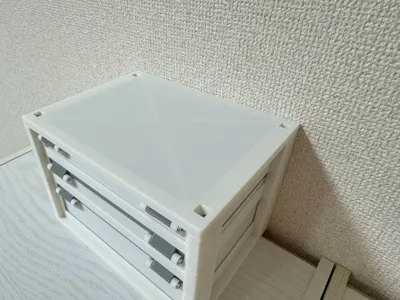
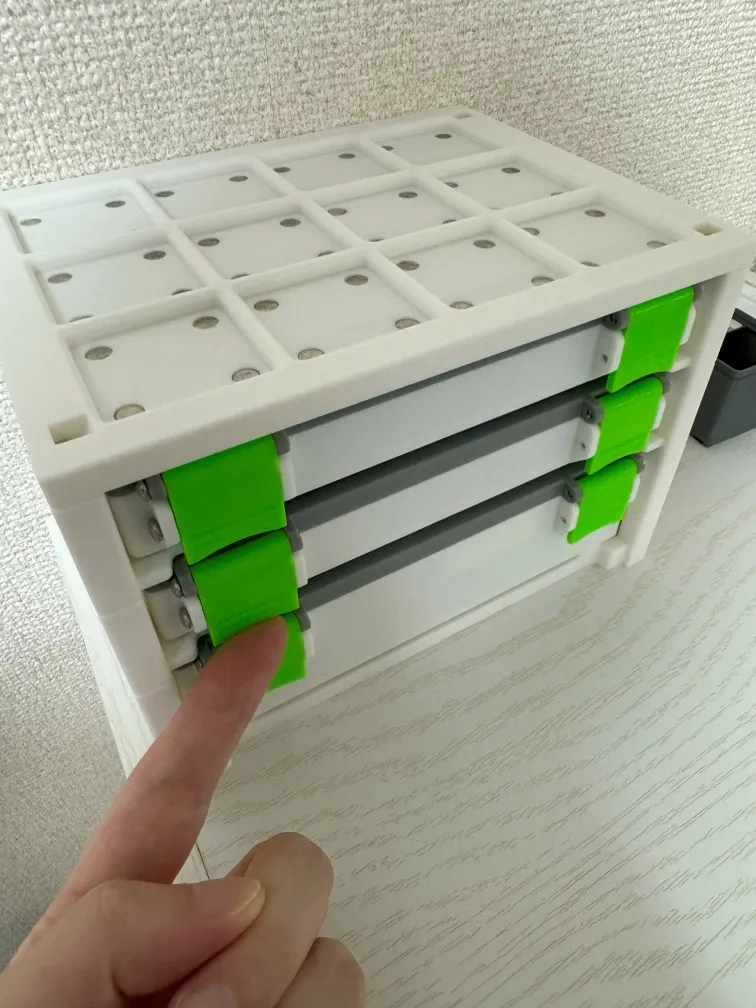
- The top plate is available with either a flat or gridded top.
It has a non-slip latch. Lift the latch to remove the box.
Printing
- layer height of 0.2mm
- Use 0.4mm nozzle
- Infill of 15% - 25%. (15% is fine, but if you want it to be sturdier, increase the infill.)
- Circumference 3
Always print using Arachne. If you do not use Arachne, the parts will not join together and the lid will not close.
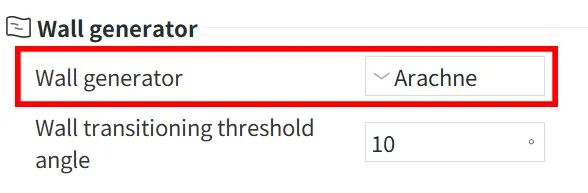
- When printing with PLA,Recommend turning off the auxiliary cooling.
Assembly Guide
- Print the parts you need.
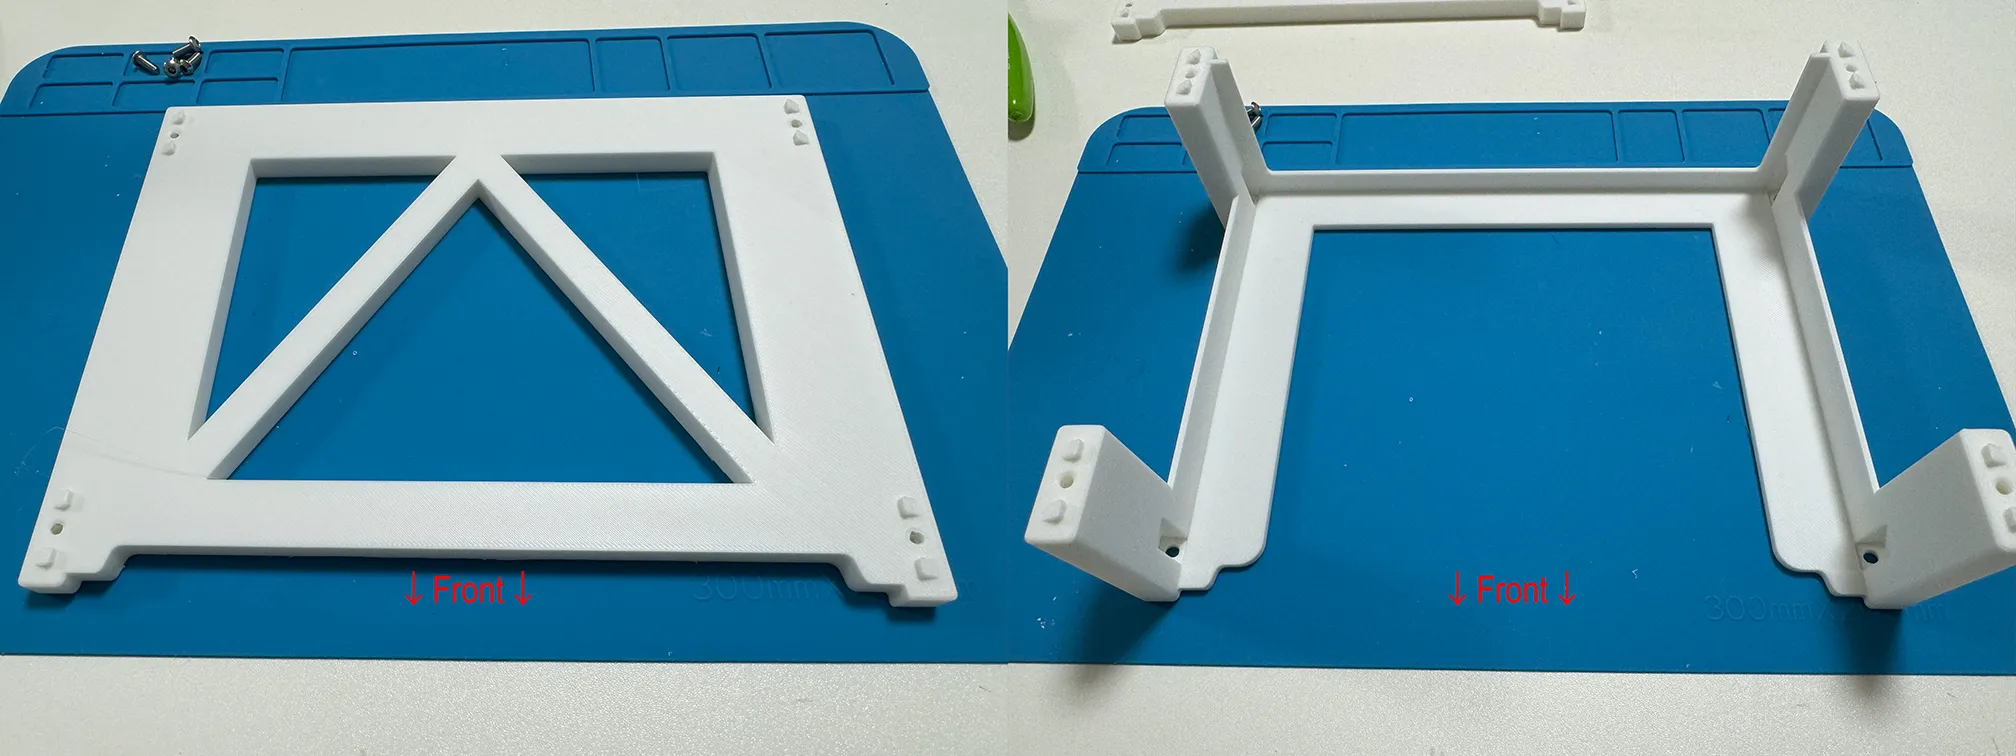
- Fit the rack onto the bottom base.Make sure it fits snugly.
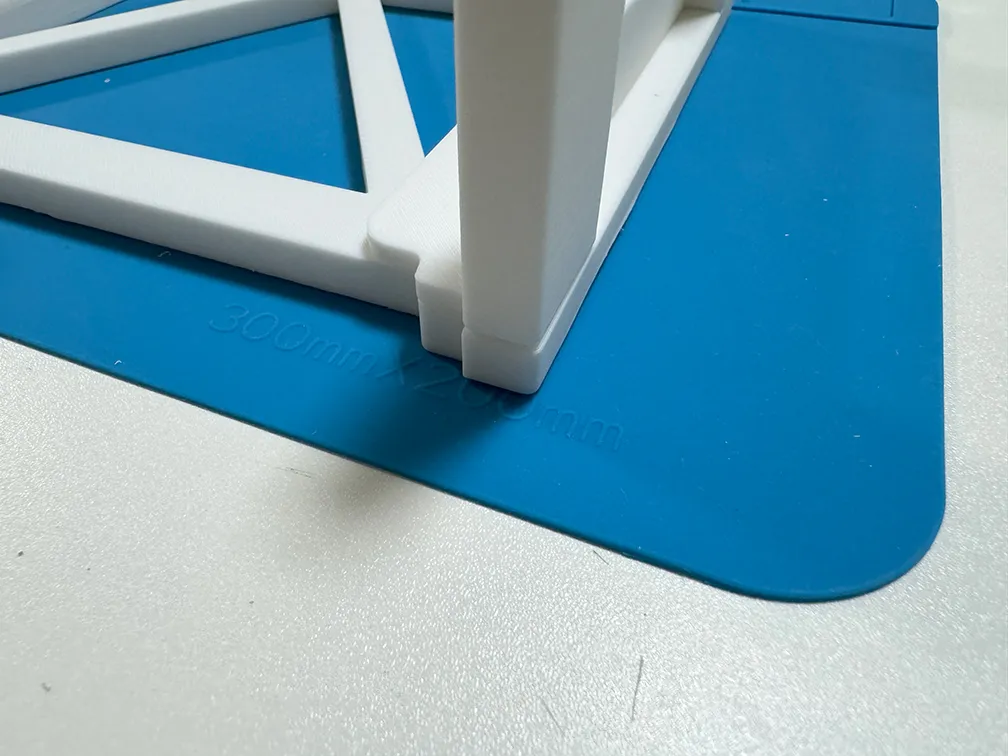
- Insert the screw into the diagonal hole.
Tighten it about halfway.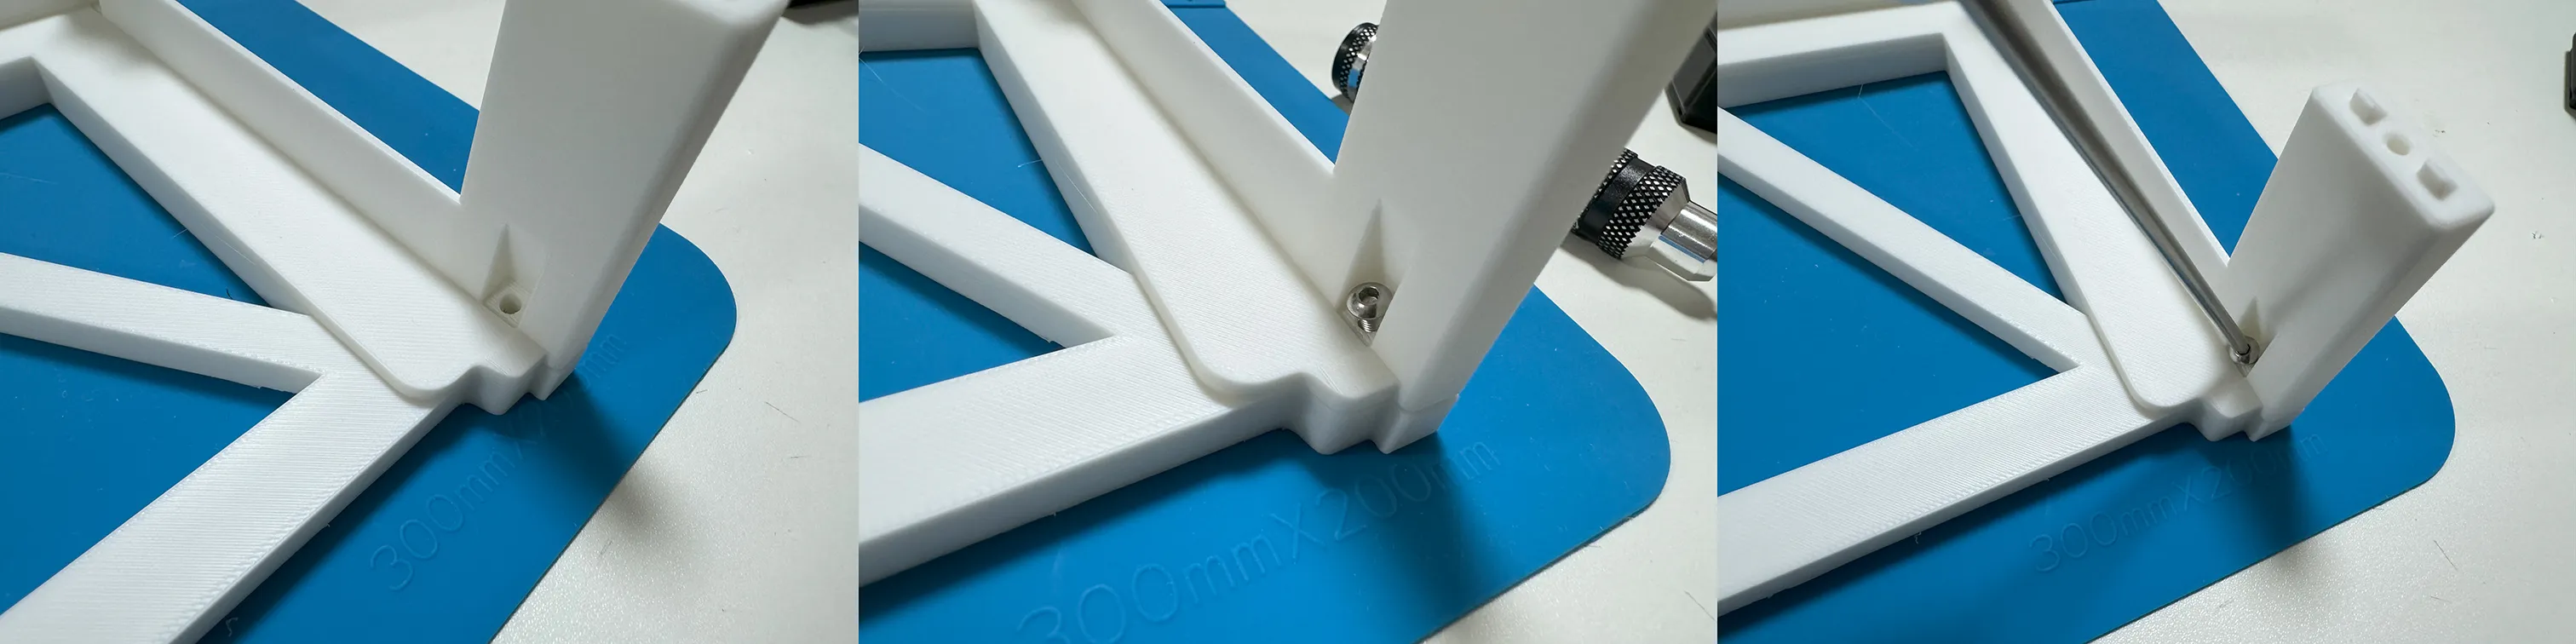
- Half-tighten all four screws.
Fully tighten all screws.
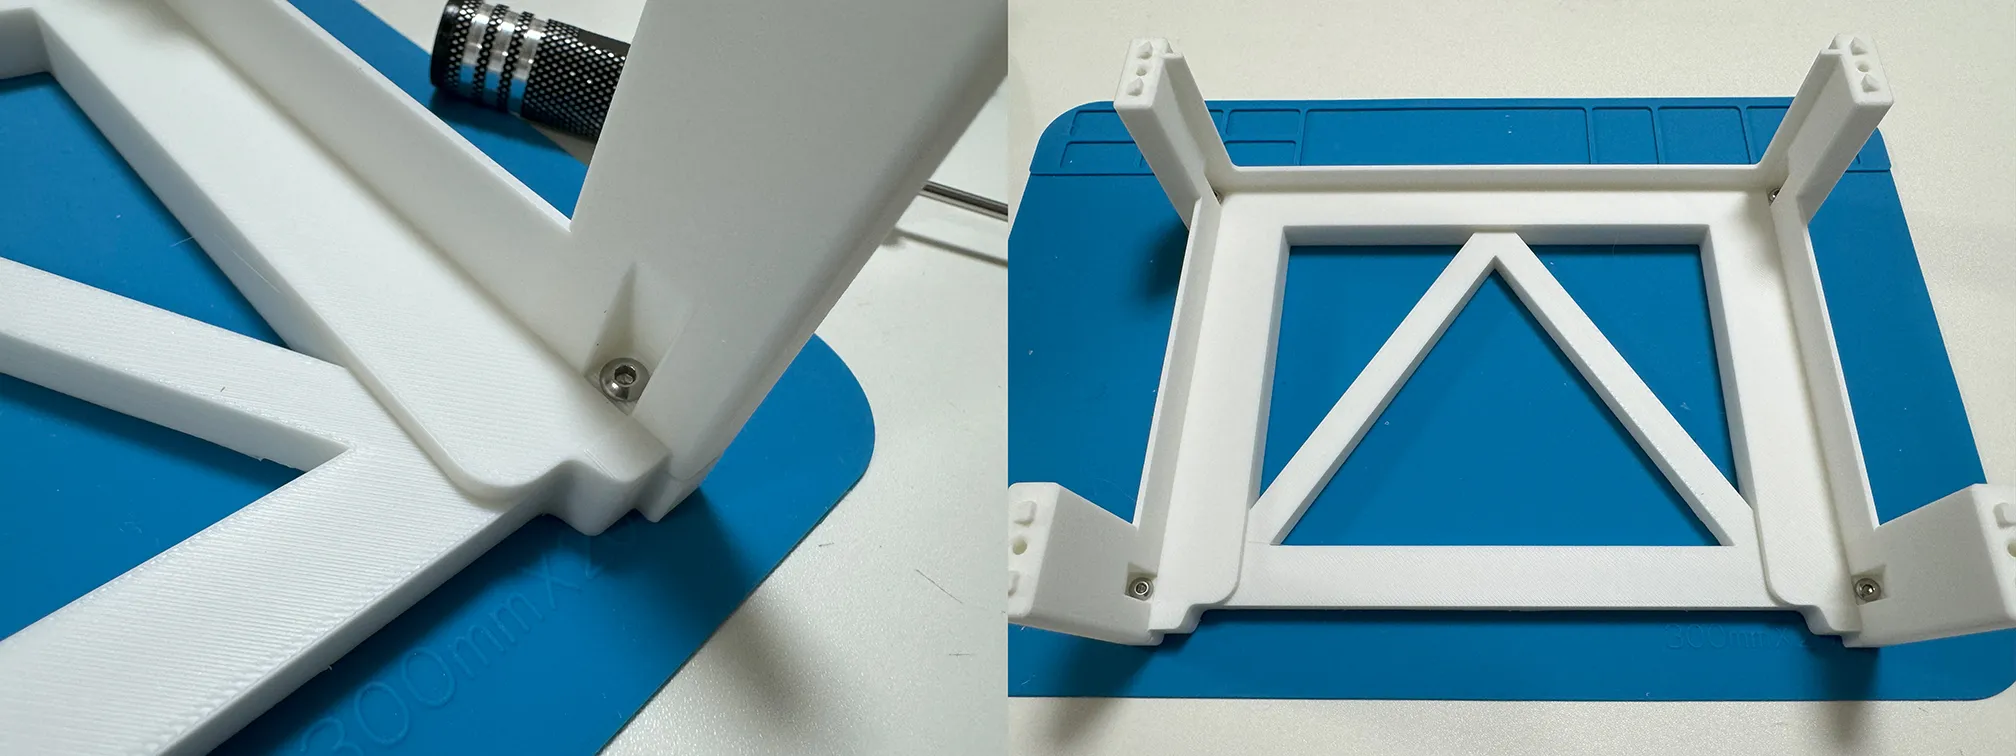
Additional stacked racks are installed in the same.
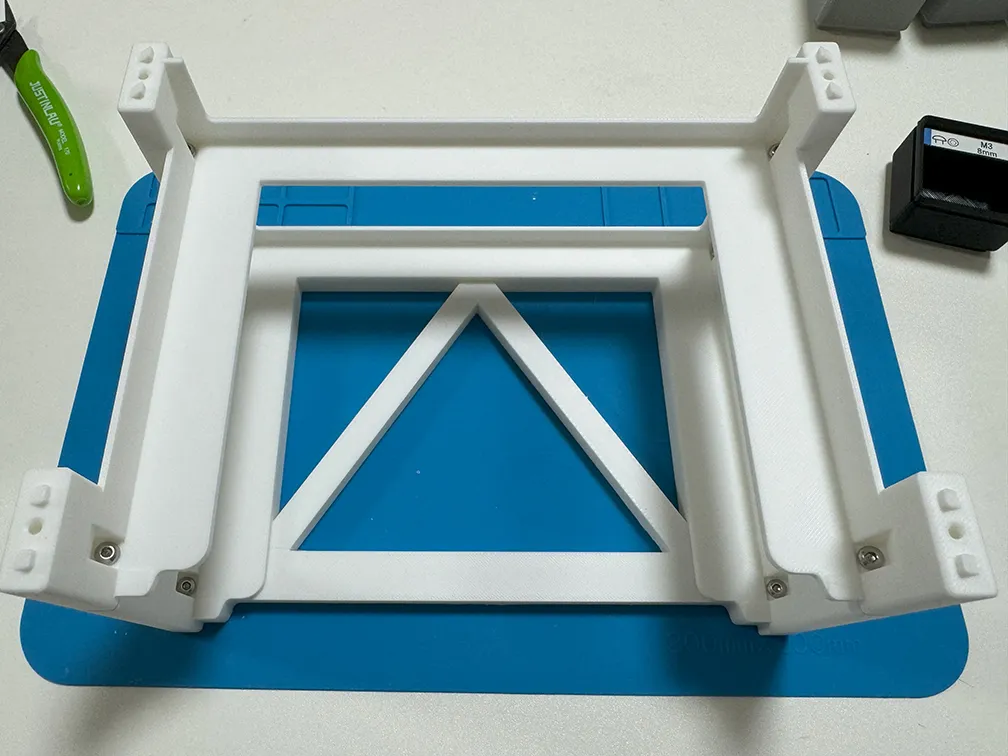
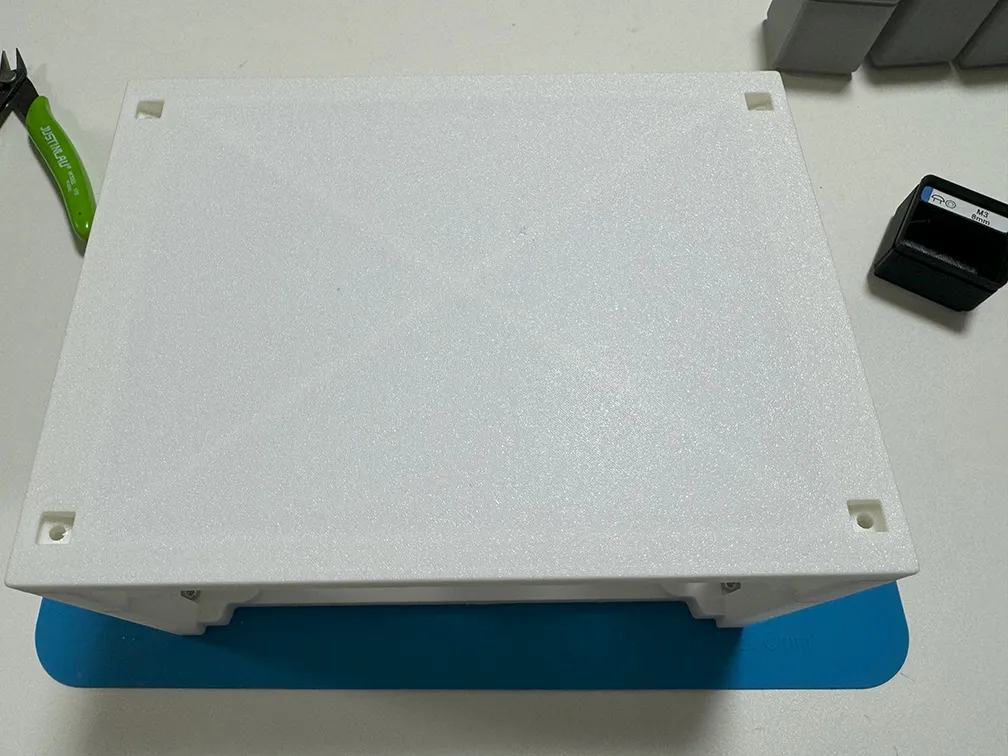
Fit the top plate. (There is no front or back to the top plate.)
Fix the top plate.
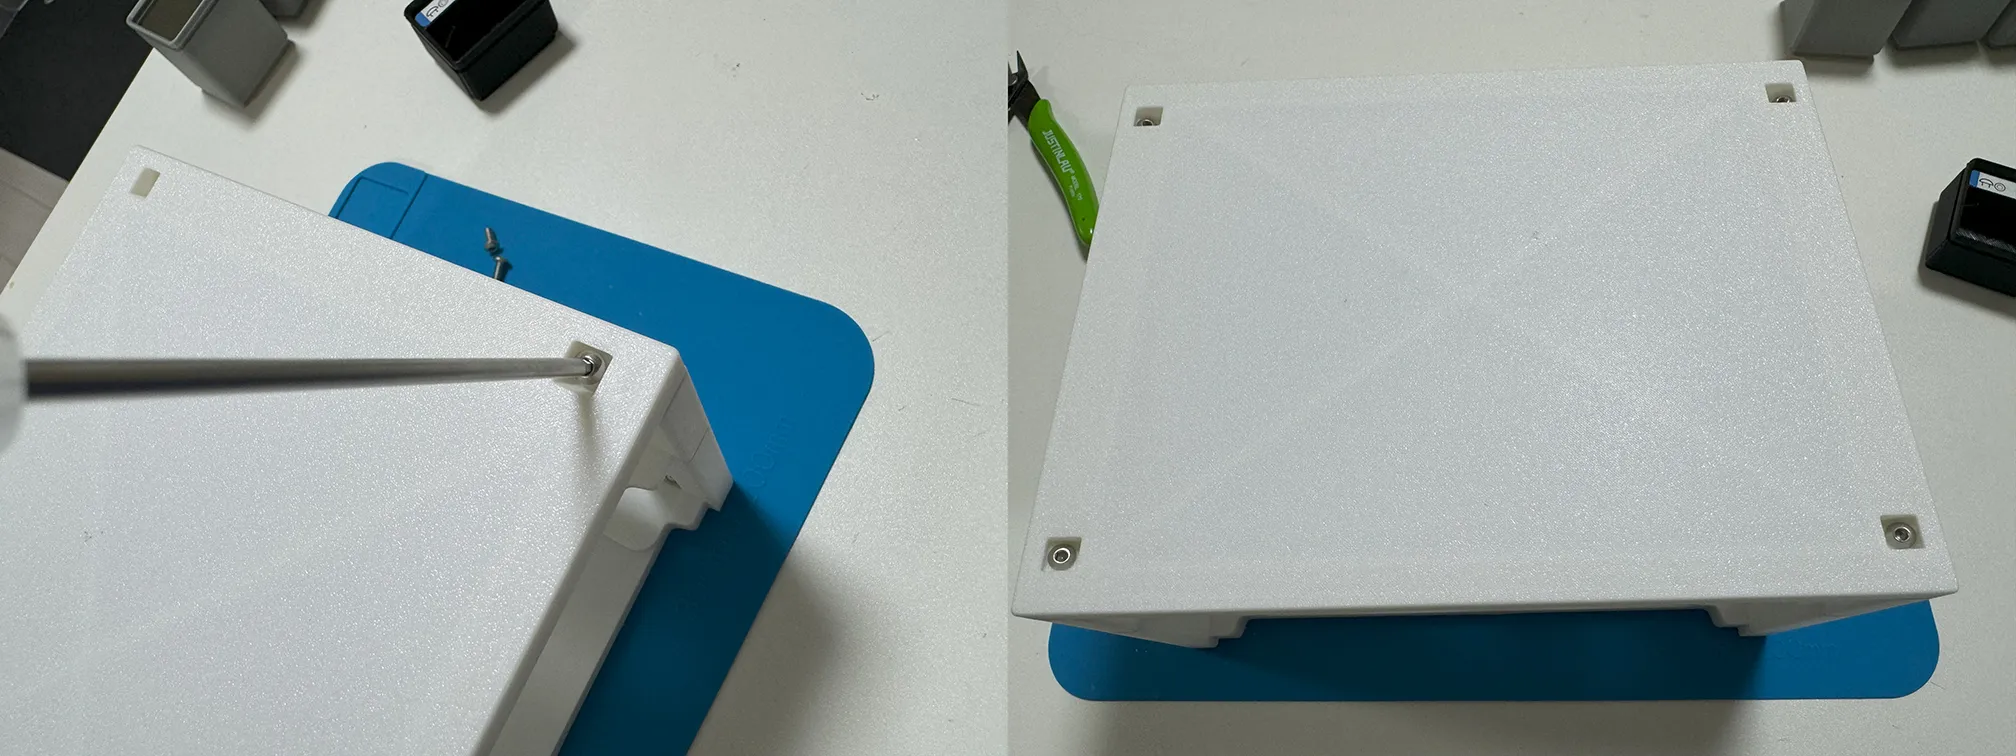
Finished!
License

You shall not share, sub-license, sell, rent, host, transfer, or distribute in any way the digital or 3D printed versions of this object, nor any other derivative work of this object in its digital or physical format (including - but not limited to - remixes of this object, and hosting on other digital platforms). The objects may not be used without permission in any way whatsoever in which you charge money, or collect fees.


Comment & Rating (17)