
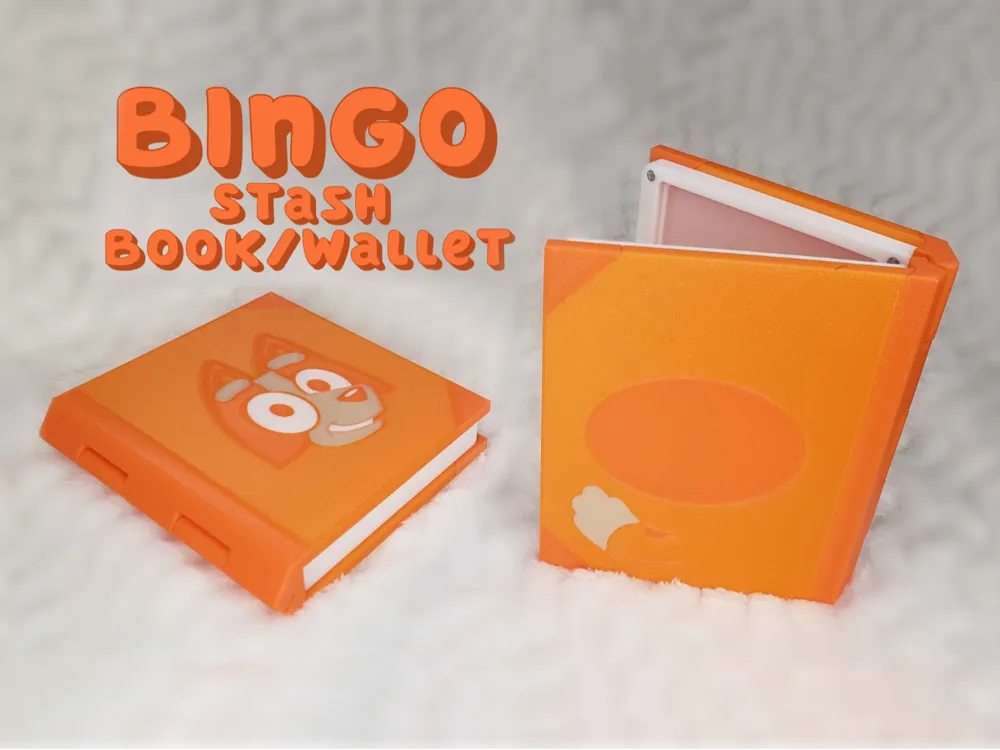
Bingo Stash Book/Wallet
Print Profile(3)


Description
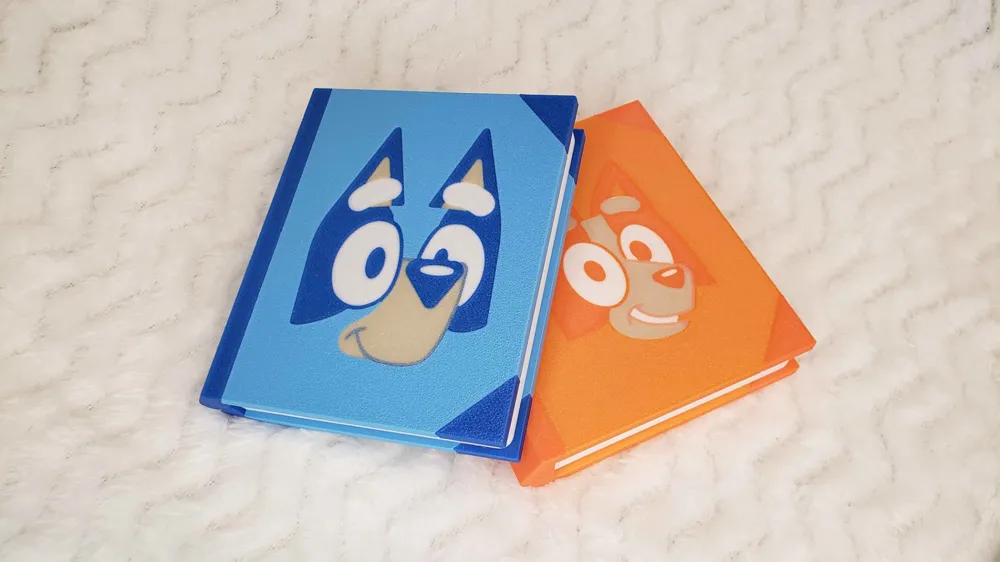
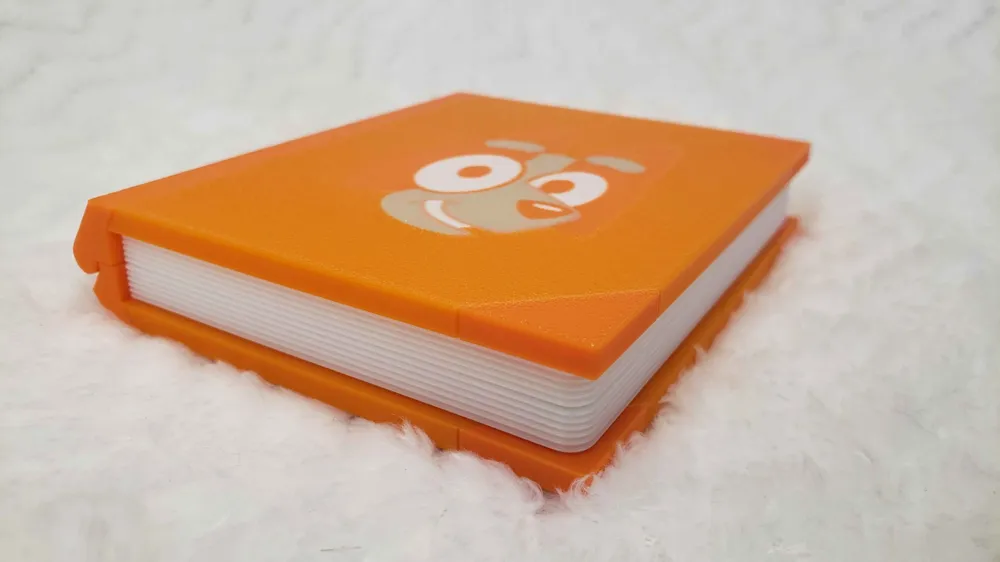
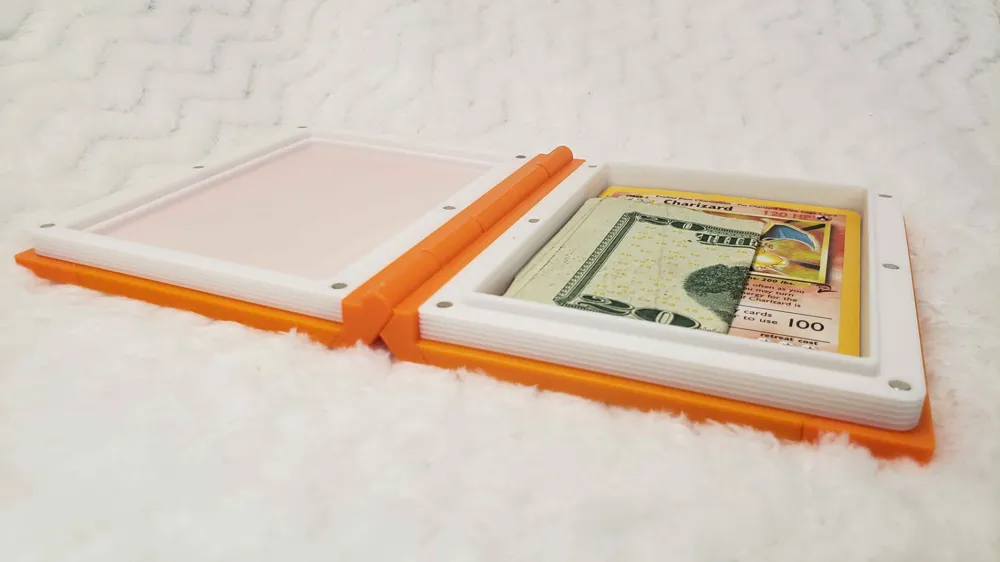
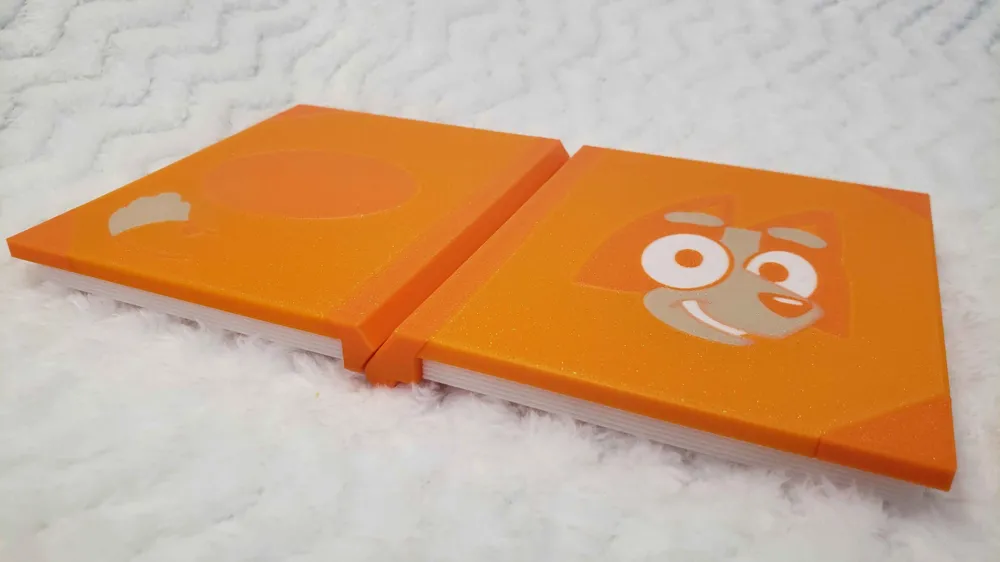
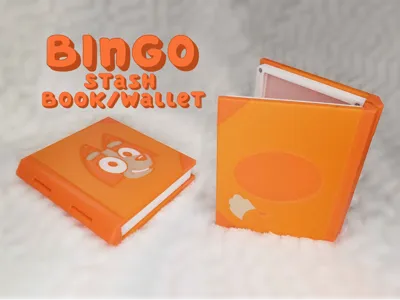
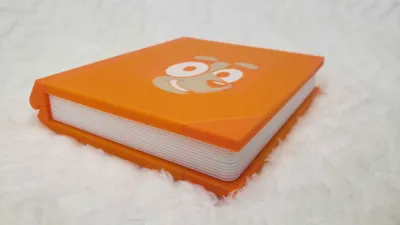
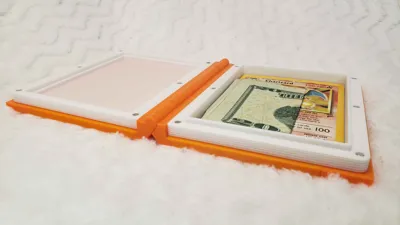
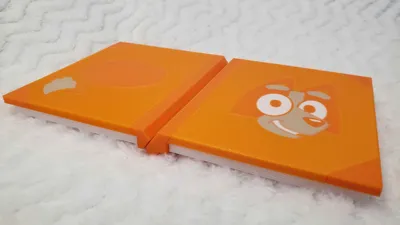
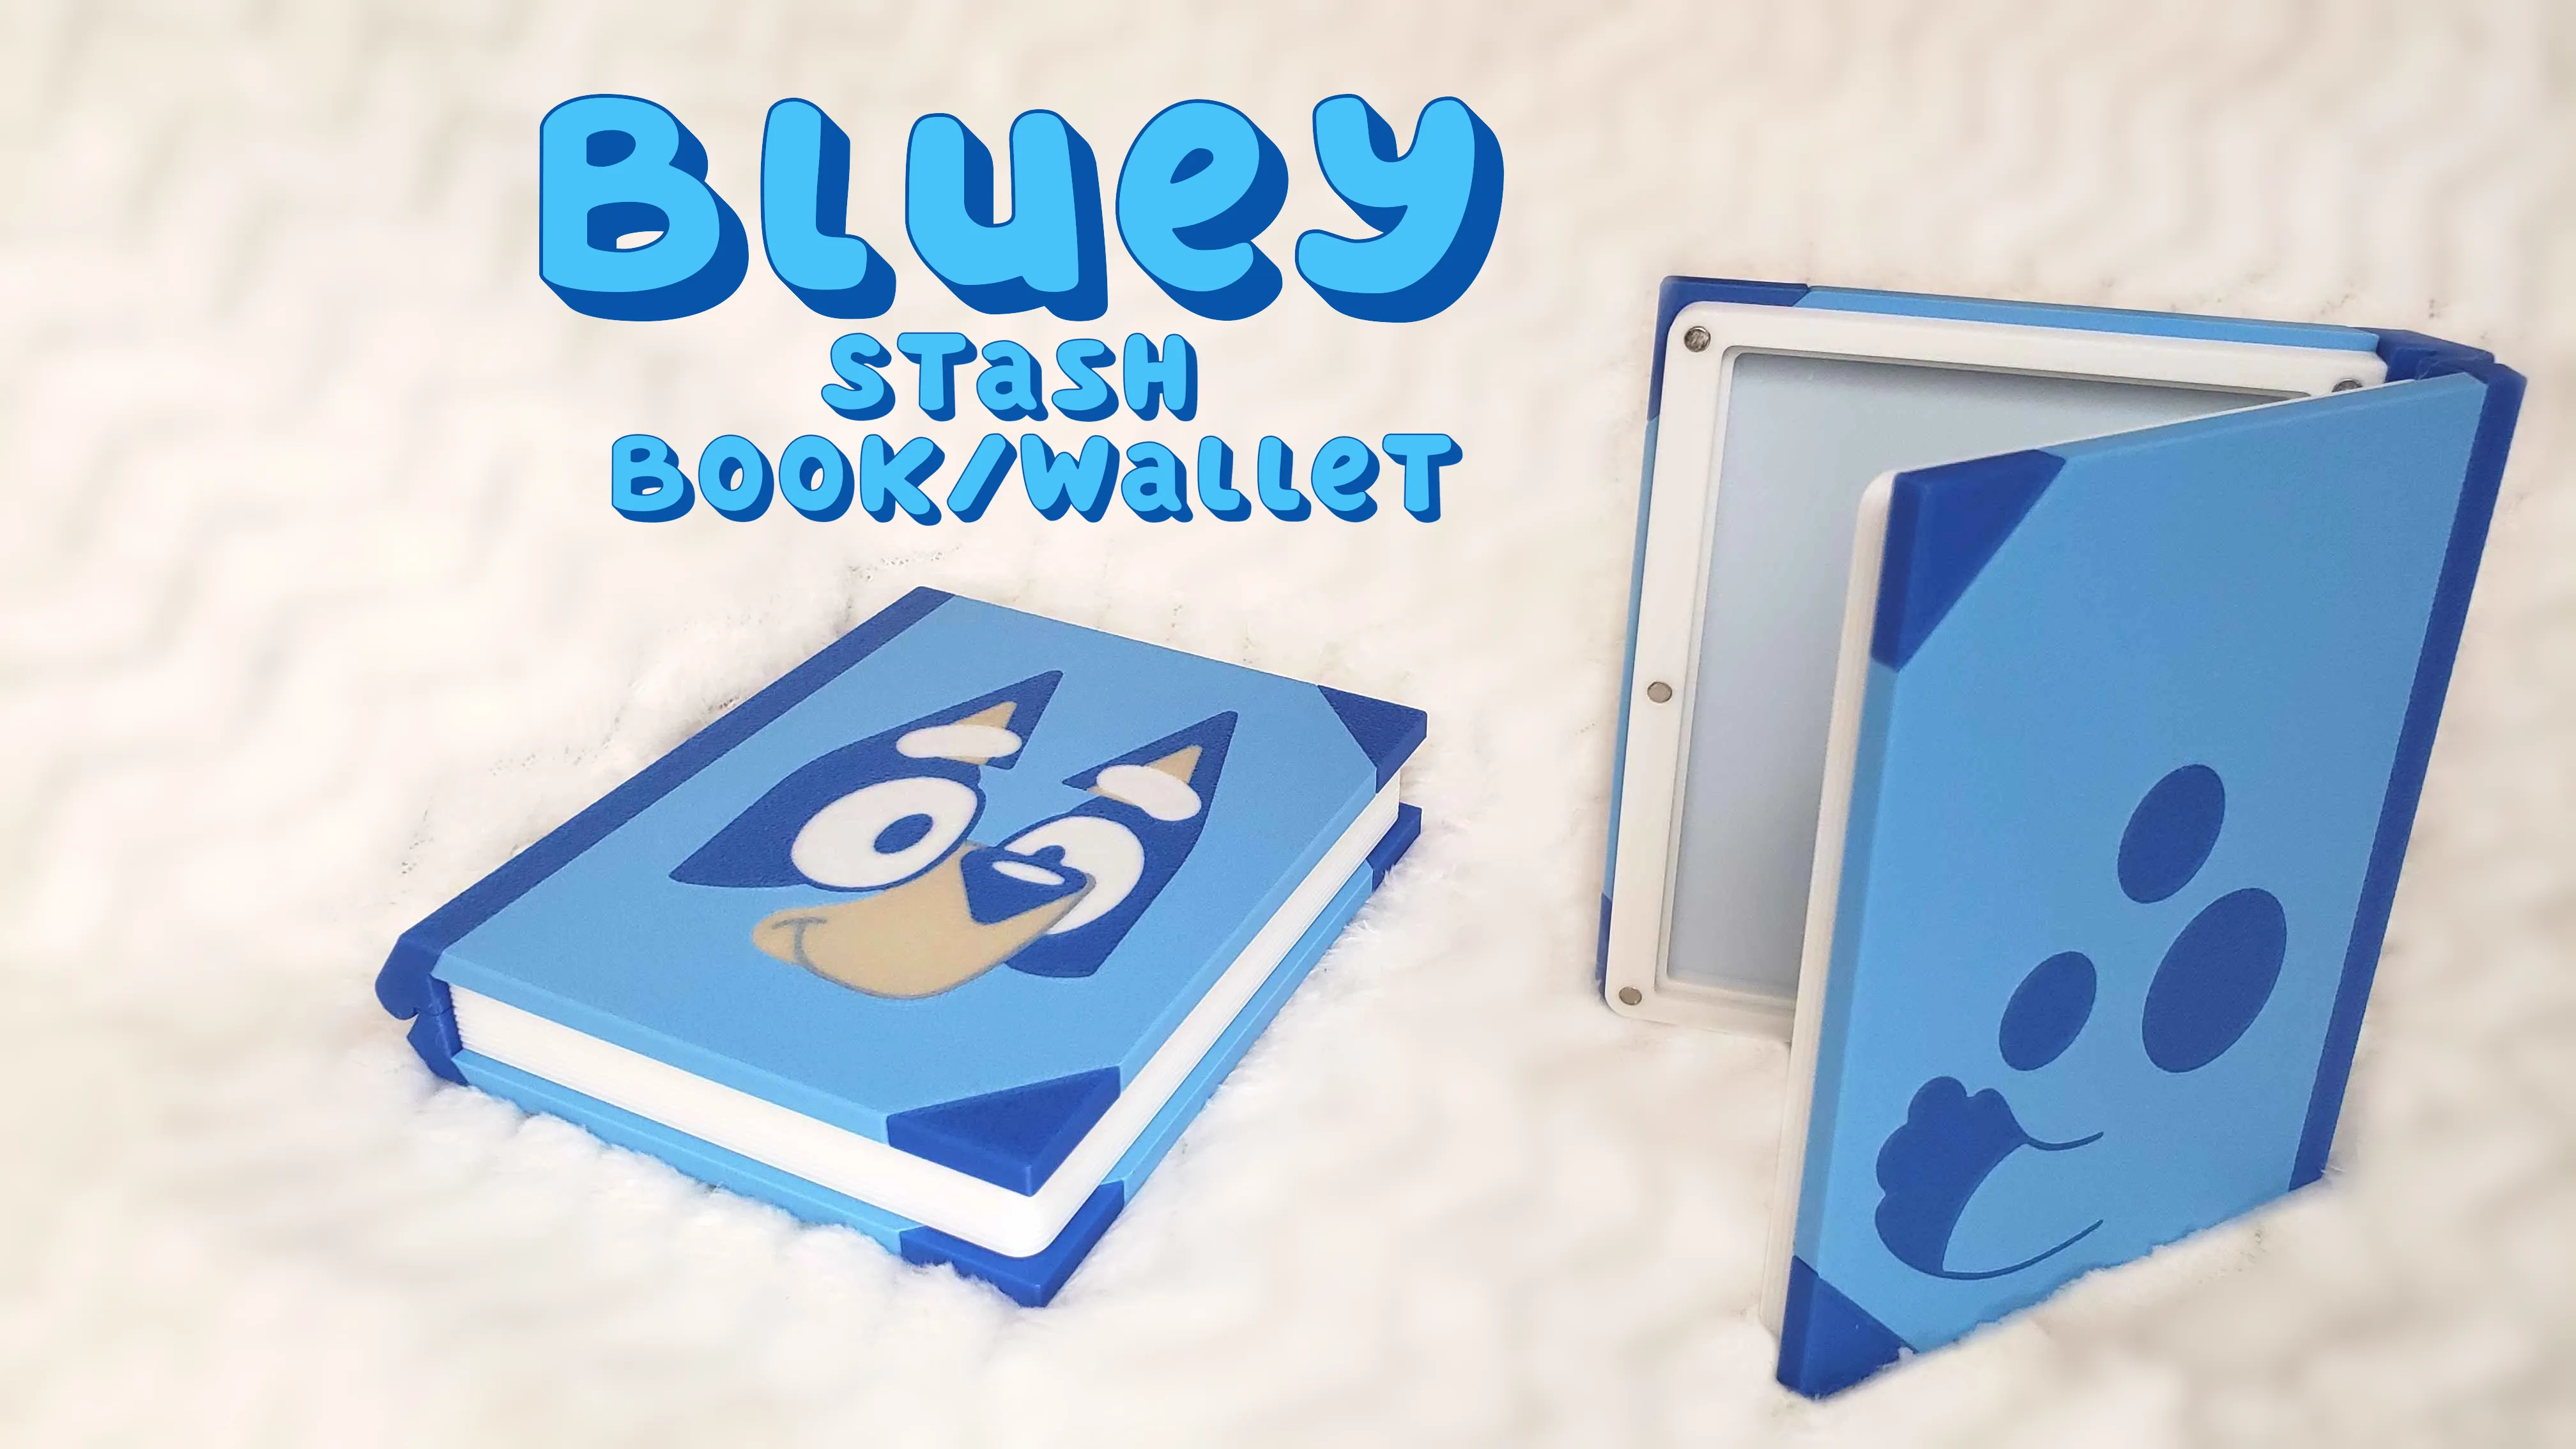
Introducing a stash book inspired by the character Bingo from Bluey! With print-in-place hinges, it opens like a real book and offers a discreet space for storing Pokemon cards, credit cards, ID cards, gift cards, and driver's licenses. Available in three versions: magnetic for 3x3mm magnets, 3x2mm magnets, and a non-magnetic option.
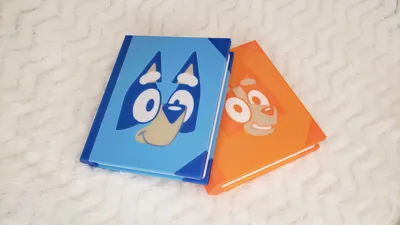
Check out my Bluey stash book (here)
Poop Warning:
Two books will fit on one plate and reduce waste, you can enable purge into infill at the risk of color showing through the white of the pages.
This was designed by request, if you have suggestions for a book you would love to see feel free to comment or DM me! :)
Check out my Large Witch's Stash Book here: https://makerworld.com/en/models/633896#profileId-559035
Pokemon Card Stash Books can be found on my profile: https://makerworld.com/en/@Empty_Dustpan
Storage compartment dimensions are approximately: 55.6mm x 88mm x 11mm.
The magnetic version requires 12 magnets - either 3x3mm or 3x2mm. (3x3 are recommended for strength)
The magnets I use for my small books can be found below (Unfortunately no Maker's Supply for these sizes):
3x2mm - Amazon Link
3x3mm (Recommended) - Amazon Link
Magnetic Version Instructions:
Simply add a small drop of superglue into each magnet hole with a toothpick before inserting each magnet, keeping the polarity of the magnets in mind.
Note:
It is very important to use dry filament and to keep an eye on the first few layers to prevent color bleed and make sure you are dialed in for good bed adhesion (bumping up the bed temp to 60 and cleaning the plate works for me).
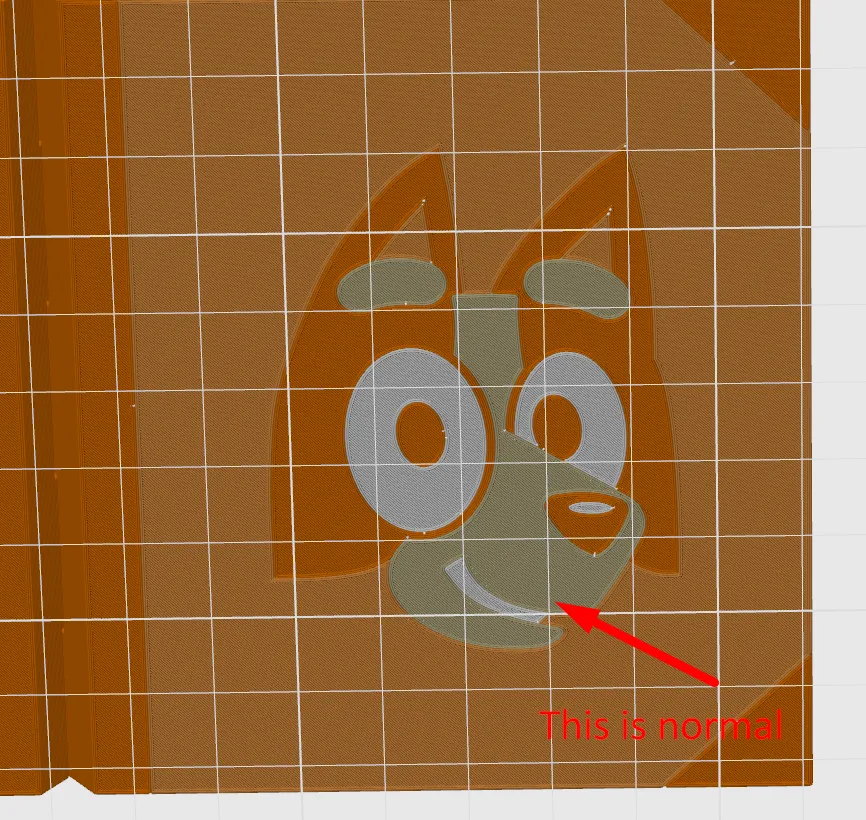
Due to the limitation of 4 colors, the smile is placed above the first layer, this gives the illusion of a fifth color and adds contrast for the smile!
Filaments used: Sunlu High-Speed PLA Orange (used for the light orange), eSun Bone White PLA+, Sunlu High-Speed PLA White, Bambu PLA Basic Orange (used for the dark orange)
I would definitely recommend using a better combination of orange filaments than I did, the Sunlu didn't turn out to be as light as I hoped it would be.
Disclaimer:
I am not affiliated with, endorsed by, or associated with any companies or entities that own the intellectual properties that inspire my 3D models. These models are fan-made creations intended for non-commercial, personal use only. All trademarks, copyrights, and characters remain the property of their respective owners.
License

You shall not share, sub-license, sell, rent, host, transfer, or distribute in any way the digital or 3D printed versions of this object, nor any other derivative work of this object in its digital or physical format (including - but not limited to - remixes of this object, and hosting on other digital platforms). The objects may not be used without permission in any way whatsoever in which you charge money, or collect fees.


Comment & Rating (5)