
Magnetic Adapter for A1 Extruder Cover

Print Profile(14)




Description
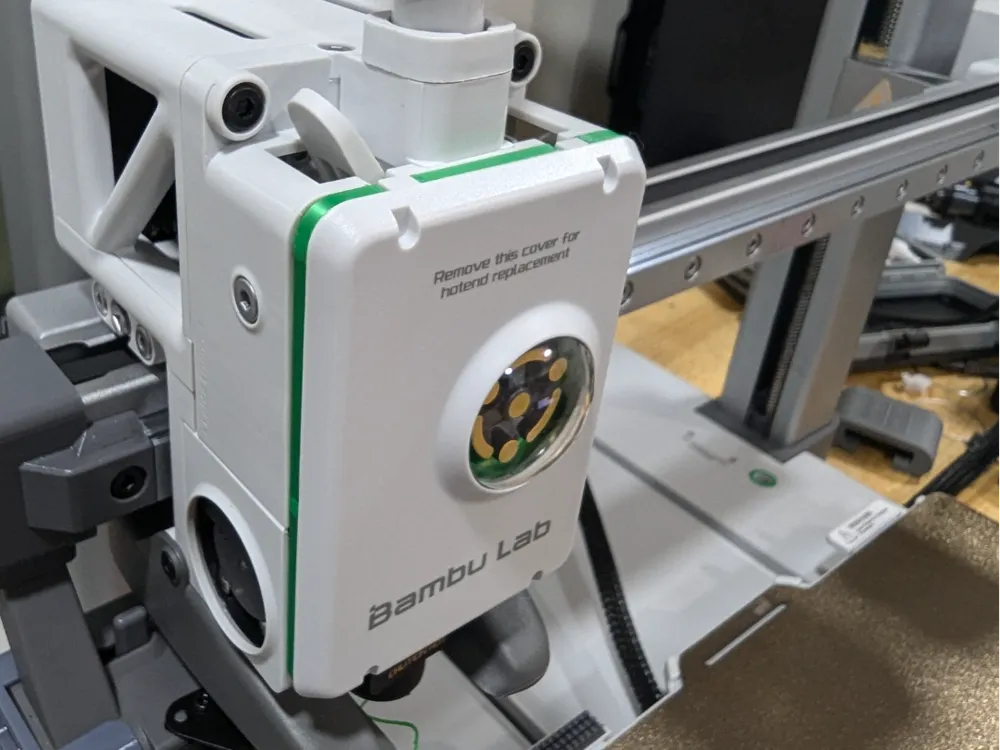
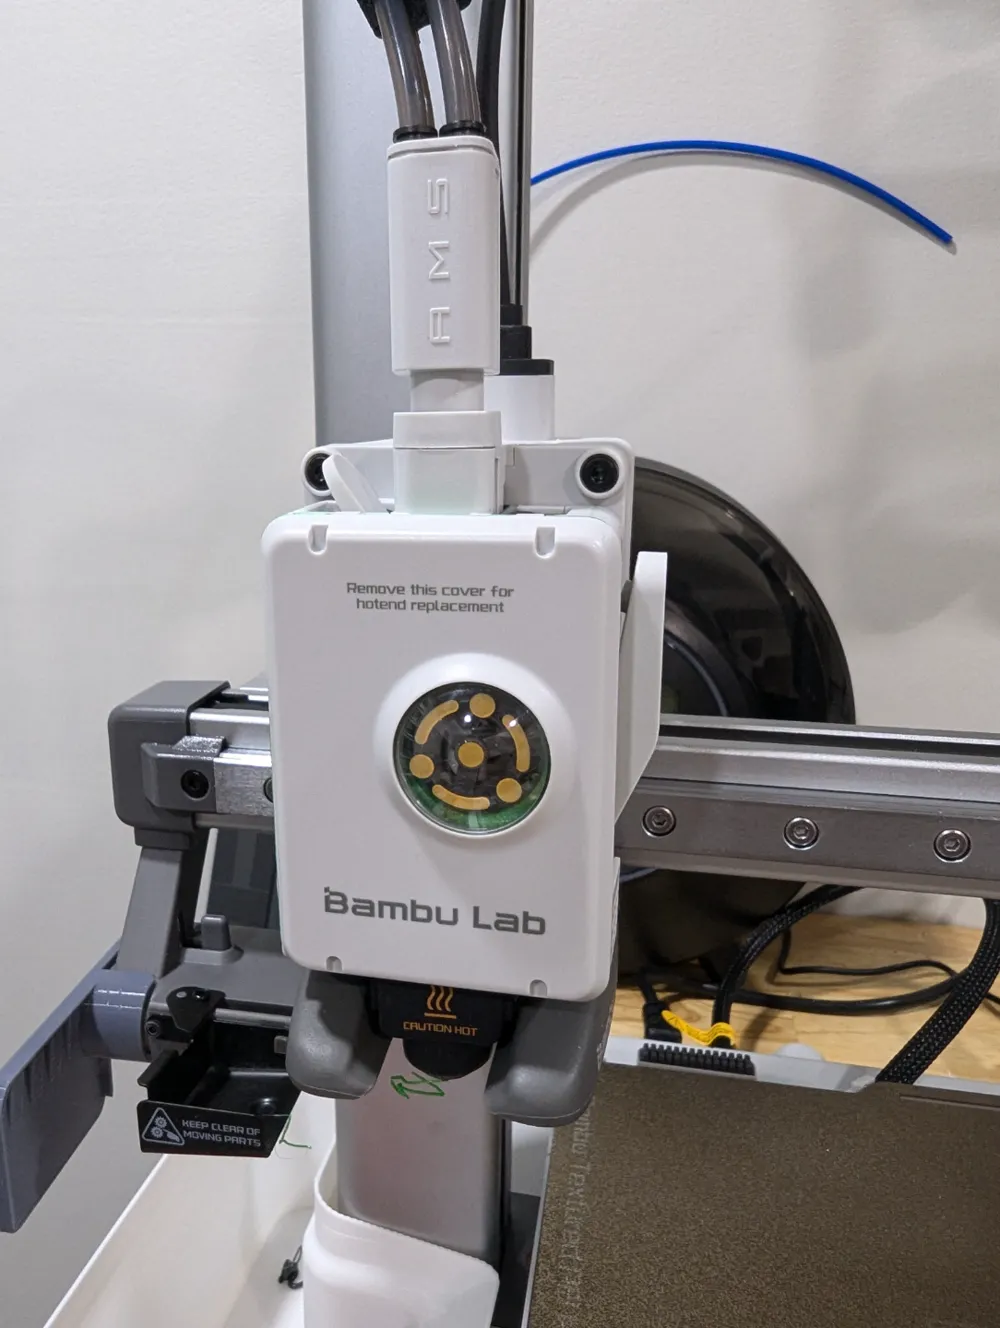
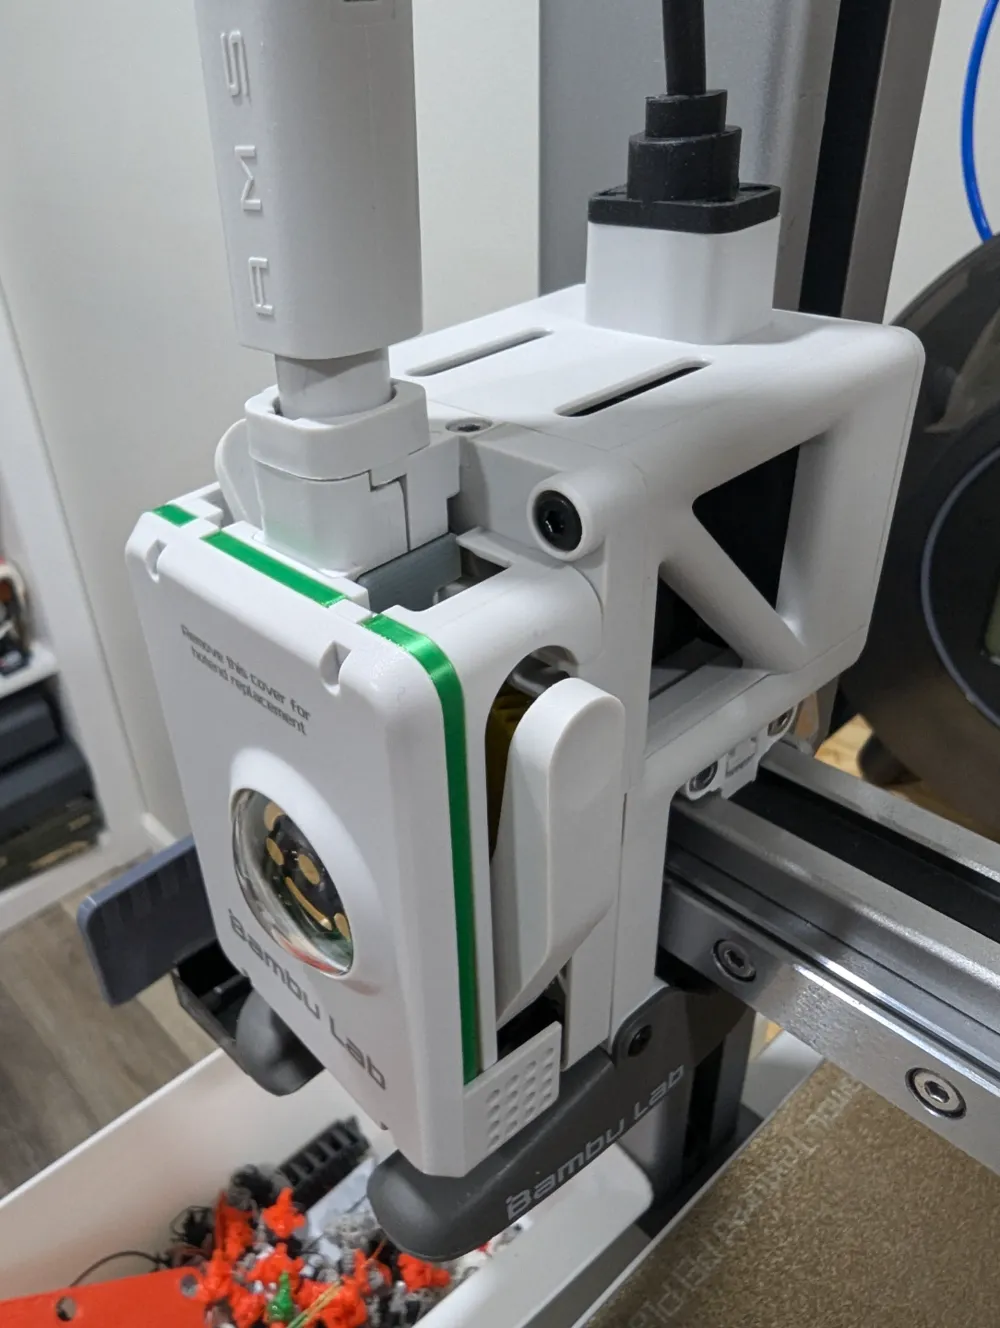
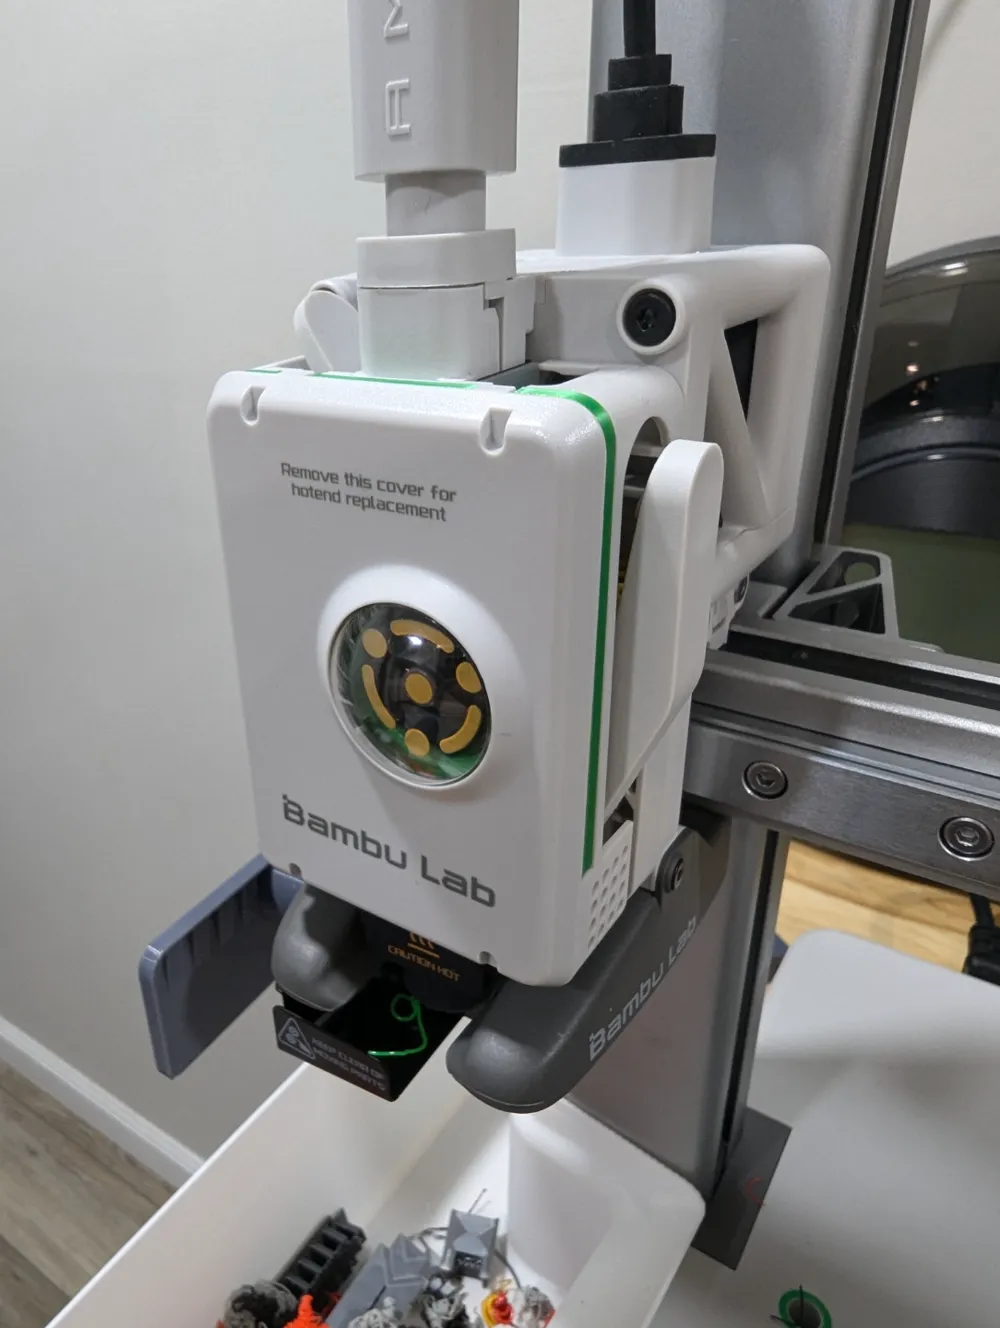
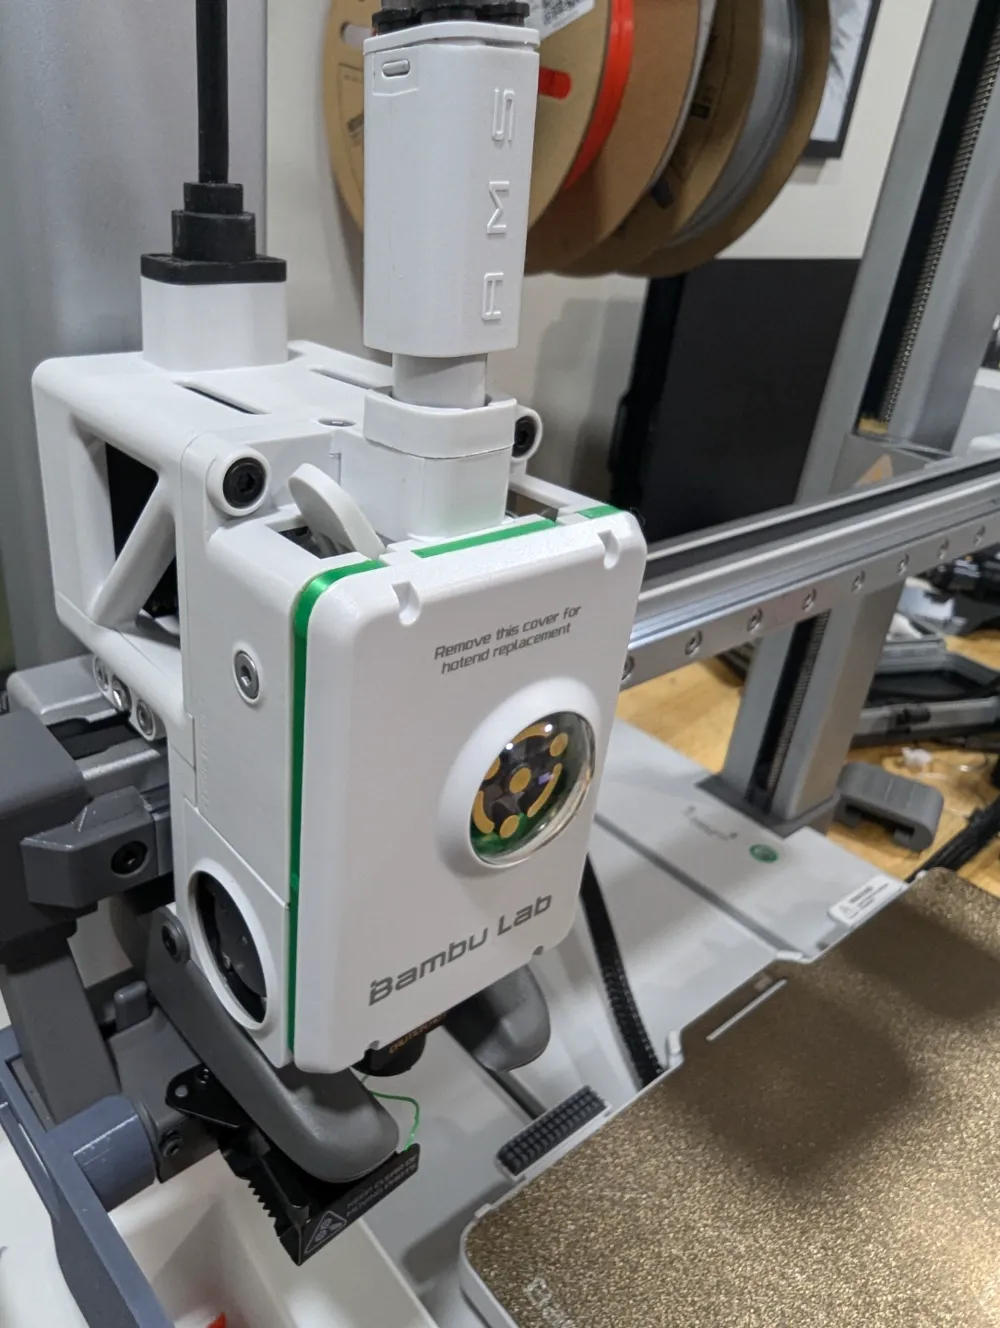
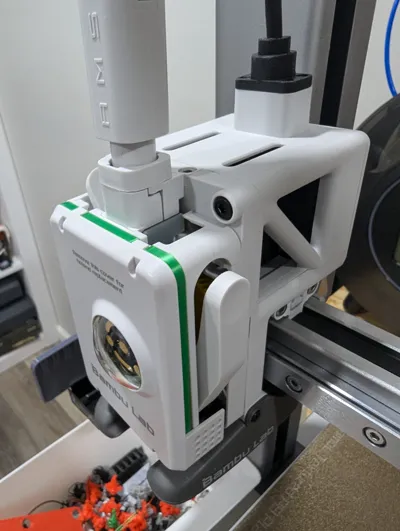
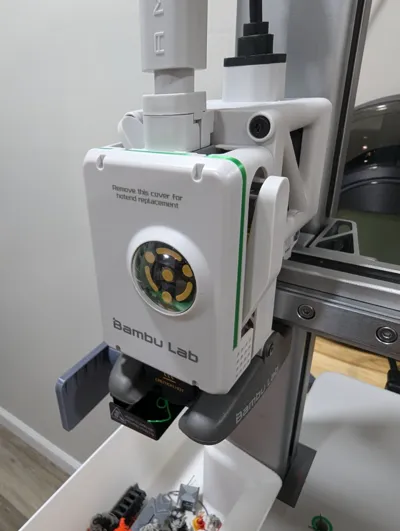
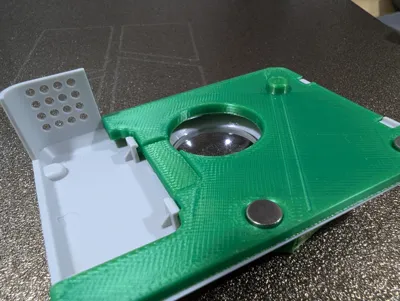
This is an A1/A1 mini magnetic adapter for the extruder cover. I tried a couple other ones that I found but wasn't happy with the retention of the cover so I ripped off my cover, broke out the calipers and got to work.
So what separates mine from everyone else's?
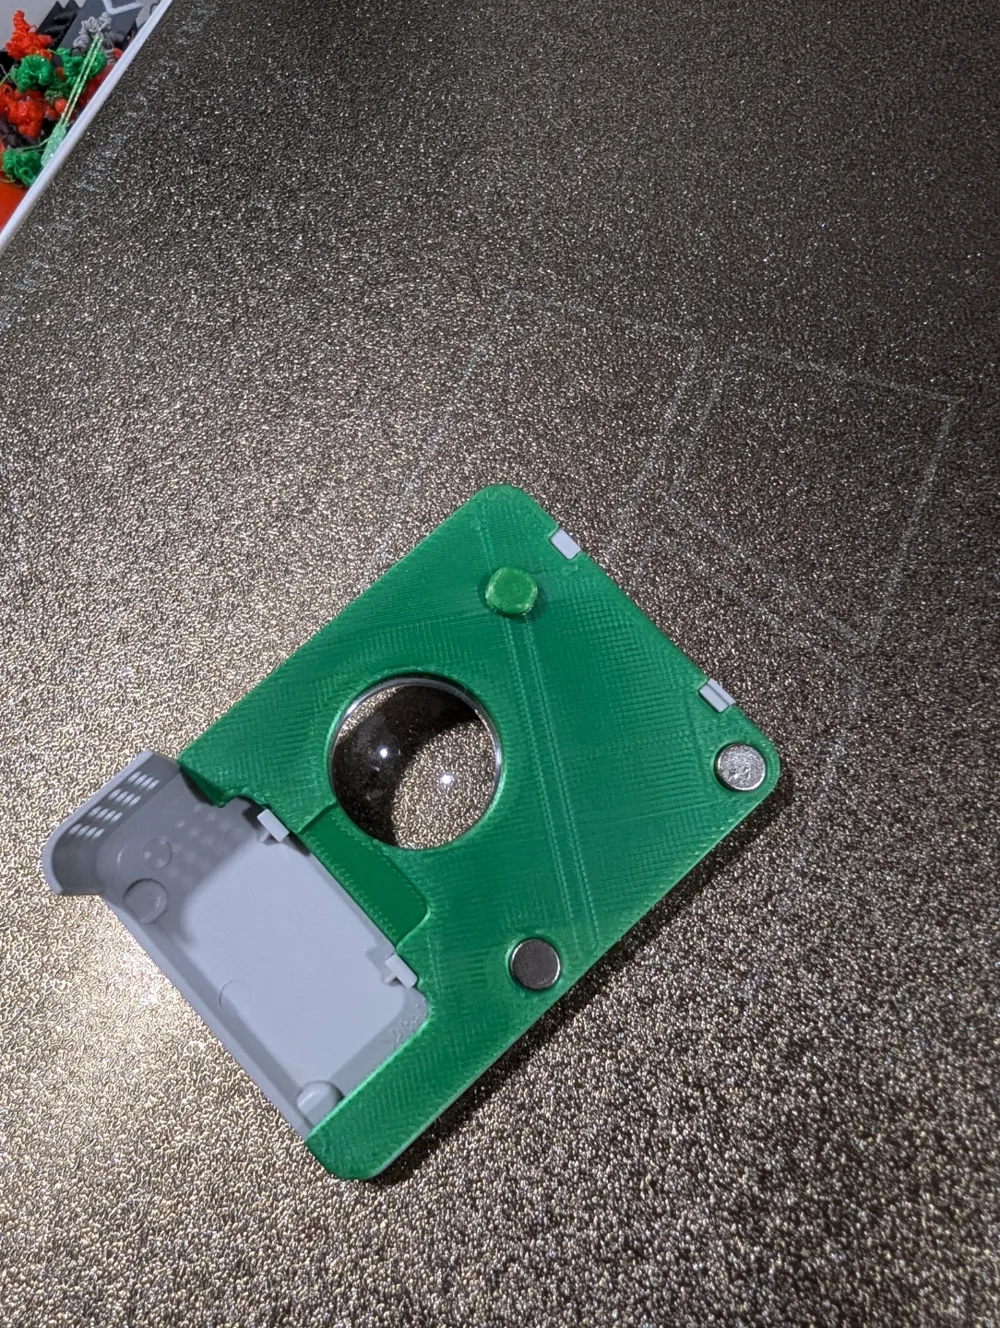
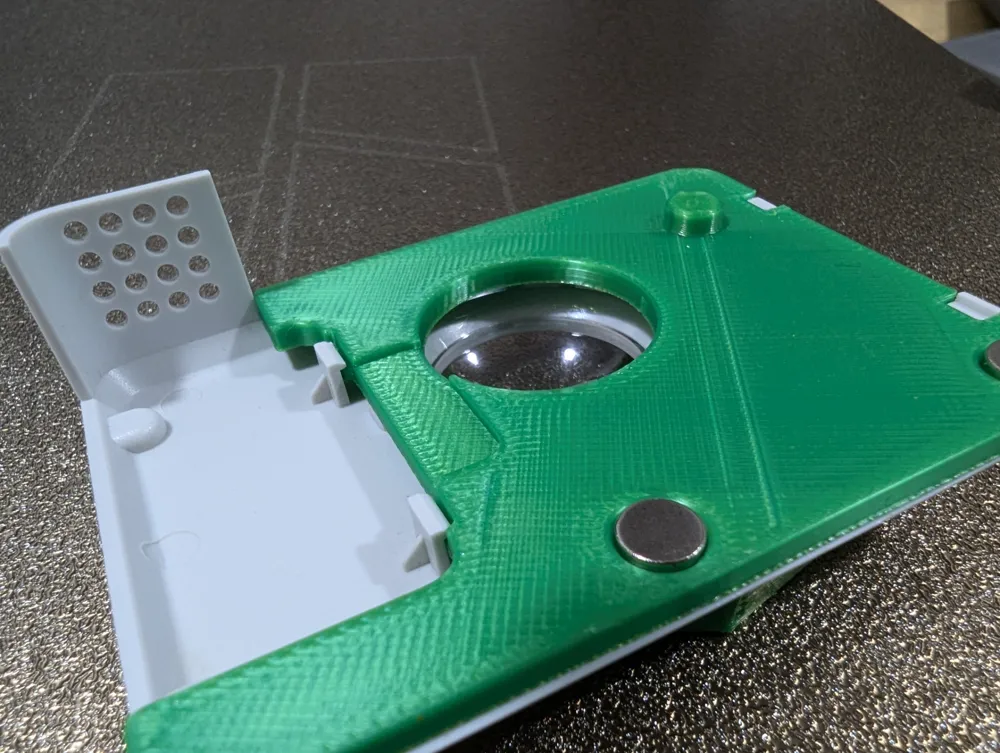
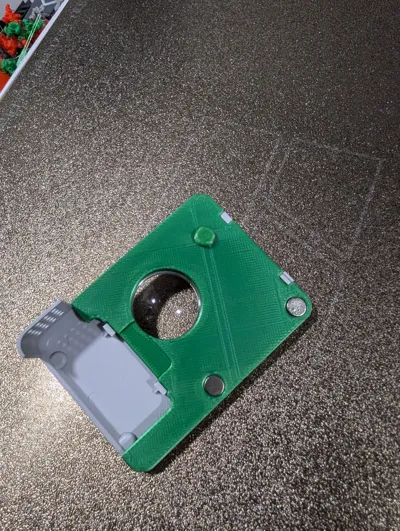
The first issue I noticed was that a few of the adapters I found did not lay completely flat against the extruder. This was due to the part on the extruder housing that supports the filament for the cutter - it doesn't sit completely flush with the rest - so I incorporated a recess in my design.
Next issue was the magnets are just not strong enough (at least mine aren't) to keep the cover from shifting during high speed movements. i took advantage of one of the screw access holes on the extruder to create another contact point to line the adapter up and keep it in place.
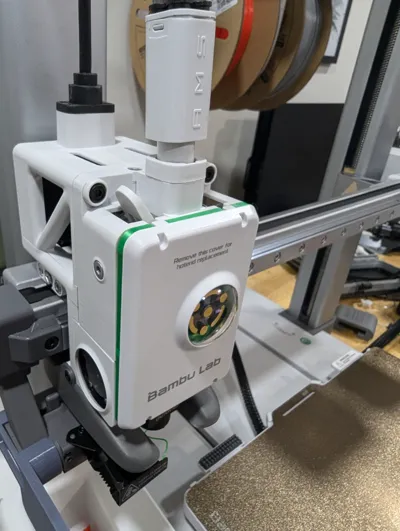
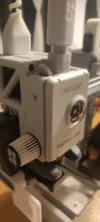
Lastly - most of the magnetic covers replace the cover and I wanted to retain the stock look of my printer.
I printed this in PLA since there aren't really any places that will come in contact with enough heat to warp it.
So far, I'm happy with the design and will upload any changes (if any) and it gives my A1 and extra pop of color while still looking stock.
Installation Notes:
- You will need two (2) 6x3mm magnets for this project.
- Lay the adapter plate flat and press in the 6x3mm magnets but do not push them all the way in. I used a small punch hammer to tap them in a little first.
- Line up the adapter plate with the extruder housing wall (so the peg is lined up and the magnets are aligned with the m4 screws) and press firmly at all 3 contact points until the plate is flat against the extruder - this sets the magnets at the proper depth. Take off the adapter plate for step 3.
- Install the adapter plate on the extruder cover. I find it easier to line up the bottom tabs first, then squeeze the top until the upper tabs snap into place.
When you're putting the cover on, you will most likely need to push the upper right corner in a little until the adapter plate peg wears in.
On a side note - after digging through lots of projects - i was most impressed with this project and wanted give credit to the designer of it. https://makerworld.com/en/models/638566#profileId-564156
Boost Me (for free)
If you like my work, consider giving me a boost!
Or you could always…

License

You shall not share, sub-license, sell, rent, host, transfer, or distribute in any way the digital or 3D printed versions of this object, nor any other derivative work of this object in its digital or physical format (including - but not limited to - remixes of this object, and hosting on other digital platforms). The objects may not be used without permission in any way whatsoever in which you charge money, or collect fees.


Comment & Rating (987)