

Print Profile(1)

Description
For all of you busy people who have a cat or small dog and you need to leave your pet for a while, here we have just the thing.
This project is really for those people out there who are familiar with Arduino Microprocessors and wish to further their 3D Prints by adding some electronics, but saying that, there are plenty of tutorials available via Youtube etc and plenty of open source libraries and example codes to get you started, that's how I got started.
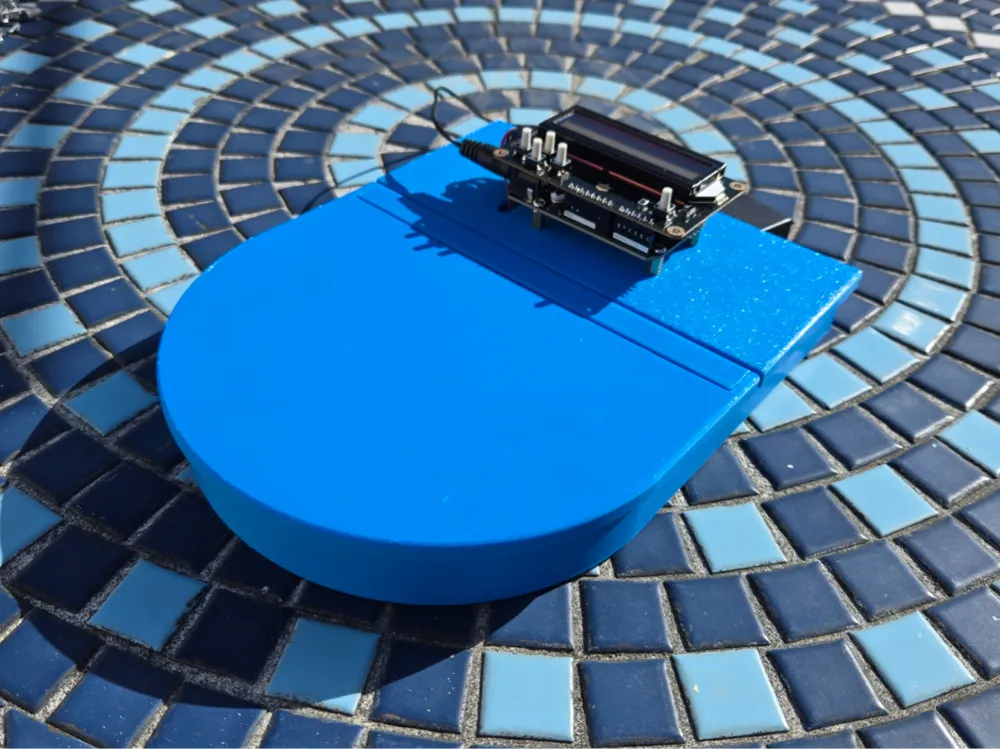
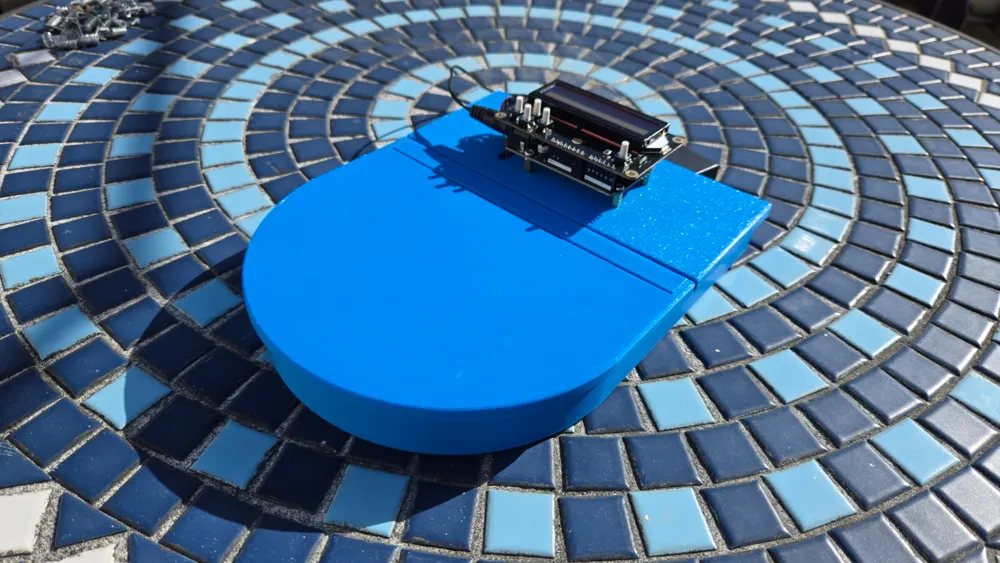
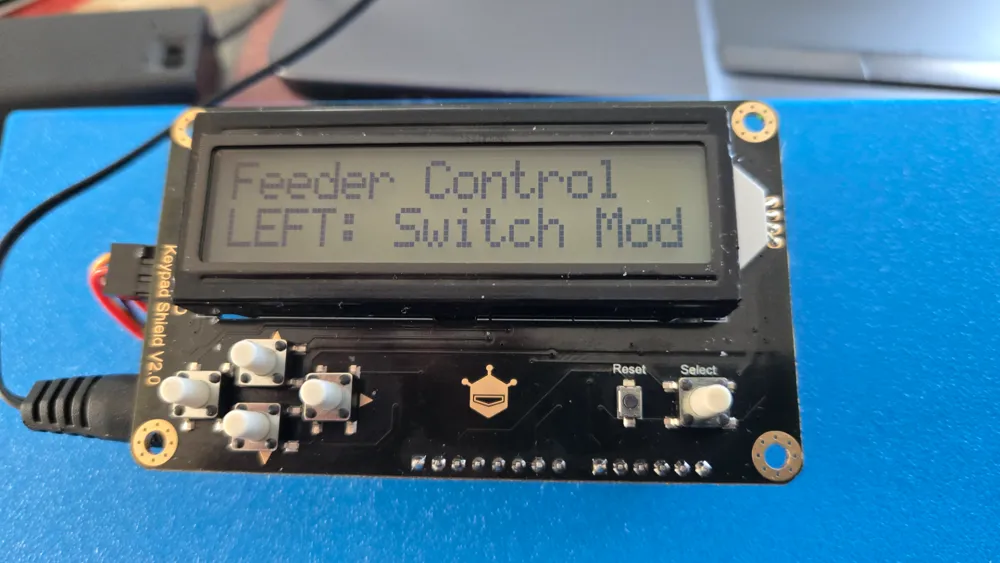
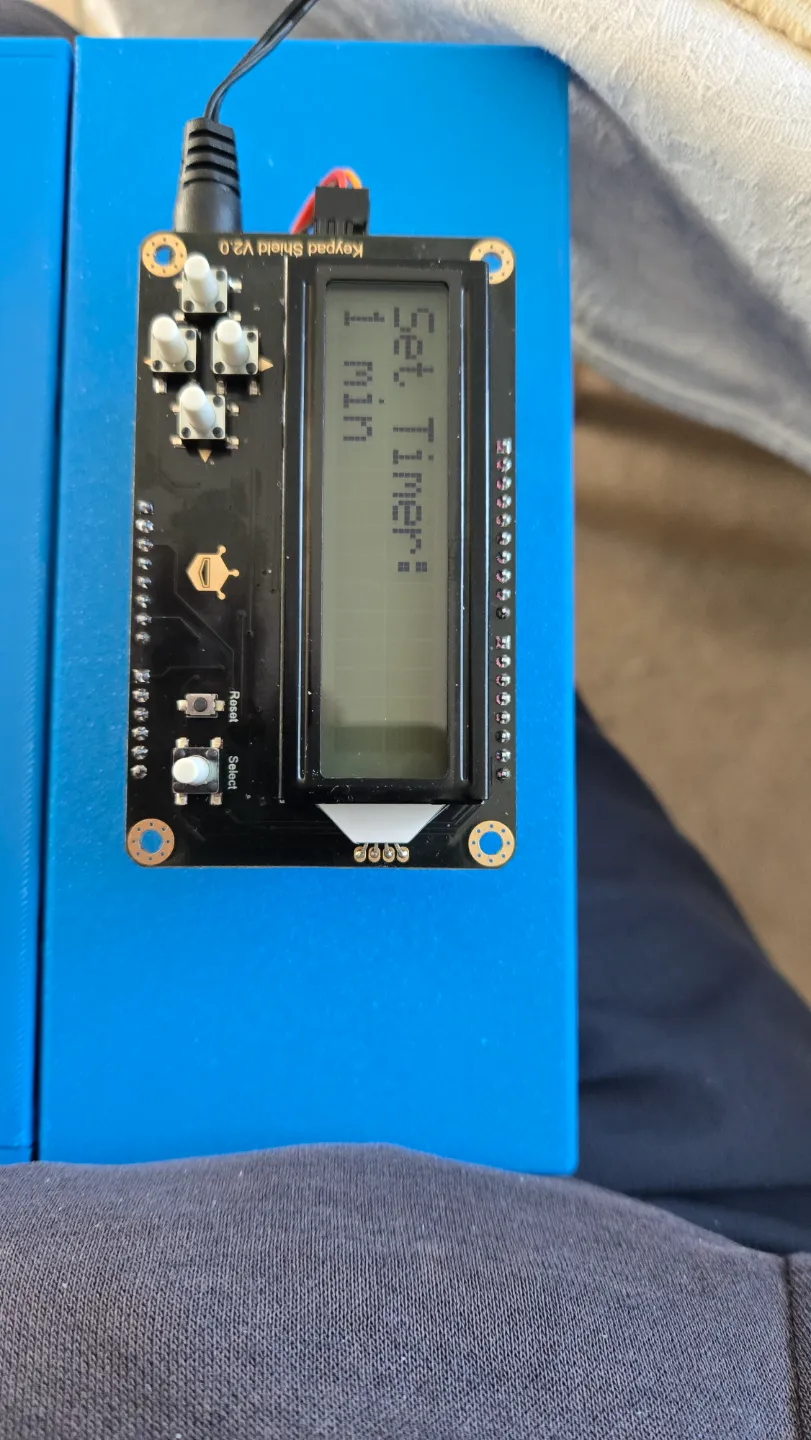
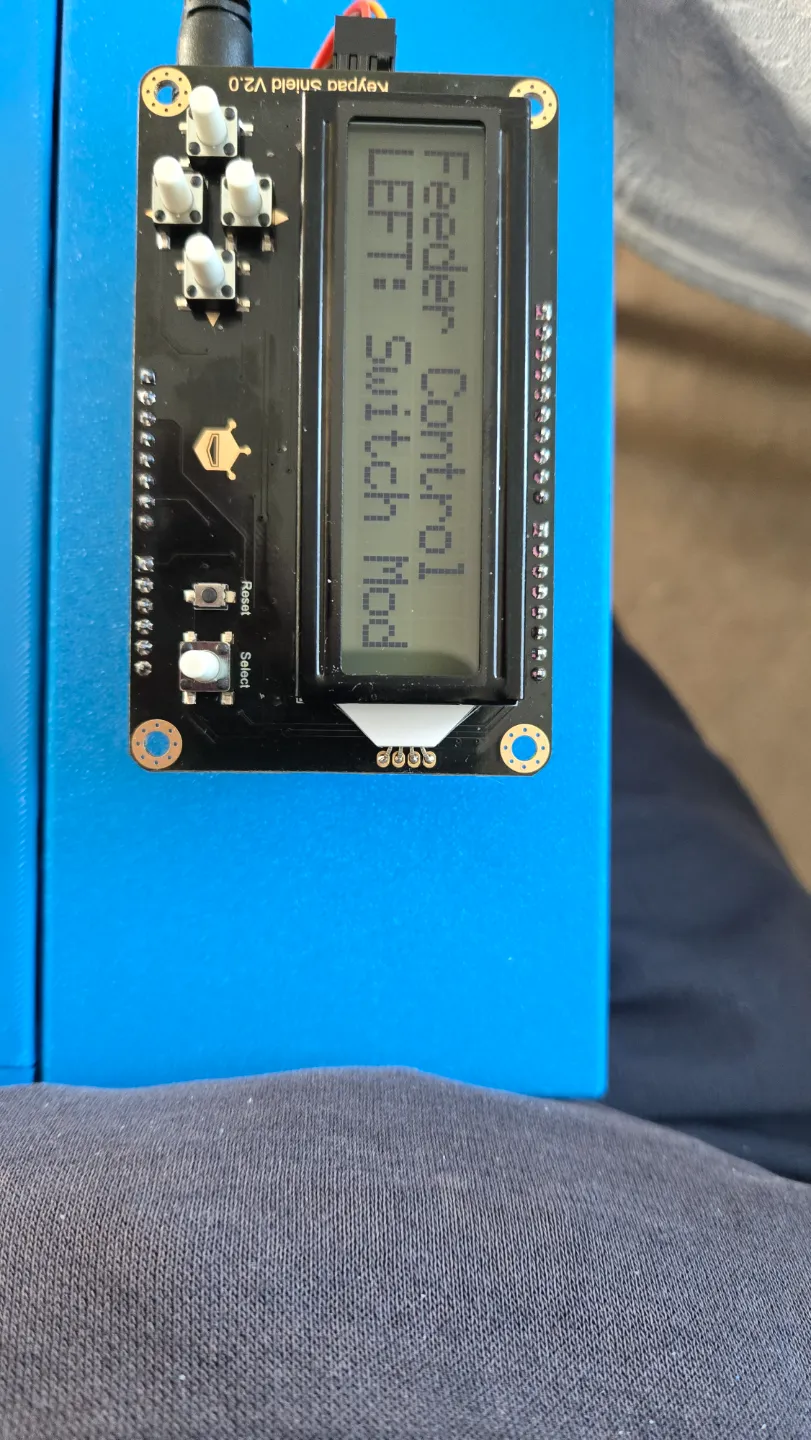
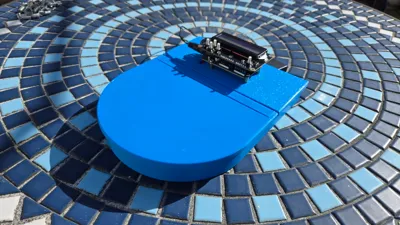
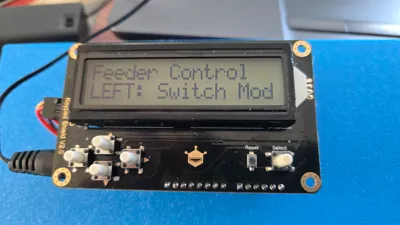
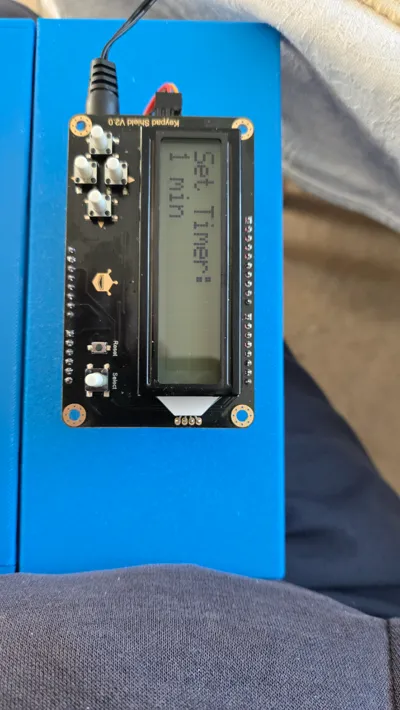
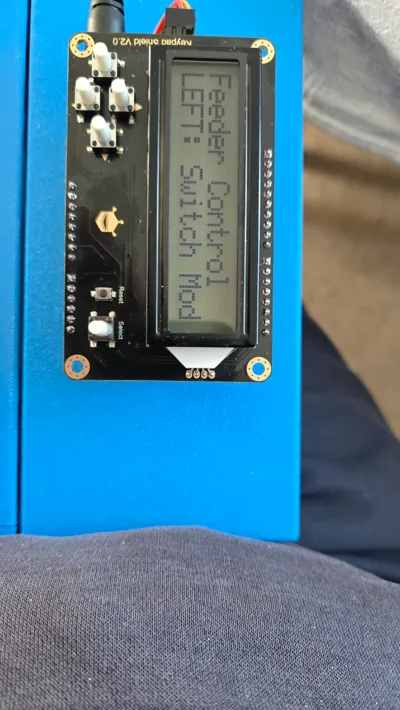
This is an Automatic Cat or small dog feeder, this Arduino Uno Based Feeder is used in conjunction with an DFRobot RGBLCD Display shield, the display is ideal for this project, it has 5 buttons and we can use these buttons to open/close the feeder lid and set the timer, the timer has a 1 minute setting for de-bugging then a long press increases the minutes faster to get to the allotted period before you want the lid to open.
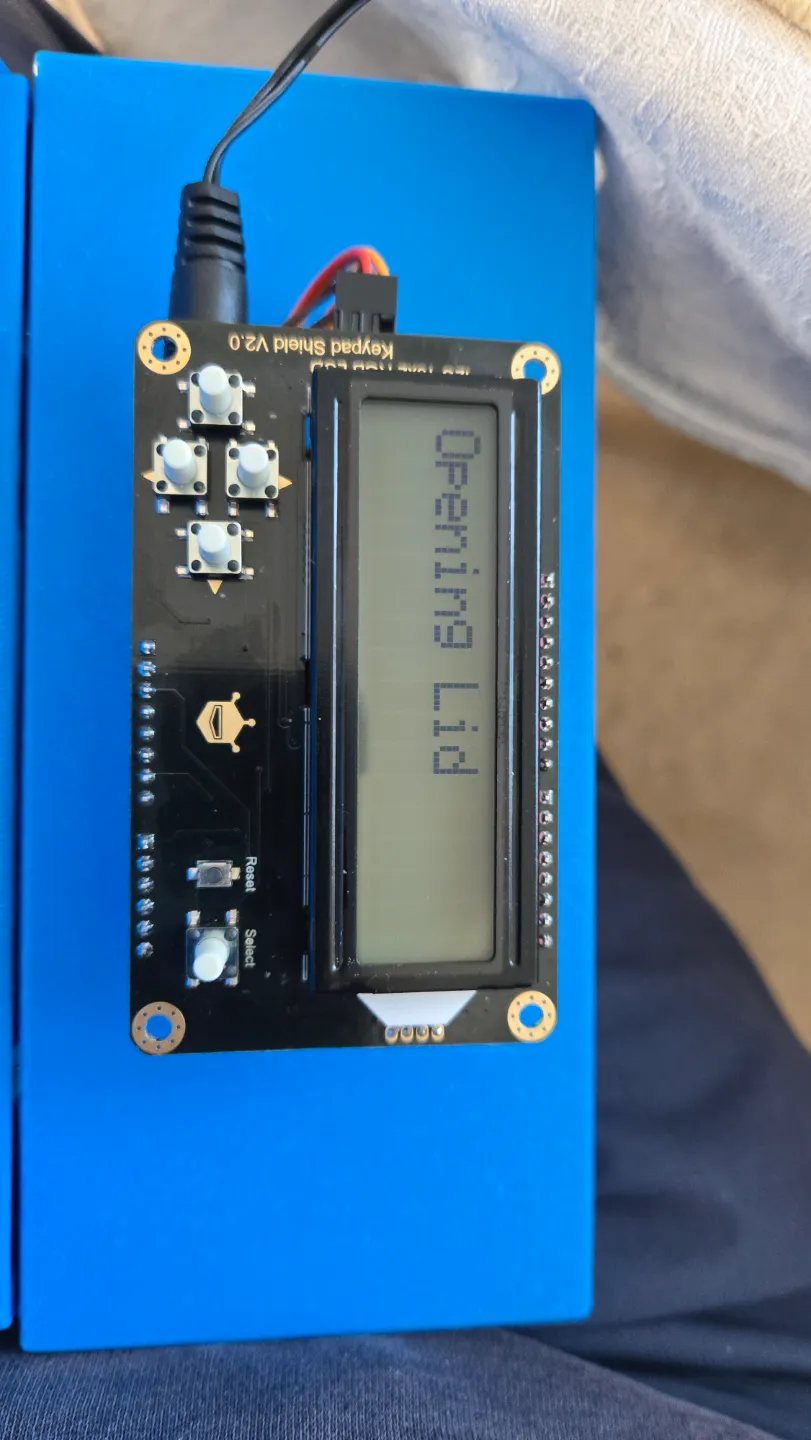
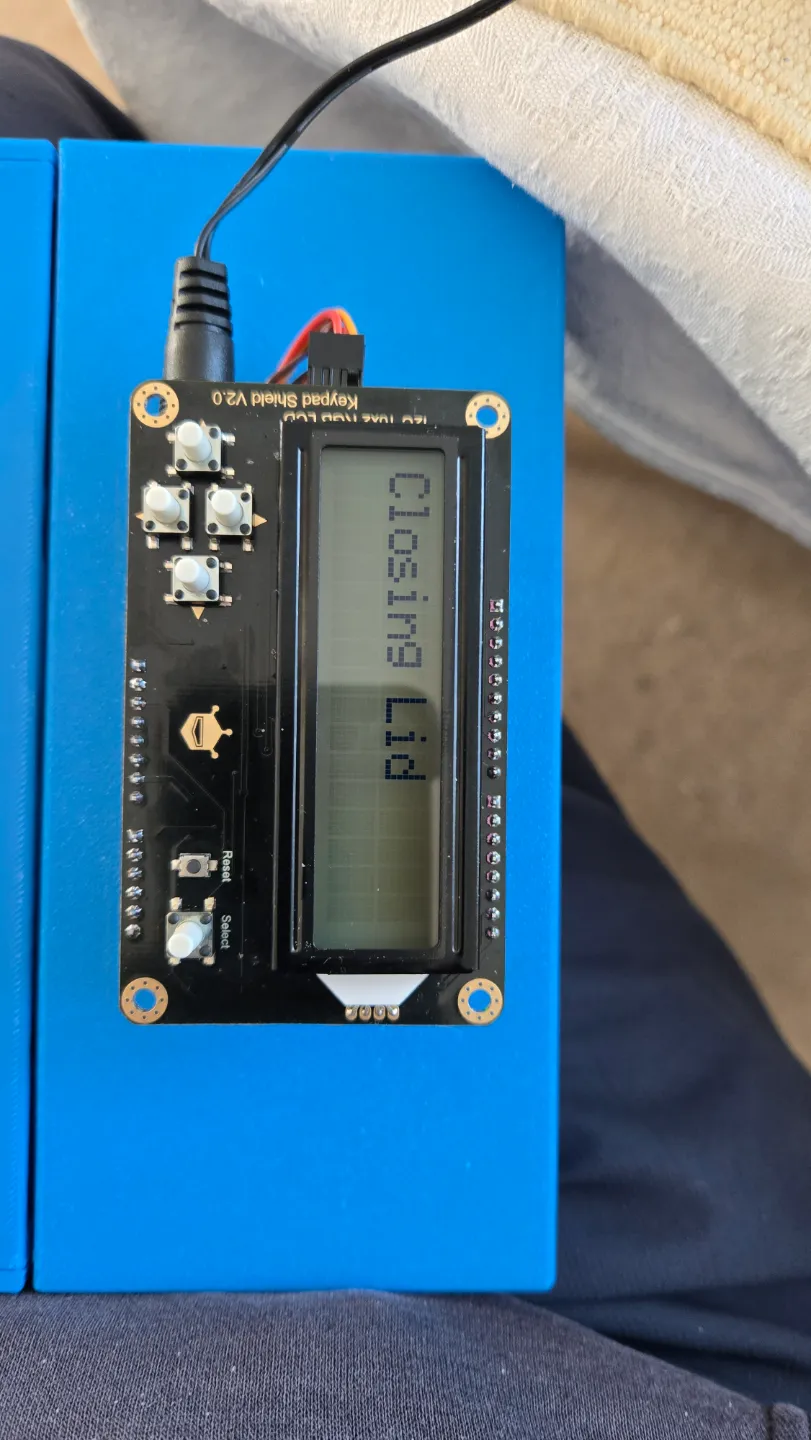
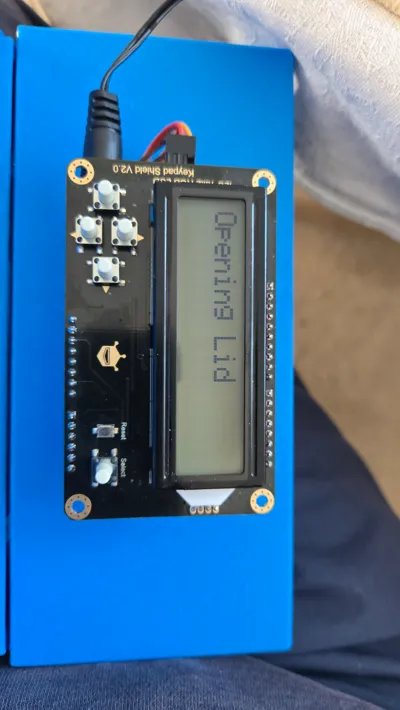
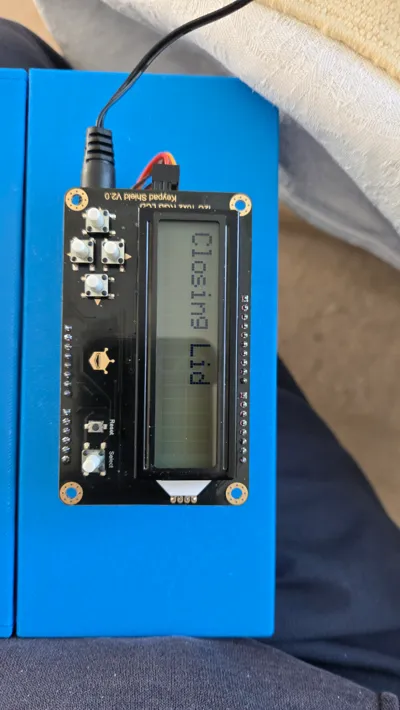
The left button toggles between the lid open/close setting, to use this you would press the right button to open the lid to fill the feeder, then a further press of the right button closes the lid, then toggle the left switch again to get to the timer mode which displays at 1 minute, then long press the up/down buttons to set a time period, then press the select button to start the timer.
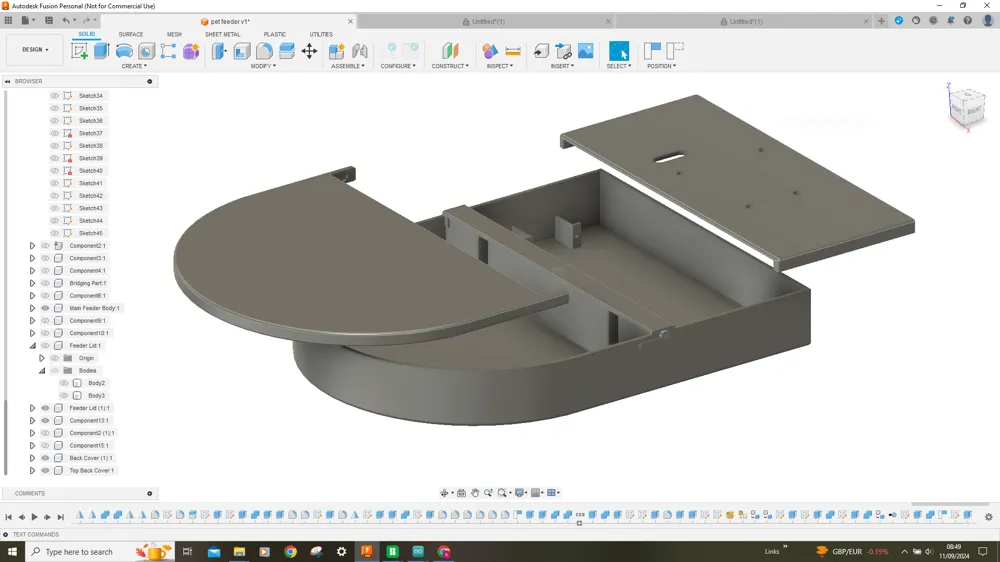
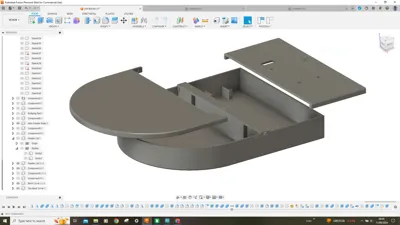
The feeder uses 2 Micro servos to open and close the lid and there is a section in the code where each servo can be adjusted to get the action just right.
The feeder can be powered by a 9v Battery with a battery holder with a switch as in this case, or a 5v 2/3amp wall wart power supply.
Once the lid is in the open position the servos detach, this saves on using energy, the right open/close button re attaches the servos.
The code looks quite complicated, but there are only a few functions with the feeder.
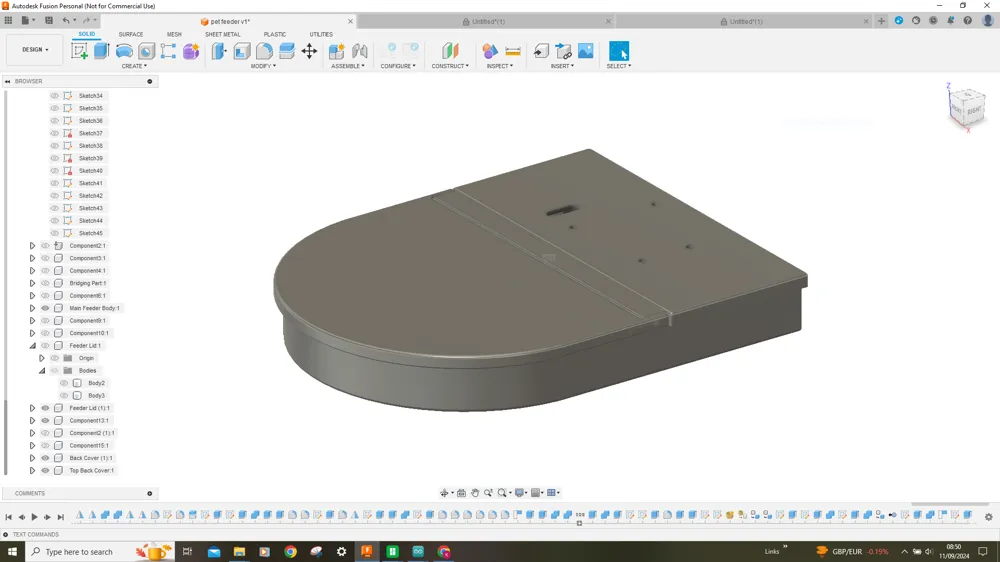
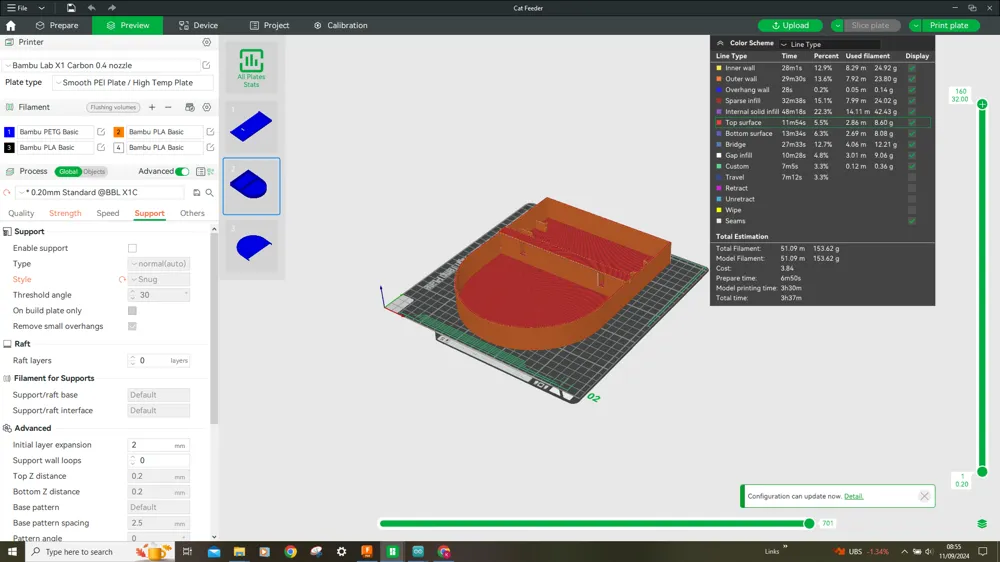
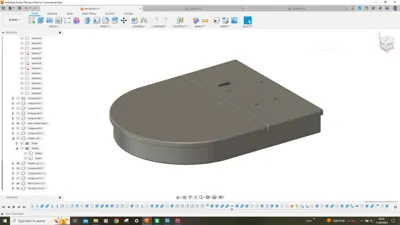
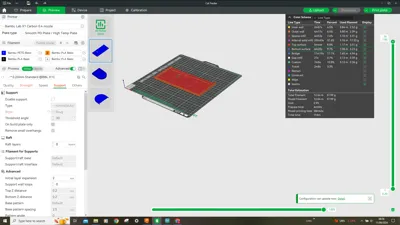
The feeder footprint itself is about as big as I could go with my X1 Carbon printer, but it doesn't need to be any bigger really.
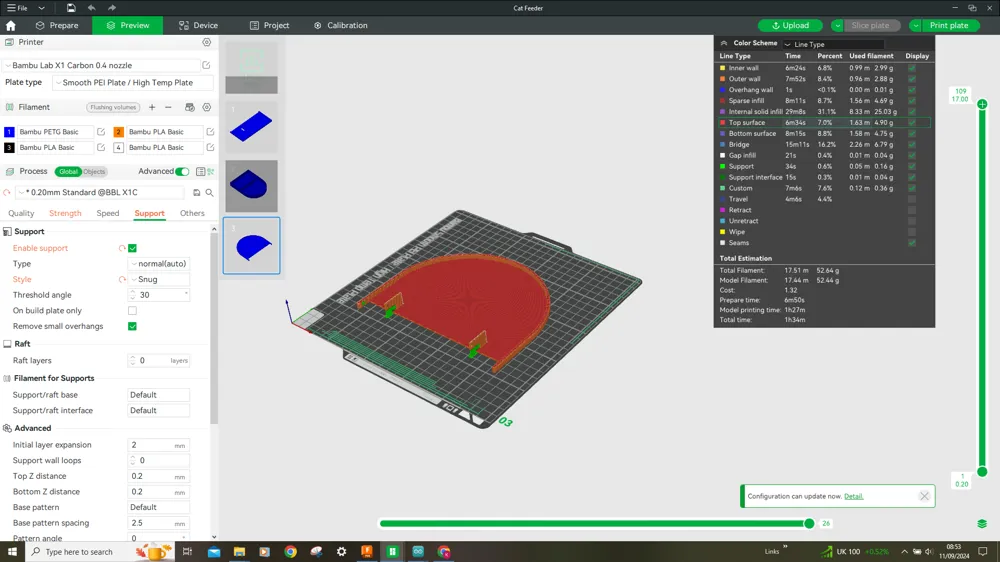
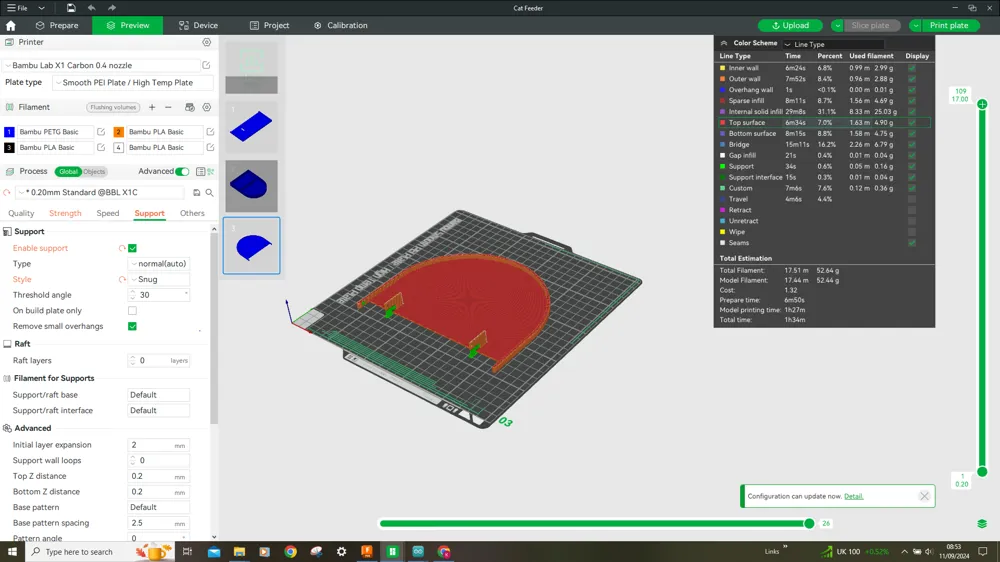
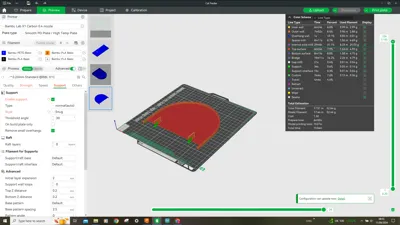
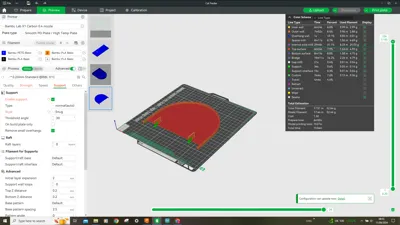
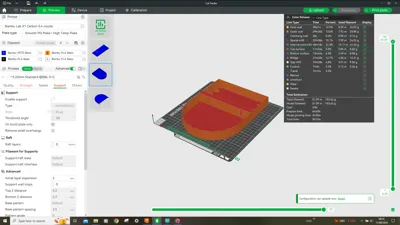
The lid is the only component that needs support.
To assemble the feeder, secure the servos in position with the screws that come with the servos, then you will need 1mm servo control wire used for radio control models, these need to have Z ends, I found it best to attach these on the lid first, then attach the lid onto the pegs gently, you have to locate one side then manipulate the other side to set in place, ensure the lid moves freely opening and closing, then set the distance to the servo arms and make the 2nd Z end this way, then attach to the servo horn before attaching to the servo, and using the screw to secure, it is a bit of a fiddle but very achievable, and the only way.
Unfortunately due to Asthma I don't have a cat to demonstrate the feeder in action, but a cuddly toy will have to do and you get the idea.
I'm not sure how to add the code but if anyone wants it I'd be happy to share it.
A challenging but worthwhile project.
Thanks for Looking.
License

You shall not share, sub-license, sell, rent, host, transfer, or distribute in any way the digital or 3D printed versions of this object, nor any other derivative work of this object in its digital or physical format (including - but not limited to - remixes of this object, and hosting on other digital platforms). The objects may not be used without permission in any way whatsoever in which you charge money, or collect fees.


Comment & Rating (0)