
Multiboard AMS Shelf & Build Plate Holder
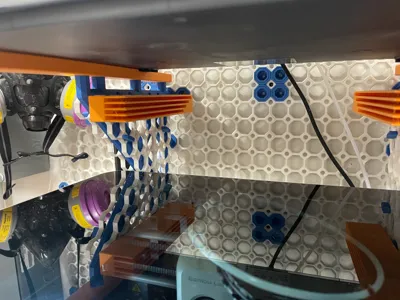
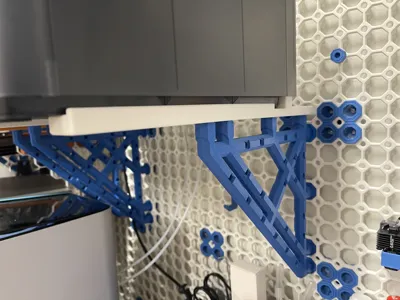
Print Profile(6)


Description
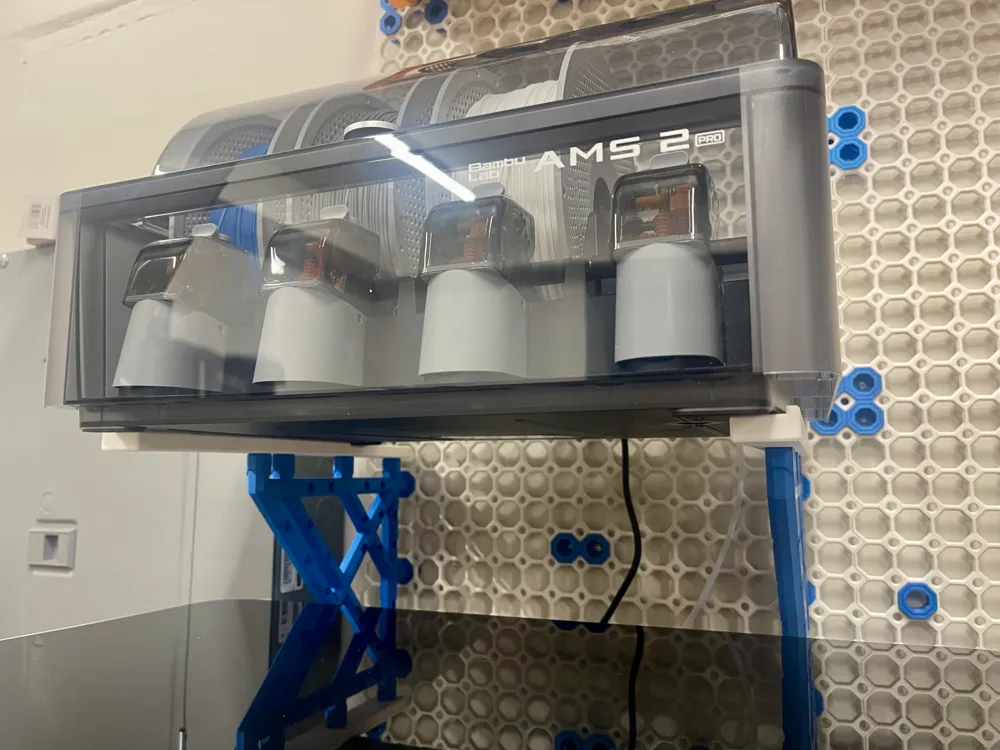
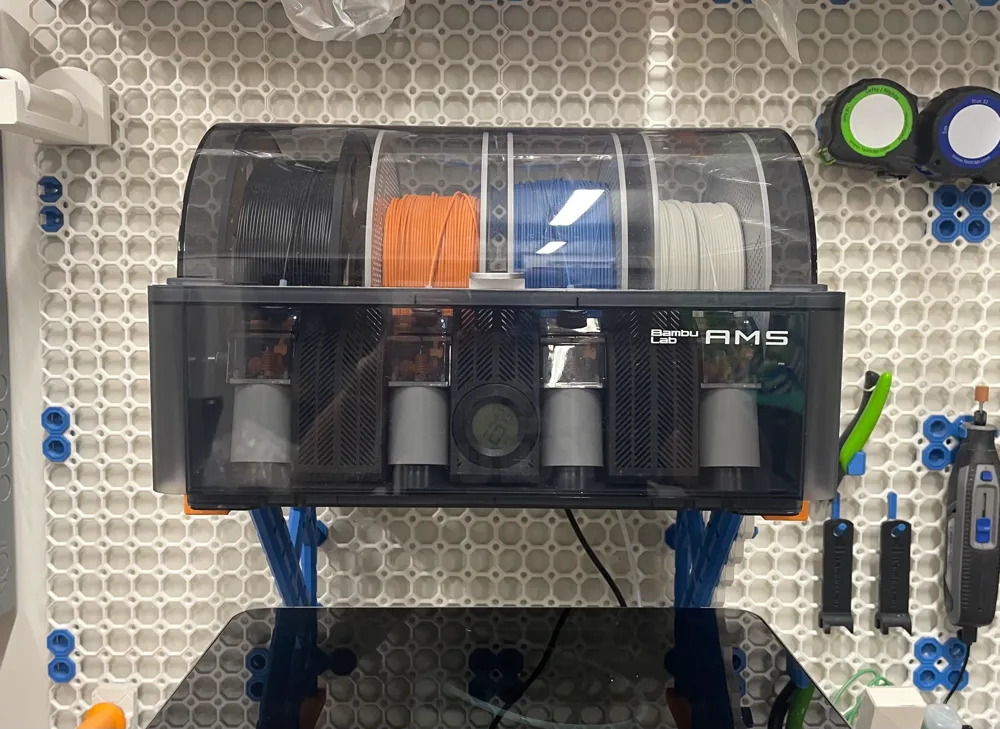
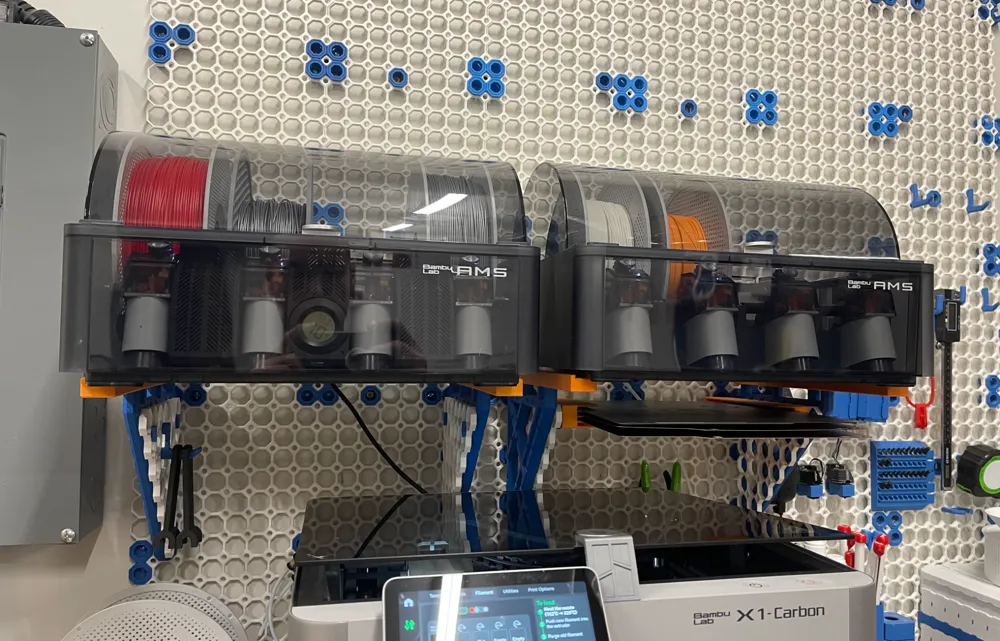
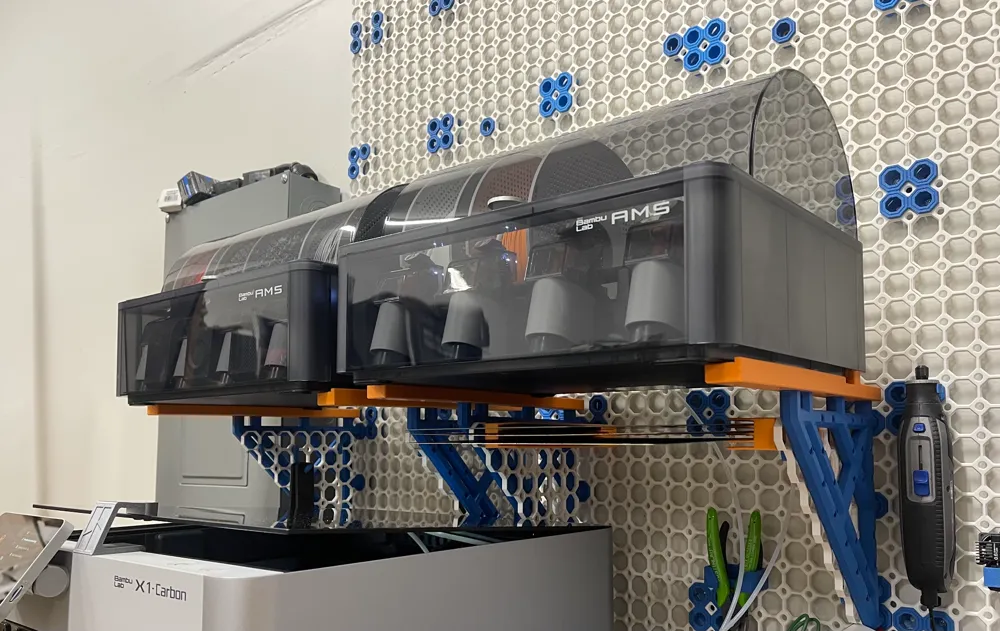
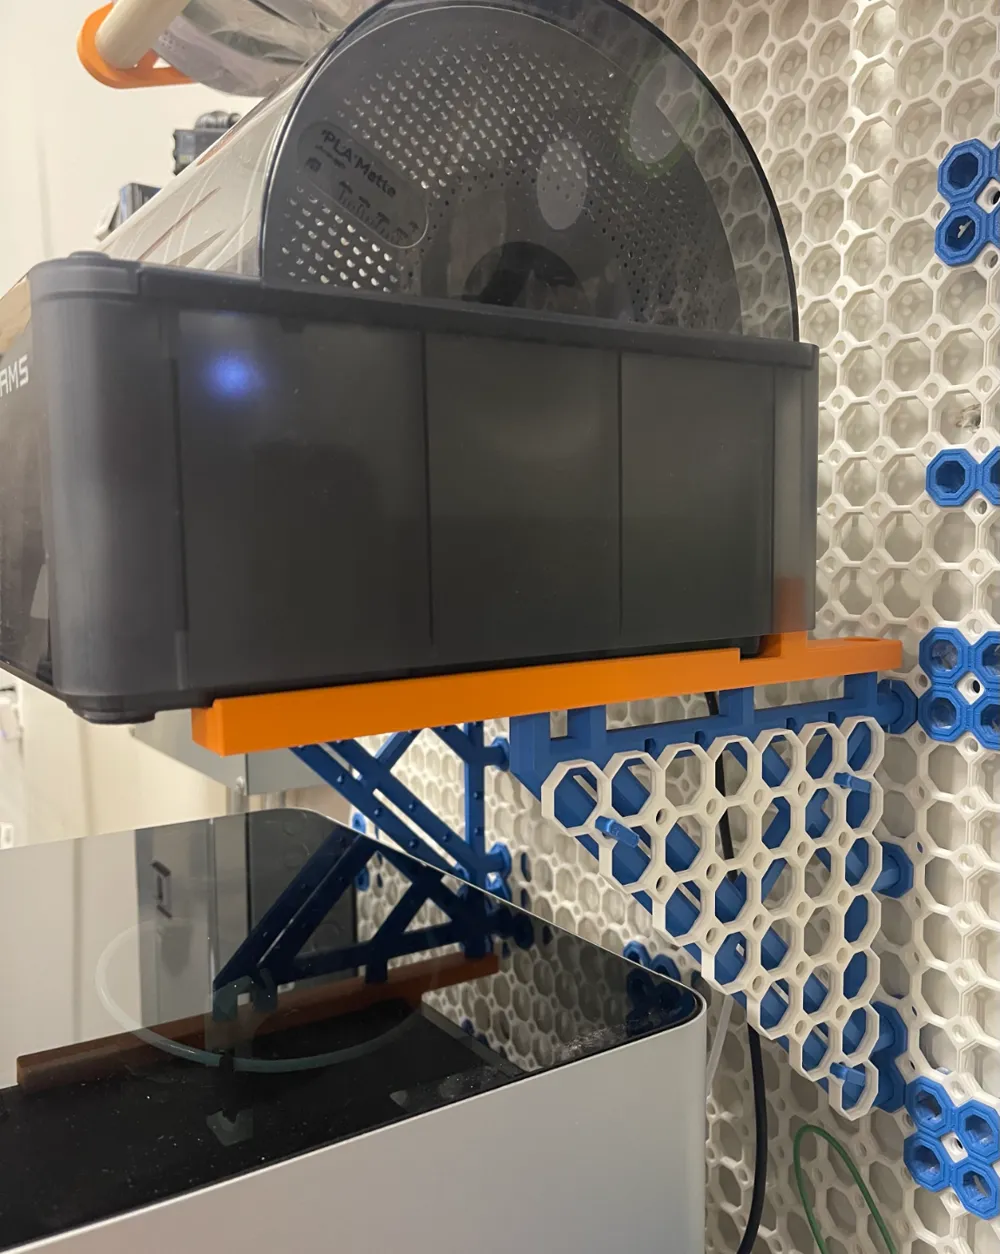
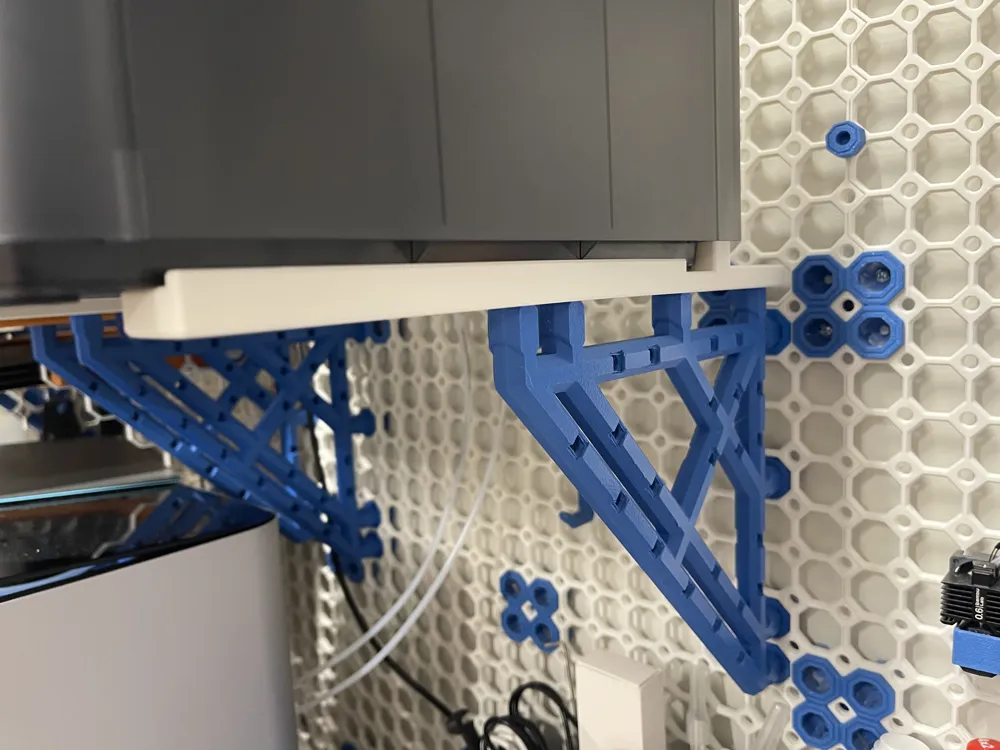
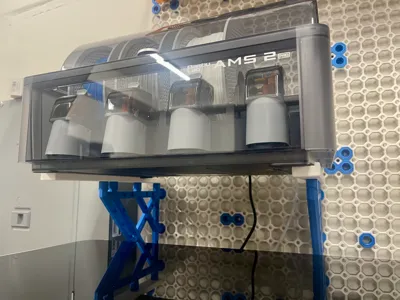
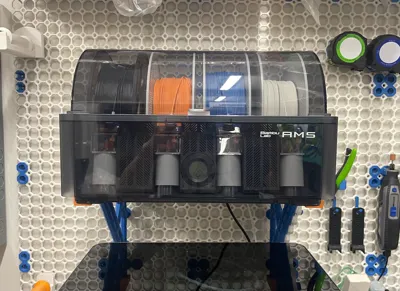
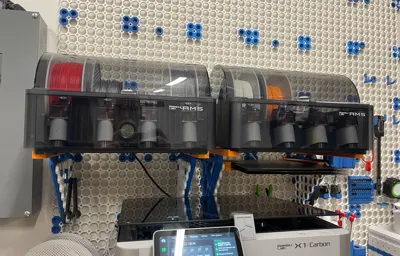
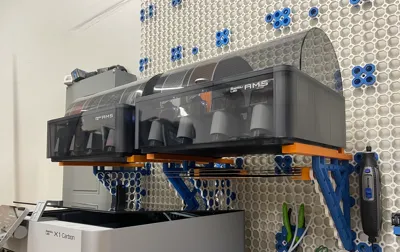
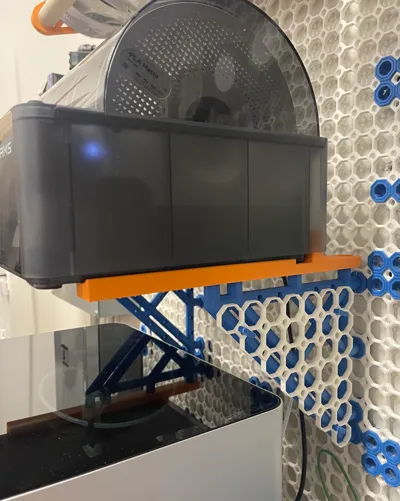
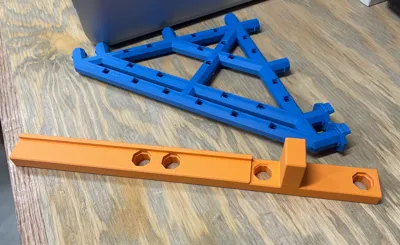
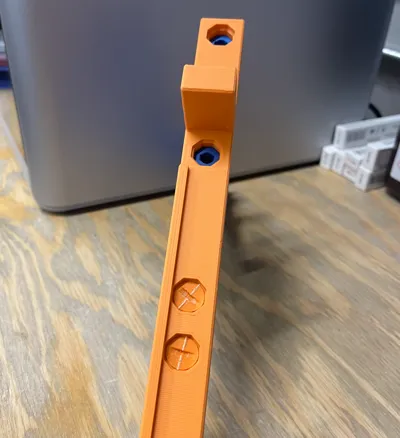
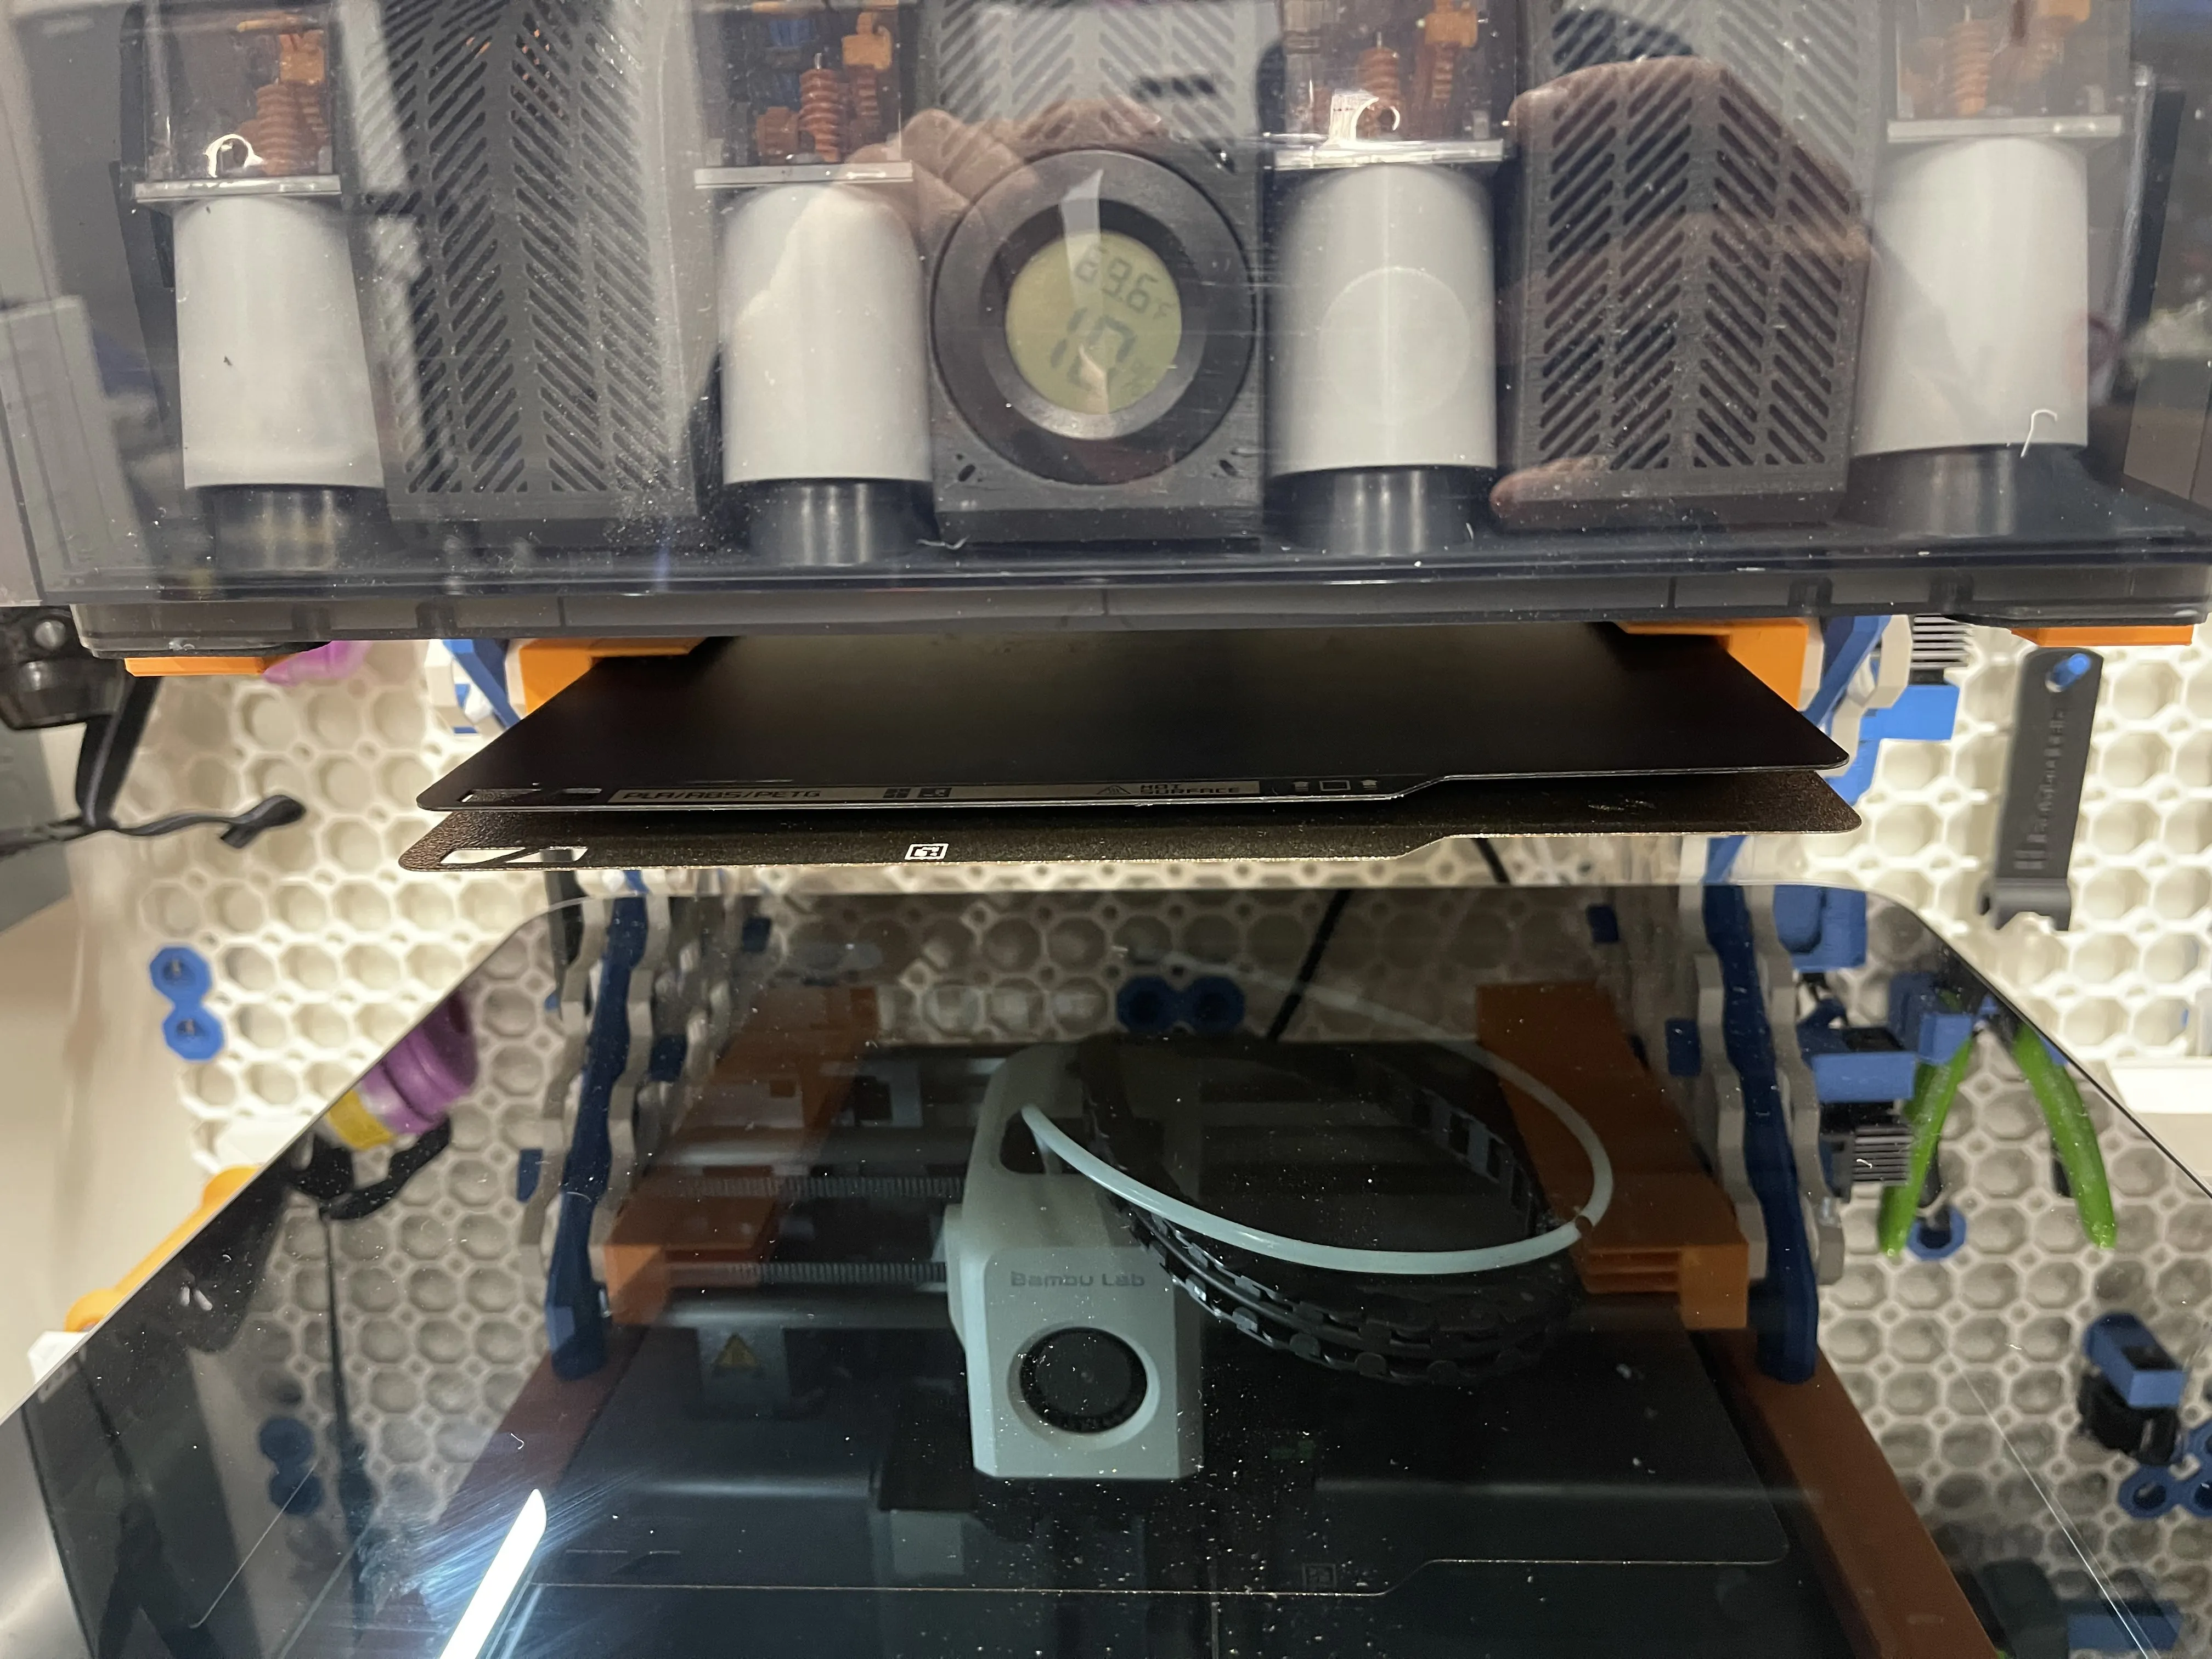
AMS shelf base to mount your AMS to the Multiboard system. This is based on my original design found here Multiboard AMS Shelf and Build Plate Holder. While it works well and has held my AMS for months without issue, this new design takes advantage of the recent Multiboard parts update by using newly available parts.
Multigrid Updates: New Model Available!
Latest version updates the model to be compatible with the new 8x8 brackets, updated since the Multigrid release. These use new bolt-lock threads to secure the brackets to snaps, etc.
New AMS/AMS 2 Pro and AMSS HT Shelves here!
New AMS / AMS 2 Pro Multiboard Tilting Shelf & Multiboard AMS HT shelves that tilts forward to allow for more versatile mounting options and easy access.

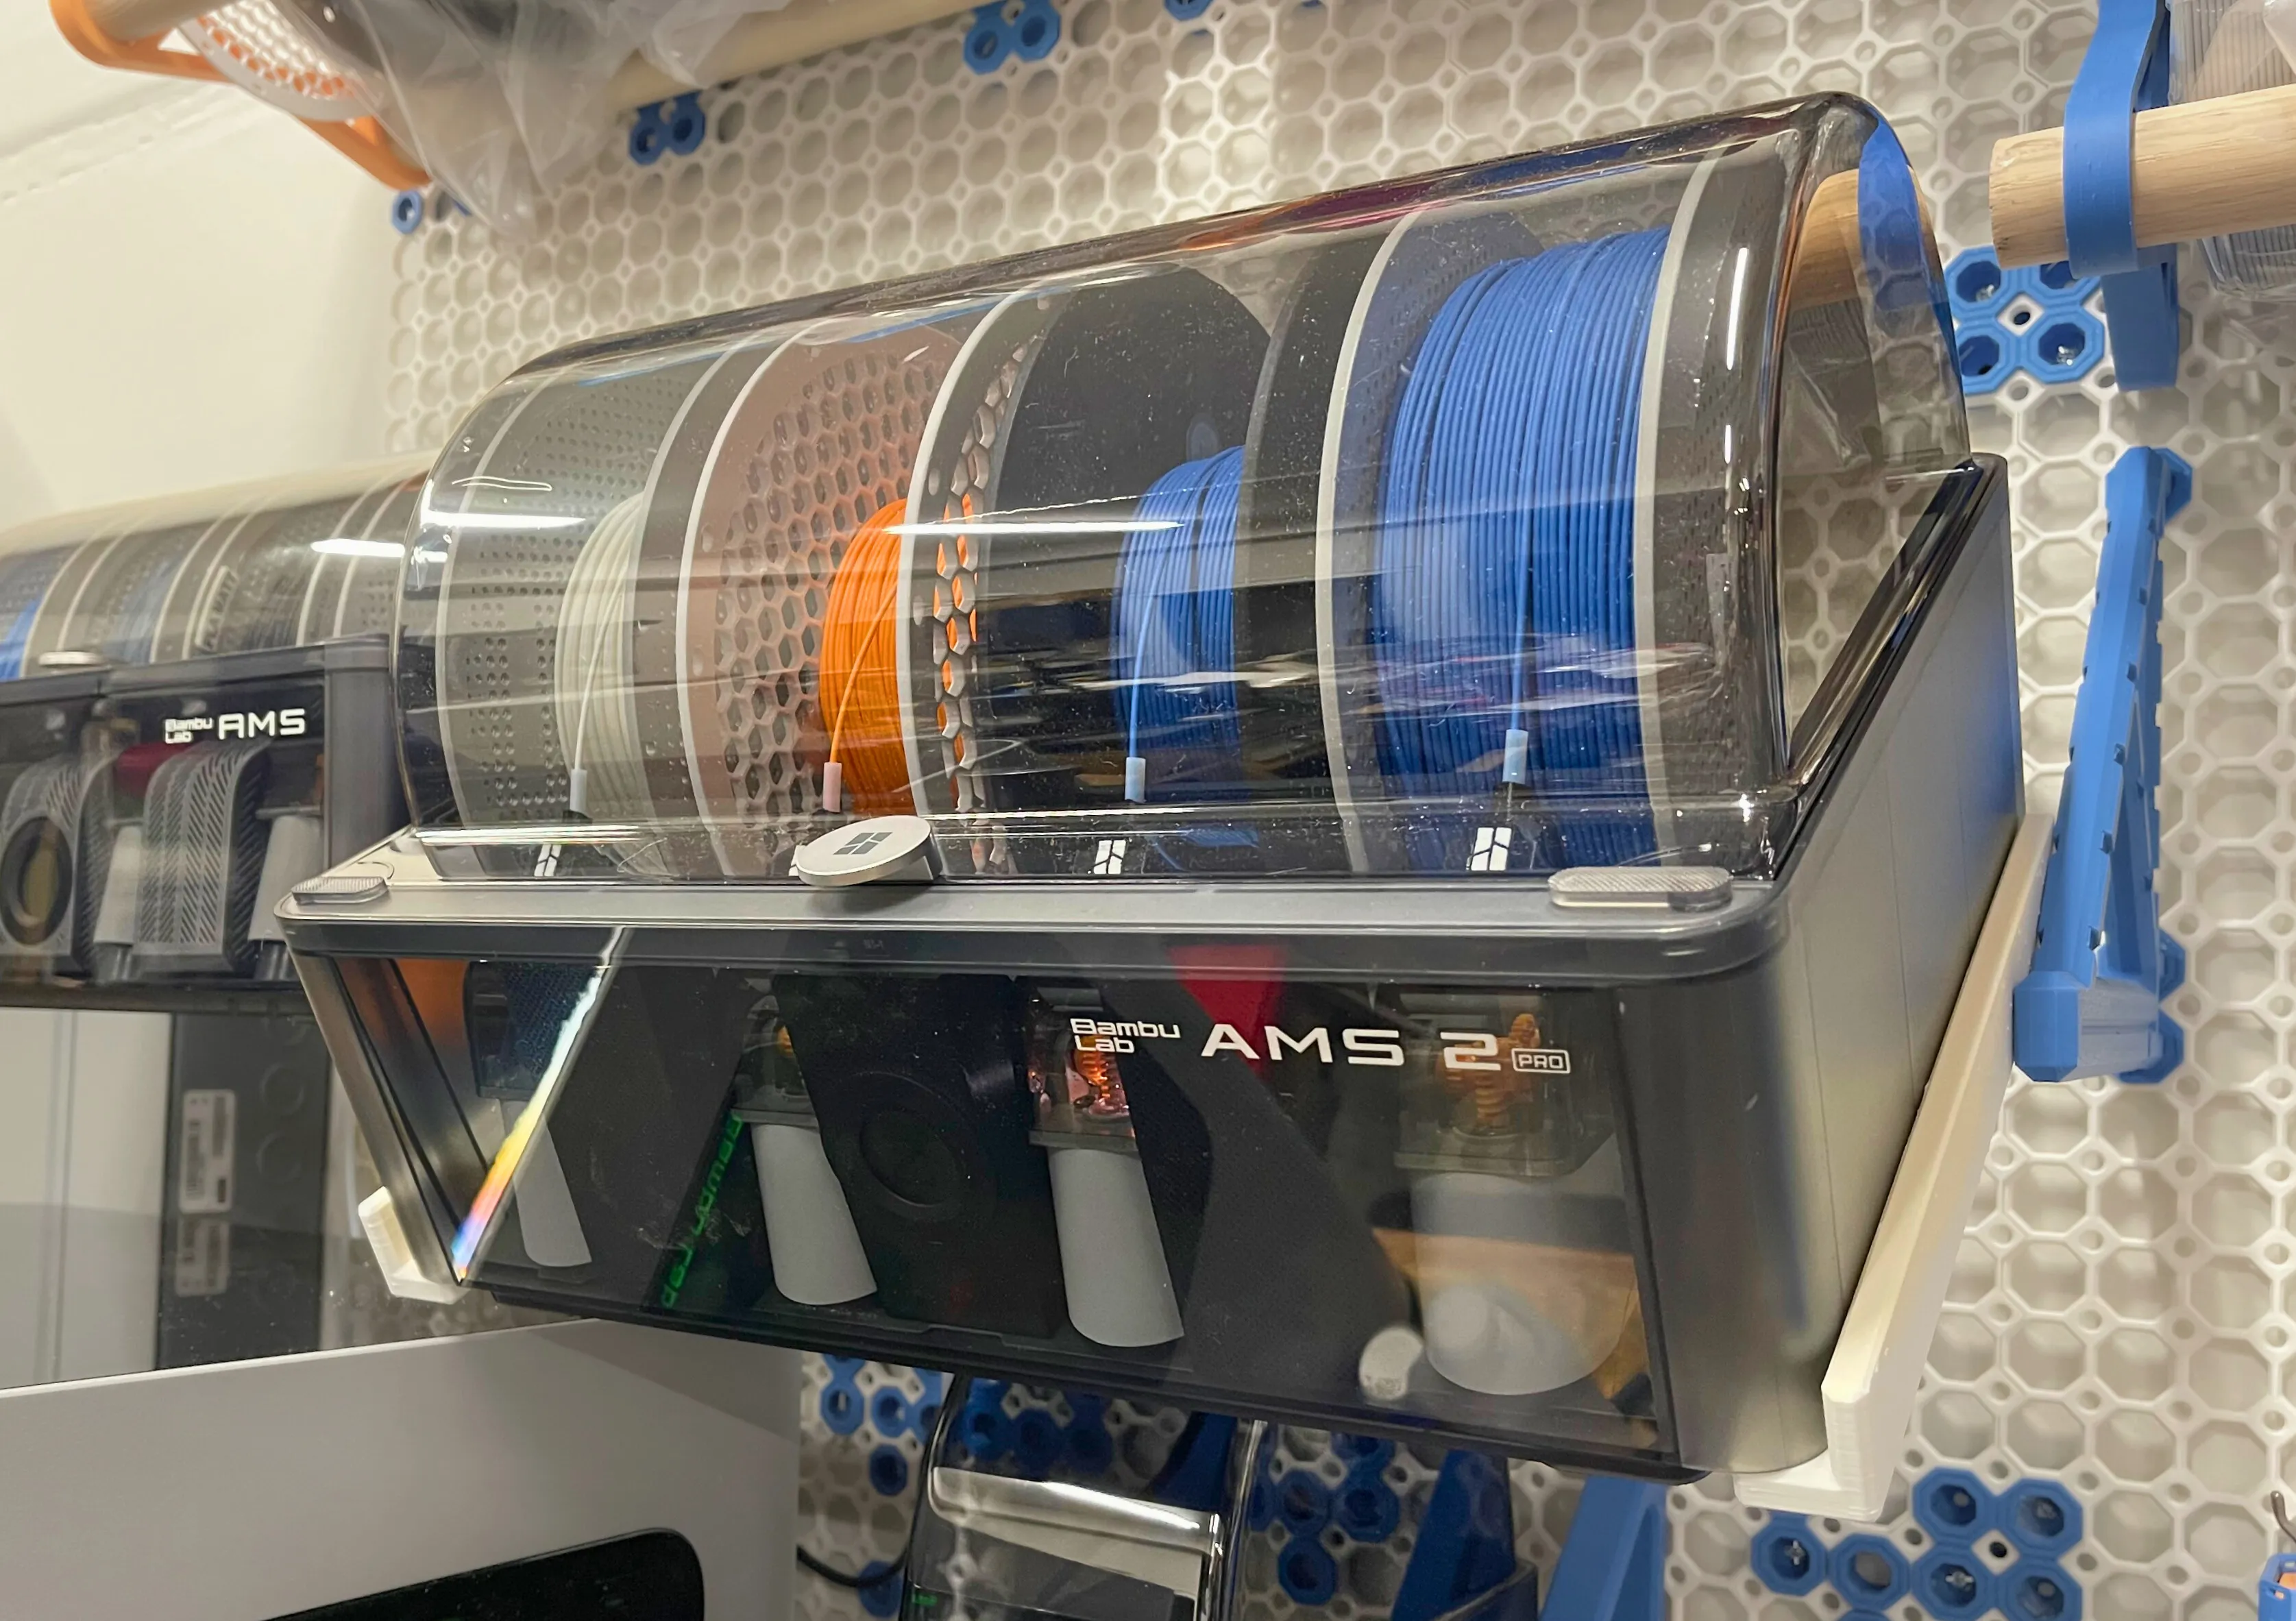
AMS and AMS 2 Compatibility
Latest shelf model, that is compatible with the Multigrid update is now AMS 2 compatible!
I received a couple of comments that there were fitment issues with some AMS models. There appear to be multiple versions of the AMS shipping (as of Oct 2024) with differences in the case design. Version 1.2 has updates to the upright post that fits in the back of the AMS case. This new version should be compatible with all AMS versions. Please let me know if you have any issues. Thank you to all the users who helped me solve this issue!
AMS Shelf Printing & Installation
Requires the following Multiboard 3D printed parts to complete the shelf:
- (2) 8x8 Bracket - Bolt-Locked Inserts
- (10) Locking T-Bolt I highly suggest that you print these in PETG or stronger material when using to secure the Heavy Weight-Bearing Hook Snaps
(2) Heavy Weight-Bearing Hook Snap (new flush versions) I highly suggest that you print these in PETG or stronger material
or
(2) Raised Heavy Weight-Bearing Hook Snap I highly suggest that you print these in PETG or stronger material
Depending on your Multiboard panel setup, you may require a combination of the following:
- Multiboard Snap
- 6.25 mm - Offset Snap (DS Part A) with Double-Sided Snap (DS Part B) (link to older raised snap, use appropriate flush version if that fits your setup)
- 6.25 mm - Dual Offset Snaps (DS Part A) with Dual Snap Connector (DS Part B) (link to older raised snap, use appropriate flush version if that fits your setup)
You may also use my customize 8mm and 6.25 mm bolts to support the bottom 3 bracket connection points. Using these bolts simplifies installation, especially if you already have your tiles mounted and does not require removal of the tiles to install.
Other optional parts, should you want to attach Multiboard tiles to the brackets:
Mounting the Self Bases to the Brackets
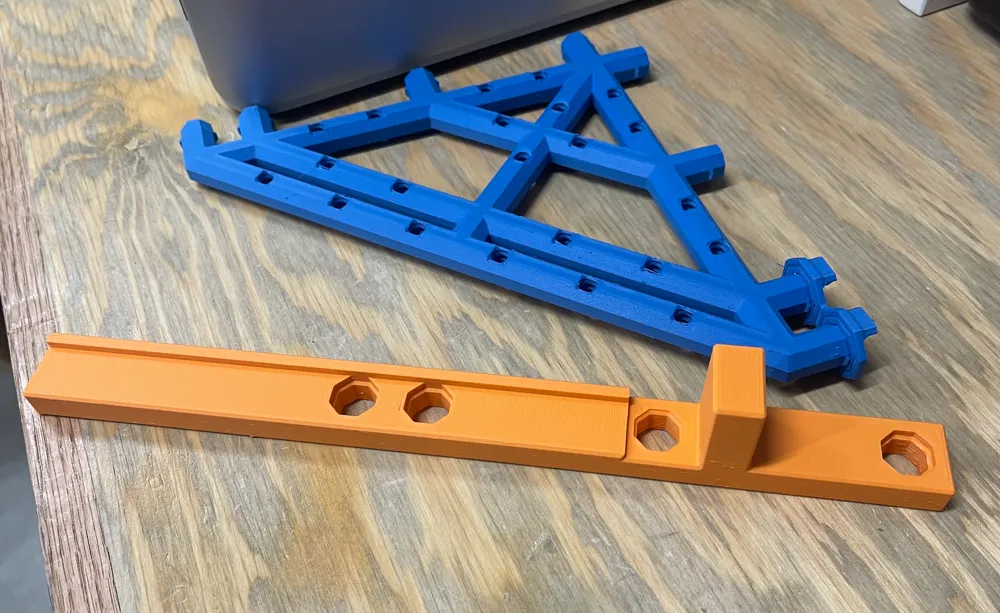
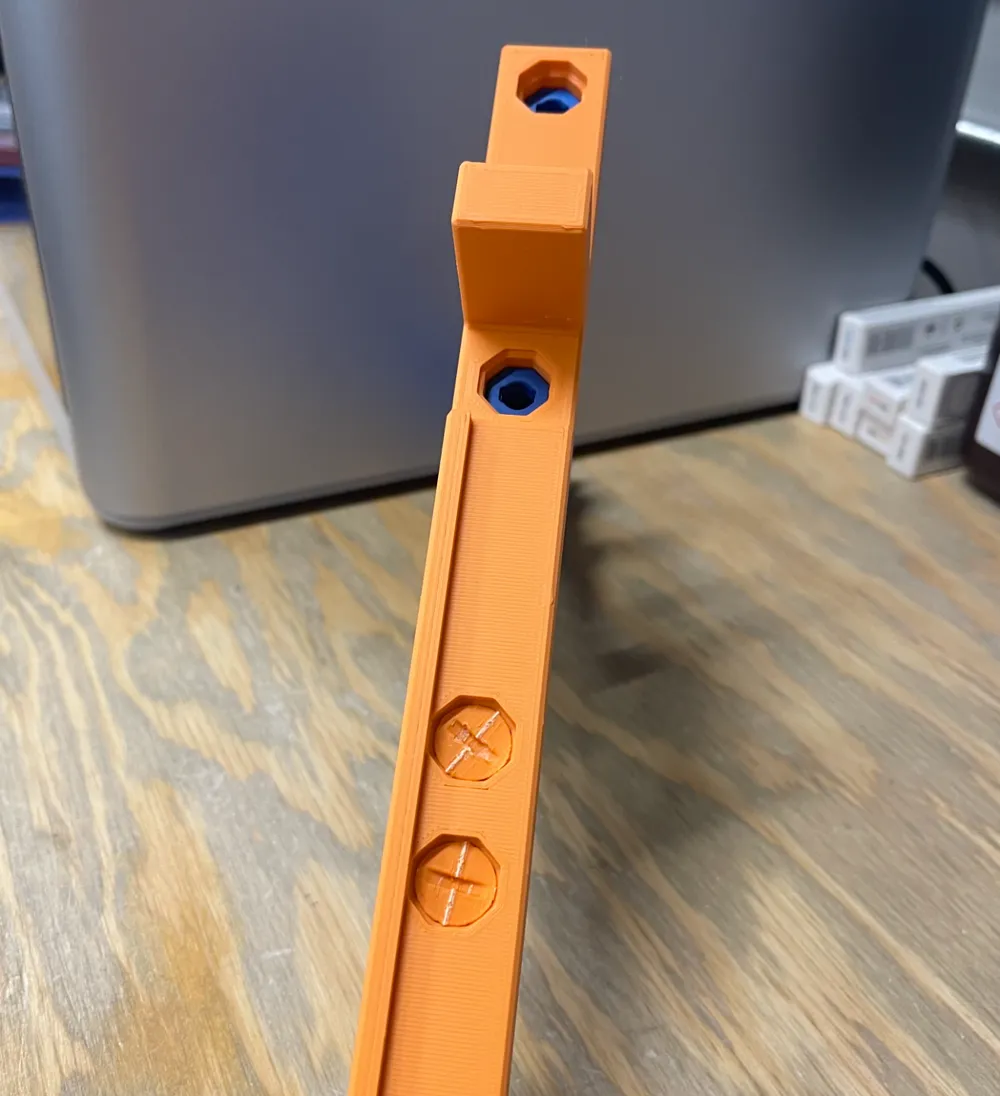
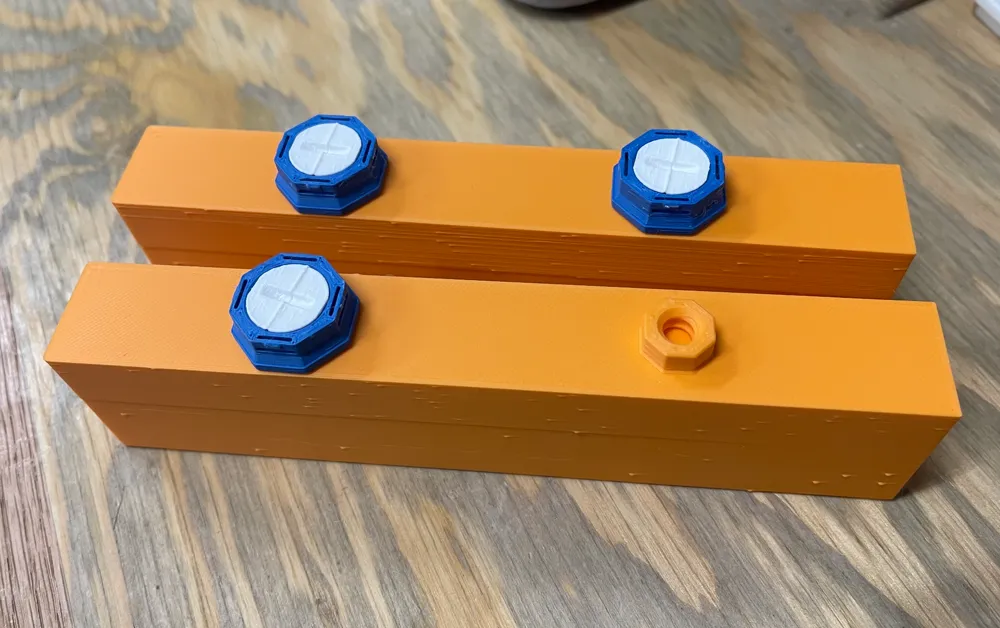
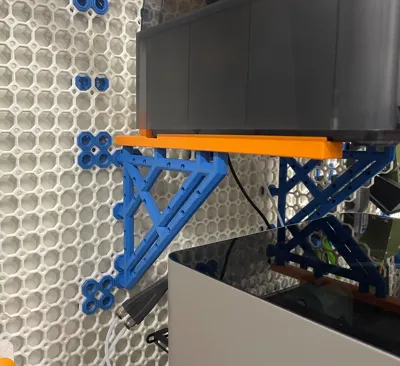
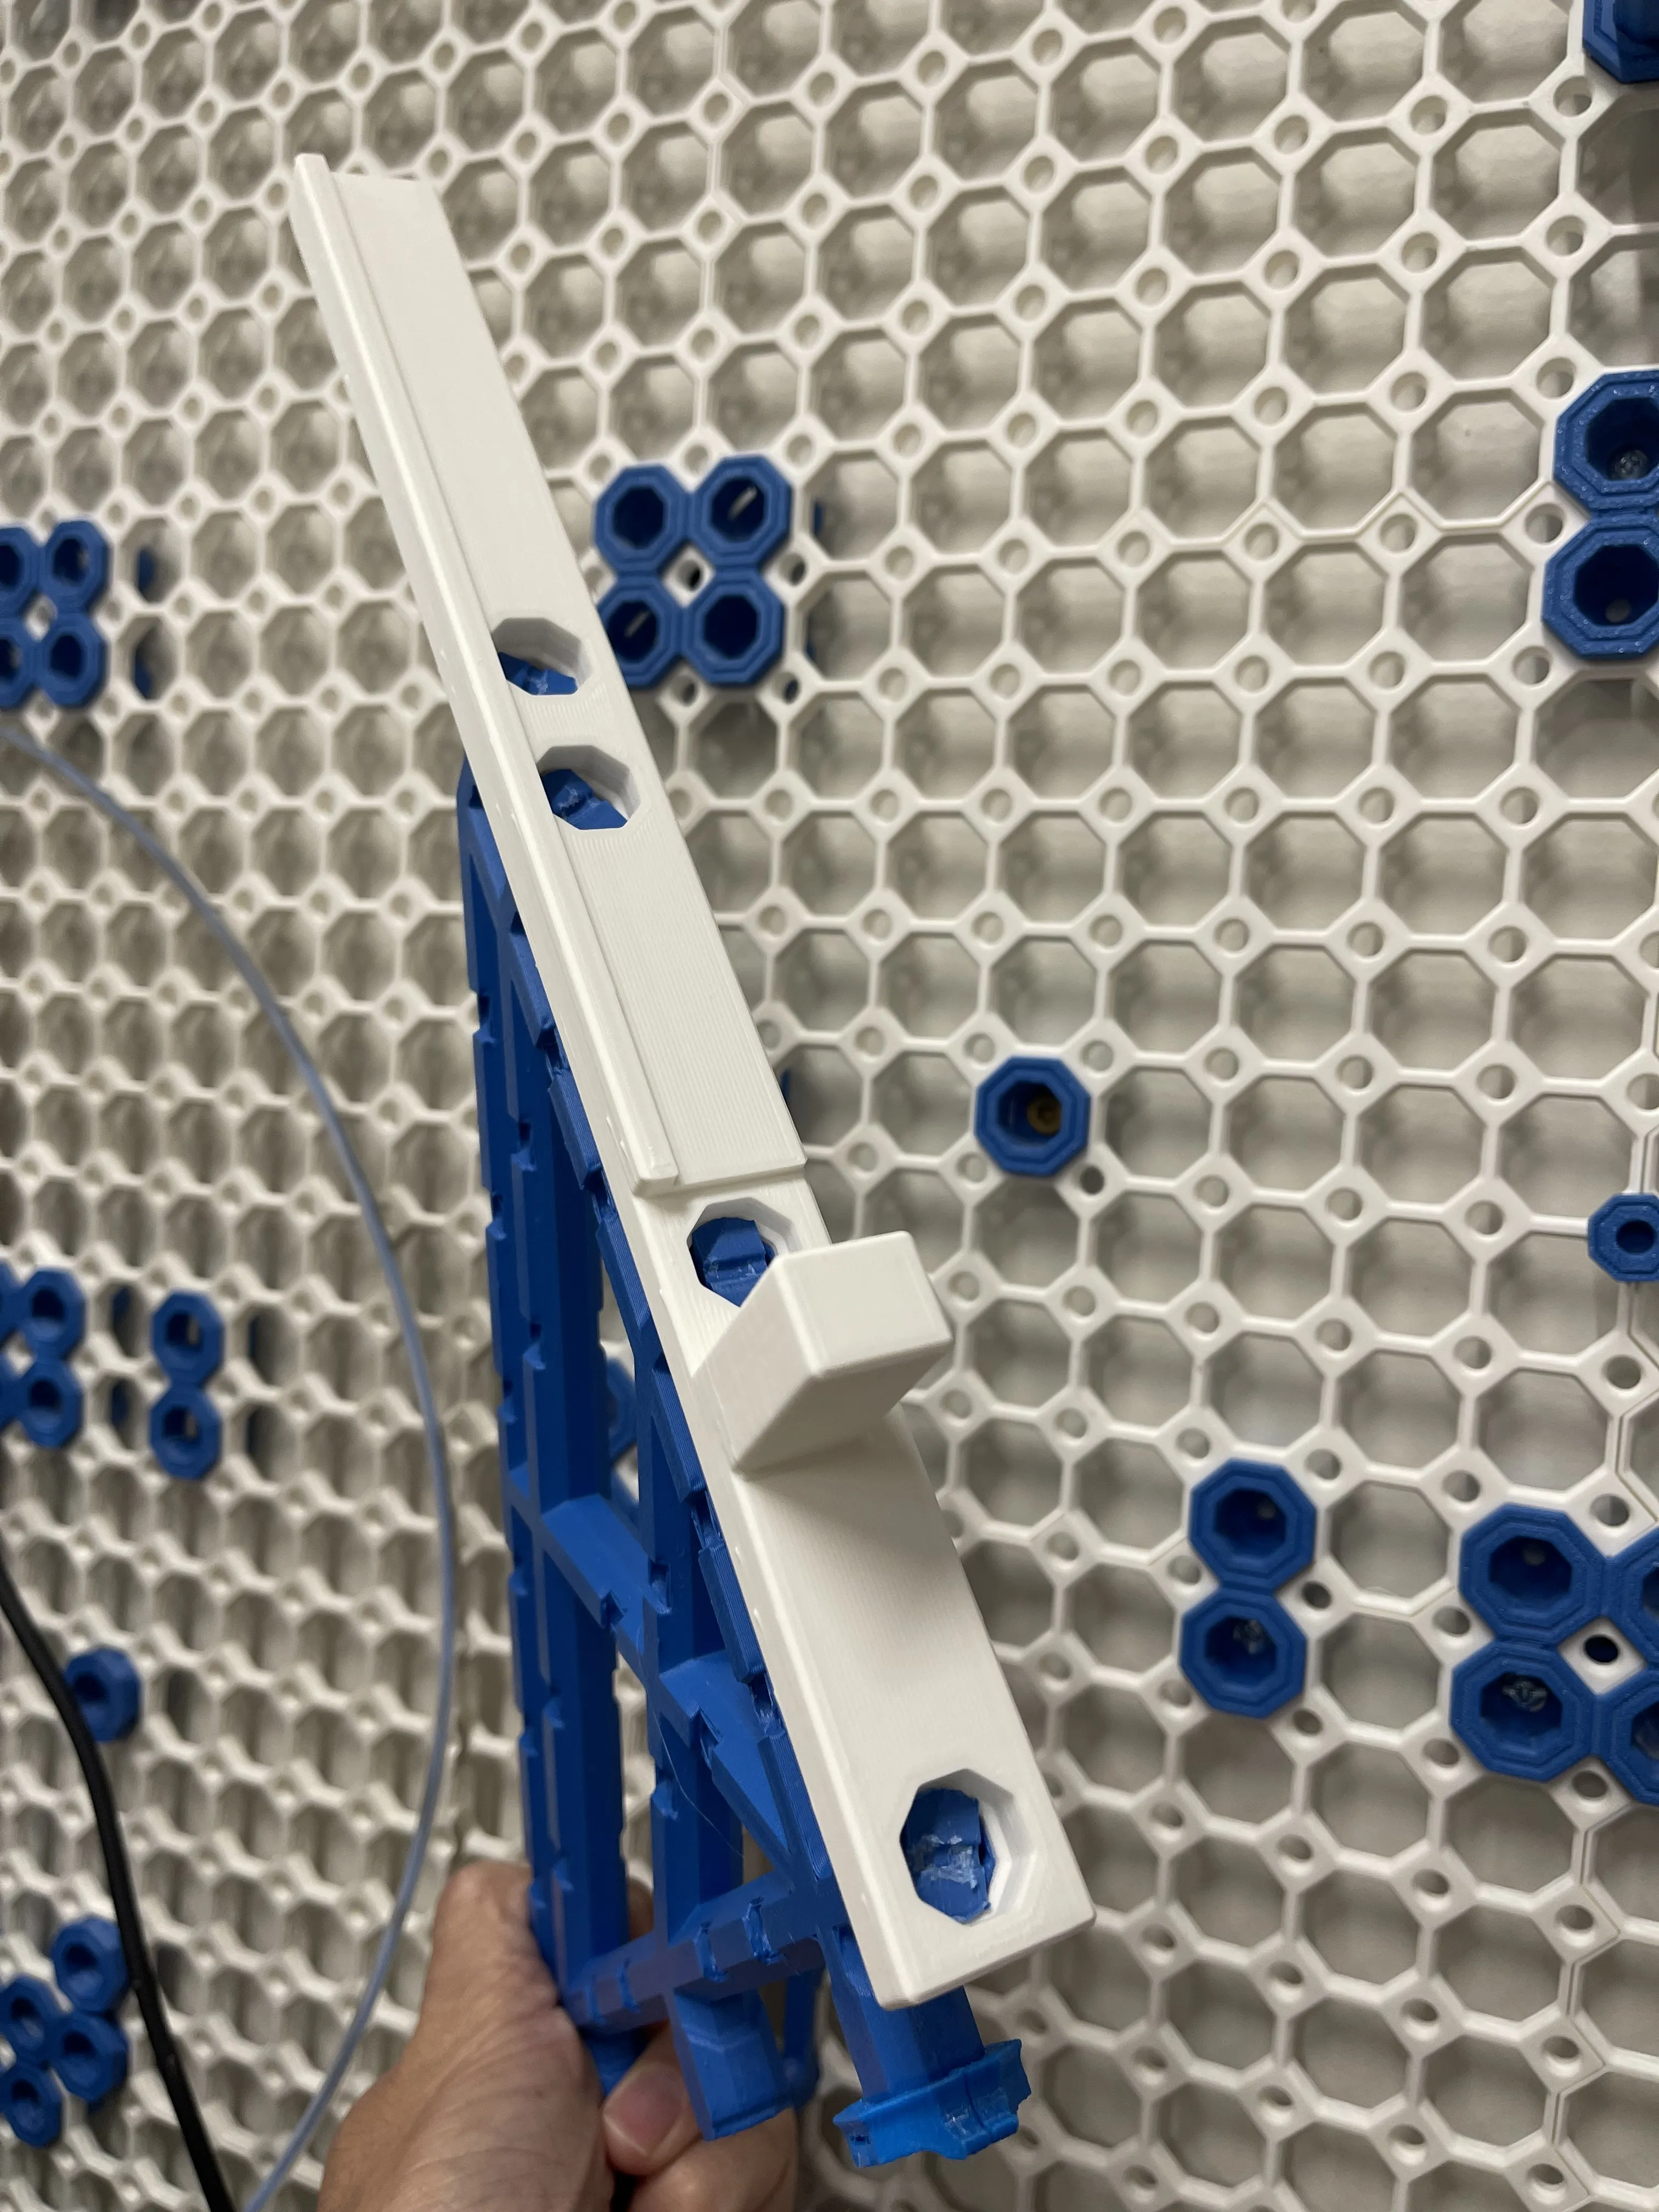
Insert the 8x8 Bracket - Bolt-Locked Inserts pegs into the appropriate holes in the shelf bases. Use (4) Locking T-Bolts, one in each peg to secure the shelf bases and bracket together. Super simple.
Mounting to your Multiboard
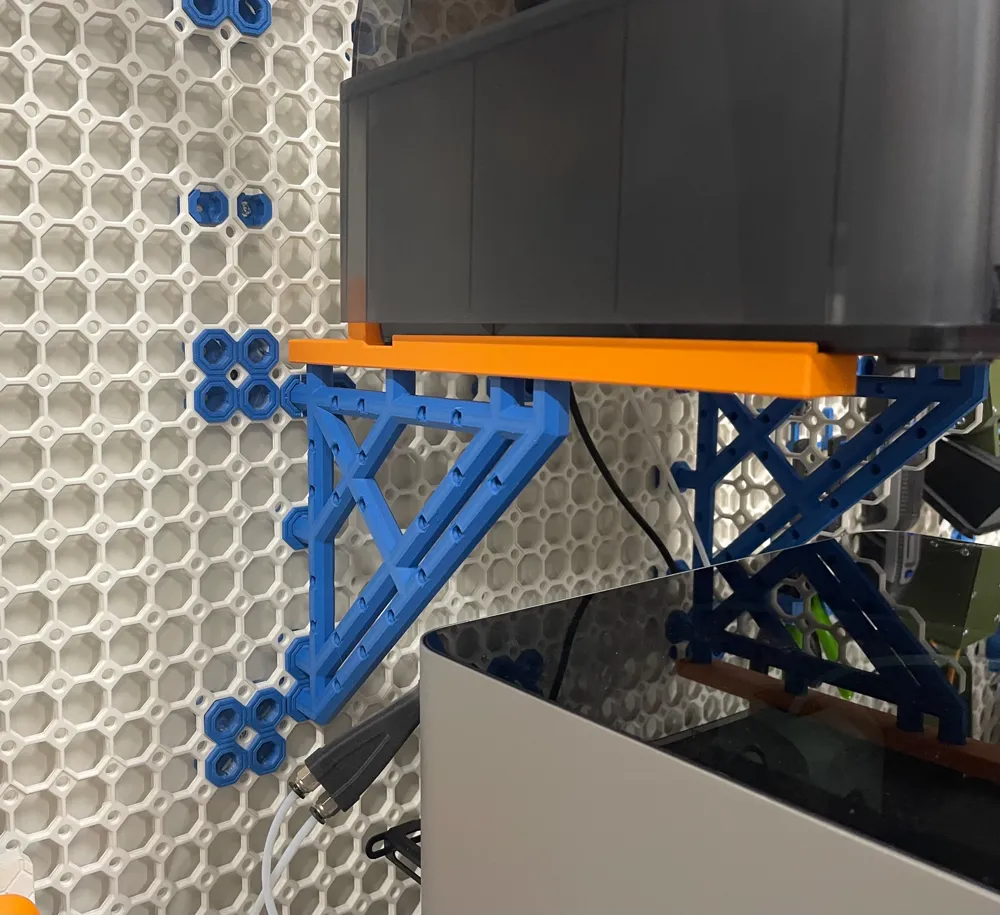
The AMS shelf consists of (2) 8x8 Bracket - Bolt-Locked Inserts. The brackets should be spaced 14 holes apart (left to right) and the pegs require 8 holes vertically.
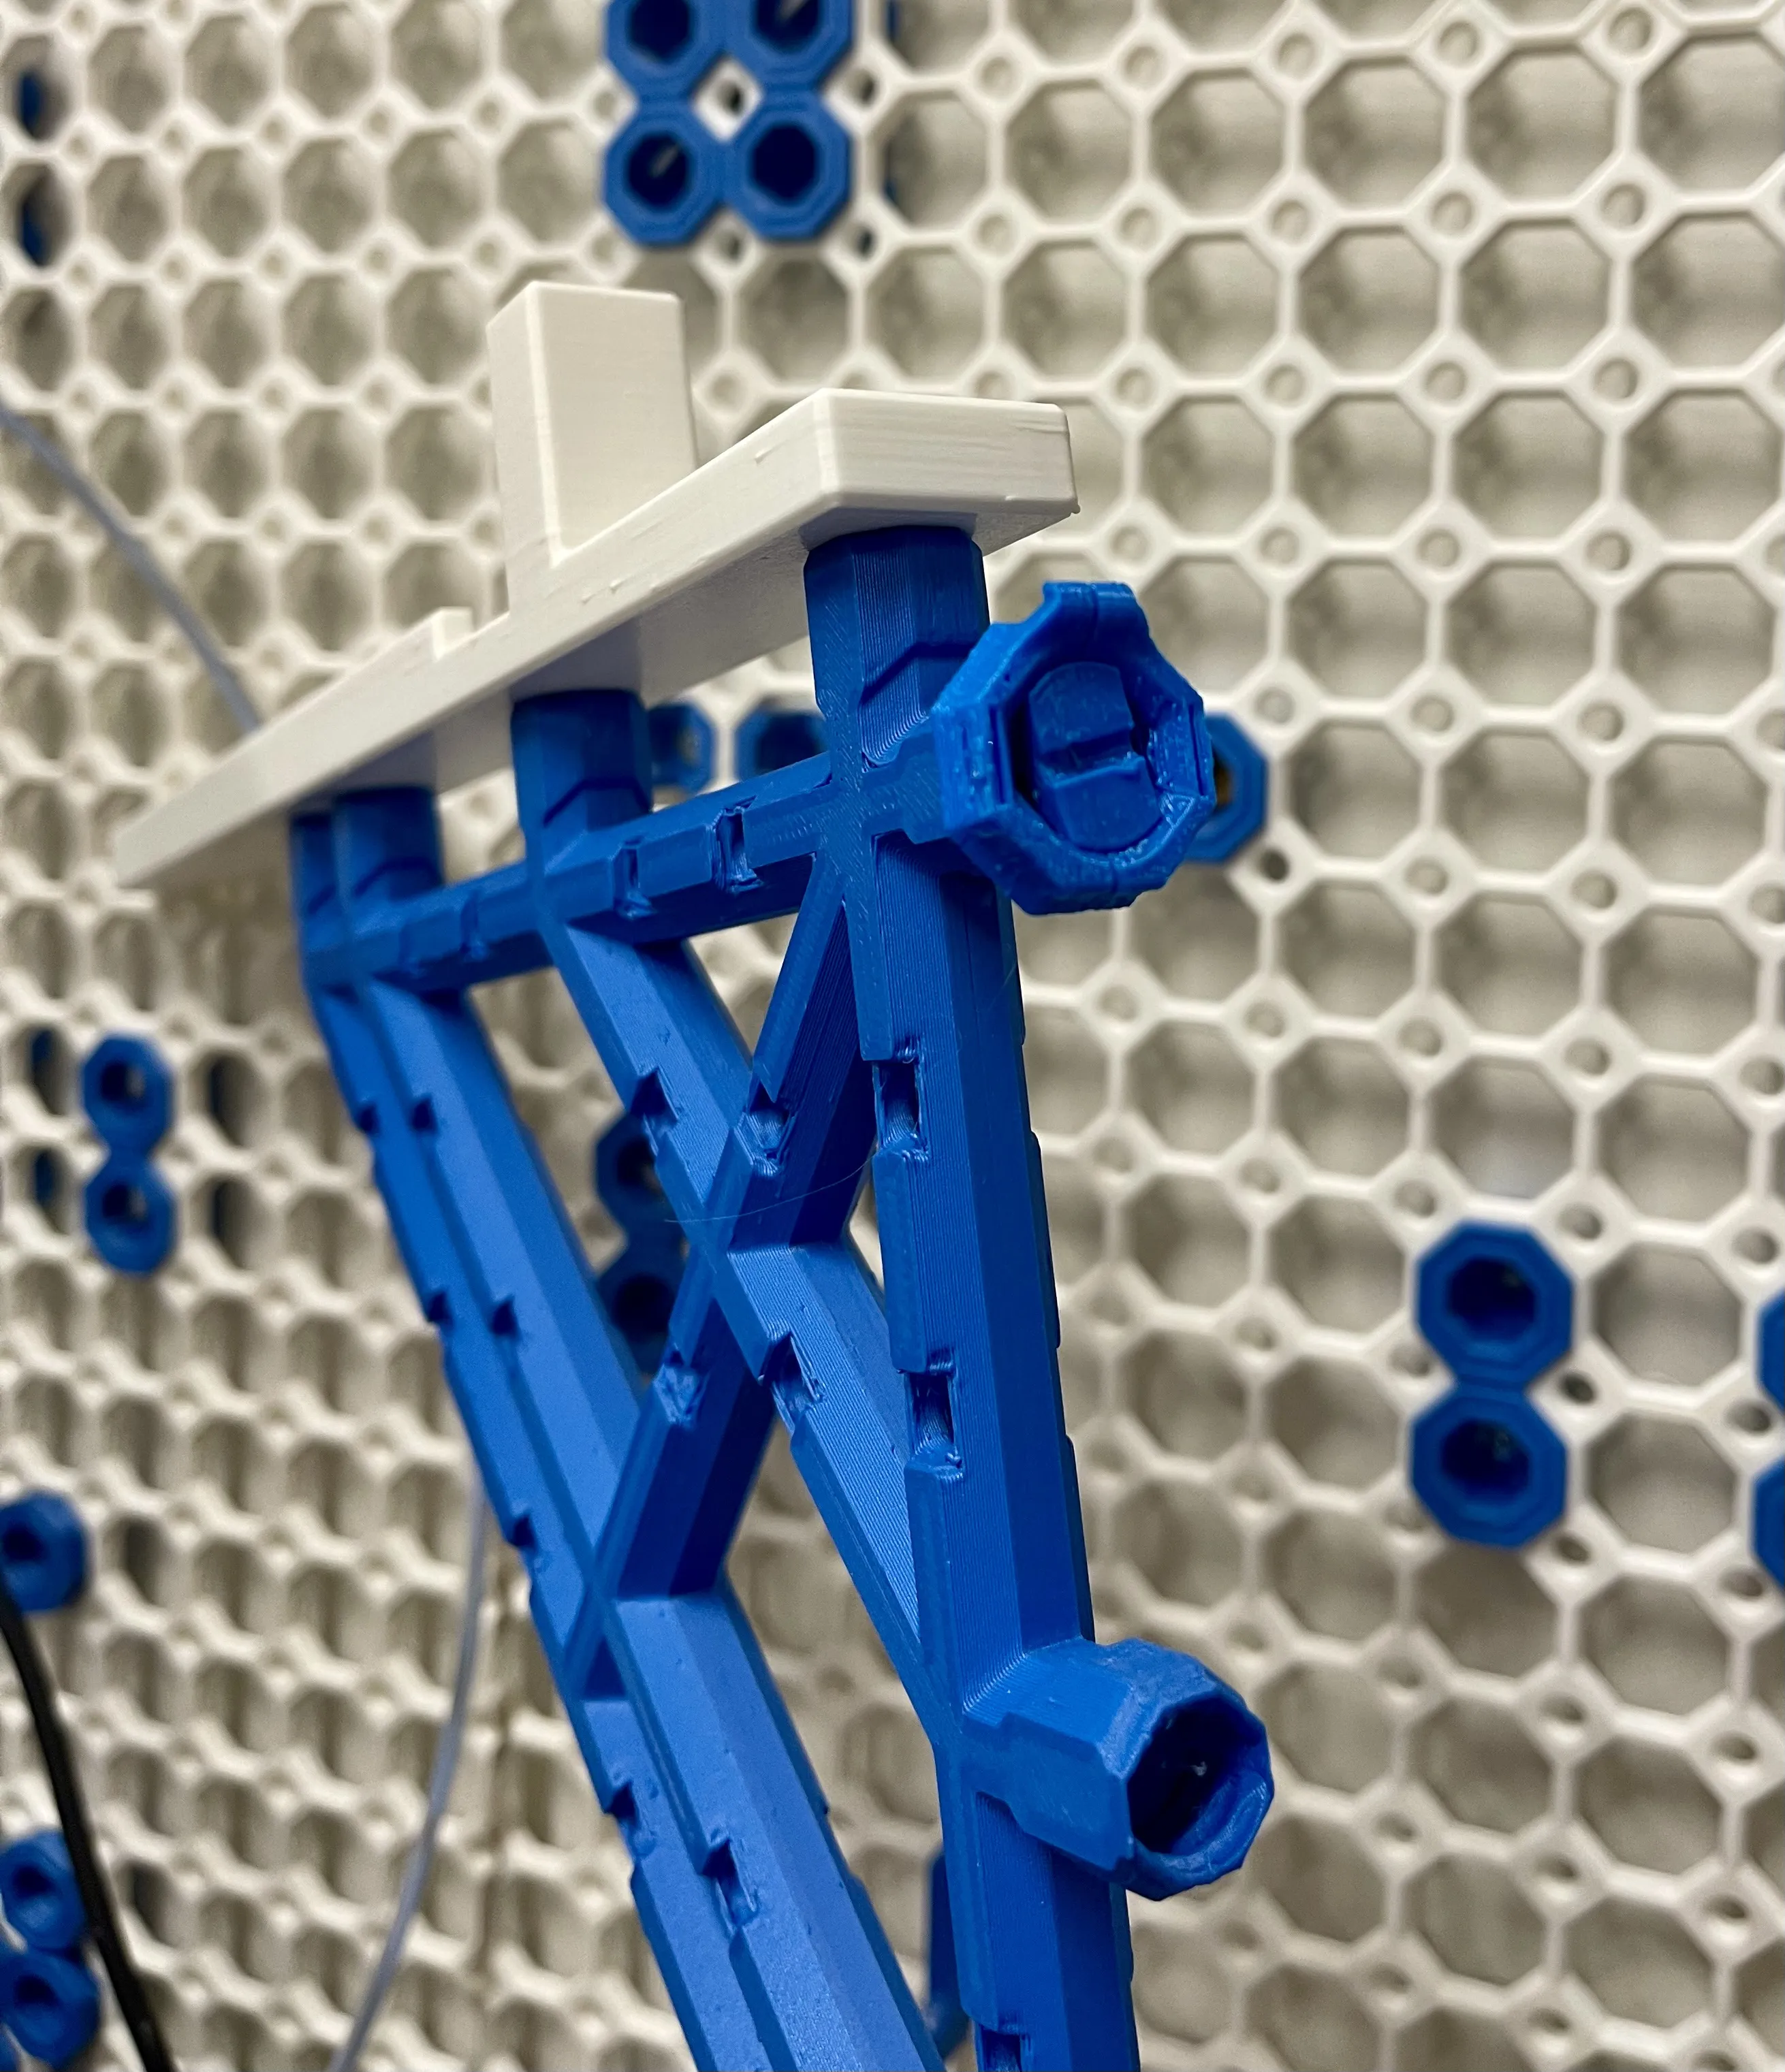
The 8x8 Bracket - Bolt-Locked Inserts attach to your Multiboard tiles via a Heavy Weight-Bearing Hook Snap on the top-most peg. The Heavy Weight-Bearing Hook Snap is then secured by using a Locking T-Bolt screwed into the push-fit peg on the bracket. You can use any of the locking bolts, I just like the T-bolt because it is easy to print. I highly suggest that you print the Heavy Weight-Bearing Hook Snap and Locking Bolts using PETG or stronger material, as I have found these to be a weak point in the system. If the Locking Bolts breaks or the Hook Snap wears, your AMS may fall! Alternatively, you can use a Weight-Bearing Directional Snap and one of my Multiboard remixed Multiboard T-bolt 25mm wide head with offset, that lock the bracket into the Multiboard tile from the rear and also act as additional tile support against your mounting surface. The disadvantage of using my bolt, is that you must remove the Multiboard tile from the wall for installation.
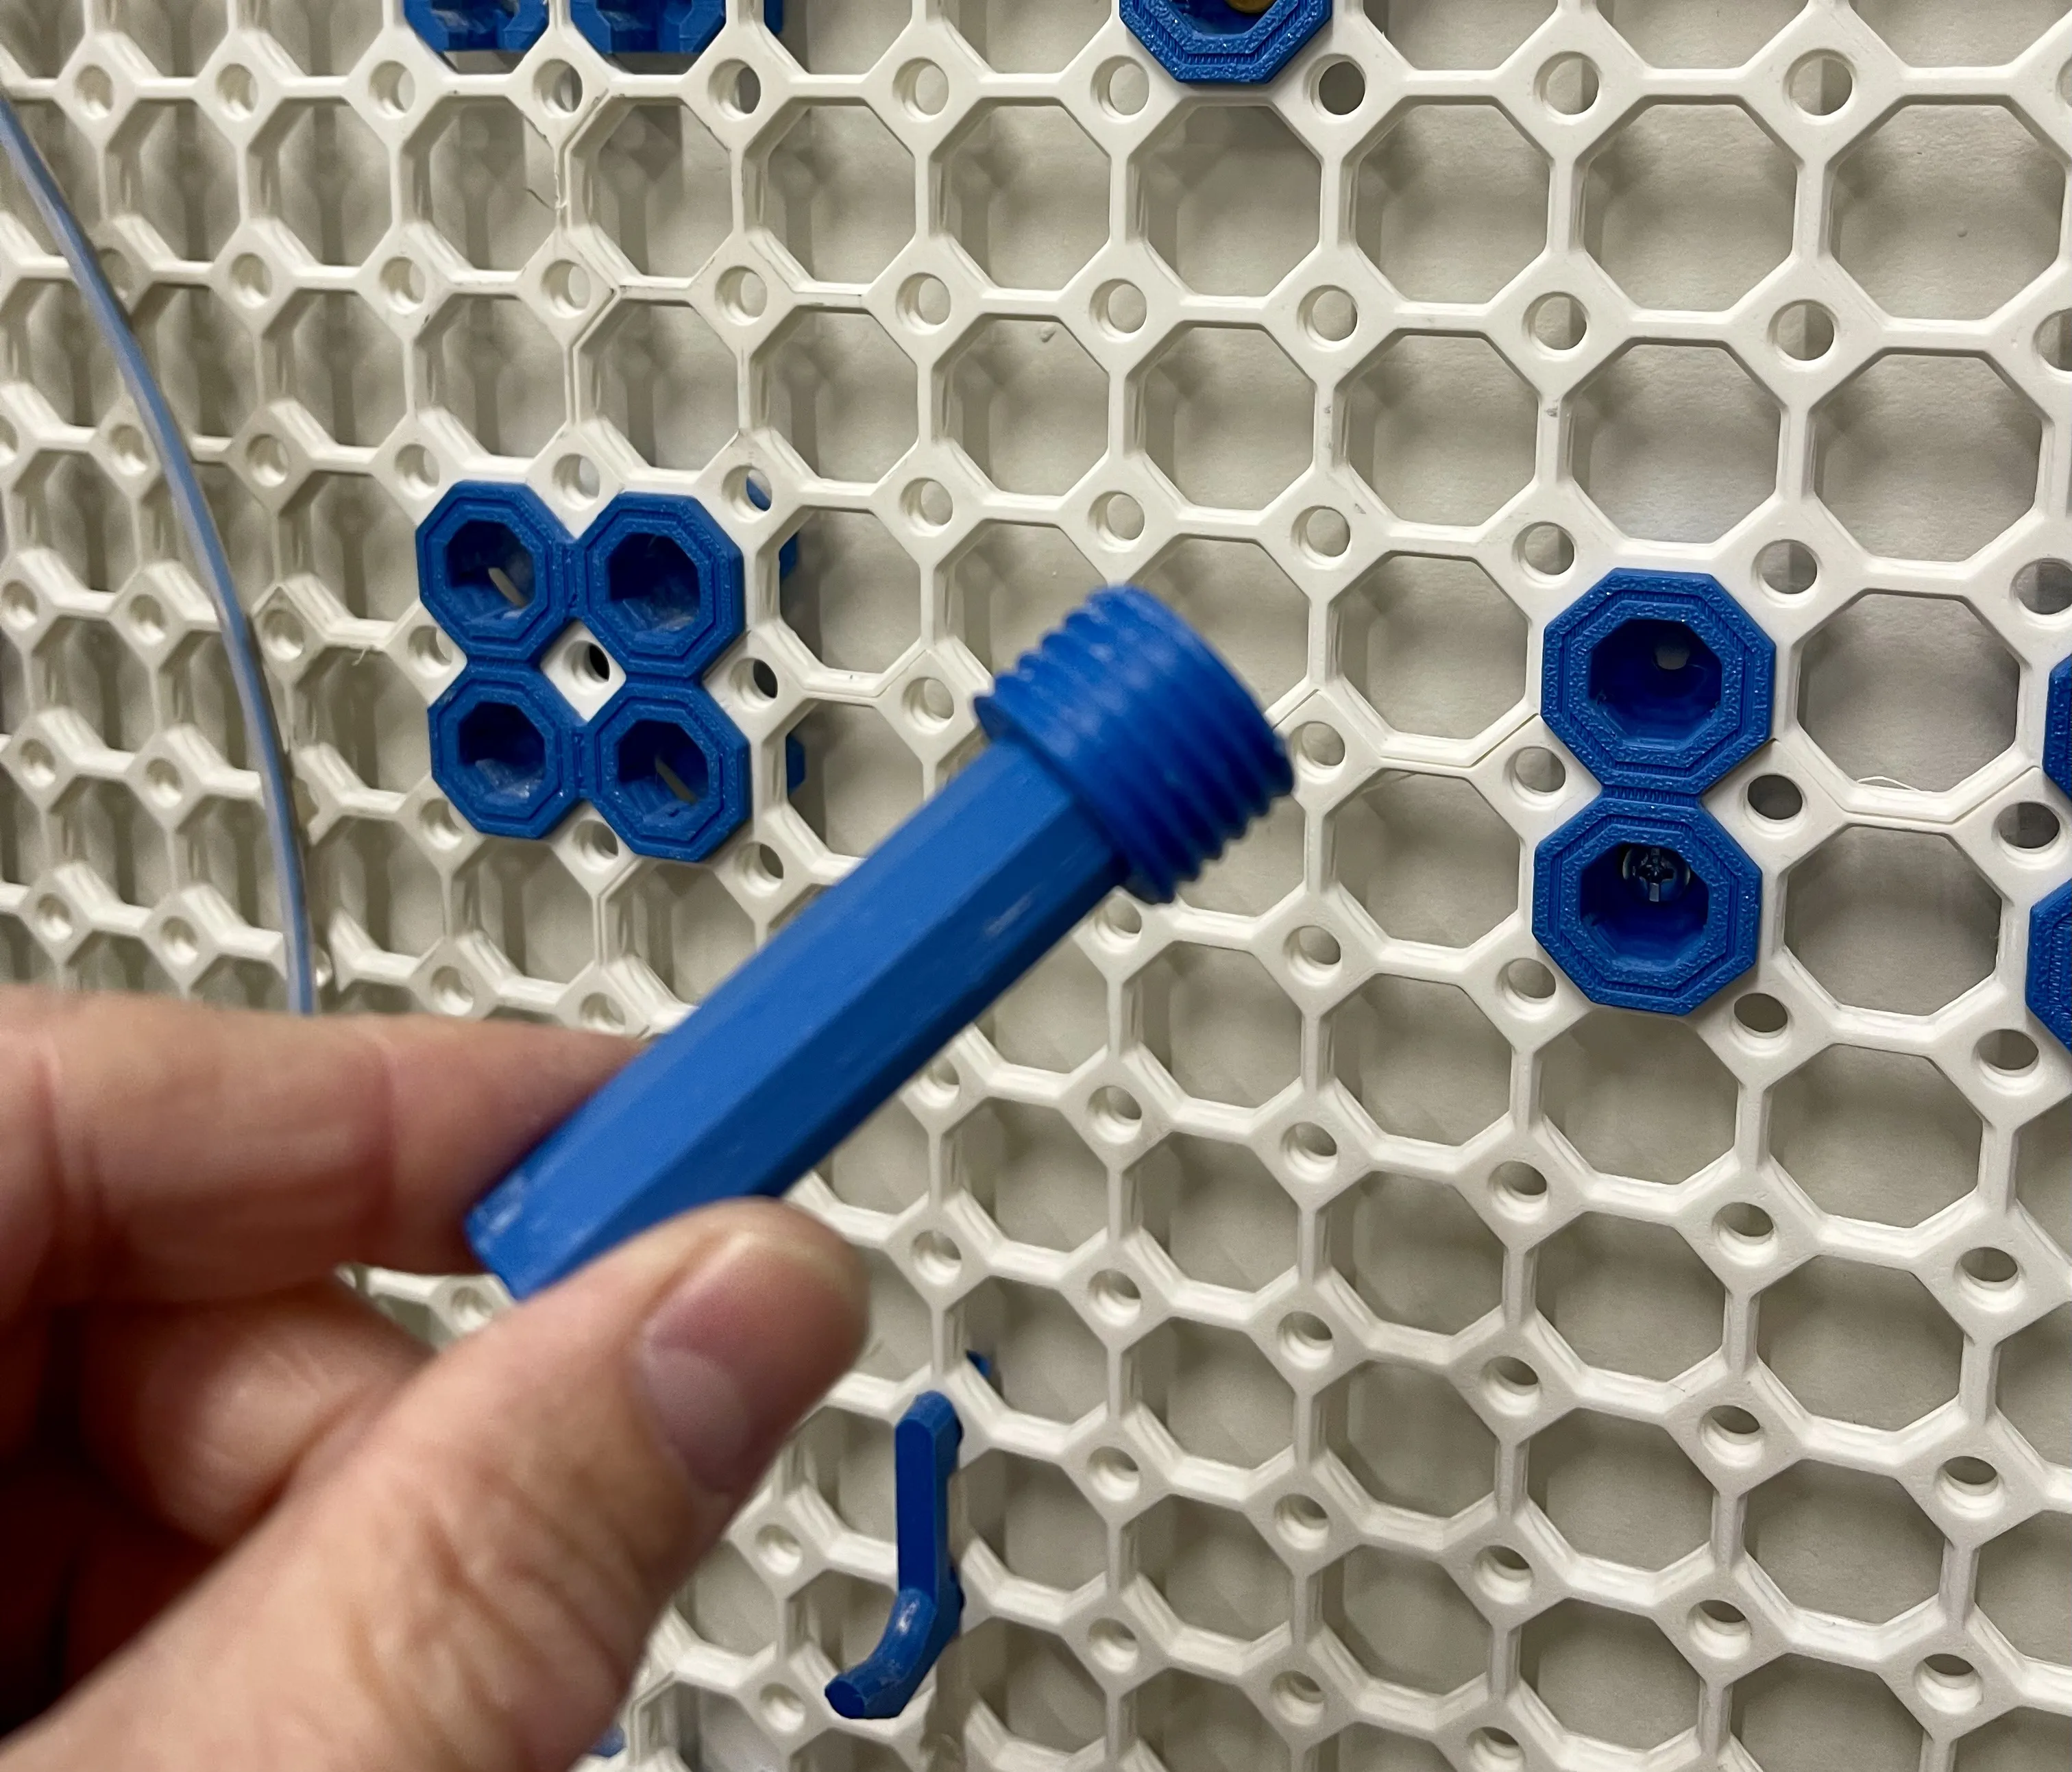
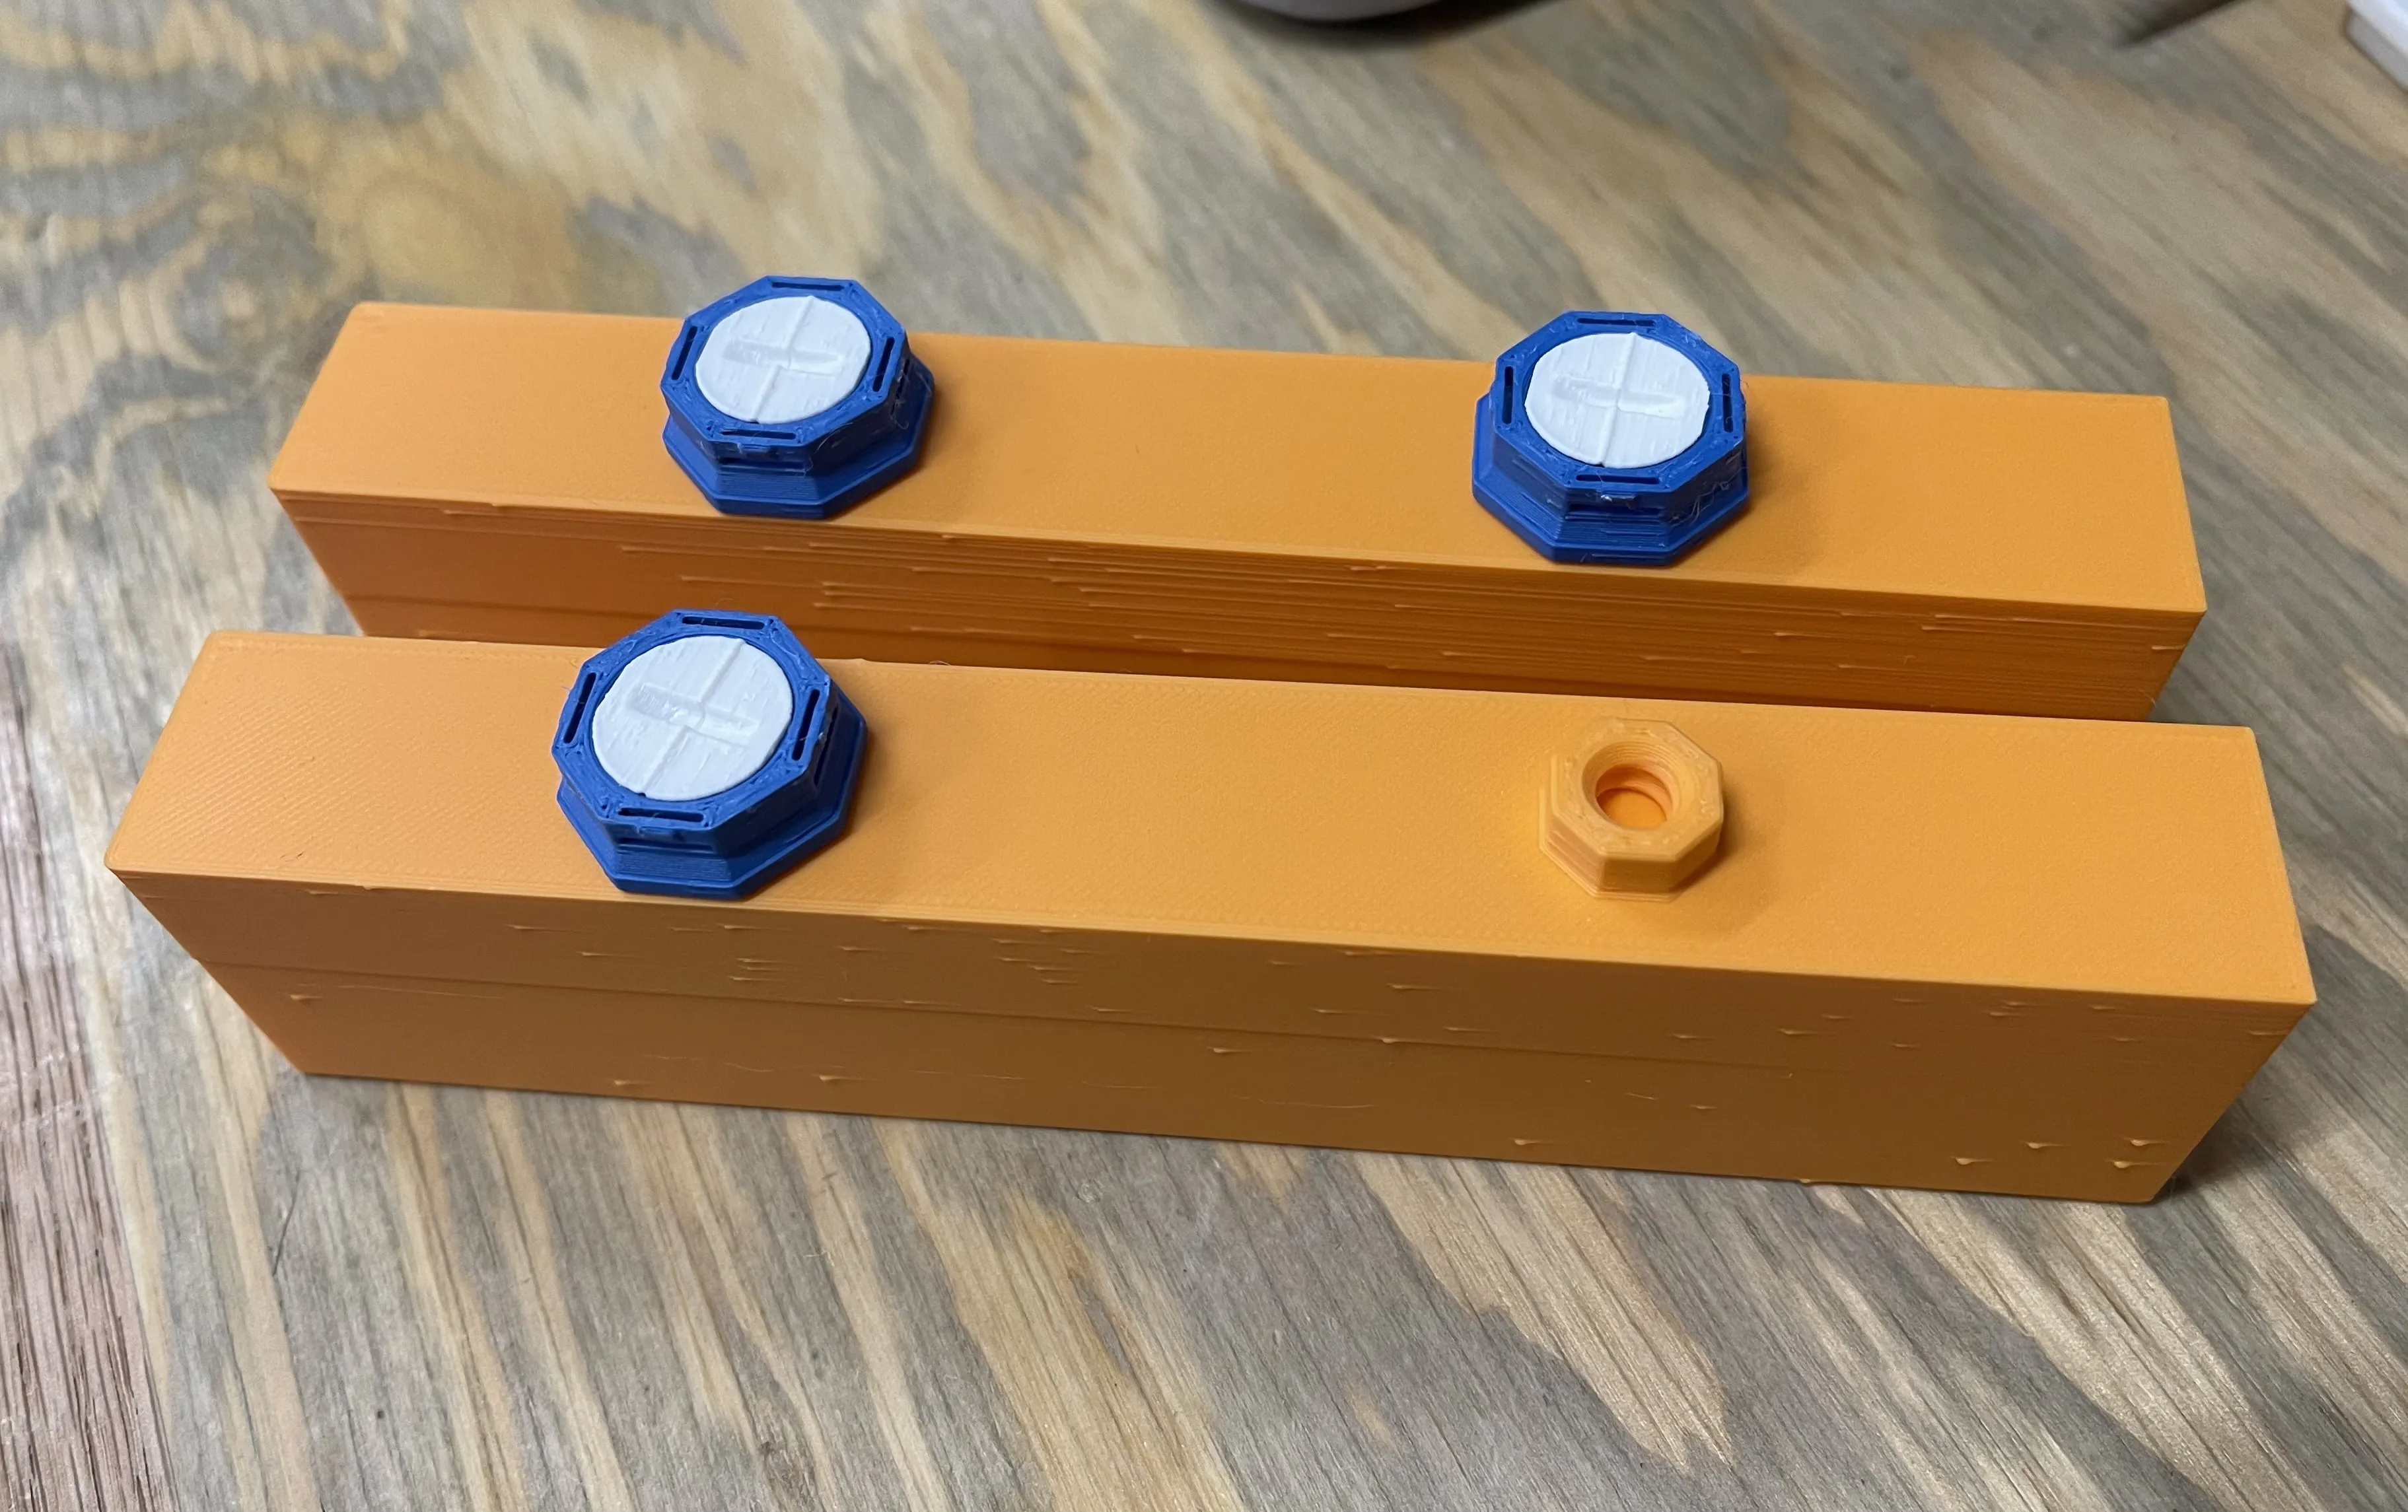
Depending on you are using the new flush mounted snaps or if you are using the older style snaps with about a 2mm offset, you have a few options for the bottom 3 pegs of each bracket. The key here is the bracket/tile must be supported directly to the mounting surface to minimize flex in your Multiboard tile. You can accomplish this by using the appropriately sized double sided offset snap (8mm, 6.25mm, flush, etc), depending on how your tiles are mounted. To keep things simple, I made customized large threaded bolts, with the peg cut through them to support the brackets.
I have made 8mm and 6.25mm versions. The advantage to using these bolts is that you are not required to remove tiles to install the brackets. You can use any peg as a wrench to help you install these bolts.
Below you can see the 3 bolts installed in the tile, the bracket just sits on these for support directly against the wall.
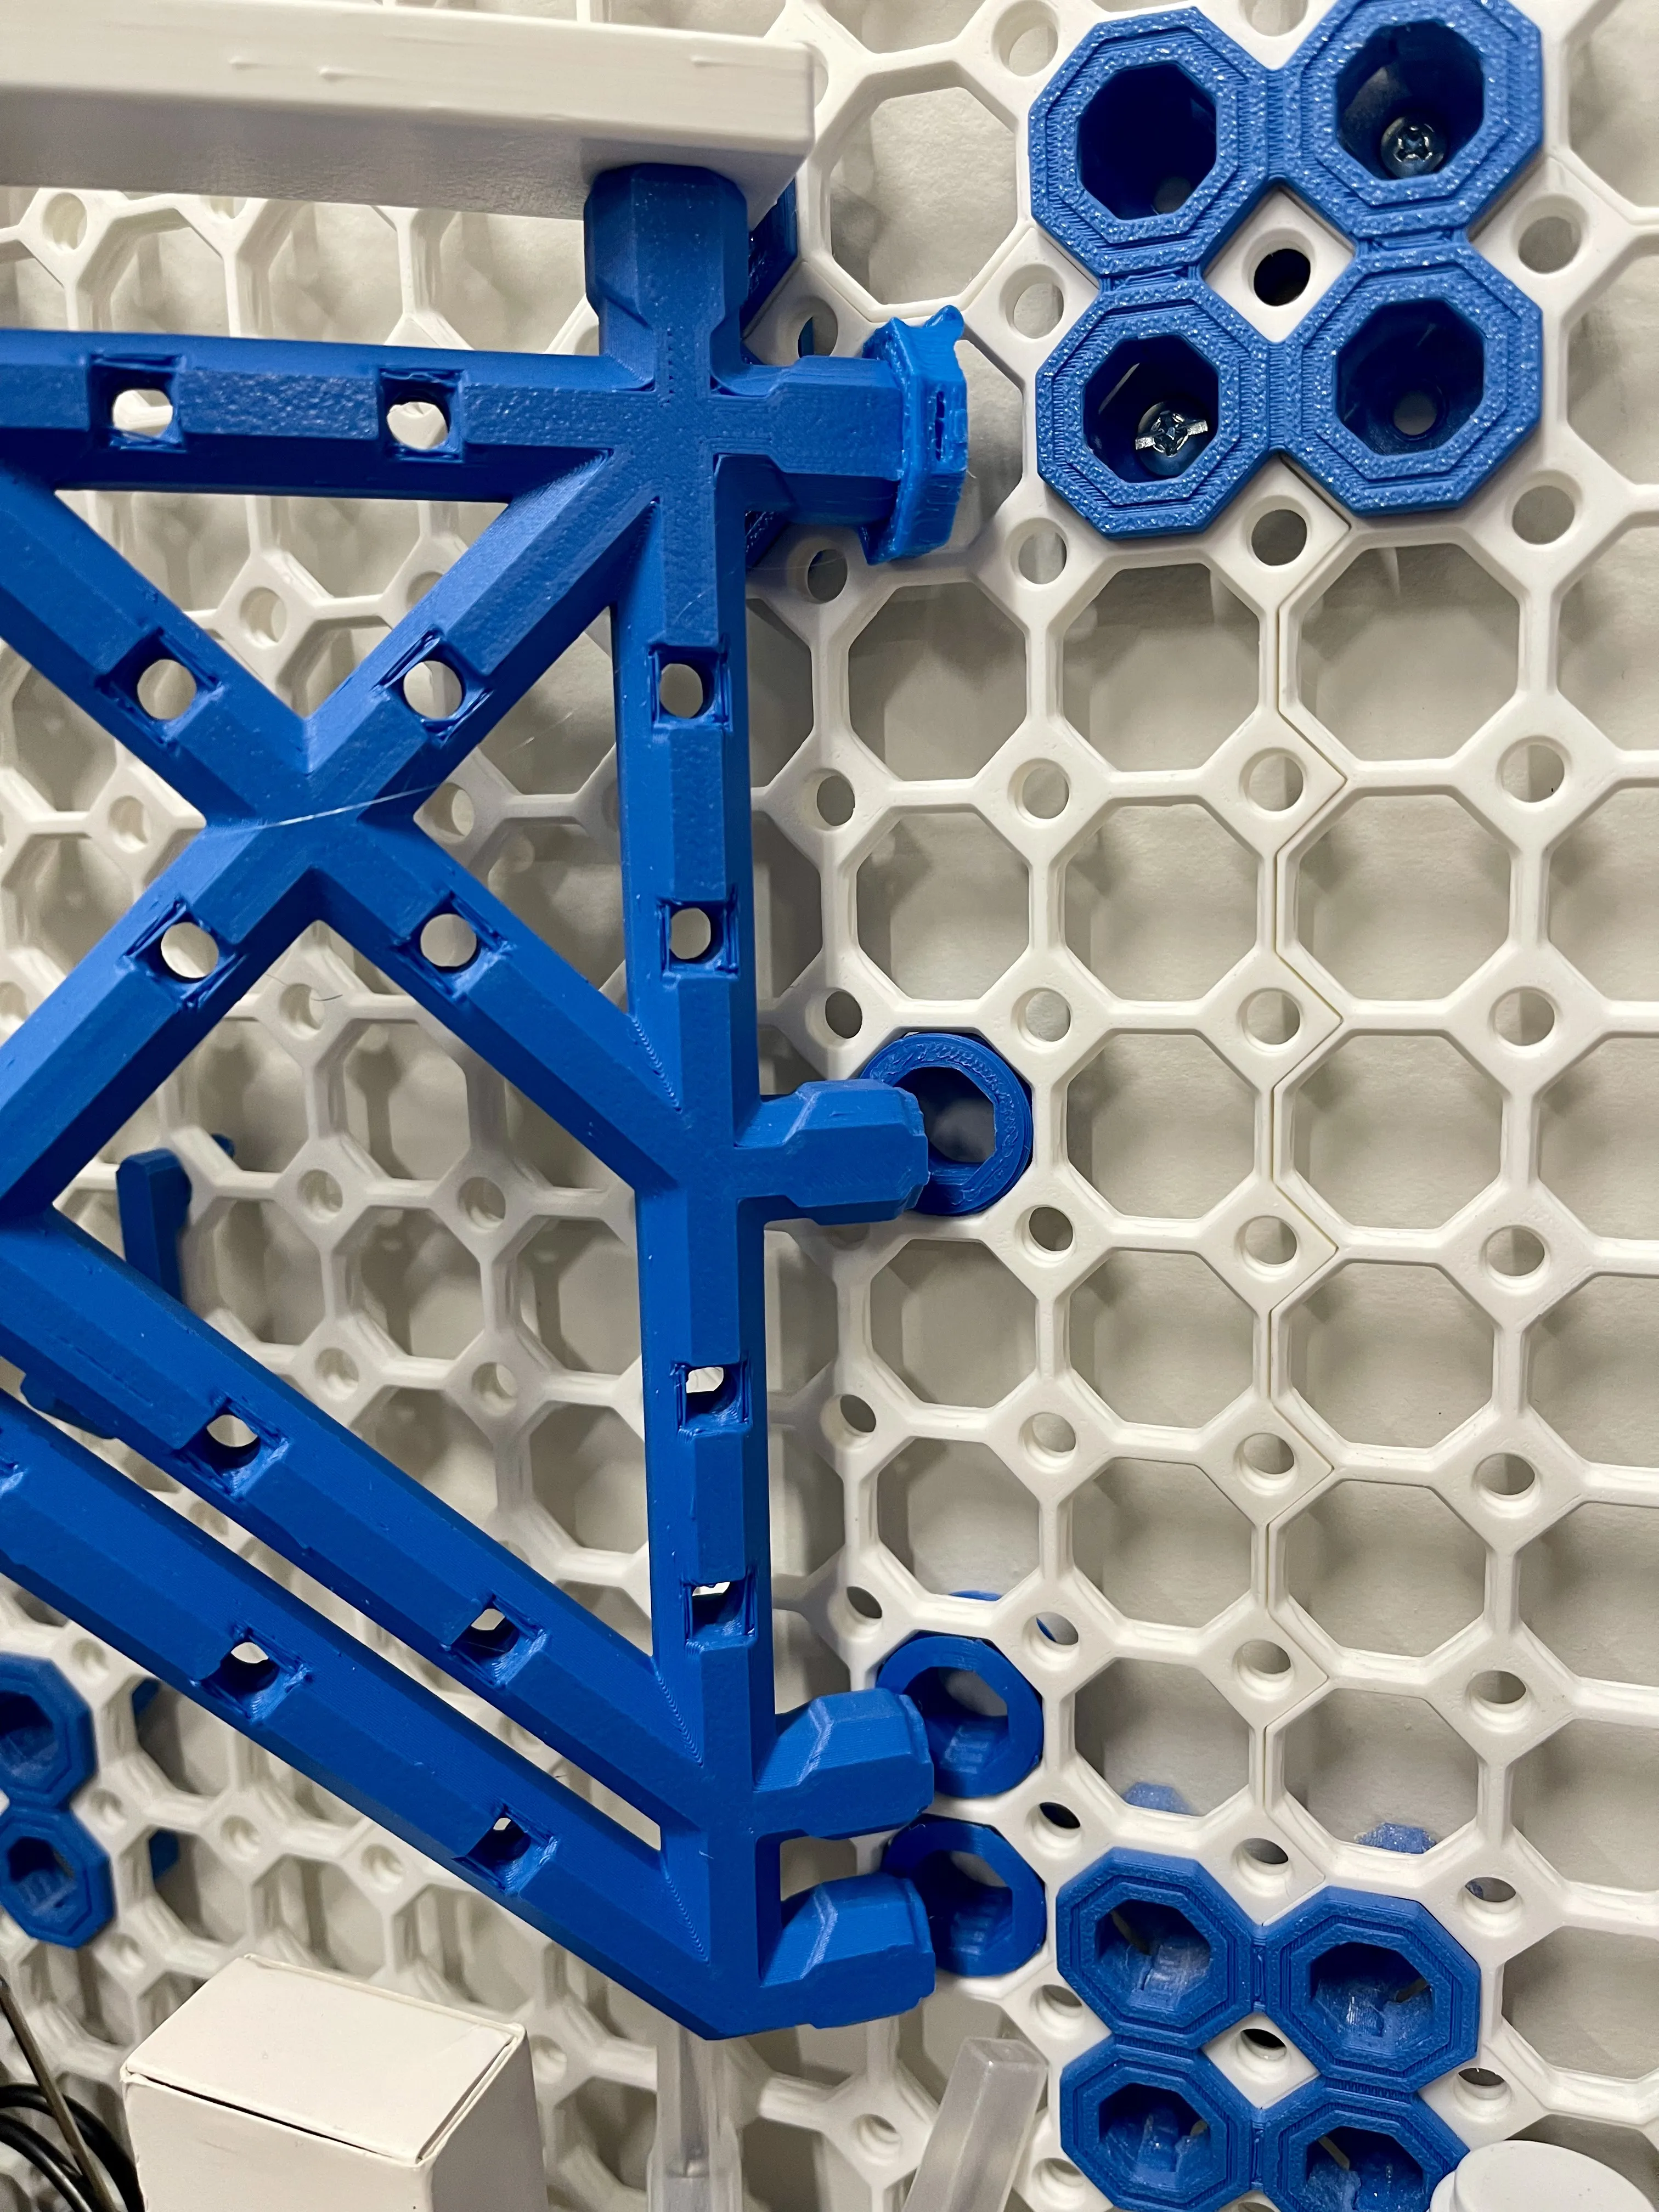
Plate Holder
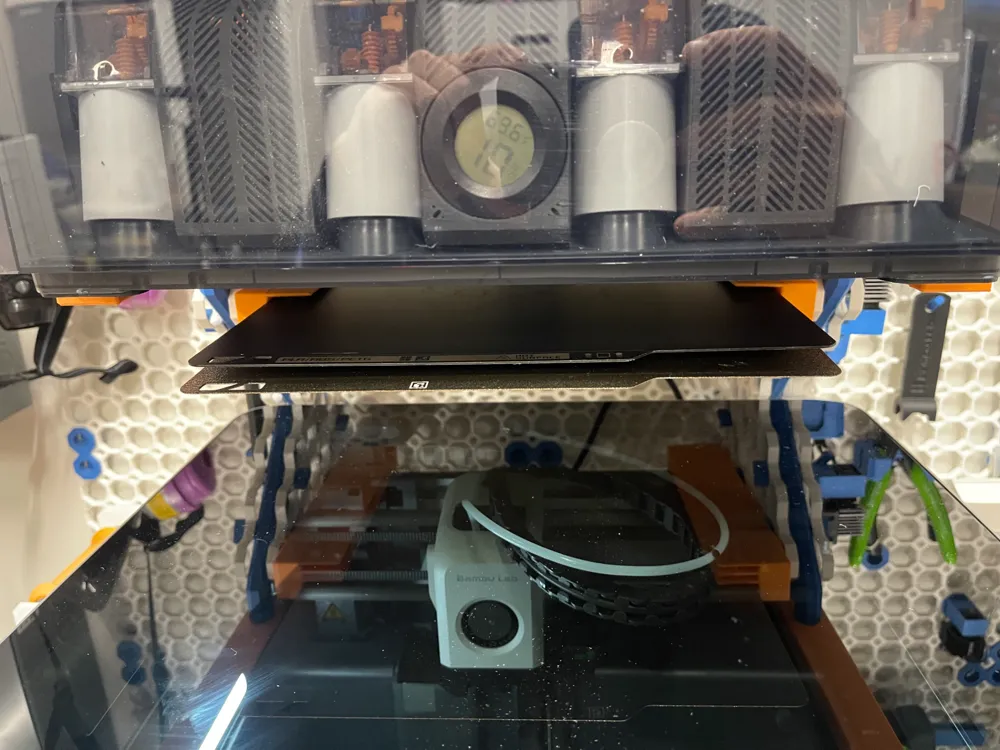
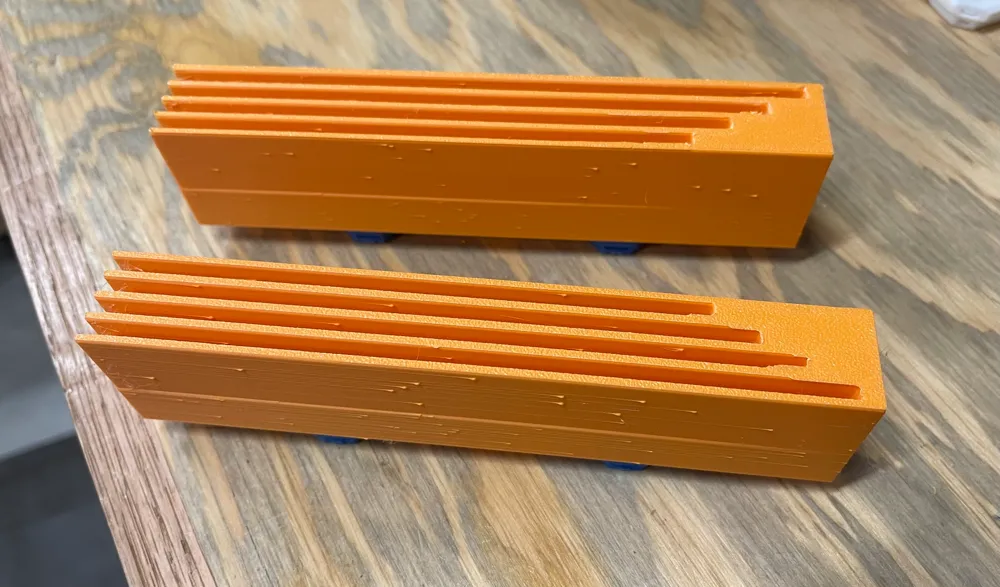
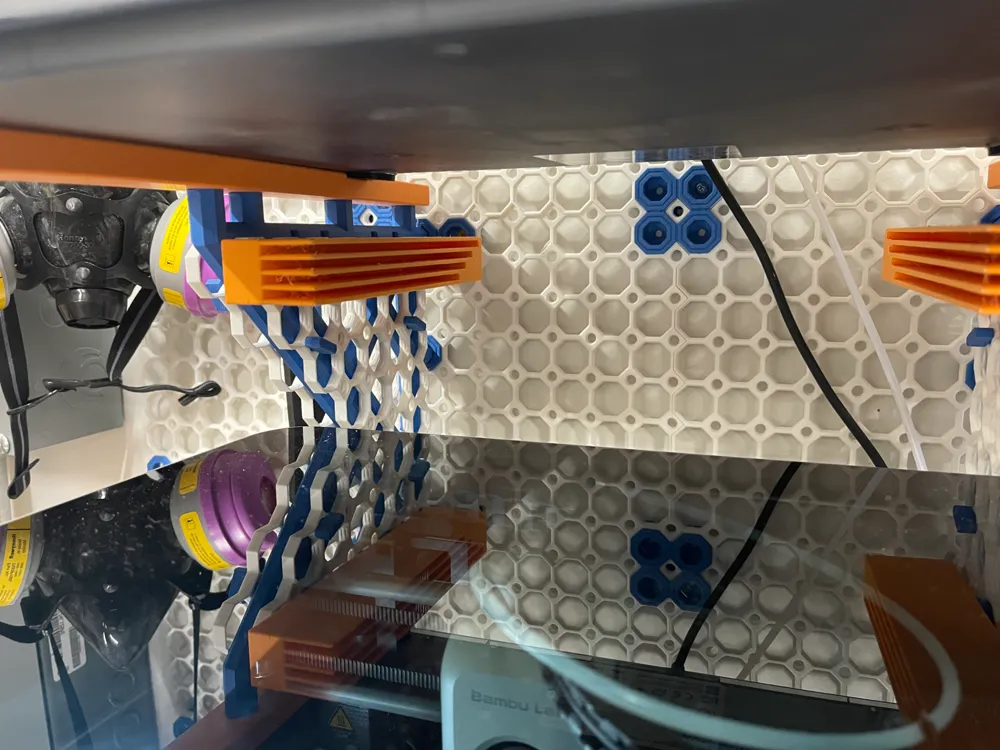
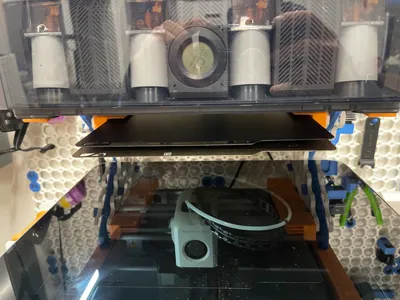
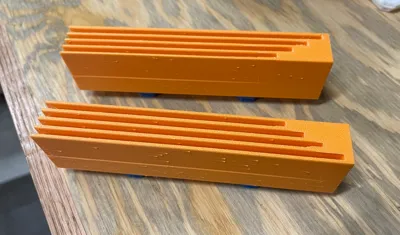
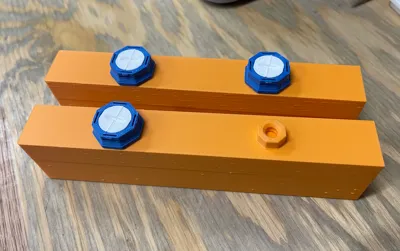
Optional add-on for your AMS Shelf. Attach to (2) 7x7 Multiboard Tile Bracket mounted on the inside of the 8x8 Bracket - Bolt-Locked Inserts via Multiboard Snaps and Small Thread - Lite Multipoints. Holds up to 4 build plates per set. I used the Thread-locked push fit connections on the holders, as I feel like they are the most versatile and easy-to-use method. Be sure to use the updated Multiboard Snap which includes a recess on the back for the Multipoint to lock into.
Boost Me (for free)
If you like my designs, please support me by sending some BOOSTS my way!
License



Comment & Rating (99)