
Multiboard AMS Shelf and Build Plate Holder


Print Profile(3)


Description
See my new Multiboard AMS Shelf using newly released Heavy Brackets and other Multiboard parts here: https://makerworld.com/en/models/632589#profileId-557586
TWO VERSIONS AVAILABLE: VERSION 1.1 AND VERSION 2.0
Version 2.0 includes a couple of changes, the AMS support piece is now the same width as the bracket. I also simplified the filet on the upper bracket support. Both of these changes were made to simplify the printing process to require less supports. Added a lip on the top of the shelf bracket to help align the AMS with the shelf (this is the only real functional change).
Both versions function pretty much the same, some might prefer the ascetics of one over the other.
AMS Compatibility
This was designed to fit my AMS, which I believe is the latest version (delivered after October 2023). It has come to my attention that Bambu is shipping at least 2 versions of the AMS (as of Oct 2024). I have not confirmed compatibility of this model for fitment with all AMS versions. Please look at my UPDATED Multiboard AMS Shelf, which should fit all known variations of the Bambu AMS.
AMS Shelf Brackets
AMS shelf brackets for use with the Multiboard system https://thangs.com/designer/Keep%20Making. While not really a remix, I did take design cues and inspiration from https://makerworld.com/en/models/152451#profileId-166481.
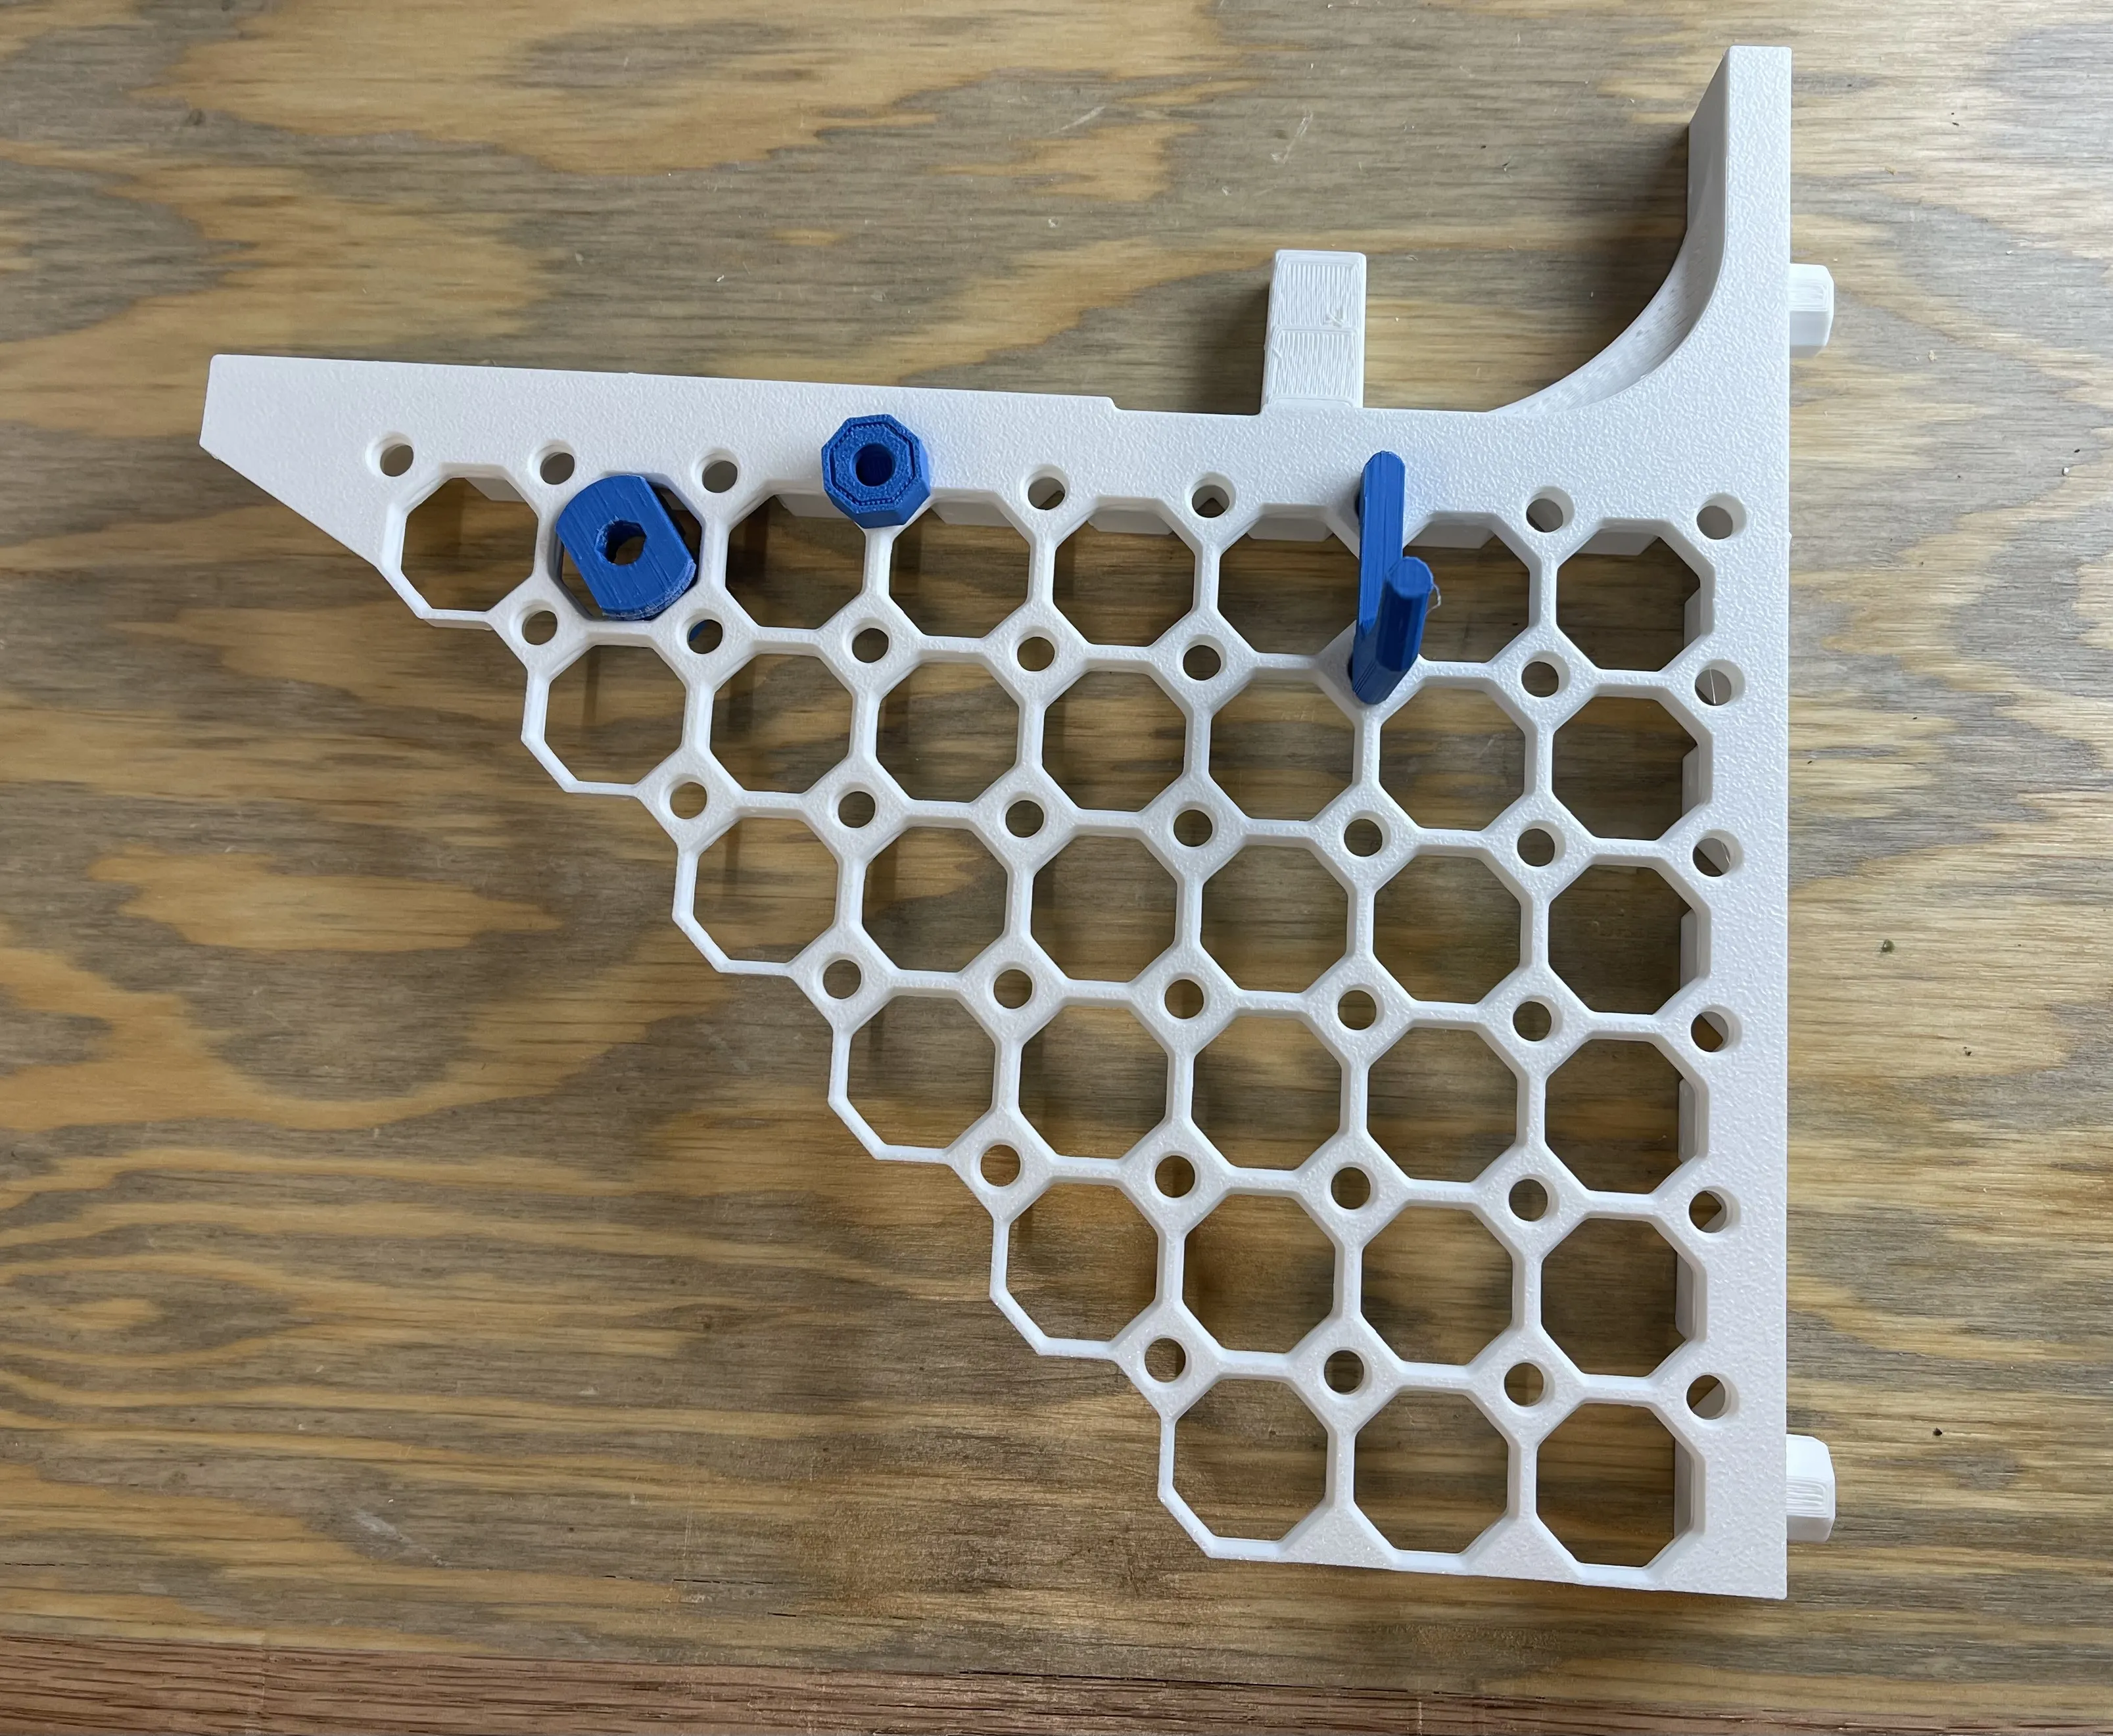
The AMS shelf brackets consist of left and right brackets with integrated Multiboard tiles. The brackets require at least 2 Multiboard 8x8 tiles for mounting, and should be spaced 14 holes apart (left to right) and the pegs are 8 holes apart from each other (vertical).
Version 2.0 can be printed without any supports, but supports are recommended, otherwise you will be cleaning up stringy leftovers around the push-fit pegs.
Version 2.0
Version 1.1
Mounting to your Multiboard
The brackets attach to your Multiboard tiles via push-fit pegs that fit into Multiboard snaps. The brackets are then secured with t-bolts from the back. Use my Multiboard remixed t-bolts https://makerworld.com/en/models/424415#profileId-327768, that lock the bracket into the Multiboard tile from the rear and also act as additional tile support against your mounting surface. Please visit the t-bolt model page download what you need there.
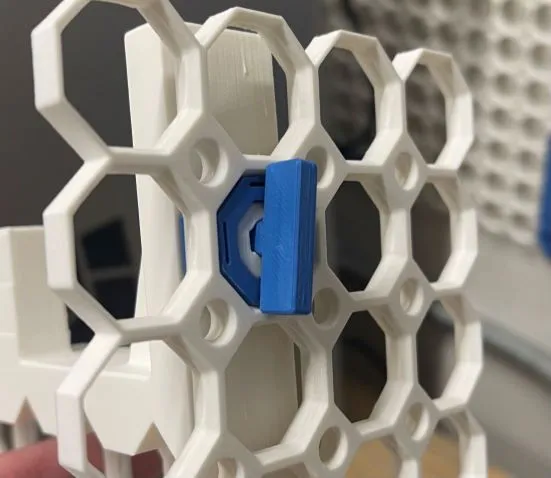
I personally use Multiboard Weight Bearing Snaps (normal snaps work fine as well) with one of my t-bolts on the top of each bracket. On the bottom pegs, I use the Multiboard offset snaps mounted to the wall for additional support, as there's not much worry about the bottom pegs pulling out.
Depending on how you've mounted your Multiboard tiles you may want to add additional offset snap mounts anchored to the wall behind or around the brackets. I found it helpful to use a dual snap between tiles to prevent the tiles from flexing. The shelf brackets themselves are quite solid.
I highly recommend making sure that you secure the tiles around the bracket with wall anchors to prevent flexing of the Multiboard tiles. Again, the bracket themselves are rock solid and don't exhibit any flexing, but the tiles they are mounted to need to be solid themselves or the brackets and AMS will sag.
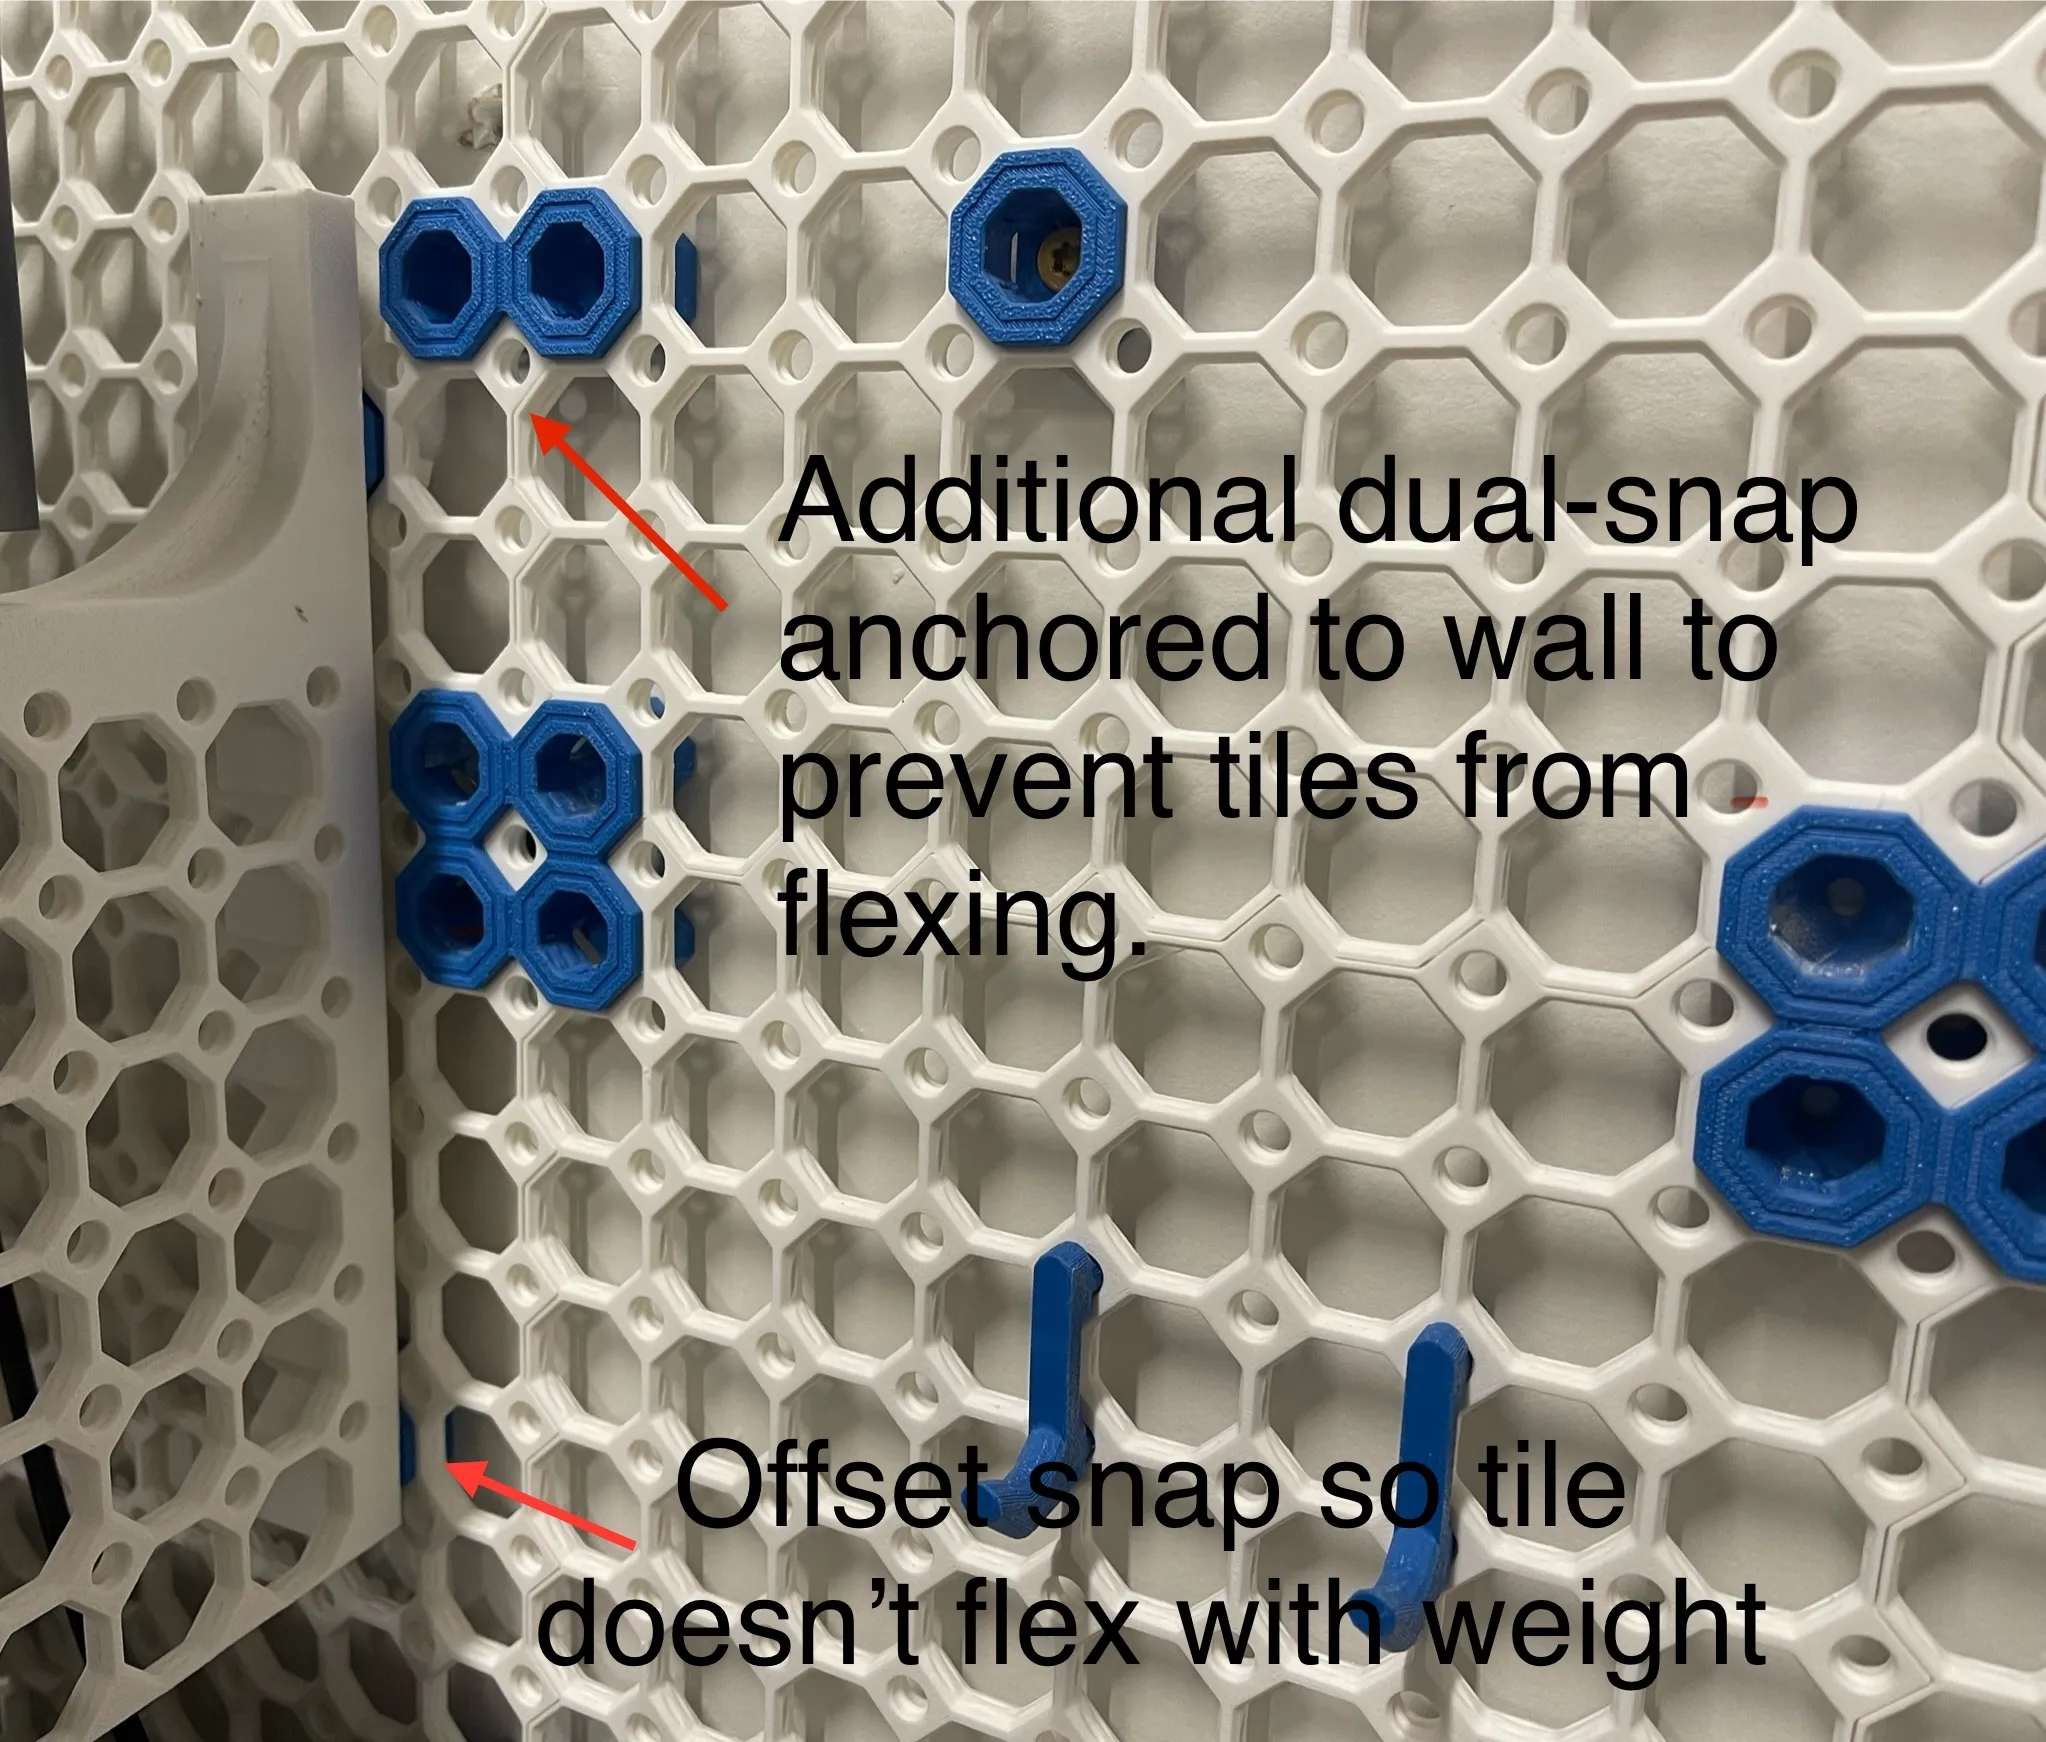
The spacing of the rear support is enough so that you can open the AMS cover enough to access everything you need.
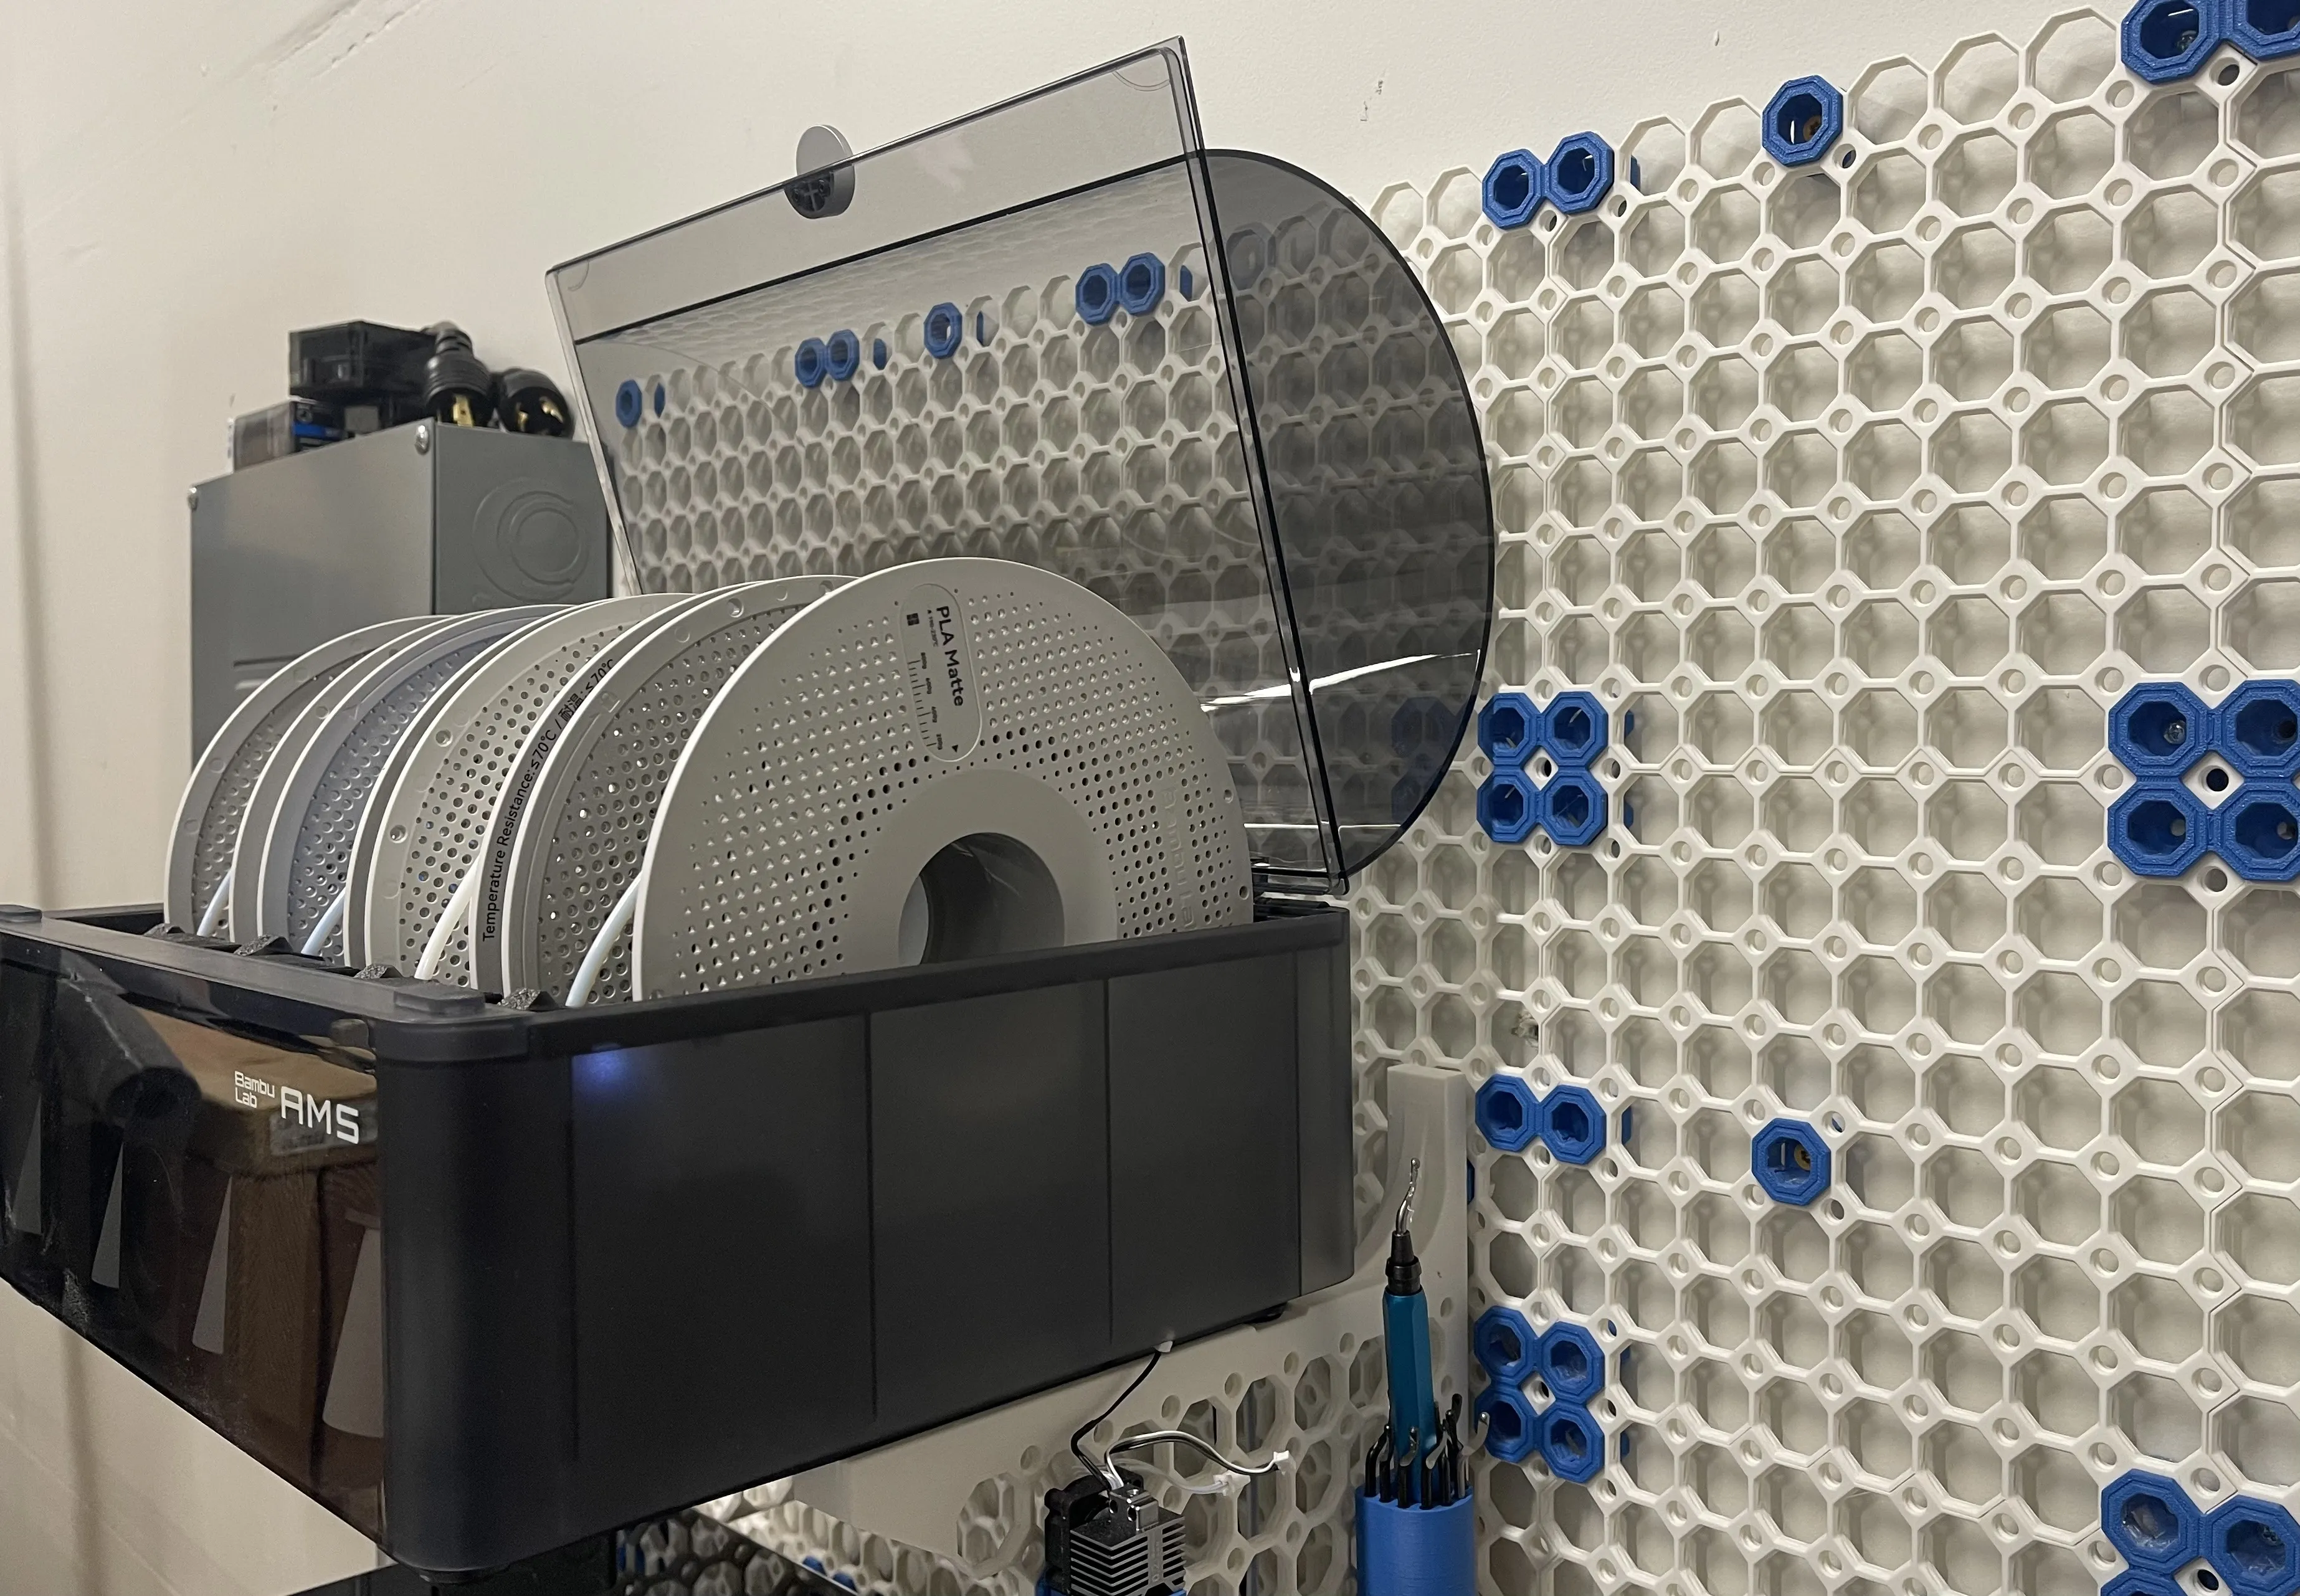
Plate Holder
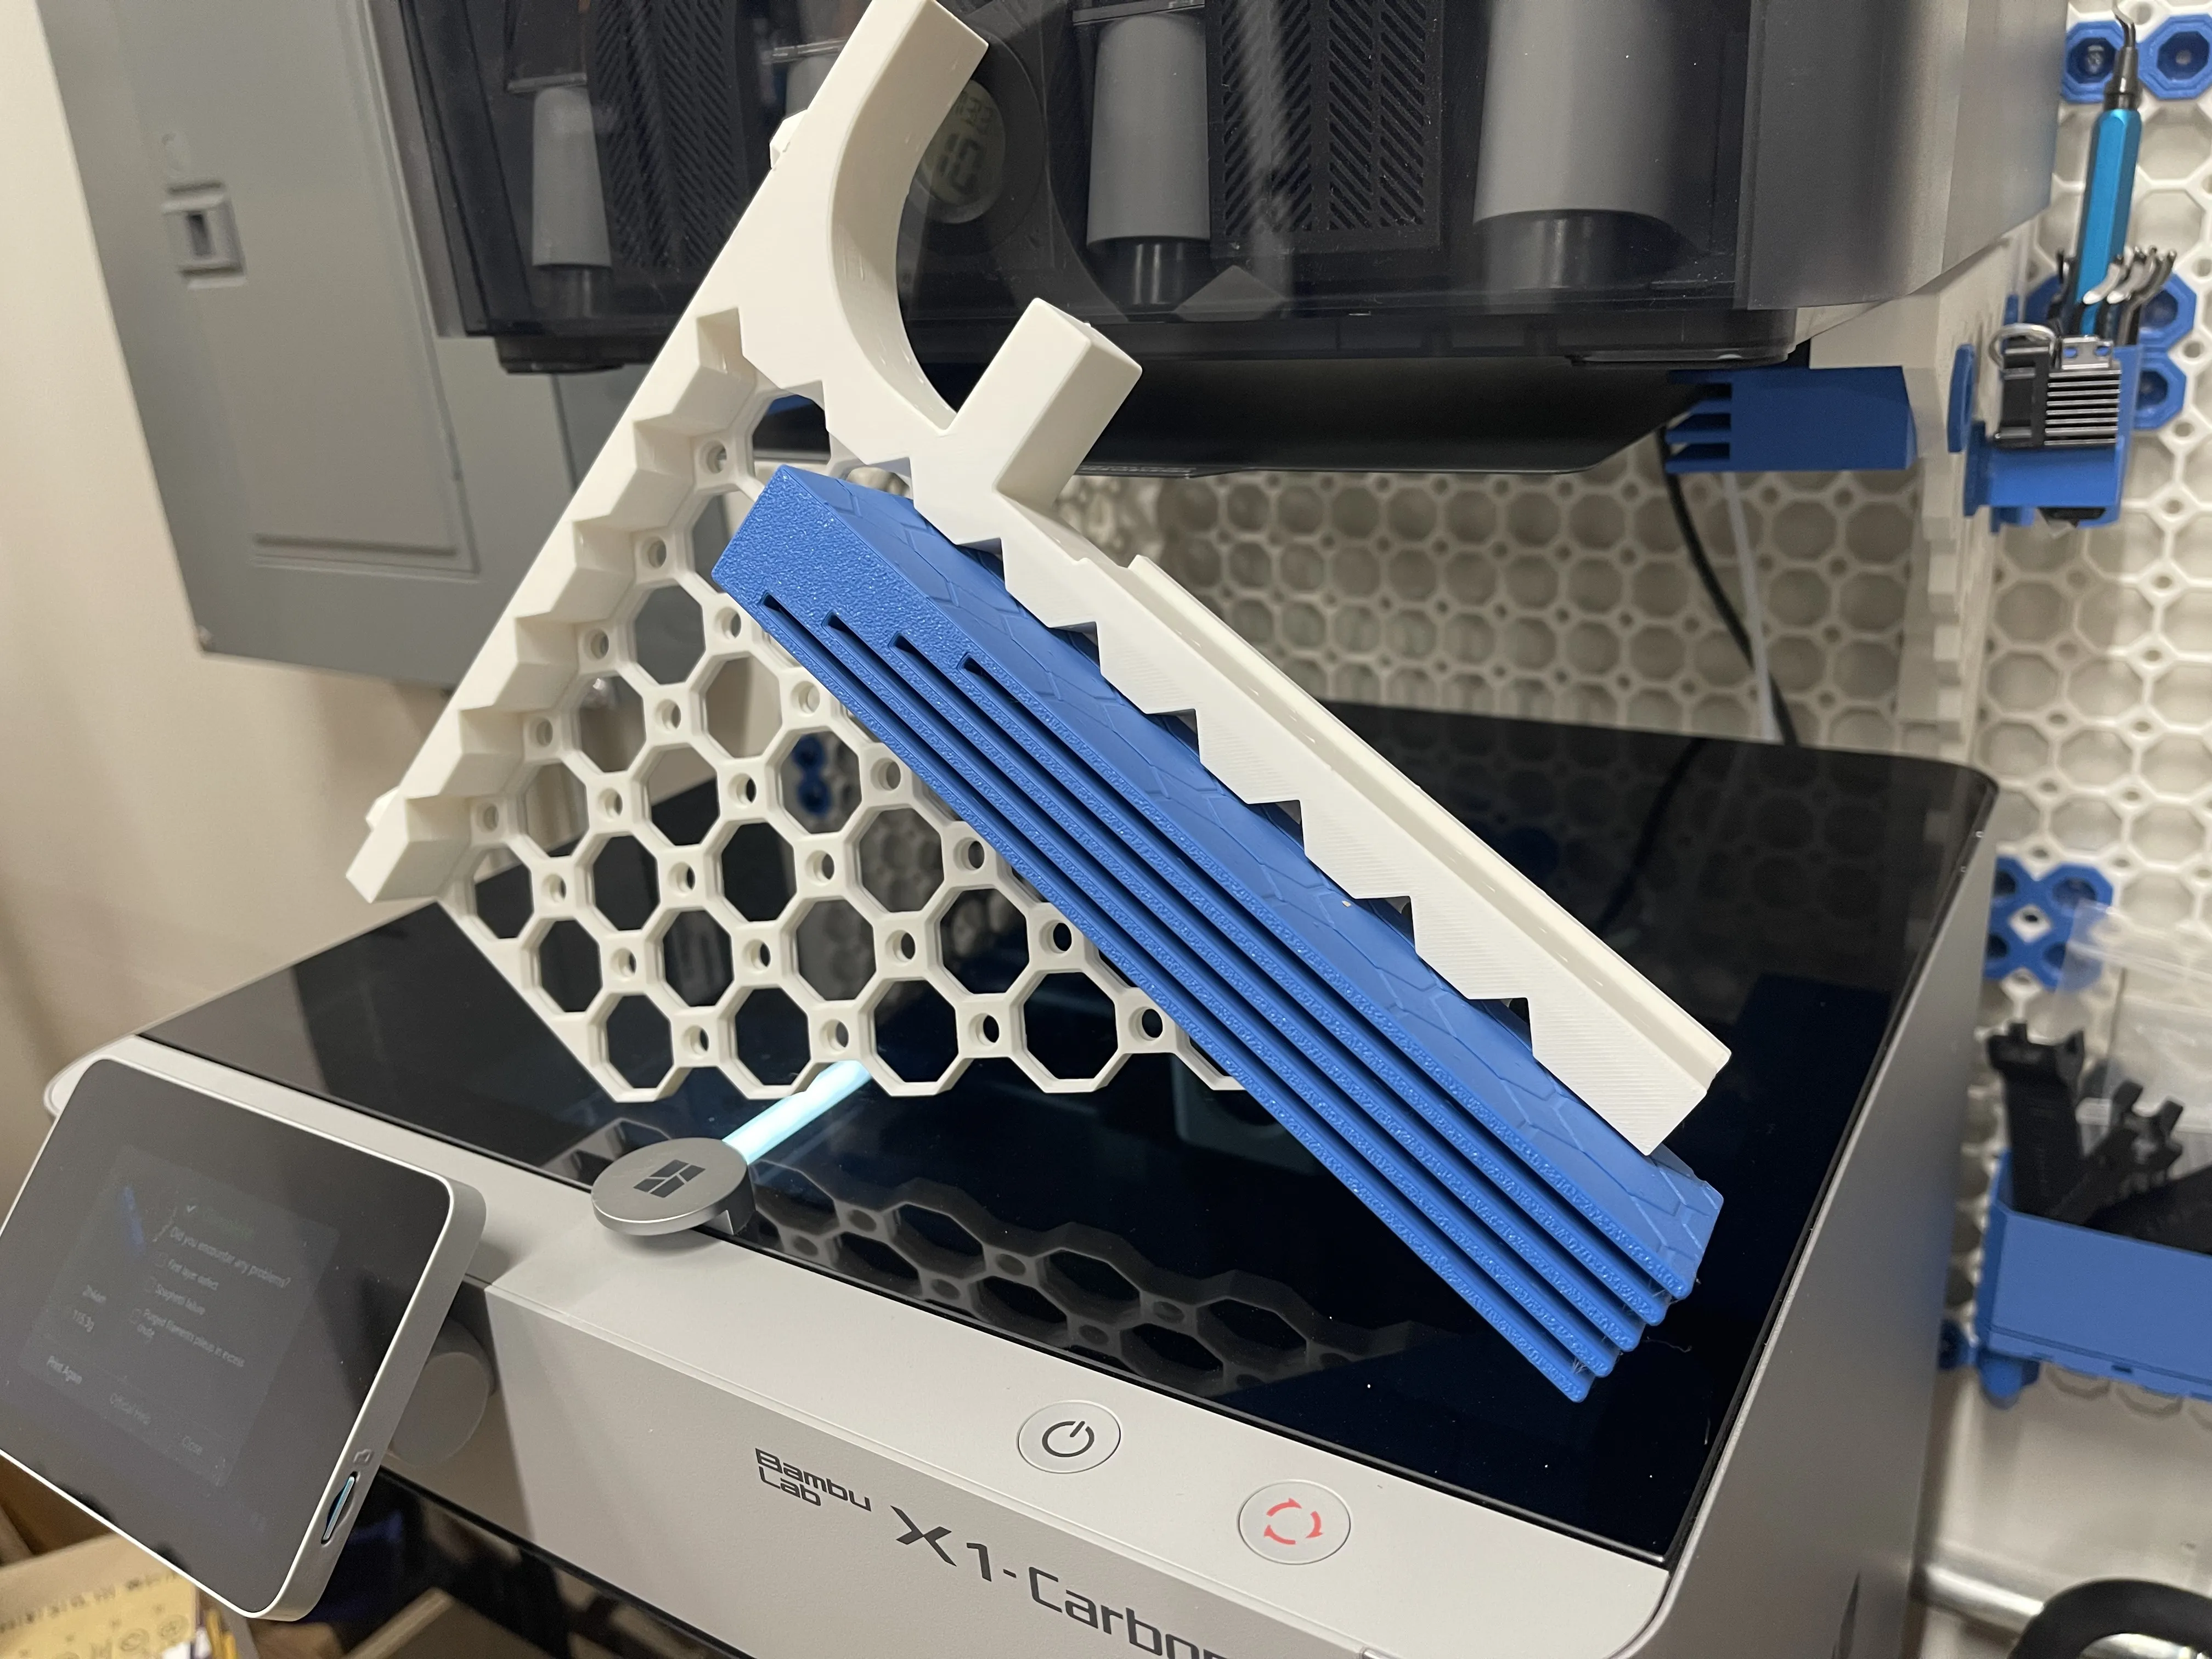
The plate holder is designed to fit on the inside of the AMS Shelf Brackets, by attaching to the multiboard brackets. The plate holder holder holds up to four plates, in a staggard fashion so you can easily see and grab the plate you want. You can print multiple pairs of plate holders and stack them on the shelf bracket and hold as many plates as you want (within reason).
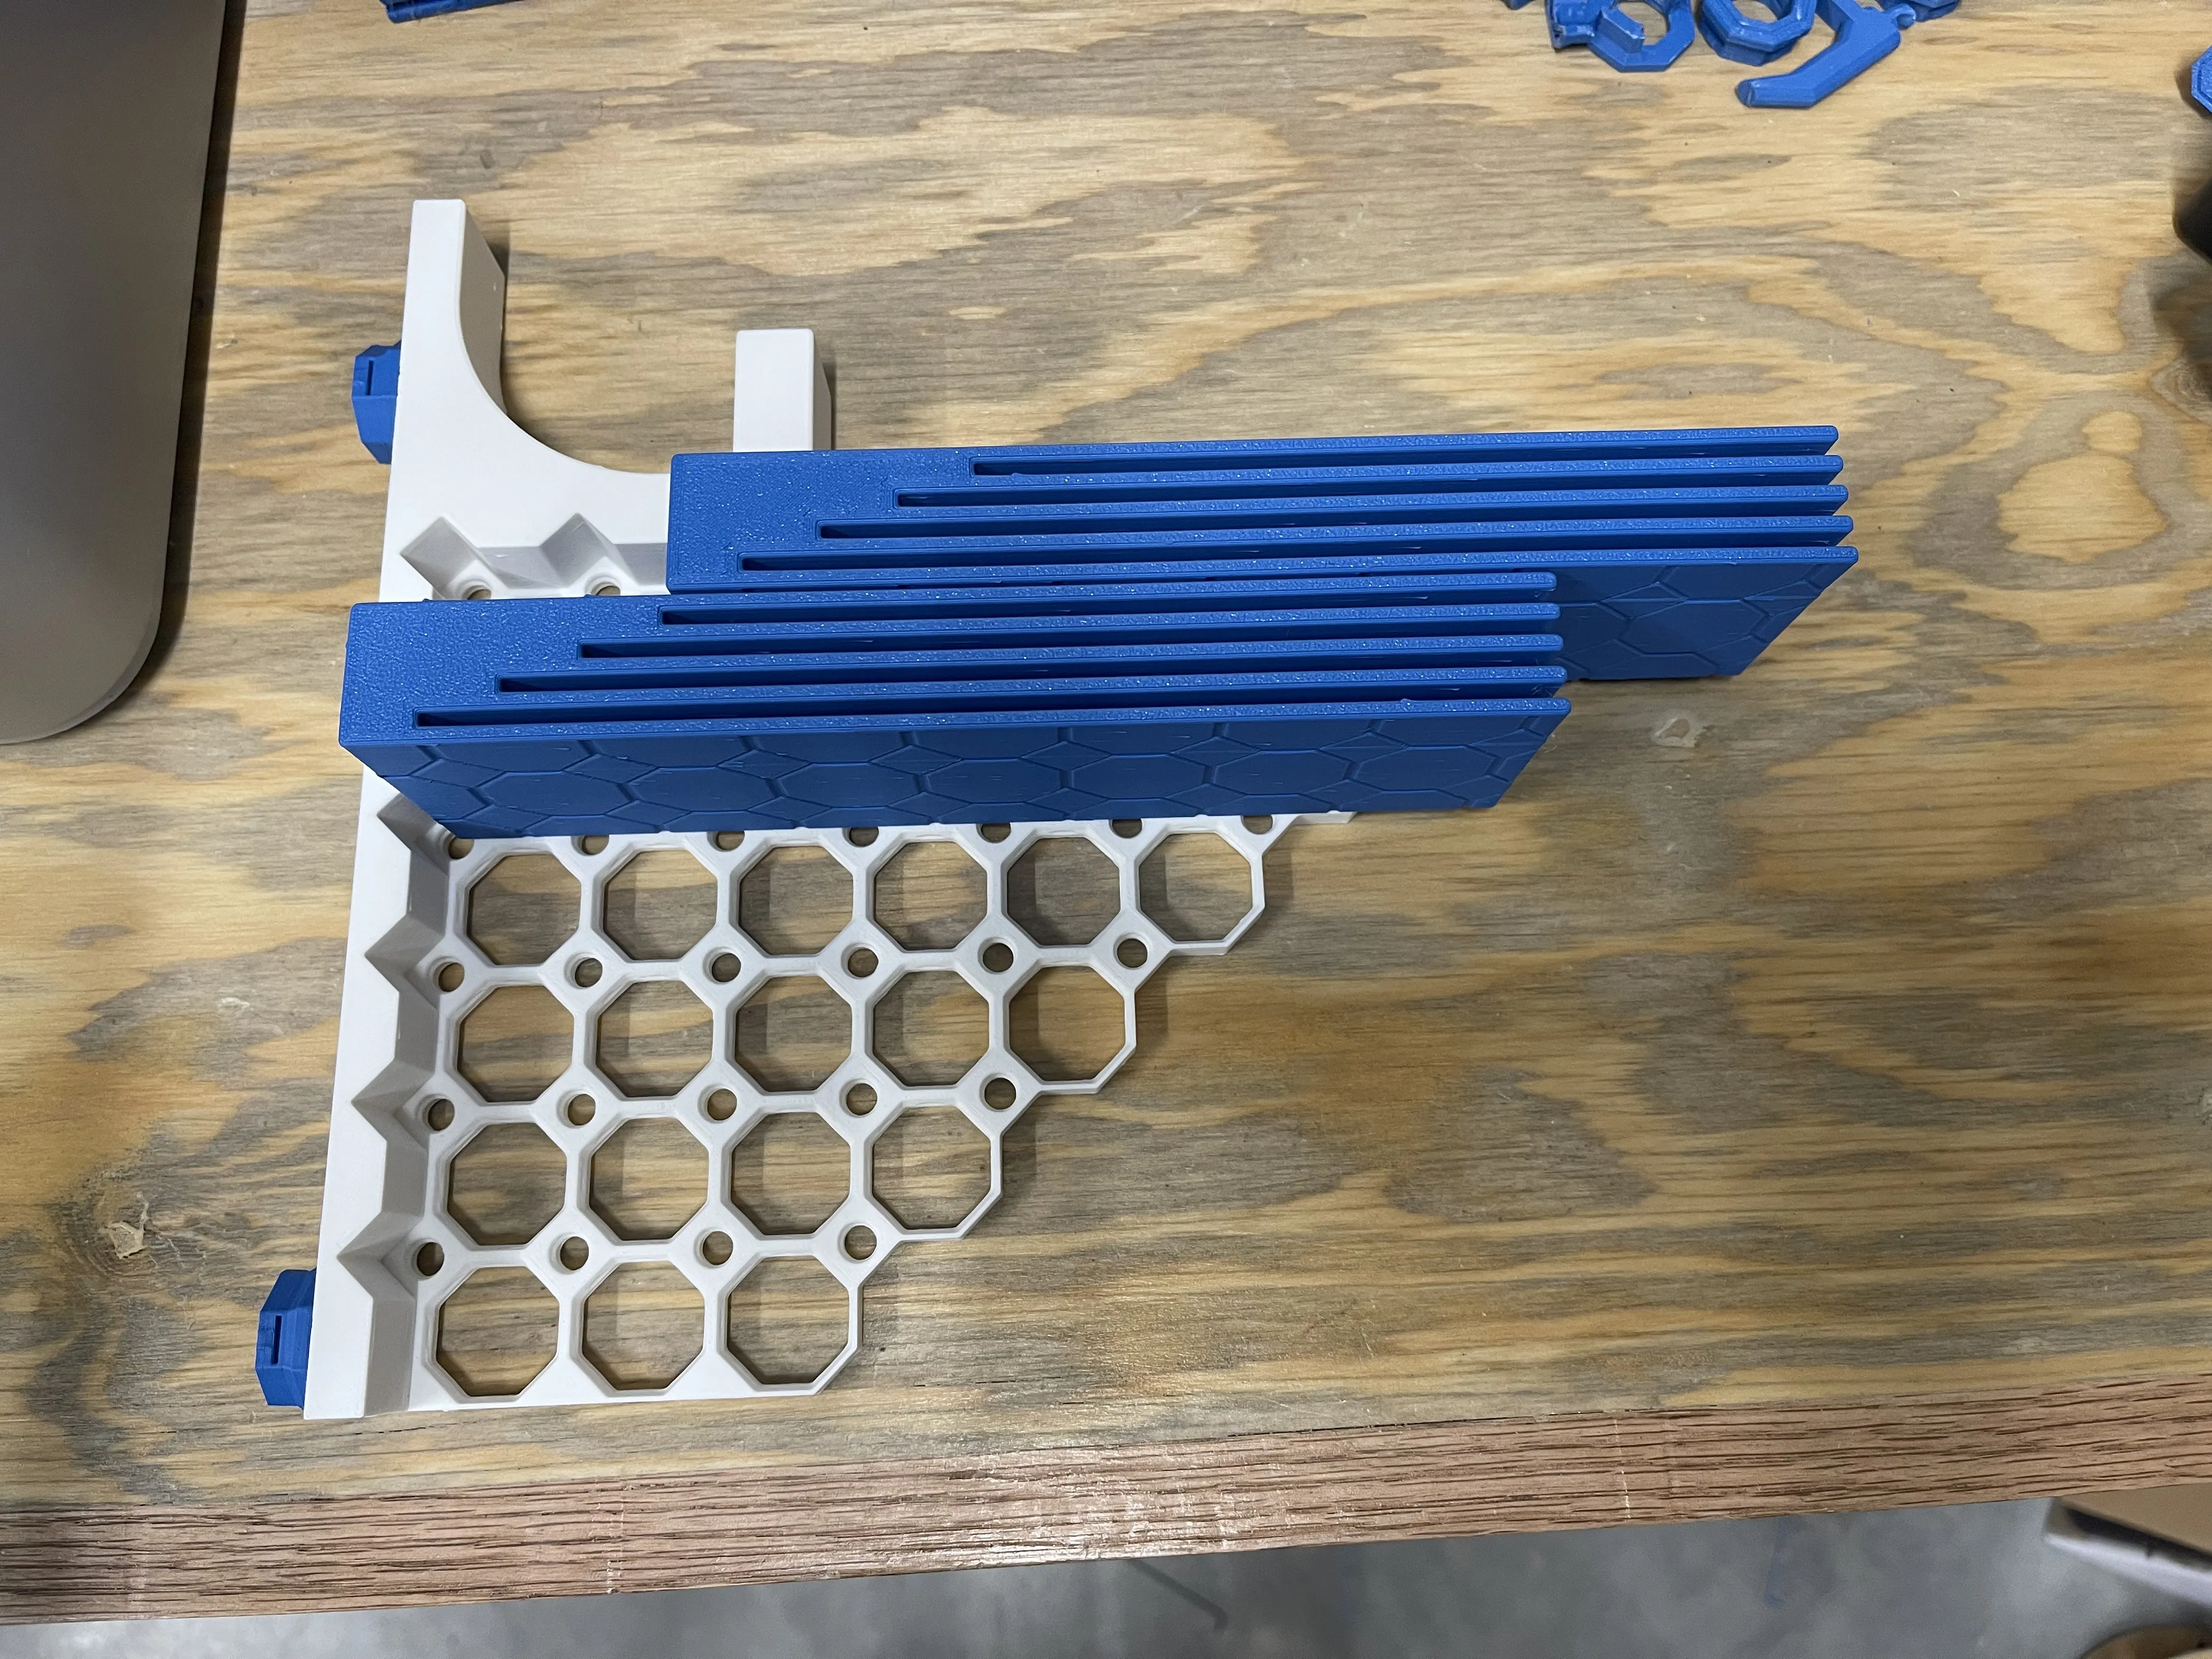
The picture above shows how to mount multiple plate holders to expand the system. I personally would have these Plate Holders on the other left bracket so the bottom plate is the furthest out, but that's up to you.
I used Multiboard double-side snaps (part A) on the plate holder so you can use the part B side on the outside of the brackets for a nice, clean look. This also means you can use these snaps to attach other things using the same mounting point on the outside using push-fit pegs or medium threaded bolts. Warning: the snaps pieces on the Plate Holder are delicate! I tried to increase the tolerances on the snap fittings to make it easier to push in, but I recommend laying the bracket on a flat surface and pushing the Plate Holder straight into the Multiboard tile, or else risk breaking the snap attachment on the plateholder.
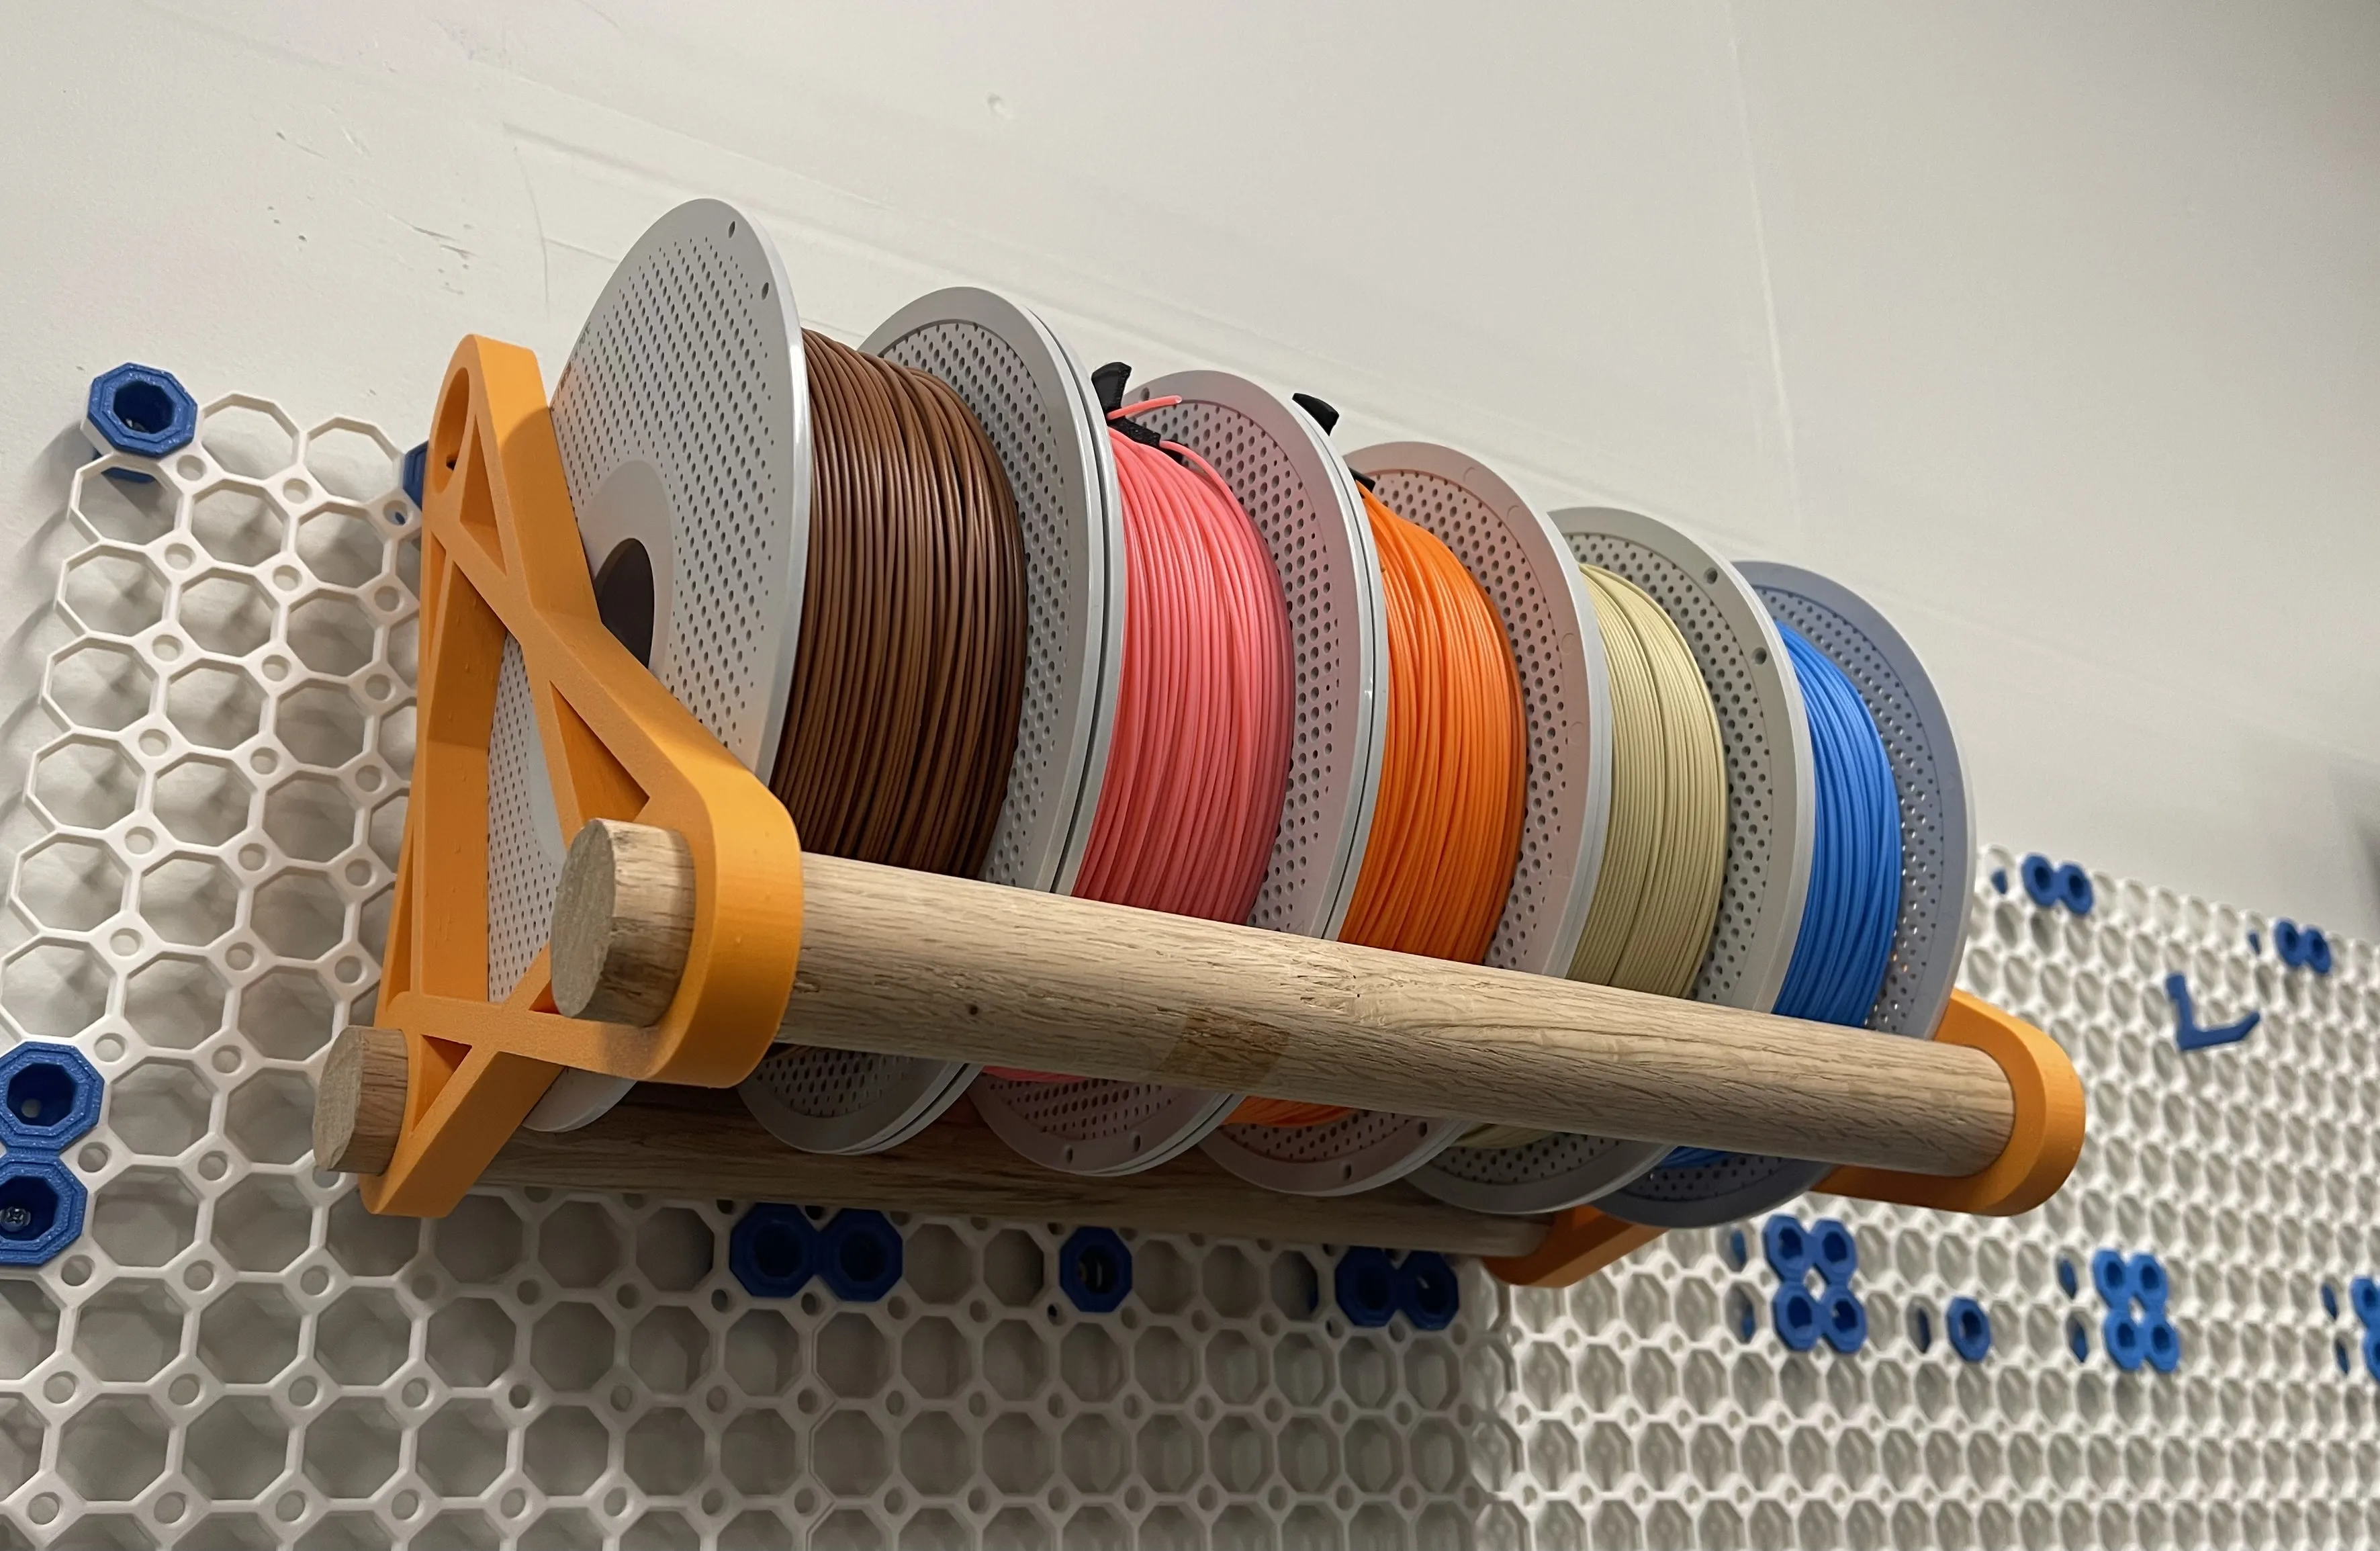
Be sure to check out my other designs, like my newly released Multiboard Filament Spool Rack!
Boost Me (for free)
License



Comment & Rating (33)