
Stackable Dry Boxes

Print Profile(1)

Description
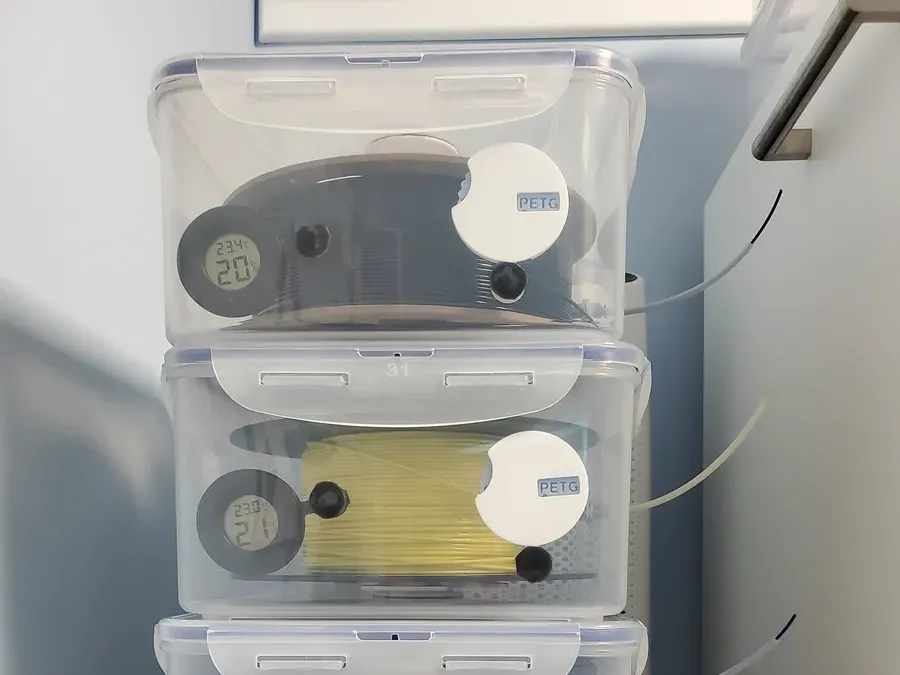
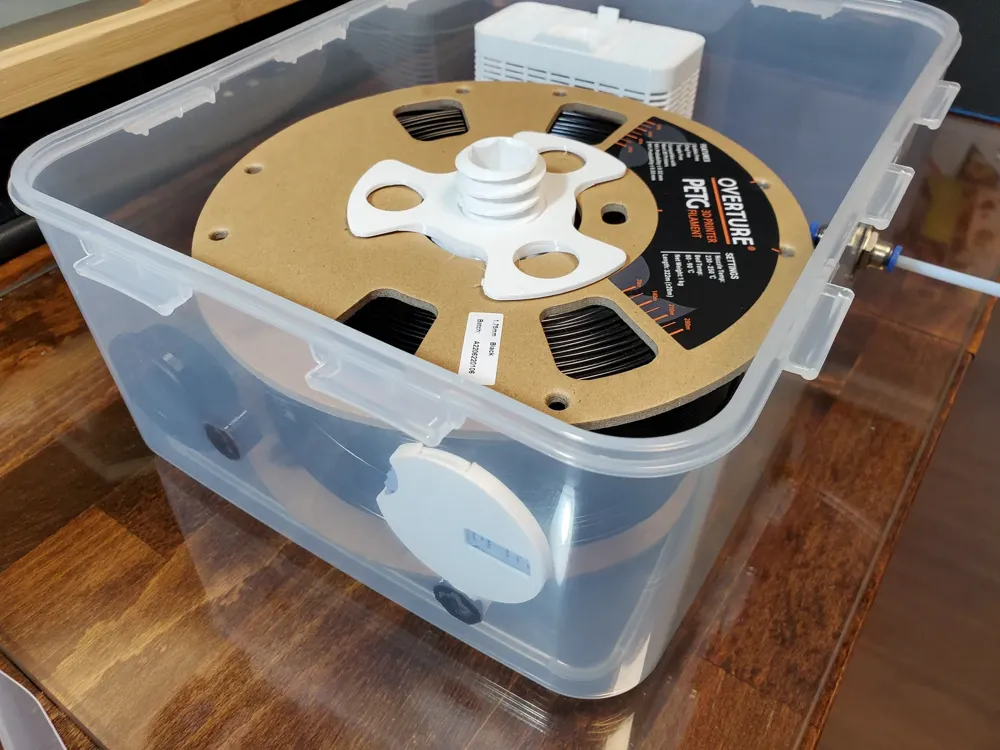
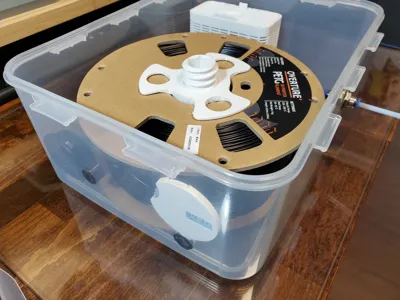
Yet another dry box. Why? Because the rubber-maid mussli boxes were too expensive where I live and even they could not fit some wide spools. I've been using them for over a year now, so I thought I would share.
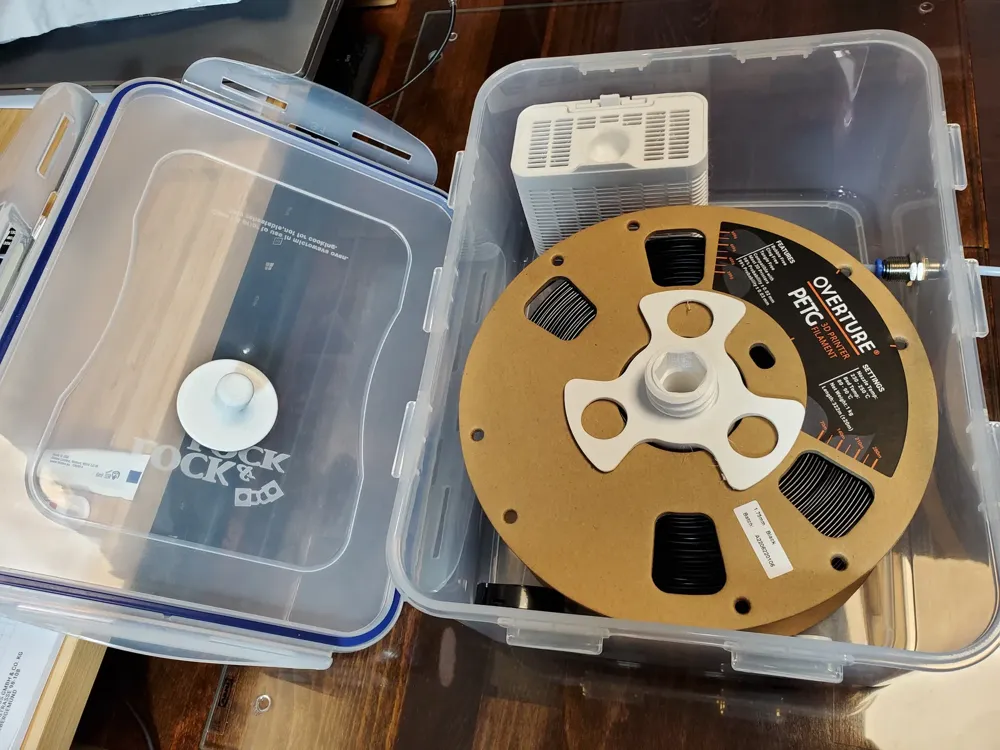
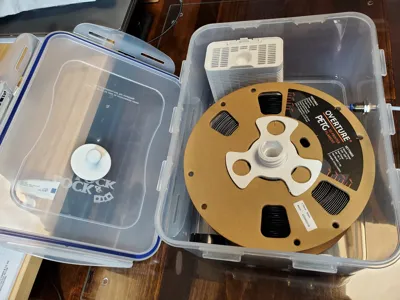
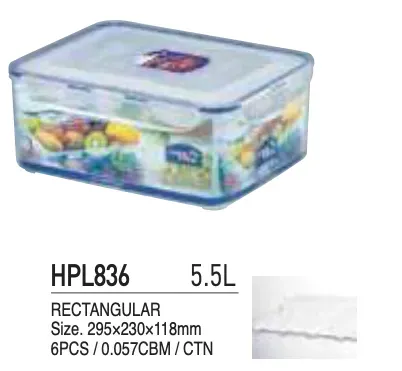
Introducing the Lock n Lock HPL 836 dry box, which has a volume of 5.5 l:
Features:
- Accomodates spools up to 20.2 cm diameter and up to 10.5 cm wide (this includes the 1 kg spools from Prusa).
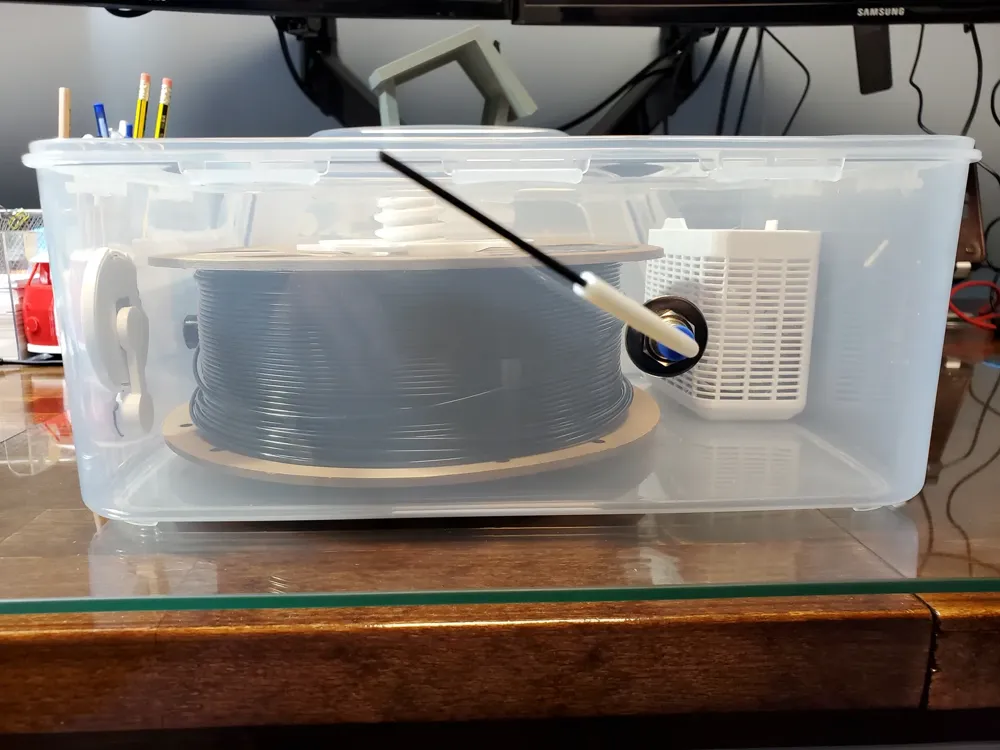
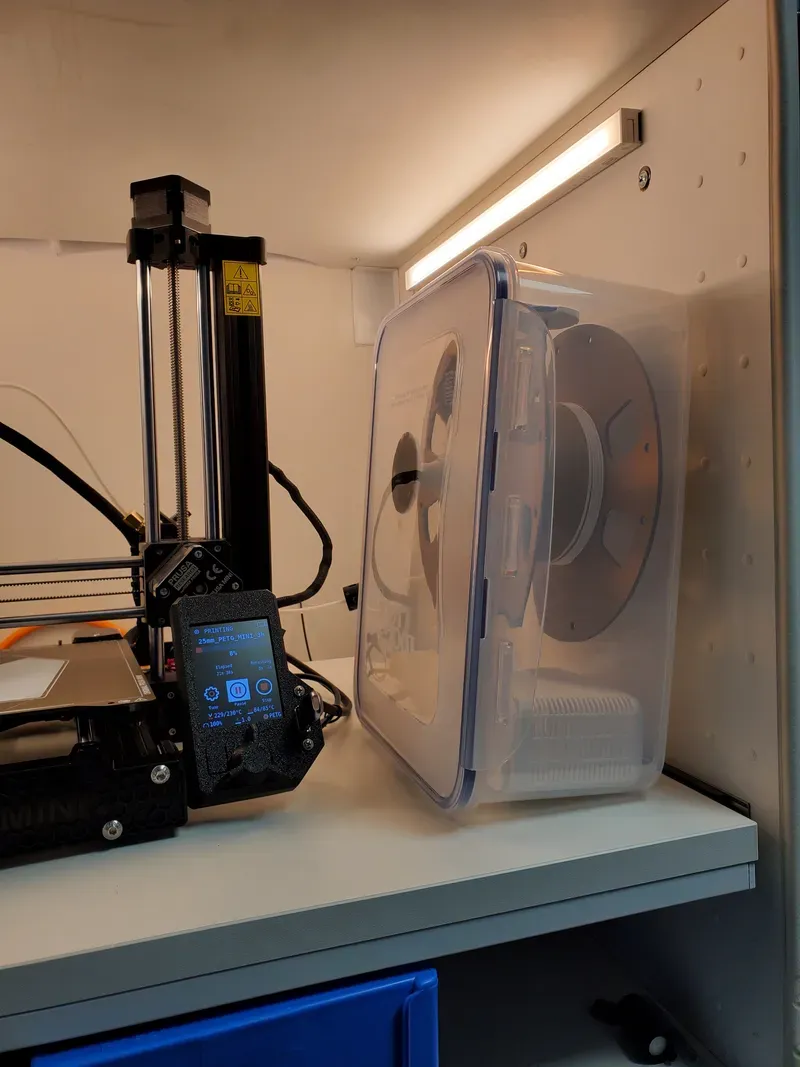
- The box is air tight and keeps the filamens dry. A pnuenmatic connector on the side allows you to connect it to you existing setup if you have an “air-tight” system.
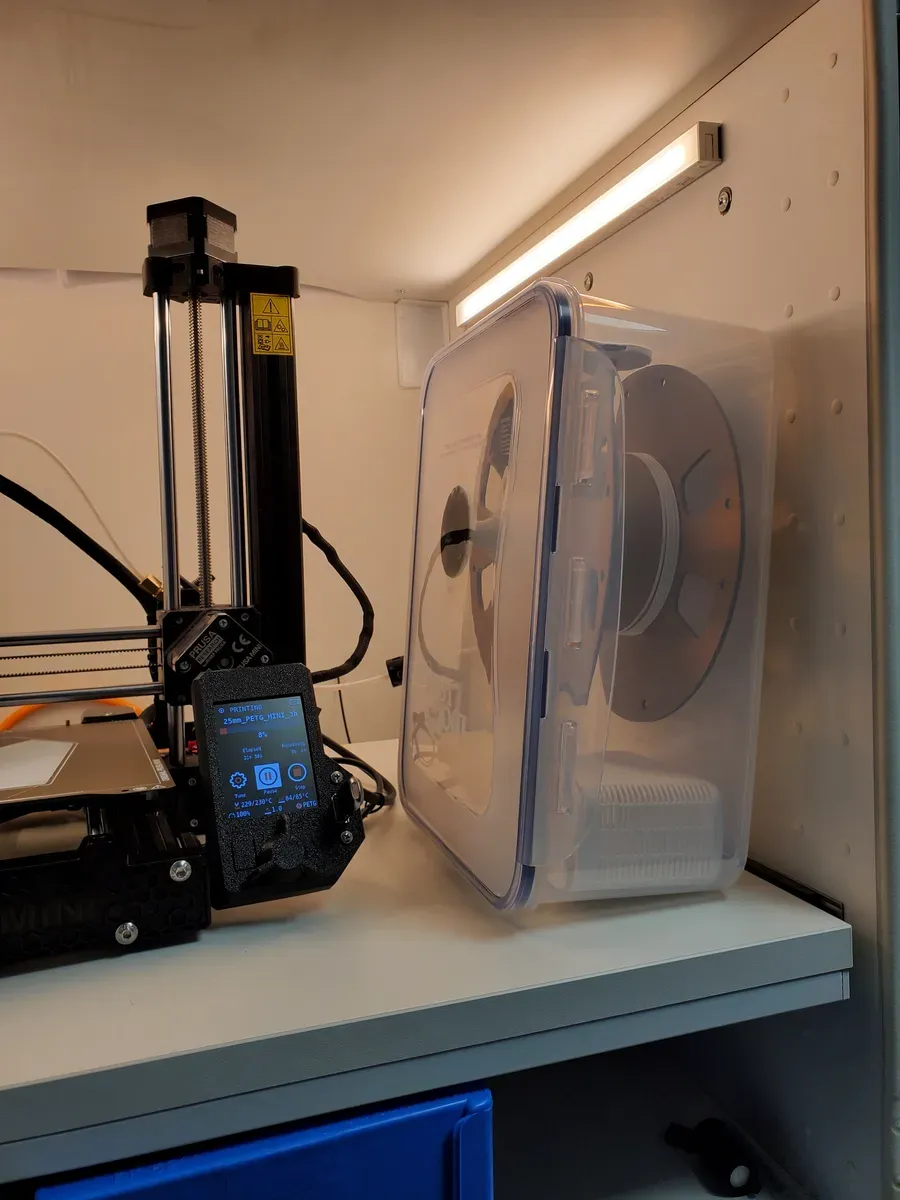
- The box uses a guide on the cover to prevent spool rubbing when used on its side (the bottom of the box flexes too much)
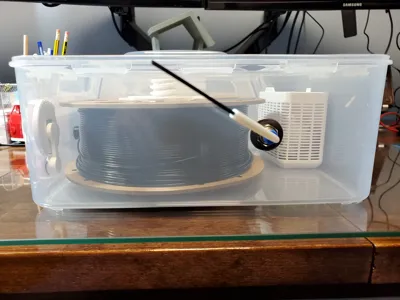
- Handy removal tool if you are having difficulties - tools holds the shaft so you can turn the nut
- Desiccant box for continious drying of your filament while in the box
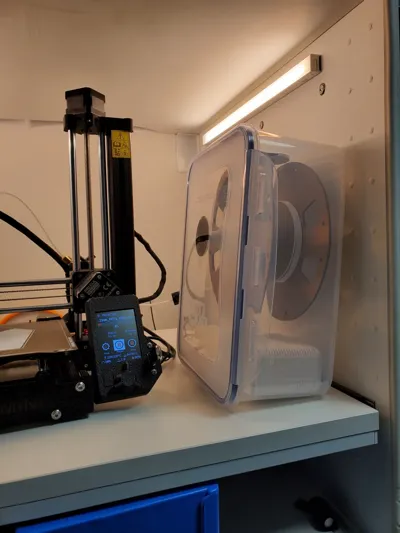
- Stackable!
Check local businesses before you buy the HPL box from Amazon. Amazon is quite expensive UNLESS you buy 6 at a time, where the price can go as low as 13€/box. I would suggest buying one and making sure this box fits your needs before you buy more.
German links:
Boost Me (for free)
As always i would be grateful for a Boost
Bill of Materials (per box):
1x Lock n Lock HPL 836 box: Link above
1x 3M VHB 5925 tape, 25mm wide Link
1x 6805 bearing (25 mm x 37 mm x 7 mm): Link
1x Pneumatic Connectors 4mm: Link
! up until now, the 3M VHB tape is the only one that works with these containers !
! As an alternative you can try to print a bushing instead of using a bearing. I actualy find the system to have too little friction sometimes.
Assembly:
- Apply the tape to the bottom of the “Base”. Make sure to strongly press it onto the base.
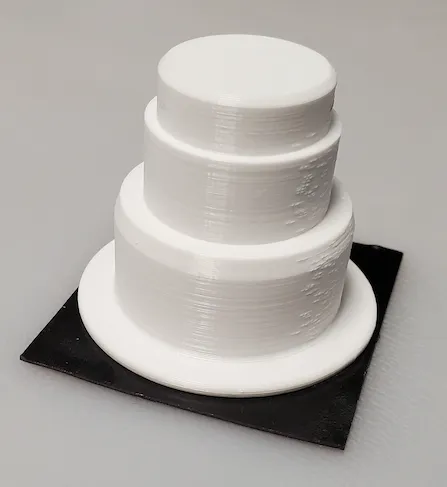
- Trim off any excess
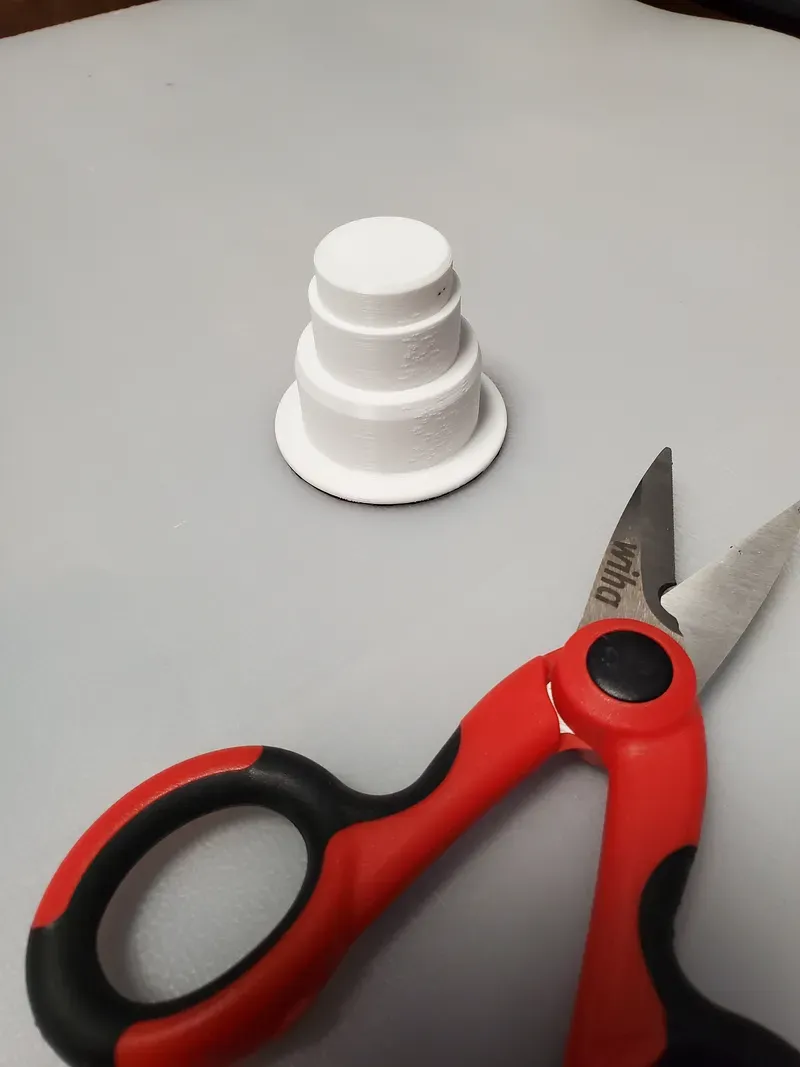
- Press the 6805 bearing onto the base.
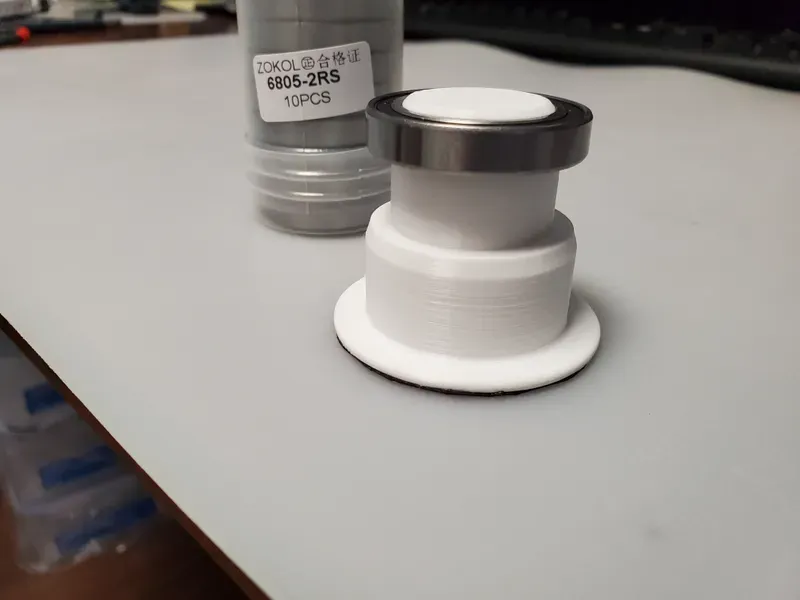
- Use the OrientationBracket to find the correct mouting position of the base.
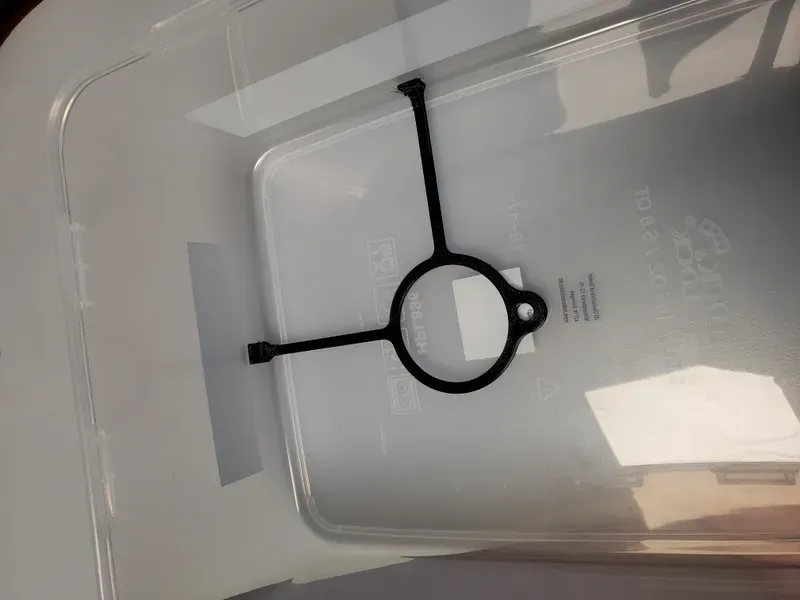
- and firmly press it onto the HPL 836 box.
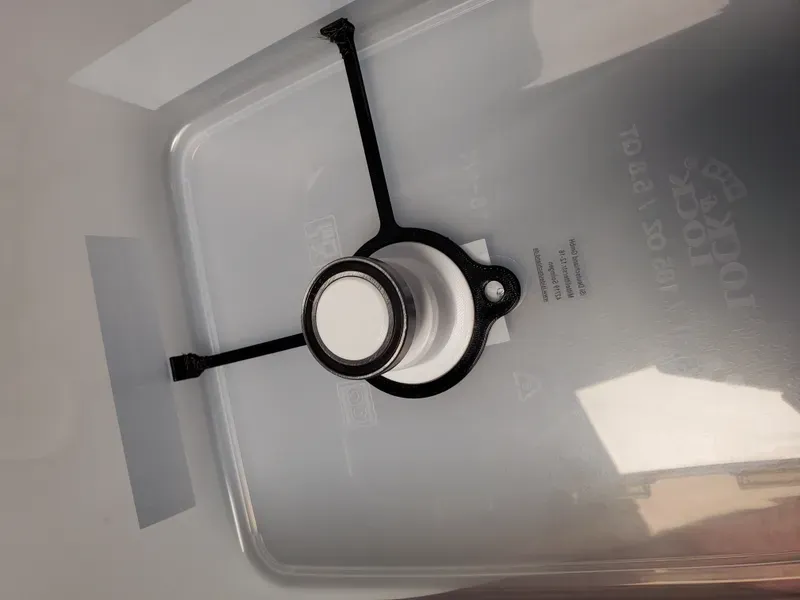
- Remove the OrientationBracket and press the SpoolShaft onto the bearing.
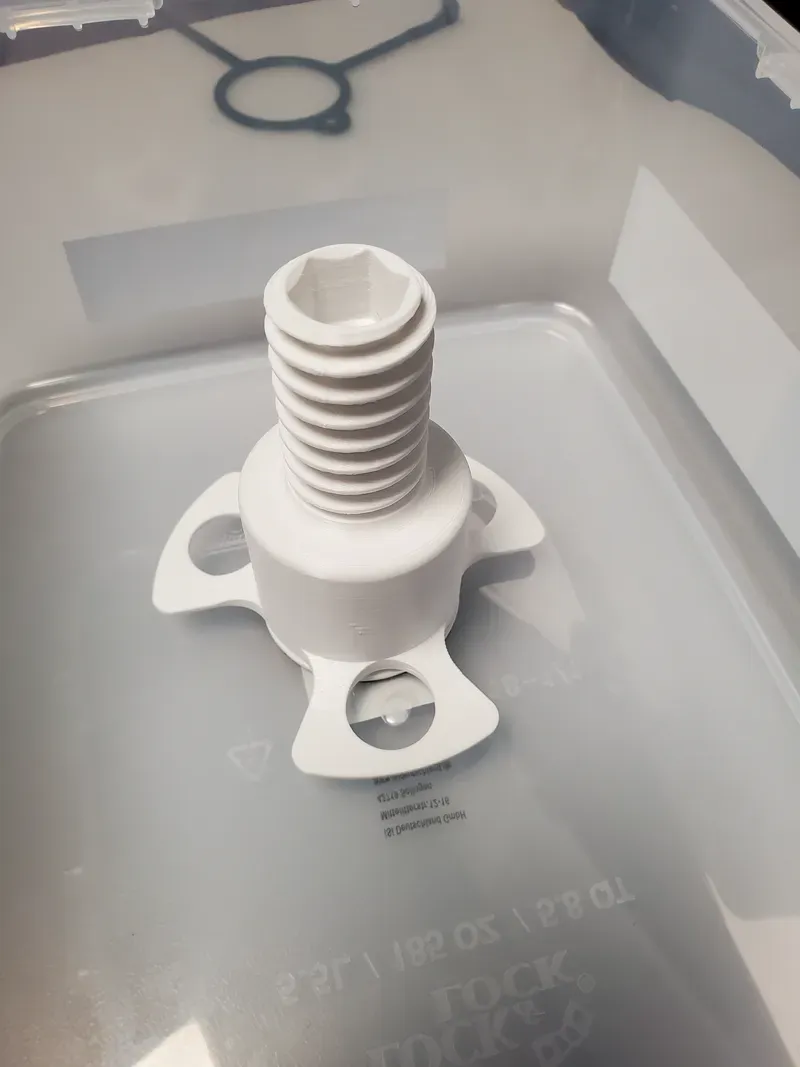
- Apply tape to the CoverSupport in the same way you did the base, trimming off any excess.
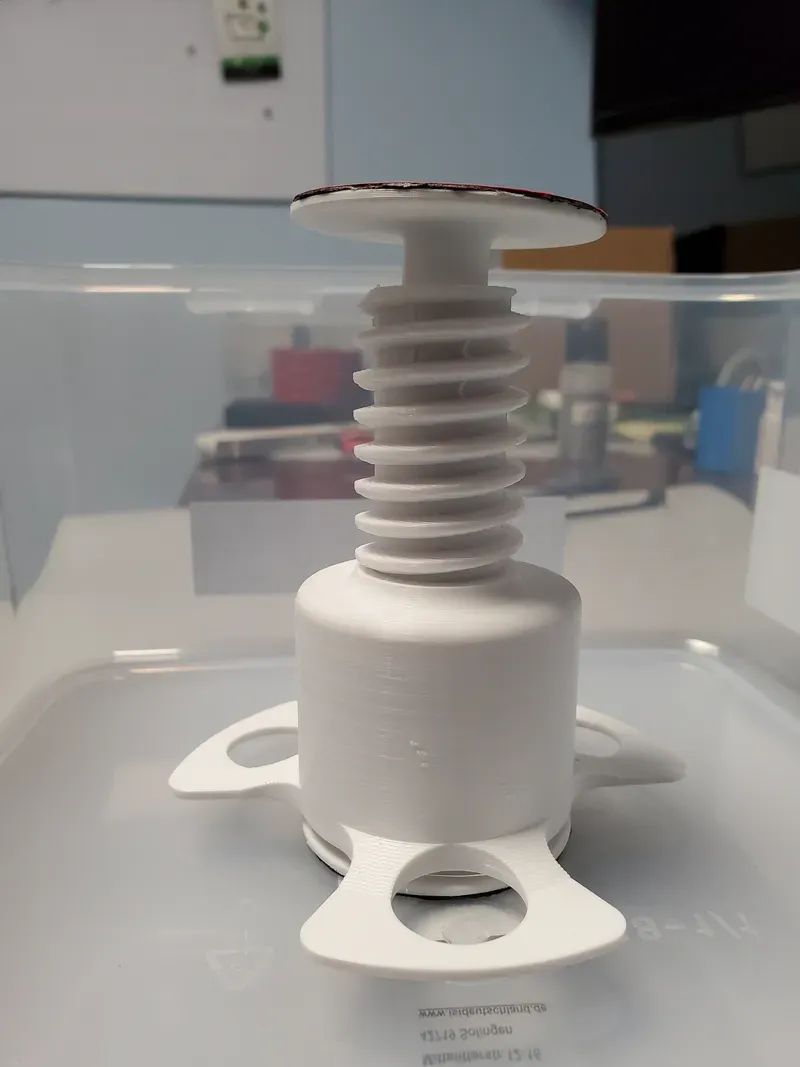
- Place the box cover on and press down so the CoverSupport makes contact with the cover. Then remove the cover and firmly press the CoverSupport onto the box cover.
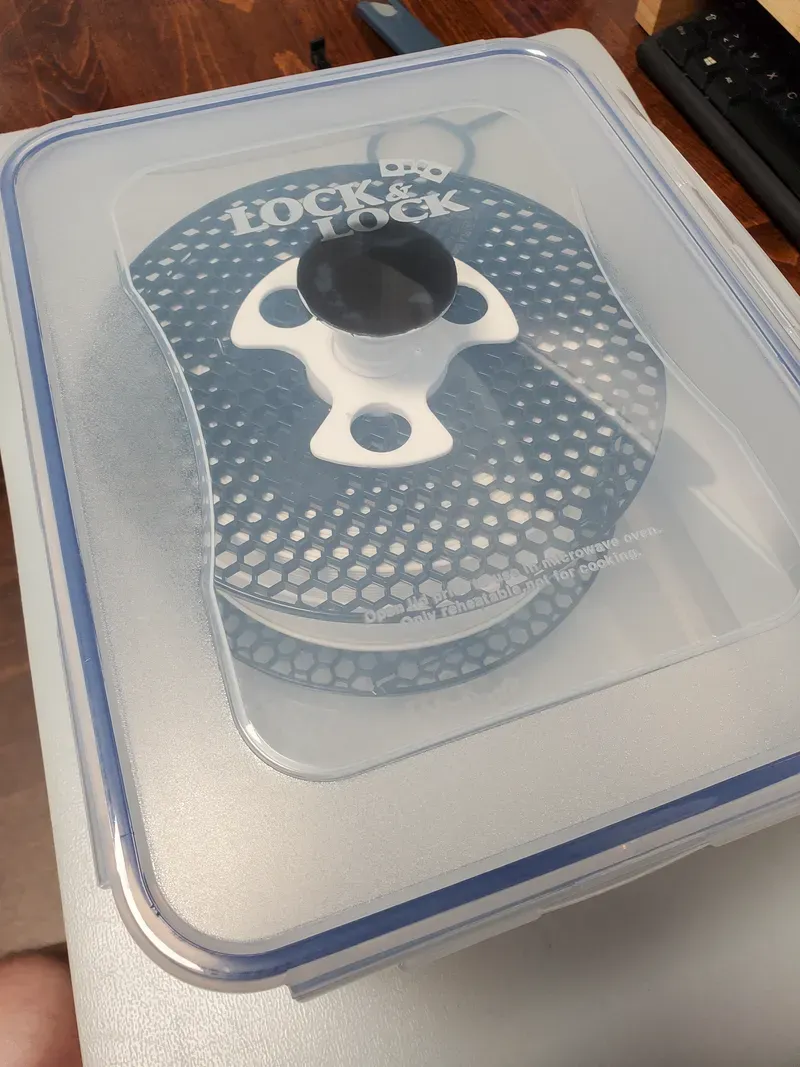
- Now drill a hole for your Pnuematic connector. Location is completly up to you depending on how you want to use the box with your printing setup. Mine are on the sides.
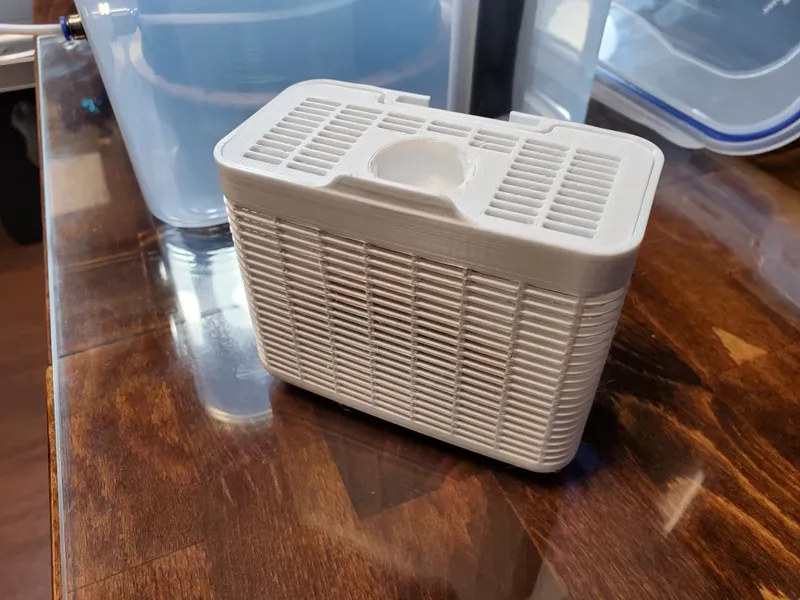
Bonus: Desiccant holder
I've also included a Printplate for the Desiccant holders I use. Use the 3M tape to tape the MountingBracket to the wall of the container. The box then just slides onto it.
Original Model on https://www.printables.com/de/model/483511-stackable-dry-boxes by https://www.printables.com/de/@SJB4127 , no changes were made (just creating a 3mf from all the STL files).
License

You shall not share, sub-license, sell, rent, host, transfer, or distribute in any way the digital or 3D printed versions of this object, nor any other derivative work of this object in its digital or physical format (including - but not limited to - remixes of this object, and hosting on other digital platforms). The objects may not be used without permission in any way whatsoever in which you charge money, or collect fees.


Comment & Rating (2)