
A1 / A1 mini extruder fan bracket Extruder cooling fan bracket 4010

Print Profile(2)


Description
Boost Me (for free)
Thank you for your support!
Thank you for your support!
Introduction
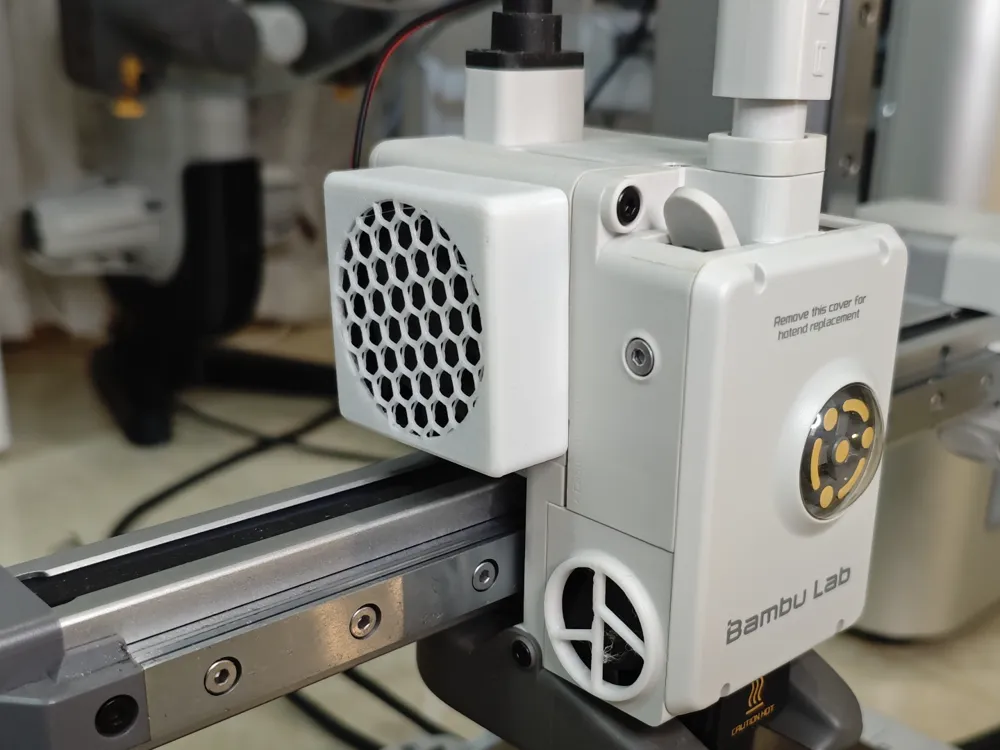
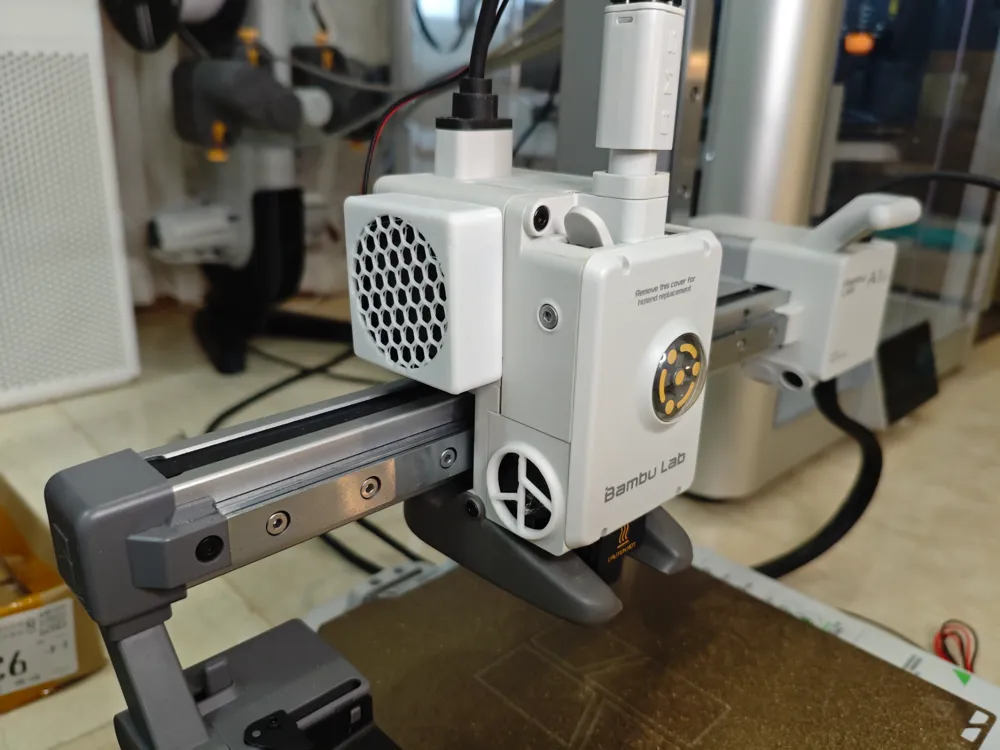
This extruder cooling fan bracket is designed for Bambu Lab A1 series 3D printers. Add a 40mm x 10mm fan to prevent extruder overheating and resultant printing difficulties with lower-melting-point materials such as PLA and PETG. The bracket incorporates a protective mesh and a dedicated cable routing aperture.
Printing
PETG filament is recommended for printing this bracket.
Disassembly
To remove the bracket after installation, use your index, middle, and ring fingers to support it from below, while simultaneously pressing down on the top with your thumb. Gently pull outwards and lift to detach the bracket; proper technique generally requires minimal force.
Commercial License
ZWNEKO Studio (CN)
【English - The following content may not be accurately translated】
Brief introduction
This is an extruder cooling fan bracket designed for the Bambu Lab A1 series 3D printers. You can add a 40mm x 10mm fan to your printer to prevent the extruder from overheating, which could lead to printing issues with materials like PLA/PETG that have lower melting points. The bracket also comes with a protective mesh and a hole for the fan cable to pass through.
Printing
It is recommended to print the bracket using PETG material.
Disassembly
After the bracket is installed on the machine, support it from the bottom with your index, middle, and ring fingers, then press down on the top with your thumb. Use your index, middle, and ring fingers to pull outward and lift up to remove the bracket. Generally, it should not require much force to disassemble it properly.
Commercial License
ZWNEKO Studio (CN)
License

You shall not share, sub-license, sell, rent, host, transfer, or distribute in any way the digital or 3D printed versions of this object, nor any other derivative work of this object in its digital or physical format (including - but not limited to - remixes of this object, and hosting on other digital platforms). The objects may not be used without permission in any way whatsoever in which you charge money, or collect fees.


Comment & Rating (41)