
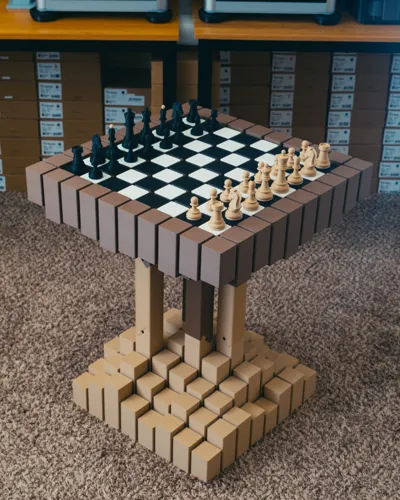
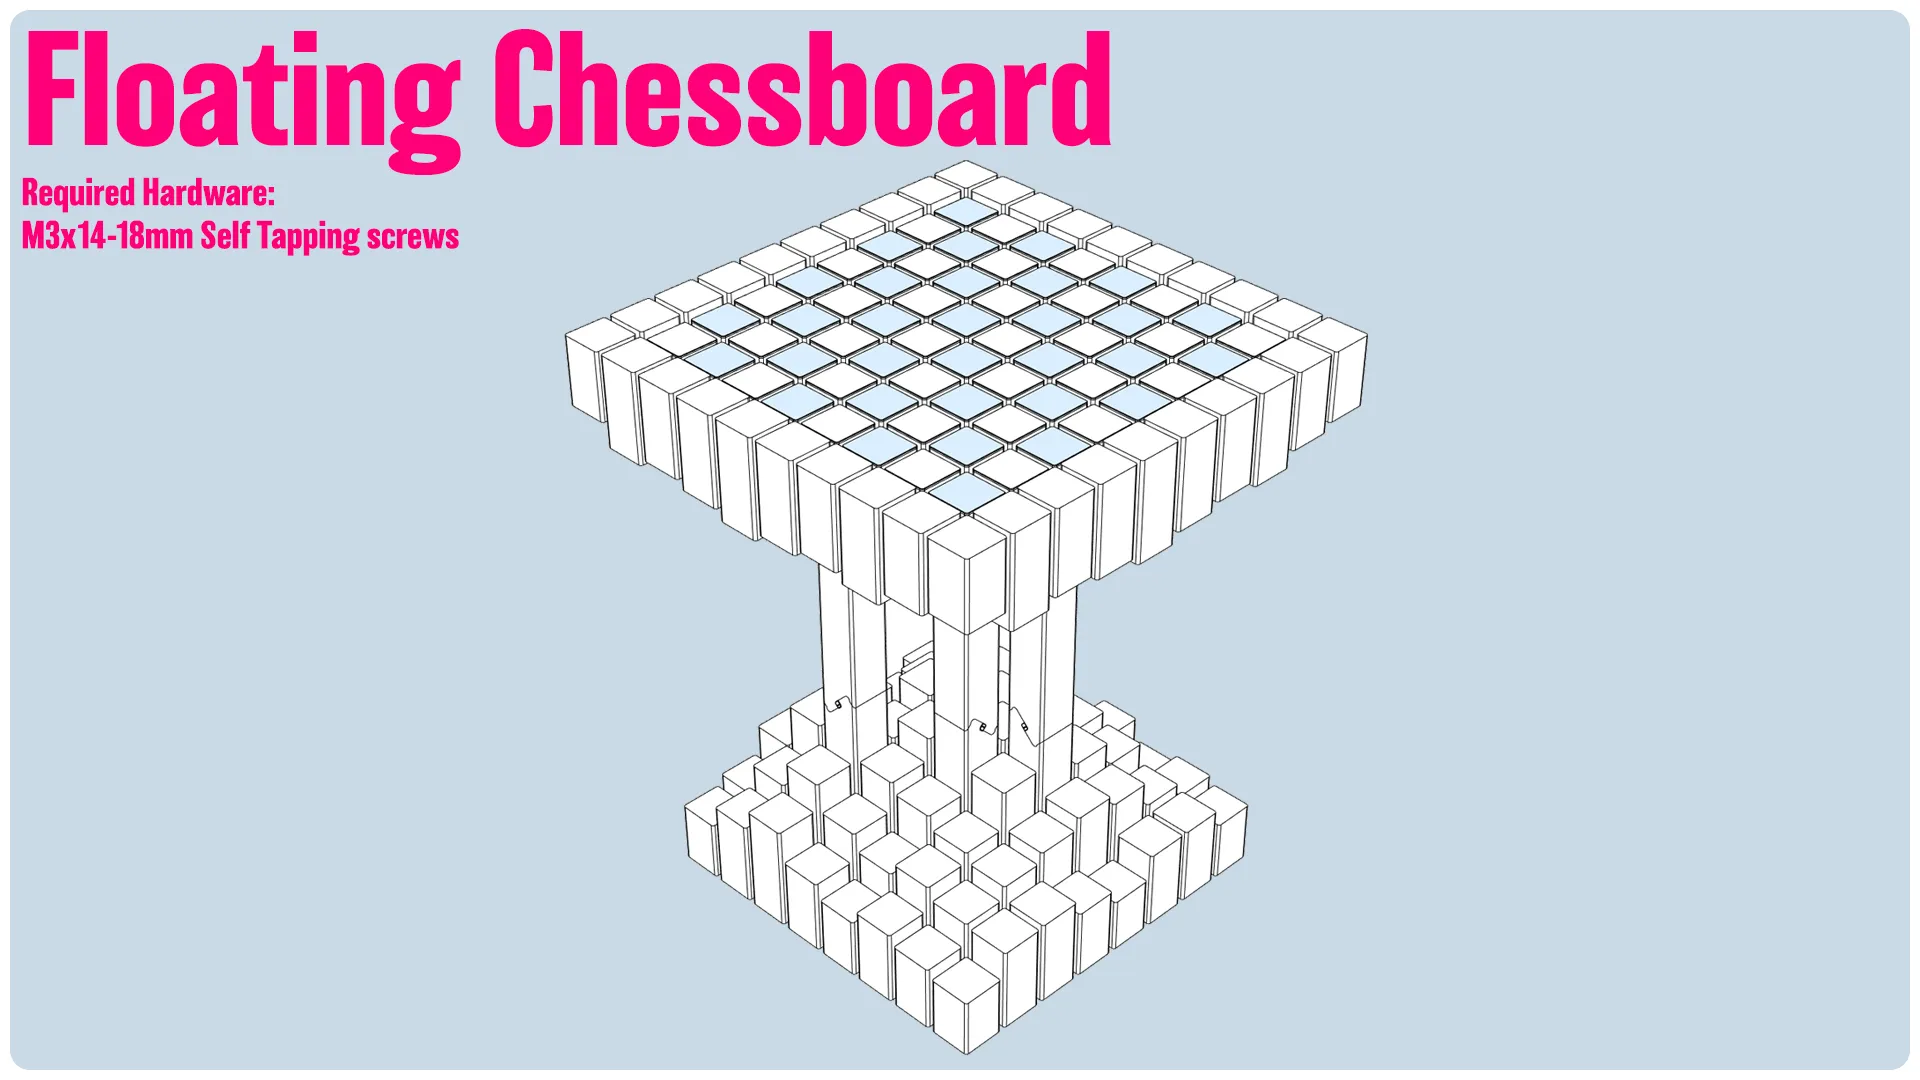
Floating Chessboard/table


Print Profile(1)

Bill of Materials


Description
Boost Me (for free)
These models can be a lot of work, so please consider giving a boost to help further the development of models like this, and many more! Also, don't forget to follow me for more work like this too!
[Introduction]
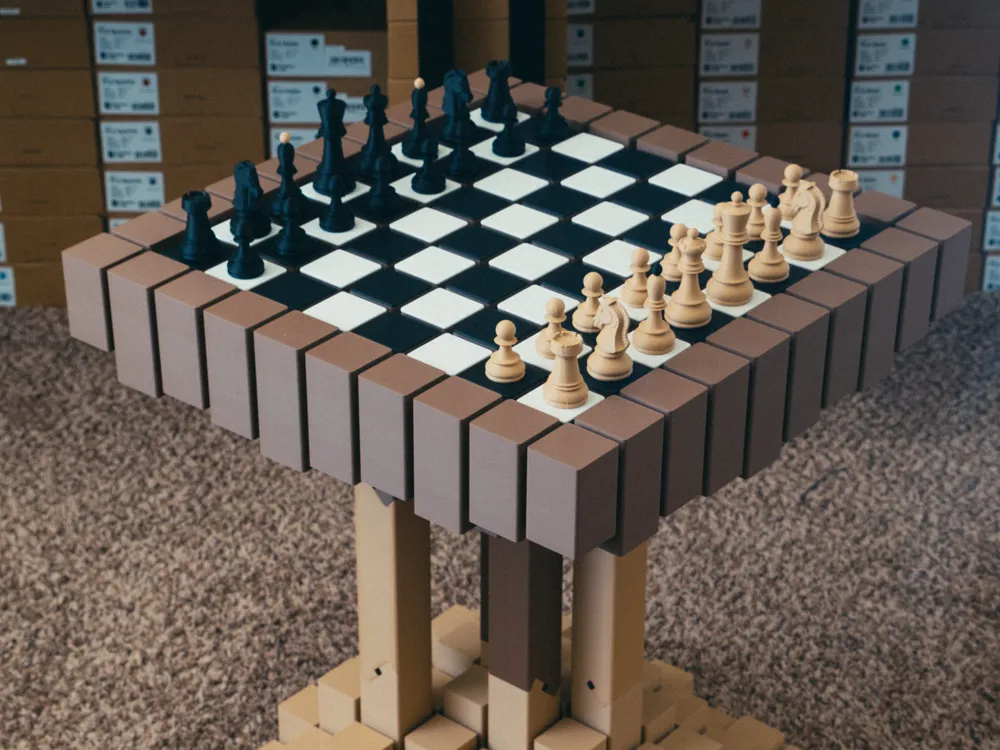
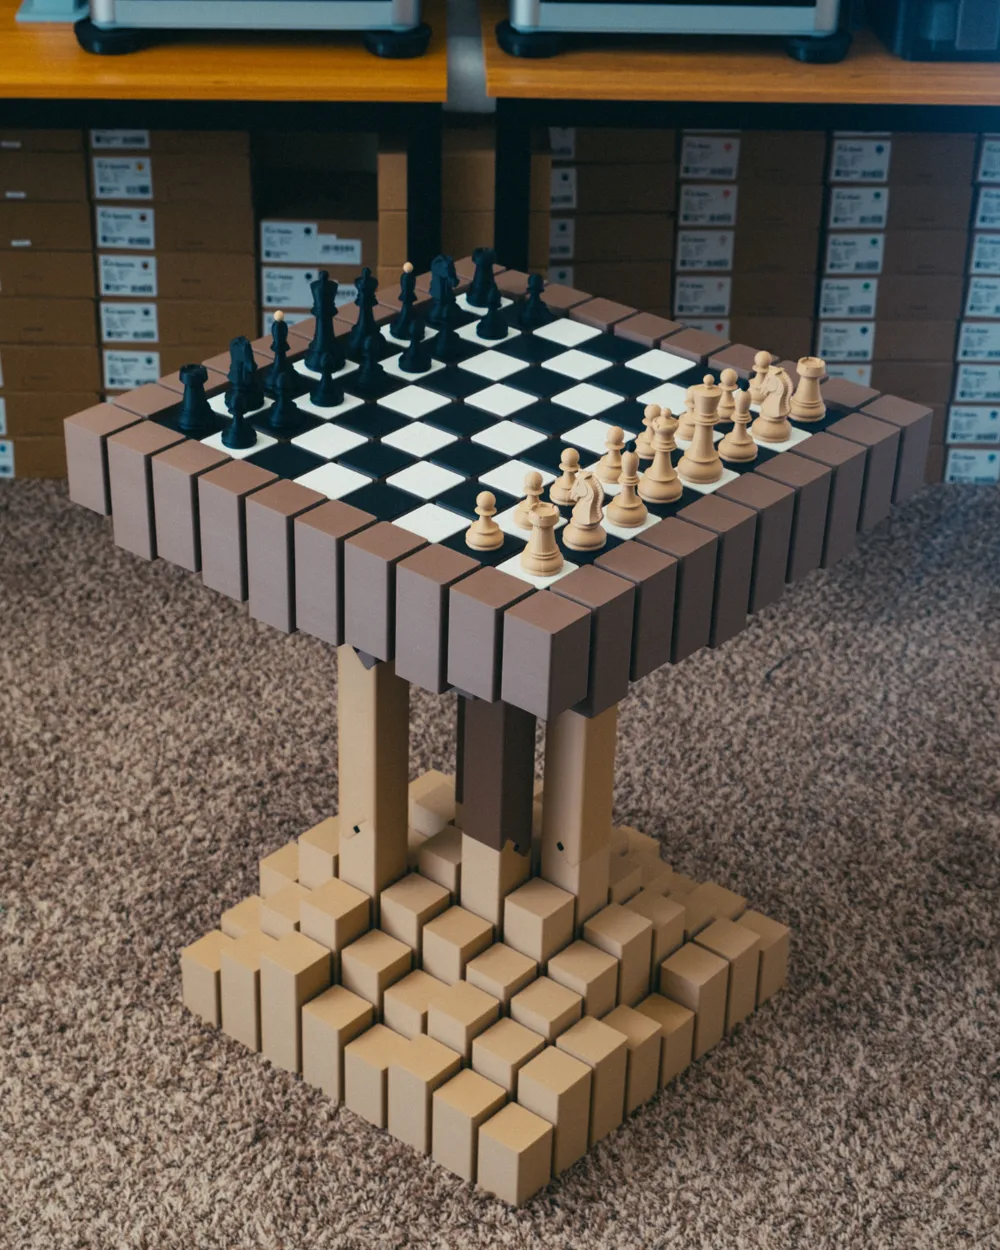
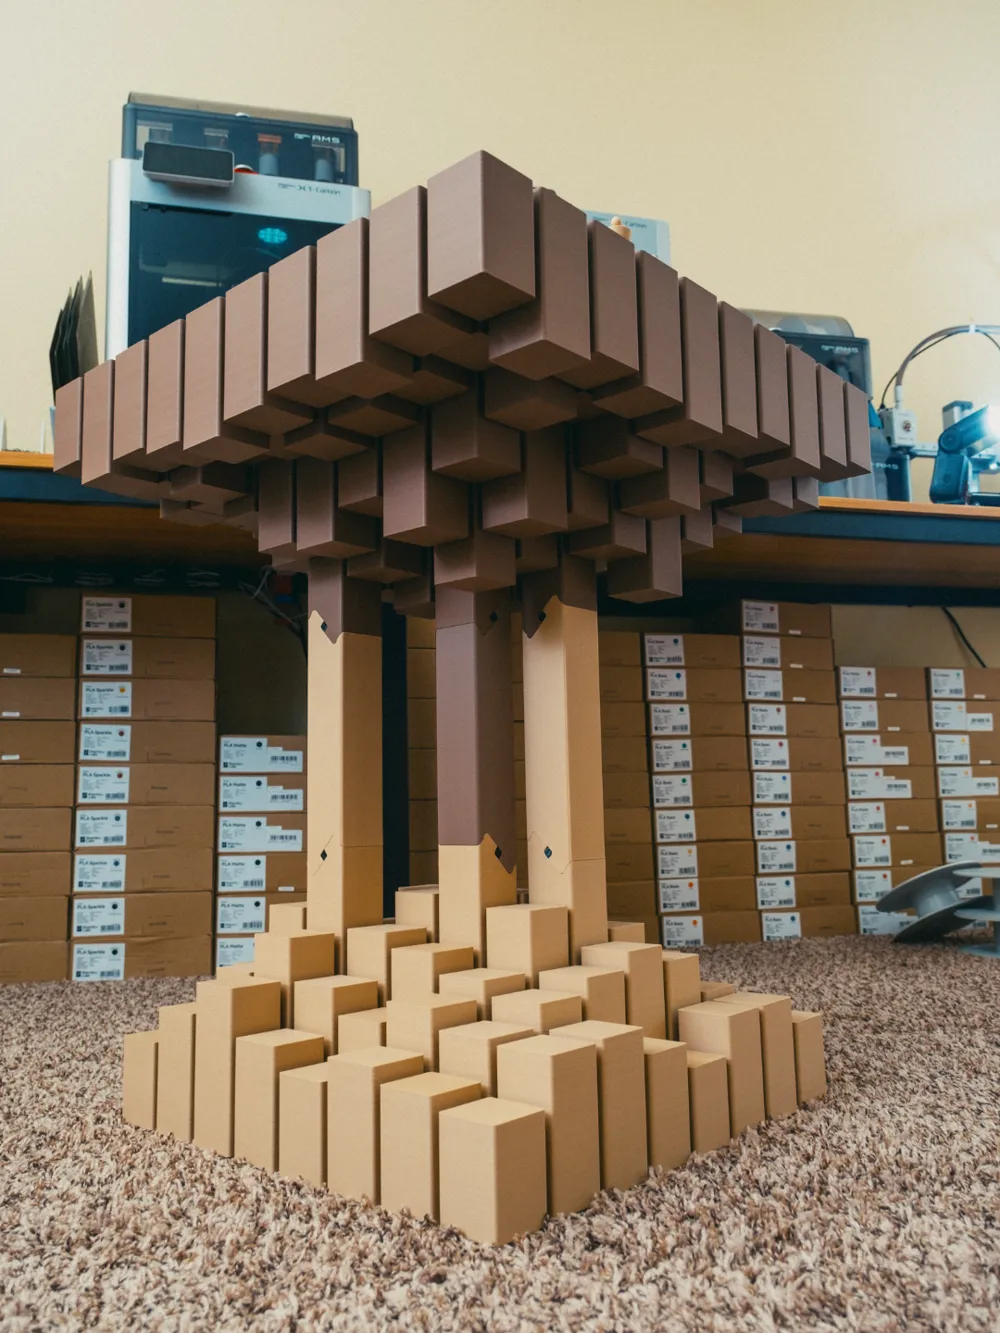
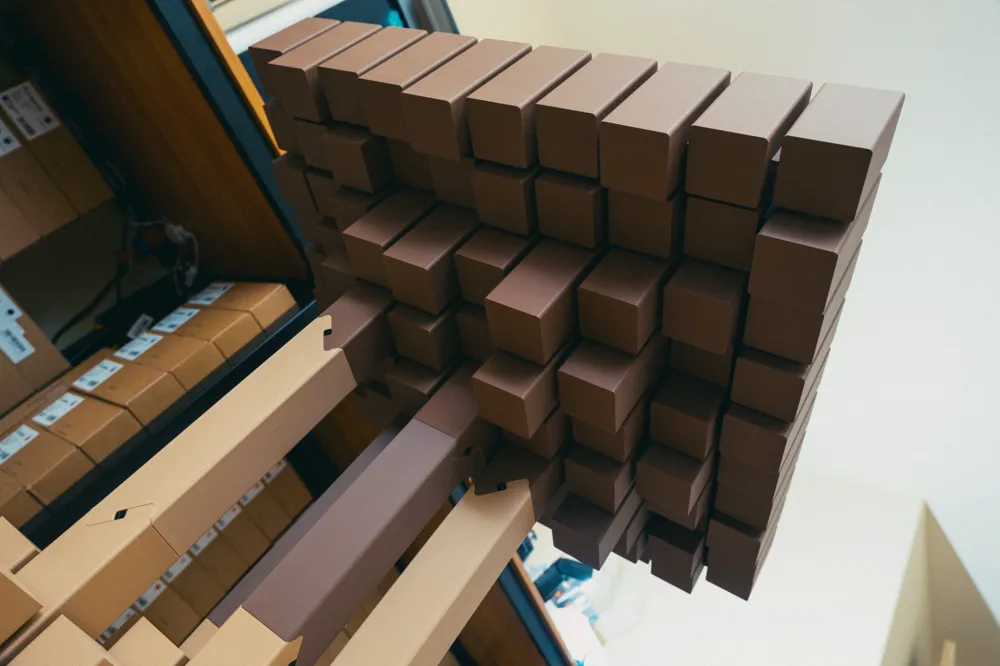
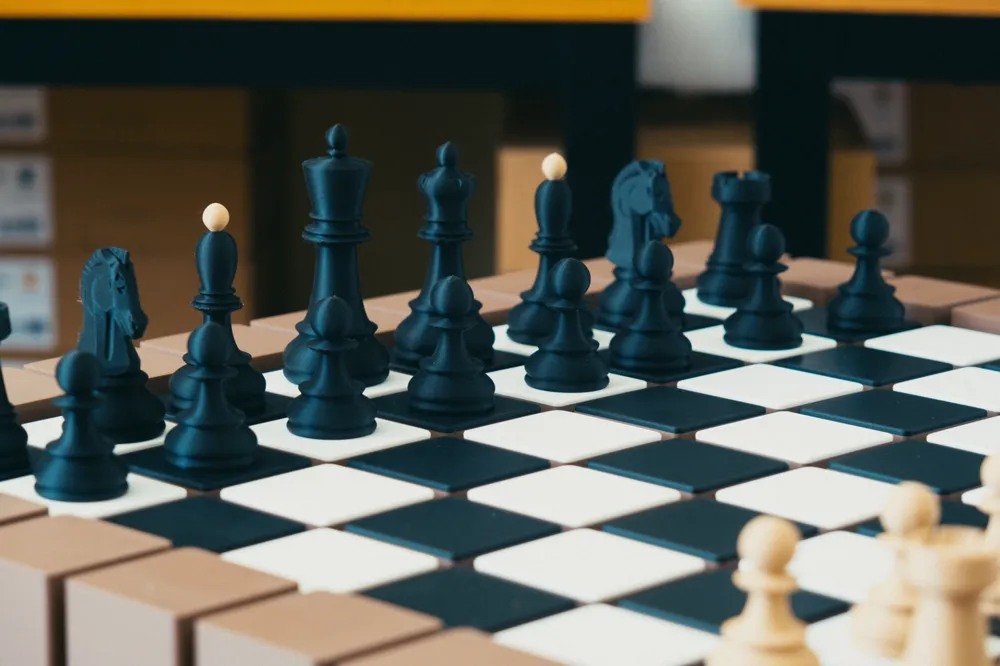
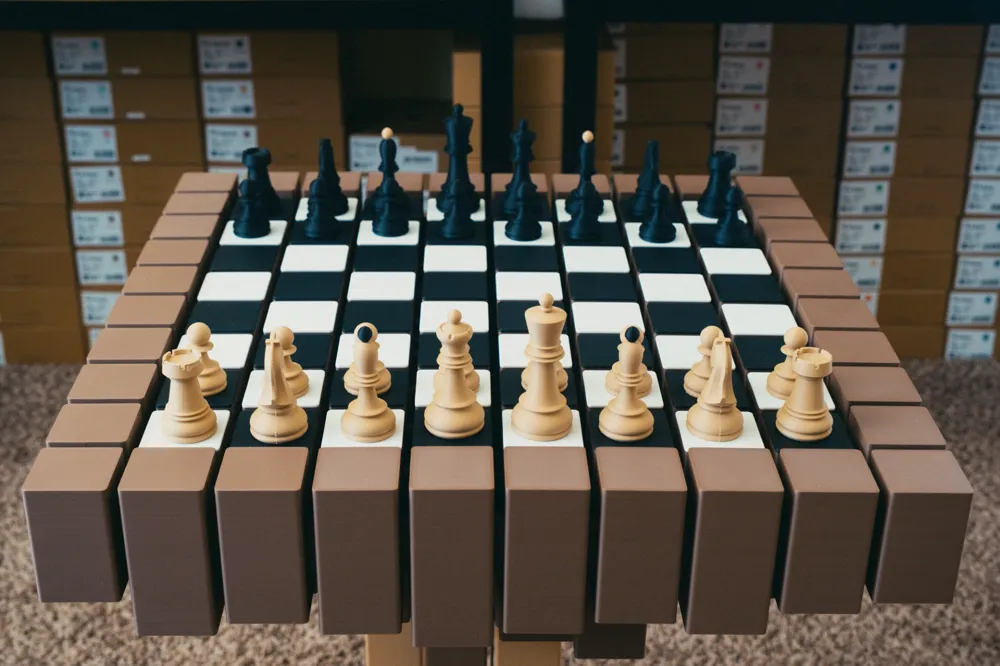
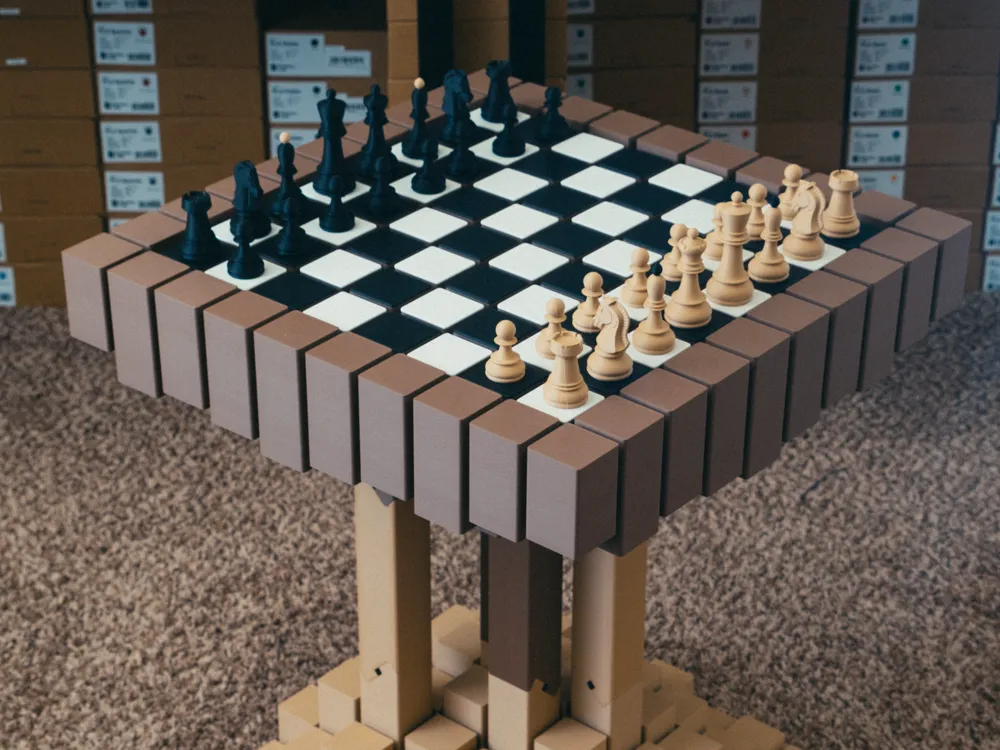
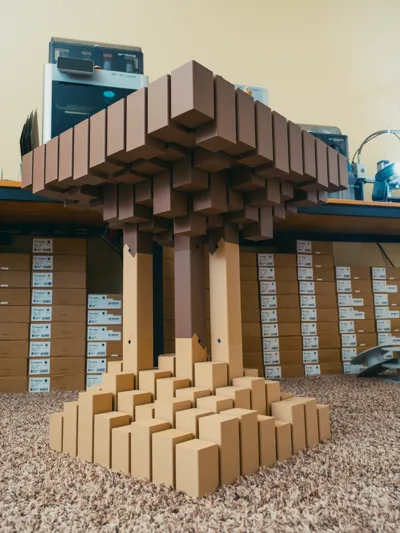
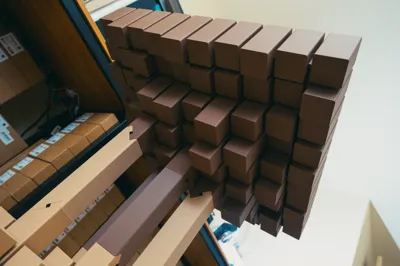
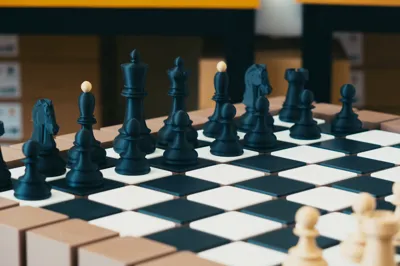
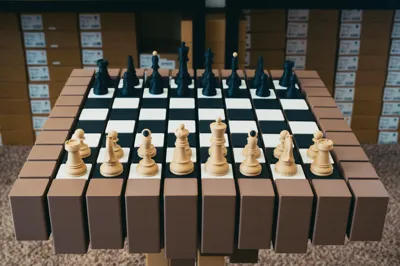
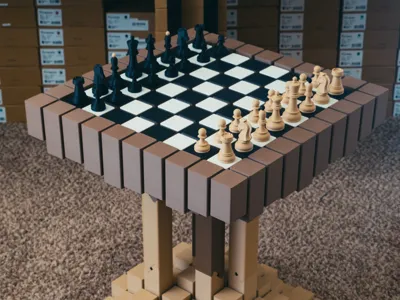
A Floating Chessboard/Side table. I've seen similar designs before in side tables, and in chess boards. I wanted to combine it all together into a full chessboard table, and to make the blocks look like they're floating independently of each other. The table is mostly fully 3d printed. The pieces uses dovetails to connect everything together, and then use clips secured with screws to help clamp and secure everything together.
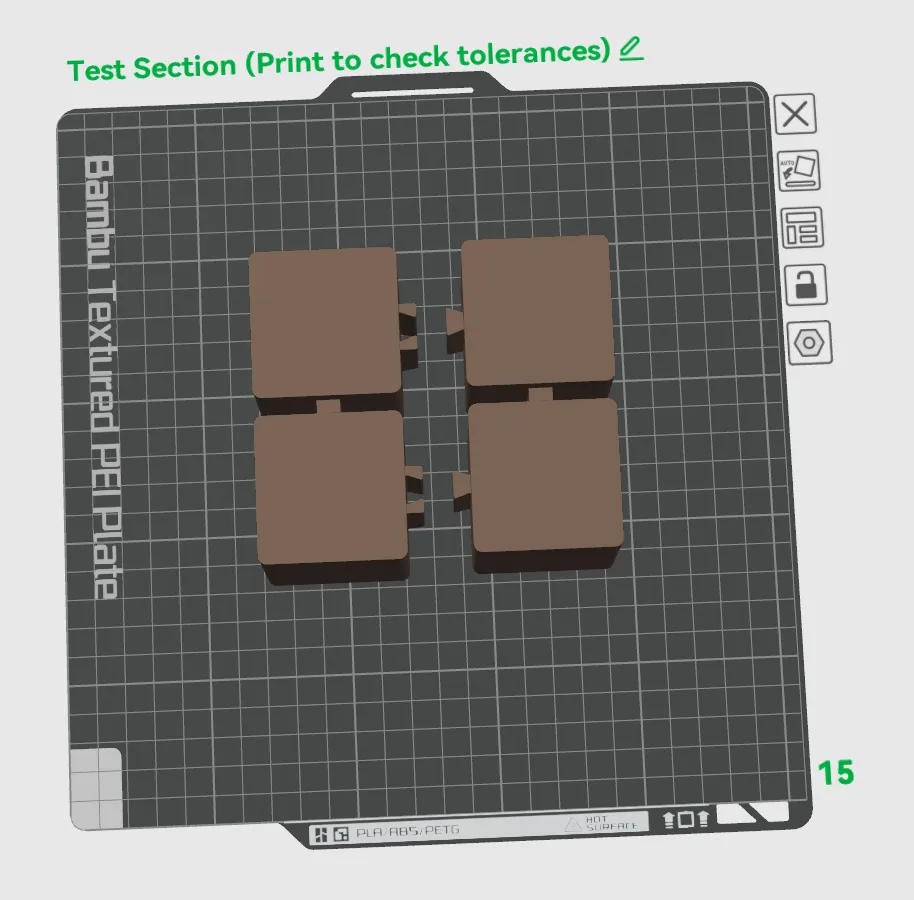
Included in the print profile is a test section you can print, to confirm the clearances work and you've got your filament dialed in. This is important! I goofed on one of the base sections with my filament selection, and it printed slightly over extruded. Made me realize the importance of making sure you've got the right settings and have things dialed in.
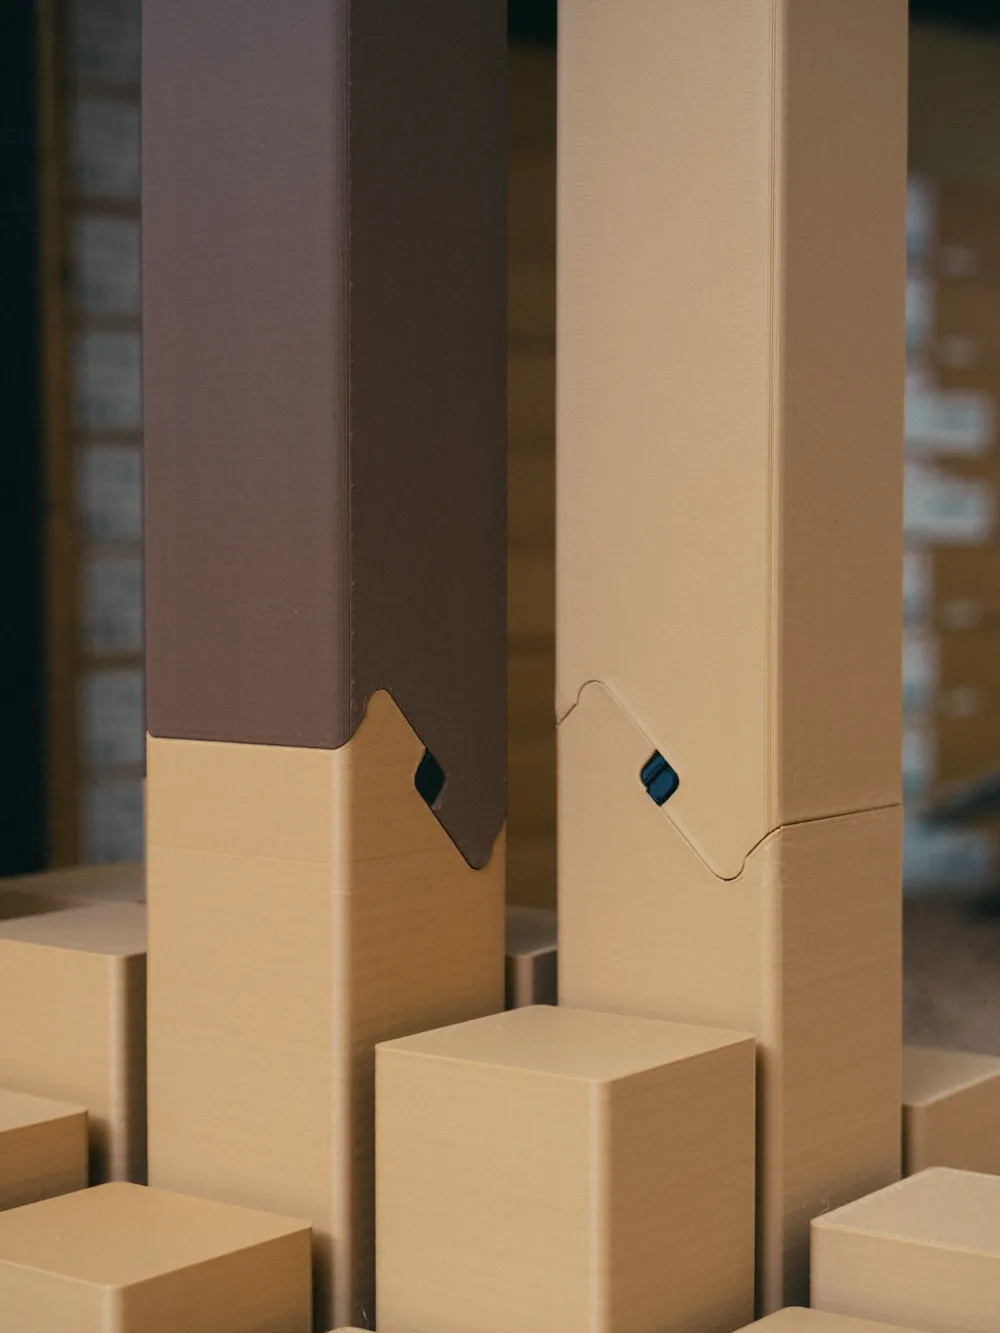
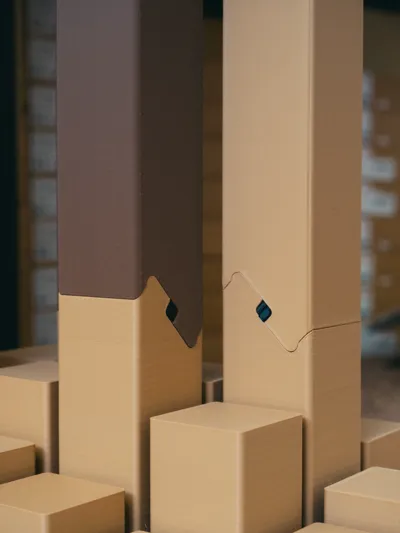
The top and bottom are easy to separate. The joint for the connecting stems is based off of a design popularized by NeedItMakeIt. You just have to remove the pins, and away you go!
[Shoutouts]
As mentioned, the joint for the table leg/stems was inspired by NeedItMakeIt's exploration on the subject.
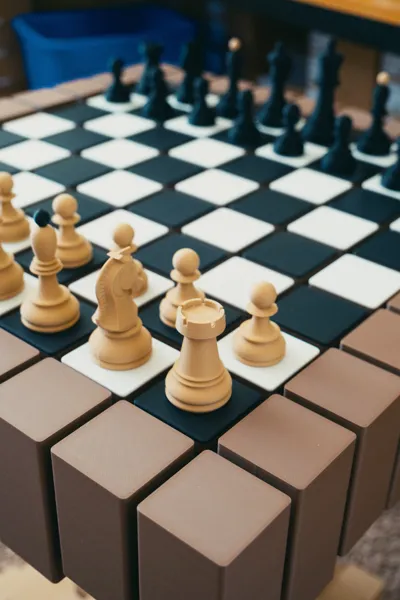
The chess pieces pictured are from ezee.one and can be found HERE. I really like this set!
[Hardware & Filament]
These are the filaments that I used, however I'd recommend using a PLA Plus/Pro or PETG, for added strength.
You'll need about 17ish rolls of filament. 9, there abouts, for the top, and 6 for the bottom. It's about a roll and a half for each section, with 8 major sections plus all the supporting pieces. About a half a roll for the black/clips, and 150-160ish grams for the white. My print profiles tend to favor strength/quality, so you may be able to optimize things a little more towards your liking and filament choices.
Featured Filament:
- Bambu PLA Matte Dark Brown
- Bambu PLA Matte Latte Brown
- Bambu PLA Matte White
- Bambu PLA Matte Charcoal
Hardware:
(Full disclosure, I am part of the Amazon Affiliate Program. All amazon links are affiliate links. I earn a small commission from these links without any added cost to you. These links help to support me so I can bring more content for free!
I use screws from Bambu's Makersupply, and mainly design around those. However, you can purchase self tapping screws from amazon if that's easier for you. You can use screws in lengths from 12x16mm, such as these from Amazon US, Amazon US, or Amazon US. You could also purchase an assortment like this Amazon US, and use a mix of screws, and retain the others for other projects of mine you print!)
- 128 m3x14mm self tapping screws (You can get away with a little less, but to secure every screw hole, you'll need 128 screws total. You can use lengths from 12 to 16mm).
[Assembly]
You'll want to print the test sections first to make sure everything fits with the given clearances of the model. You may need to tweak your filament settings, do a flow calibration, if you're finding the fit to be too tight. It shouldn't be a struggle to slot the pieces together. It's the clips job to secure everything tightly.
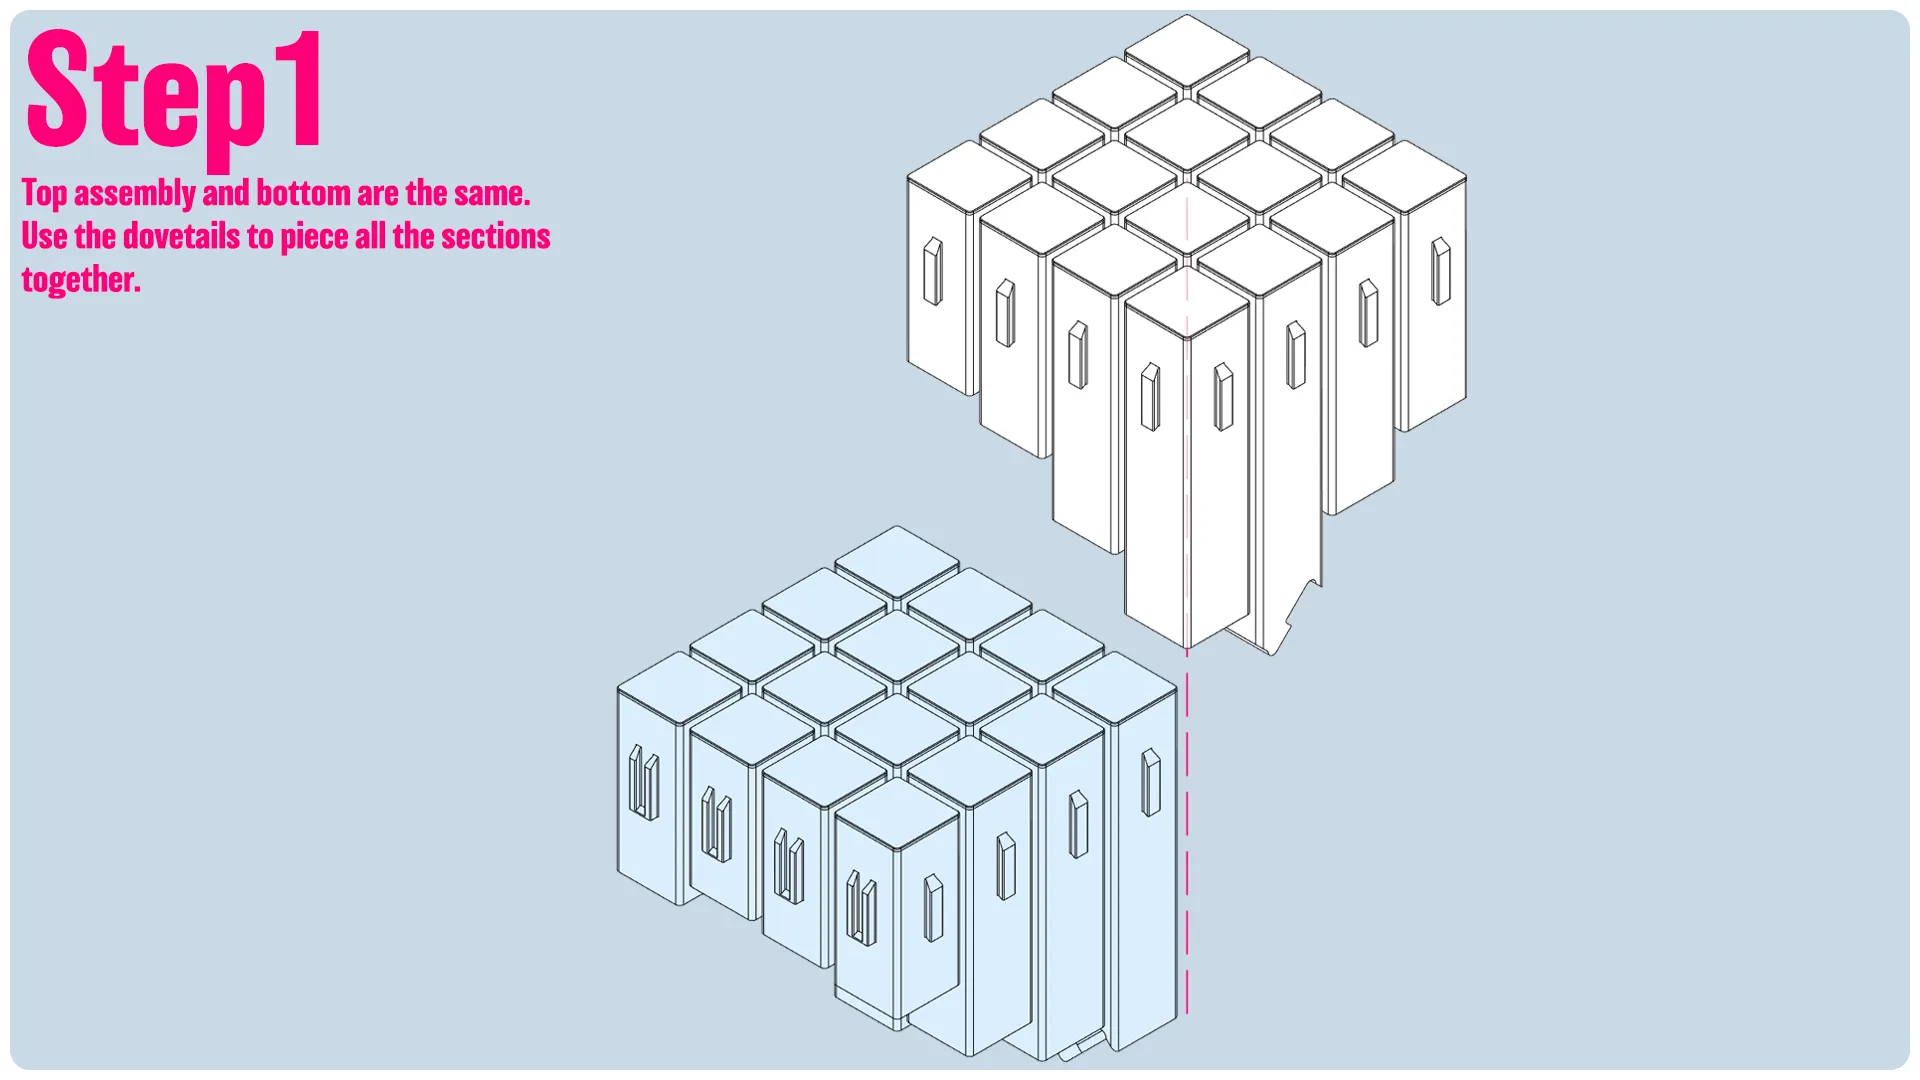
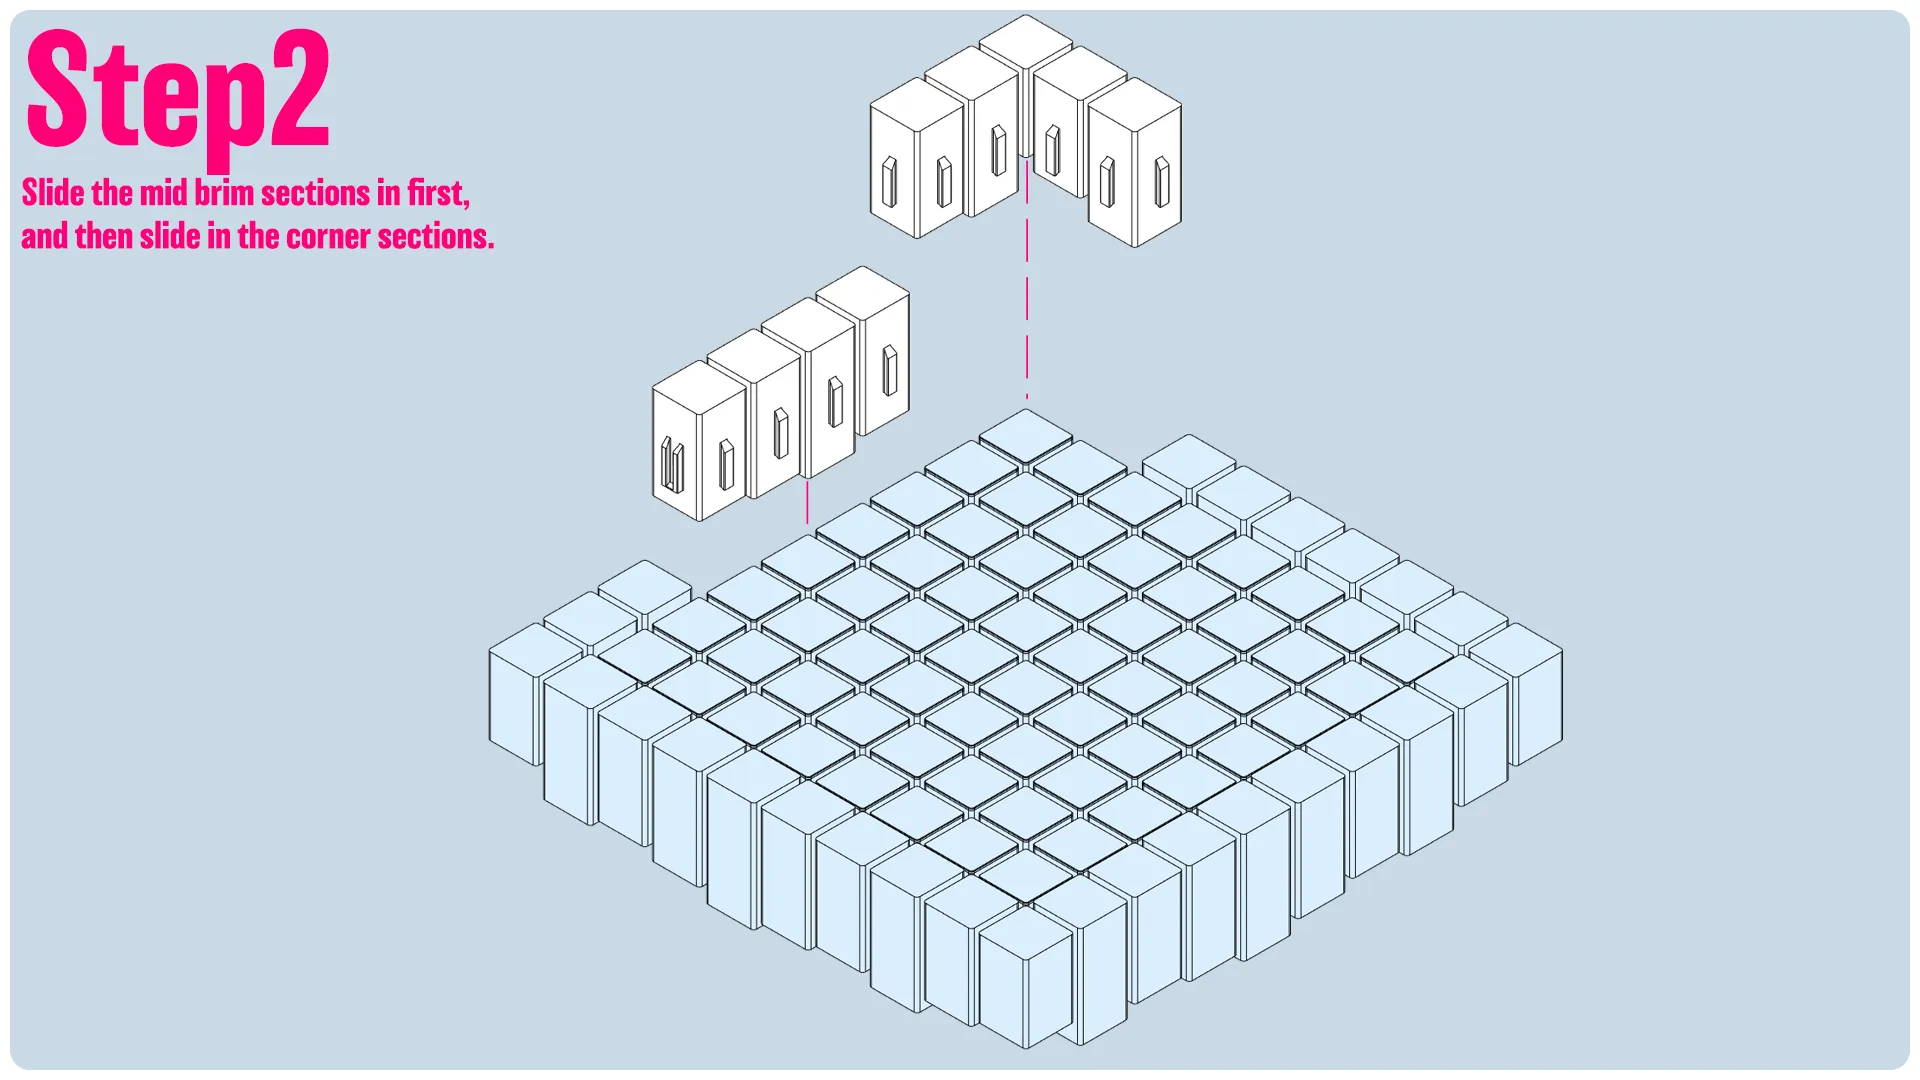
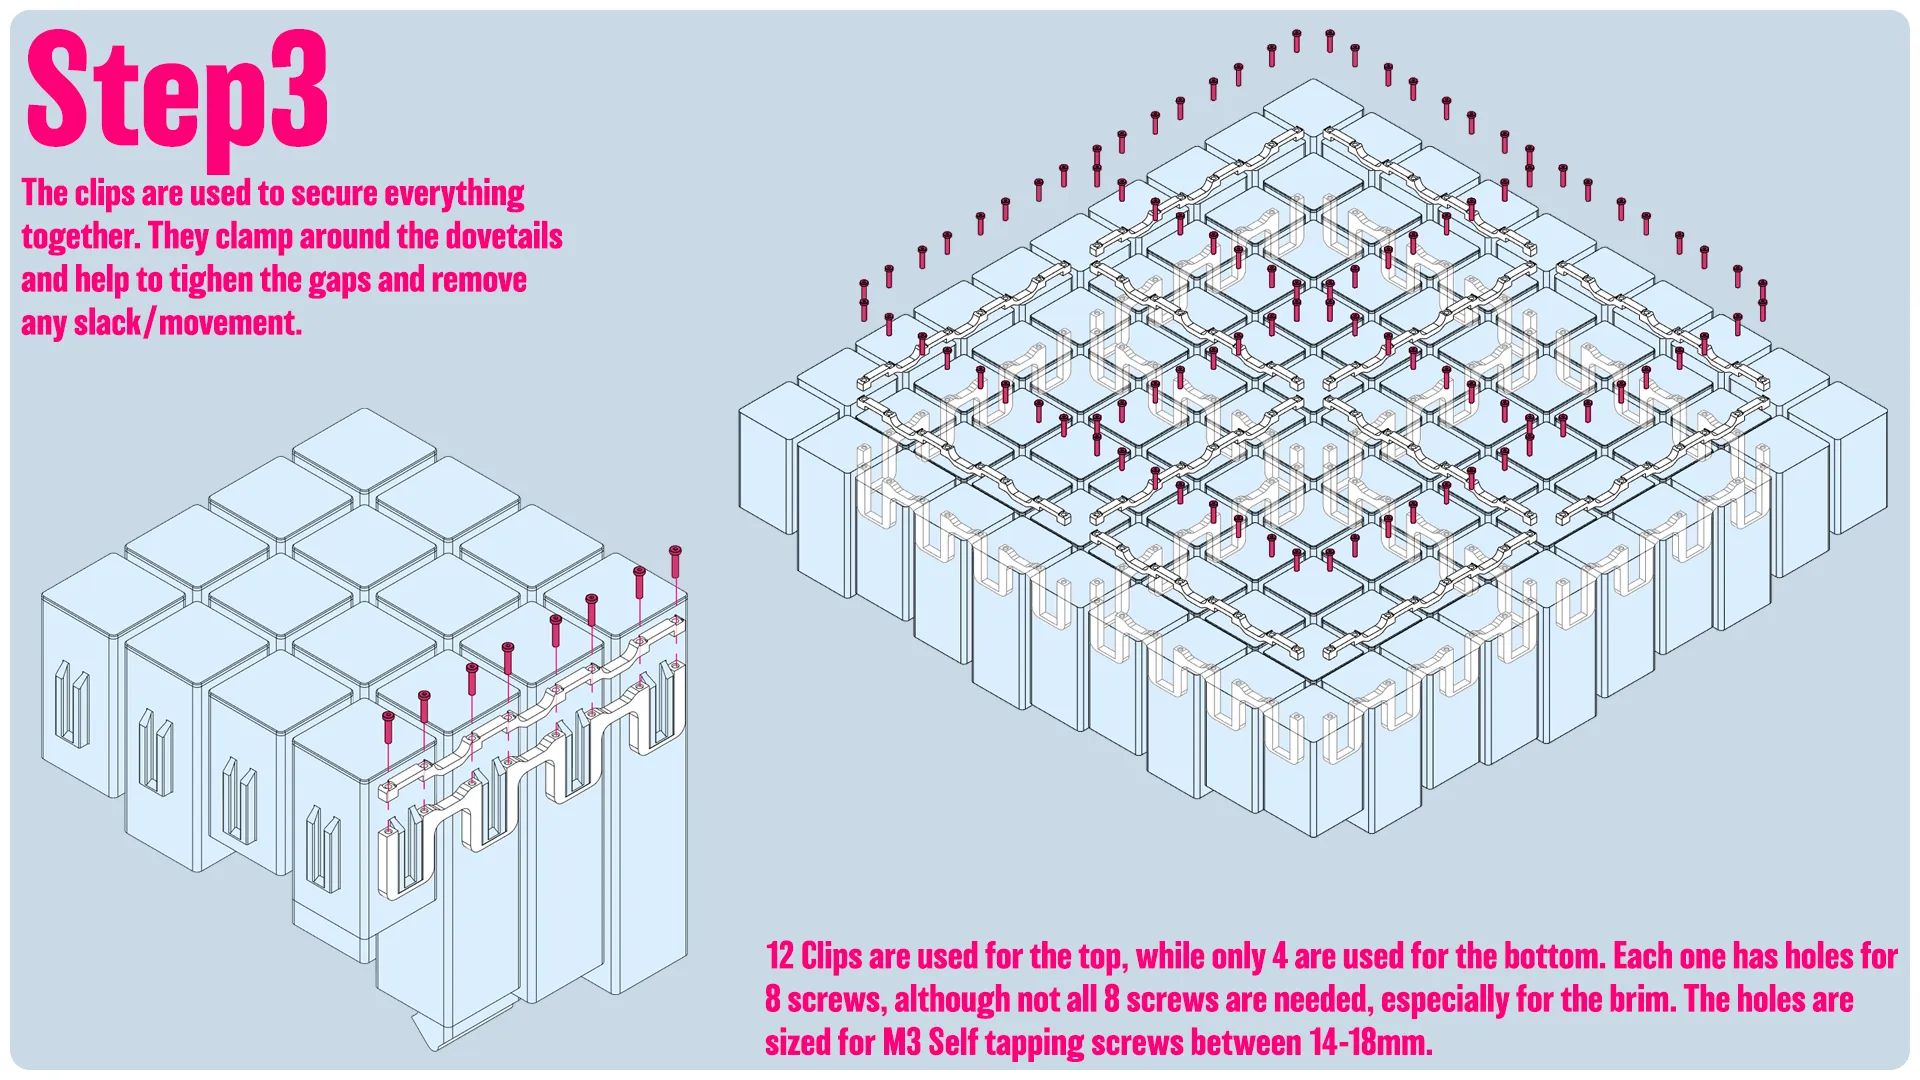
The top uses 12 clips, while the bottom only uses 4. The holes are sized for M3 self tapping screws between 14-18mm.
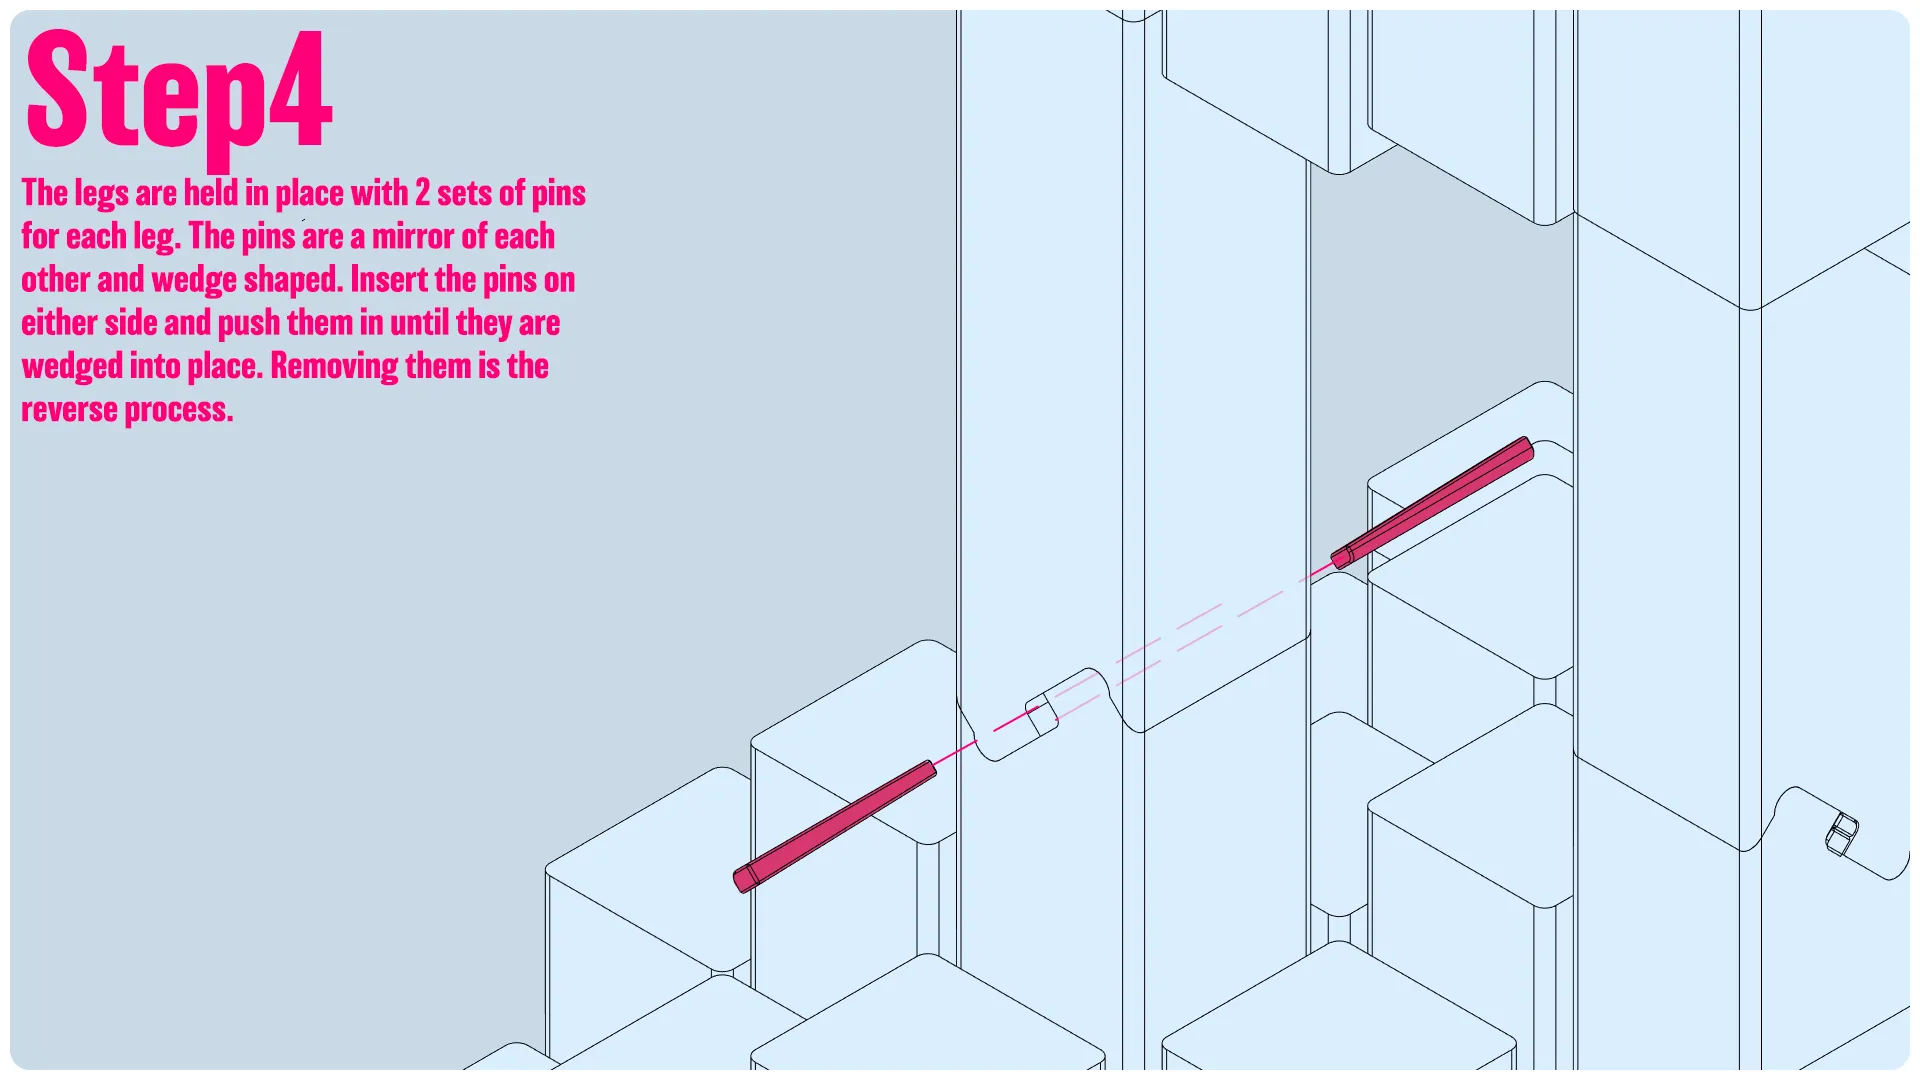
Assembly of the legs and 2 halves should be straight forward enough. Put the mid sections into place on the base, and put the pins into place. then put the top in and put the top pins into place. You can do it with one person, but I recommend doing it with two.
That's it for the assembly. It is pretty straight forward!
-------
If you like my work, consider showing your love by Buying me a coffee. Additionally, if you're looking to sell prints of my design, please check out my Patreon page for more information. Additionally, you can follow me on Youtube for videos covering some of my models, and Instagram.
License



Comment & Rating (78)