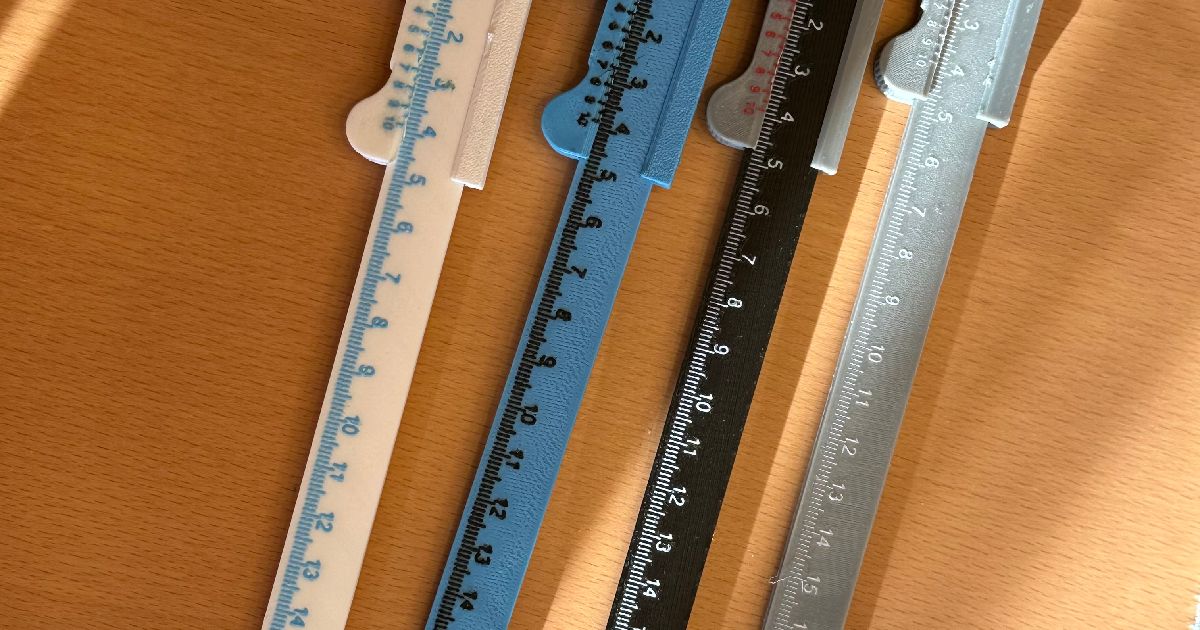
Printable Vernier Calipers
Remixed by
Copyright Claim
Printable Vernier Calipers
Remixed by
Boost
3
3
2


Print Profile(1)

0.12mm layer, 3 walls, 100% infill
Designer
3.1 h
1 plate
Boost
3
3
2
2
3
1
Released
Description
Materials and Print Settings:
- ASA or ABS are ideal due to their resistance to environmental factors and durability.
- PLA or PETG can also be used if the caliper is not subjected to heavy use.
- Use a 0.2mm nozzle for high detail accuracy and sharp edges.
- A layer height of 0.1 to 0.2mm is recommended to ensure precise measurements.
Printing the Vernier Caliper:
- Print the various parts of the caliper separately, including the ruler and the slider.
- Ensure all details are clear and edges are sharp to allow precise assembly.
Assembling the Vernier Caliper:
- After printing, deburr all parts and remove support structures to ensure smooth movement.
- Assemble the caliper by inserting the slider into the guide on the ruler.
- Test the movement of the slider to ensure it moves smoothly but is not too loose.
Using the Vernier Caliper:
- The caliper is designed to measure inner and outer diameters, as well as depths.
- The accuracy of the caliper depends on the print settings and assembly precision.
- Ideally, it allows measurements in the two-decimal-point range.
Maintenance and Care:
- Keep the caliper clean and free of dust and debris to ensure smooth movement.
- Check regularly for loose parts and correct the fit as needed.
Conclusion:
The 3D-printed vernier caliper is a useful and precise measuring tool that can be easily assembled. Its accuracy depends on the print settings and assembly, but ideally, it can achieve measurements in the two-decimal-point range. ASA or ABS are recommended, but PLA or PETG can also be used. With this guide, you can print a high-quality caliper to meet your needs.

This remix is based on
License
This user content is licensed under a
Creative Commons Attribution-Noncommercial-Share Alike


© 2024 MakerWorld