Würfel Cube Puzzles, 3 Difficulties, Enlarged
Würfel Cube Puzzles, 3 Difficulties, Enlarged


Print Profile(1)

Description
Less than 10 percent of people who download an item click the “like” button. Be the 10 percent. Click the “like” button and show your support.
If you find this model useful, feel free to buy me a coffee.
This is a remix of Cube-Maker's excellent Würfel Cube Puzzles.
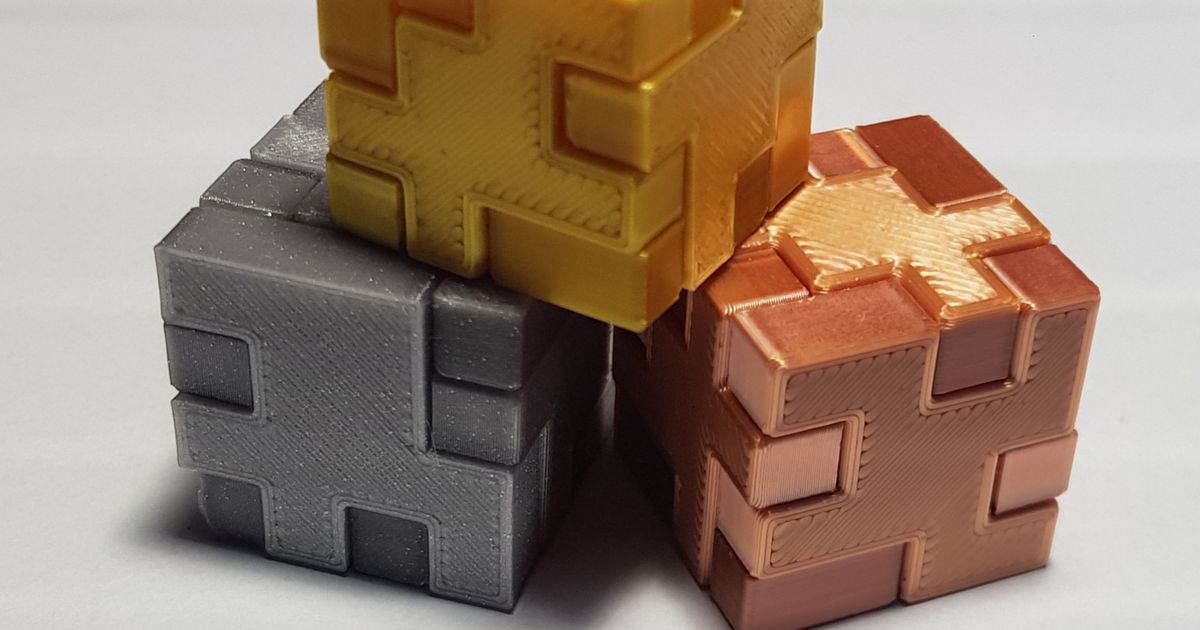
Assemble the pieces into a cube. They come in three difficulties: Easy, Medium, and Hard.
The original cubes were a little too small for my taste. I expanded them to 37.6mm cubed. (Nearly twice as big.) I also rounded the corners more, which helps the pieces fit better.
I also gave them labels, so you can tell the three levels apart, even when you print in the same color:
I = Easy
II = Medium
III = Hard
And I flipped some of the pieces on the print bed, in order to make the challenge harder. (In the original, the top print layers were all facing outward on the assembled cube.)
I found the original tolerances a little too tight. In fact, there was no tolerance at all. I am including two versions here. One has tighter tolerances of 0.026mm between pieces. (Good for Prusa printers and others with minimal horizontal expansion.) The other has looser tolerances of 0.132 between pieces. (Good for Creality printers, etc.)
I made a “Fit Test” to help you decide which version works better for your printer. Before you print the main pieces, print “Wurfel Fit Test.” The sides with the T are the tighter tolerances. The sides with the L are the looser. After printing, slide the pieces together to determine which tolerance gives you a better fit.
You still might need to adjust the tolerances slightly. Play around with the XY Compensation settings to make the pieces fit tighter or looser. The setting is called Horizontal Expansion in BambuStudio and Cura. It's called XY Compensation in PrusaSlicer. A positive number will result in tighter pieces. A negative number, looser pieces.
I found that turning on “ironing” really makes the top layer look beautiful. You may need to play around with your ironing settings to get it just right.
My ironing settings in PrusaSlicer:
Ironing Type: All top surfaces
Flow rate: 37%
Spacing between ironing passes: 0.1
Ironing Speed: (Under speed settings) 46 mm/s
If you're stuck and need help assembling the cubes, consult the pictures in Cube-Maker's original design.