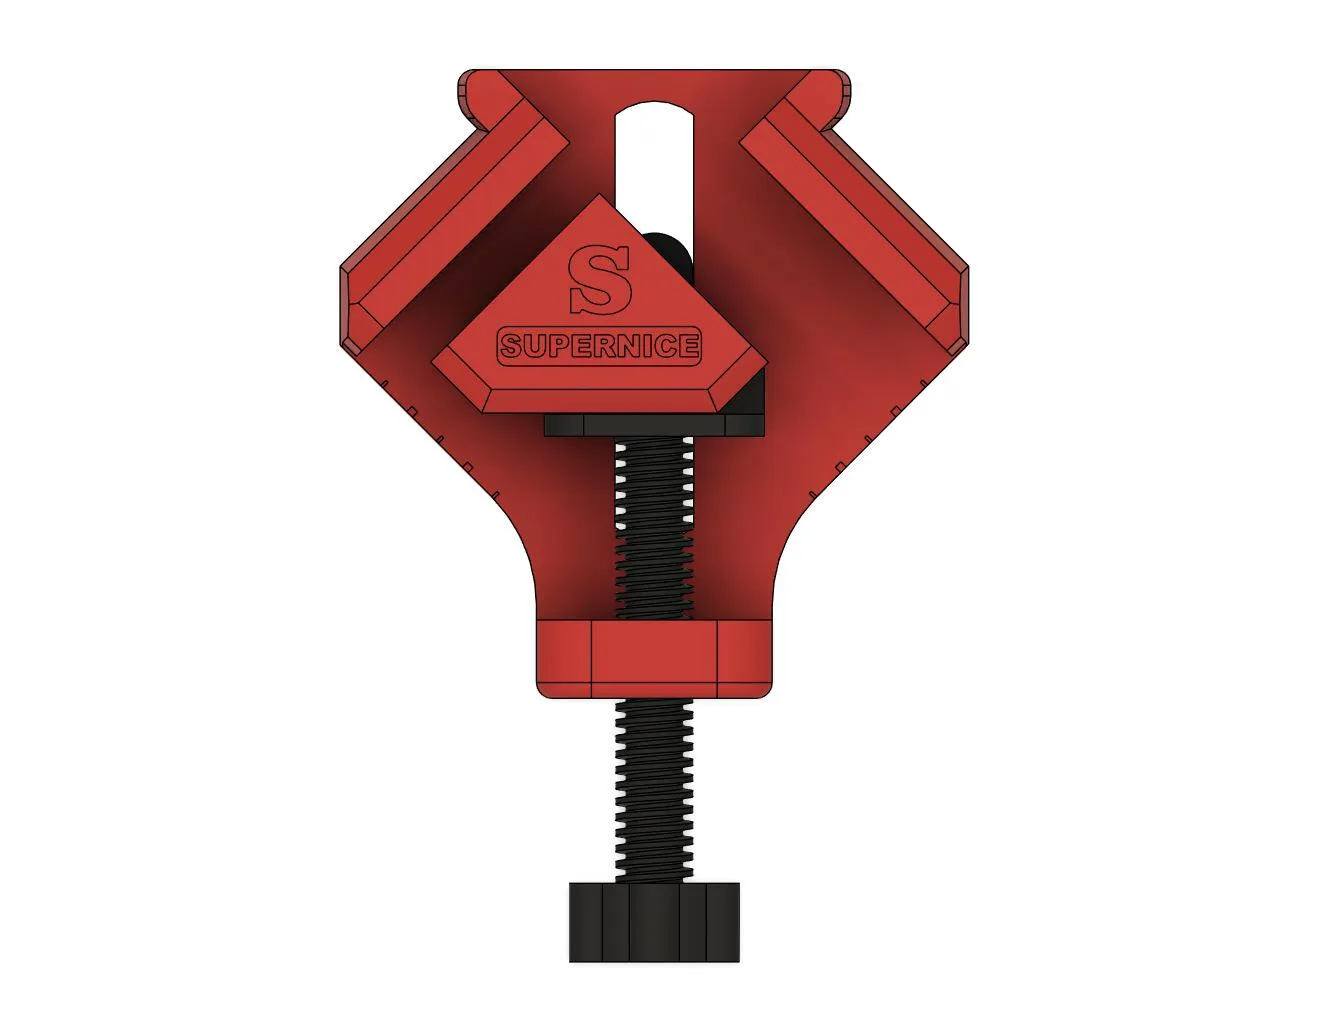
Right angle clamp 直角木工夹2.0 Adjustable


Print Profile(3)


Description
Update logs 更新日志 2024 /5/13
In order to help friends who don't watch assembly videos complete the assembly smoothly, I have updated Model 2.0 and increased support for wood width and more usage scenarios.
为了让不看组装视频的朋友能顺利完成组装,我更新了模型2.0,同时加大了对板材宽度及更多使用场景的支持。

Right Angle Clamp, Single Handle 90°Corner Clamp, Right Angle Clip Clamp Tool Woodworking Photo Frame Vise Holder.
Adjustable width to fit different thicknesses of boards!
If you like it, please download and use it with support , Welcome to follow my account.
Thanks!
直角夹,单柄90°角夹,直角夹夹具工具木工相框虎钳座。
可调整宽度,贴合不同厚度板材
如果你喜欢它,请下载使用并支持,欢迎关注我的账号。
谢谢你!

Adjustable width to fit different thicknesses of boards!
Assembly video 组装视频
YouTube
bilibili
Comment & Rating (15)


License
You shall not share, sub-license, sell, rent, host, transfer, or distribute in any way the digital or 3D printed versions of this object, nor any other derivative work of this object in its digital or physical format (including - but not limited to - remixes of this object, and hosting on other digital platforms). The objects may not be used without permission in any way whatsoever in which you charge money, or collect fees.


