
DREAMS-AMS Cover

Print Profile(17)


Bill of Materials
- NA x 1:
Description
DREAMS-AMS Cover
🌟 Elevate Your AMS Experience with DREAMS-AMS Cover🌟
🌟 Introducing:
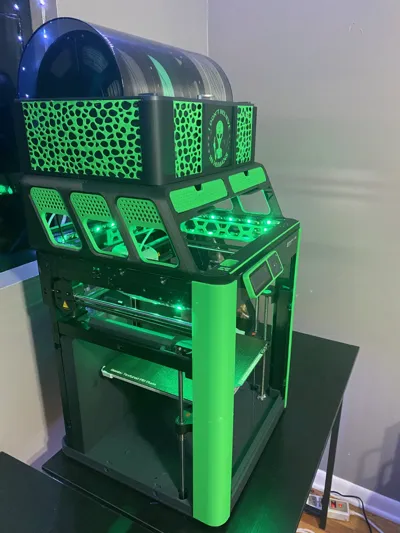
Hey there, fellow makers and innovators! Get ready to take your Bambu Lab AMS to the next level with my latest creation: DREAMS-AMS Cover.
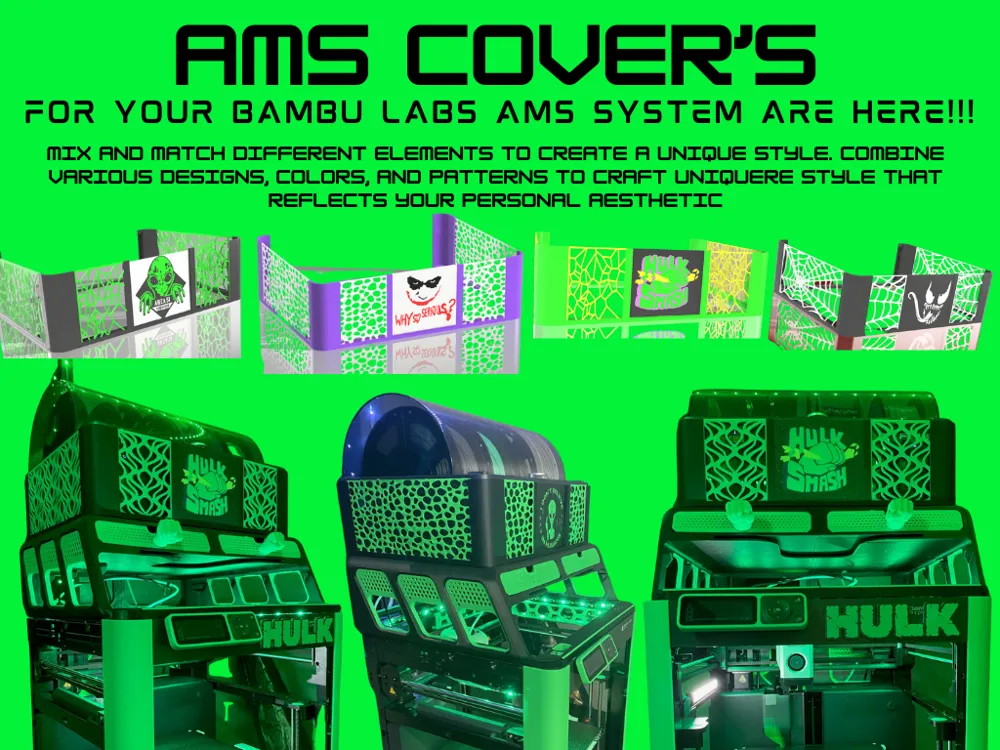
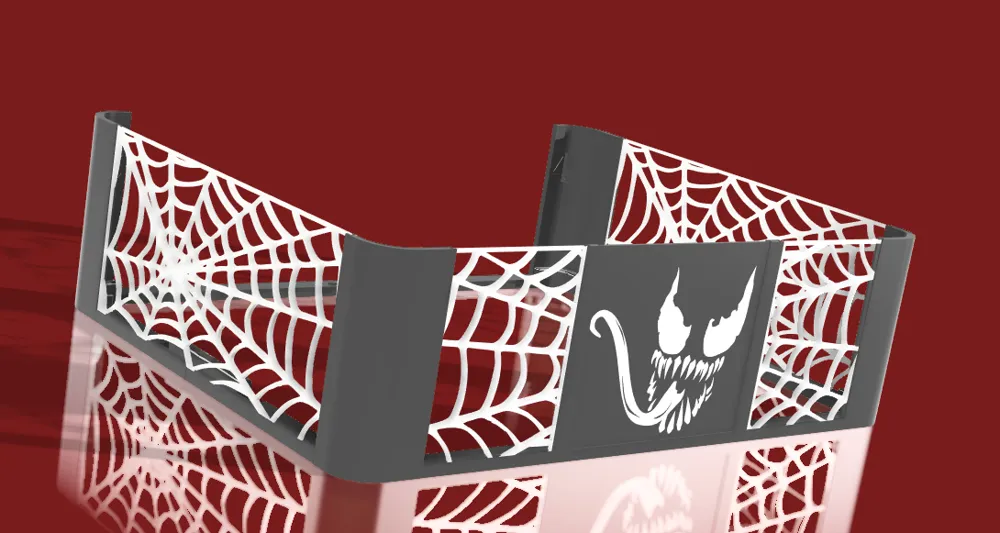
Ever felt like your AMS was missing a touch of personality? Or wished for a sleek solution to enhance its aesthetics while maintaining functionality? That's where this AMS Cover comes in. Designed with precision engineering and a keen eye for detail, DREAMS-AMS Cover is here to transform your AMS into a statement piece of your workspace. With several options available, you can mix and match for countless customizable configurations, ensuring your AMS reflects your unique style and preferences. Don't see anything you like? Don't stress! Many more options are planned to release soon.
Want to buy me a beer? <Click here!
🌟 Description:
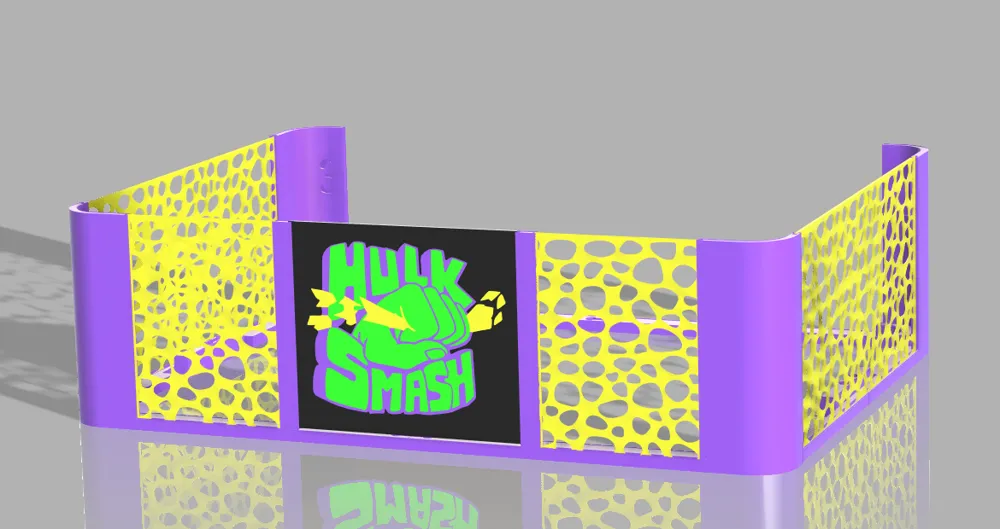
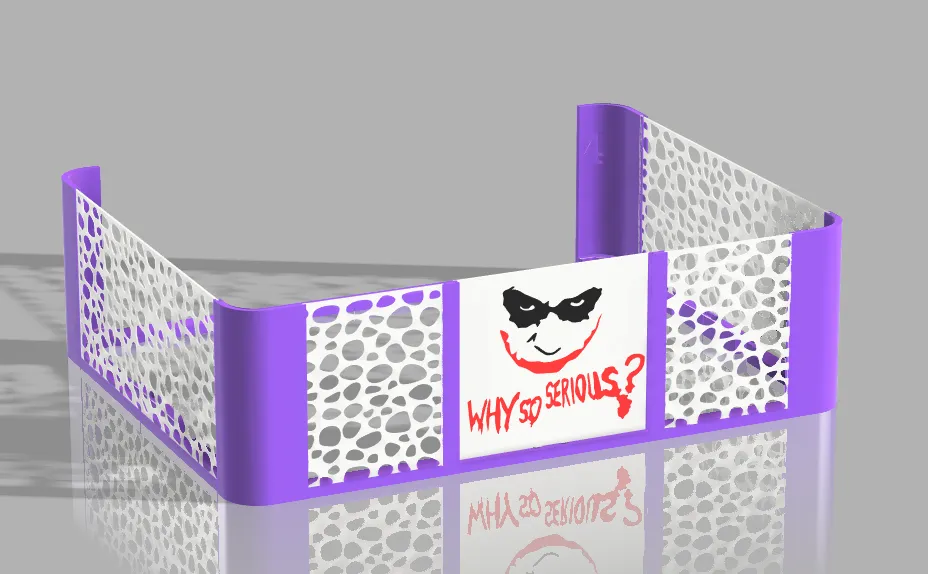
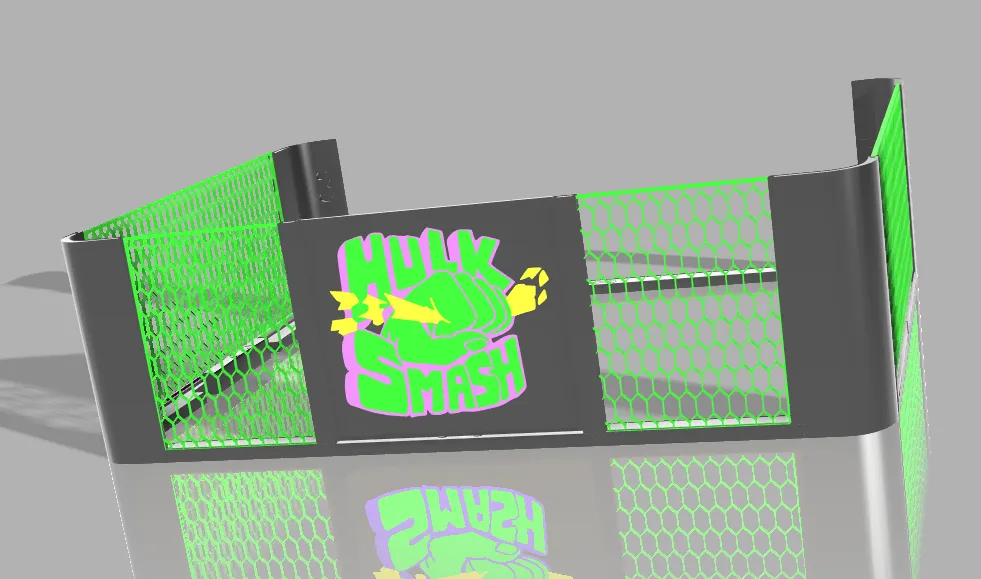
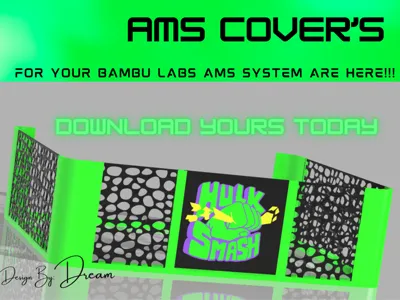
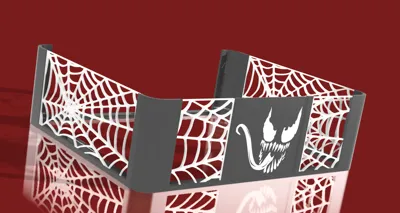
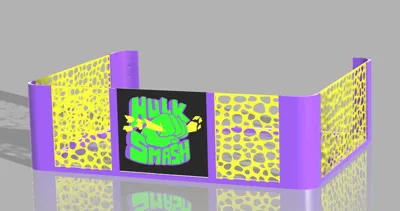
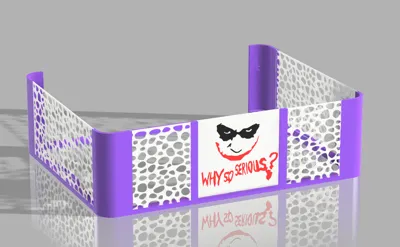
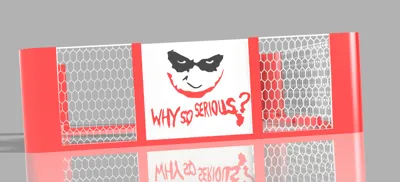
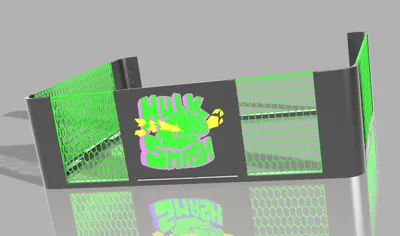
✨Transform your Bambu Lab AMS into a personalized masterpiece with this AMS Cover. Designed to seamlessly integrate with your AMS, This AMS Cover adds flair and style while maintaining functionality. Choose from a range of designs, including Hulk Smash, The Joker, and The Beast, to suit your unique taste and personality. With easy installation, this AMS Cover is the perfect accessory to enhance your printing setup. Download and join the AMS Cover revolution today! #DREAMS-AMS Cover #AMSAccessory #3DPrintingRevolution ✨
🔧 How It Works:
To get started with the AMS Cover, follow these simple steps:
- 🖨️ Print the Main Components: Begin by printing the main components in whichever color suits your design aesthetic.
- 🎨 Choose Your Cover Plate: Next, select from one of our themed cover plates or use the one provided with the main components if you prefer a solid color scheme.
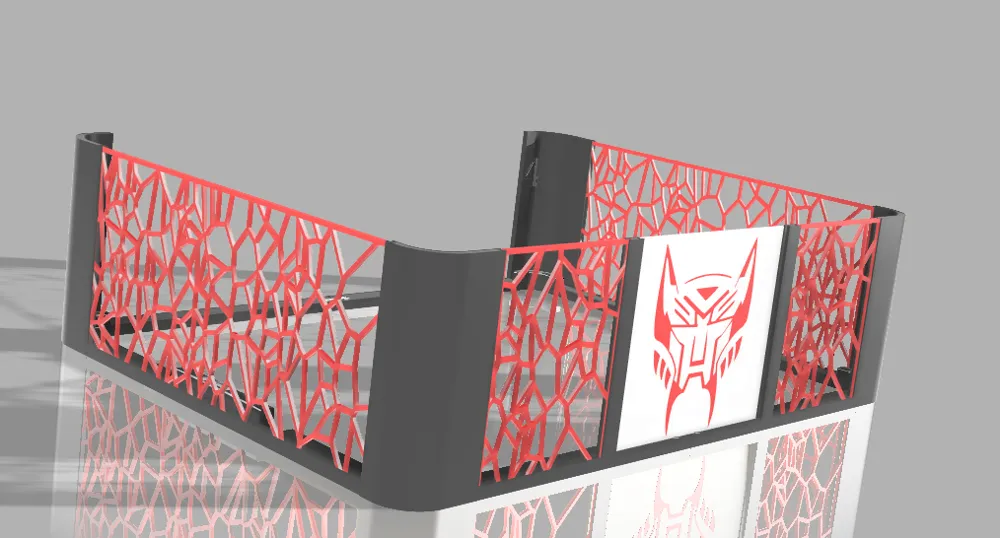
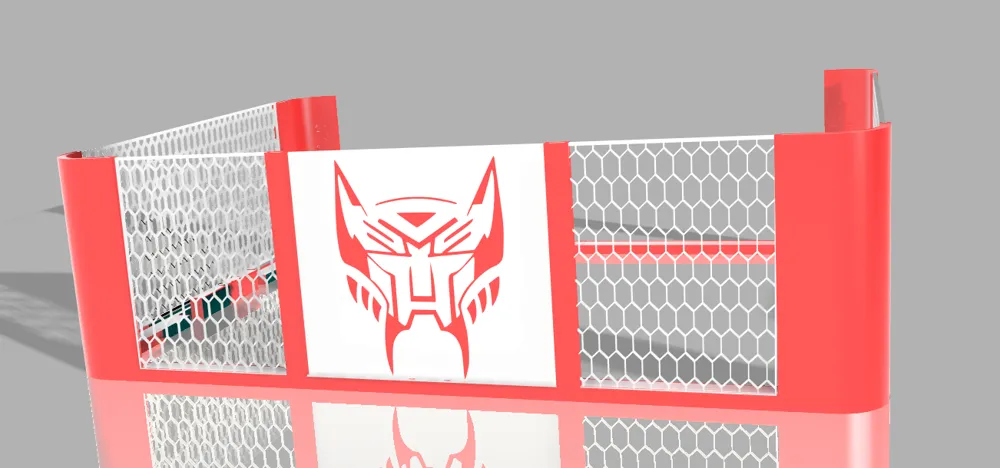
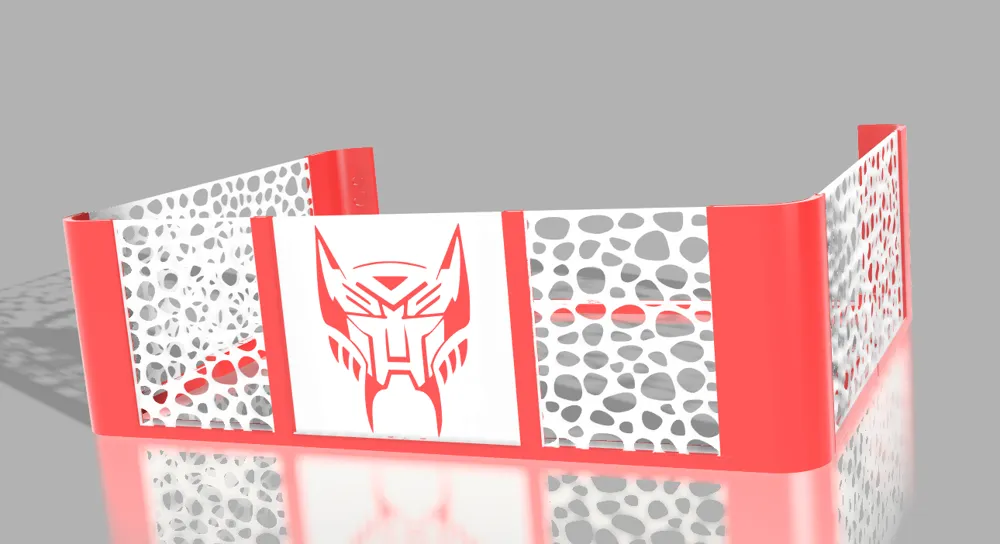
- 🖌️ Customize Your Walls: Then, select the walls that fit your design and color them to your liking. Let your creativity flow as you personalize each component to match your unique style and preferences.
💡 Main features:
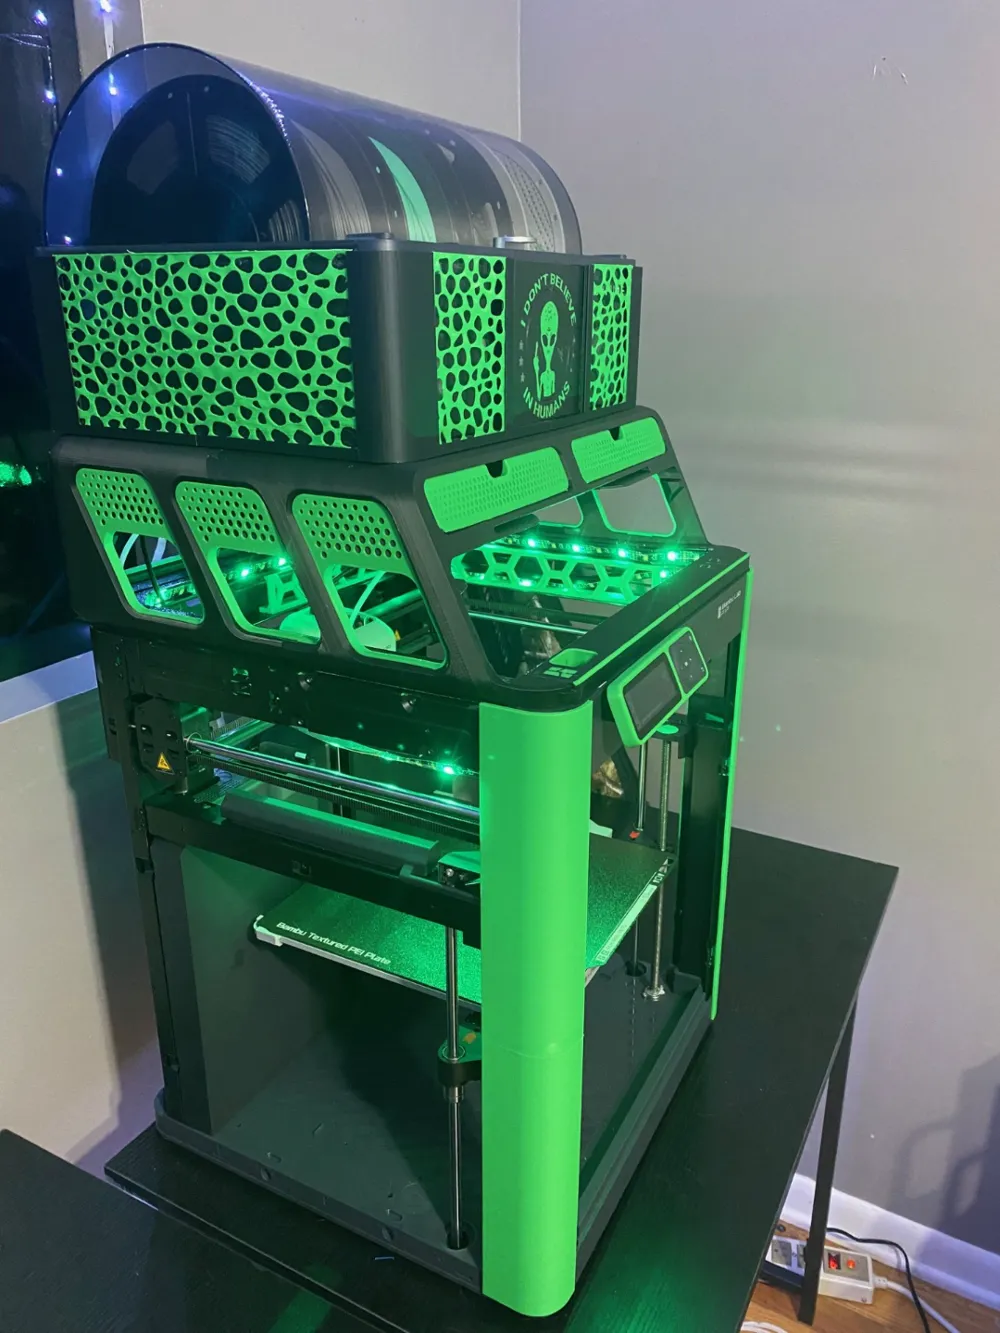
- Enhanced Aesthetics: Elevate the look of your AMS with DREAMS-AMS Cover stylish design.
- Seamless Integration: Designed to seamlessly integrate with your AMS,DREAMS-AMS Cover adds flair without compromising functionality.
- Customizable Options: Choose from a range of colors and patterns to suit your personal style and preferences.
- Easy Installation: Say goodbye to complicated setups. DREAMS-AMS Cover is easy to install and requires no additional tools or hardware.
🖨️ Print Information:
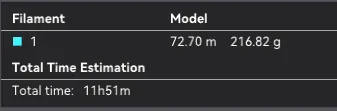
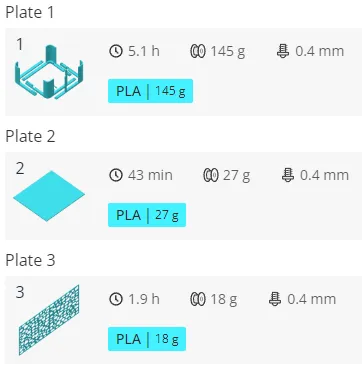
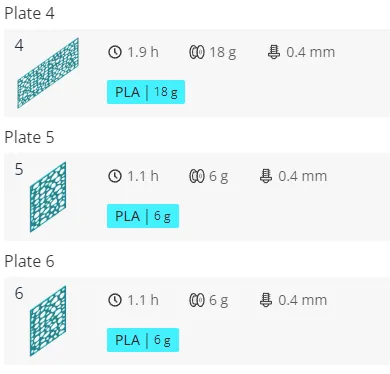
This model consists of a total of 6 plates. Plate 2 serves as a black cover option for those seeking a solid color scheme. If you opt for one of our themed cover plates, you can omit this one from your initial print. The estimated cost for printing all 6 plates is approximately $4.34 at a estimated time of 11h51m.
🎨 Available Designs:
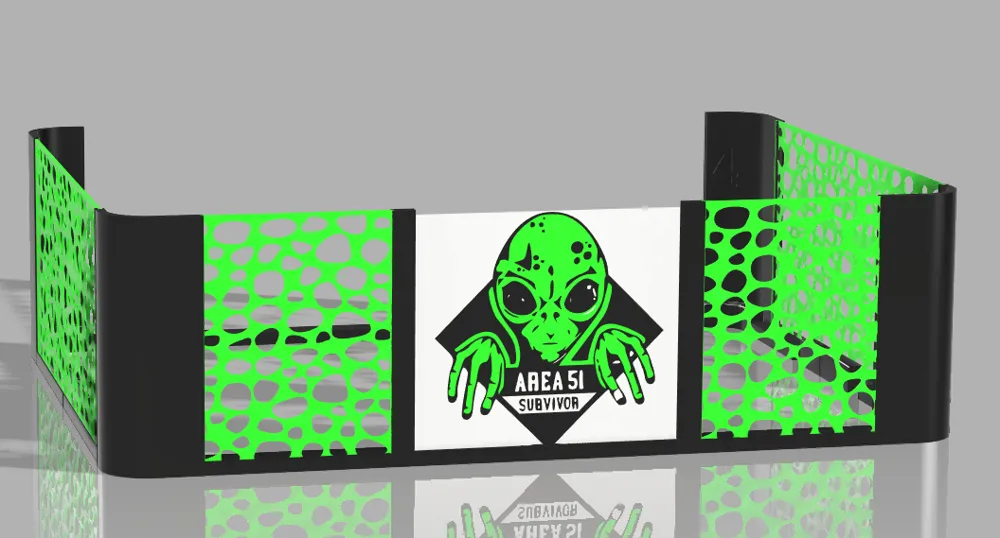
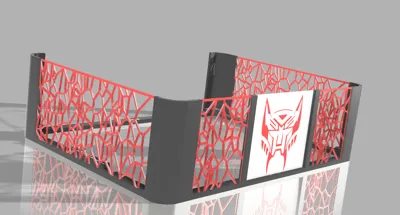
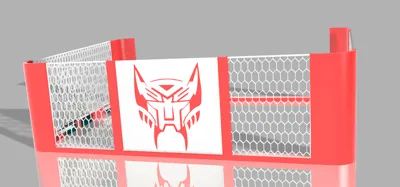
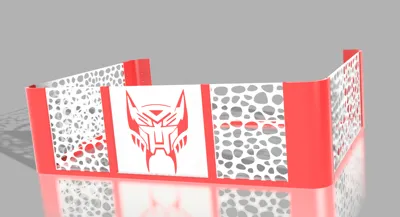
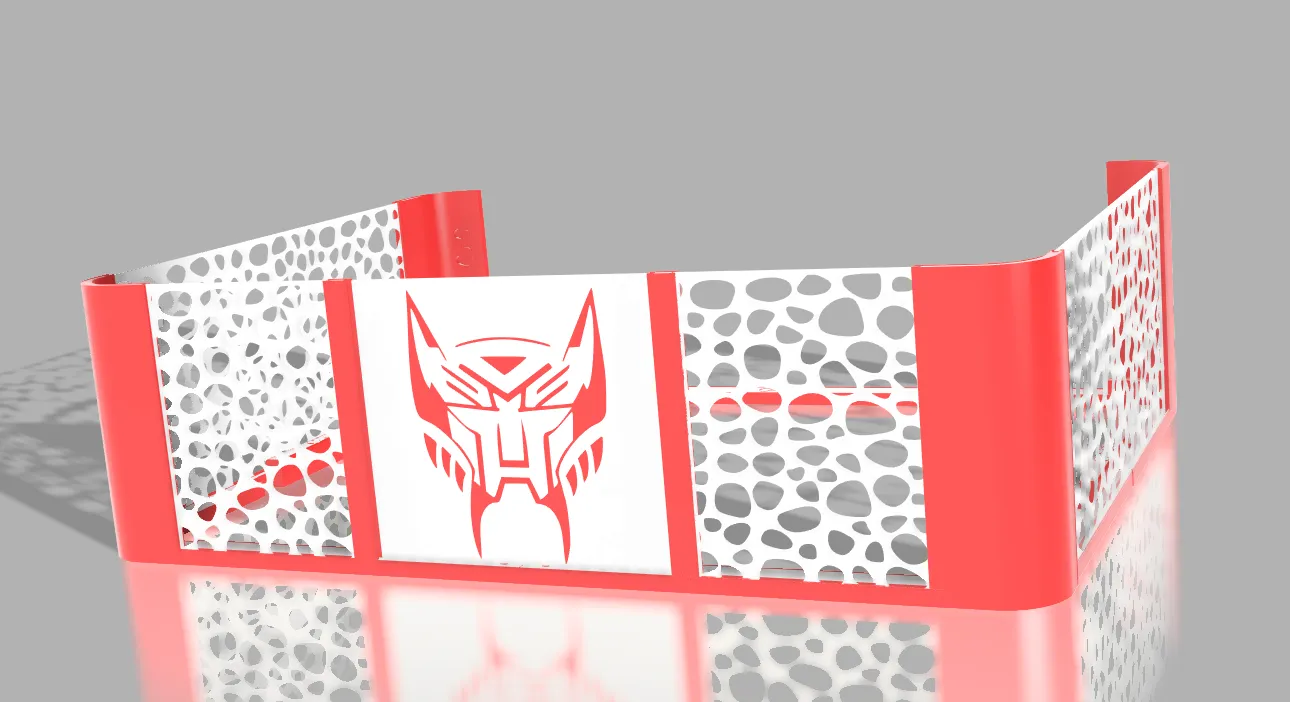
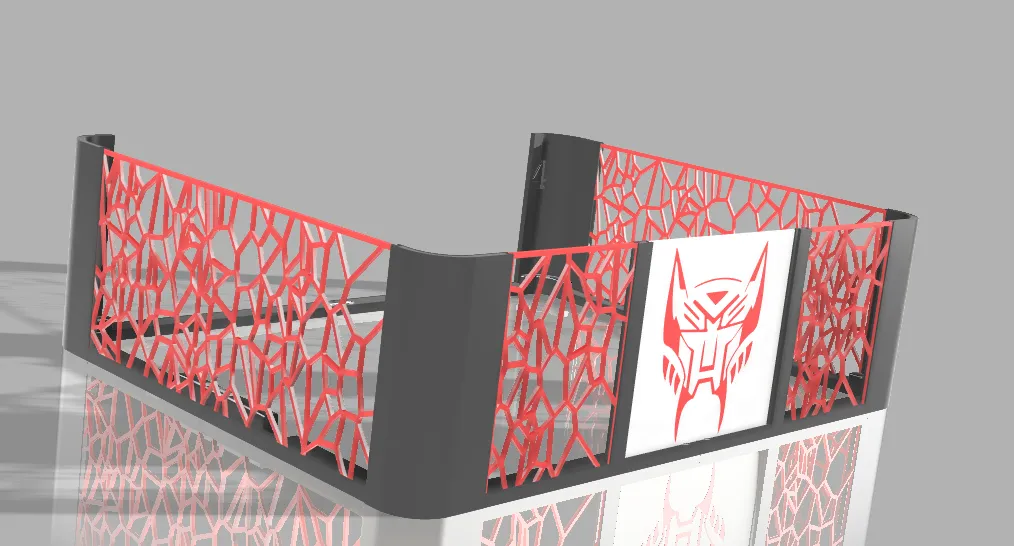
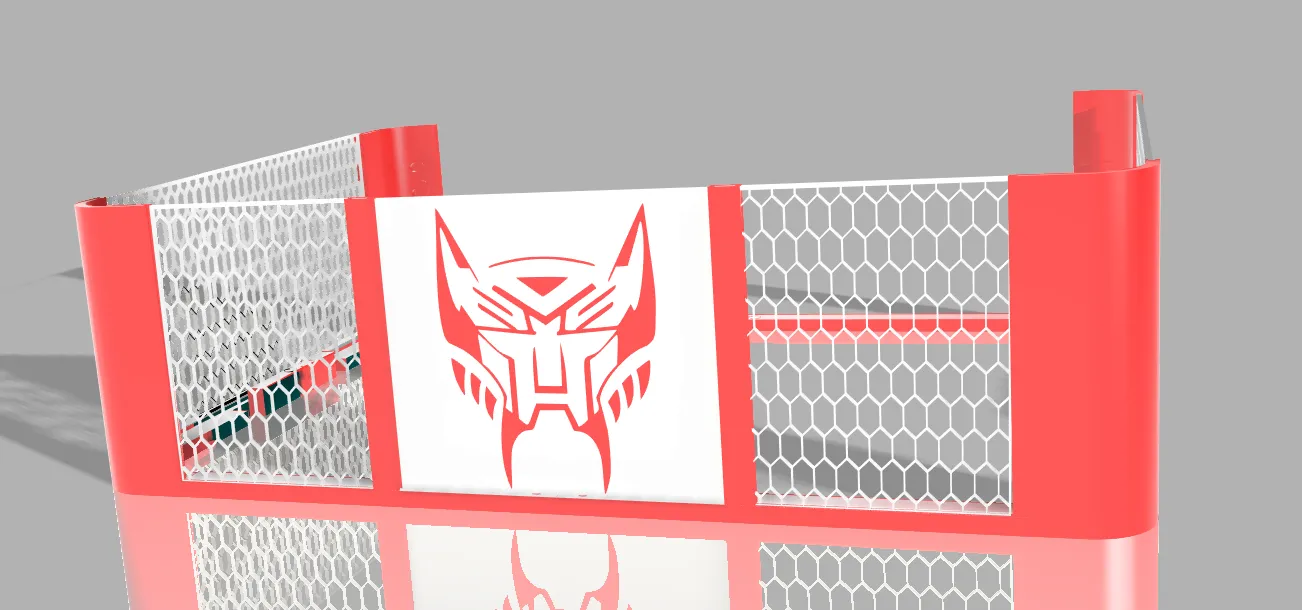
- 🎨 Unleash the Power: Introducing "The Beast" theme inspired by the epic saga of Transformers Rise of the Beasts. Is your setup ready to roar with the ferocity of a true beast? Immerse yourself in the world of mechanical marvels with this daring design, infused with the spirit of heroic machines and unstoppable forces. Let your creativity soar as you transform your AMS setup into a powerhouse worthy of the grandest battles. Are you prepared to harness the untamed energy of "The Beast"?
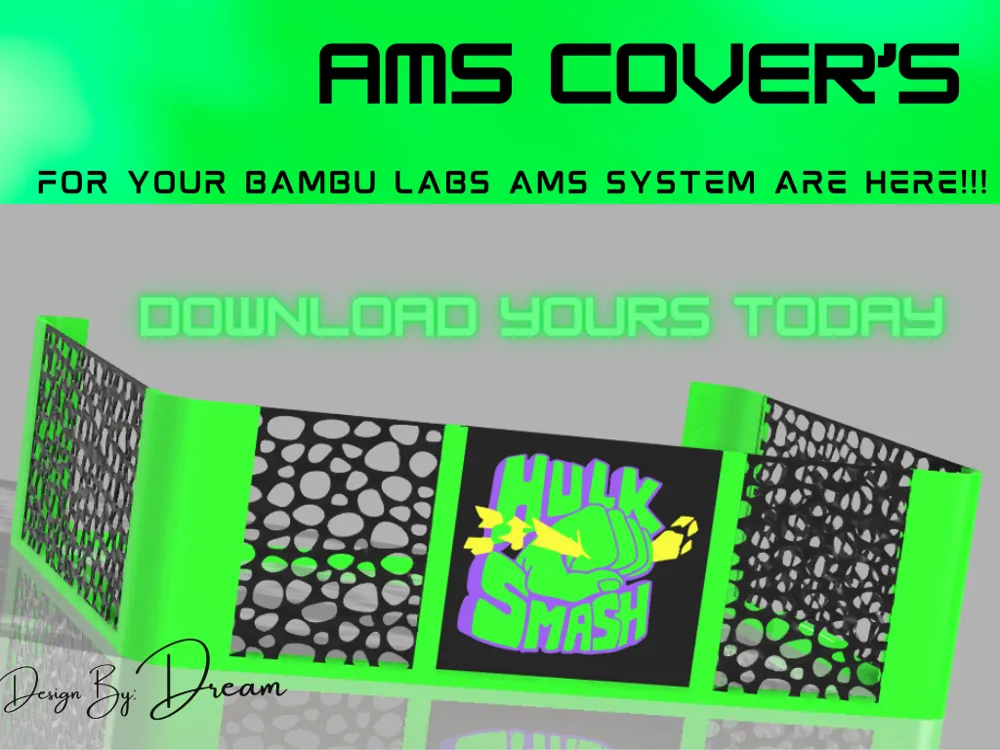
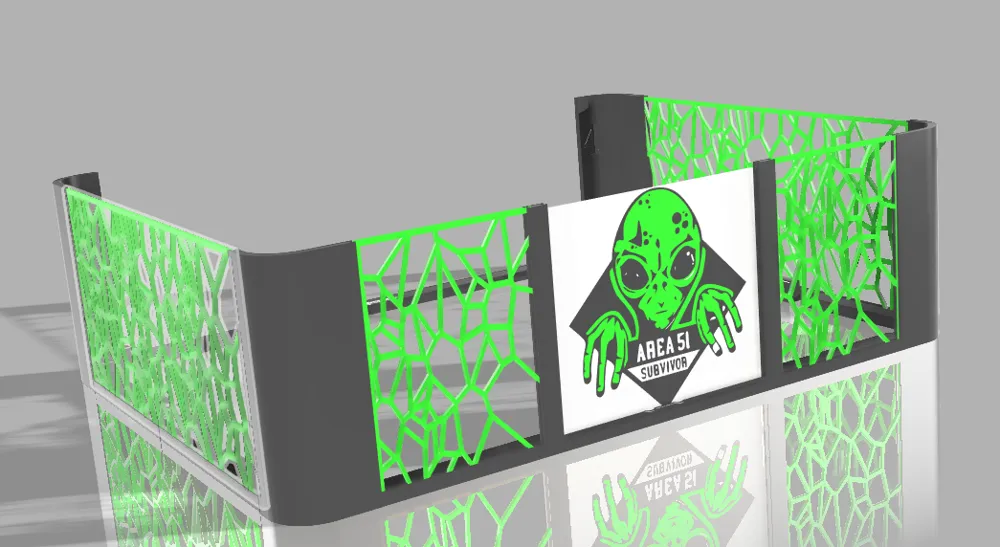
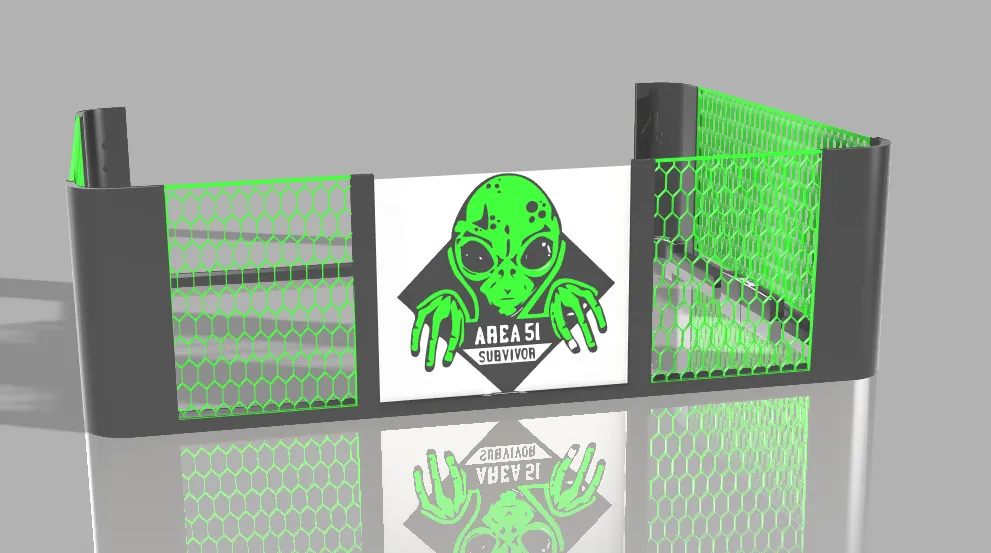
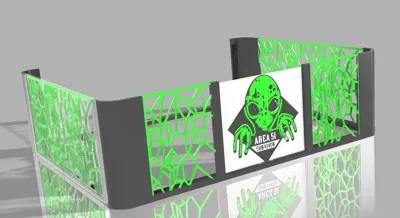
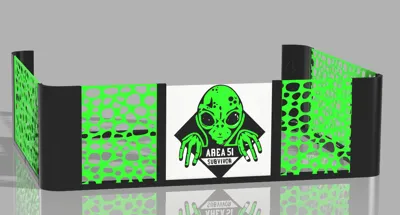
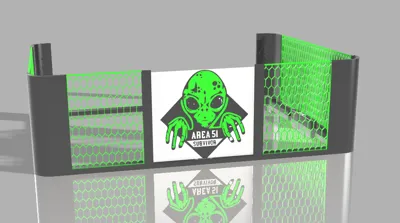
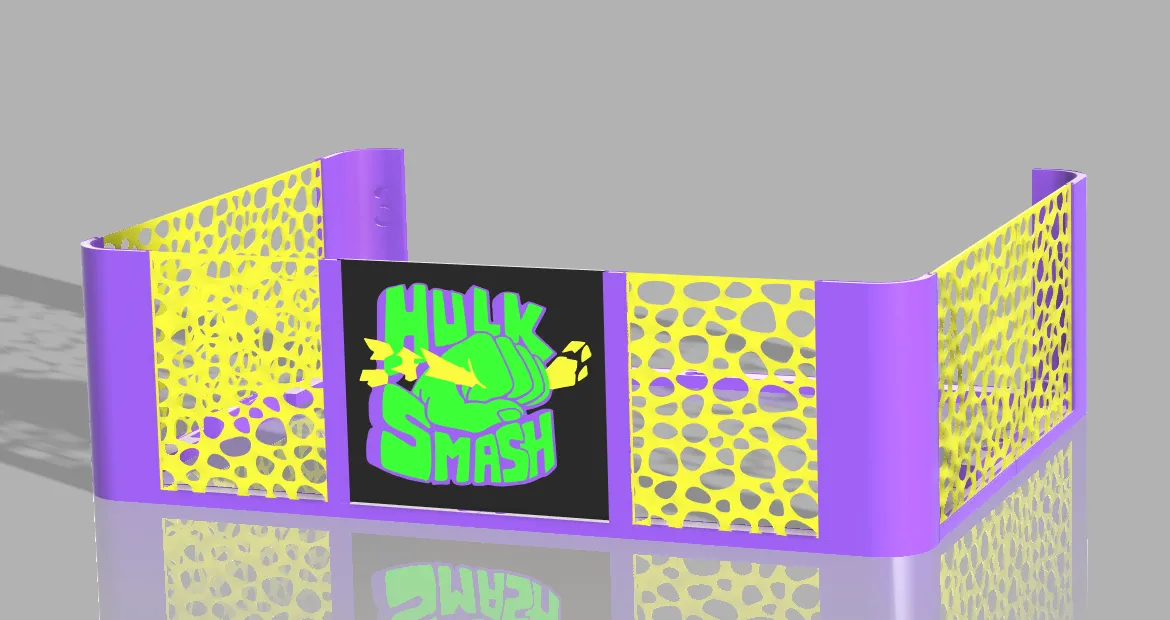
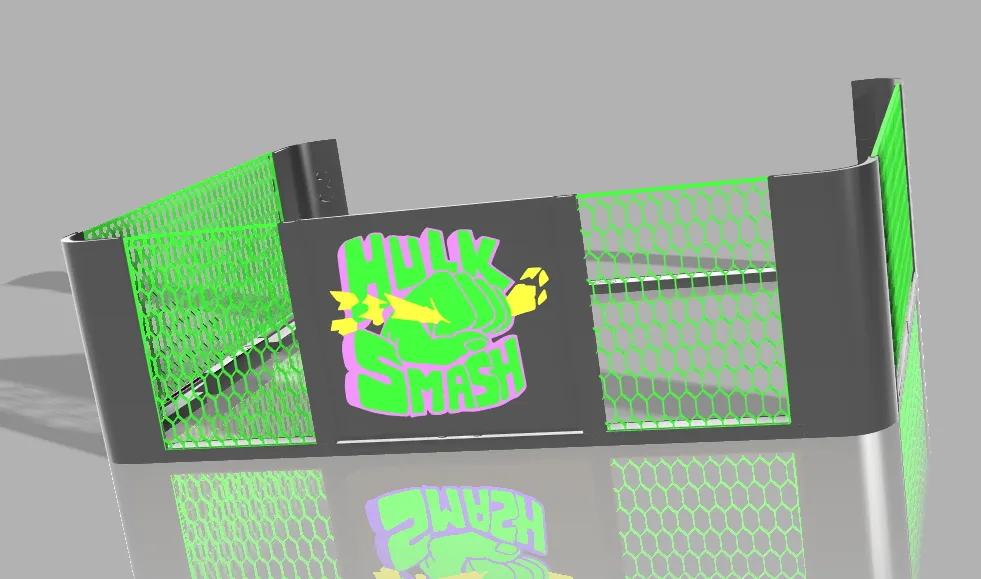
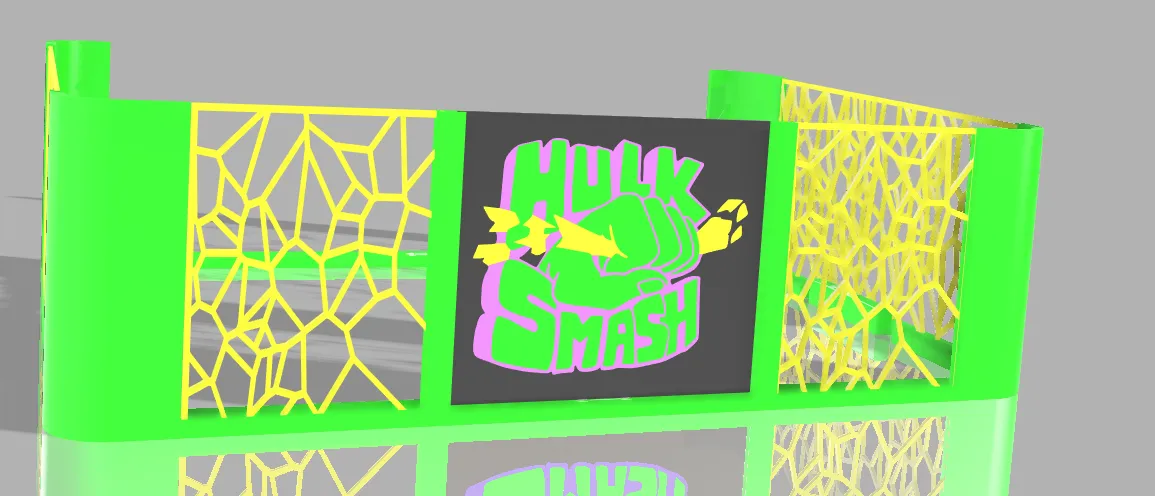
- 🎨 Embrace the Fury: Welcome to "Hulk Smash," a design inspired by the indomitable force of the legendary Hulk. Channel the raw power and unstoppable might of the green giant as you infuse your AMS setup with the essence of sheer strength and unbridled fury. Let your imagination run wild as you envision your prints emerging from the depths of Hulk's rage, ready to conquer any challenge in their path. Are you prepared to unleash the fury of "Hulk Smash" upon your printing domain?
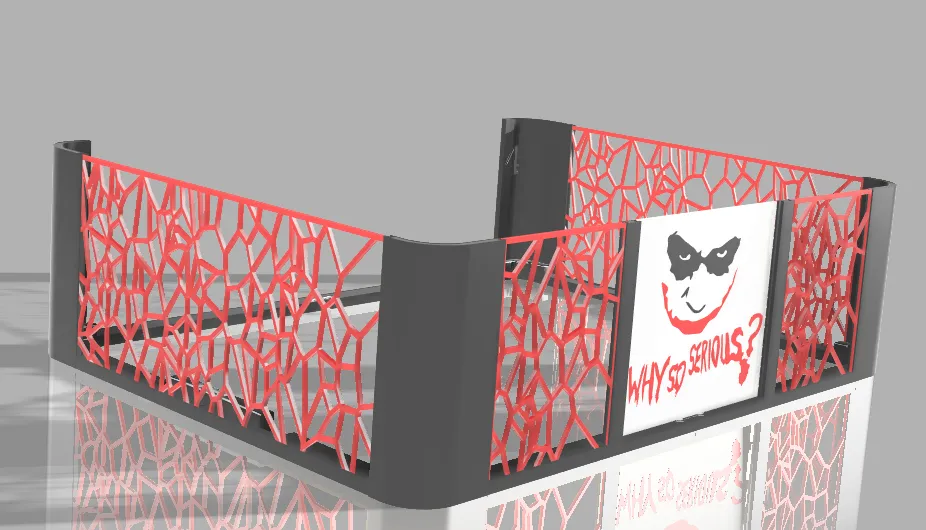
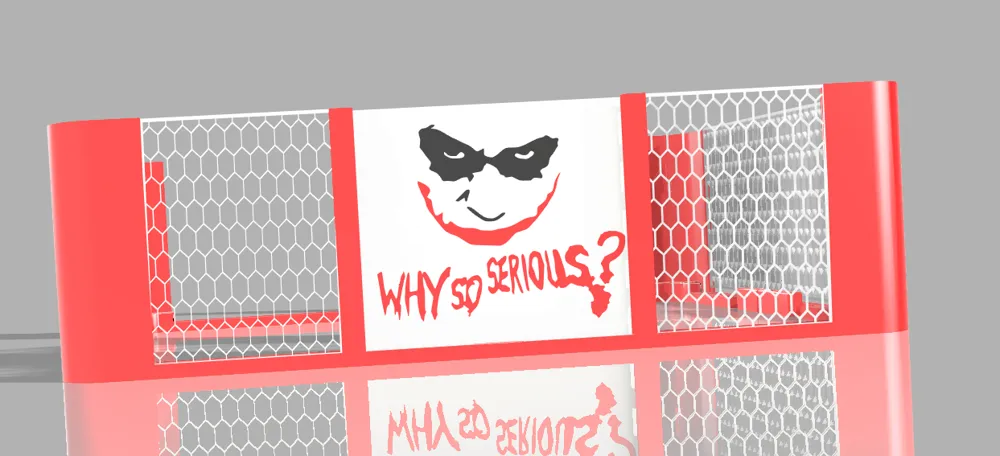
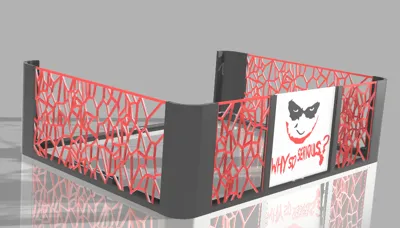
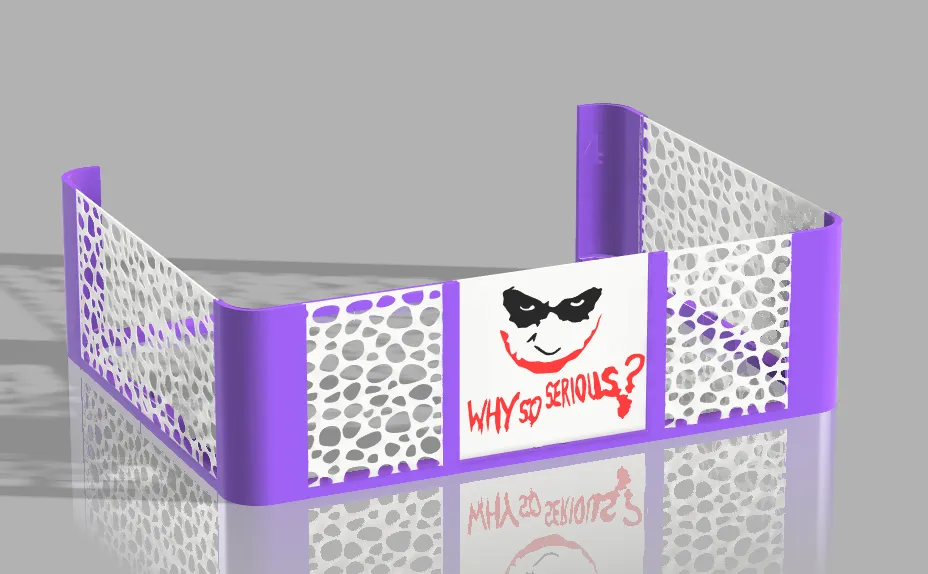
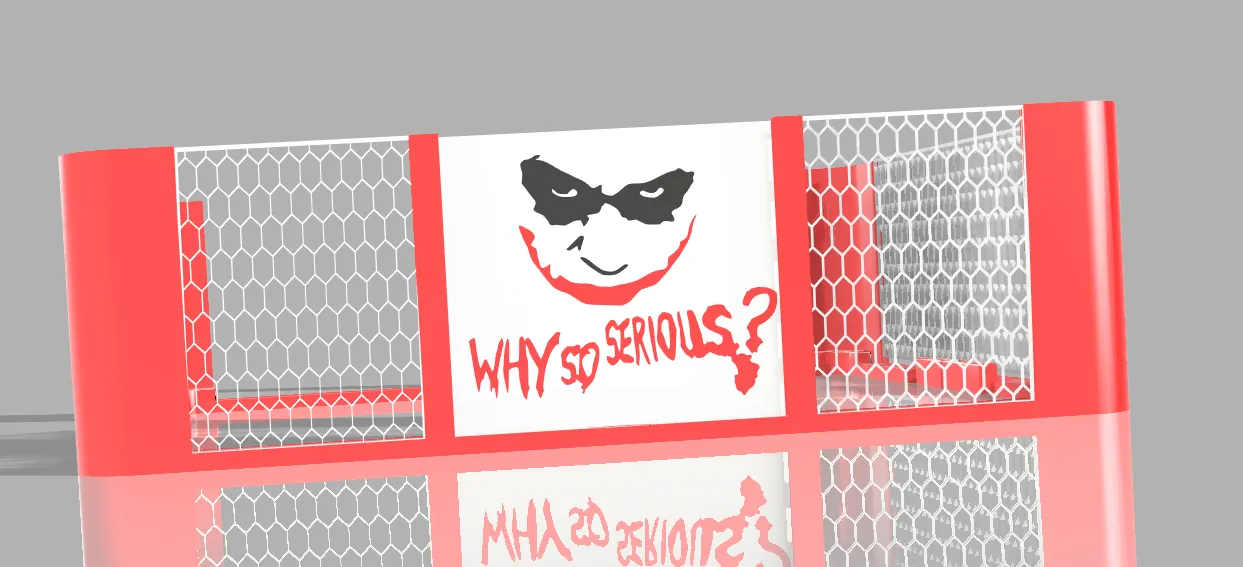
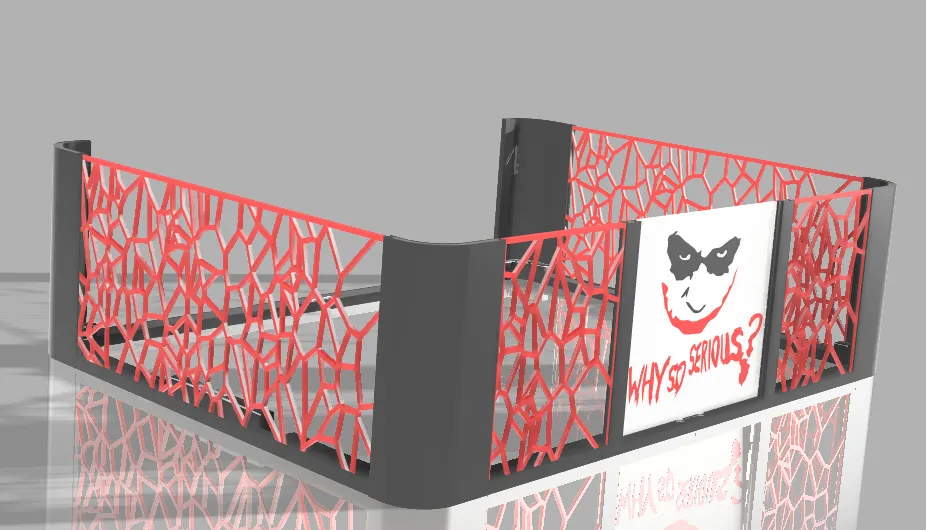
- 🎨 Enter the Madness: Introducing "The Joker" theme, inspired by the enigmatic and chaotic character from the Batman universe. Dive into the twisted world of the Clown Prince of Crime as you bring a touch of madness to your AMS setup. Embrace the unpredictable nature of the Joker's antics and let your creativity run wild with this daring design. With every print, unleash a hint of madness and mischief that leaves an indelible mark on your creations. Are you ready to embrace the madness of "The Joker" and make your AMS setup a beacon of chaos and creativity?
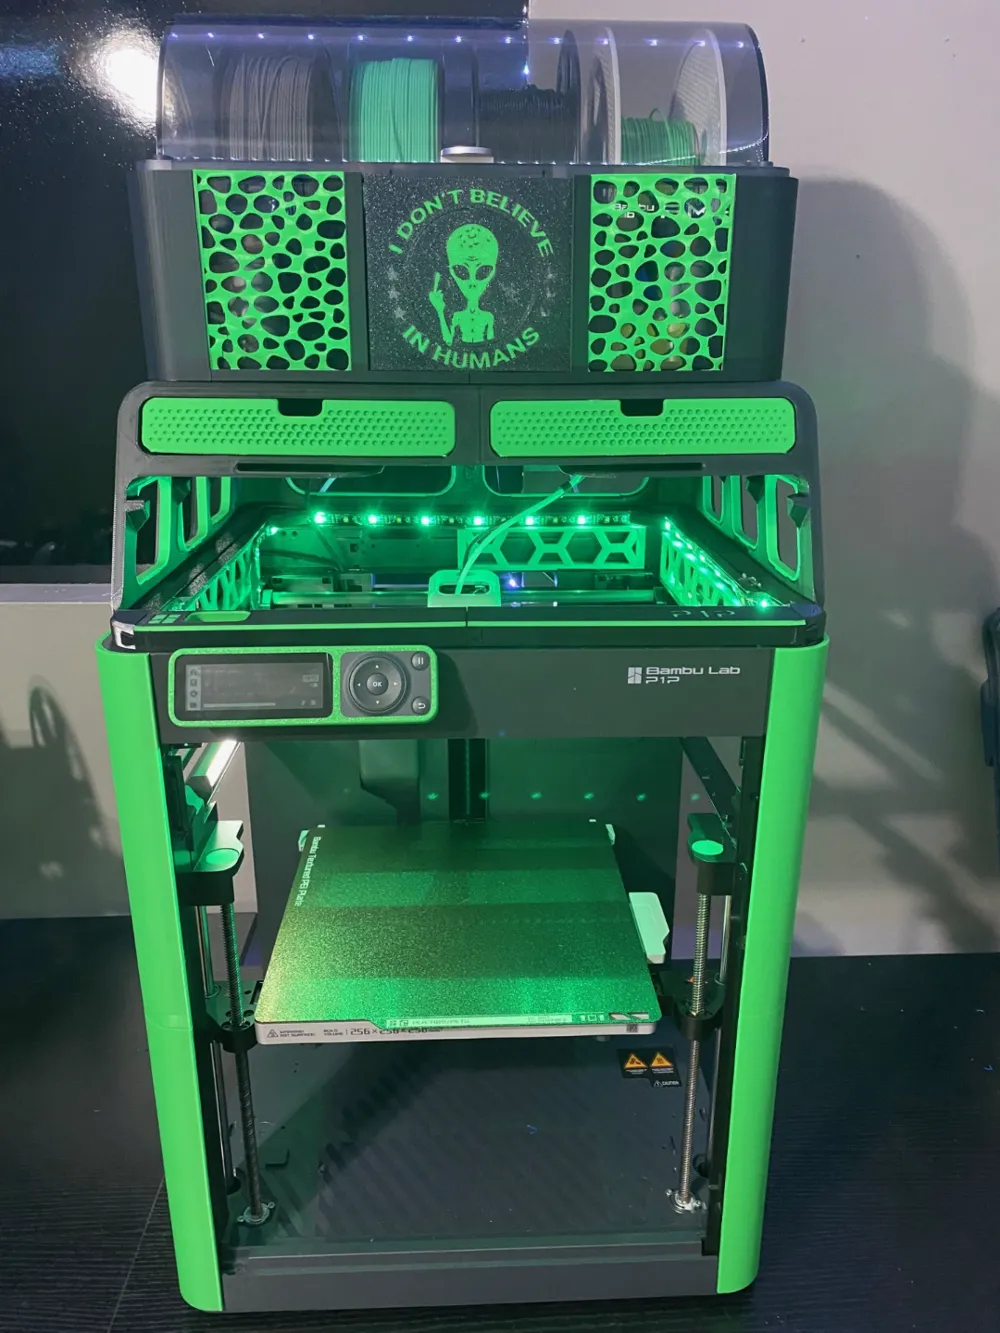
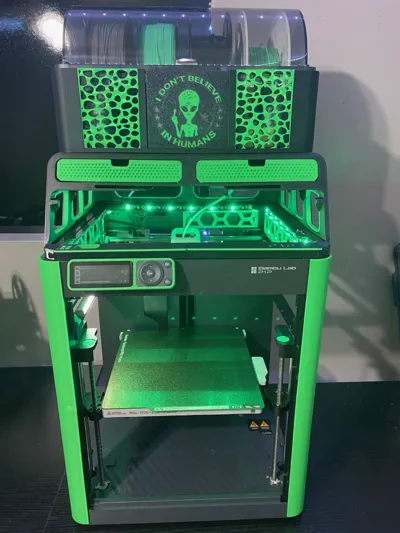
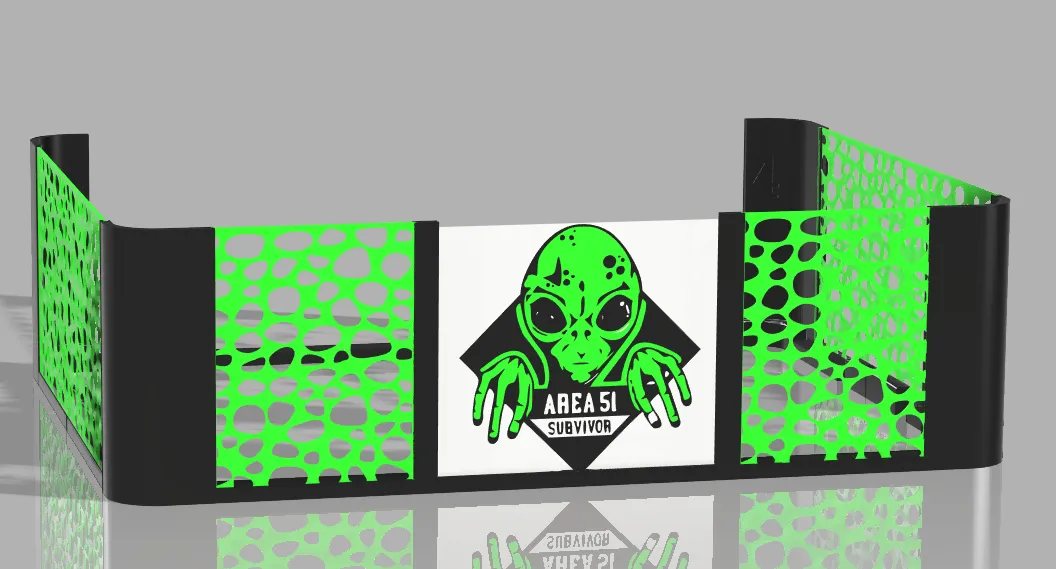
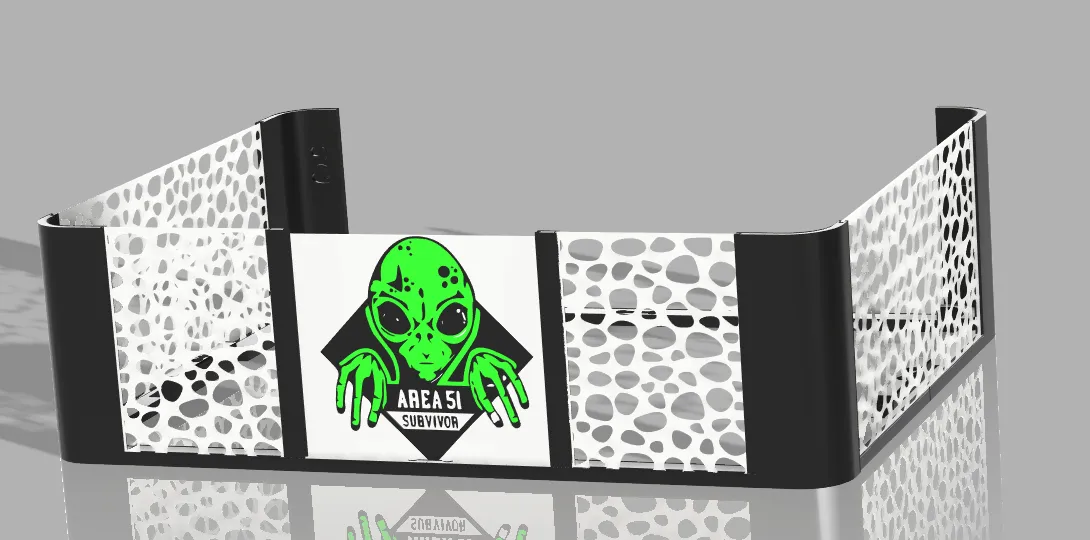
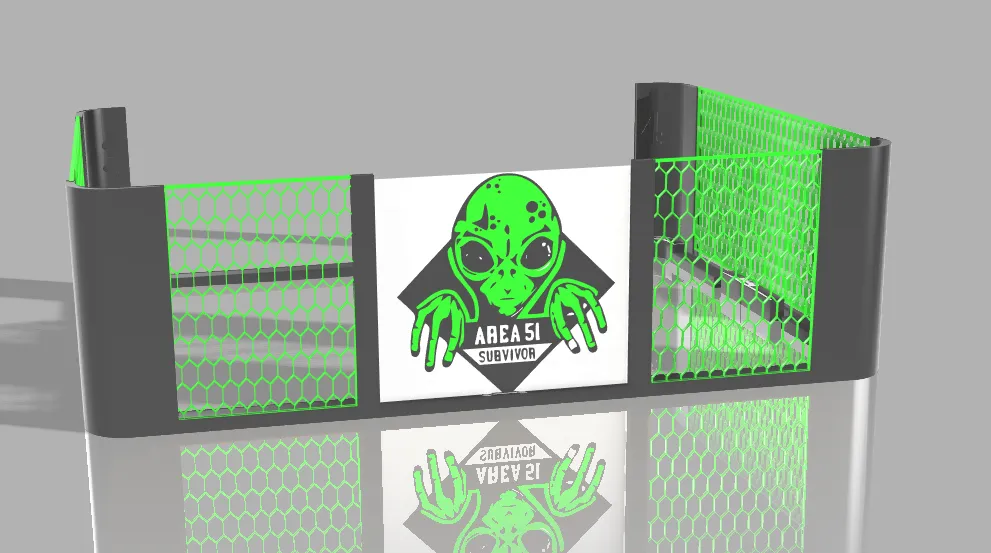
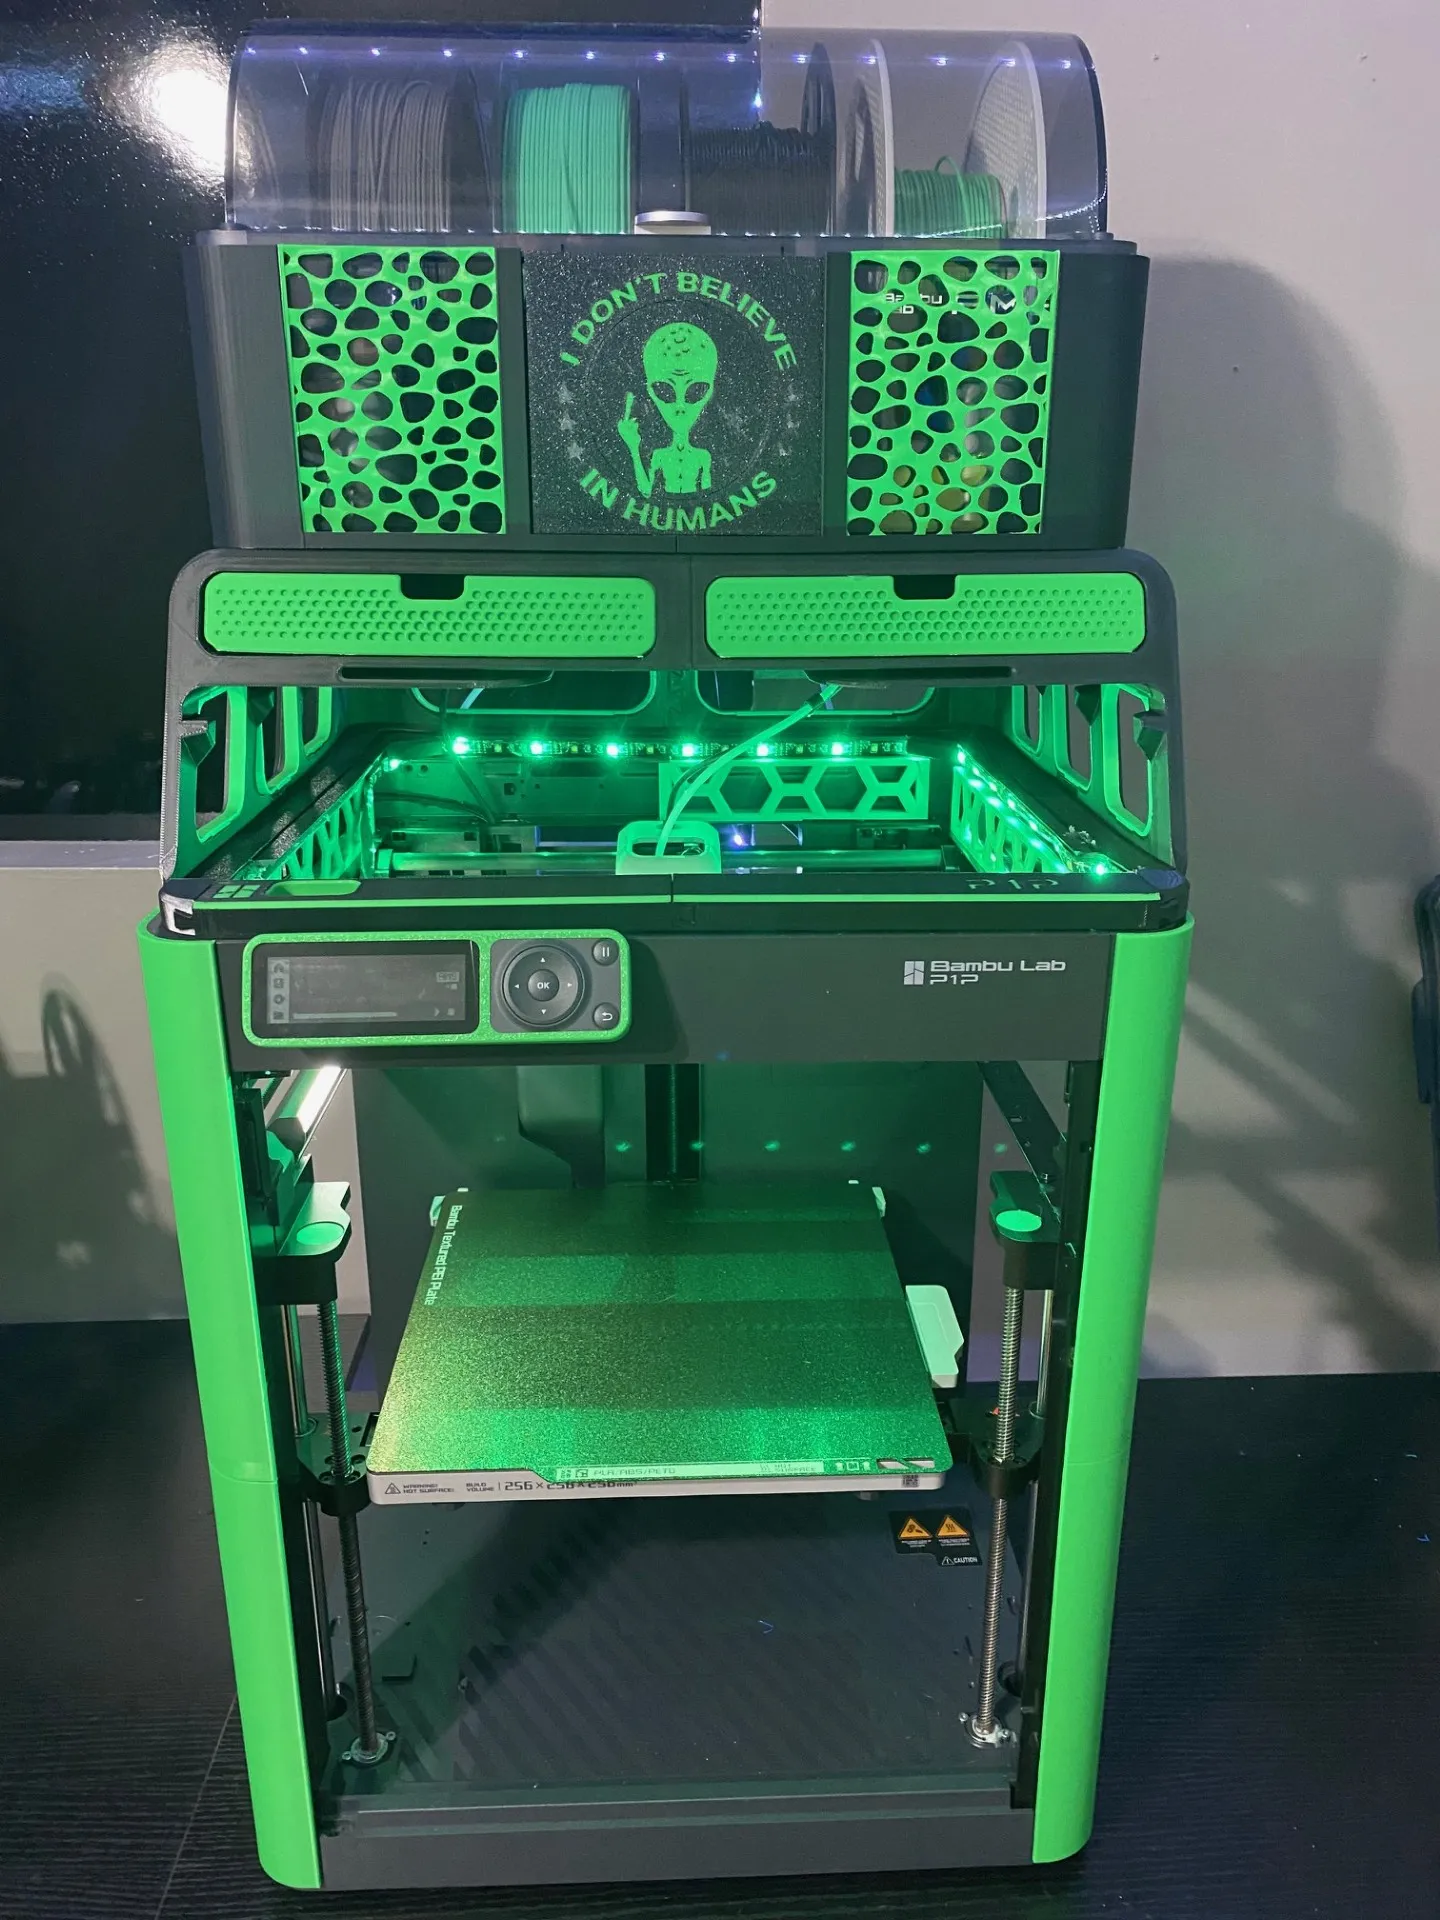
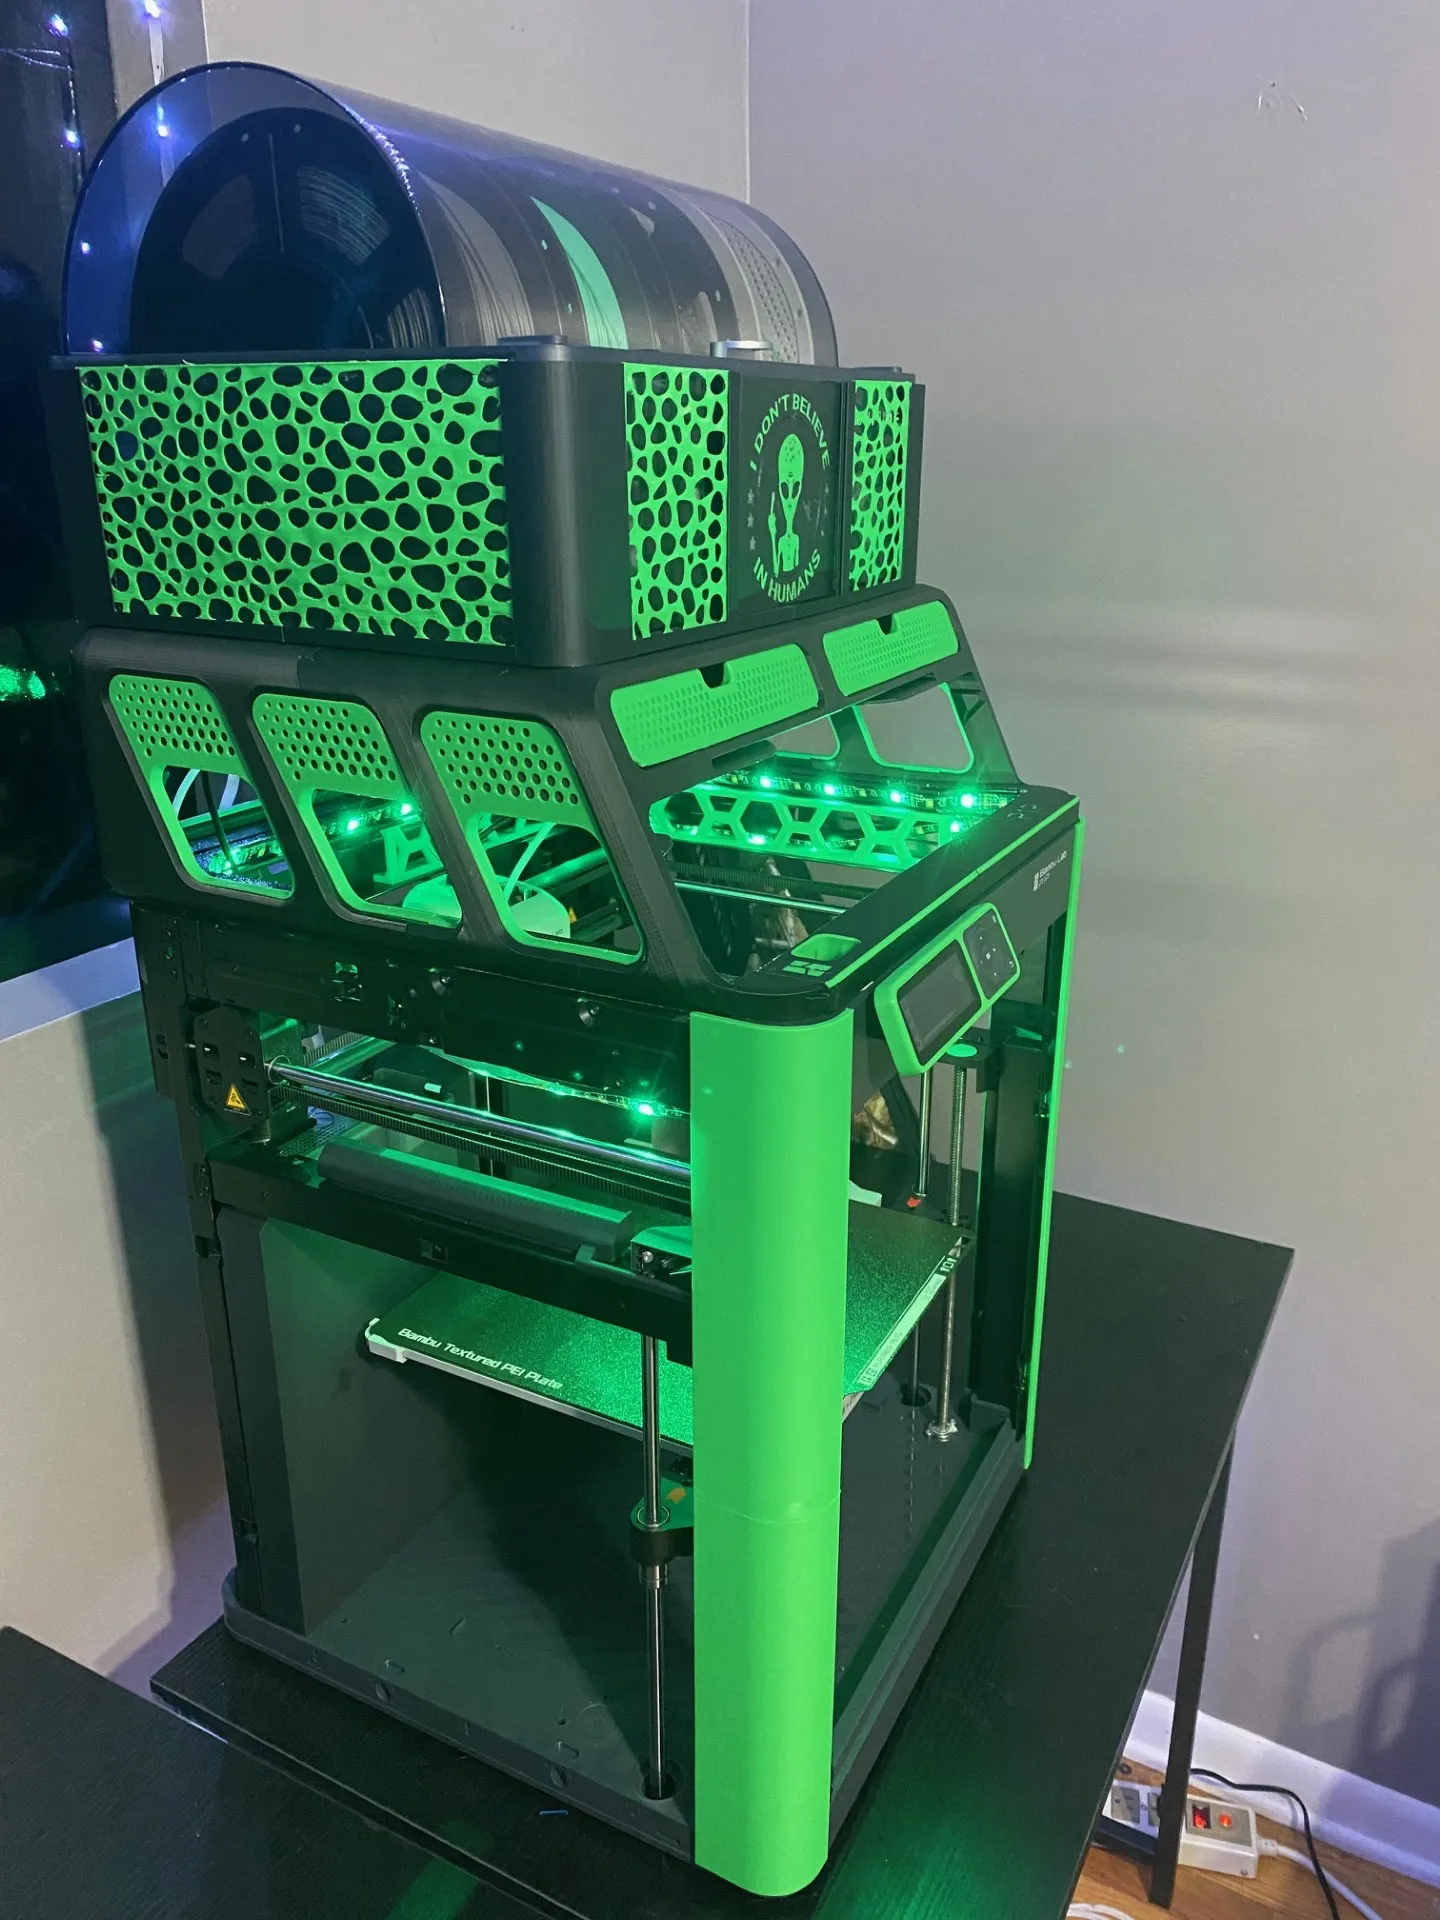
- 🎨Greetings, Earthlings!: Step into the realm of intergalactic whimsy with our "Area 51" theme, where an alien survivor proudly proclaims its conquest with a mischievous wink. Embrace the playful allure of extraterrestrial encounters as you deck out your AMS setup with this quirky design. Join the ranks of the cosmic conspiracy theorists and let your imagination run wild with tales of close encounters and secret experiments. With "Area 51," transform your printing space into a playground for cosmic adventures, where aliens roam freely and imagination knows no bounds. Are you ready to embark on a whimsical journey and welcome our alien friends into your printing domain?
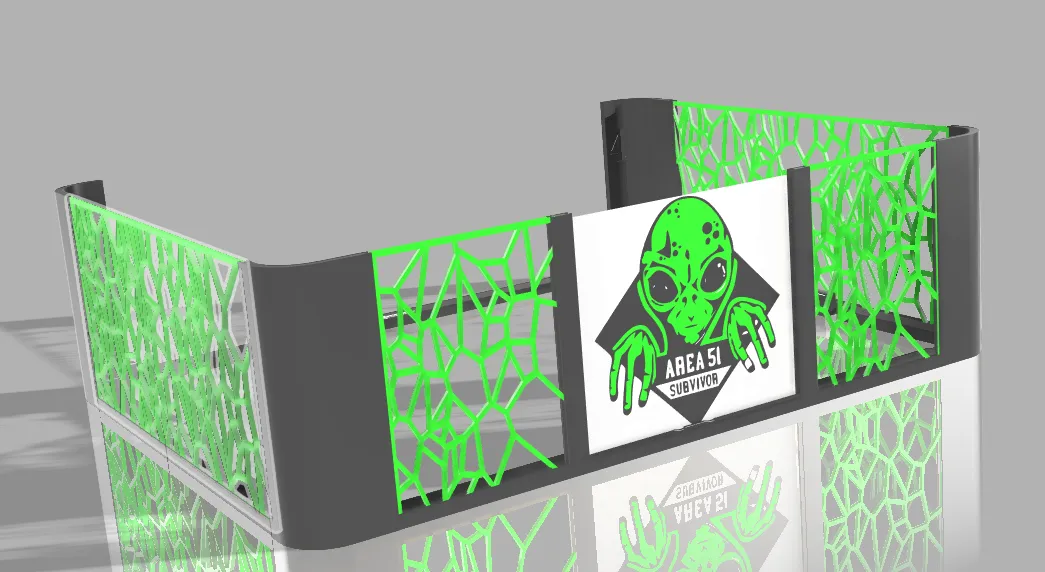
New Arrival's
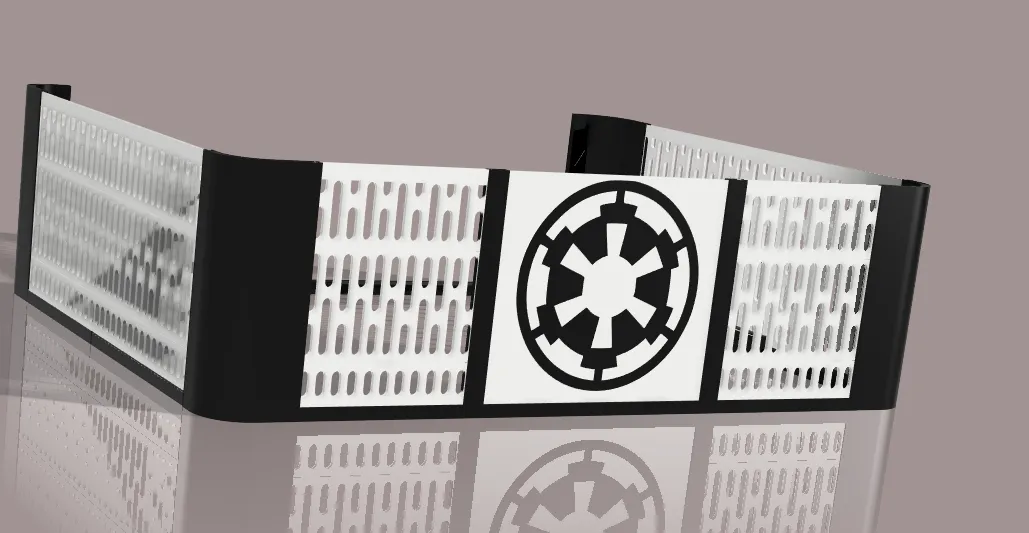
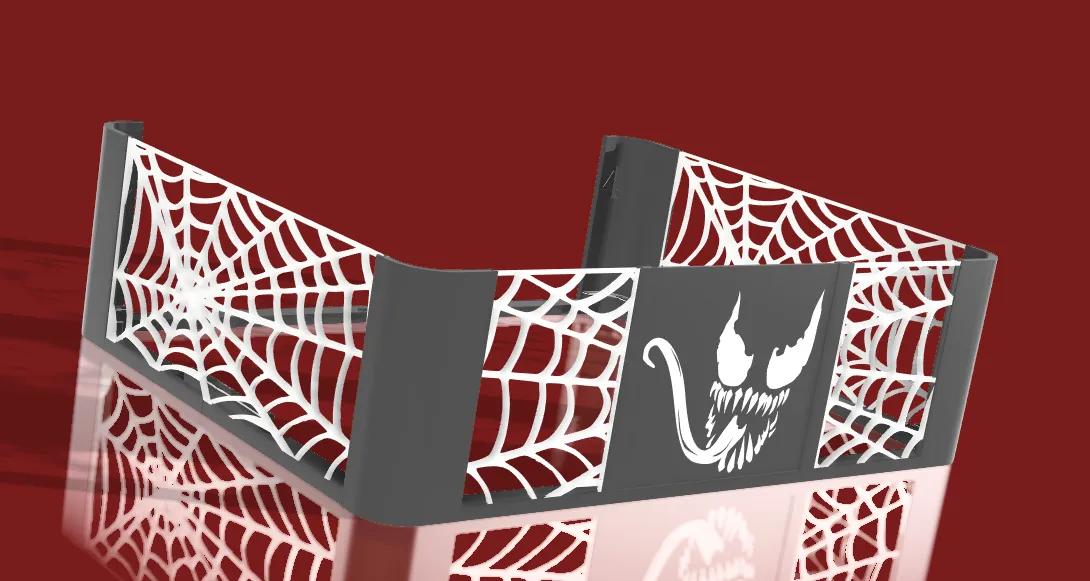
🛠️ Installation Instructions:
Follow our step-by-step guide for hassle-free installation of DREAMS-AMS Cover. With easy-to-follow instructions, you'll have your AMS dressed to impress in no time.
Step #1 Once all pieces have been printed, let's begin the assembly process. Start by laying out the four corners of the assembly. Each corner is marked with a number, beginning with 1 at the front right corner if facing you and continuing clockwise to 2, 3, and 4. This numbering system will guide you in positioning the components correctly for seamless assembly.
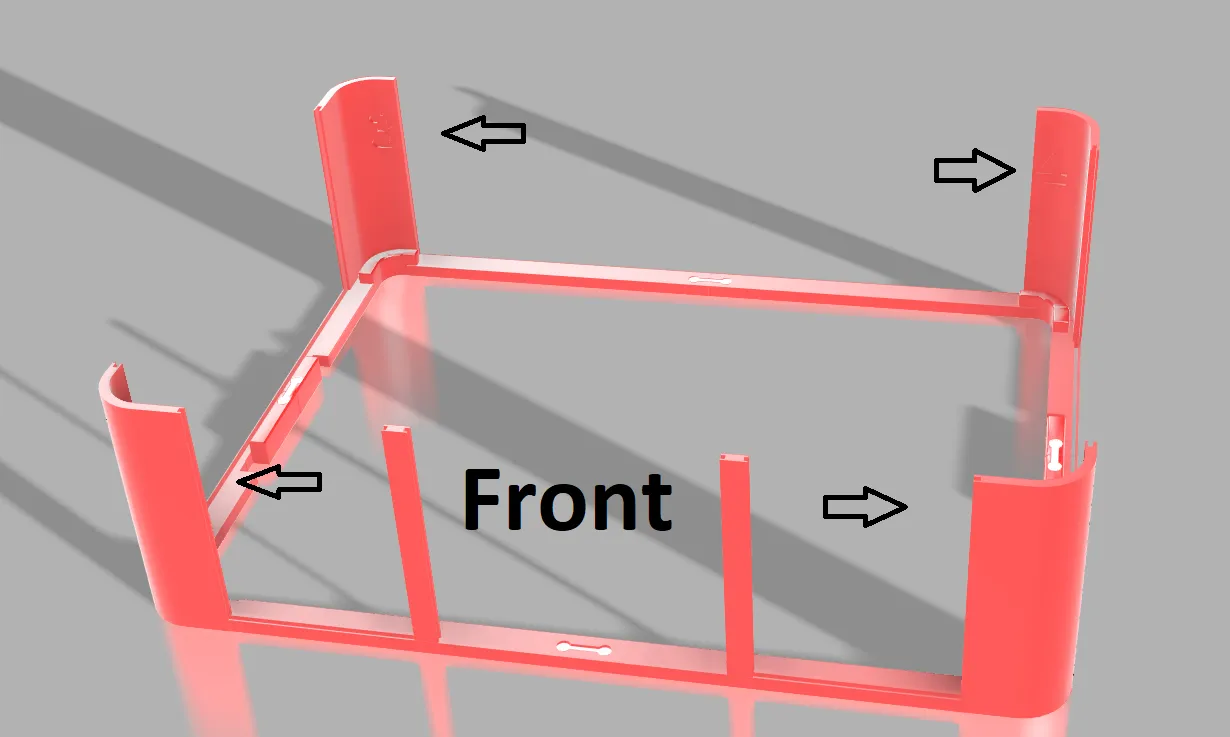
Step #2: Secure the locking pins into each joint of the four corners. Ensure a snug fit to guarantee a secure piece once fully assembled. These pins play a crucial role in stabilizing the structure, so take care to insert them firmly into place.
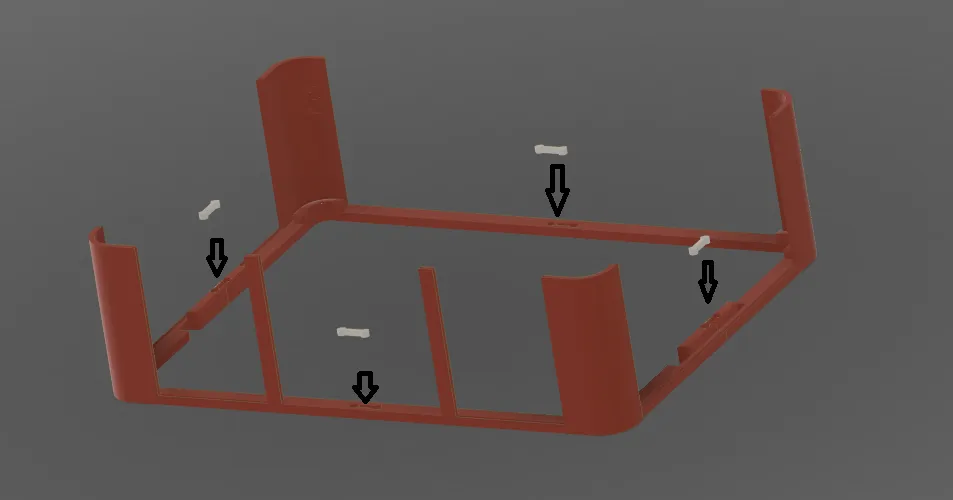
Note: If you would prefer to install the AMS first and then proceed with attaching the walls and decorative plate, you can do so now. Simply skip to step 3 after installing the AMS, and follow the remaining assembly instructions as outlined. This alternative sequence allows for flexibility in the assembly process and ensures that the AMS is securely in place before finalizing the enclosure.
Step #3: Install the two larger walls on the outside, aligning them with the slots on either side and at the bottom. Take care to insert them carefully to avoid any damage.
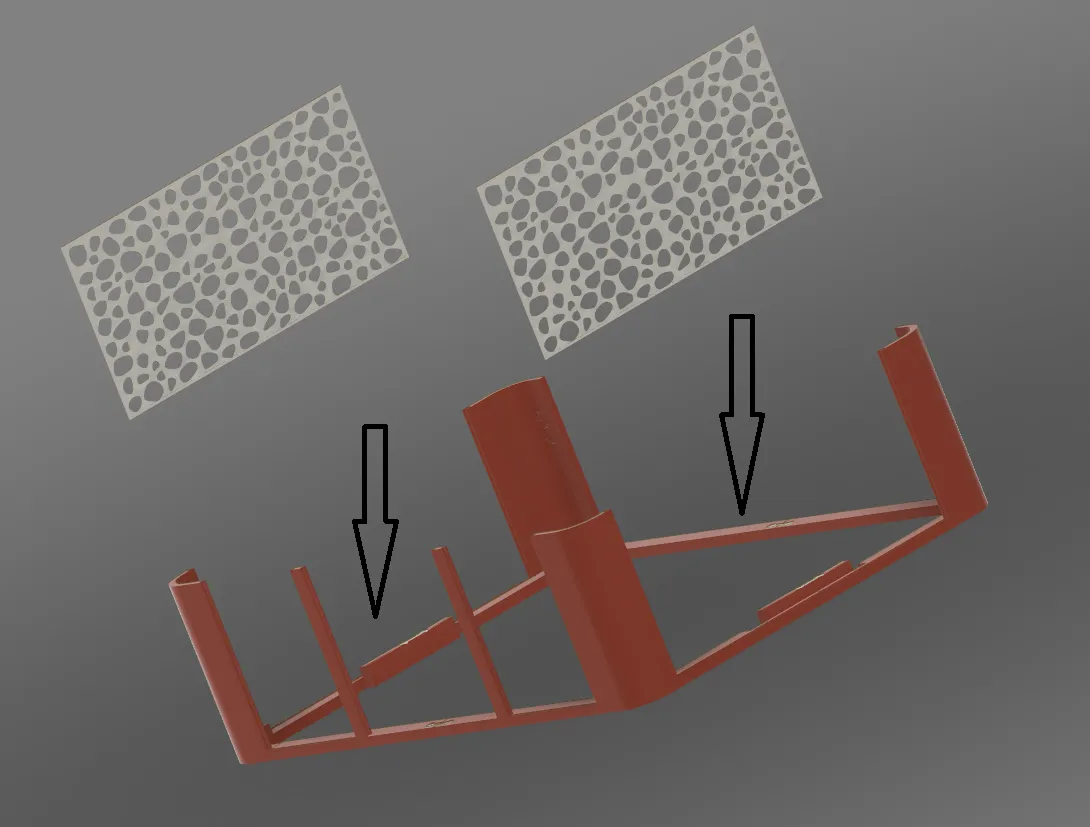
Step #4: Install the two smaller walls on the front side, aligning them with the slots on either side and at the bottom. Exercise caution during insertion to prevent any damage.
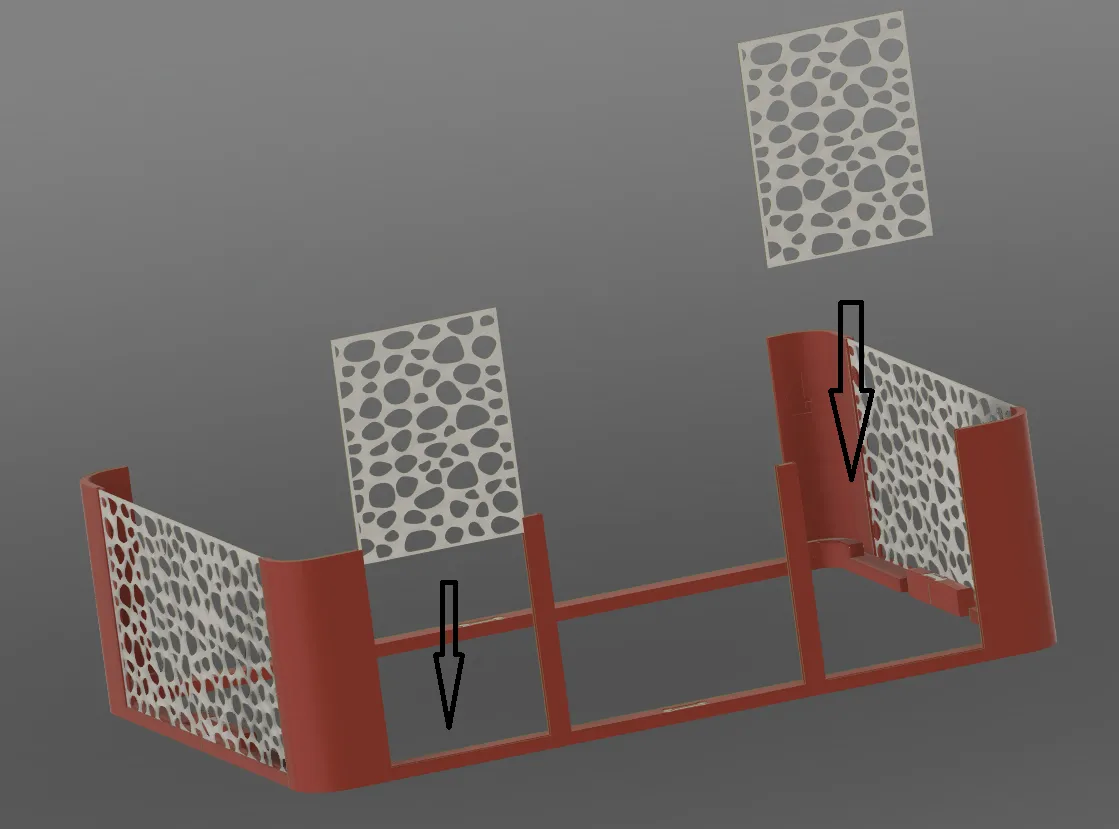
Step #5: You are now ready to install the front decorative plate, aligning it with the slots on either side. Exercise caution during insertion to prevent any damage. This step completes the assembly of the AMS cover, and you are now ready to slide the AMS in place. Ensure a smooth and careful insertion to achieve a seamless finish and optimal functionality.
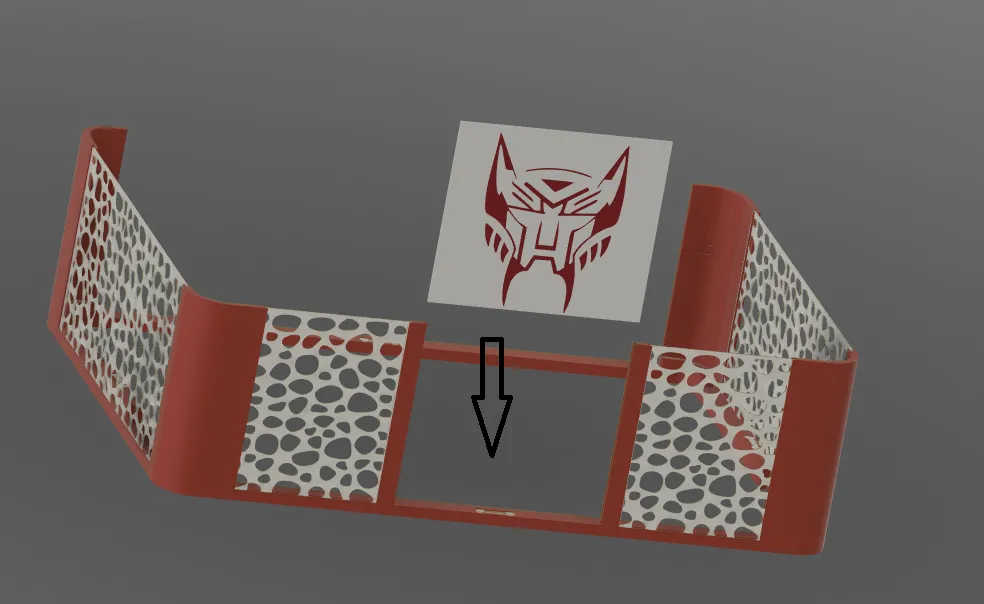
Installing the AMS: You can now slide the AMS into place, ensuring that you do not damage the walls of the case. It will align with the raised areas at each corner and the middle of both sides. Take care to gently guide the AMS into position, ensuring a snug and secure fit within the enclosure.
📸 Showcase: Your builds take the spotlight here! 🚀 Future Builds: Your creations take center stage here. Share yours to be spotlighted!
🎉 Get Yours Today
License

You shall not share, sub-license, sell, rent, host, transfer, or distribute in any way the digital or 3D printed versions of this object, nor any other derivative work of this object in its digital or physical format (including - but not limited to - remixes of this object, and hosting on other digital platforms). The objects may not be used without permission in any way whatsoever in which you charge money, or collect fees.


Comment & Rating (62)