AMS Universal Spool Desiccant Holder - Remixed
AMS Universal Spool Desiccant Holder - Remixed


Print Profile(1)

Description
Update 6/4/24: I have added a new and improved version that will now work with Sunlu spools while still working with Bambu, eSun, etc. This new one is 86mm instead of 70mm, and I also added two more full rows of vent holes to aid in airflow. I also added an “L” to the Lid piece to help identify it from the bottom part. I left the old files in case anyone still wants them, but these two new files more or less replace the originals, as they will work with all of the same spools that the old one did, and then some. All of the print settings are the same as before!
Description:
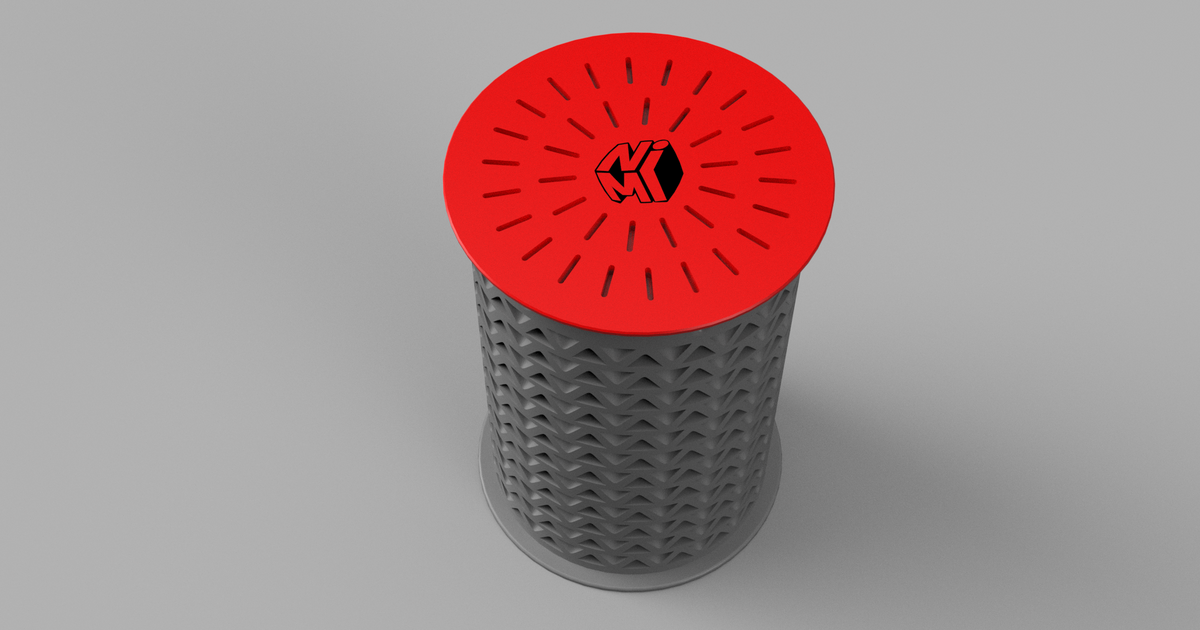
This is a remix of the Universal Spool Desiccant Holder for the Bambu Lab AMS by user “Needitmakeit”. I had issues with the flanges on the original being too small, which would allow the can to slide out and hit the floor, causing a huge mess of desiccant beads. Even being super careful, this happened to me within the first couple days of using the original… no good.
So I have increased the flanges of the can to prevent it from sliding out of the spool during handling. It also sits a tiny bit taller to allow some extra room for air to pass around the ends and through the middle of the spool for max airflow over the desiccant.
It sits in the center of any filament spool, allowing you to run up to 4 desiccant cans in your AMS. Does not cause any issues running the AMS and doesn't eat up any additional space inside. Small bonus is that it adds a bit of weight to your spools so that when they get close to empty, they stay put in the AMS.
Also works great for any dry box or sealed bag you may store your filament spools in, and packs a lot of desiccant into a compact “void space” so this is great for space savers looking to maximize their storage space as well.
Instructions:
- Add 0.3mm to each value under the “Line Width” section (Quality tab)
- Set wall loops to 1, top shell layers to 0 and bottom shell layers to 7 (Strength tab)
- Enable Spiral Vase mode (Other tab)
- See snapshots below. Note that some settings are automatically controlled when enabling spiral vase mode.
These settings print well and the print speed is very fast compared to other similar solutions due to the vase mode. I used regular PLA Basic and have had zero issues running 4 of these full time in my AMS as well as several others sitting in my dry boxes.
Tips:
- You can fit 2 parts on each plate pretty easily by organizing them in opposite corners from each other. 1 body + 1 lid or 2 bodies, etc.
- Because vase mode is being used, each object will fully print before moving to the next one, so make sure to space them far enough apart (The slicer will warn you if you are too close).
- I like to print the lids in a different color to make it easier to identify which side I need to pull off if I want to move it to another spool or change out the desiccant. This helps avoid spills & accidents.


Comment & Rating (19)