Easy door striker step!

Copyright Claim

Easy door striker step!

Boost
147
227
22

Print Profile(4)

All
A1 mini
P1S
P1P
X1
X1 Carbon
X1E
A1

PRINT THIS FIRST
PRINT THIS FIRST
Designer
34 min
1 plate
5.0(2)

For generic PLA
For generic PLA
Designer
50.8 h
4 plates

For_ABS_LikePLAs_(PLA+_Tough_ETC)
Designer
49 h
4 plates

For_PETG
For_PETG
Designer
64.9 h
4 plates

Boost
147
227
22
8
59
19
Released

Description

⚠️⚠️WARNING!!⚠️⚠️

→ Please follow the print instructions to ensure a safe print!!! I designed this with much care and safety in mind, but I'm not responsible for any damage, material or physical, IF YOU'RE SLICING IT YOURSELF PLEASE FOLLOW THE GUIDELINES


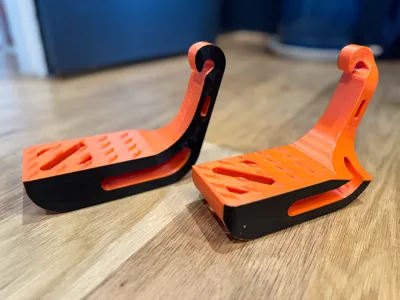
This model was inspired by the commercially available “Moki” door step


It wasn't the first 3D printed one to be made, as it is seen in the great "Kevin Levy" model


(https://www.printables.com/model/467740-foothold-for-car-door-latch)


However, I wanted to make something more robust, with many considerations in mind:


  • It should be safe to use, handling as much as weight as possible
  • It should have curved edges as to not scratch your car
  • Save as much weight as possible ( hard for a plastic part )
  • It should be suitable for many car door shapes (more details bellow to know WHICH ONE TO PRINT?)


With this in mind, I designed 5 different versions. Here I'm testing the 105 degree one ( offset 15 )


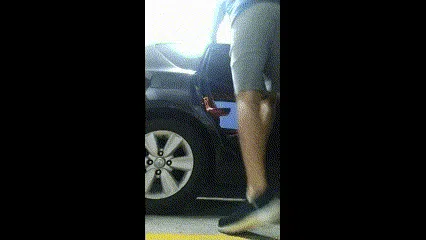
(sorry for the gif's quality)


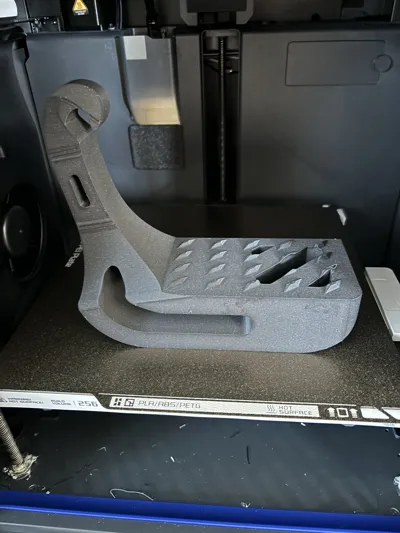
This was printed really weak to better test the part's perfomance and safety. It was printed with Bambu Lab's PLA Tough (now discontinued) with only 15 walls and 0 infill (but do not recommend it)! I don't weigh much (around 60Kg/132lbs) but the part was able to sustain me really well even after forcing it downwards.


Now, WHICH ONE TO PRINT?


First, If you're slicing this yourself, I recommend:


→AT LEAST 45 walls (fully solid) for generic PLA


→21 walls, 15 top layers and 15 bottom, as well as 25% cubic infill for “ABS-Like” PLA's / PLA + / PLA tough or PETG (considering good print profiles and layer adhesion)


ALSO, make sure you have a really good first layer, as this is a big print. If you wanna be safe, thoroughly wash your build plate with warm water and detergent/soap, don't forget to scrub the surface
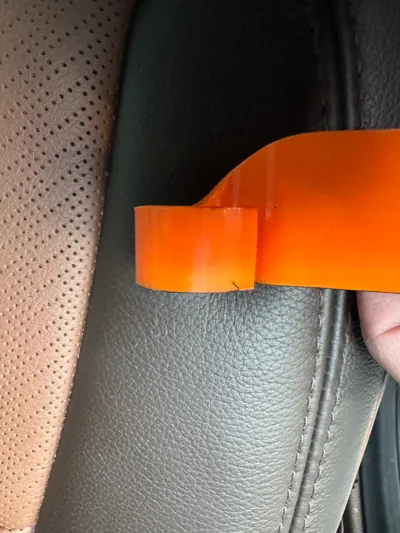
 

STEP 1


First, you'll have to do a sanity check to see if the hook will fit before printing the whole thing! Door strikers seem to be standard but I would check first if it fits. Here are the dimensions of the striker I used as a reference:


If any measurements are smaller or vastly different the hook will most likely NOT fit. If you're not sure of the dimensions, PRINT “Clearence test” model FIRST, if you're slicing it yourself, feel free to slice using 2 walls and minimum infill on the test as this is only to test if the hook will fit. I'm from Brazil and standards here may differ so if you find it not to fit your car please leave me a message with your striker's dimensions and I will happily add a new model.


STEP 2


Here at 2 different models from the total 5 to pick to illustrate the difference.


The different offset angles represent the angle at which your car's striker are at, you can easily measure this with your phone's compass app or any digital level app, or of course the good n' ol' eyeballing! This doen'st need to be 100% accurate, it is only to ensure the step is as horizontal as possible when placed on your car.


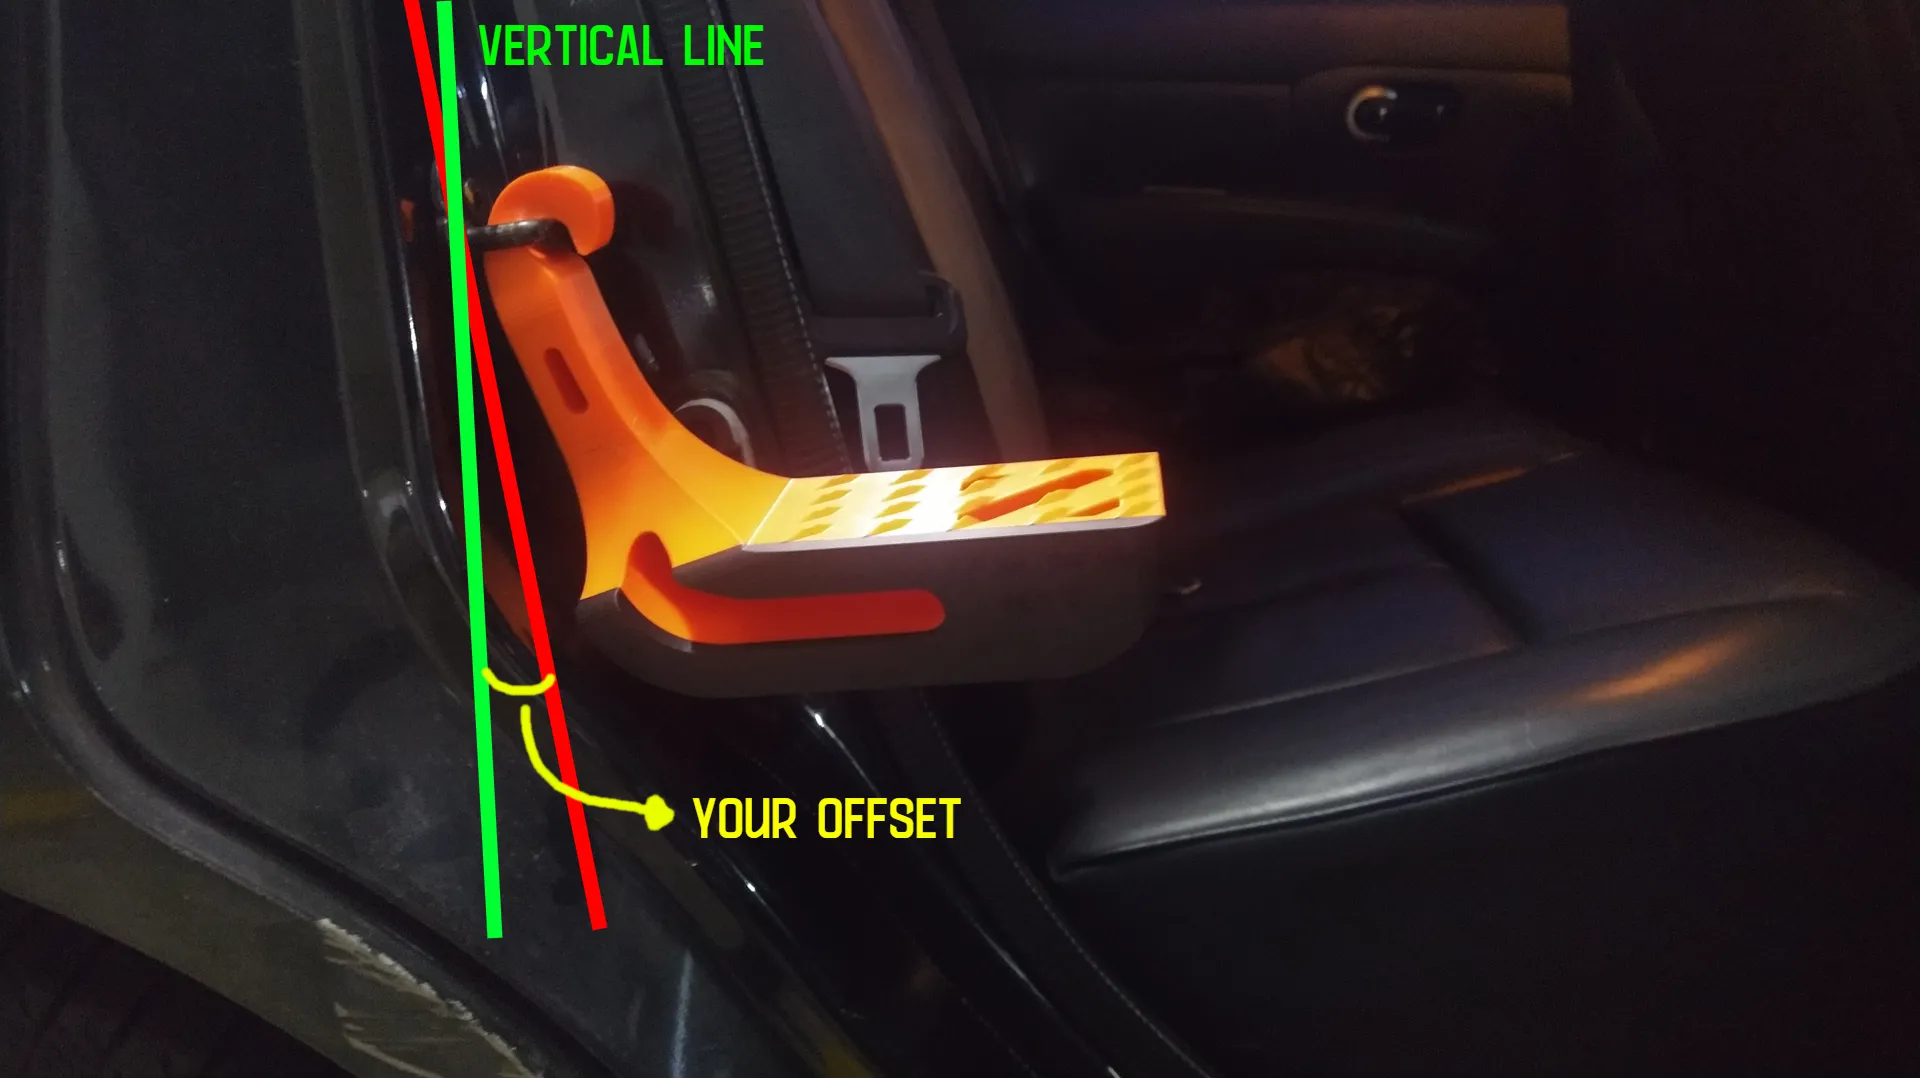
Then, pick the one with an offset equal to that of the one you've measured (again, this doesn't have to be 100% accurate ).


DISCLAIMER!


Unfornunately, I wasn't able to fit the 110 angle ( offset = 20 ) on the A1 Mini, however all the other models were made to barely fit! Hence no print profile for the 110 version for the mini, however, it can be slightly cut to fit.


TECHNICAL DETAILS


It is hard still to optimize the plastic used once every filament has different characteristics. The simulation below used ABS plastic with only 20MPa yield strength ( really really weak! ). To put it into perspective, Bambu Lab's PLA Basic can handle 75% MORE then this. With an ultimate tensile strengh of around 35MPa (as stated on their website). Although not an apples to apples comparison, PLA's yield strength tends to be also bigger then 20MPa 


After analyzing real data from the great videos from CNC Kitchen, I determined 20MPa as an unrealistic yet conservative baseline for comparison, this way I could design the part to be as safe as possible.


Keeping in mind most PLA's have an ultimate tensile strengh above 25MPa, it is considered safe to print this part even with a weak PLA, AS LONG AS IT IS COMPLETELY SOLID


Here, with a 120Kg/260lbs load simulation, the parts with a stress greater then or equal to 20 MPa are small and present on the surface of the part. The majority of the door step has a high safety coefficient even when considered with 20MPa MAX.


This results are confimed by the small tests done with a significantly weaker part with appox. 70% of the mass of the fully solid part ( when considering PLA )


Keep in mind the actual deformation will vary and is not accurately represented by the simulation once ABS's young's modulus is different of PLA's

Comment & Rating (22)

Please fill in your opinion
(0/5000)

@rafa__ I saw this pop up as a related design and I was SO excited as I have no way to get to the roof without standing all over the seats. I was so excited that I decided to print two of them on the same plate with one mirrored for each side of the truck. For reference, I drive a 2022 Ford F150 - America's highest selling truck - so the measurements should cover millions of vehicles in the US. I printed the test piece, and it wouldn't fit at first, but with a little shaving at the end of the hook it went in just fine. I measured the offset, but it was something like 45 degrees, so I thought that it must be wrong and just printed the 15 degree model. Unfortunately, once I shaved the hook a little and got it in the hole, it only slid down very slightly, leaving me with a HUGE gap between the frame and the striker step. I have included a massive number of images for reference, so maybe you can help me figure out how to make it work with my truck? Please let me know if you need more information or images. For now, I will give it a 4 rating because I think it is a great idea, but if we can make it work then it will definitely be a 5! Thanks
(Edited)
The designer has replied
1
Reply
Hey, @jjAndBenchy, thanks a lot for your feedback! I'm sure your comment will be helpful for you and many other people! First of all, I'm really sorry it didn't work out for you, didn't mean to make you waste filament :( . I'll be taking a good look at your reference pics and modelling a new version for the F150 for sure! thanks again for your help!
(Edited)
1
Reply
Replying to @rafa__ :
@rafa__ That would be great! If you need any other measurements just let me know. If we work together, I am sure that we can make this work. My wife has a Chevrolet Tahoe and she has the same issue, although her latch is slightly larger
1
Reply
thanks again!!! I have sent you the new version compatible with the F150 as long as the new test hook on messages! hope it works this time! if you need anything let me know
1
Reply
printed overnight and this thing is solid and has some weight to it. Will test later today.
The designer has replied
1
Reply
So happy to hear!!! Did you test the fit with the hook print? Let me know if it fits and if it works good! Thanks a lot!
0
Reply
Replying to @rafa__ :
Test hook worked but final printed didn't. Test hook needs to be the full length, otherwise it's a false hope. Wasted a lot of Filament on this one.
1
Reply
Replying to @user_1124235790 :
Im really sad to hear it didn't work out for you, as another person in the comment said, this already happened to them and I'm working to fix the problem as quickly as possible. could you provide some images and describe how and why it didn't fit? if you're still interested I can send you the new version, with a slimmer profile and fewer materi use. testing only the upper part really was a mistake on my end, I wish I could make up for the wasted filament. best regards, rafa
0
Reply
When I saw this I at first thought that it was a long-shot, but I have done quite a bit of testing on solid printed parts and I applaud you for this, it must have been quite a challenge, nice work! My only comment is that the properties of PLA change over time. ASA may be a better long-term solution. I like that you included the GIF and the simulation!
The designer has replied
6
Reply
Thanks a lot for your comment! It means a lot to me! your nickname sounded familiar and then I realized I was subed to your channel which I really enjoy! thanks!
2
Reply
btw, thanks for the comment about the pla's weaknesses on open environment, that's something I should've for sure taken into account! I'll be leaving a disclaimer about it on the description! thanks
1
Reply
Replying to @rafa__ :
No problem, I think it would take some time, and maybe a dip in some Polyurethane would help, hard to say since it's such a long-term issue.
1
Reply
easy good print
The designer has replied
1
Reply
That's great to hear!!! did you have success printing the whole thing? I would really love to see a picture of it! thanks!
1
Reply
Boosted
think you have really great ideas and you should be noticed for it, keep up the work and designing!
The designer has replied
1
Reply
that's really nice of you! thanks for the feedback!
0
Reply
Boosted
Nice design and keeping going.
The designer has replied
1
Reply
hey, thanks a lot!! If you printed It let me know If everything went well!
1
Reply
Print Profile
PRINT THIS FIRST
1
Reply
Print Profile
PRINT THIS FIRST
0
Reply
No more