Venus Project 160cm
Venus Project 160cm


Print Profile(3)


Description
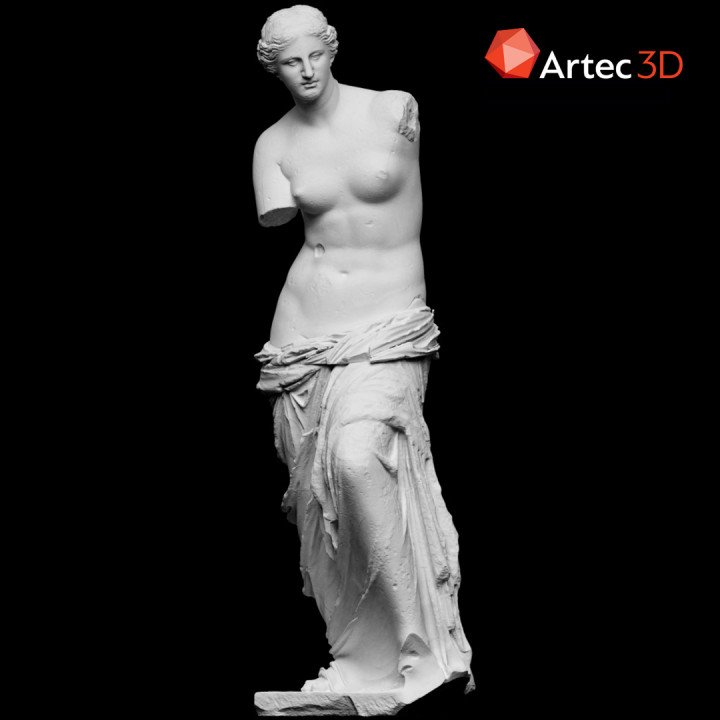
Venus Project 160cm:
A 3D-printed lifesize Replica of the famous Statue using 36 Plates/39 Parts on X1C.
160 cm! About 7,4 kg Filament! About 10 Days and 8 Hours Printing Time!
The original Statue, Louvre, Paris, measures 204 cm.
Source: Scan the World (Link below - by SMK Statens Museum for Kunst).
More Info can be found on Wikipedia.
Filament: BL PLA Matte Ivory White.
Printer: X1Carbon with Cool Plate, cleaned with Isopropanol and used Gluestick every few Plates,
Always activate Auto-Bed-Levelling.
Needs some Glue for Assembly! I used “Uhu Hartkunststoff”, 5 Units, 150g.
This is the way I printed it. It worked for me but it doesn`t mean it`s the only or the best way to do it.
For Part 1 I used Lightning Infill at 80% and 3 Walls for best material/stability ratio on most Parts.
Plates 2, 5 and 8 can be printed with 3 Walls and no Infill.
For Part 2 I used 3 Walls and no Infill for most plates. This reduced filament use/printing time quite a bit.
Only Plate 10 prints with Lightning Infill and minimal support on the smaller part.
For Part 3 it is similar to Part 2. please read on “Known Bugs” for more info.
You can scale down all parts to a size you like and use far less material.
Known Bugs:
Part 1, Plate 7: Where the (missing) arm would connect to the shoulder: The hole did not print/close completely. No big issue but worth mentioning.
Part 1, Plate 9 stopped once due to “Spaghetti Failure”, could be continued without further Issues.
Part 2, most Plates: As these parts are printed with 3 Walls and no Infill there can be very small holes in the surface, almost invisible on the complete statue but for perfectionists or for outside display these should be filled. The whole statue should then be primed, painted and finished if placed outside. As I print mine for inside display only, this is not an issue. I only need to glue parts together.
Part 2, Plate 12: The almost impossible overhang on this one was a stress test to my X1C. It printed fine in the end but it I might test it with some infill on the first layers and then switch to no infill at given layer height. Don`t know how to do that yet but will update profile when I find out.
Part 3, Plates 6 to 8: Tried to make the Piece fillable for more Weight by dividing in 3 Parts, P6 is the Main Part, P7 and P8 combine to a “Lid”. This method makes the part less exact. Will review it. For now I recommend printing plate 6 with infill of your choice, removing manual pause from the slice. You then don`t need plates 7 and 8. Some Prints may stop due to “Spaghetti Failure”, all could be continued without harm. Some Prints have tiny holes in the surface. Doesn`t effect overall Appearance.
Finishing:
For a perfect Look you might want to fill all small gaps (acrylic paste or filler), prime a few times, paint as you like and finish to fit your needs.
I will probably use acrylic stone-effect paste but maybe I test the printed model for outside-use “as is”, would be curious if she can “stand the weather” directly out of the printer…
Assembly is pretty straight forward. I might add Instructions though.
Feel free to comment, ask, improve or call me a lunatic for doing this :)
Thank you BL and MW! Would have taken me far longer to actually print without your point/reward system! :)