
Honeycomb Wall Mount for AMS


Print Profile(4)
![V2 [PLA Option 1] with Honeycomb top](https://makerworld.bblmw.com/makerworld/model/US3eff28800cedf9/89151691/instance/2024-04-08_e4f28946b72b5.jpg?x-oss-process=image%2Fresize%2Cw_100%2Fformat%2Cwebp)
![V2 [PLA Option 2] without Honeycomb top](https://makerworld.bblmw.com/makerworld/model/US3eff28800cedf9/89152220/instance/2024-04-08_83019c6d55227.jpg?x-oss-process=image%2Fresize%2Cw_100%2Fformat%2Cwebp)
![V2 [PETG Option 1] with Honeycomb top](https://makerworld.bblmw.com/makerworld/model/US3eff28800cedf9/88767230/instance/2024-04-09_af94d87a65903.jpg?x-oss-process=image%2Fresize%2Cw_100%2Fformat%2Cwebp)
![V2 [PETG Option 2] without Honeycomb top](https://makerworld.bblmw.com/makerworld/model/US3eff28800cedf9/78454009/instance/2024-04-09_6010ee0755318.jpg?x-oss-process=image%2Fresize%2Cw_100%2Fformat%2Cwebp)
Description
Inspired by the Filament spool shelf honeycomb by Maoirae, this 3D printable wall mount utilizes a honeycomb design for a strong and lightweight way to mount your BambuLab AMS on the wall. Frees up valuable bench space and keeps your AMS organized!
Features:
- Securely mounts BambuLab AMS to your wall
- Honeycomb design for strength and reduced weight
- Inspired by the popular honeycomb design used on the HSW
Printing:
- This wall mount has been tested successfully with PLA on high-density settings (5 walls, 35% Gyroid infill). If you use PETG/ABS/ASA, you can reduce this and save material and print time.
Required:
- Material:
- 4x M3 Ruthex (or same-sized M3x5.7) inserts
- 4x M3x8 countersink screws
- 4x Dowel with 6mm diameter and 50mm length
- 4x Wall Screws with 4,5mm diameter and 60mm length
- Tools:
- Drill
- Soldering Iron
- Soldering Iron Tips for Ruthex Thread
Bill of (Printed) Materials:
| Description | Amount | Picture |
| Shelf Angle | 2x | 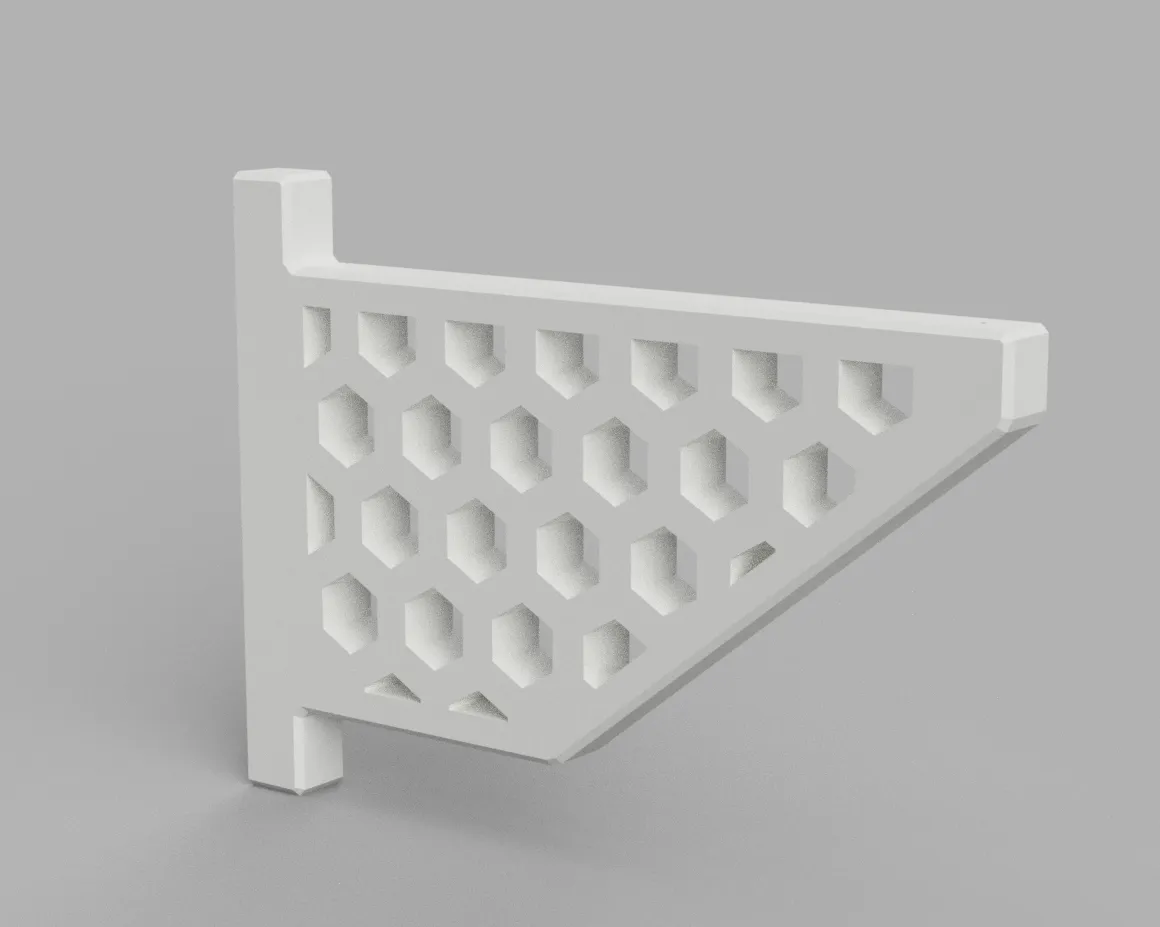 |
Option 1 Top Holder with Honeycomb Design | 2x | 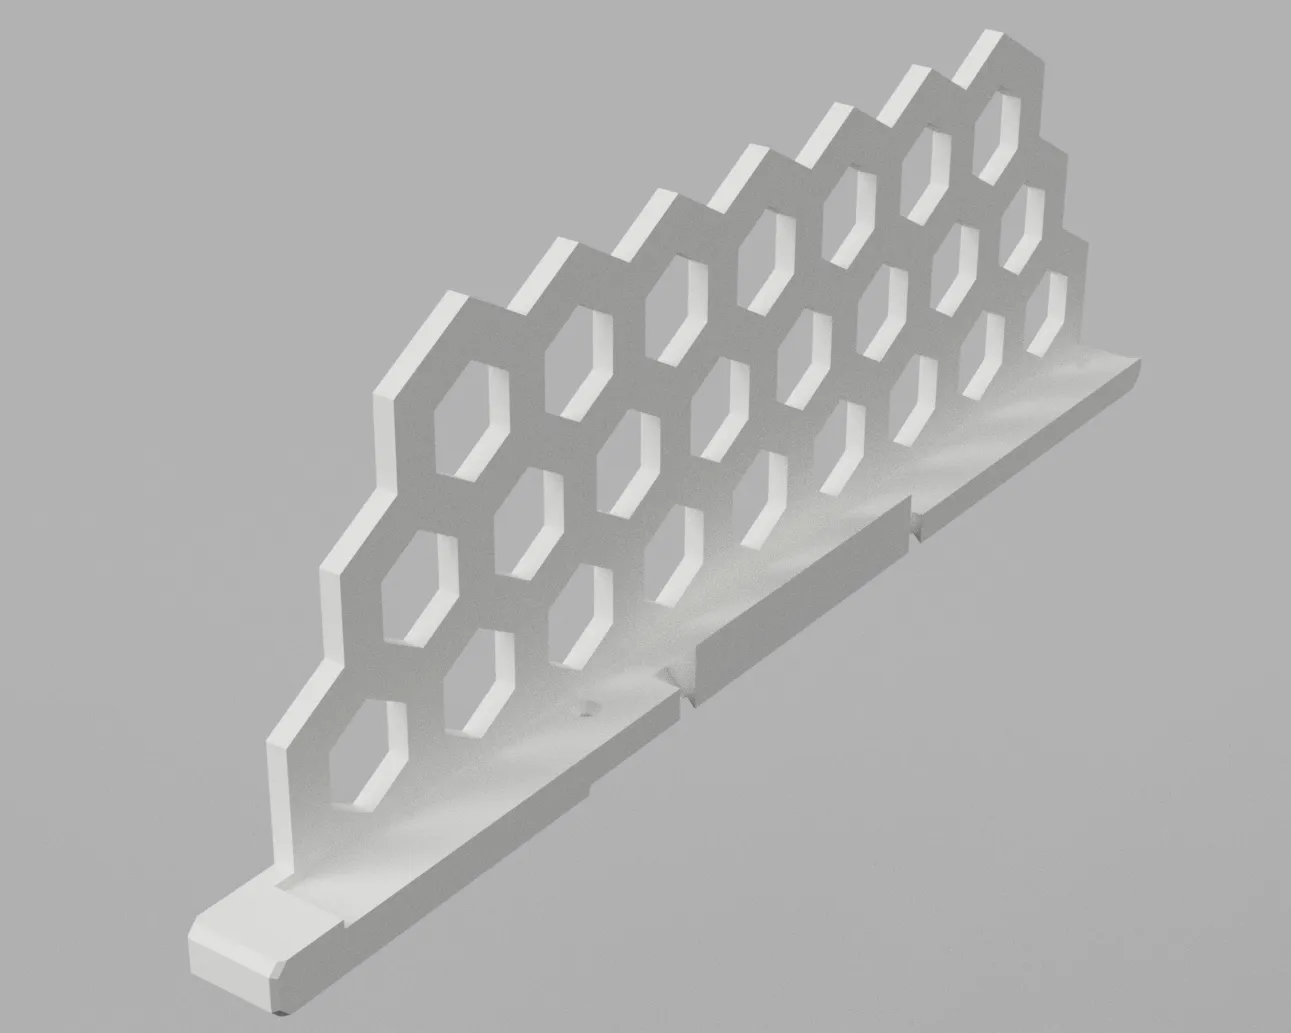 |
Option 2 Top Holder without Honeycomb Design | 2x | 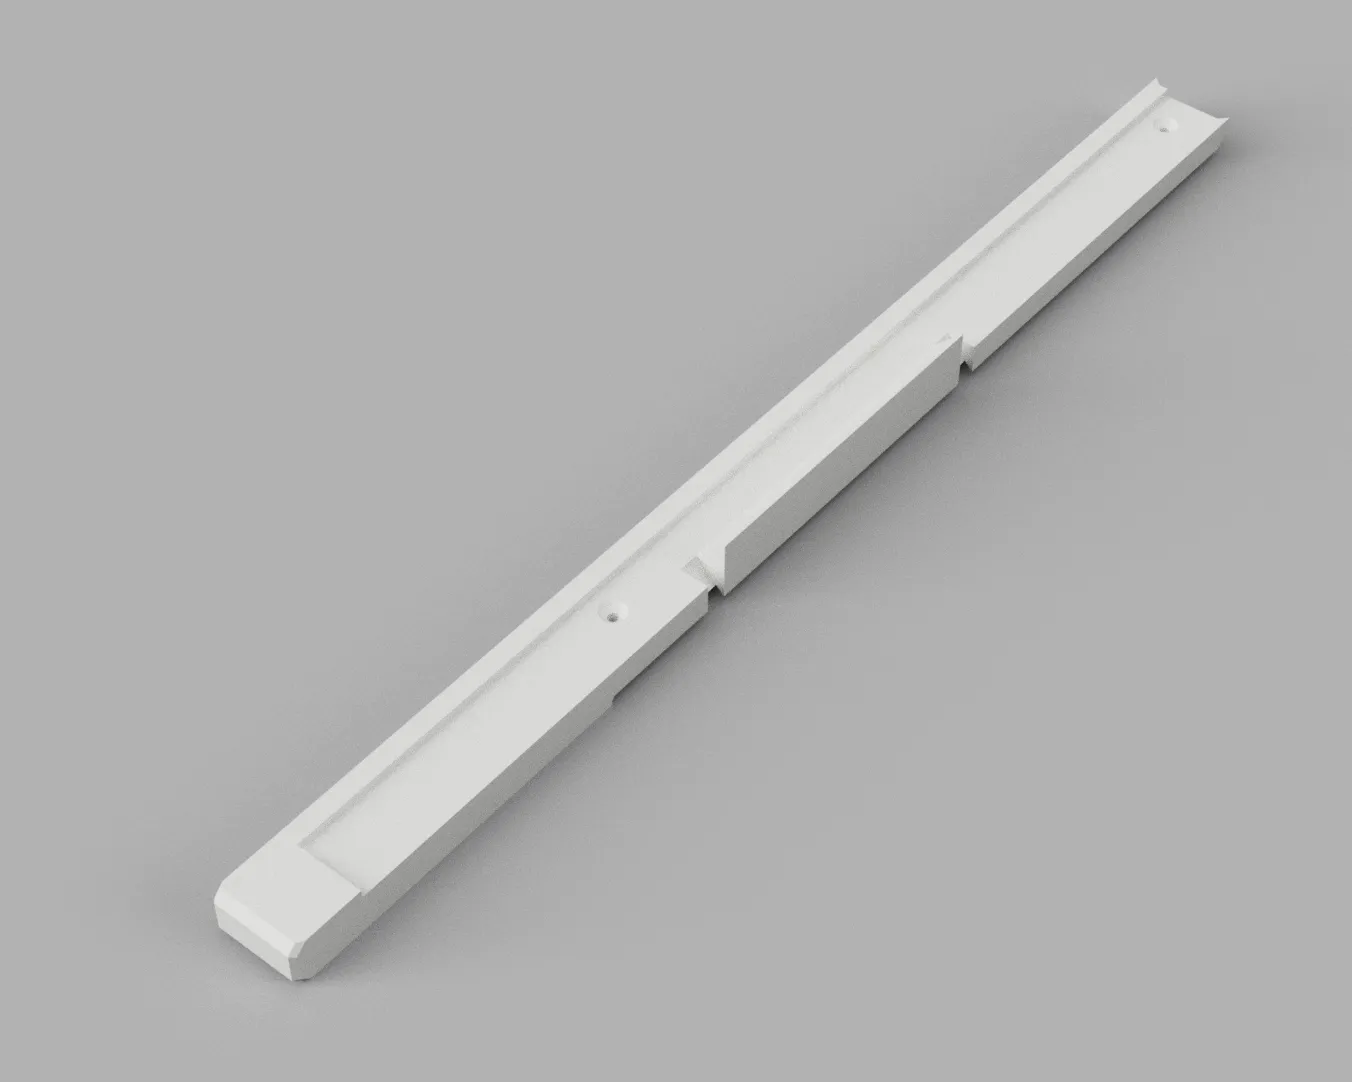 |
Optional Screw Template | 1x | 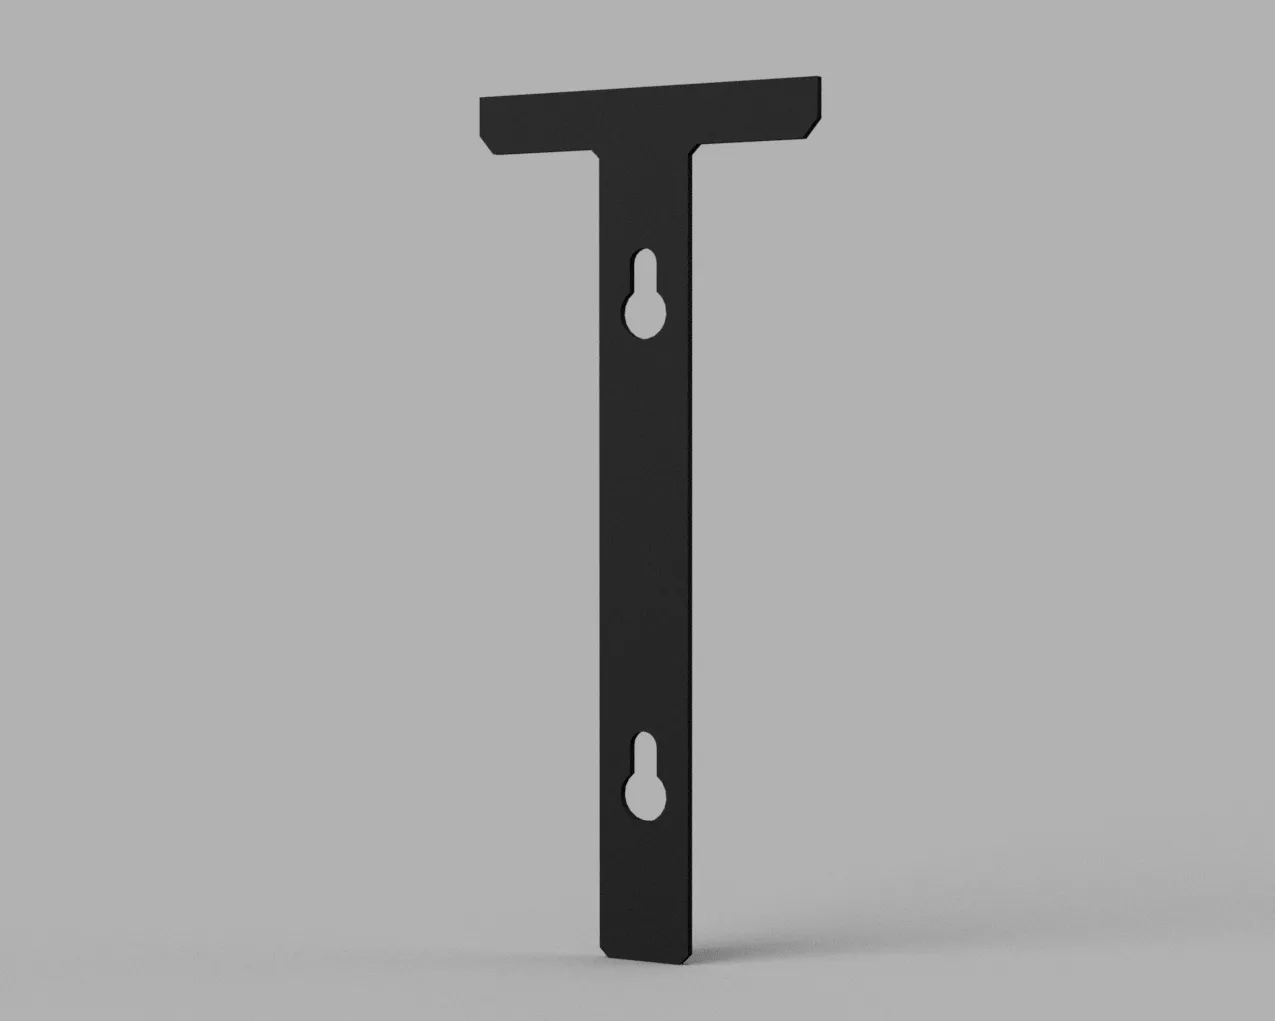 |
Note: You only have to print either Option 1 or Option 2. They are separated by Print Profiles.
Assembly:
- Print the Shelf and Top

- Insert all M3 Ruthex inserts with a soldering iron
- Place the Top Holder on the Shelf
- Screw the M3x8 screws in the top holder and into the Shelf
- Do not screw them to tight or the filament breaks!
- Use the Screw Template to measure at the wall the distance for the holes and drill holes in the wall
- The optimal distance between the two Shelfs is 360 mm measured from the middle of the drill hole
- Insert Dowles, Screws and fix the shelfs
A little hint for beginners who often ask how to insert “Ruthex inserts” into the printed object:
Changelog:
- 07/04/2024 - Initial Release with 2 versions
- 18/06/2024 - Update to the latest AMS of BambuLab (backward compatibility is kept)
I hope you find this model useful!
Like this 3D model?
☕ Show your appreciation by buying me a coffee!
👍 Share your creation and leave a comment below with any feedback or suggestions!
This remix is based on


License



Comment & Rating (38)