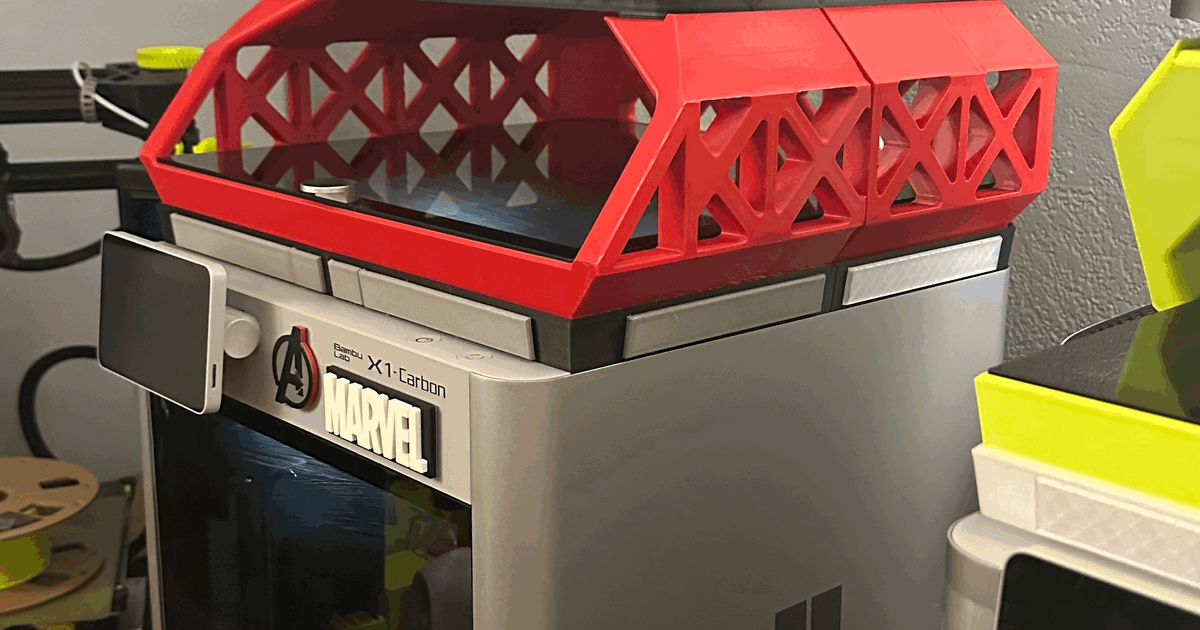
Minimalist AMS Riser for X1C and P1P
Minimalist AMS Riser for X1C and P1P


Print Profile(1)

Description
I wanted to print the riser from “original model” but when I saw the amount of needed filament and time to print I decided I'll crate something myself.
If you've printed already another design, please don;t waste filament and time for this print, just print some available inserts for glass uplift.
The pros of my design:
- On my setting it print in 16h and requires about 540 g of filament
- All parts can be printed in just 2 shots
- Does not need a very good layer adhesion, because it's designed to spread most of the forces along layers
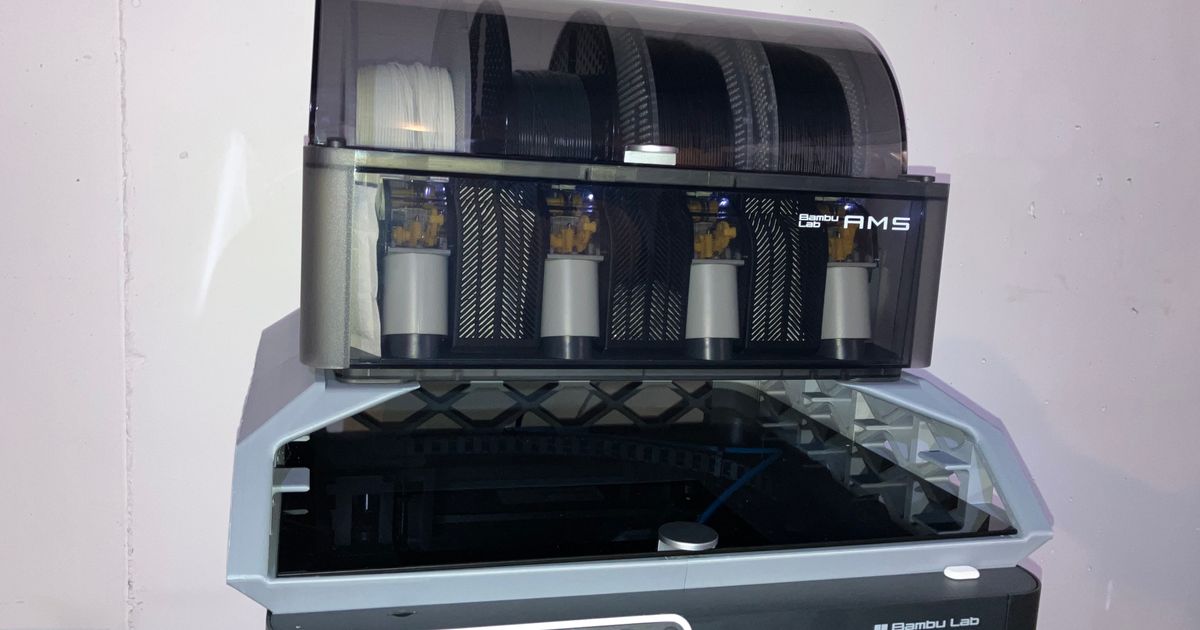
- Has 2 heights for glass and enables you to lay it diagonally (even the “strait” is a bit lower at the back to make it harder to fall out)
- Requires no supports to print (but you might want some for better overhangs)
- Can be printed with banana bed (like mine) and everything should fit perfectly
Cons:
- It's lower… I had to shorten it to make it fit with 2 parts at the time on the bed
- There are a lot of compromises in the aesthetics to make it light and fit the bed
- The back part has some overhangs issues I won't fix, because I can fix it using Orca Slicer and its option “Make overhang printable” (use with care as it changes shape of the part - the proper setting are in my .3mf file, but it might not work in other slicers)
- I'm to lazy to upload files that are a simple mirror of another parts, so keep it in mind
- I didn't try to install LED there, so it might not fit, but good luck!
- More parts (1 more?)
Print setup:
First of all you need a good glue to keep it from falling (I'm using cheap glue stick for paper - it's even a bit to strong)
I've printed the prototype with the cheapest PLA I could find, a lot to fast and with 2 walls and 15% adaptive cubic and a single back part was able to withstand my whole weight (about 75kg), even a bit of jumping. However the target print is in PCTG (to not care of temperature, however PETG would be good enough) with 3 walls and 4 top layers - just for more aesthetic finish.
There is a version with a hole in the back, I've seen it on other creation and I have no idea what it is for… Probably for LED wire. So I've created both versions (you can use “replace with STL” option to change it in my .3mf file)
The circles on top are for a planned accessory that might or might not ever came to real.


This remix is based on