
Birdbuddy Just-A-Cam
Print Profile(1)
Description
Recently, we moved on from the Birdbuddy ecosystem. No shade on them, just that a squirrel had his way with our main feeder and pretty much destroyed it. So, we moved on to another brand, which included a feeder made out of metal and included a 4K cam (vs the Birdbuddy 2K - no slouch, looks great, but 4K? Yes please).
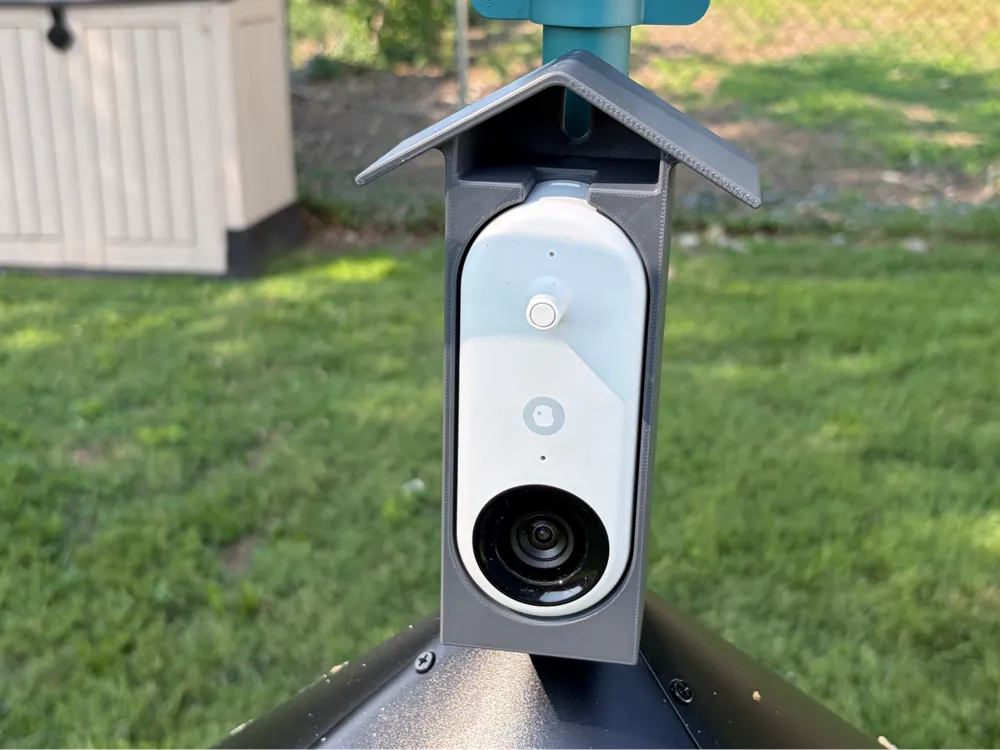
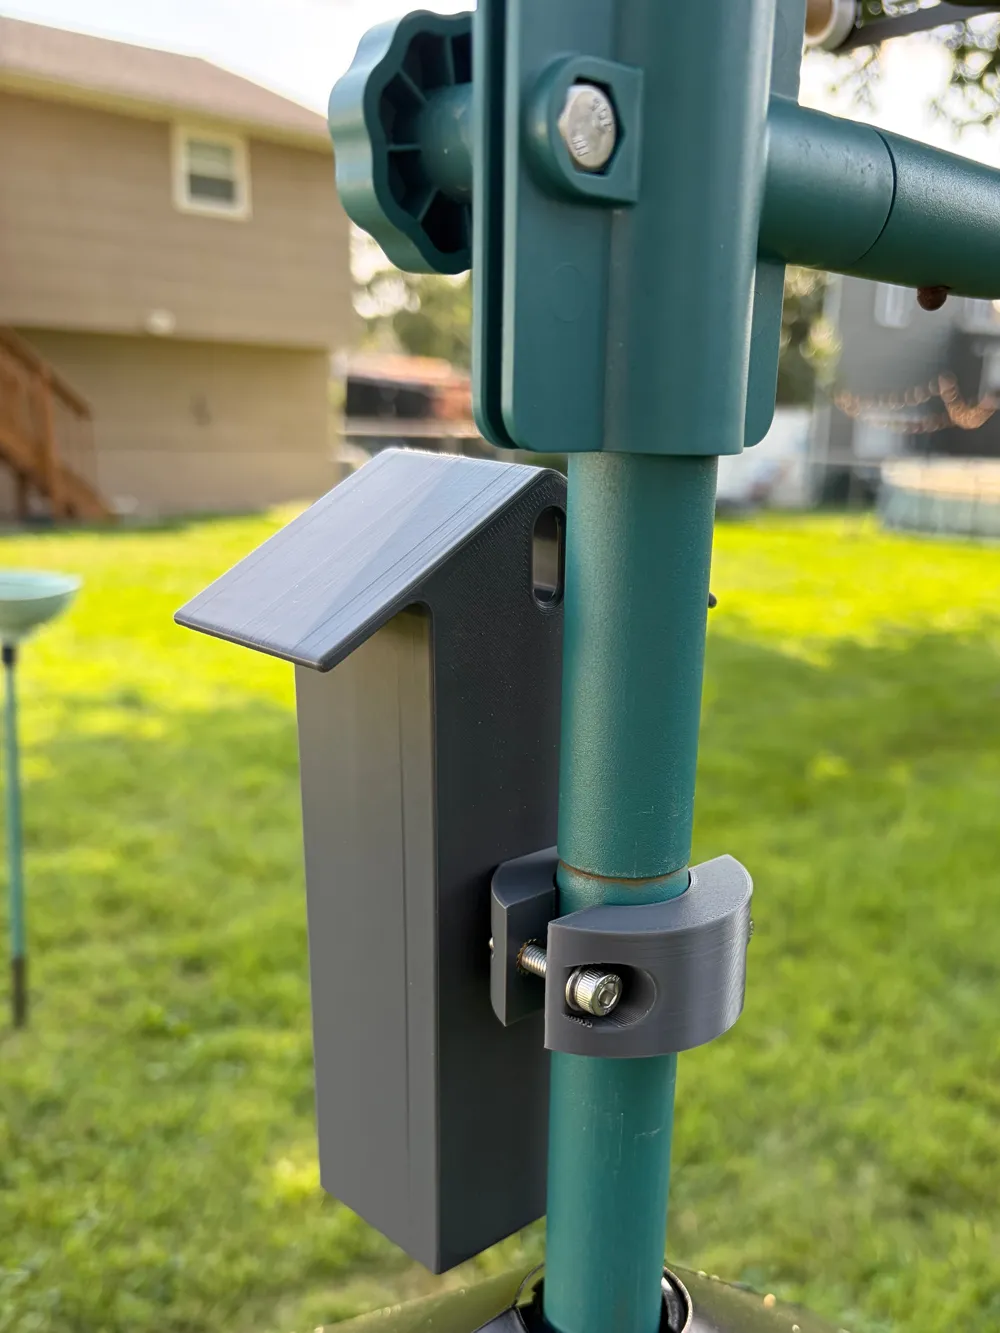
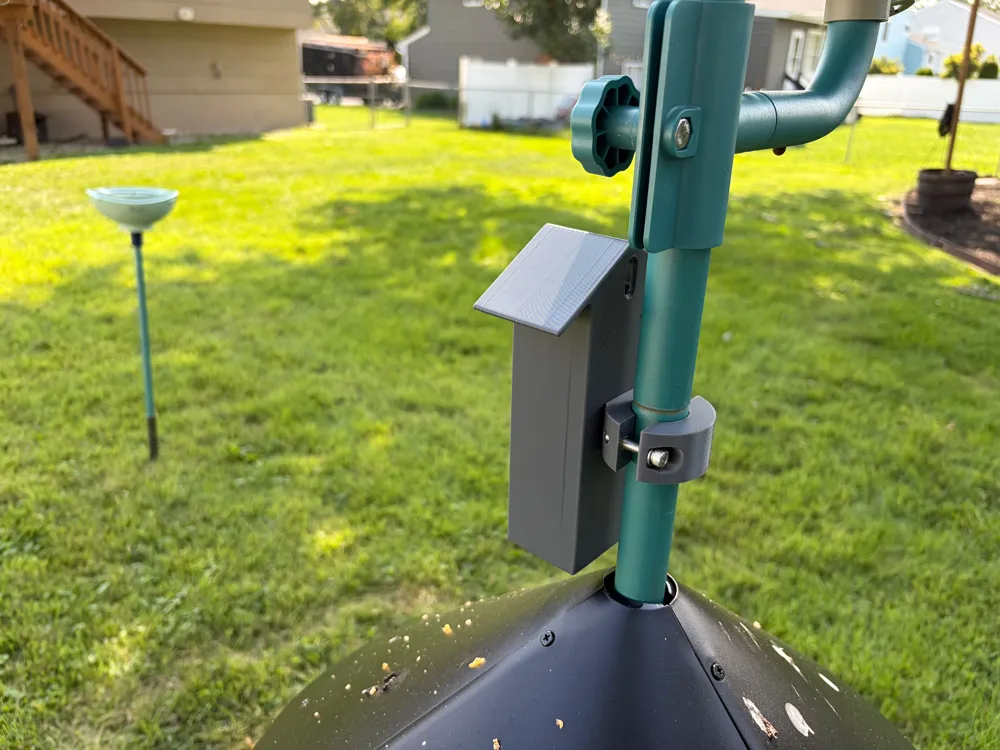
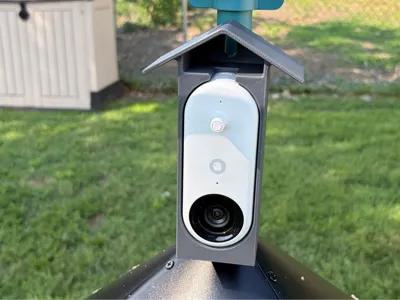
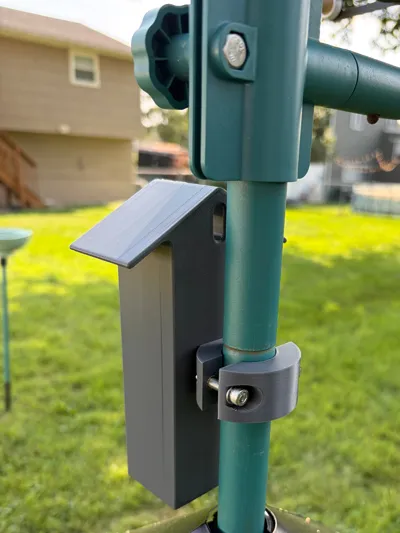
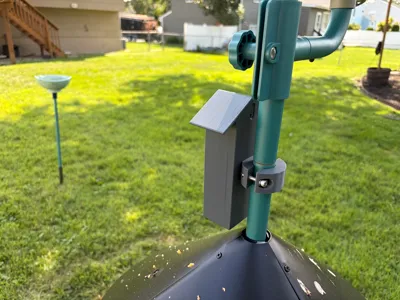
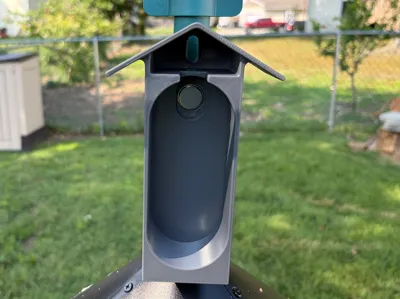
So, I wanted to figure out a use for the cams, and this happened. I scavenged the magnets from the old feeders (that's how the cam knows it's in the housing), and “Just-A-Cam” was born. It's got multiple ways to mount, including a collar for pole-mounting, as well as 2 different ¼-20 attach points (that's the standard for tripods, if you didn't know!). Heck, if you just want to hang it on a wall using a nail, there's a slot for that too.
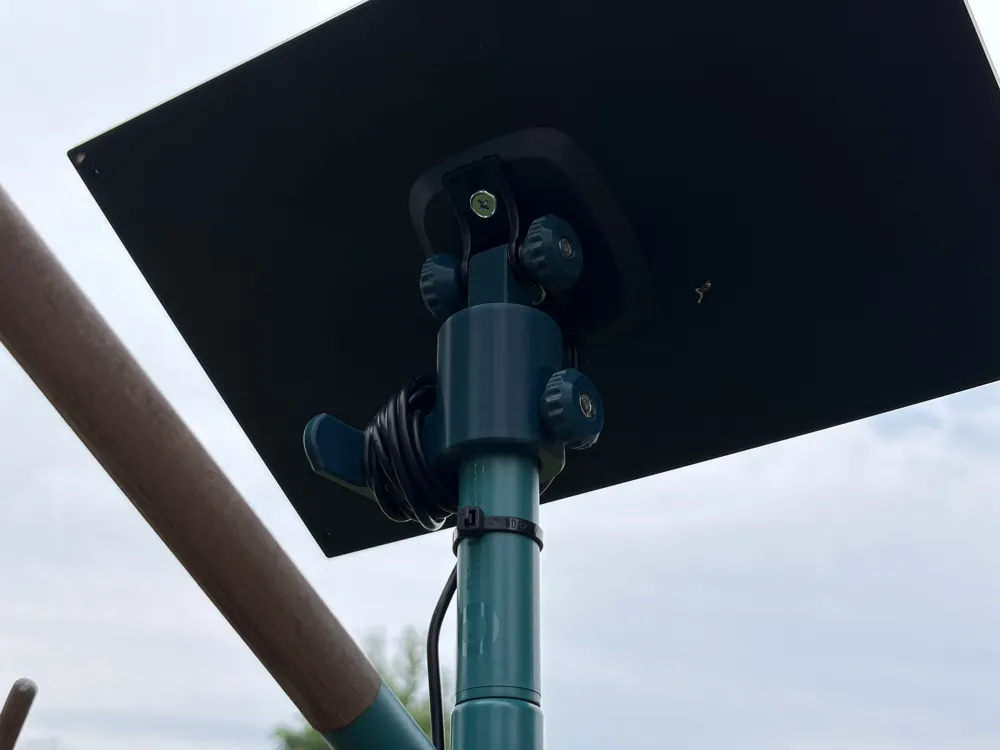
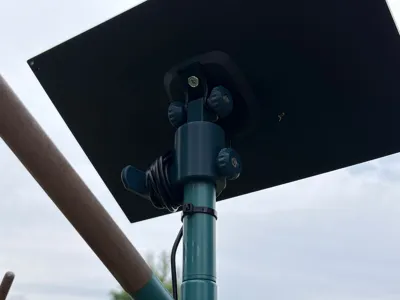
It also supports use of an aftermarket solar panel. I recommend this one. I'm using it for feeders as well as powering security cameras. The profile includes all the printed parts you'll need to pole-mount Just-A-Cam and a solar panel. From that panel kit I just linked, all you use is the panel itself and the bracket. You don't need the arm or anyting else. Check the pics for assembly details. It's incredibly straightforward.
Hardware you're going to need…
- 1/4-20 Heat-Set inserts: https://a.co/d/0aR8Ylkv
- M5 Short Heat-Set inserts: https://a.co/d/05eDp7mj
- 3x M5-20 SHCS Screws: https://a.co/d/0eujqOln
- 2x M5-25 SHCS Screws with washers: https://a.co/d/0eujqOln
- 1/4-20 machine screw (1/2") - I got these at Home Depot
- 1/4 or M6 washer, also from Home Depot
Assembly…
- Install 2x 1/4-20 inserts in the back and bottom of the “House”
- Install 2x M5 inserts in the “narrow” side of the thumbscrew handles and the front part of the mount. Install these in the flat side of the half that has the big hole in the center. Drive 3x M5-20 screws through the thumbscrew handles. The screwhead should recess into the “top” of the handle.
- Install 3x M5 inserts in the solar panel mount. 2 for the top part where the panel bracket connects and 1 on the side for the part that holes the mount to the pole.
- Attach the front half of the pole mount to the “house” using the 1/4-20 screw and washer.
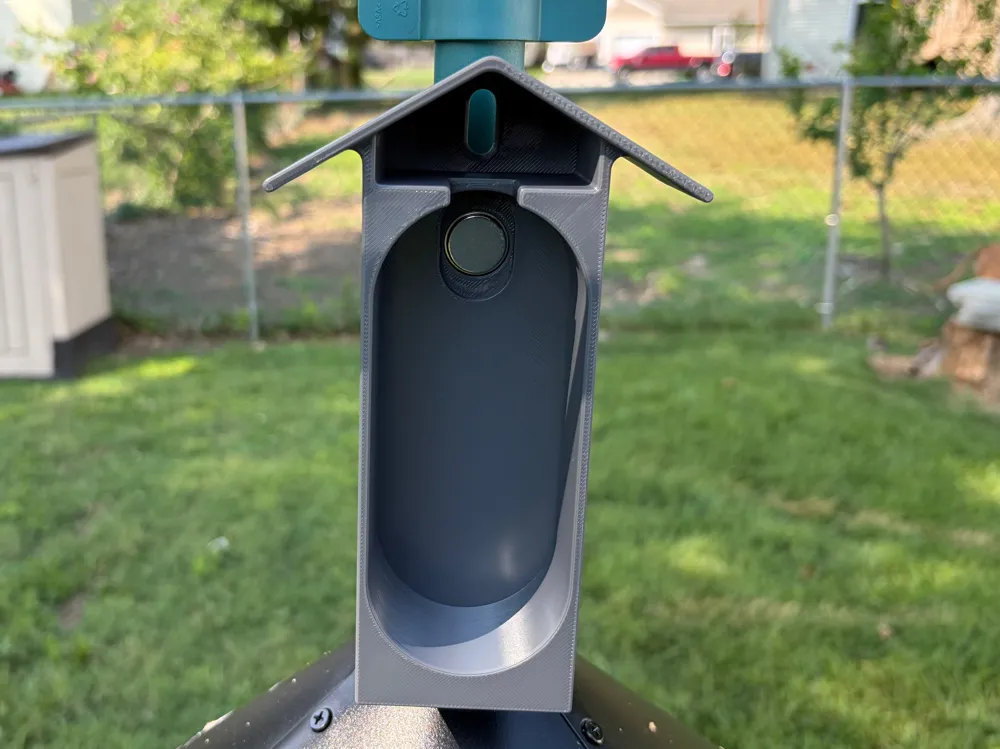
- Install the magnet in the “house”
- Hang the “house” assembly on the pole using the longer M5-25 screws and a washer.
- Hang the solar panel up on top of your pole
- The solar panel's USB-C wire slips through the hole in the back of the “house” and connects to your Birdbuddy cam.
- Slide the cam into position and tidy up your cables. There's a handy winding point on the solar panel mount.
Sample print shown here was done in Polymaker's PETG in Dark Gray.
Boost Me (for free)
Thank you all for your kindness, Likes, Downloads, Makes, and Boosts. Your likes, makes, boosts, and downloads help fund my supply of filaments, parts that gets used in prints, as well as consumables and various spare parts. Thank you so much for your support!
Membership
If you'd care to offer some additional support, please consider becoming a member at the Tip Jar (or higher) level. Thank you! If you’re interested in a commercial license to sell my prints, please have a look at the commercial plan offered here.
License

You may create derivative works based on this object, provided that all such derivative works are published exclusively on the MakerWorld platform and include proper attribution to the original creator. You may not share, upload, host, distribute, or publish this object—or any derivative work of this object—on any other digital platform, marketplace, or distribution channel. Commercial use of this object and any derivative works is strictly prohibited. This includes, but is not limited to, selling, renting, sublicensing, or using the object in any context in which you receive monetary compensation or other financial benefits.


Comment & Rating (0)