
Print Profile(2)
Description
Boost Me (for free)
Thanks for your support!
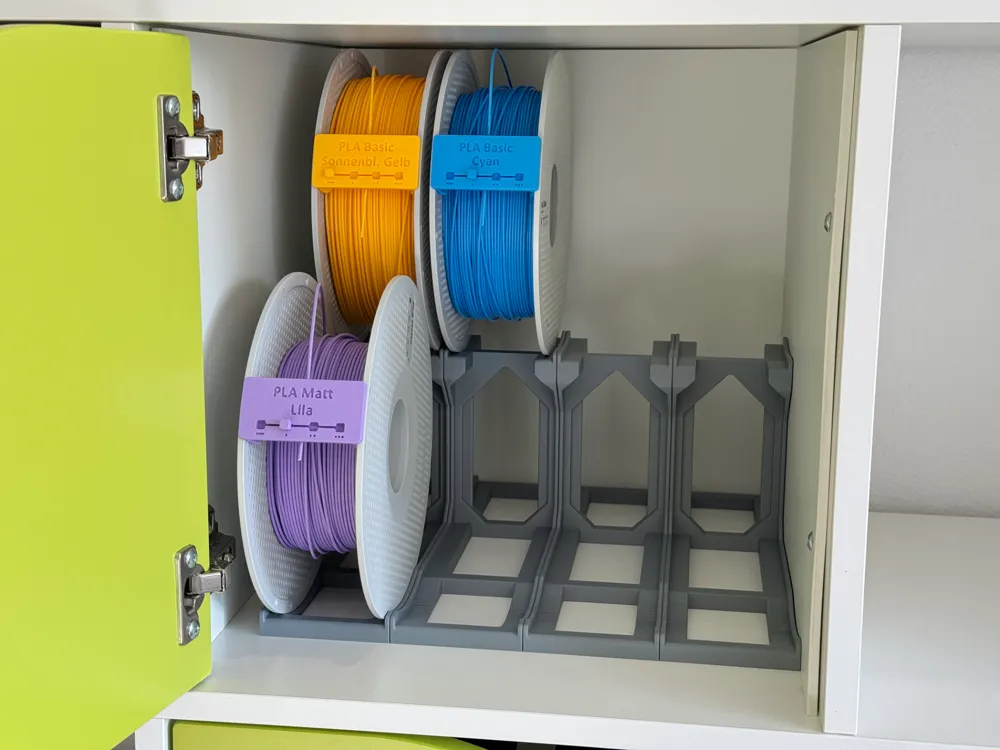
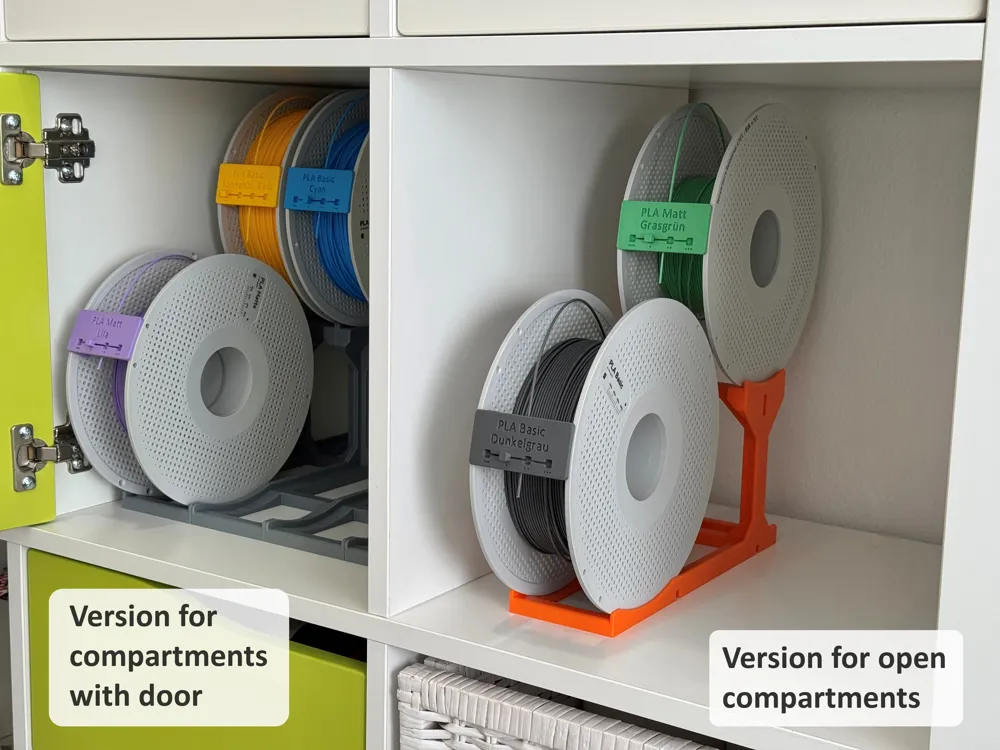
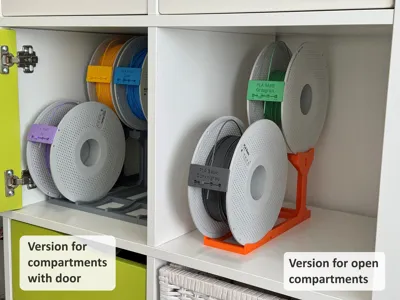
Organize your filament collection with this fully 3D printable modular spool holder designed specifically for the IKEA KALLAX shelving system.
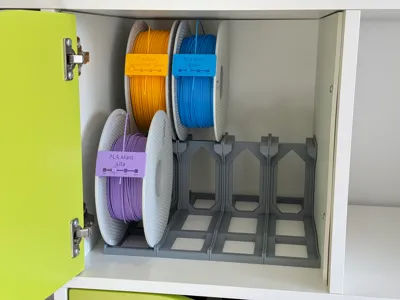
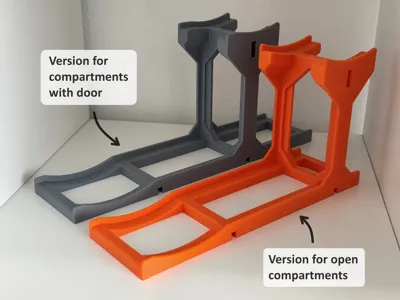
Unlike most existing designs, this version is designed for KALLAX shelves with doors, allowing you to efficiently store filament even in enclosed compartments. An alternative version for open KALLAX shelves is also included.
Features
- Designed for IKEA KALLAX compartments with doors
- Alternative version available for open KALLAX compartments
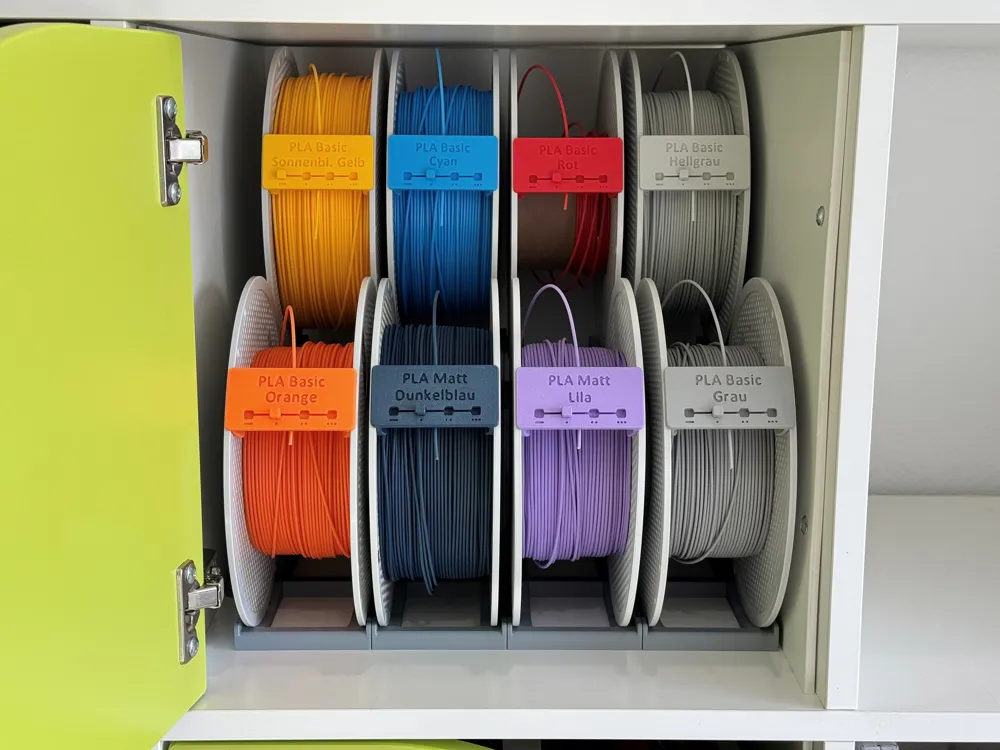
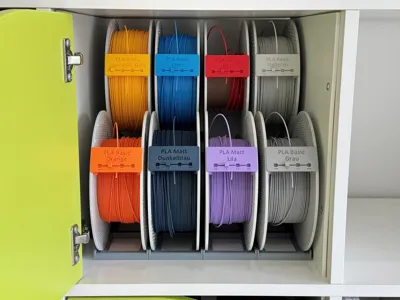
- Holds up to 8 standard 1 kg filament spools per compartment
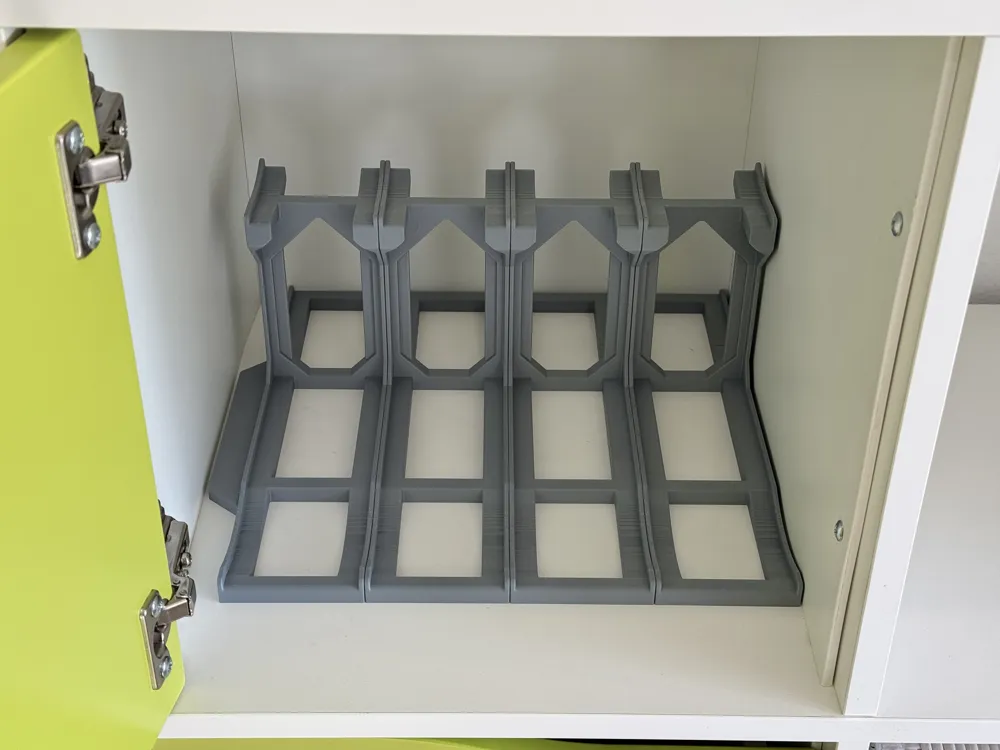
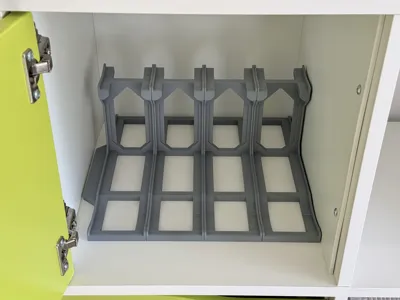
- Modular design – expand or reduce the number of spool positions as needed
- Each module is connected using three small printed locking clips, creating a rigid and stable structure
- 100% 3D printable – no wooden dowels, metal rods, screws, or additional hardware required
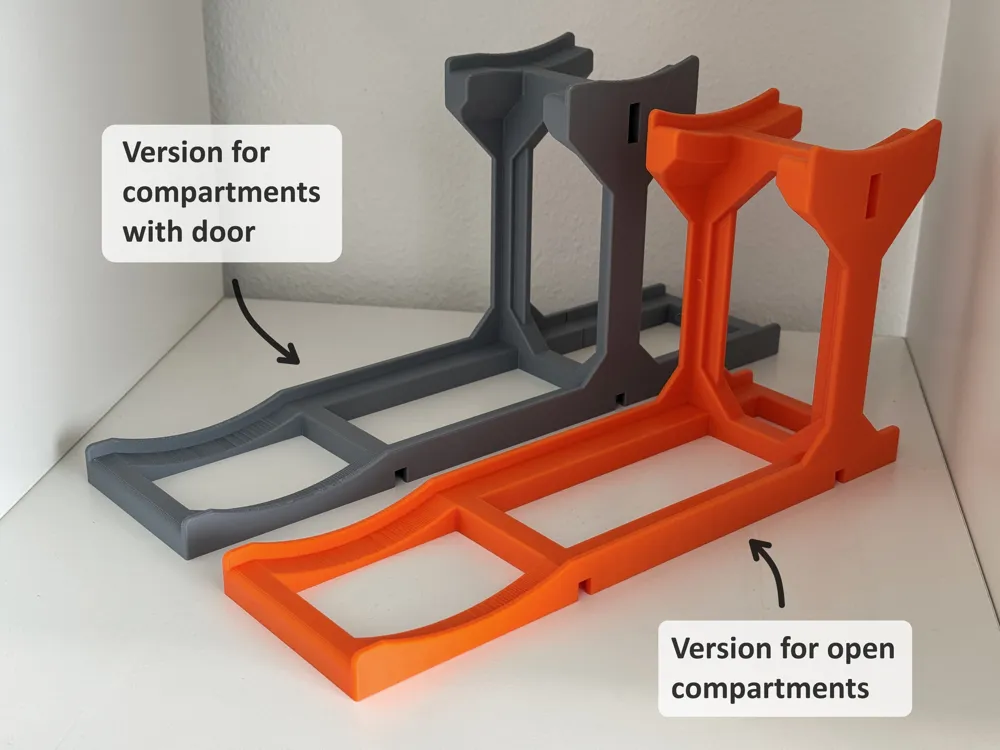
Versions
Compartment with door:
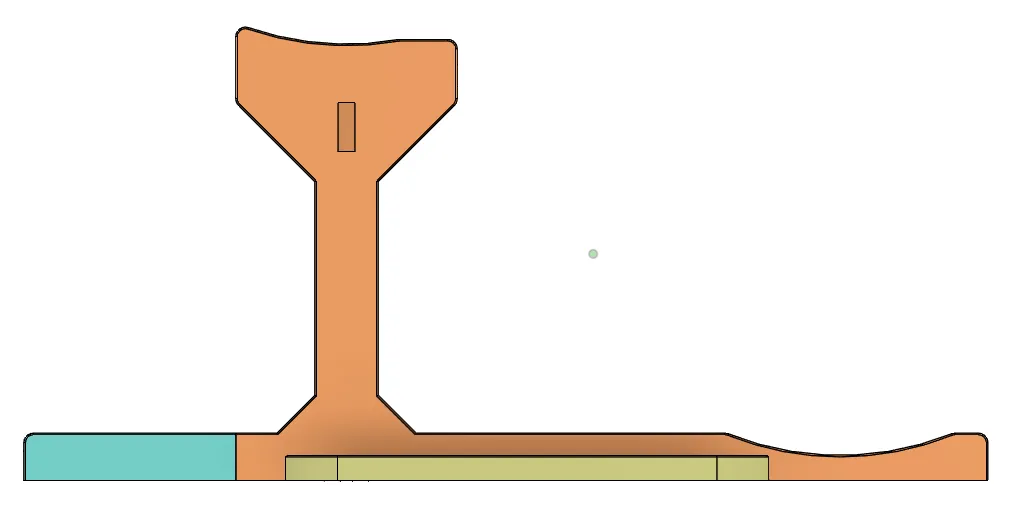
With an additional attachment piece that serves as a stop for the back panel.
I recommend gluing on the attachment piece to make assembly easier.
Open compartment:
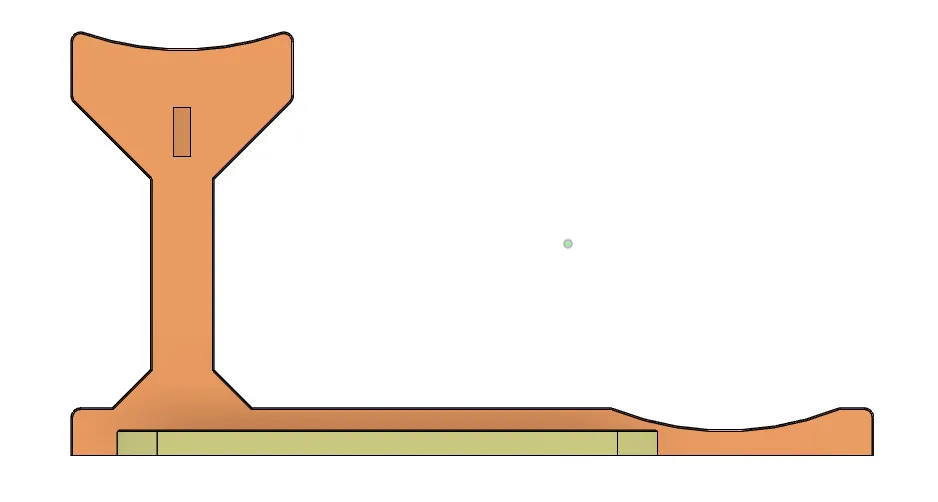
Without additional attachment and a slightly adjusted contour, since there is more space without the door.
Assembly
Overview compartment with door:
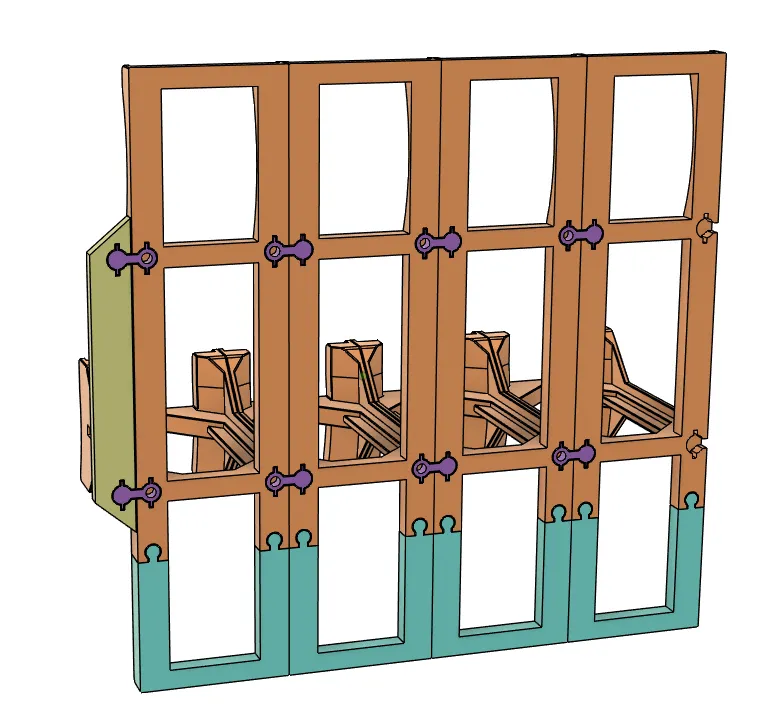
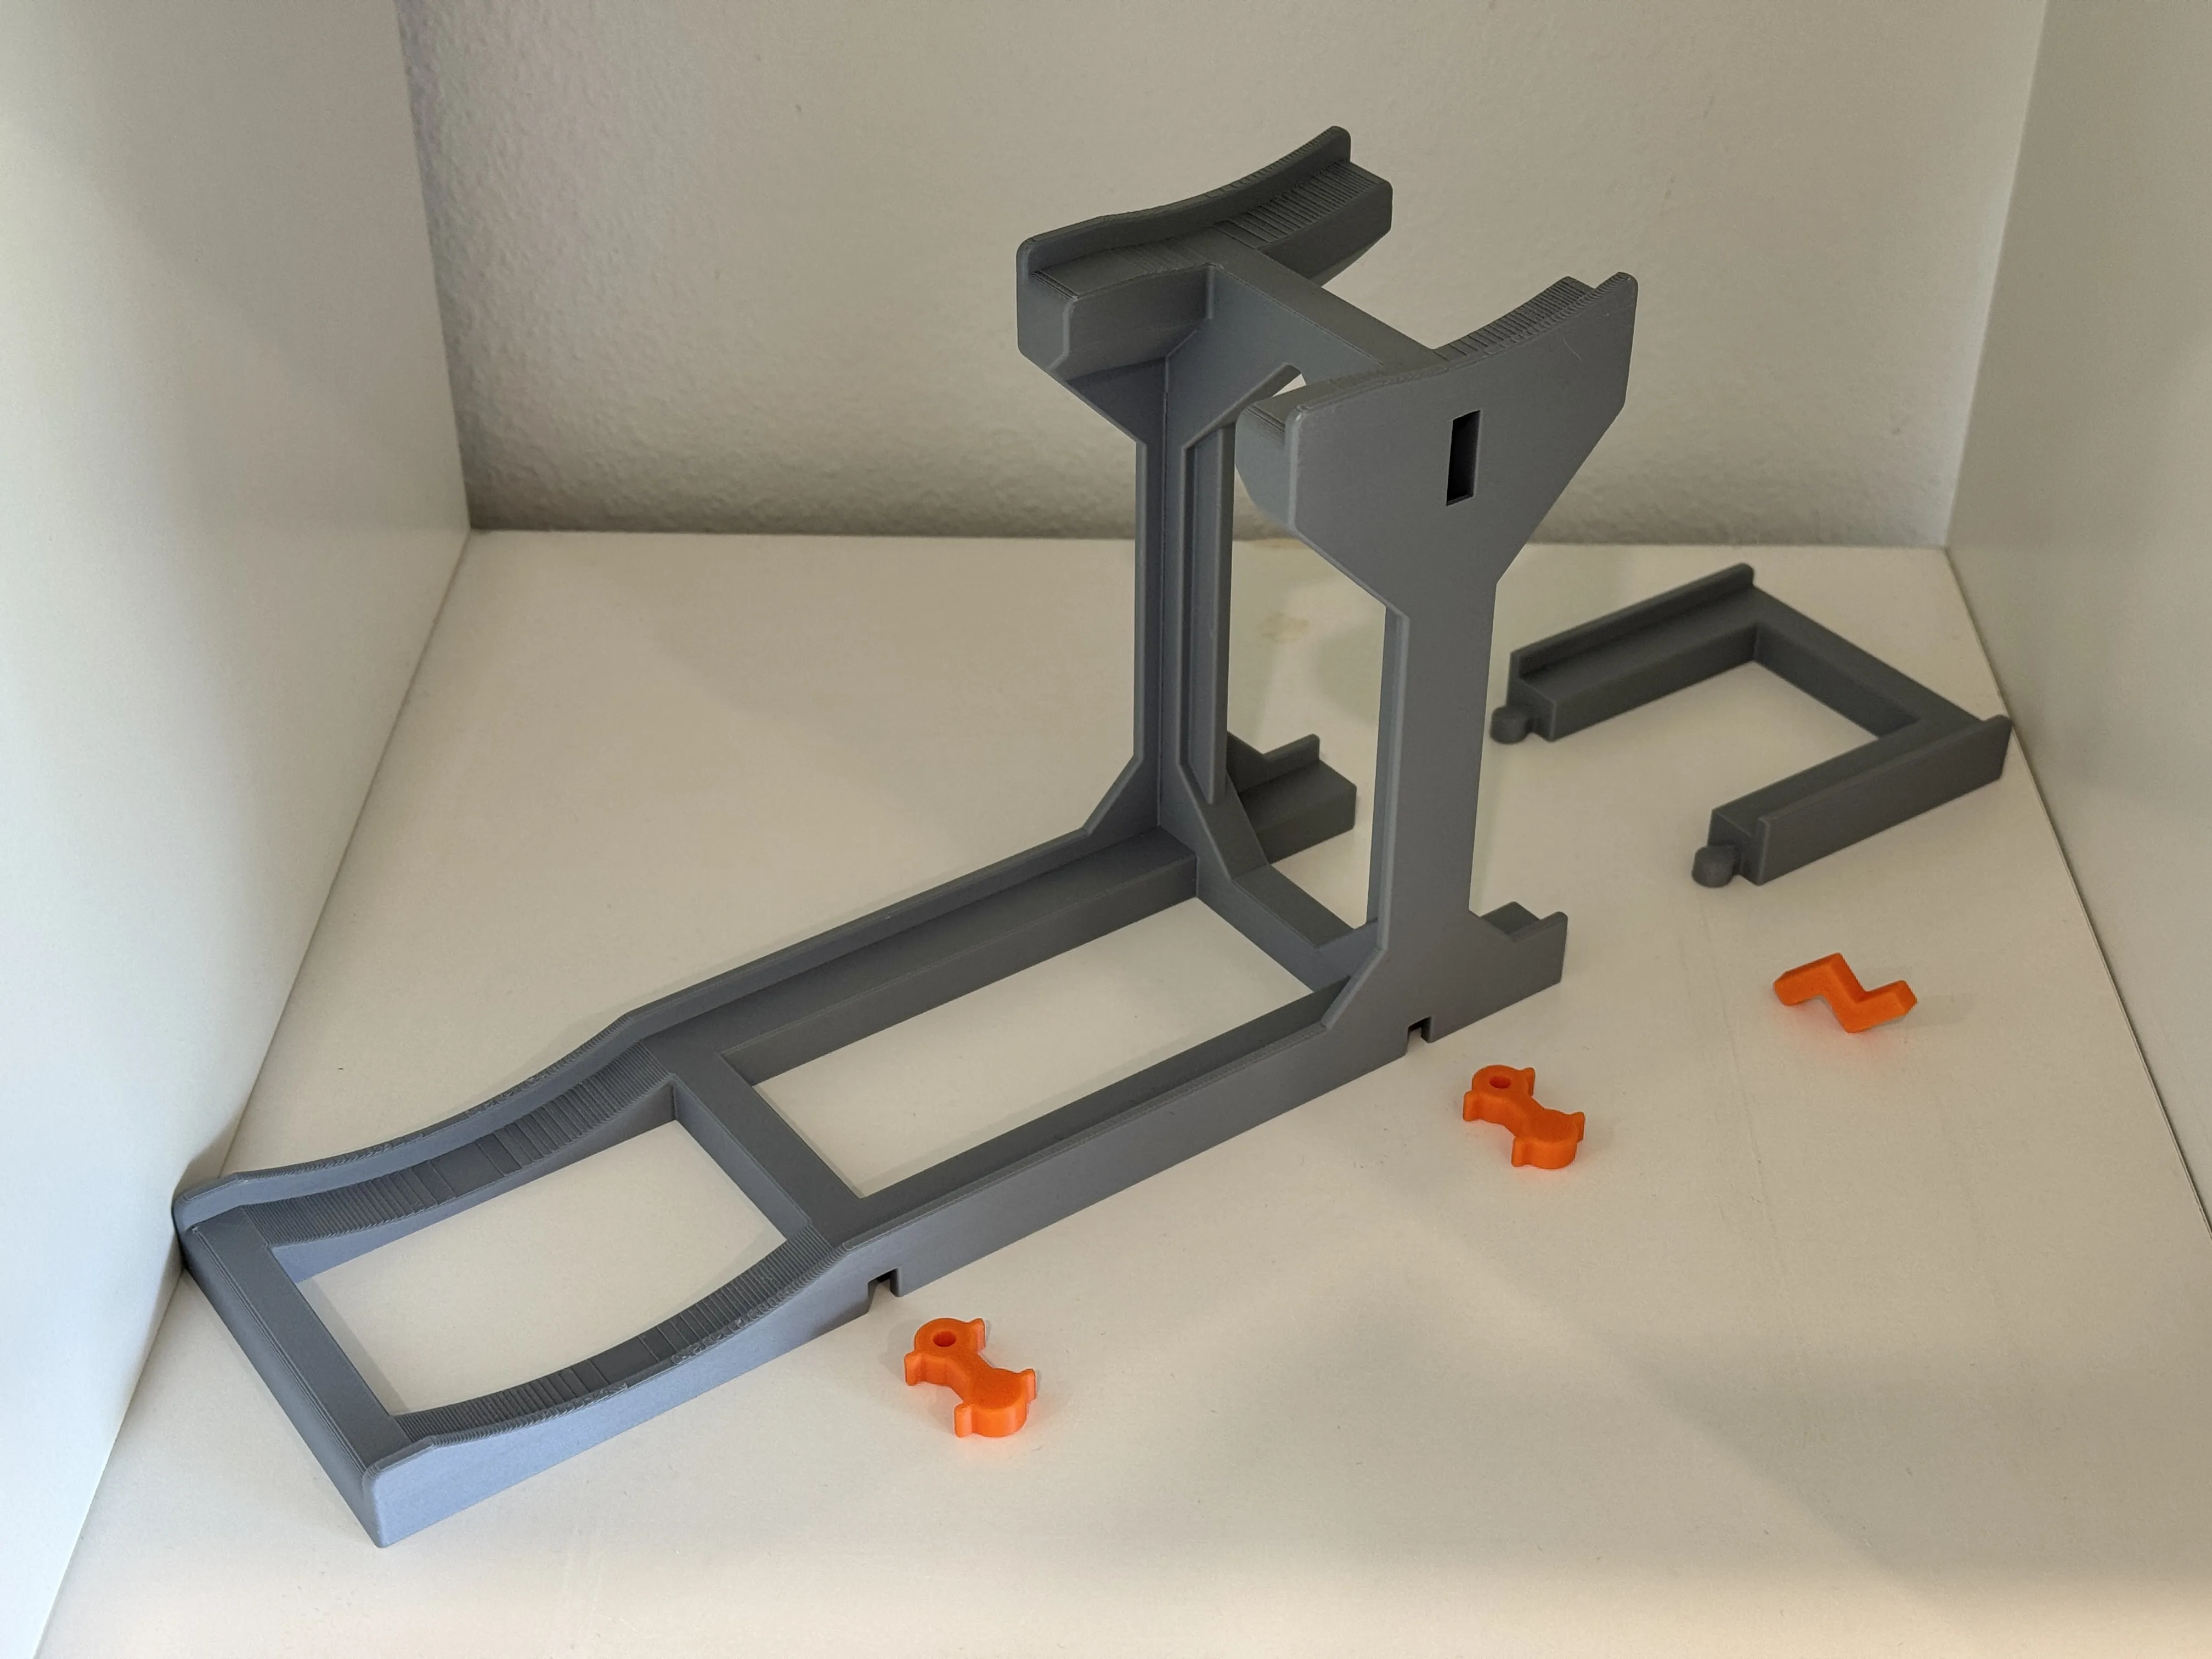
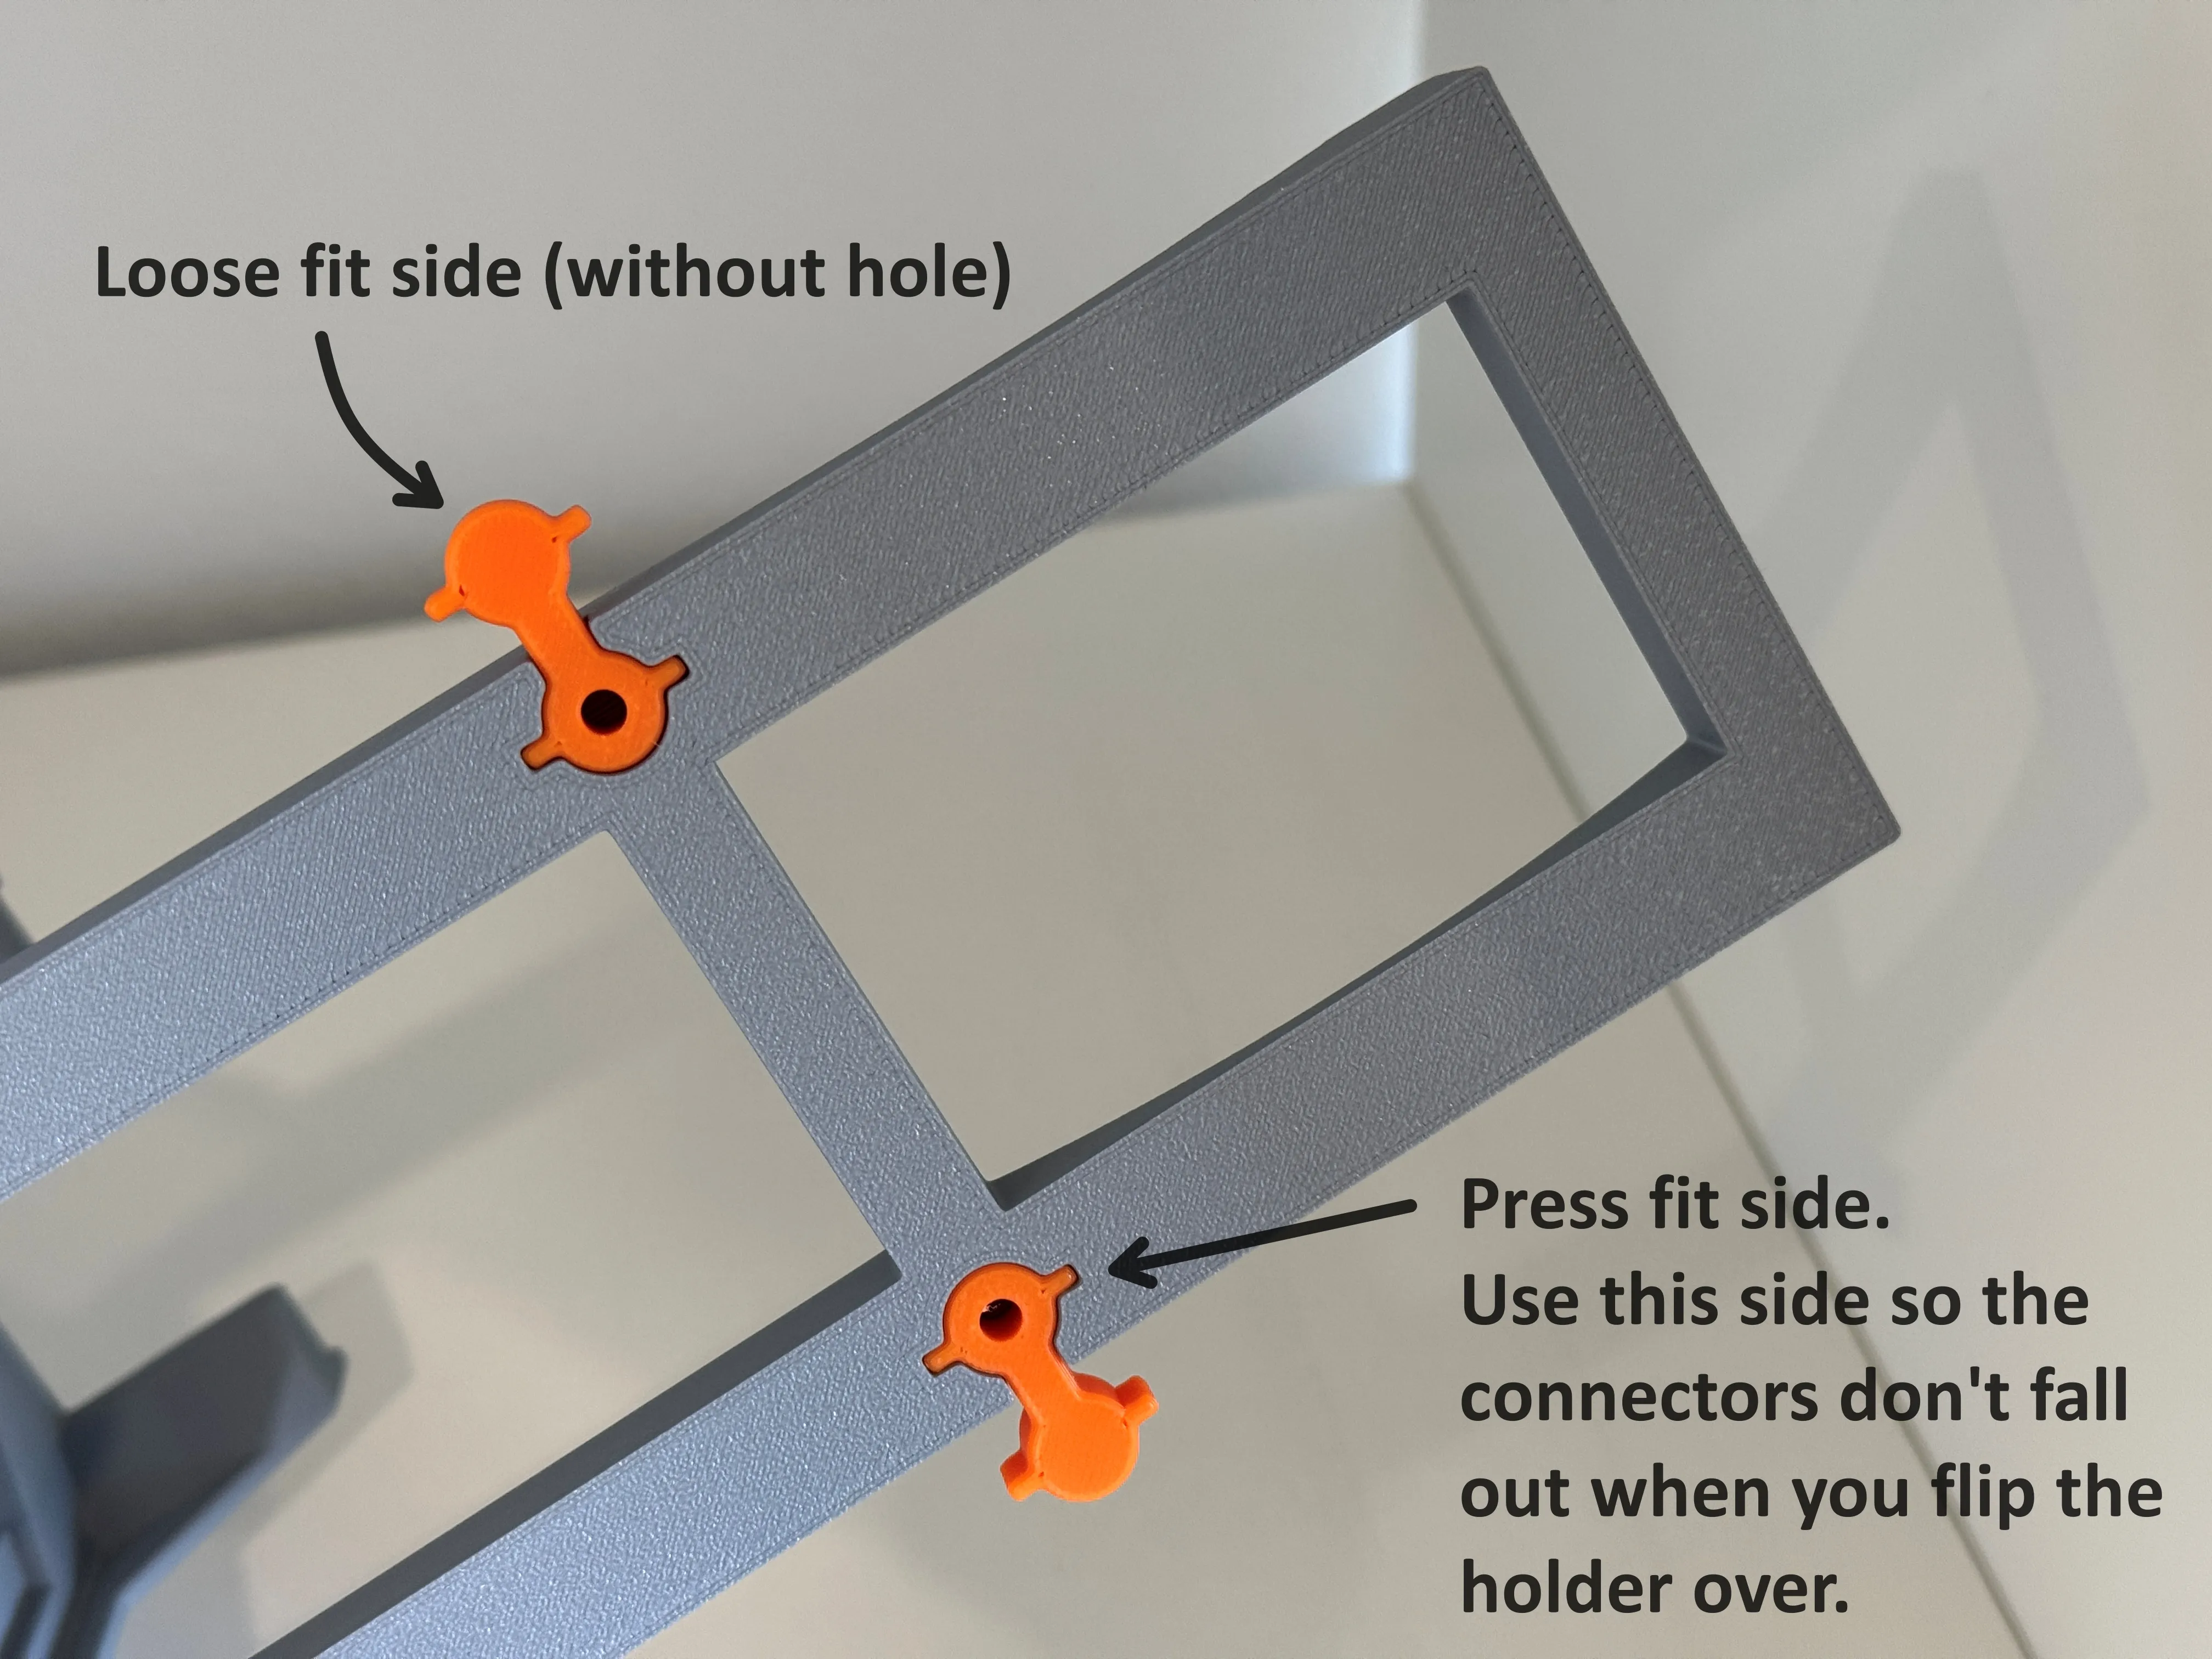
Step 1: Add the 4 bottom conncector pieces. The side with hole is the press fit side. Also add the top connector piece:
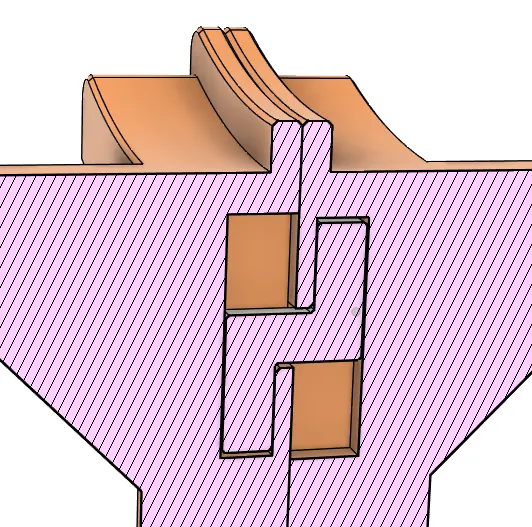
Top Connector piece cut view:
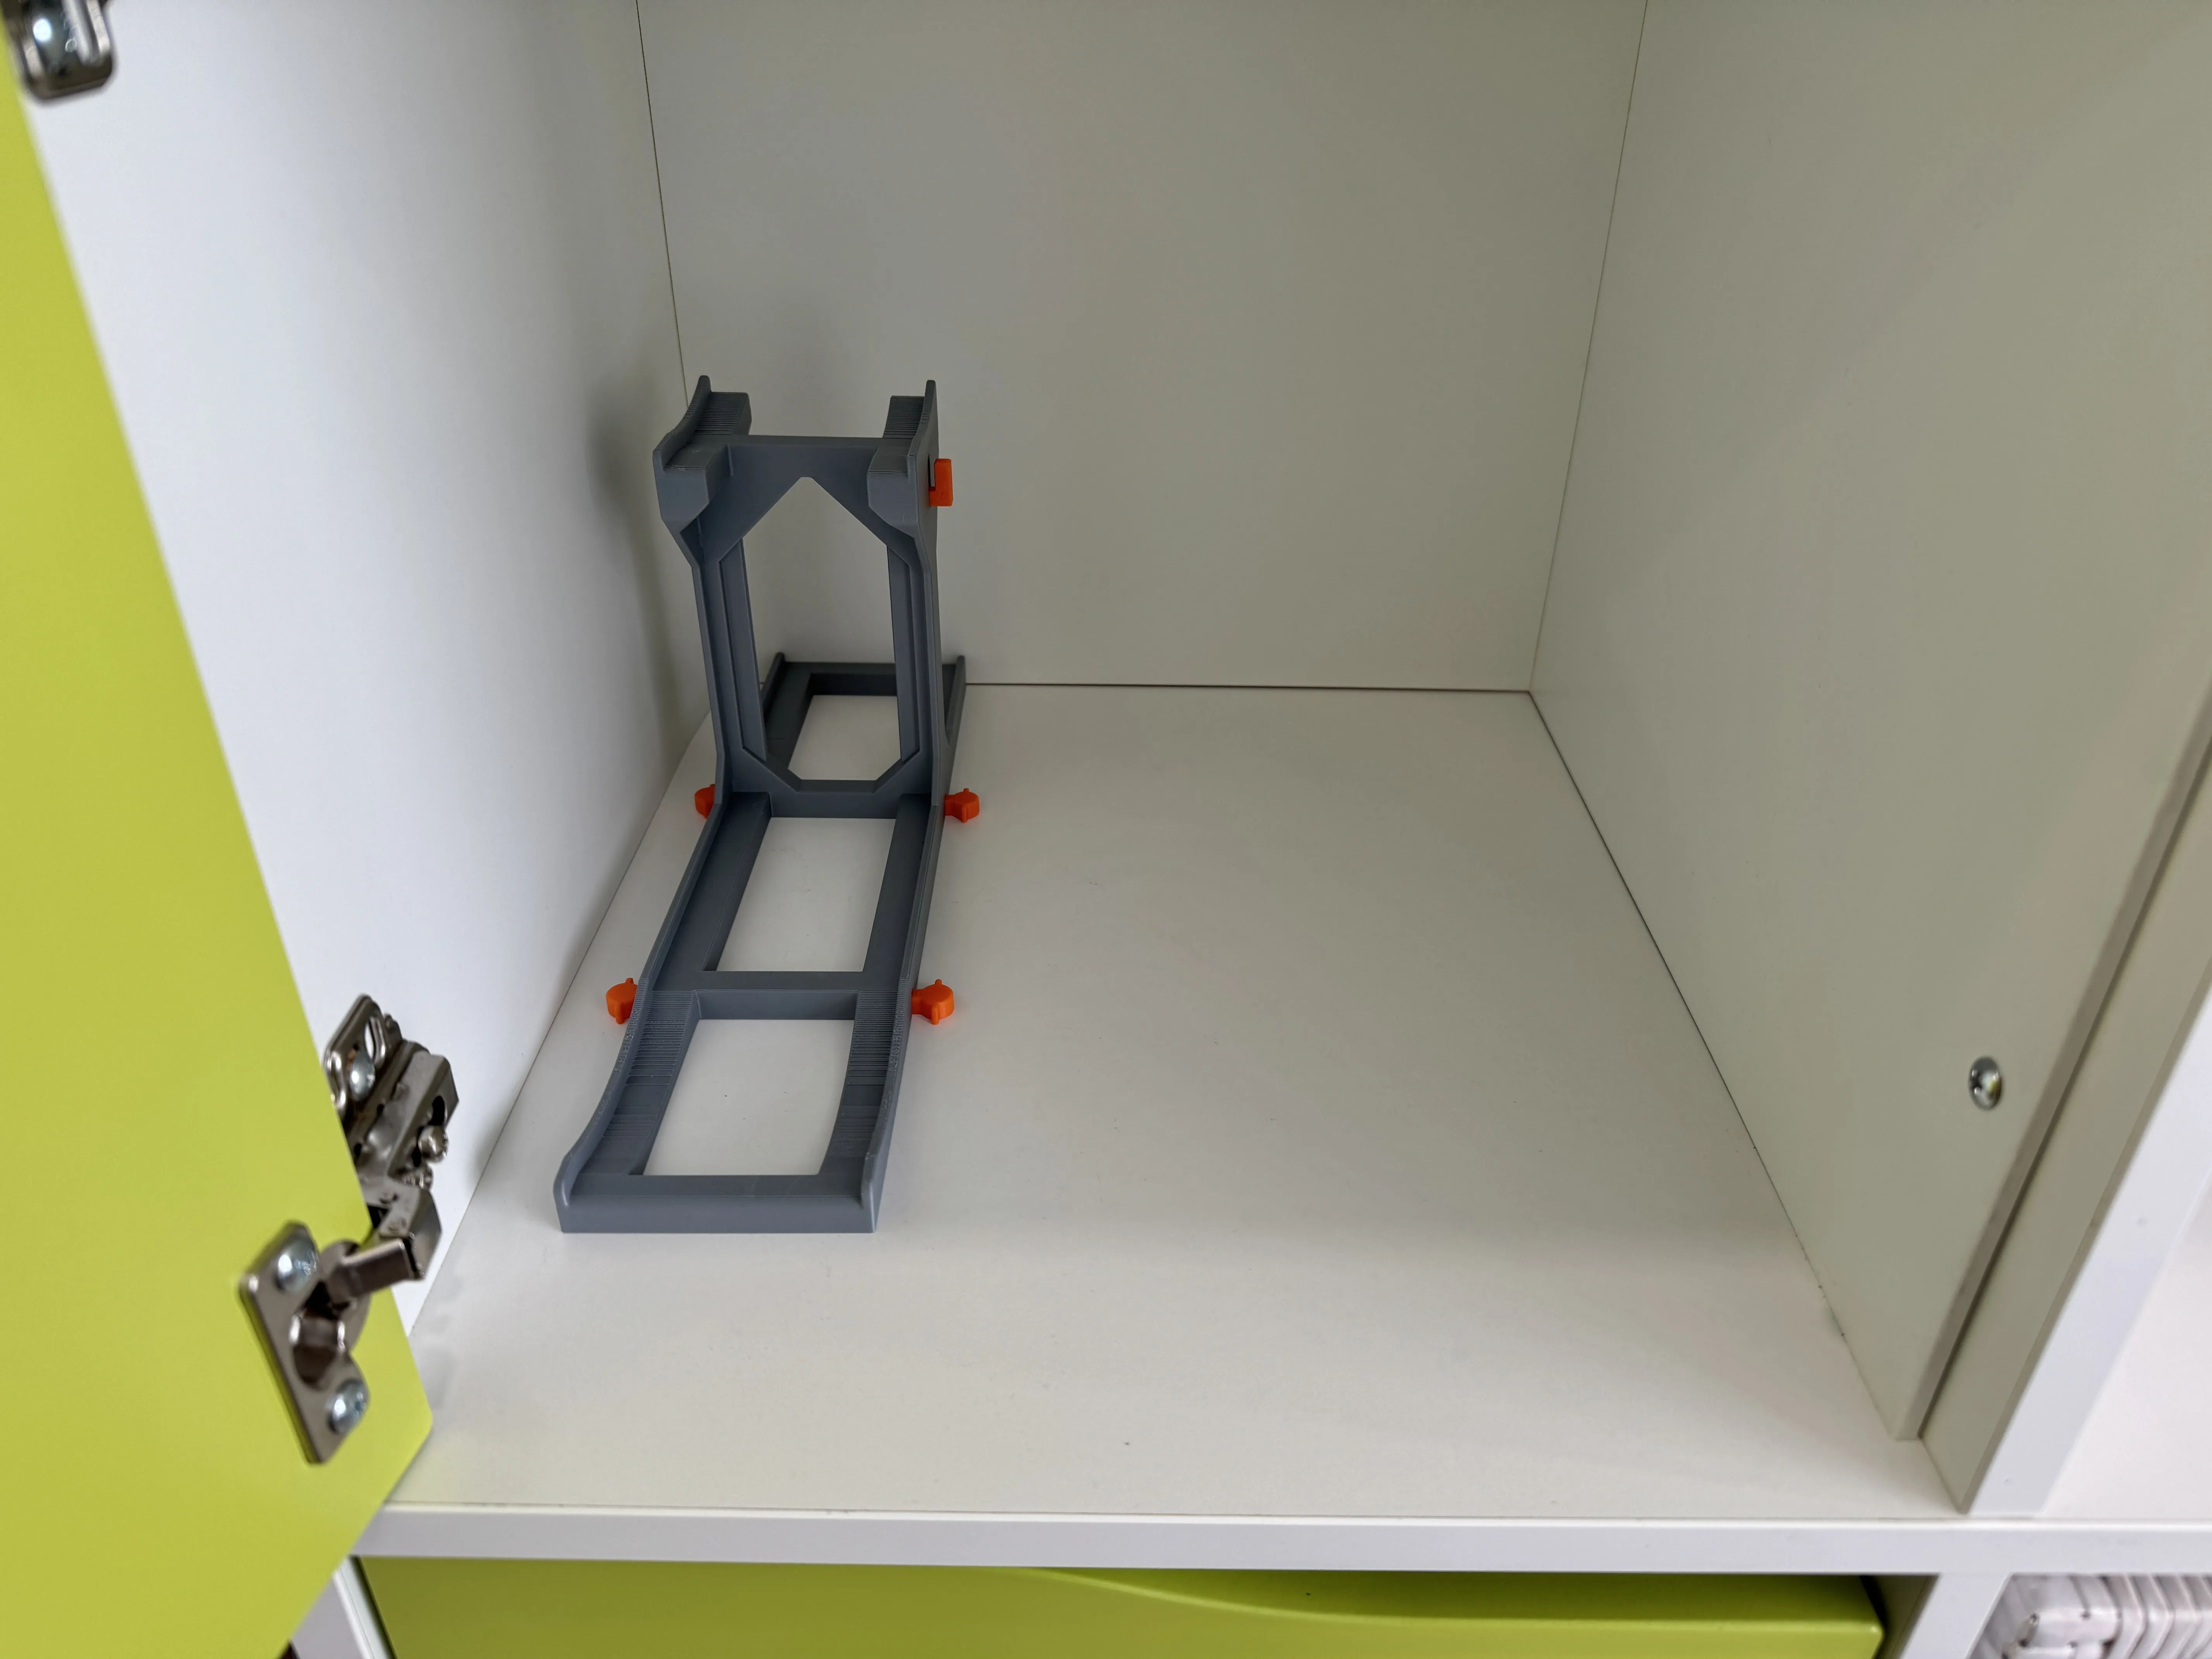
Step 2: Add the next two bottom connectors to the second bracket and clip the second bracket onto the first one.
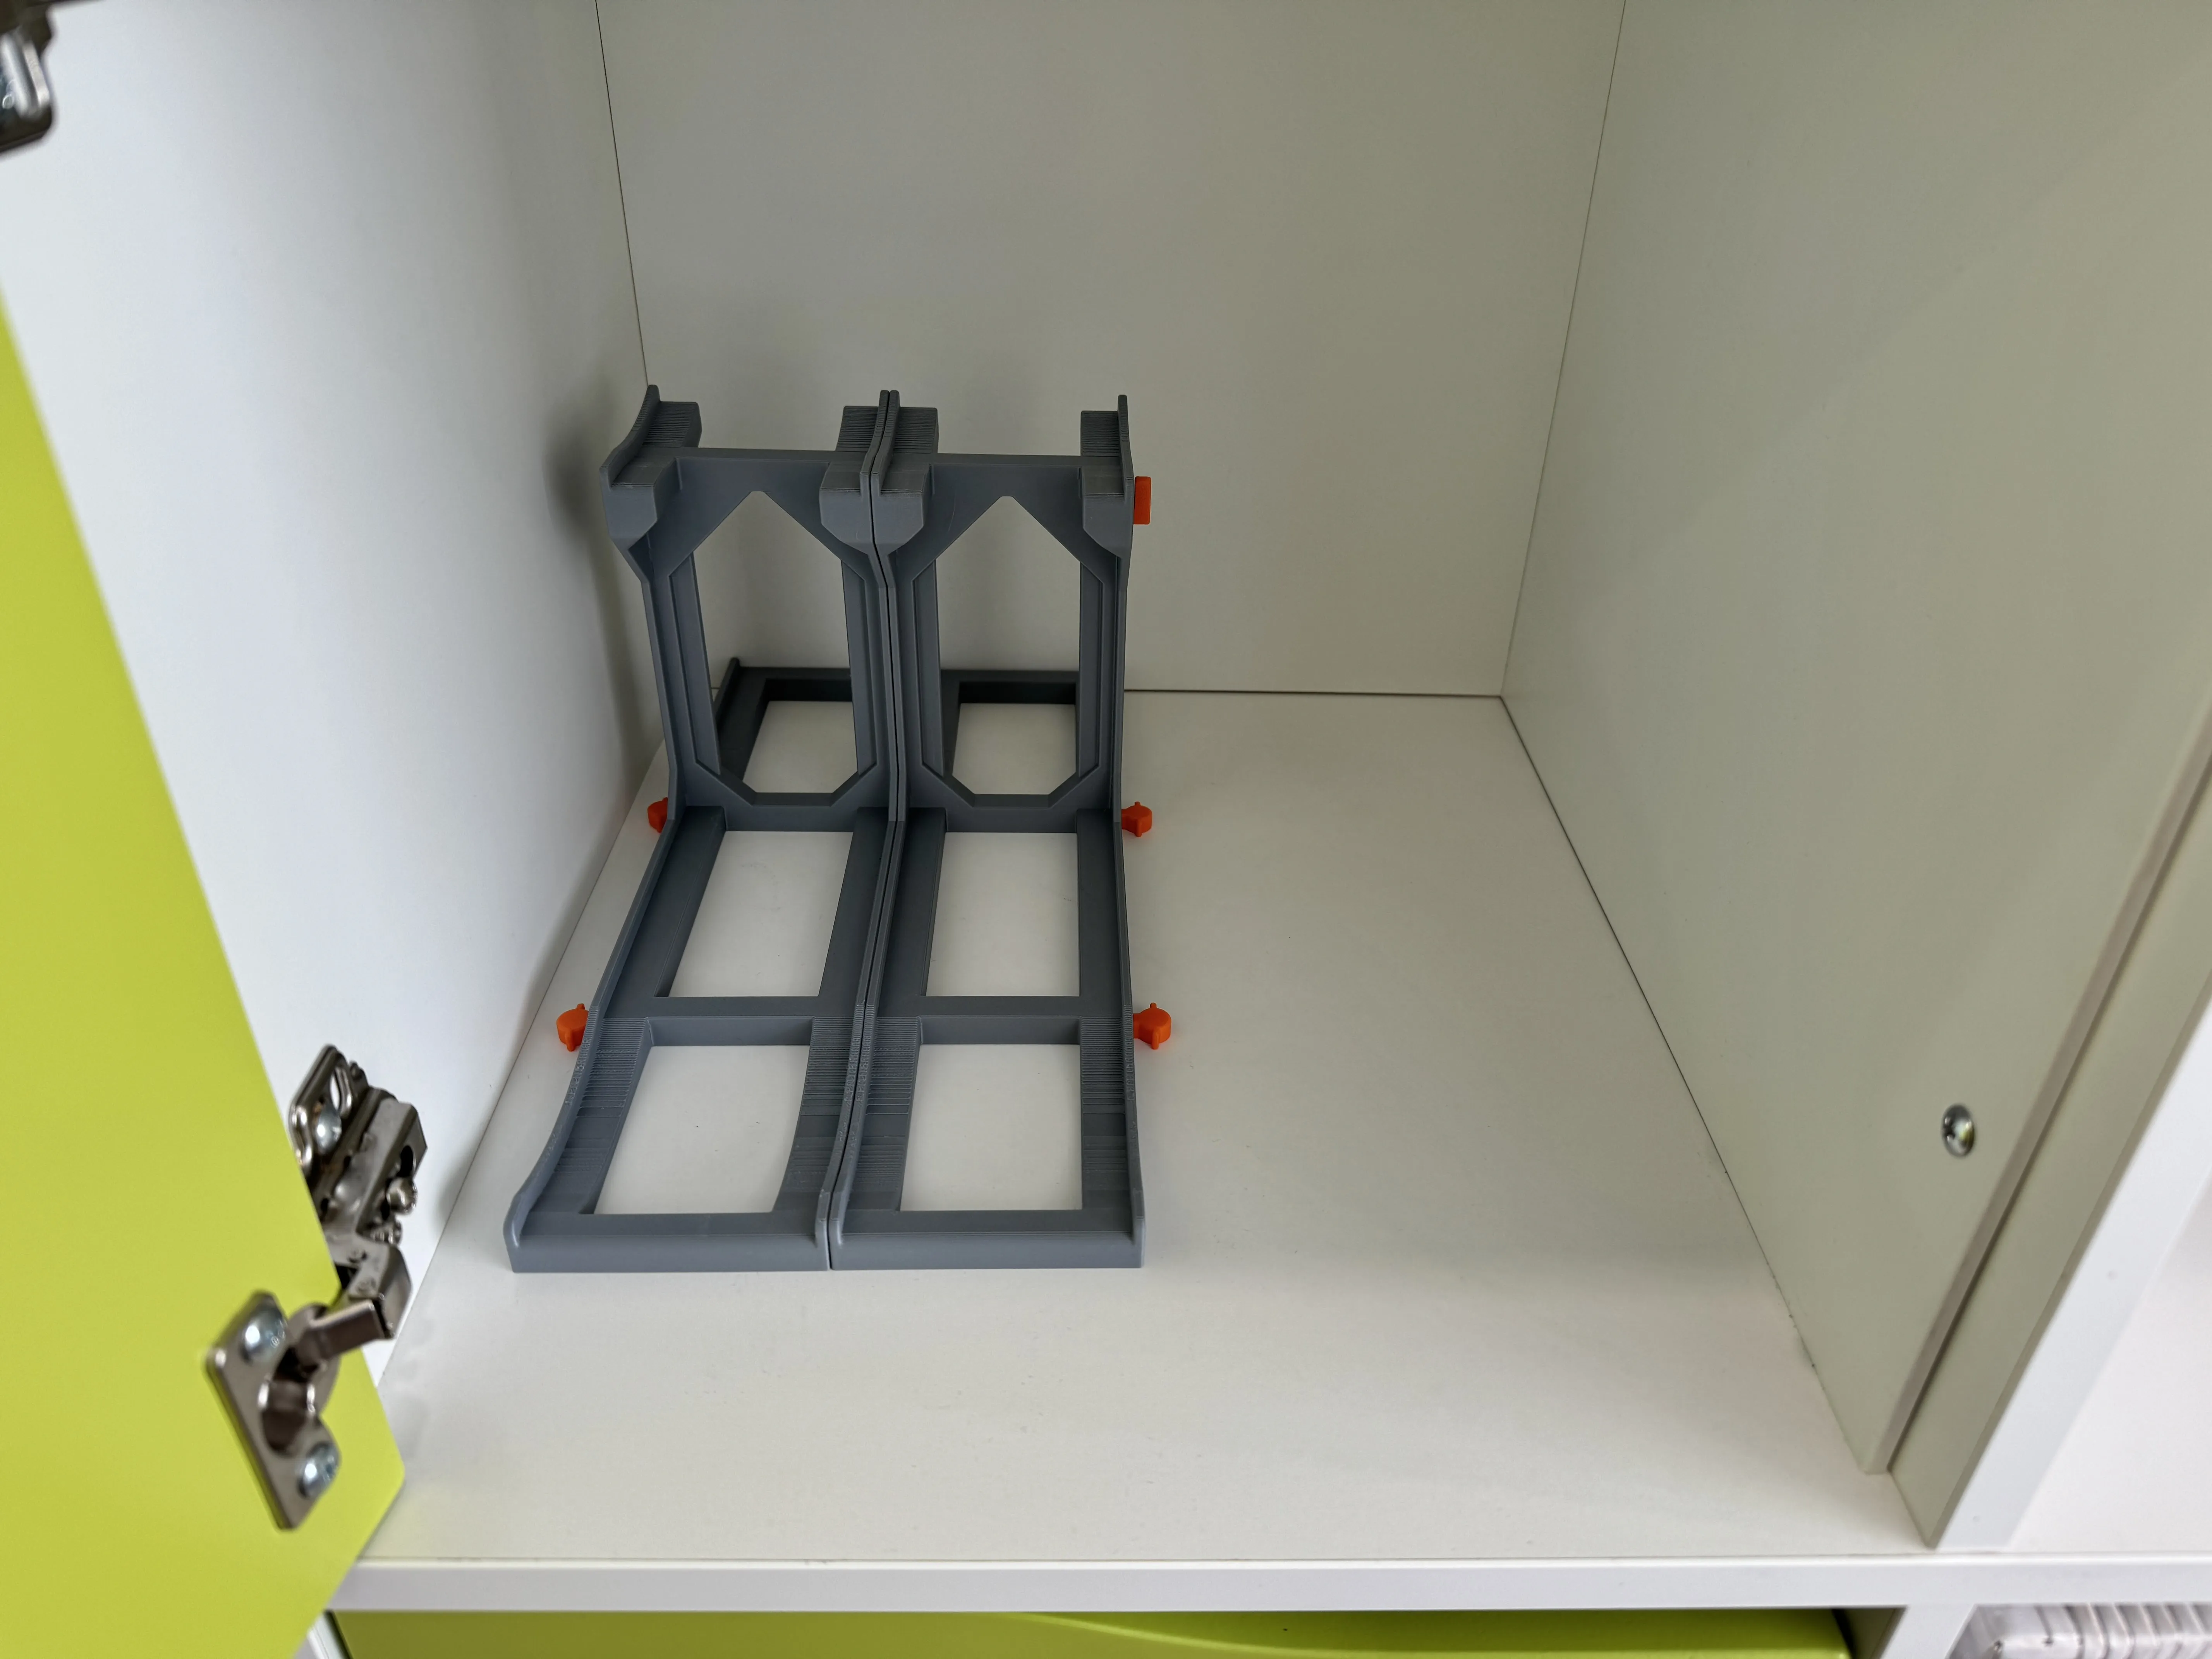
Step 3 and 4: Add two further holders. Then slide the 4 brackets all the way to the right:
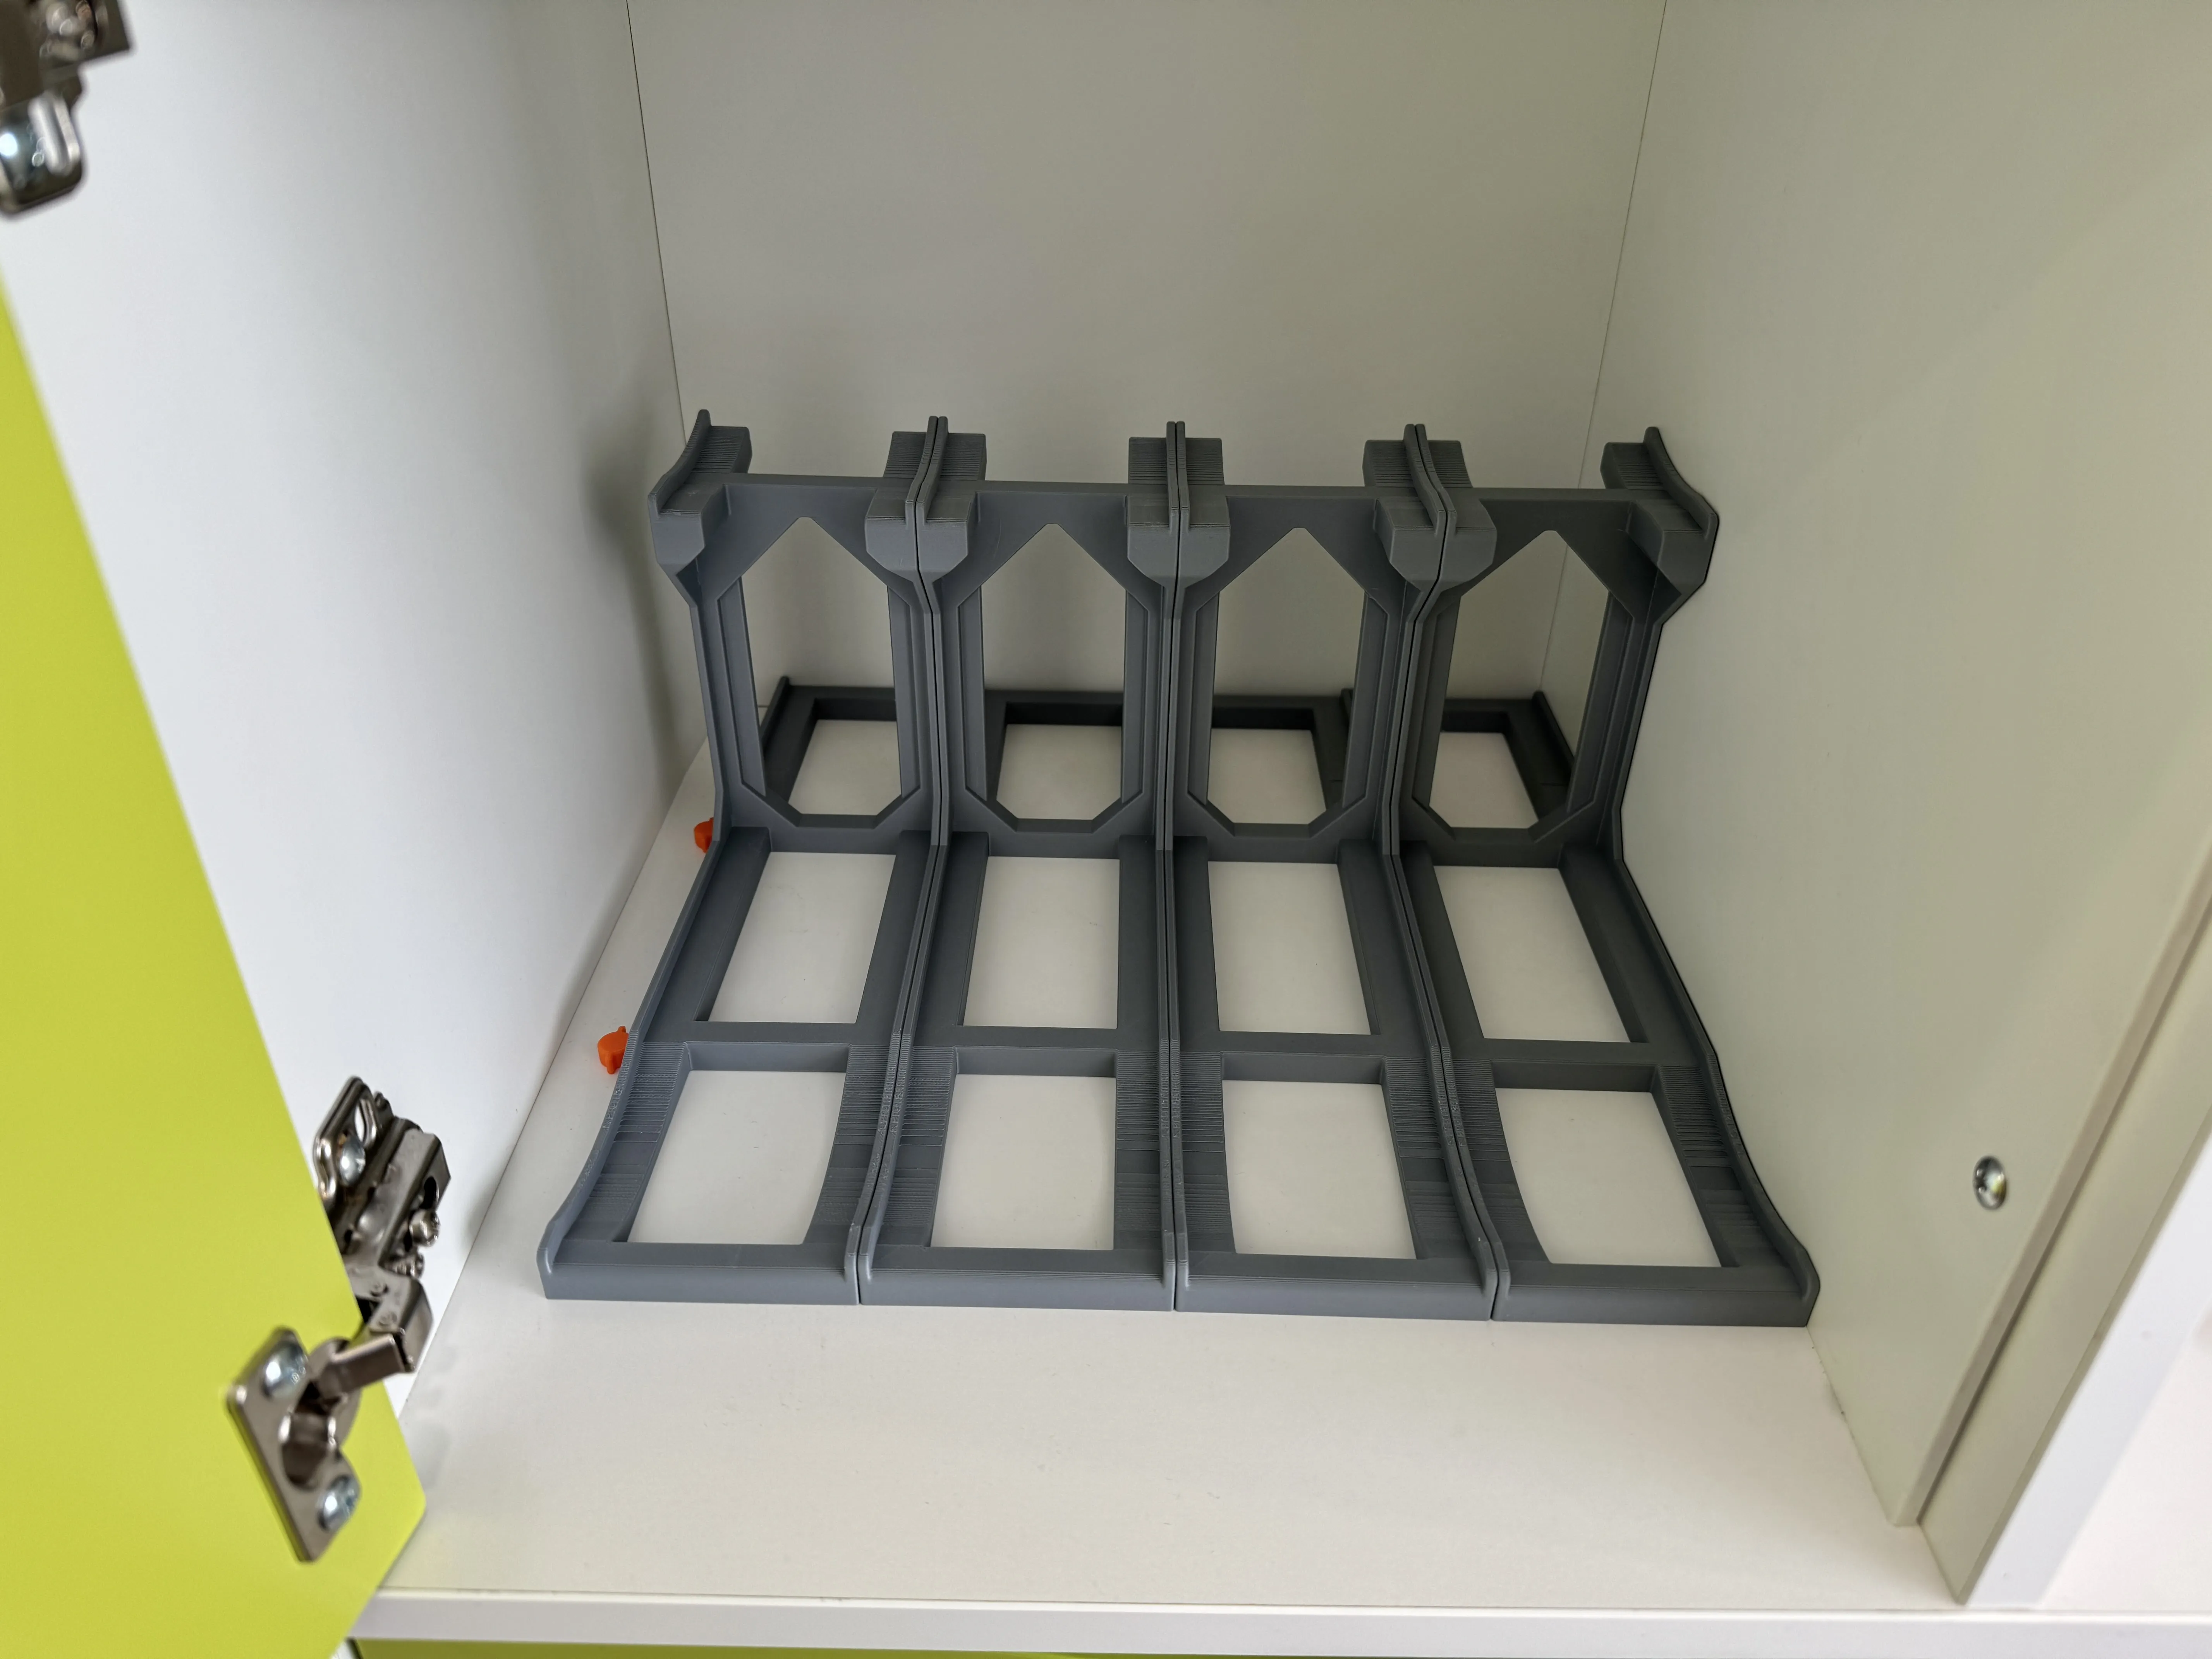
Step 5: Add the spacer part on the left side.This spacer ensures that the hinge doesn't get in the way:
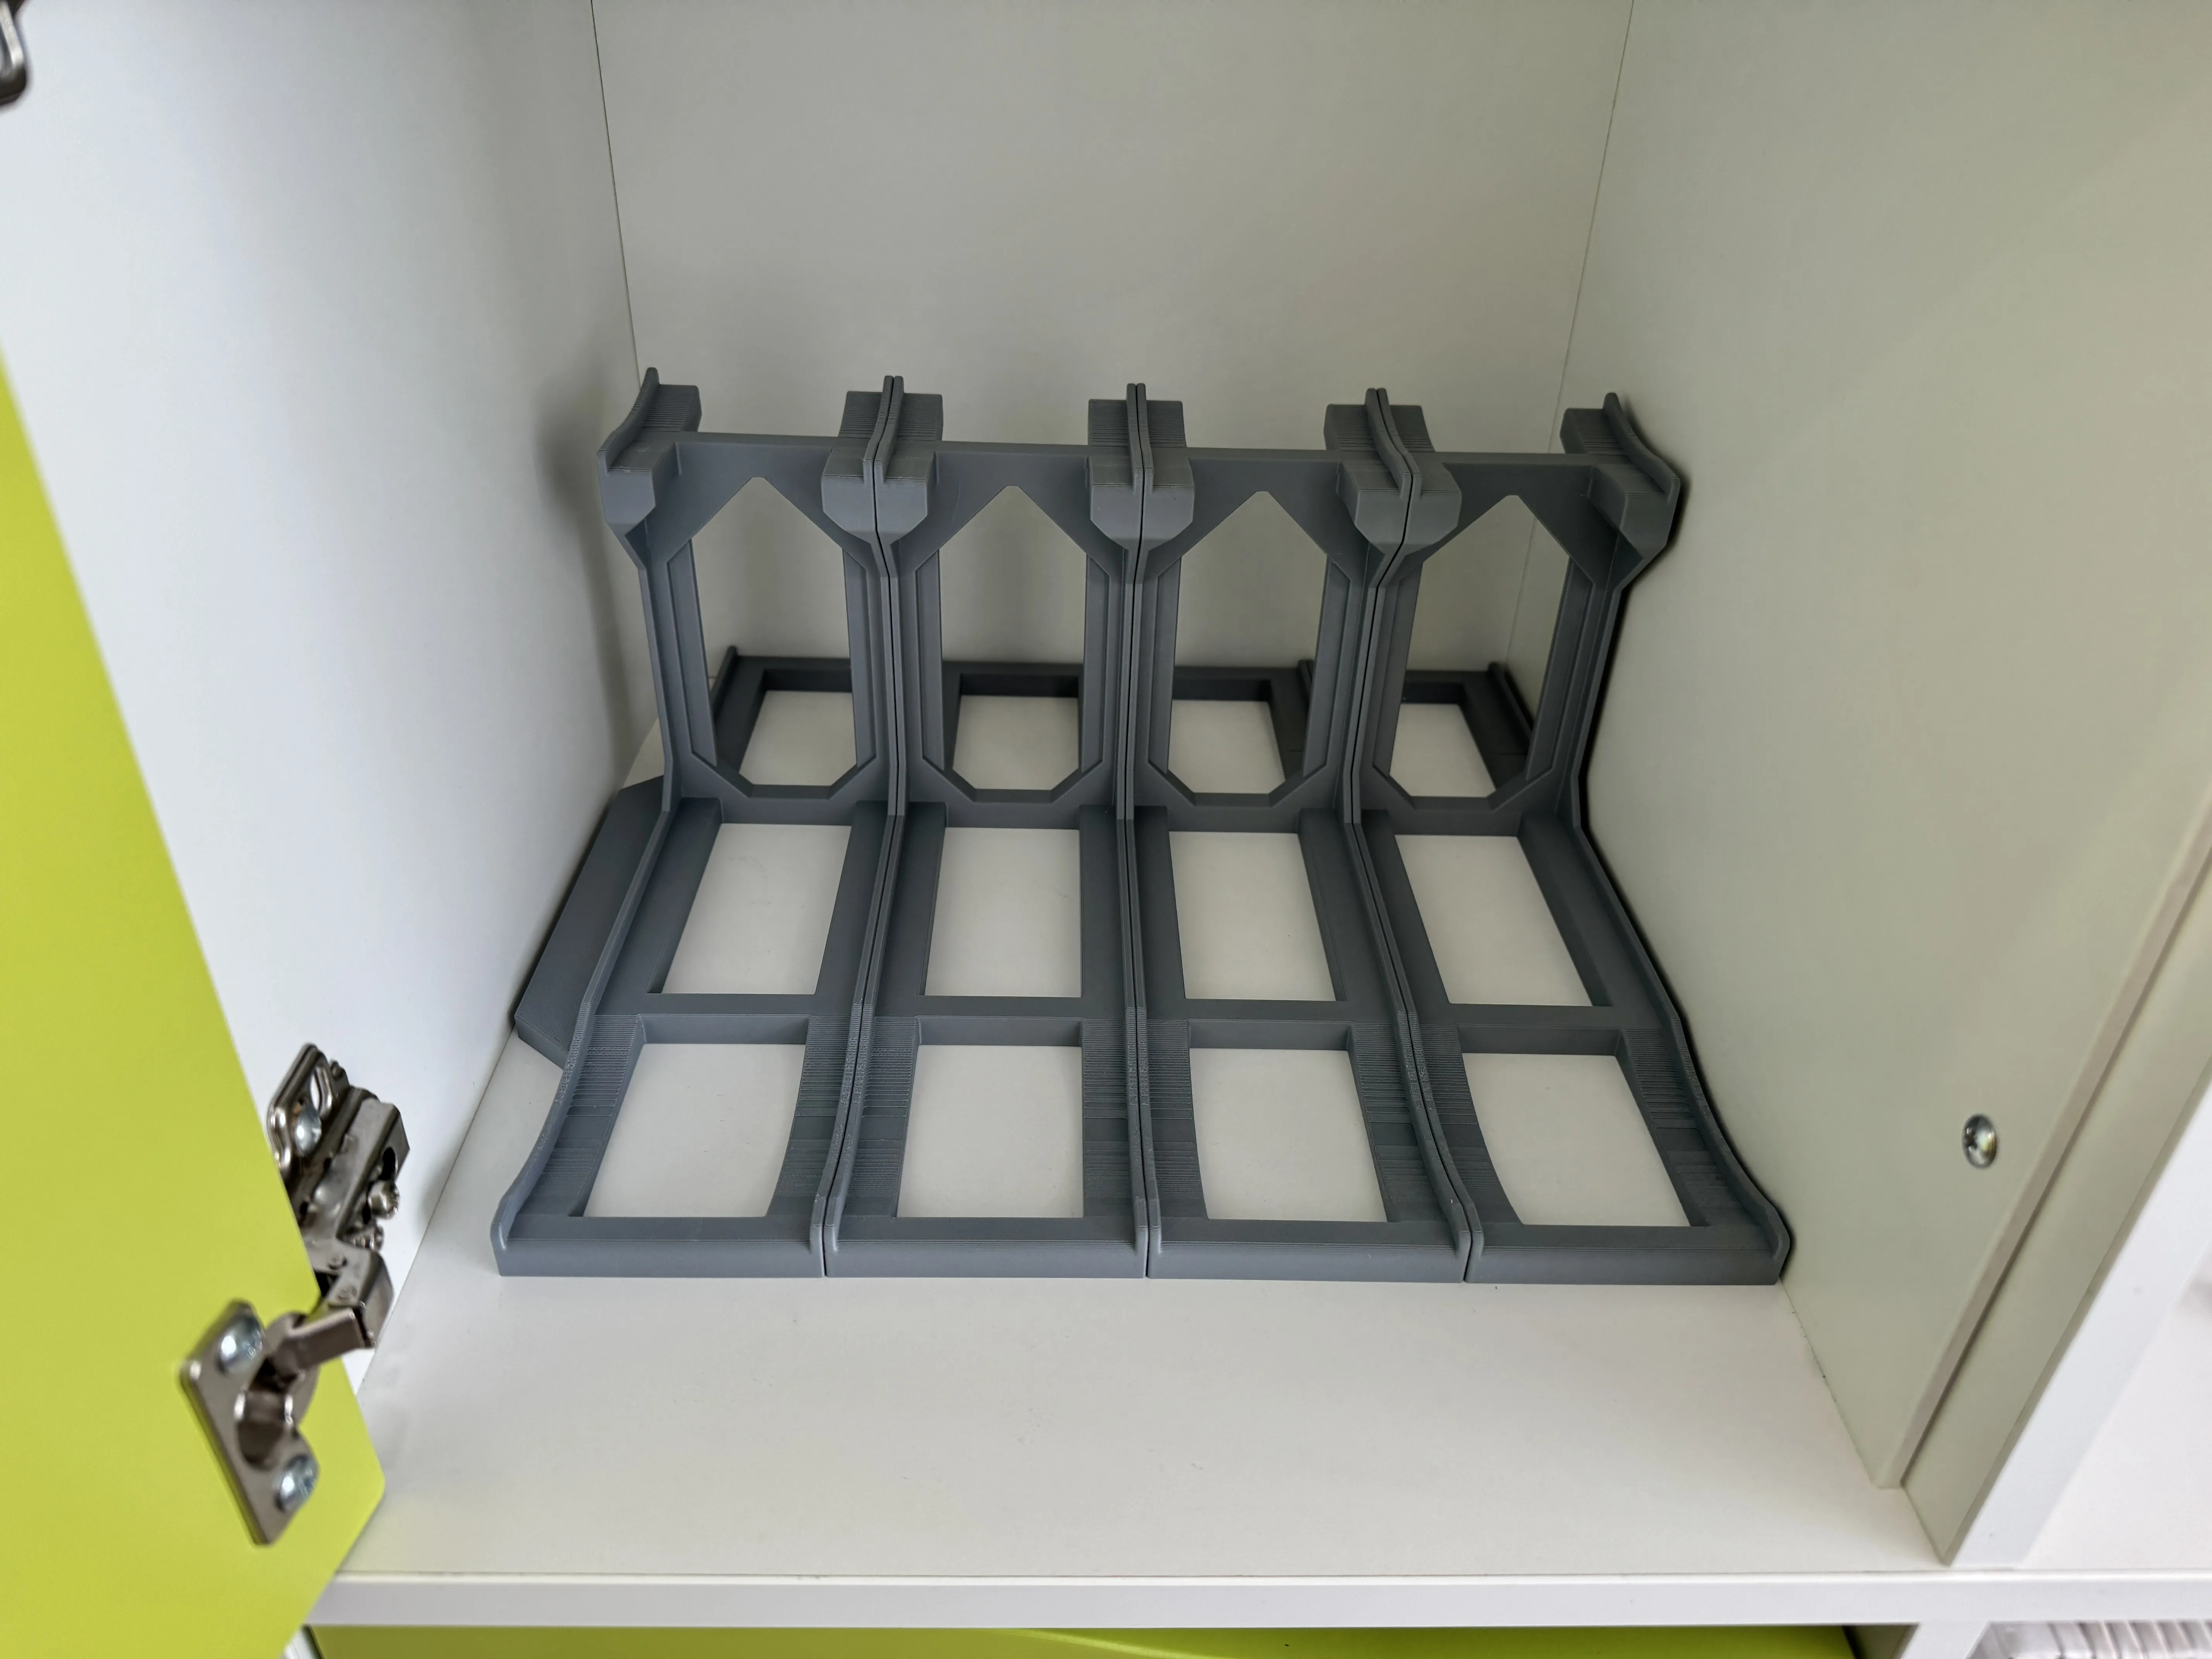
Assembly of the open compartment version: Identical, but there is a spacer on both the left and the right:
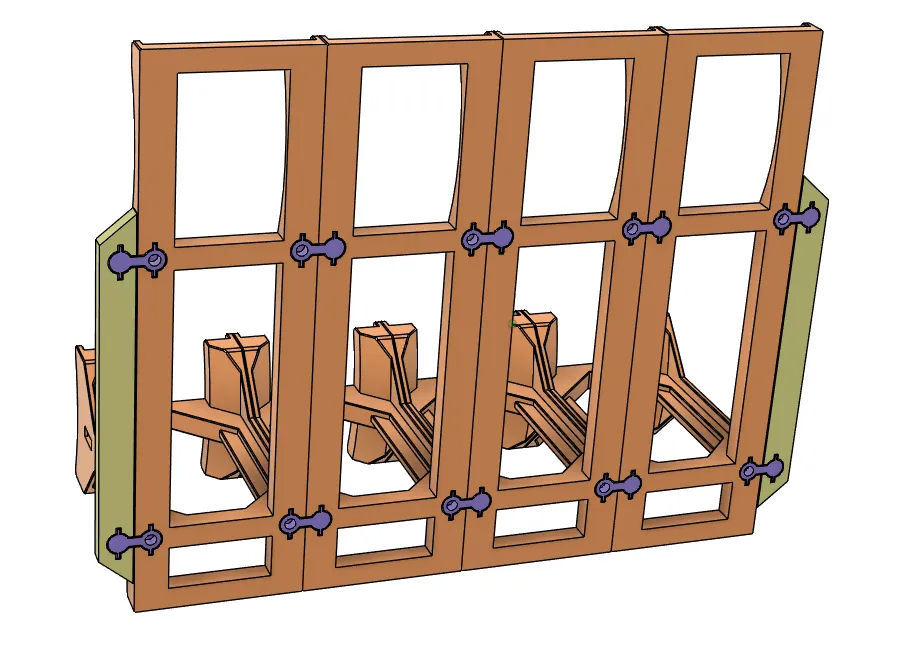

License

You shall not share, sub-license, sell, rent, host, transfer, or distribute in any way the digital or 3D printed versions of this object, nor any other derivative work of this object in its digital or physical format (including - but not limited to - remixes of this object, and hosting on other digital platforms). The objects may not be used without permission in any way whatsoever in which you charge money, or collect fees.


Comment & Rating (0)