

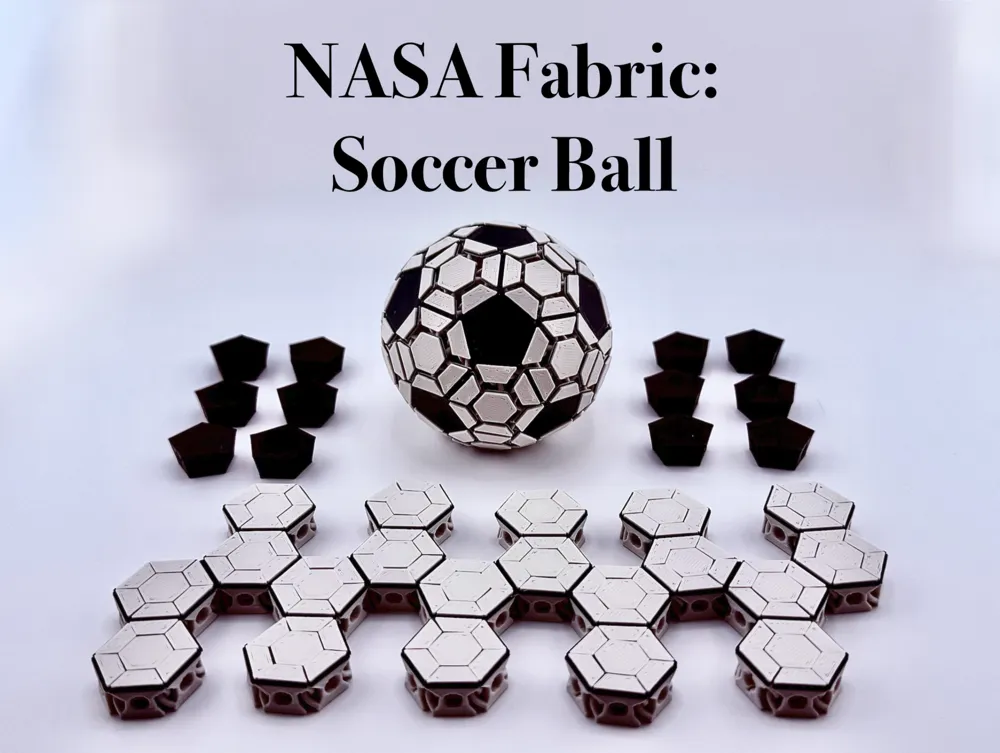
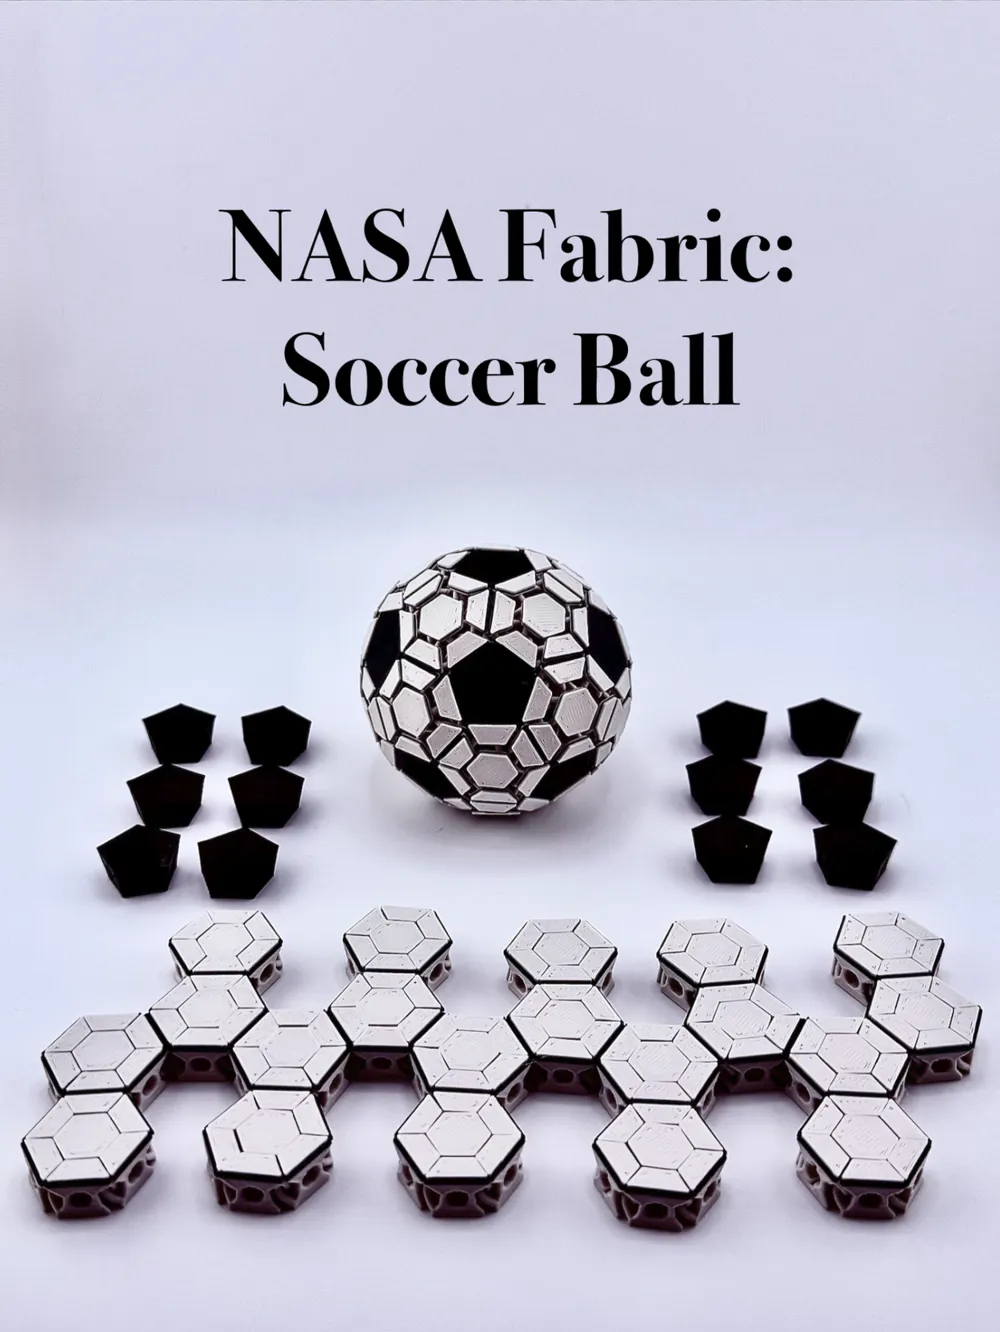
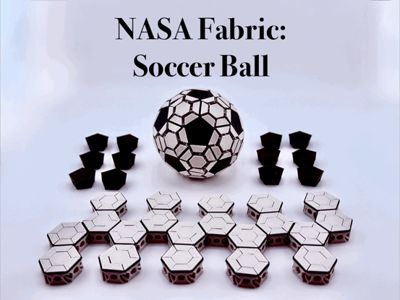
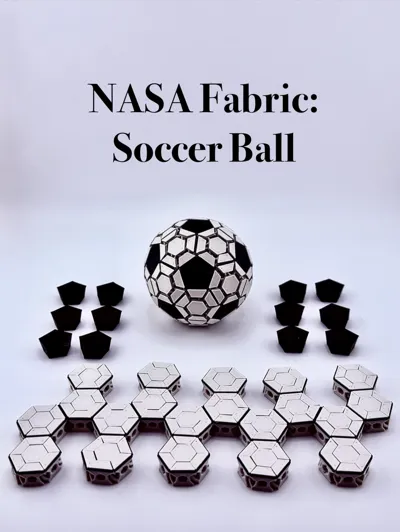
NASA Fabric: Soccer Ball (No AMS Needed)
Print Profile(2)
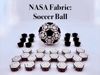
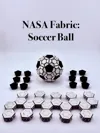
Bill of Materials

.jpg)
.jpg)

Description
Boost Me (for free)
Please Boost if you like my model!
Commercial License - https://www.patreon.com/c/measureonce/home
NASA Fabric Collection - https://makerworld.com/en/collections/17685211-nasa-fabric-models
PLEASE READ! Important Notes:
- CLEAN YOUR BUILDPLATE AND USE GLUE BEFORE PRINTING! LAYER ADHESION IS VERY VERY IMPORTANT
- USE PLA MATTE or PLA BASIC. This model has not been tested with silk filaments. I do not recommend using them due to the potential for over extrusion which can cause the layers to fuse
- If you are using the NO AMS Version, Please use a layer height of 0.16mm. Do not change this value. If it does get changed, the color swaps will not be applied to the appropriate layer and the part will come out looking off.
- You will need to glue the magnets into their holes.
--------------------------------------------------------------------------------------------------------------------------------------------------------------------
This model uses 142 4x2 magnets.
Maker's Supply Store - https://us.store.bambulab.com/products/round-magnet?id=42102911074440
Amazon Link - 400 magnets for $20 - https://www.amazon.com/dp/B0F4MYLY85
Print Settings:
Filament: Only PLA matte or PLA basic
Layer height: 0.16
Walls: 4
Wall Generator: Arachne
Color Swaps for No AMS Version:
WARNING!! LAYERS CORRESPOND TO A LAYER HEIGHT OF 0.16. IF YOU CHANGE THE LAYER HEIGHT THEN THE COLORS WILL BE PLACED IN INCORRECT POSITIONS.
Start: White
Layer 52: Black
Layer 56: White
Magnet Assembly
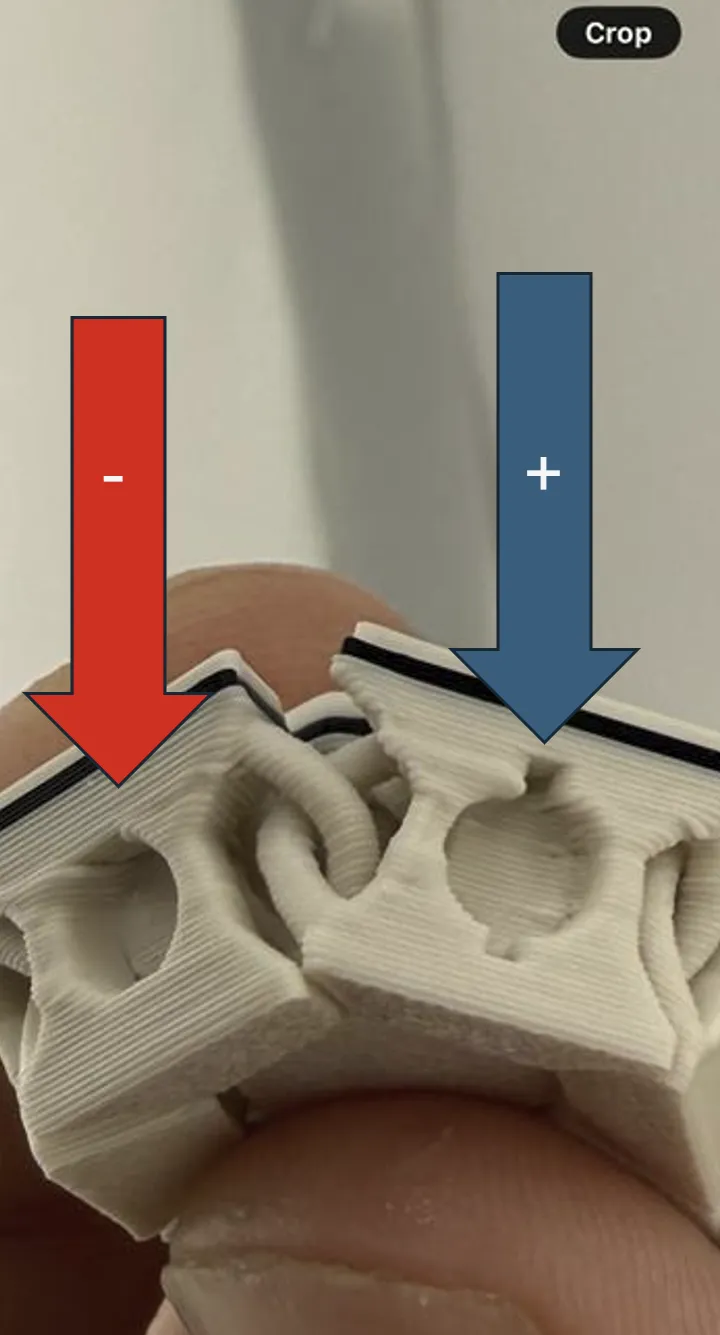
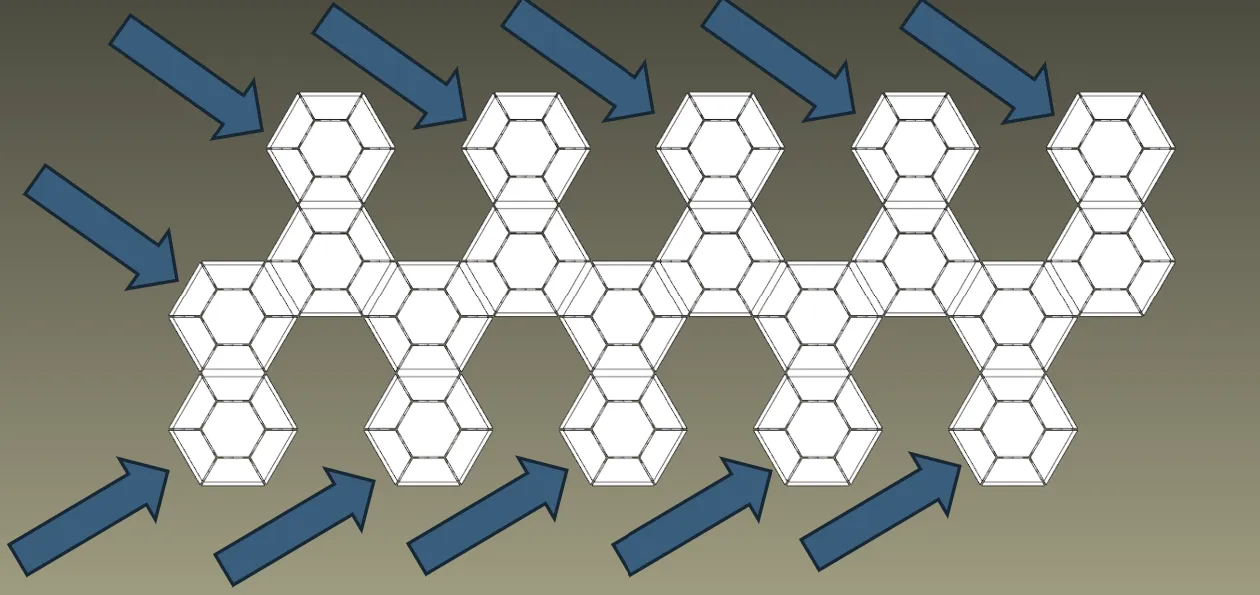
- I have specifically put notches at the 12 and 6 o'clock position to signify a different polarity for the magnets (See 1st picture below).
- In the 2nd image below you will see arrows pointing to all the locations where the magnet hole has the notch indicating a different polarity .
- All of the holes on the black pentagons have the notch.
- You will need to glue the magnets into the pockets
License

You shall not share, sub-license, sell, rent, host, transfer, or distribute in any way the digital or 3D printed versions of this object, nor any other derivative work of this object in its digital or physical format (including - but not limited to - remixes of this object, and hosting on other digital platforms). The objects may not be used without permission in any way whatsoever in which you charge money, or collect fees.


Comment & Rating (15)