
PhotoMag – Free Custom Fridge Magnet Generator
Print Profile(1)
Description
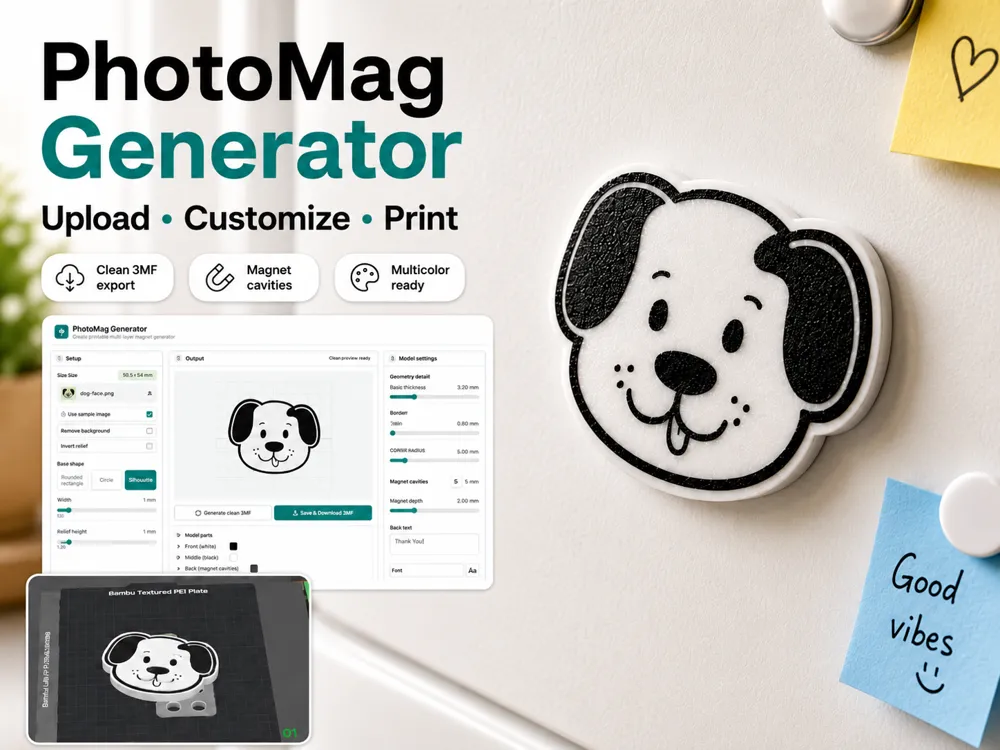
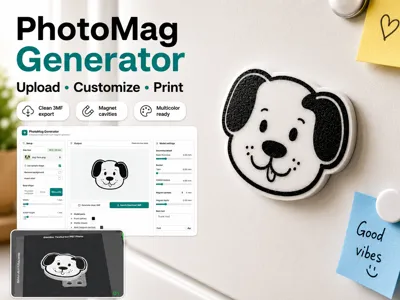
PhotoMag – Turn Your Images into Printable Fridge Magnets for free
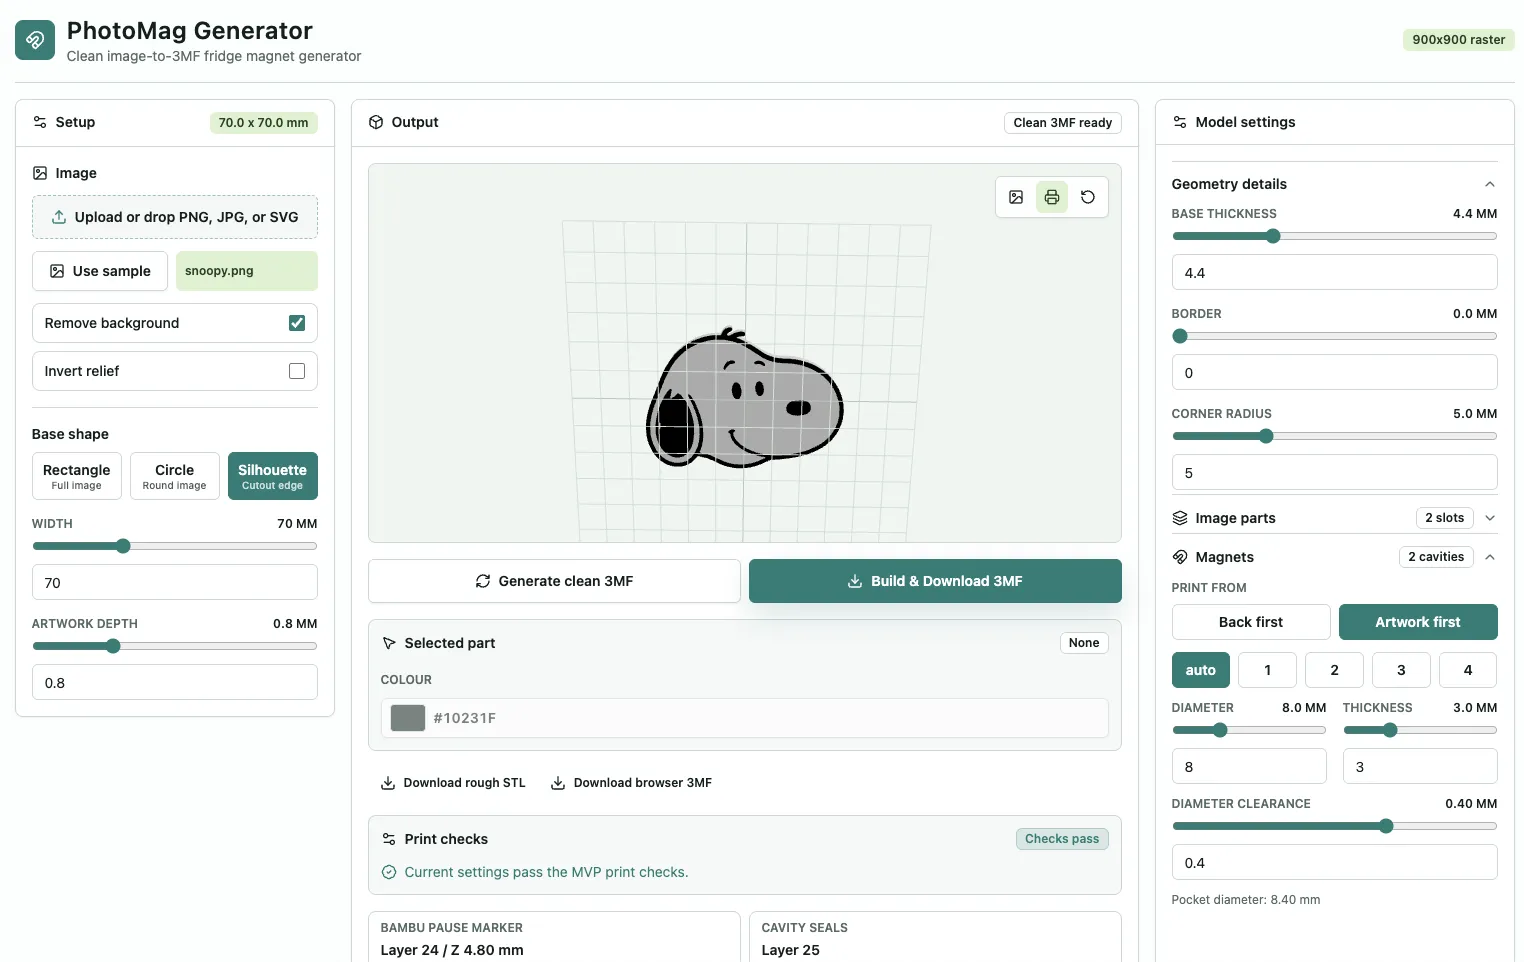
PhotoMag is an image-to-3MF generator, it turns a PNG, JPG or SVG into a print-ready 3MF with hidden magnet cavities. You do not need CAD, and the image is processed locally in your browser. Completely free, with no account or sign-up required.
Link to Generator: here
How to use the tool:
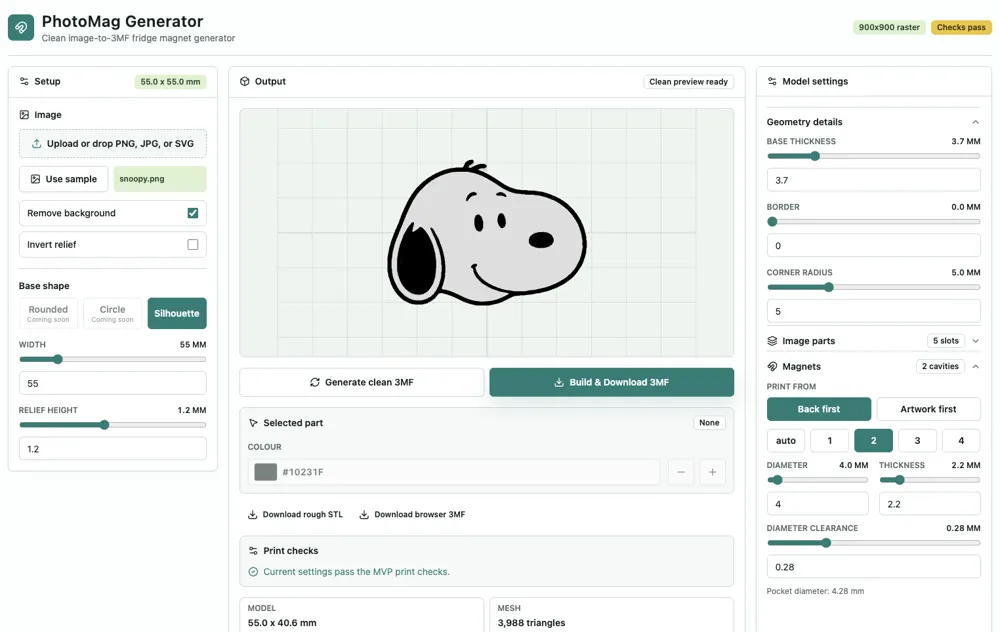
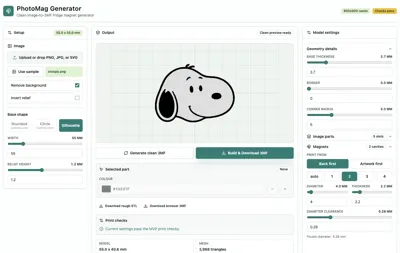
This guide covers the main web page, the settings worth changing, what PRINT FROM means, and how to insert magnets safely. The Image parts section is intentionally not covered yet.
1. Upload your artwork
Click Upload or drop PNG, JPG, or SVG, or use the sample to learn the controls first.
For the cleanest result:
- Use a clear subject with a simple or transparent background.
- Keep Remove background on for most isolated subjects. Turn it off if it removes pale or white details that you want to keep.
- The current base shape is Silhouette, so the outside edge of the artwork becomes the magnet outline.
- Dark pixels are raised by default. Turn on Invert relief if you want the light areas to be raised instead.
2. Choose the size and artwork depth
Width is the final width of the magnet in millimetres. The height follows the image aspect ratio automatically.
Artwork depth controls how far the artwork rises from the base. Start at the default 0.8 mm. A practical starting range is 0.6 to 1.0 mm. Very tall relief can make fine artwork steeper and harder to print, and the generator warns above 1.6 mm.
3. Set the magnet cavities
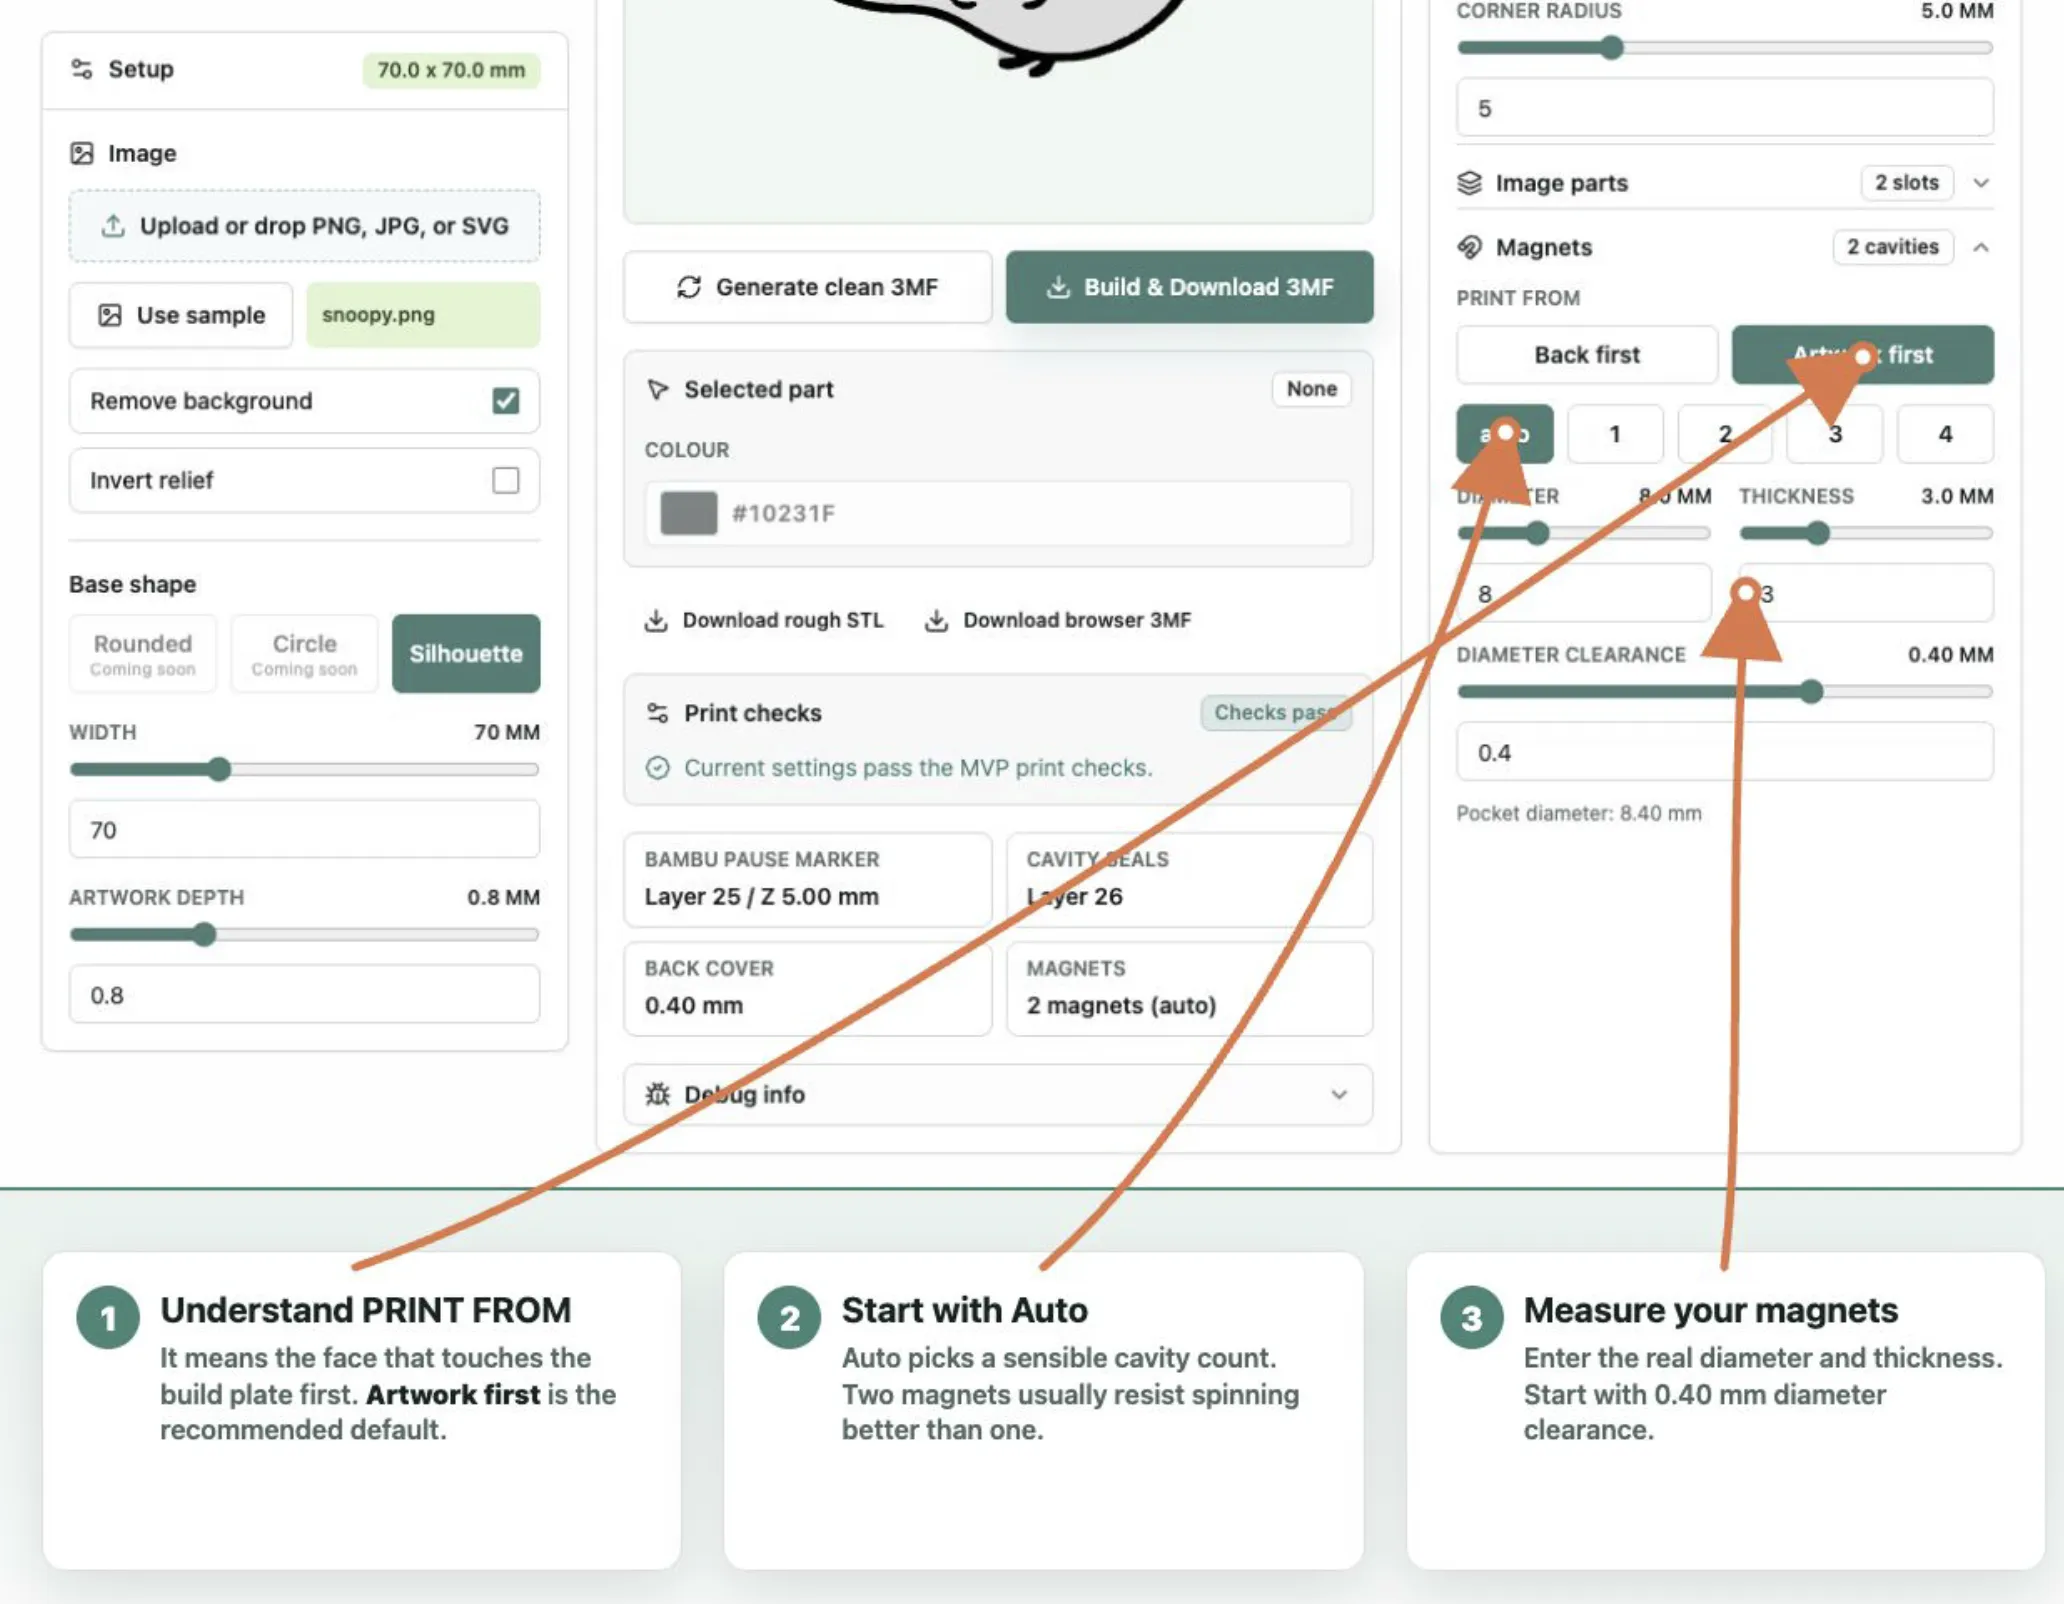
PRINT FROM means which face touches the build plate and is printed first.
Artwork first is the recommended default:
- The artwork face sits on the build plate.
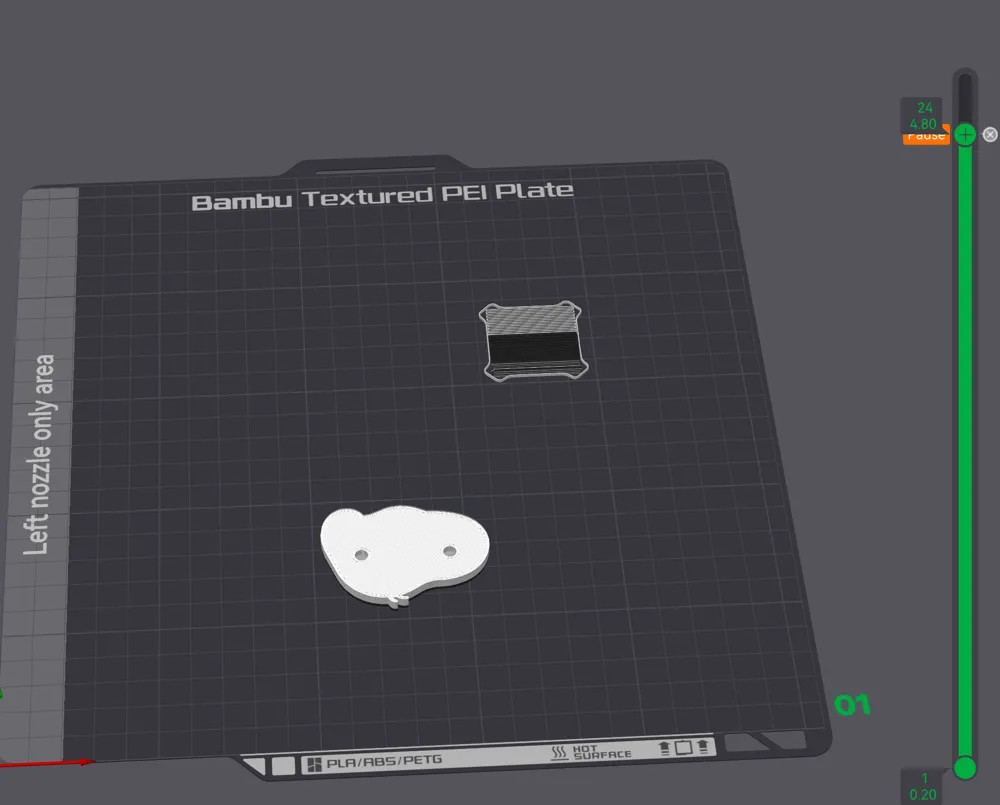
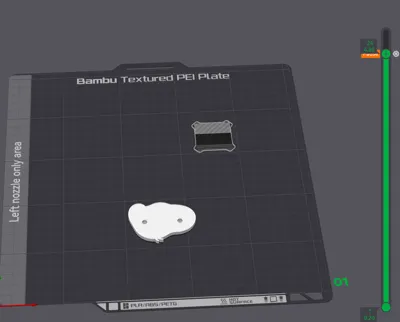
- The model may look face-down in the slicer. That is intentional.
- The printer pauses while the cavities are still open from the back.
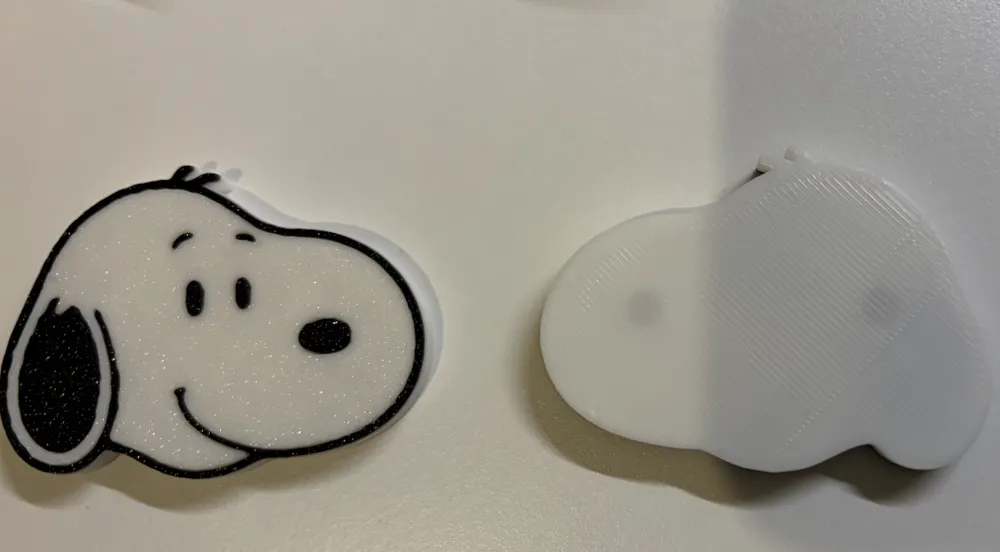
- You insert the magnets and resume the print, then the final back layers seal them inside.
Back first:
- The sealed back face sits on the build plate.
- The artwork is printed later on top.
- Use this ONLY when you deliberately prefer that surface or filament sequence.
Diameter and thickness
Measure the real magnet with callipers rather than trusting the packet. For a magnet sold as 4 x 2 mm, start by entering:
- Diameter: 4.0 mm
- Thickness: 2.2 mm (please leave 2mm for better sitting, it will be explained later)
note: Magnets, printers and first layers all vary slightly. Do not design the overall print to exactly the advertised magnet size. Leave roughly 0.2 mm of real-world headroom and test the fit on your own printer before committing to a large print.
Diameter clearance is added to the magnet diameter to make the pocket wide enough.
- If the test pocket is too tight, increase the diameter clearance by 0.1mm a time.
- If the magnet is very loose, do the opposite.
- Remember to change this in small steps and test again.
4. Generate the model and print
Click Generate clean 3MF. Inspect the artwork preview and make sure the outline and relief look sensible.
Open the downloaded 3MF in Bambu Studio, slicer the plate and double check that the pause is added to the correct location, at the pause, the magnet cavities should be fully open. The next layers should begin sealing them.
5. Insert magnet at pause
Prepare the magnets before the print reaches the pause. If you use more than one, mark one face so their polarity stays consistent.
When the printer pauses:
- Leave the bed and toolhead in their paused positions.
- Put a TINY drop of super glue in each cavity. Too much glue can stop the magnet sitting flat.
- Insert each magnet with a non-metallic tool if possible.
- Press it fully into the cavity. It must sit flush or slightly below the surrounding plastic, never in the nozzle path.
- Give the glue a moment to hold. This matters because metal around the toolhead can pull a loose magnet back out.
If a magnet rocks, floats or sits proud of the cavity, do not resume. Remove it, correct the fit and make sure the nozzle path is clear first.
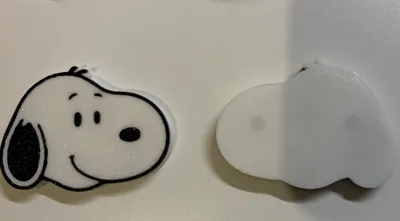
Hope you get a good printing result and don't forget to share your creation!
License

You shall not share, sub-license, sell, rent, host, transfer, or distribute in any way the digital or 3D printed versions of this object, nor any other derivative work of this object in its digital or physical format (including - but not limited to - remixes of this object, and hosting on other digital platforms). The objects may not be used without permission in any way whatsoever in which you charge money, or collect fees.


Comment & Rating (2)