
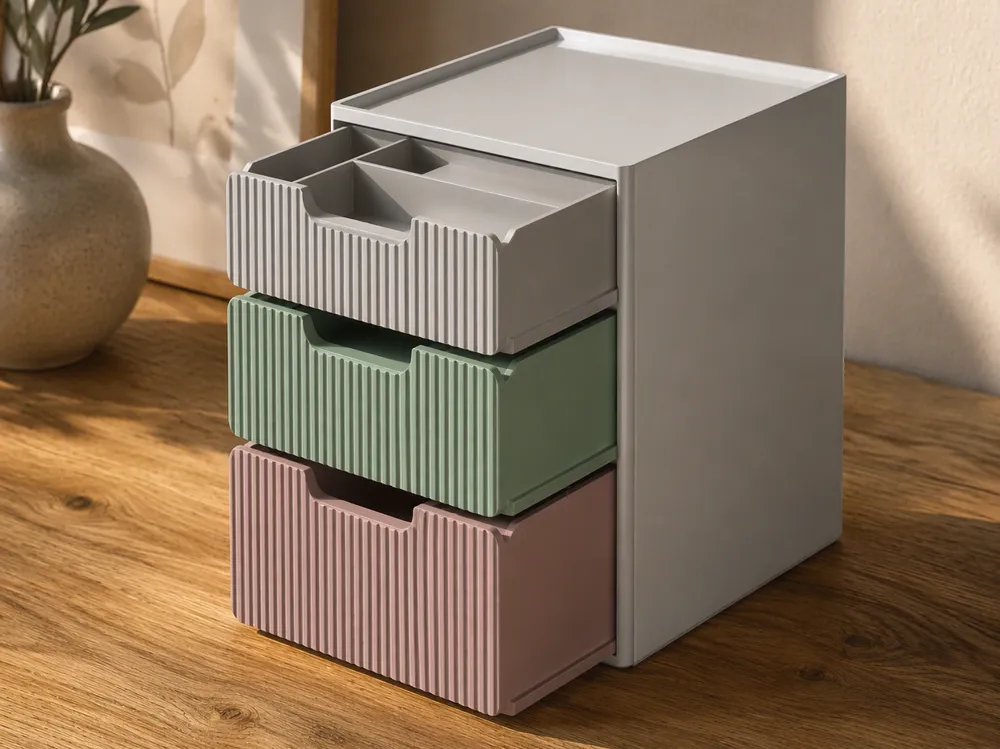
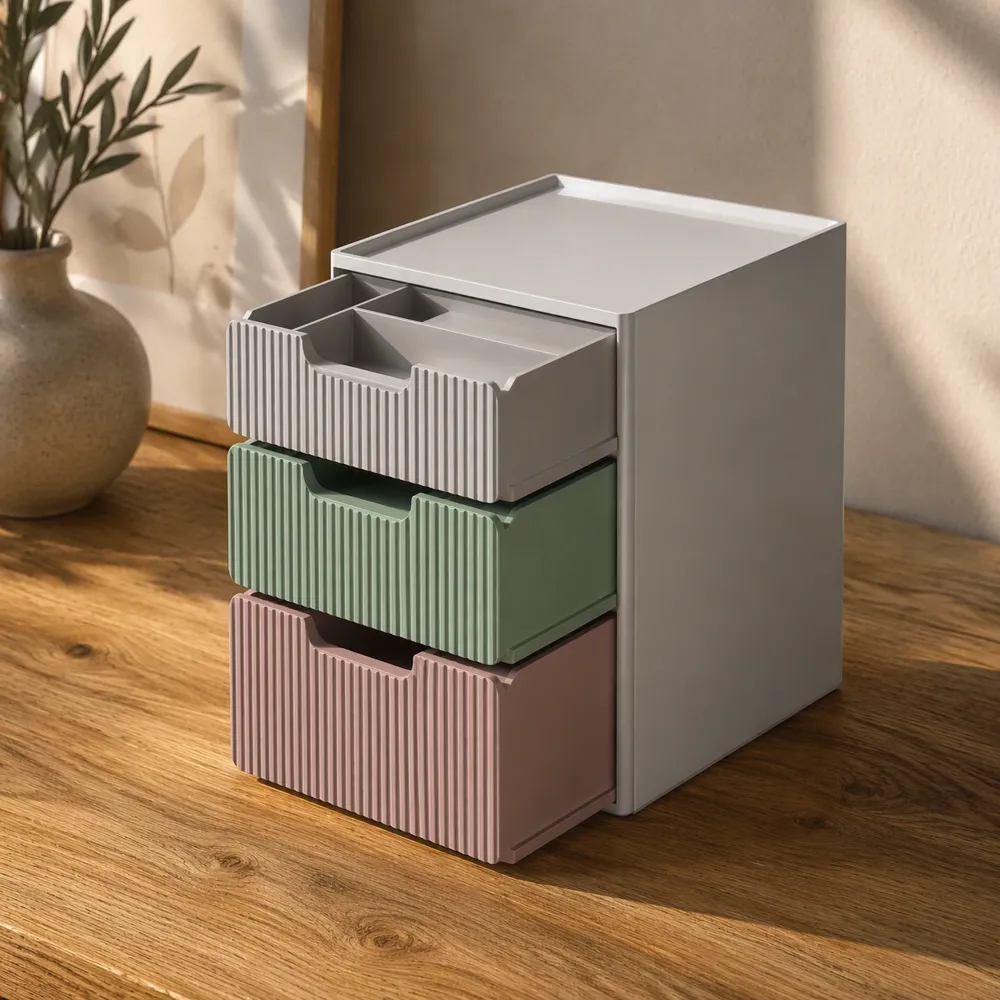
Parametric Stackable Drawer System
Print Profile(1)
Description
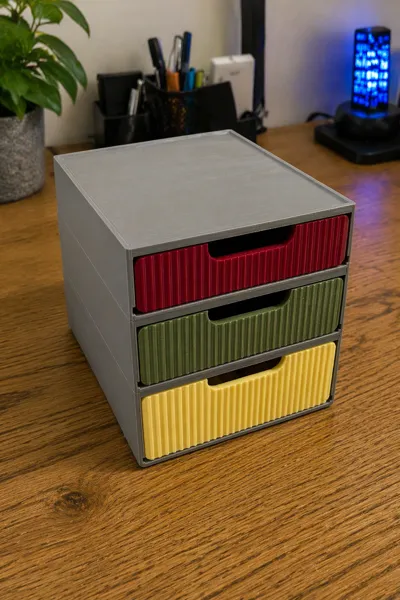
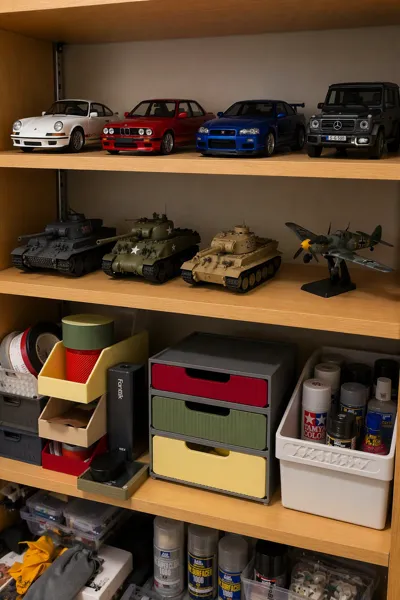
Stackable Drawer System — Parameter & Print Guide
This guide explains the model and every parameter in the MakerWorld Customizer (or OpenSCAD) and helps you find the right values for a clean, support-free print
INFO: On 2026-07-10 I added more inserts to the parametric codebase!
File: CAD/stackable-drawers-parametric.scad · Units: Millimeters (mm)
1. The Model in Brief
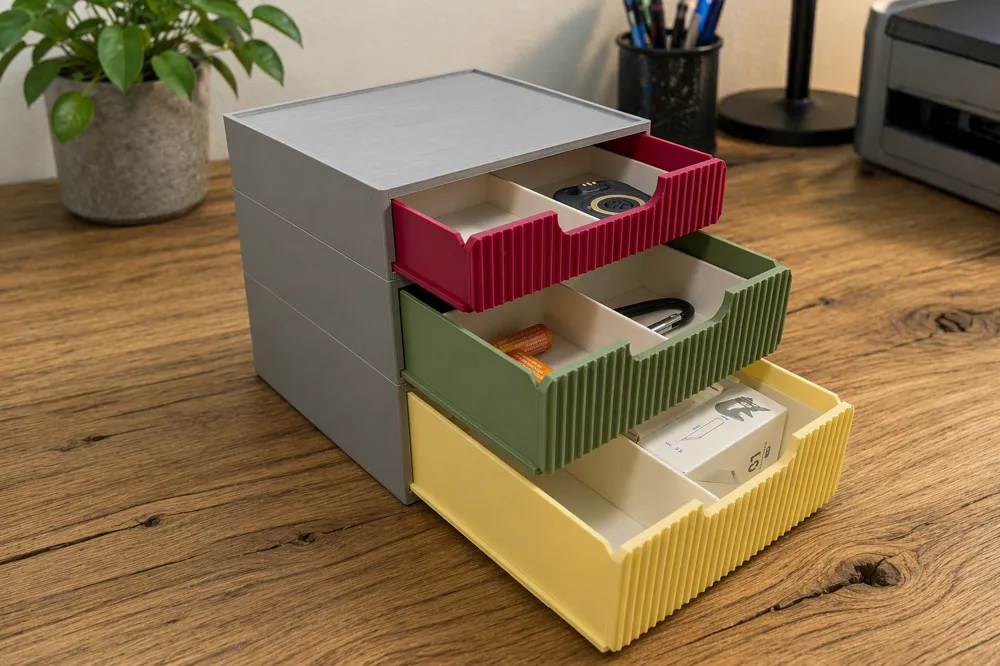
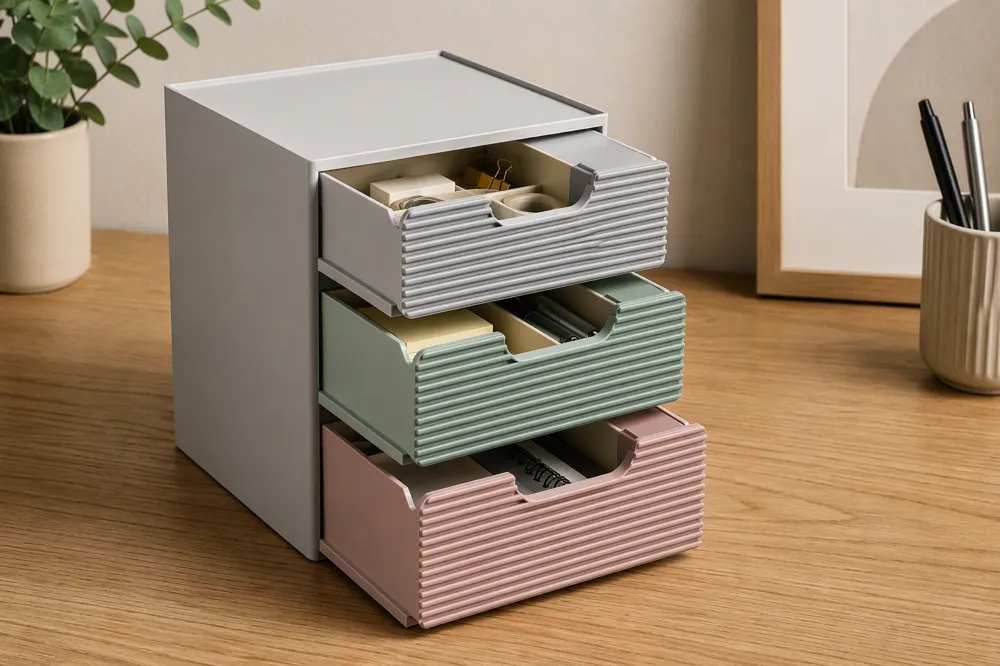
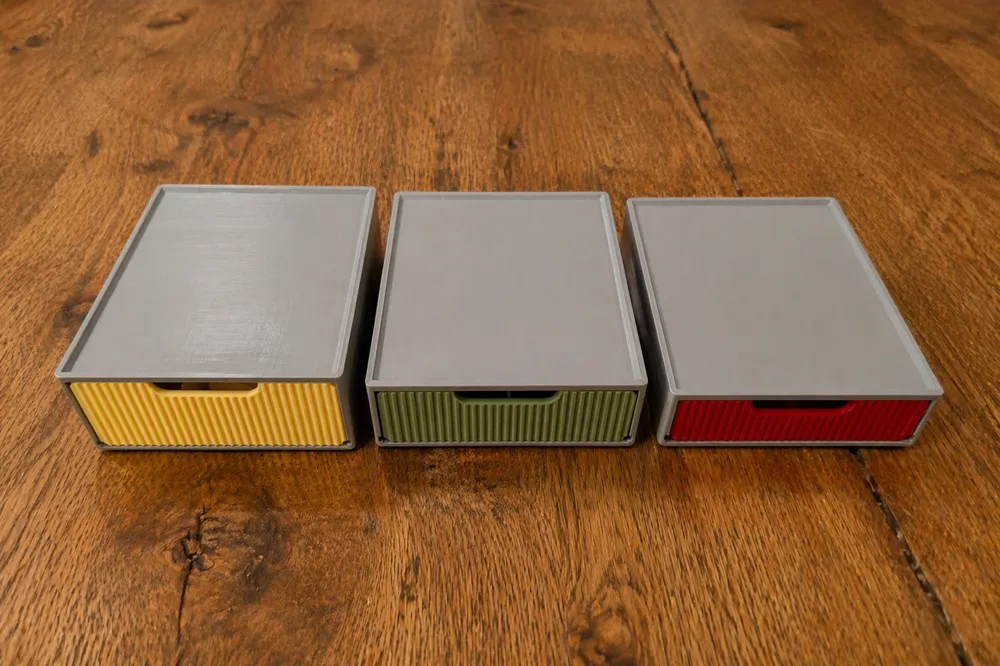
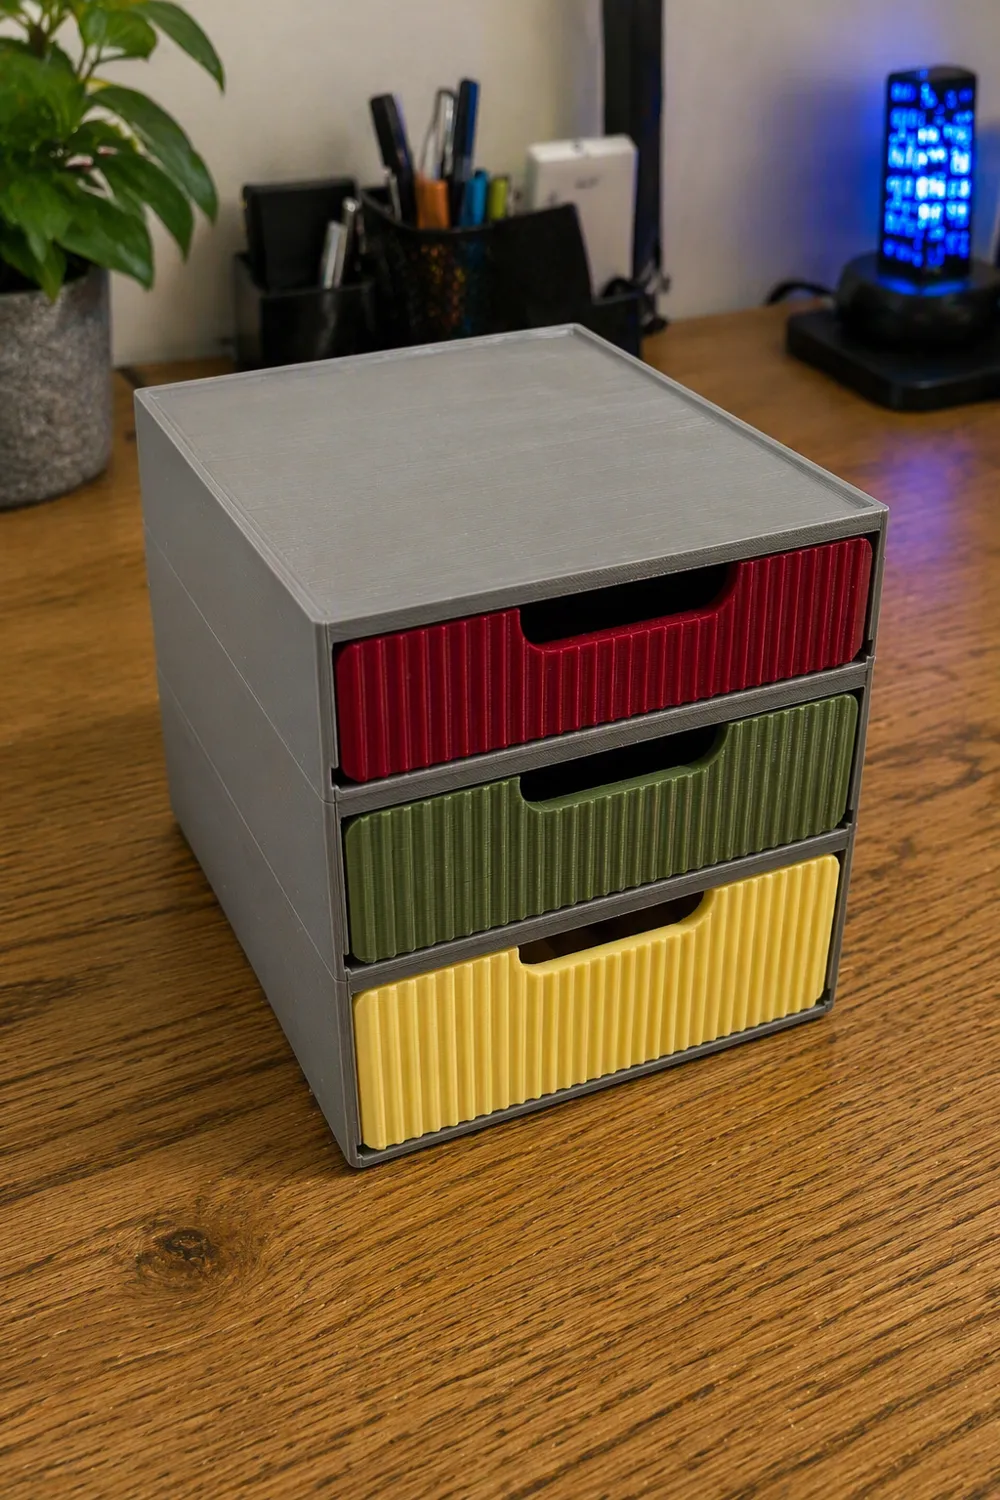
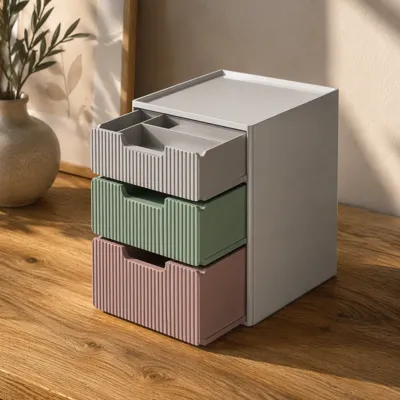
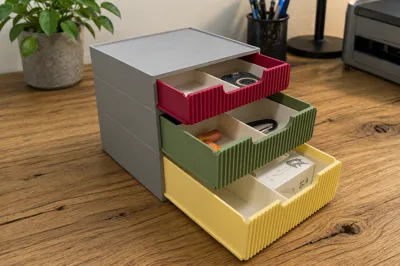
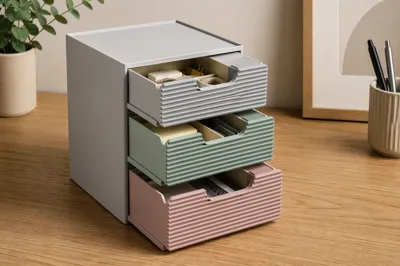
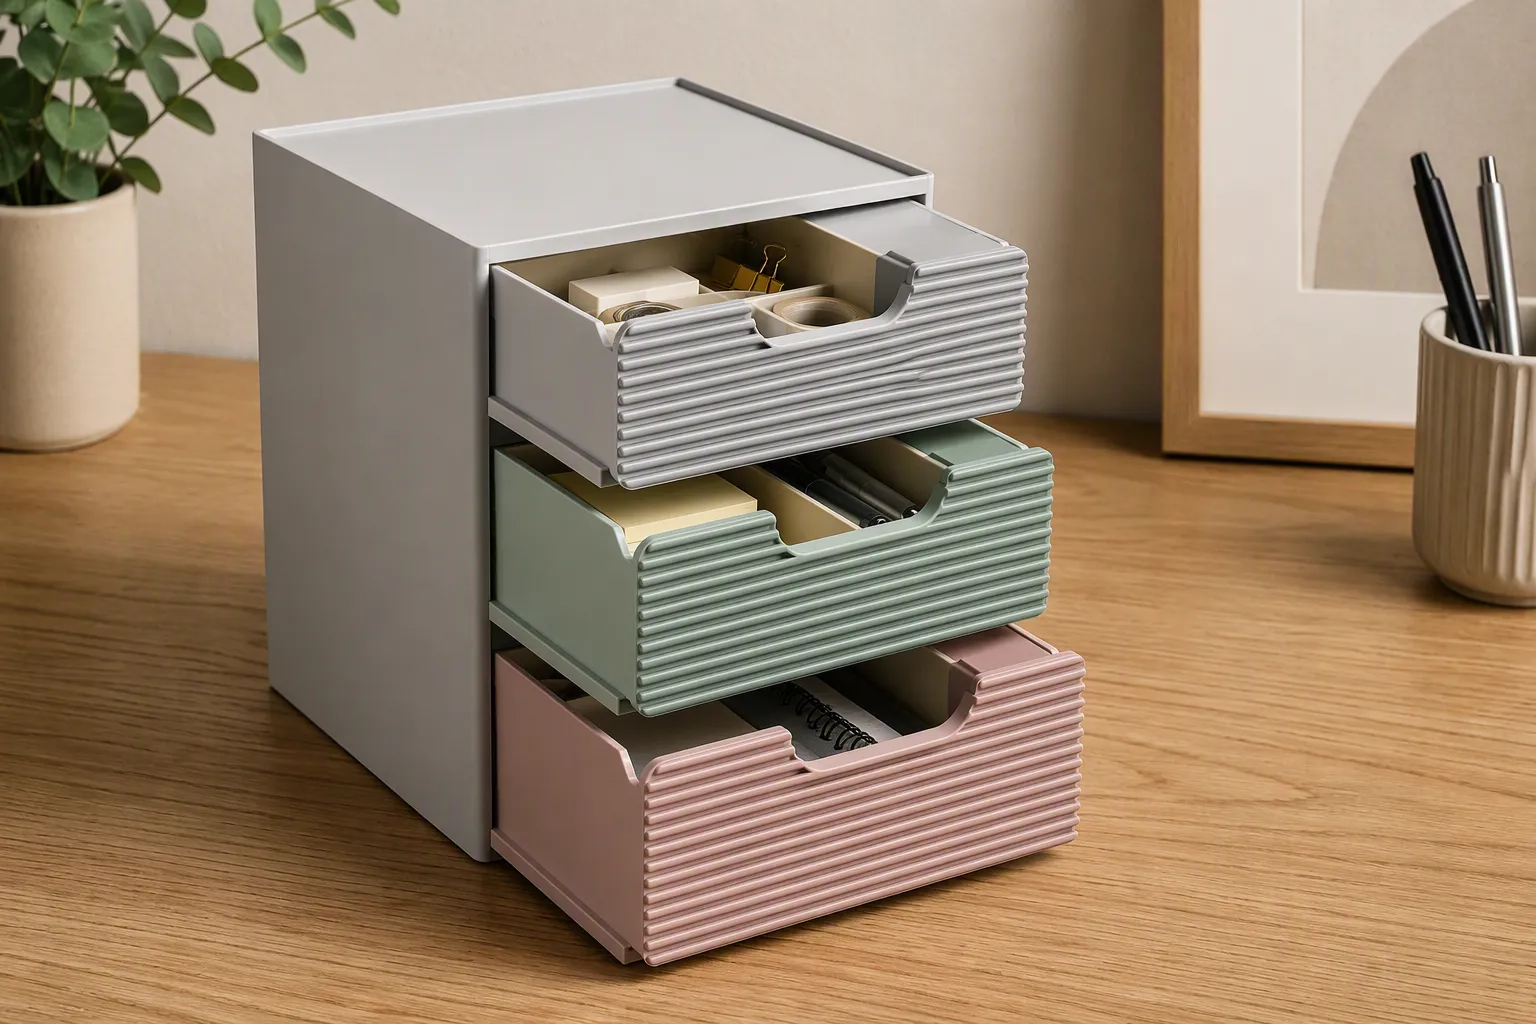
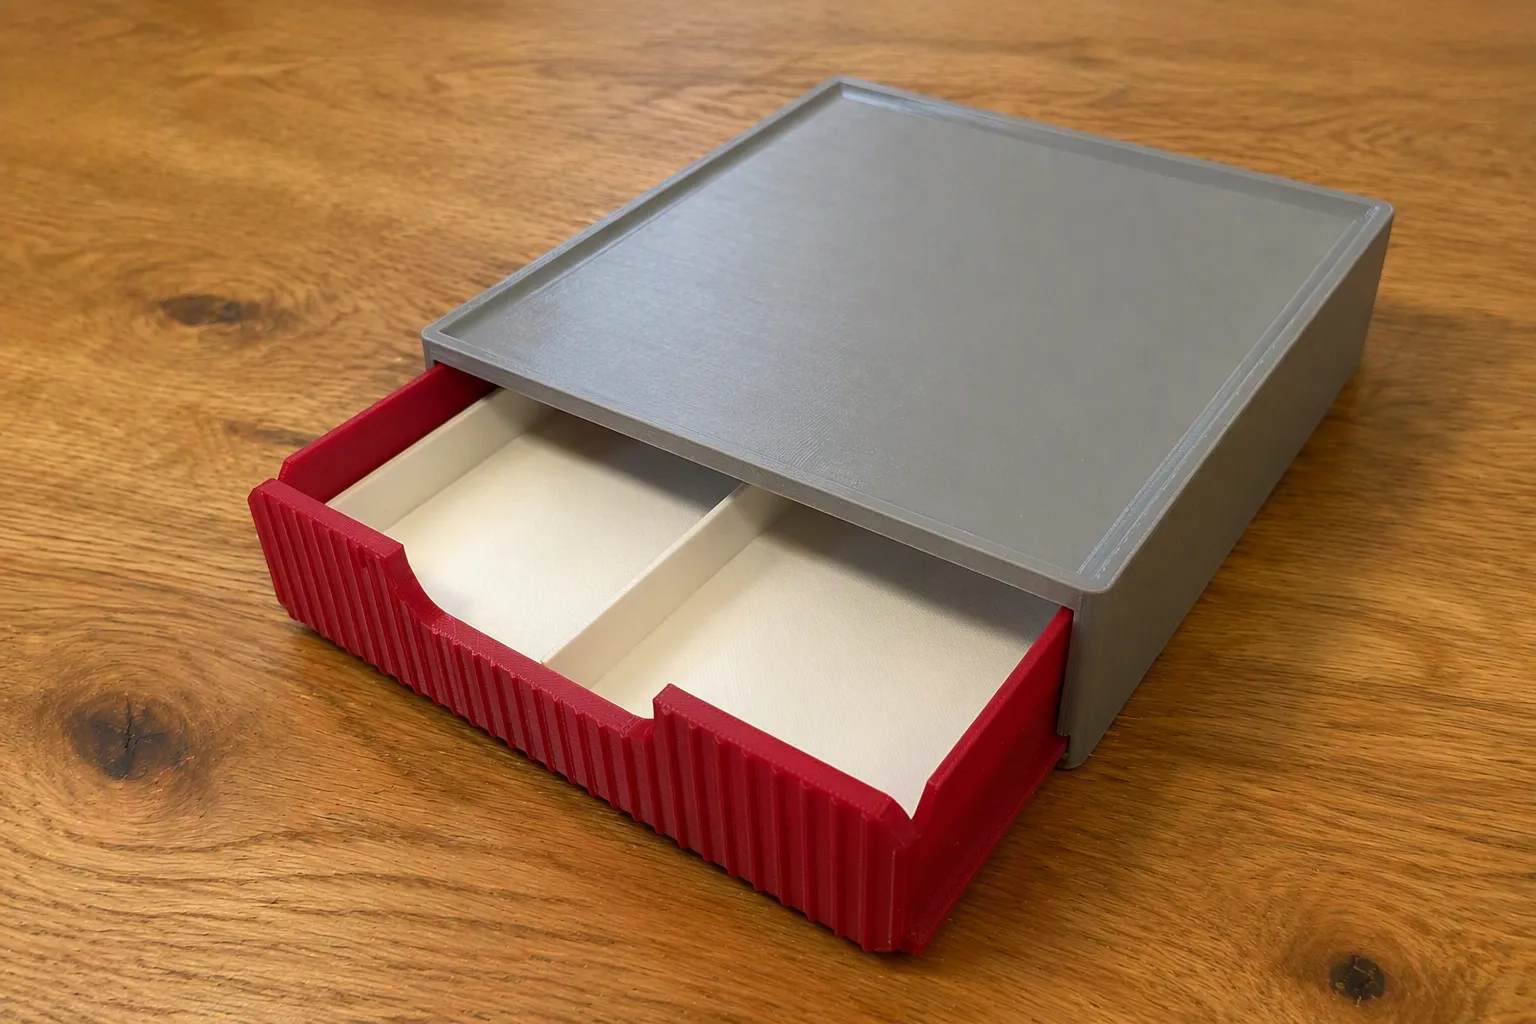
A stackable drawer system consisting of three part types:
- Housing — closed all around, only open at the front; a rail inside. Stackable via a 45° nesting rim
- Drawer — slides on the rail, decorative front with recessed handle and relief
- Insert — removable compartment trays that fit into the drawer
Each "level" consists of one housing + one drawer; the levels are stacked
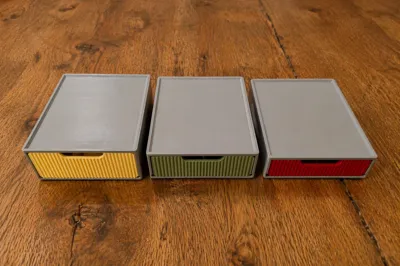
Print Orientation (all without supports)
| Part | Position on bed | Why support-free |
|---|---|---|
| Housing | on its back, front opening facing up | Rail runs vertically, nesting rim is 45° |
| Drawer | flat, opening facing up (bottom of tray on the plate) | Open box, front stands vertically — no cantilever |
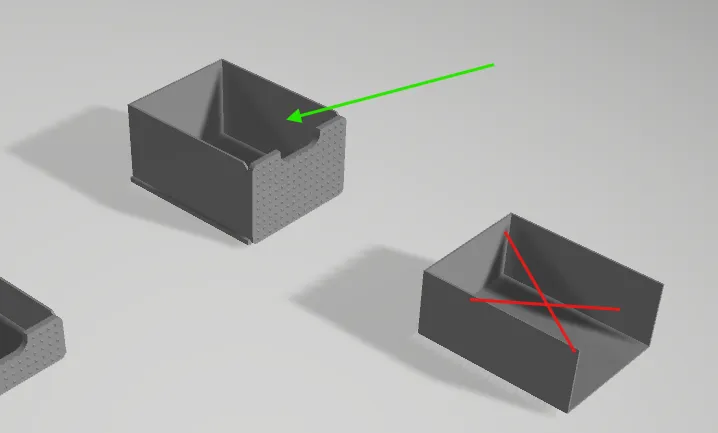
| Insert | flat, opening facing up | Open tray, no overhangs |
The export modes (part) already orient the parts for printing
2. Quick Start — Good Print Settings
For most users, the default values are sufficient. If you only want to change a few things:
- Size: Adjust unit_width / unit_depth to your space (Default 120 × 150 mm)
- Quantity & Heights: Set drawer_count and h1…h6 (mix shallow + deep drawers)
- Appearance: Choose relief_style (Diamonds / Vertical ribs / …)
- Print: Export part = Housing / Drawer / Insert with sel = Drawer 1…N, or part = All parts flat → in Bambu Studio "Split to Objects"
- Test fit: Print one drawer + its housing once and check the sliding fit before printing the entire tower
Recommended Slicer Settings
| Part | Layer height | Walls | Infill | Supports |
|---|---|---|---|---|
| Housing | 0.2 mm | 3–4 | 15–20 % | none |
| Drawer | 0.2 mm | 3 | 15 % | none |
| Insert | 0.2 mm | 2–3 | 10–15 % | none |
Material: PLA or PETG. Two-color without AMS = simply print housings and drawers separately in different colors
3. All Parameters in Detail
[What to build] — What is built/exported
| Parameter | Values | Meaning / Tip |
|---|---|---|
| part | Assembly / Housing / Drawer / Insert / Print plate / All parts flat | Assembly = only preview of the entire tower. For printing, select a single part or All parts flat (all parts separated on one plate → "Split to Objects") |
| sel | Drawer 1…6 | Which drawer size is printed during single export (1 = top) |
| preview_open | 0–160 mm | Preview only: how far the drawers are shown pulled out |
| preview_inserts | On/Off | Preview only: display inserts too |
| render_only | All / Housings / Drawers / Inserts | For renders only: exports only one material group as STL. For printing, leave as All |
[Overall Size] — External Dimensions
| Parameter | Default | Tip |
|---|---|---|
| unit_width | 120 | Width of each level. Must fit on the build plate (printed standing = height in print = unit_depth) |
| unit_depth | 150 | Depth = extension path. Attention: in print, this is the build height of the housing/drawer → must fit your Z-height |
| corner_r | 4 | Rounding of the vertical outer edges (0 = sharp) |
Build plate size check: Housing/drawer are printed lying on their back. Build height ≈ unit_depth, base area ≈ unit_width × total height of the level. For large unit_depth, check the max print height of your printer
[Drawers] — Quantity & Heights
| Parameter | Default | Tip |
|---|---|---|
| drawer_count | 3 | Number of levels (1–6) |
| uniform_height | Individual | Uniform = all drawers have the same height (drawer_clear_h). Individual = individually via h1…h6 |
| drawer_clear_h | 50 | Usable height for Uniform |
| h1 … h6 | 35/50/70/… | Usable internal height per drawer (top → bottom). Shallow compartments for small parts, deep for larger items |
[Shell / Walls] — Wall Thicknesses
| Parameter | Default | Tip |
|---|---|---|
| shell_wall | 4.0 | Housing sides/back wall. Min. 4 mm, because the groove uses half the wall (→ ≥ 2 mm remain) |
| shell_tb | 2.4 | Housing top/bottom |
| drawer_wall | 2.0 | Drawer wall. Thin is okay by default (rail_mode 0); only increase to ≥ 4 mm for rail_mode 1 |
| drawer_floor | 2.0 | Drawer floor |
| front_t | 3.0 | Thickness of the decorative front plate |
[Slide Rail] — Rail/Rib (the Sliding System)
| Parameter | Default | Tip |
|---|---|---|
| rail_mode | Groove in housing + rib on drawer | Switchable. Alternative: Rib in housing + groove in drawer. Choose what is more stable for your walls (groove removes material) |
| rail_h | 5.0 | Height of the rail |
| rail_wall_frac | 0.5 | Groove/rib depth as a proportion of the wall (0.5 = half wall → wall is not cut through) |
| rail_clear | 0.35 | Sliding clearance per side. Most important fit value: if it binds → +0.05; too loose → −0.05 |
| rail_backstop | 3.0 | How far in front of the back wall the groove ends (insertion stop) |
| floor_gap | 1.2 | Distance of drawer bottom above the housing bottom |
| side_gap | 1.0 | Side clearance drawer ↔ housing wall |
| top_gap | 1.2 | Clearance drawer top edge ↔ housing top |
| pull_stop | On | Small rounded detent (ball) at the front of the rail: the drawer can be pushed in and gently latches against falling out. Off = no stop (then pay attention yourself to prevent falling out) |
| pull_stop_h | 0.4 | Detent interference (mm) — how far the nose protrudes over the rib. Larger = tighter (harder to pull out); too large = drawer can no longer be pushed in. Range 0.2–0.8 |
[Stacking] — Stacking
| Parameter | Default | Tip |
|---|---|---|
| stack_lip | On | Nesting rim: foot at the bottom, pocket at the top → levels self-center when stacking |
| lip_h | 3.0 | Nesting depth |
| lip_wall | 3.0 | How far the rim is recessed from the outer edge |
| lip_clear | 0.3 | Fit of the nesting rim. If stack wobbles → reduce; if it jams → increase |
| stack_gap | 0 | Additional gap between levels. 0 = flush (normal). Only increase for visual separation |
[Front & Handle] — Front & Recessed Handle
| Parameter | Default | Tip |
|---|---|---|
| front_gap | 0.8 | Gap of the front to the housing opening (per side) |
| front_r | 6 | Corner rounding of the front plate |
| handle_w_frac | 0.42 | Width of the recessed handle (proportion of front width) |
| handle_h | 12 | Depth of the recessed handle from the top. 0 = no recess. More = better grip |
| front_inner_chamfer | 5 | 45° inner chamfer on the upper inner edge of the front (cosmetic, less sharp edge) |
[Front Texture] — Relief/Appearance
| Parameter | Default | Tip |
|---|---|---|
| relief_style | Diamonds | None / Diamonds / Vertical ribs / Horizontal ribs / Dots / Crosshatch |
| relief_size | 7 | Grid/spacing of the pattern (mm) |
| relief_depth | 0.9 | How far the pattern protrudes (mm) |
[Inserts] — Inserts (Compartments)
| Parameter | Default | Tip |
|---|---|---|
| ins1 … ins6 | per drawer | 0 Open · 1 = 2 compartments L/R · 2 = 3 compartments L/R · 3 = 2×2 grid · 4 = 2 compartments front/back · 5 = 3 compartments front/back |
| insert_clear | 0.3 | Fit insert ↔ drawer (per side). If it jams → increase |
| insert_wall | 1.6 | Wall thickness of the inserts |
| insert_floor | 1.6 | Floor thickness of the inserts |
| insert_h_ratio | 1.0 | Height as a proportion of the drawer's usable height. The height is automatically capped below the recessed handle anyway |
| insert_open_front | Open front | Omits the front wall of the insert (the drawer front closes it) → saves material and keeps the recessed handle clear |
4. Adjusting Fit Correctly (Troubleshooting)
| Problem | Cause | Solution |
|---|---|---|
| Drawer jams / is stiff | Sliding clearance too small | rail_clear +0.05 (possibly also side_gap/top_gap +0.2) |
| Drawer wobbles / too loose | Sliding clearance too large | rail_clear −0.05 |
| Drawer falls out | No/too small stop | pull_stop On, increase pull_stop_h (0.5–0.7) |
| Drawer cannot be pushed in | Detent nose too large | decrease pull_stop_h (0.3) or pull_stop Off |
| Stack wobbles | Nesting too loose | decrease lip_clear (0.2) |
| Levels do not fit together | Nesting too tight | increase lip_clear (0.4) |
| Insert jams in the drawer | Too little clearance | increase insert_clear (0.4) |
| Recessed handle too tight | Too shallow/narrow | handle_h 14–16, handle_w_frac 0.45 |
| Groove cuts through the wall | Wall too thin | shell_wall (or drawer_wall for rail_mode 1) ≥ 4 mm, rail_wall_frac ≤ 0.5 |
Bambu Tip: If a fit is slightly too tight, the slicer value "X/Y hole compensation" or "Elephant-Foot compensation" often helps instead of changing the model
5. Print Sequence
- Test: Print one housing + one drawer, check sliding fit (rail_clear)
- For each level, print 1 housing + 1 drawer, plus the desired inserts
- Push in the drawer (rib slides into the rail; the rounded detent nose gently clicks in and holds it)
- Insert the trays
- Stack the housings — the 45° foot centers itself in the pocket of the level below
TIP: For inserts that have no division, only the drawer can be printed without its insert
Happy printing! 🧡
✅ Print notes
Designed & tested on Bambu Lab (H2C · P2S · P1S) — works on any FDM printer.
💬 Enjoyed this model?
Boost Me (for free)
Enjoyed this model? ⭐ Boost & like
⭐ Boost & like · ➕ Follow me · 📸 Post a Make · 🗨️ drop a comment — I reply to every one!
🔎 All my models → Free for personal use · please remix & link back instead of re-uploading. 🧡
License

You shall not share, sub-license, sell, rent, host, transfer, or distribute in any way the digital or 3D printed versions of this object, nor any other derivative work of this object in its digital or physical format (including - but not limited to - remixes of this object, and hosting on other digital platforms). The objects may not be used without permission in any way whatsoever in which you charge money, or collect fees.


Comment & Rating (1)