
Drying Mat Storage Command Clips
Print Profile(1)
Bill of Materials
- Command Strips x 2: I used the Command Poster Strips
Description
"Welcome to my page! I love creating functional designs that make life a little easier for everyone. My current mission is to save up enough MakerWorld points for a new printer, and every download gets me one step closer to that goal!
If you print one of my designs, please share a photo in the comments—I truly love seeing my work out in the wild. Thank you for being part of my journey!"
-
Boost Me (for free)
I always appreciate the support. Enjoy the model!
Drying Mat Storage Command Clips
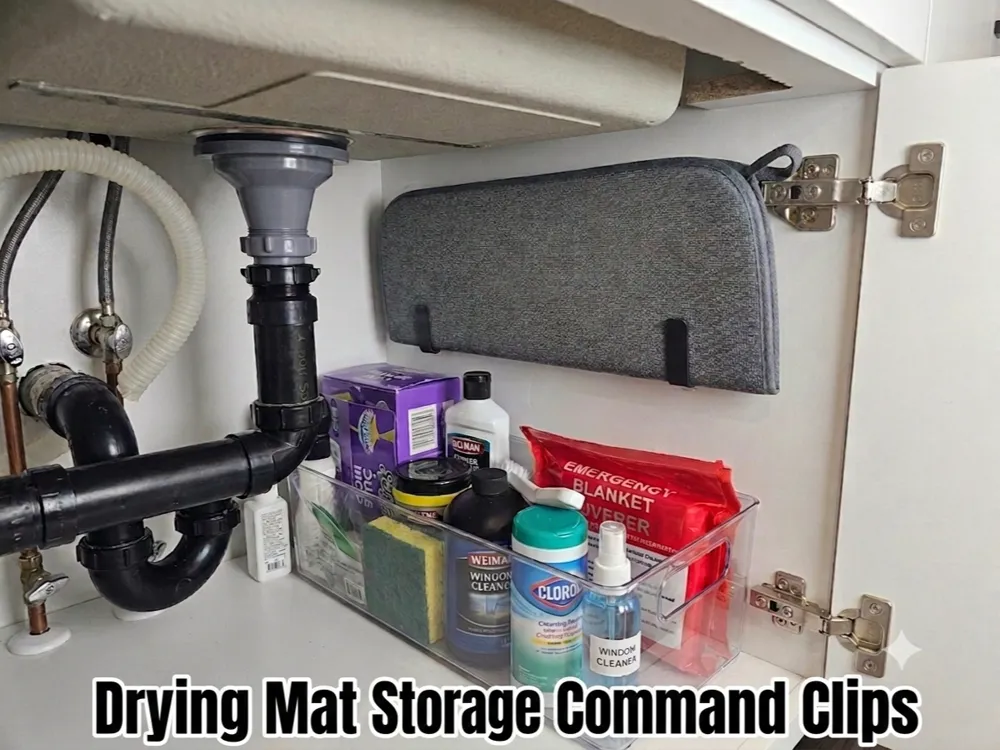
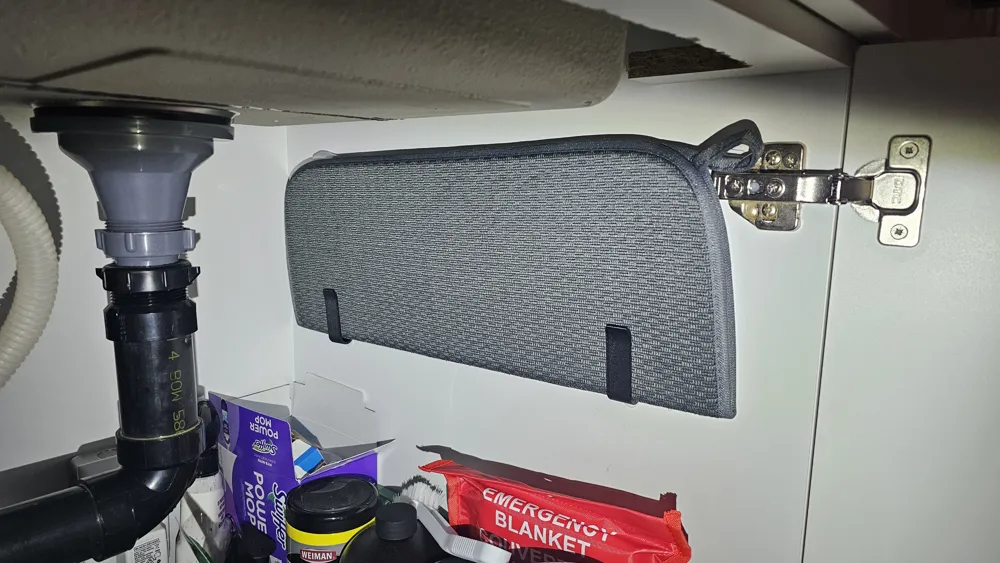
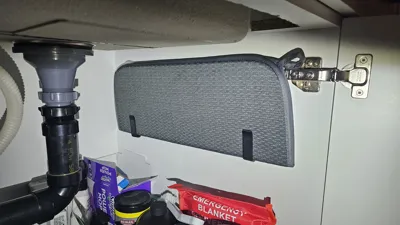
Tired of your dish drying mat taking up valuable counter space or cluttering your drawers? This simple, low-profile design allows you to tuck your drying mat neatly away on the inside of a cabinet door or under-sink cupboard wall.
It is designed to hold standard fabric folding drying mats securely while keeping them easily accessible.
Print Settings
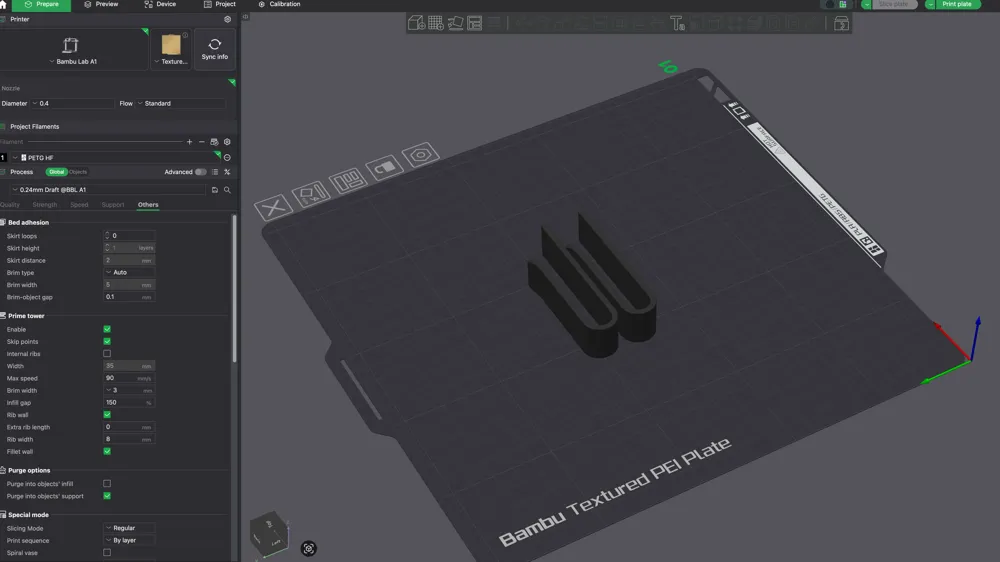
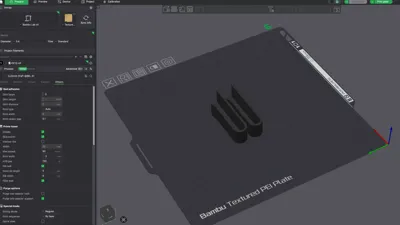
As seen in Screenshot, this model prints quickly with no support required:
- Filament: PETG (Recommended for kitchen/under-sink environments for durability and humidity resistance)
- Orientation: Print on its side as shown on the Bambu Textured PEI Plate in Screenshot for maximum clip strength.
- Supports: None needed.
Easy Mounting Instructions (The "Perfect Alignment" Method)
To ensure your clips are perfectly spaced and aligned with your specific drying mat, follow these simple installation steps:
- Prep the Clips: Apply your choice of Command strips to the flat back side of each 3D printed clip, leaving the wall-side adhesive backing covered for a moment.
- Align on the Mat: Slide the clips directly onto the bottom edge of your folded drying mat in their ideal, spaced-out holding positions.
- Prep the Cabinet: Clean the inside area of your cupboard where you plan to mount the mat to ensure strong adhesive stick. Remove the paper backing from the Command strips.
- Stick and Secure: Holding the drying mat itself, press the whole assembly firmly against the inside of the cupboard wall where you want it. The mat acts as your perfect alignment guide, sticking both clips to the wall precisely where they need to be!
- Set: Remove the mat gently and press firmly on each clip for 30 seconds to secure the bond.
If you find this model useful, please leave a review and post a photo of your make!
If you feel my work has earned it, please feel free to give a boost, a rating, or whatever you see fit. Thank you for visiting and for your support!
-
License

You shall not share, sub-license, sell, rent, host, transfer, or distribute in any way the digital or 3D printed versions of this object, nor any other derivative work of this object in its digital or physical format (including - but not limited to - remixes of this object, and hosting on other digital platforms). The objects may not be used without permission in any way whatsoever in which you charge money, or collect fees.


Comment & Rating (0)