
Solitaire Station
Print Profile(1)
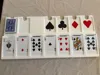
Description
Boost Me (for free)
Your support helps keep me motivated to continue to create and share new models. A comment, boost, or rating lets me know that you are out there and enjoying my work. Thanks!
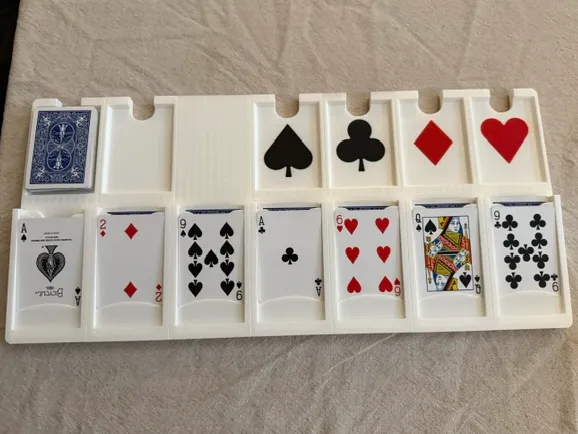
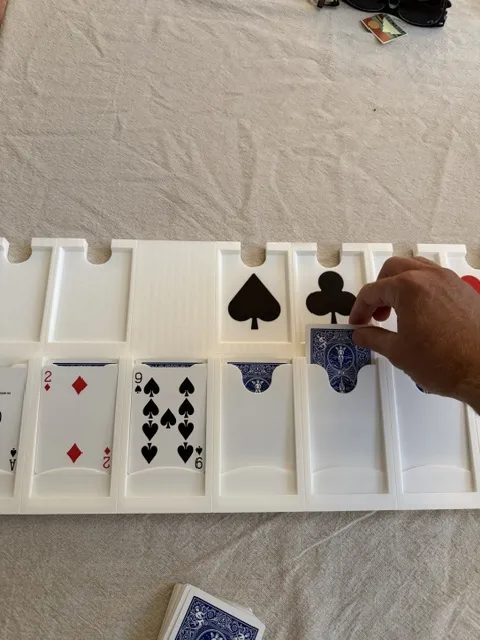
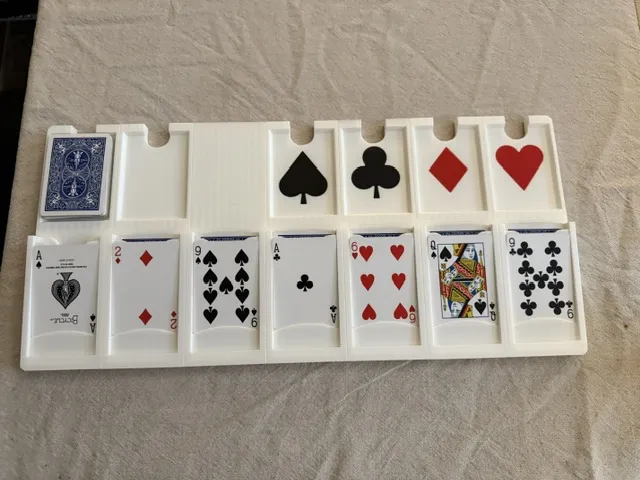
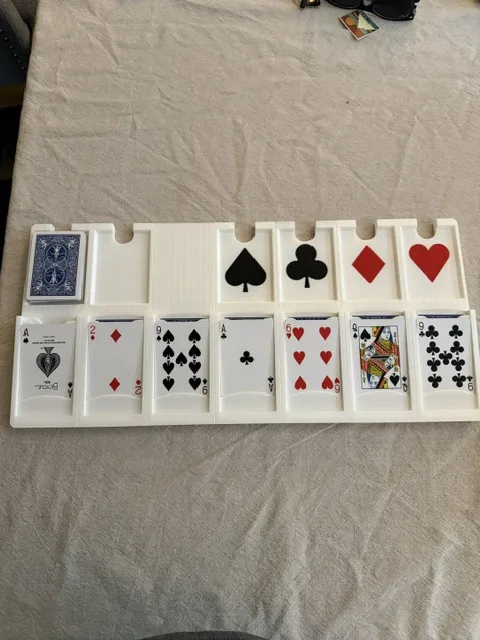
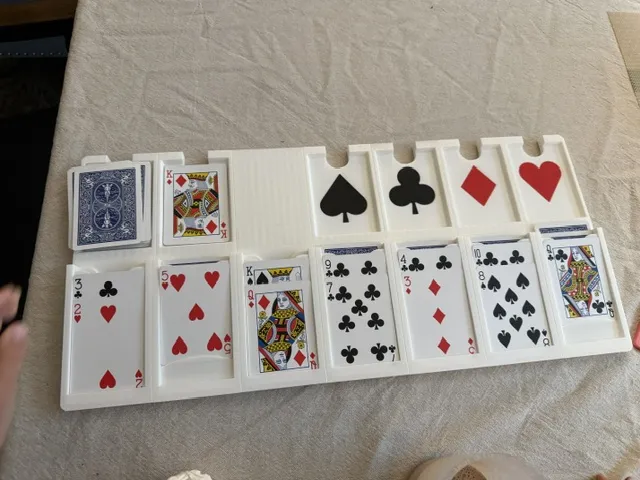
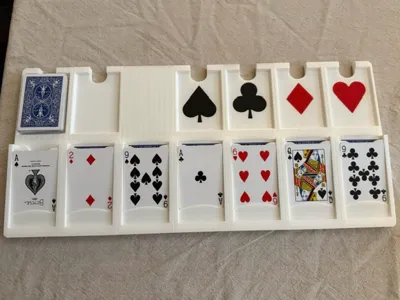
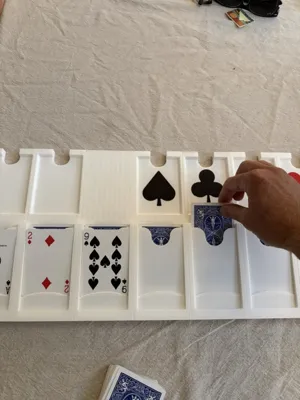
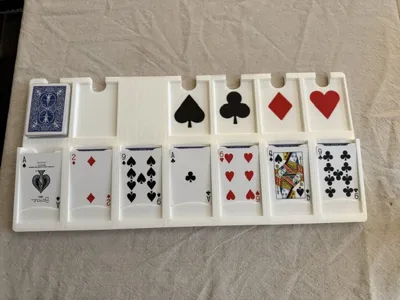
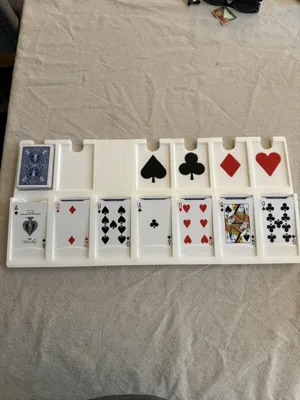
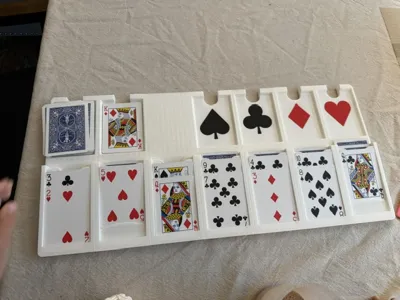
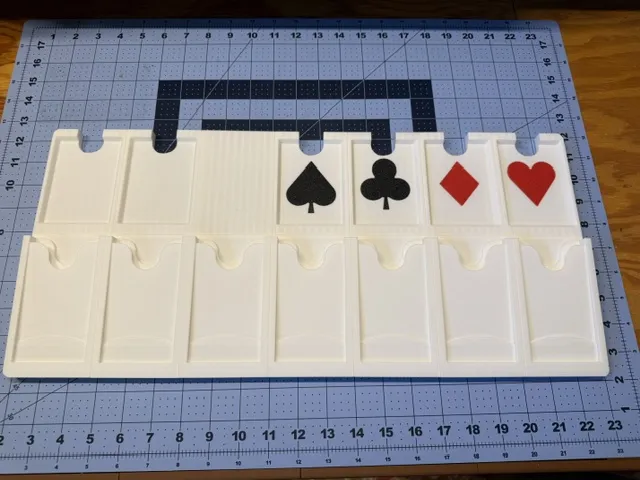
I created this Solitaire Station because my daughter likes to play solitaire in bed and she got frustrated because the cards kept slipping off of the piece of poster board that she was using. The Solitaire Station allows you to play solitaire when and where you please, you can even pick your game up an move it to a new location.
There is some nuance to putting this together so please follow these instructions:
Print out all of the parts provided in the .3mf print profile.
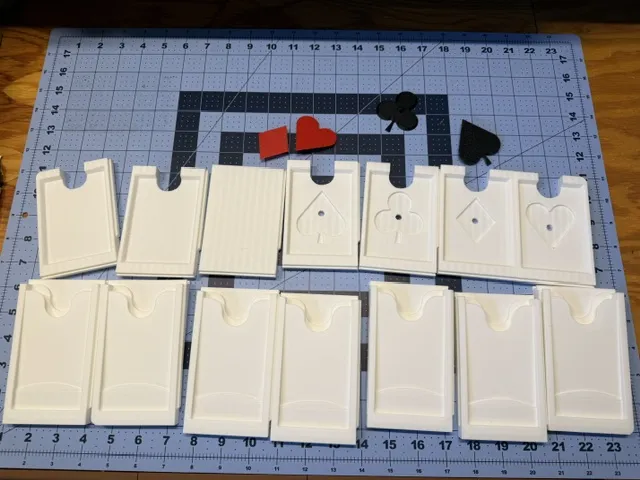
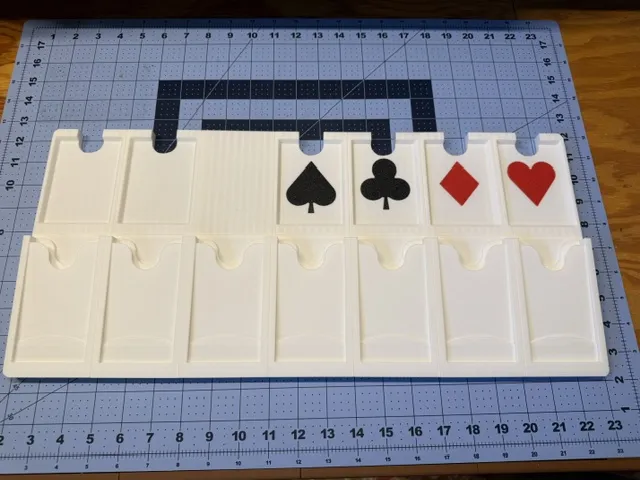
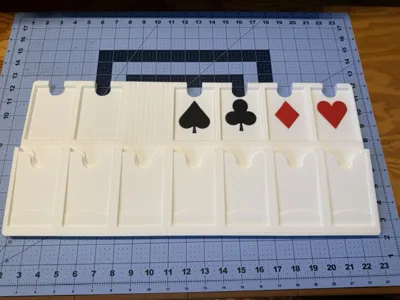
Install the hearts/diamonds/clubs/spades inserts into the corresponding suites tray. These just press fit in and do not require gluing.
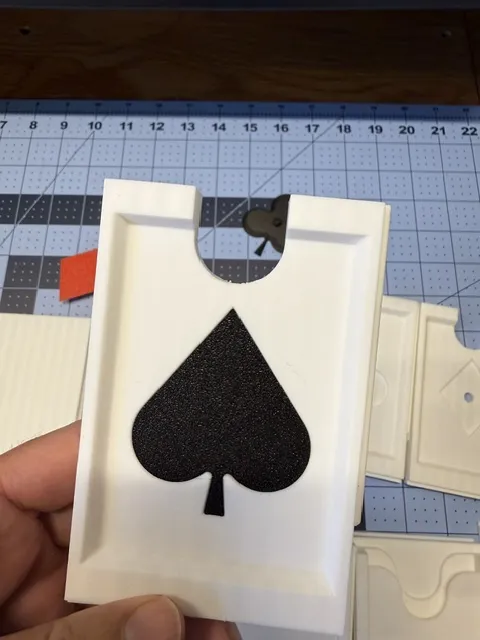
Begin assembly of the top row by sliding the dovetail joints together. Note: that there are two endcaps on the top row that have one smooth side. One piece will be the Hearts tray and the other will be the deck tray. Note: The dovetail joint was created to have a tight fit to prevent the pieces from falling apart, some pressure will be required to complete installation. Please don't use the hammer though!
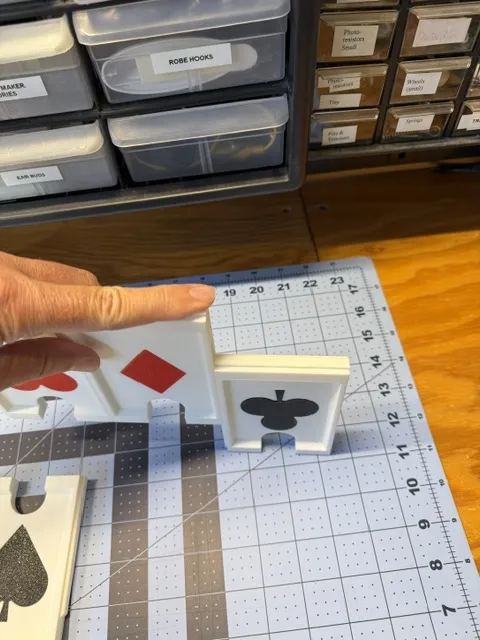
Complete assembly of the top row.
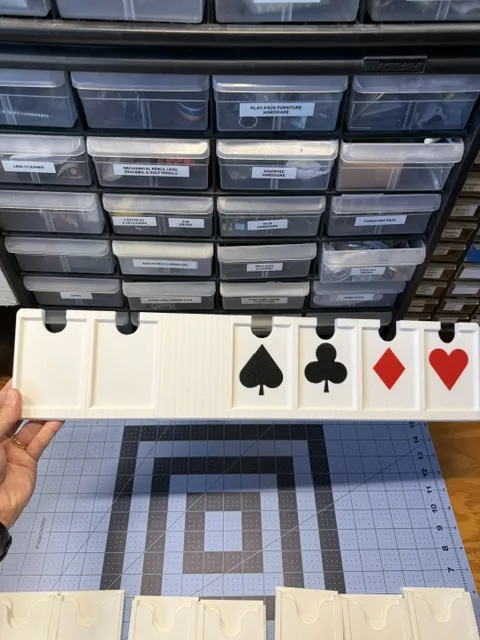
Begin assembly of the top row by sliding the dovetail joints together. Note: that there are two endcaps on the top row that have one smooth side. These pieces are nearly indistinuishable from the others so it is adivsed to lay everything out in order before beginning this step. Note: The dovetail joint was created to have a tight fit to prevent the pieces from falling apart, some pressure will be required to complete installation. Please…still…don't use the hammer!
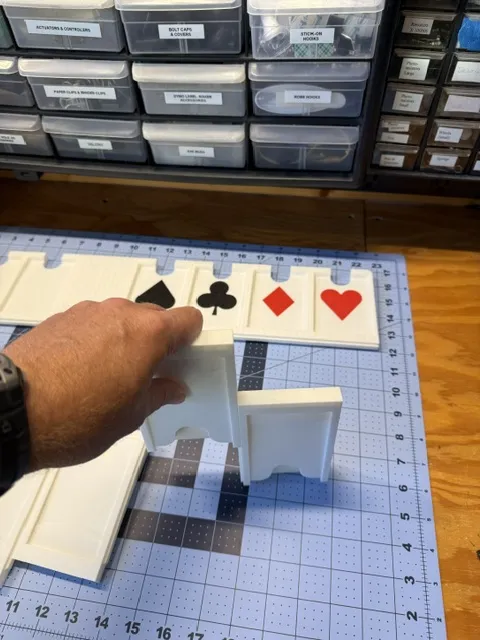
Complete assembly of the bottom row.
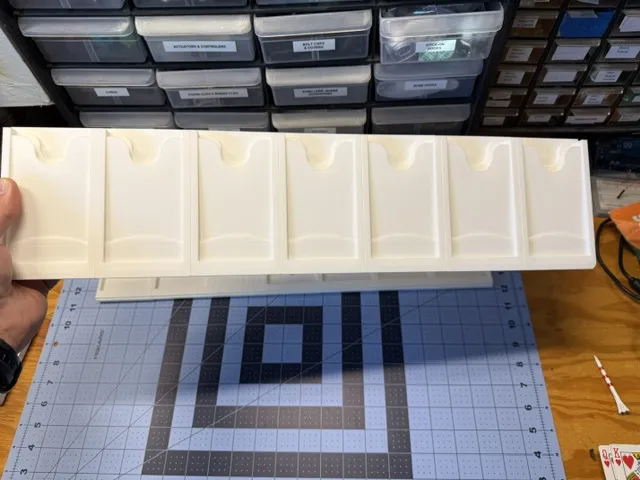
Complete the assembly by installing the top row to the bottom row. Note: It could be helpful to run a deburring tool along the dovetail edges to remove some material to facilitate easier installation.
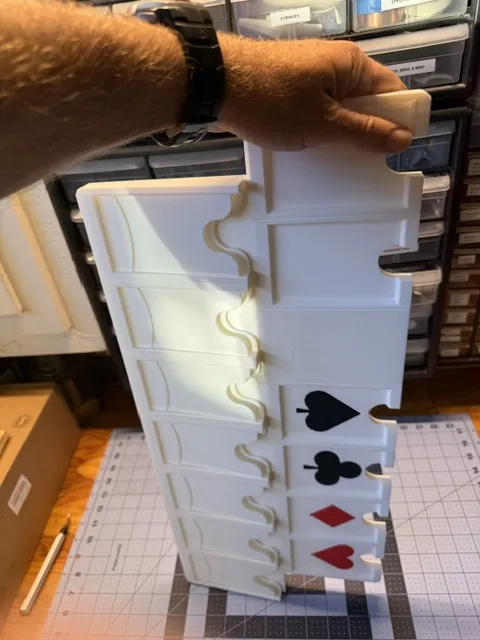
At this point assembly is complete. Note: If you find yourself stuck and can't get the pieces to fully seat together it is advisable to use a pony clamp with a screw end to apply gradual force to move the pieces through the sticking points.
License

You may create derivative works based on this object, provided that all such derivative works are published exclusively on the MakerWorld platform and include proper attribution to the original creator. You may not share, upload, host, distribute, or publish this object—or any derivative work of this object—on any other digital platform, marketplace, or distribution channel. Commercial use of this object and any derivative works is strictly prohibited. This includes, but is not limited to, selling, renting, sublicensing, or using the object in any context in which you receive monetary compensation or other financial benefits.


Comment & Rating (0)