
MagnetPress Mini
Print Profile(2)
Description
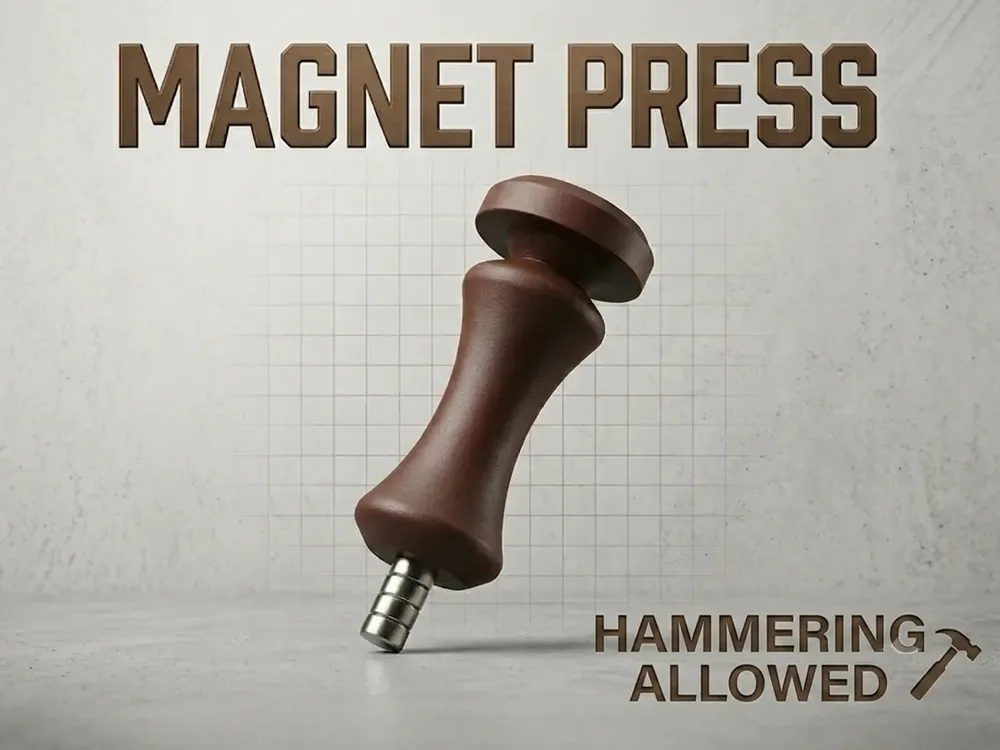
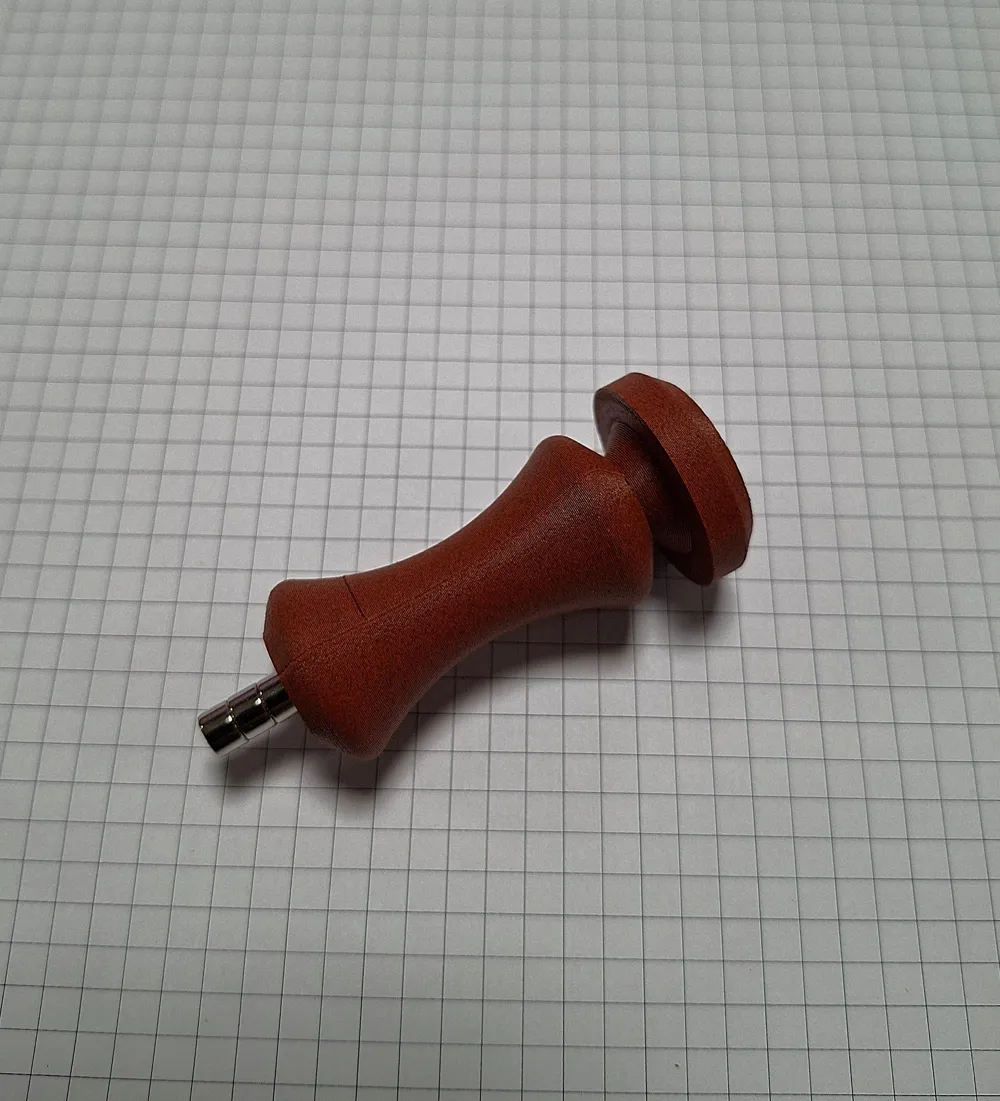
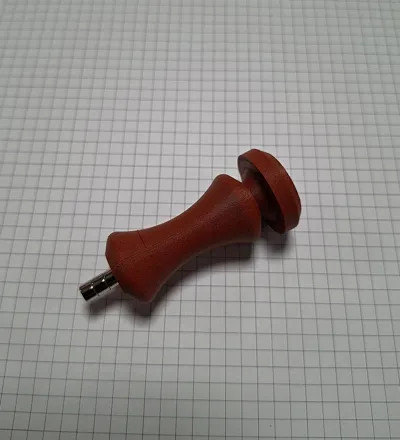
🧲 MagnetPress Mini – The Ergonomic Magnet Press
Tired of hurting your fingers while press-fitting magnets into your 3D prints? MagnetPress Mini is the compact, robust, and ergonomic solution designed to make magnet insertion quick, precise, and completely painless.
Whether you are working on miniatures, magnetic boxes, or complex projects, this tool will become an essential asset on your workbench.
🚀 Key Features
- Top-Tier Ergonomics: The shape is engineered to fit perfectly in the palm of your hand, distributing pressure evenly without straining your fingers.
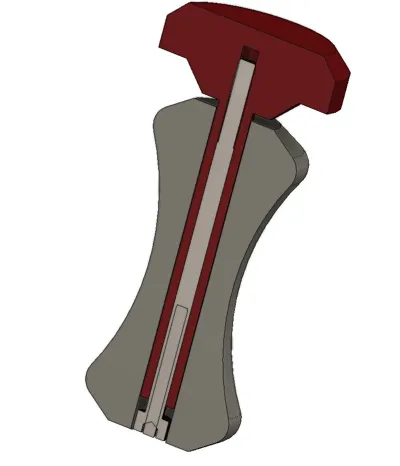
- Hammer-Ready: The top plunger features a flat, reinforced head. If you encounter tight tolerances or stubborn magnets, you can hit it directly with a small hammer in total safety.
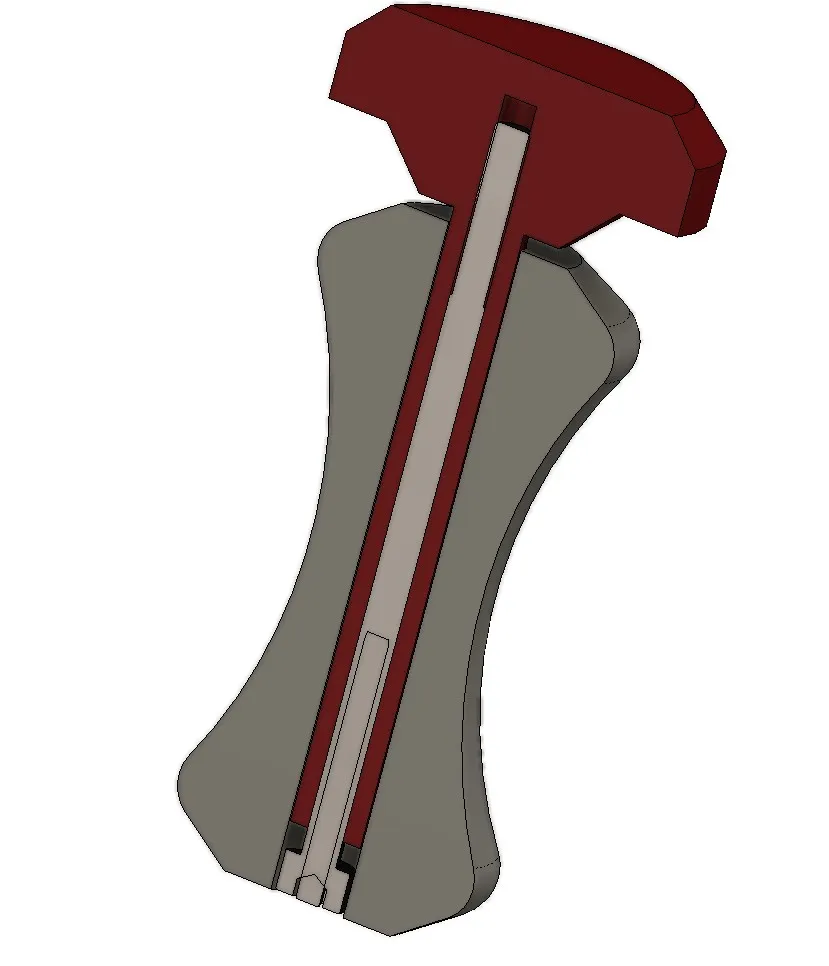
- Incredible Sturdiness: Designed with thick walls and optimized geometries to transfer force vertically, preventing any bending or breakage of the printed body.
- Compact Size: It doesn't take up space on your desk and is ideal even for the smallest details.
🛠️ Printing & Slicer Settings
To ensure maximum structural strength (especially if you plan on hammering it), I recommend using the following settings in Bambu Studio / OrcaSlicer:
- Recommended Material: It is best to use engineering materials (such as ASA, ABS, or Polycarbonate) to ensure maximum impact resistance. Personally, I printed it in PETG, and it performs flawlessly, holding up great against stress.
- Wall Loops: At least 6 walls (crucial for giving maximum solidity to the plunger).
- Infill: 30% - 40% with a Gyroid or Grid pattern for optimal compression strength.
- Supports: No, the model is optimized to be printed without any supports.
For 6mm press If necessary, re-drill the M3 screw holes with a 3mm drill bit only for 45-50mm, and a 6.2mm drill bit for the handle hole. This is for the different machine calibrations.
For 8mm press If necessary, re-drill the M3 screw holes with a 3mm drill bit only for 45-50mm, and a 8.2mm drill bit for the handle hole. This is for the different machine calibrations.
It's necessary a screw M3x55 for press 6mm
It's necessary a screw M3x55 for press 8mm
If you like this project and it saved your fingers, please leave a Like and a Review with a photo of your print! Happy printing!
License



Comment & Rating (0)