Football / Soccer Wind Spinner


Print Profile(2)
![[1x Segment] 0.2mm layer, 2 walls, 15% infill](https://makerworld.bblmw.com/makerworld/model/USb7c053bf6ce7d2/828642124/instance/c20772960a08fc59.webp?x-oss-process=image%2Fresize%2Cw_100%2Fformat%2Cwebp)
![[5x Segments] 0.2mm layer, 2 walls, 0% infill](https://makerworld.bblmw.com/makerworld/model/USb7c053bf6ce7d2/828645254/instance/4550cfda59ac4282.png?x-oss-process=image%2Fresize%2Cw_100%2Fformat%2Cwebp)
Bill of Materials


.jpg)
Description
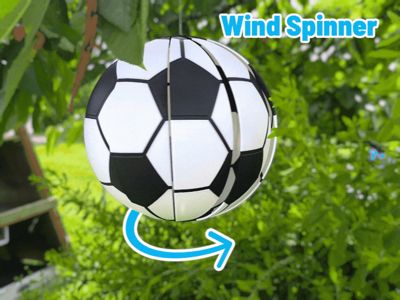
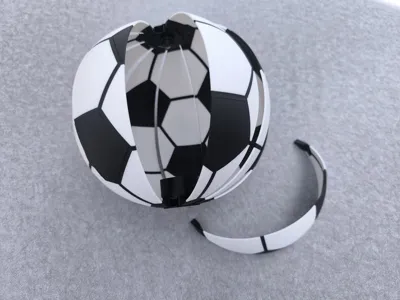
Football / Soccer Wind Spinner!
Right on time for the FIFA Football World Cup, I present the first Football Wind Spinner!
With 10 offset segments, this ball spins continuously in the wind like an VAWT.
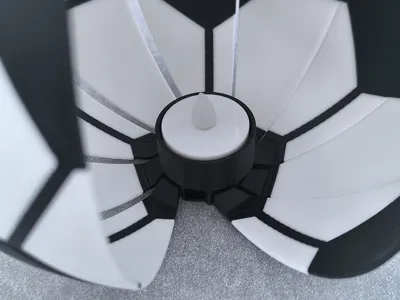
An axial bearing ensures precise and smooth rotation. Even the slightest breeze makes this traditional football start turning.
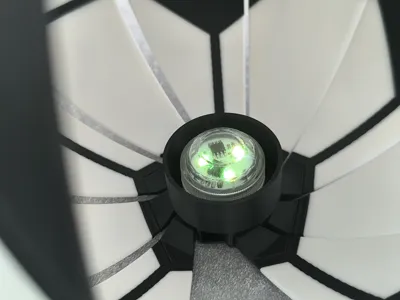
Additionally, it can easily be illuminated using a tea light or an LED spotlight.
Boost Me (for free)
🥅
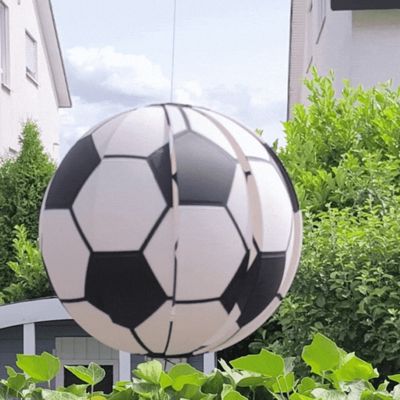
The diameter is approximately 200 mm, which corresponds to the size of a children's football/soccer ball (size 4).
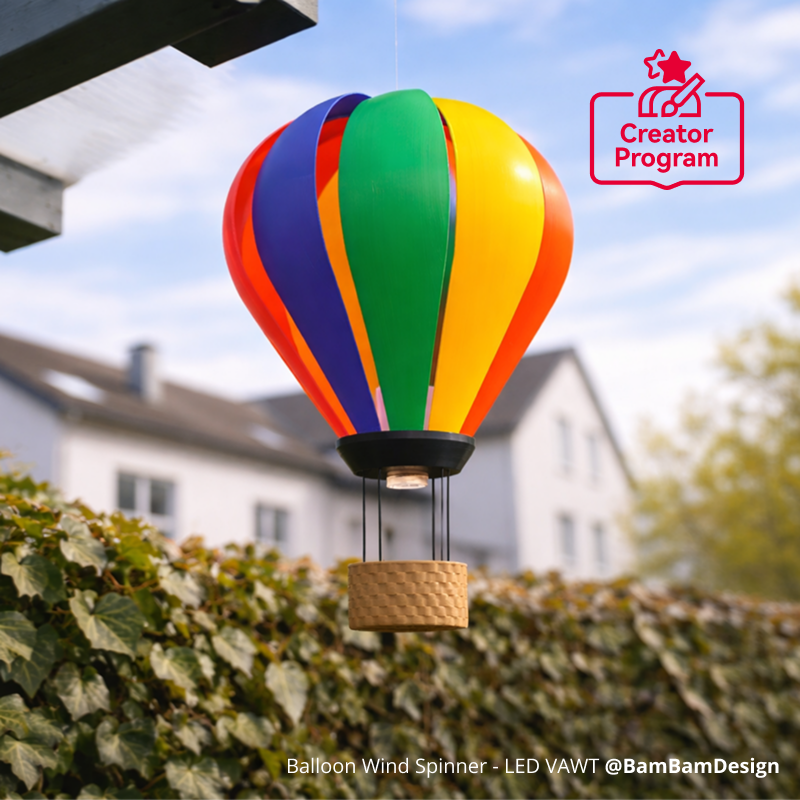
Similar to the very popular balloon wind spinner, the segments are simply clipped into the holder at the bottom and top. No glue required!

Features:
- Traditional football
- Spins easily in wind from any direction (VAWT principle) and shows how windy it is.
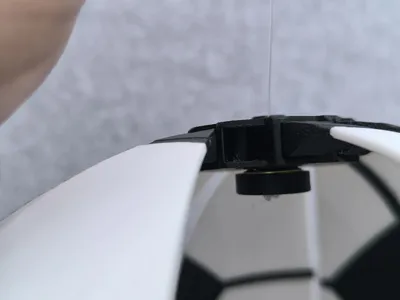
- Built-in bearing prevents the string from twisting to much in strong winds.
- Lighting options: LED spotlight with remote control or a tea light with timer
- Individual segments allow for creative color combinations!
- Easy large print – no supports required
- Very easy to assemble! No Glue! thanks to clip connections
Printing:
For now i just tested with PLA+ tough and hope it will not to warm outside. I recommend to print at least in PETG in warm areas 🥵.
Keep your bed clean to ensure good adhesion for the segments.
Because the seams are slightly recessed, you could also try printing it in a single color. With a light fuzzy skin effect, it’s a good option if you don’t have a multi-color printer available.
The ball itself uses 2 different segments (Segment A & Segment B)
You can print 5 on the H2 series at once.
As alternative profile i added just one to each buildplate if you want to print on smaller machines.
Assembly:
Bambulab provided a special kit for assembly: B-ZH-144 which contains:

Deselect the individual parts if you want to purchase the kit. And vice versa!
- The Ball Bearing is recommended but you can also use the two 3D printed discs. With the metal bearing, the cord twists less before the bearing releases and it turns a bit faster. Without the metal bearing it will also turn in the opposite direction because the cord twists.
- LED spot from BOM is also optional, but its really cool with the remote. You can also use are regular LED tea light.
- The linked nylon cord works but I personally used transparent fishing line for the hanging mount. (Reflink-https://amzn.to/4cYLu65) This one is even less easy to twist.
*Video/Pictures are coming soon*
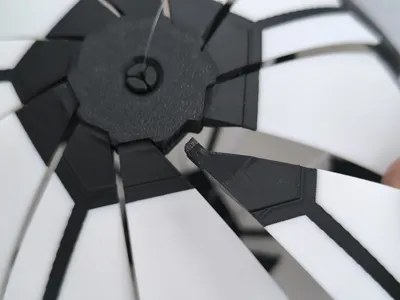
The ball uses 10 segments: 5× Segment A and 5× Segment B. Clip them alternately into the base and the top piece.
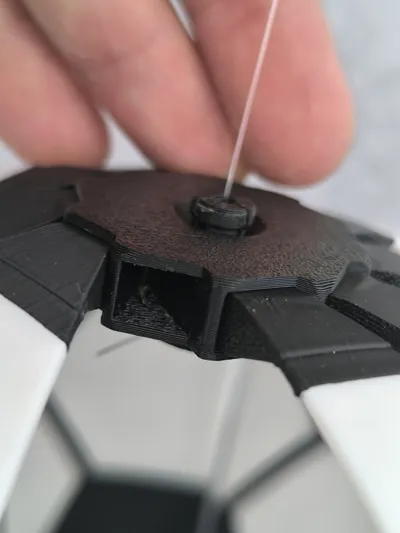
Before clipping in the final segment, the pin with the bearing and string must be inserted. If desired, the lighting can also be installed at this stage.
The final segment is a bit difficult to clip in due to limited accessibility, but it can be done ;)
Wishing everyone a fantastic football World Cup with this ball!⚽
Happy Printing
Membership
You want to sell printed objects from my designs or just support my work? Now you can subscribe on Makerworld! Thank you!
License
You shall not share, sub-license, sell, rent, host, transfer, or distribute in any way the digital or 3D printed versions of this object, nor any other derivative work of this object in its digital or physical format (including - but not limited to - remixes of this object, and hosting on other digital platforms). The objects may not be used without permission in any way whatsoever in which you charge money, or collect fees.
Comment & Rating (5)