MPU6050 x 1: optional, doesn't affect the core functionality.
PCA9685 x 1:
Description
Boost Me (for free)
Thank you for inspiring me to create more excellent models!
If you like my design, feel free to click the “Buy Now” button (if available) on this page to support me. I may earn a small commission, which helps me keep creating more models. Thanks and have fun!
Introduction
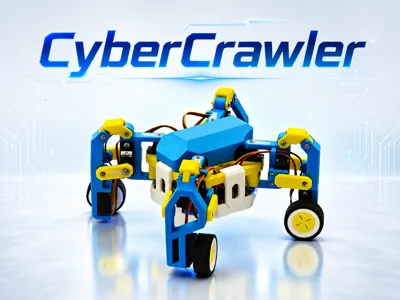
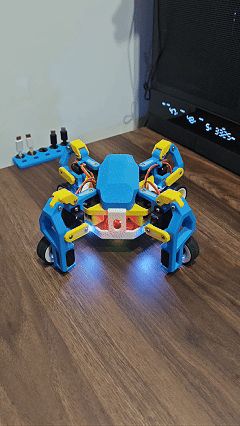
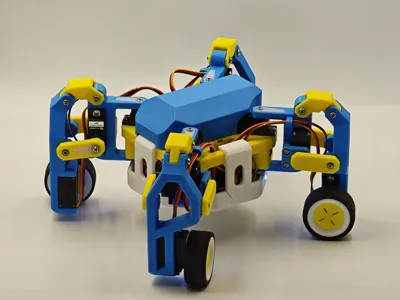
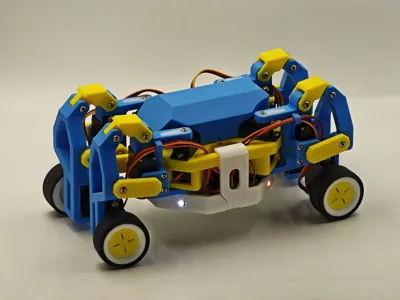
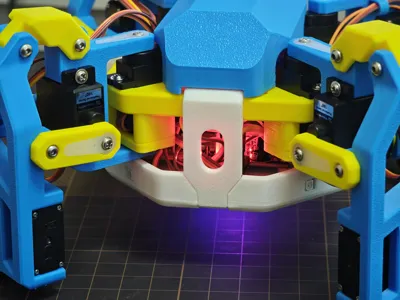
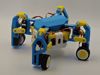
Meet CyberCrawler!
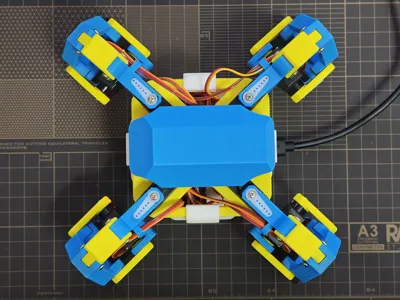
A dual-mode wheeled-legged RC robot that can switch between quadruped crawl mode and vehicle mode.
The entire assembly process requires no soldering.
Due to the limited number of servo ports on the CyberBrick itself, a PCA9685 module was used for expansion. The final setup uses eight 180° servos and four 360° servos.
Each leg has only 2 DoF, which keeps both the mechanical structure and the code relatively simple.
An MPU6050 is used to provide basic posture correction and balance detection, helping the body maintain stability. However, due to its limited performance and sensor drift, only some simple stabilization logic was implemented. Whether to install it or not is entirely optional for those recreating the project.
In crawl mode, the robot can switch between different gaits (trot,walk,ripple and single).
vehicle mode uses a hybrid Ackermann + differential steering system.
If the body tilt angle becomes too large, the robot enters an emergency mode: all servo outputs are disabled and a red light starts flashing. Toggle the three-position switch to exit emergency mode.
If the remote control connection is lost, the robot automatically enters standby mode.
Overall dimensions in vehicle mode: 195 × 100 × 95 mm.
The official CyberBrick app is not sufficient for this project’s requirements, as the project mainly relies on custom code. Therefore, the provided CyberCrawler.json configuration file does not actually contain functional content and is only used for pairing.
Code uploading and debugging are done using Thonny(https://thonny.org/), which requires a computer.
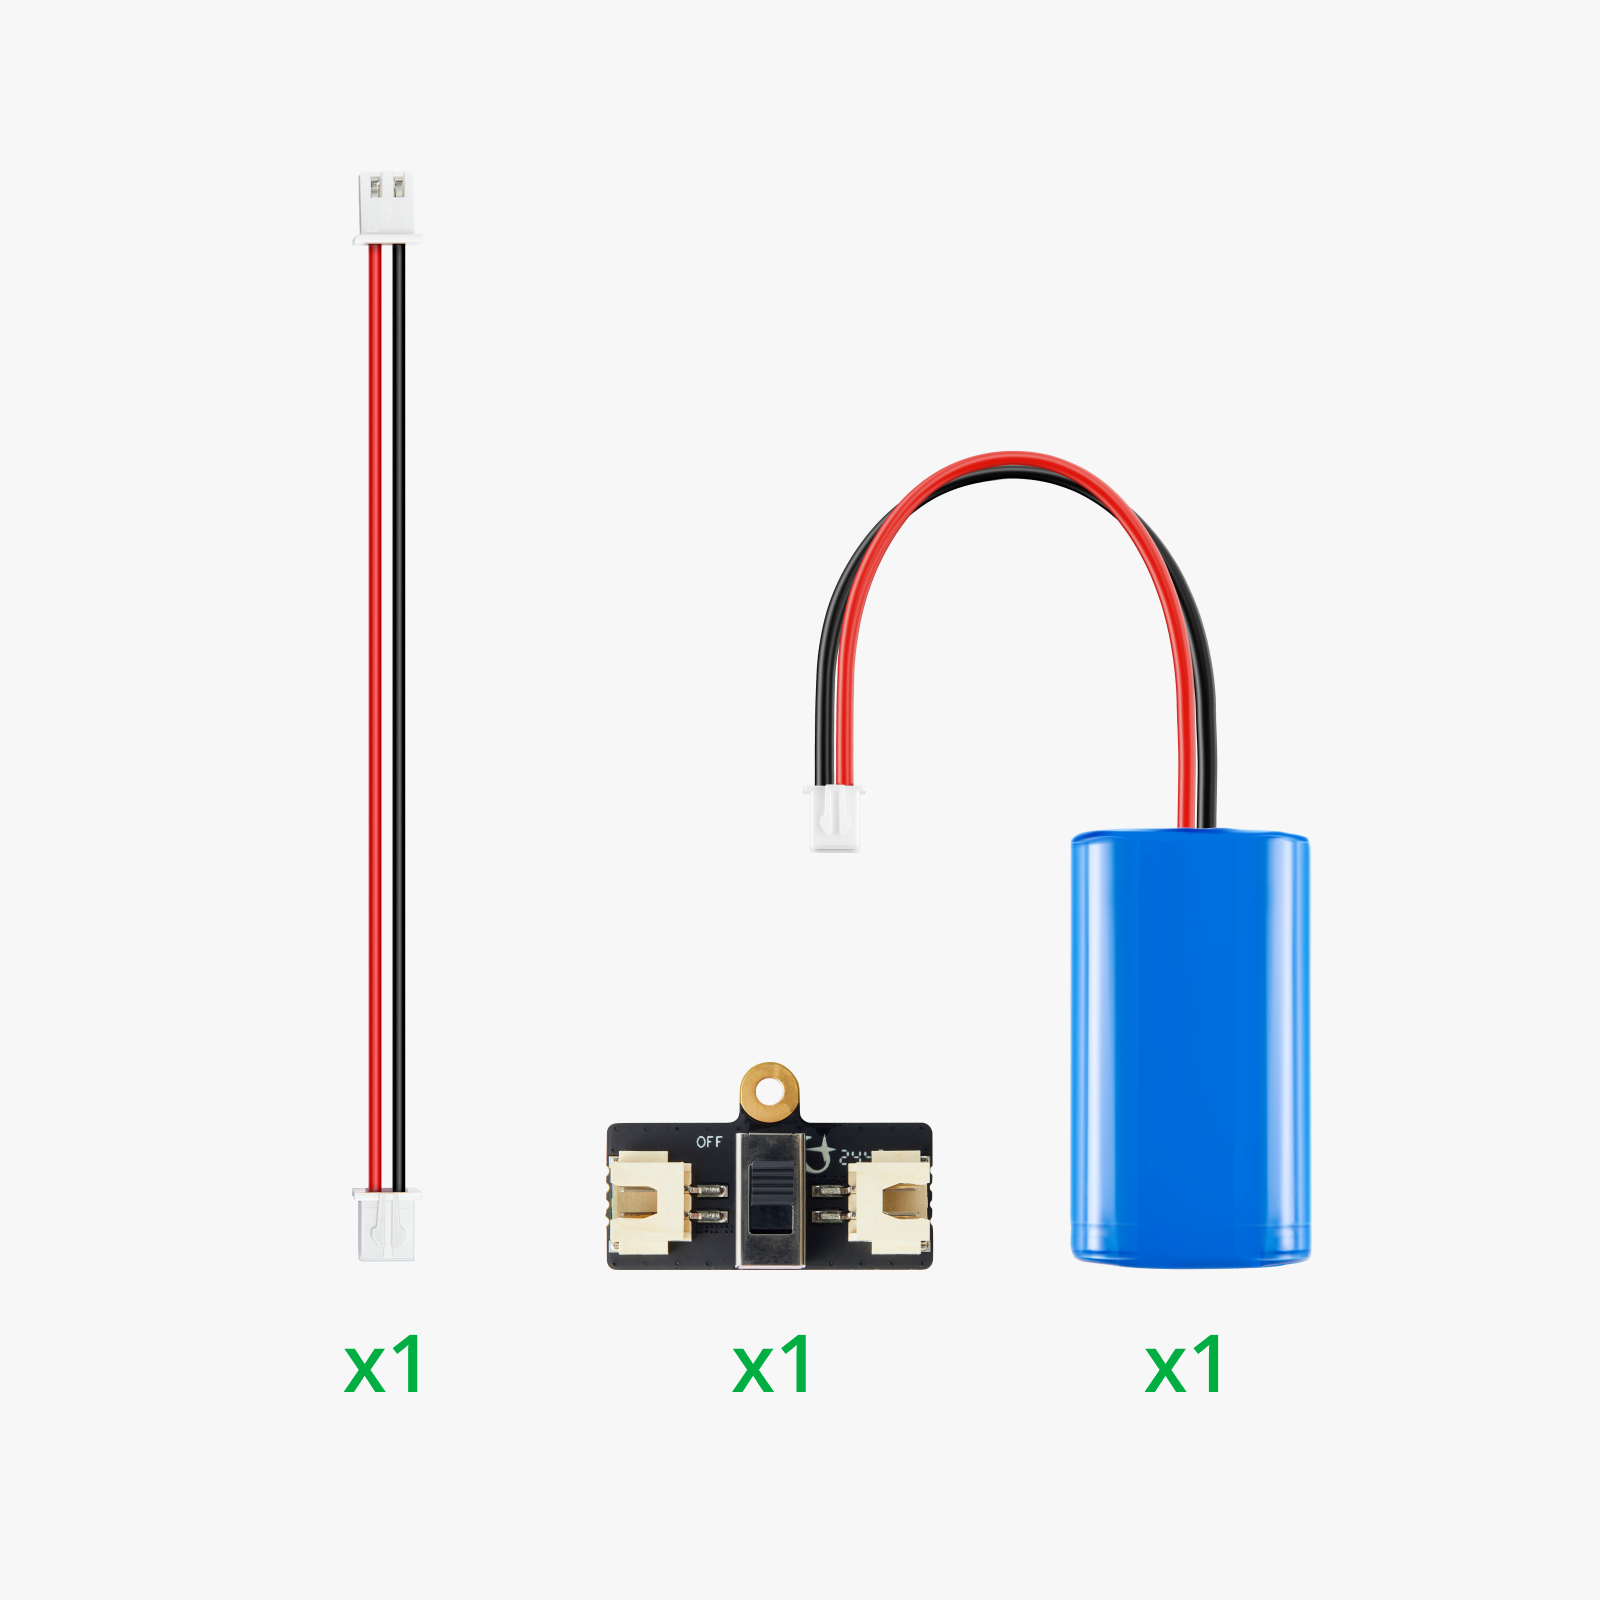
It is recommended to use an additional lithium battery instead of the remote controller’s battery box to achieve longer operating time. It's up to you.
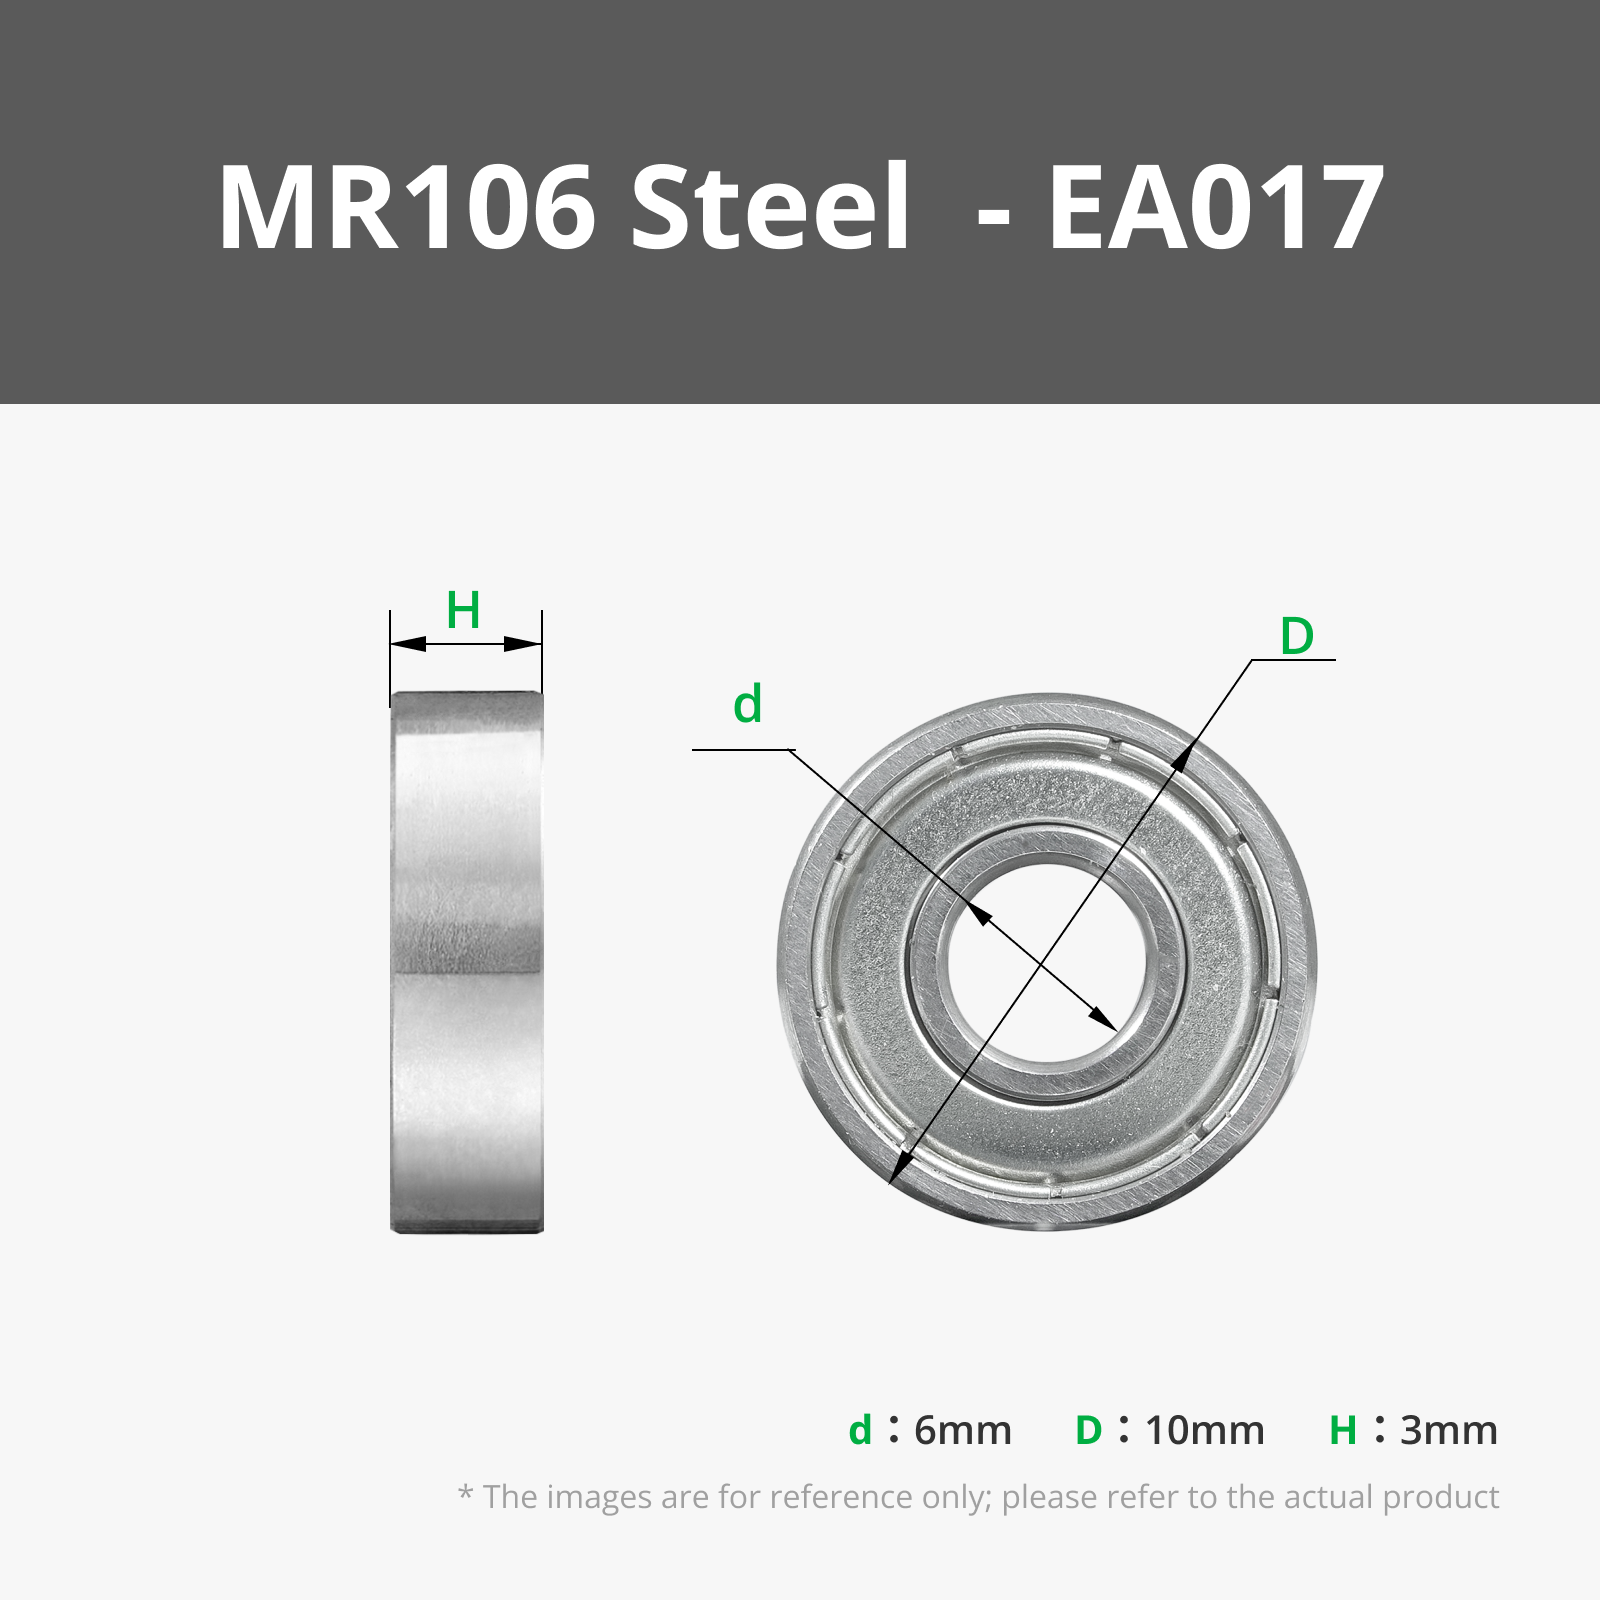
MR106 bearings × 8
9g 180° servos × 7
9g 360° servos × 3
I used CyberBrick servos(8 PG001 and 4 PG002) throughout the entire project.
In case you plan to use servos from other brands, be aware that their servo horns may differ.
Check the image below. The servo horn on the left is from Bambu Lab. The ones in the middle(small, 6 holes) and on the right(big, 5 holes) are accessories from other cheap servos I purchased.
Although the middle one(small, 6 holes) is not a perfect fit for the mounting holes in my design, it should still work (see the image below). However, I only purchased one servo of this type, so I did not perform a full assembly test with it.
I couldn’t find an MPU6050 with pre-soldered upward-facing straight header pins on Amazon.
If you have soldering tools, the provided link is for the unsoldered version.
If not, try searching on other platforms. Alternatively, as mentioned earlier, you may choose to skip the MPU6050 entirely, since it does not affect the robot’s core functionality.
The following assembly guide is identical to the PDF version, allowing users in different languages to read it using the website’s built-in automatic translation.
Do not fully tighten the screws on the linkage (the yellow moving parts shown in the image). Loosen them by about half a turn to allow free movement.
These partially tightened screws may gradually loosen due to vibration, so it is recommended to monitor them and retighten as needed.
Alternatively, you may apply threadlocker or super glue inside the holes of the inner printed parts.
Use caution, as excessive glue may permanently bond the joint.
M2.5 × 6 BHCS machine screws × 8
There are two mirrored versions of the wheeled legs. Pay attention to their installation positions; refer to Figures 3 and 4.
The cutout on the main frame corresponds to the rear side. The wheels on both sides must face outward (left and right respectively), rather than inward.
Organize the servo wires.
Connect the pins using jumper wires according to the wiring diagram shown in the image.
M2.5 × 6 BHCS machine screws × 5
Wire, install, and secure the LED according to the diagram.
M2.5 × 6 BHCS machine screws × 10
Connect the LED Hub to D1.
Connect servo channels 0–3.
The direction indicated in the left image represents the front of the vehicle (the side with the frame cutout is the rear).
Starting from the front-right horizontal servo, assign channels in a clockwise order as follows:
Front-right horizontal servo → 0–3
Starting from the front-right linkage servo → 4–7
Starting from the front-right wheel assembly servo → 8–11
On the PCA9685 board, the ports are numbered 0–15 from left to right.
Connect servo channels 4-11.
M2.5 × 6 BHCS machine screws × 2
Install the power switch; assemble the main body and chassis; install the battery holder.
4 × 2 mm round magnets × 2
Pay attention to the polarity; they should attract the magnets on the frame.
You may need to gently adjust and tidy the battery wires so that the cover can close properly and be held in place by the magnets.
Software Setup & Debugging
1.Turn on both the robot and the remote controller, connect via CyberBrick Desktop, and upload the configuration file. Wait until pairing is completed.
In the current version of the official software (v0.5.0), there may be a bug:
If you have already updated the firmware but the software still prompts you to update it, ignore the warning and click “Send to Device” in the top-right corner.
2.Close CyberBrick Desktop.
1.Connect the robot to the computer via a USB Type-C cable.
2.After opening Thonny, the CyberBrick file structure should appear on the left panel. If it does not appear, check whether the correct device (ESP32) is selected in the bottom-right corner.
If it is still not recognized, reselect the device, then power off the robot, unplug the cable, and close Thonny. Repeat steps 1 and 2.
1.Download the attached CyberCrawlerMPY.ZIP from the model page to your computer and extract it.
2.In the local file browser on the left side of the interface, locate and open the extracted folder.
3.Right-click the CyberCrawler folder and select Upload to /.
4.Right-click boot.py and select Upload to /, then confirm overwriting the existing file.
1.Double-click to open boot.py.
2.Click Run. You should see runtime logs starting to appear in the bottom console window.
3.Try toggling the three-position switch; you should hear the servos moving. Then set the switch back to the middle position.
Adjust the legs to a diagonal orientation. Install 4 servo horns.
Flip the whole assembly over, and adjust each leg in turn so that the top surfaces of all linkages lie flat against the table. Install another 4 servo horns.
After installation, slight deviations in leg angles are acceptable; they can be compensated later in the code.
Press Ctrl + C twice to interrupt the program (or click Run → Interrupt execution in the top-left menu).
In the left panel, locate calibration.py and double-click to open it.
Adjust the values in Trim:
Modify each leg’s “rot” value to correct the neutral position of the horizontal rotation servos.
Modify “lift” values to correct the neutral position of the linkage servos.
Press Ctrl + S to save the file.
Run boot.py again to check the updated positions, then interrupt execution if further adjustment is needed.
You may need to repeat this process several times until you are satisfied with the calibration results.
Similarly, adjust the values in VEHICLE_ROT_Trim for each leg.
This is used to correct the position of the rotation servos in vehicle mode (activated by switching the three-position switch to the left).
Remember to save the file after making changes.
Ideally, the wheel rolling direction should align with the forward/backward movement direction.
This user content is licensed under a Standard Digital File License.
You shall not share, sub-license, sell, rent, host, transfer, or distribute in any way the digital or 3D printed versions of this object, nor any other derivative work of this object in its digital or physical format (including - but not limited to - remixes of this object, and hosting on other digital platforms). The objects may not be used without permission in any way whatsoever in which you charge money, or collect fees.


Comment & Rating (37)