Magnetic Cabinet Unlock Keys | Babyproofing Tool


Print Profile(1)
Bill of Materials


Description
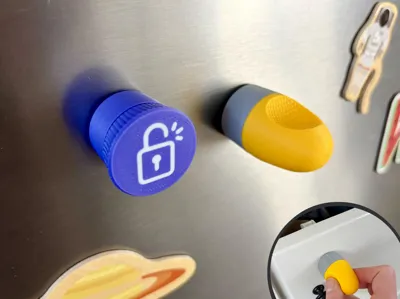
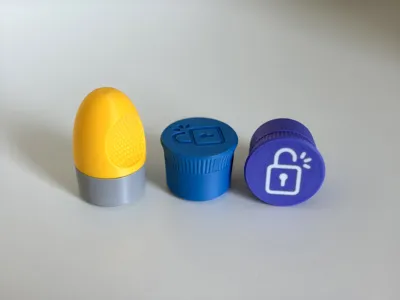
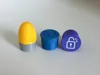
This one is for my fellow baby-proofers with magnetic cabinet locks, who like me, misplace the unlock key from time to time. This magnetic cabinet unlock set is designed with improved ergonomics, fun customizable styles, and interchangeable caps! Choose between a classic unlock-icon cap or an ergonomic grip version for easier one-handed use around the house.
✨Product Highlights
- 🗝️Great for extra keys, replacements, or dedicated room-specific keys
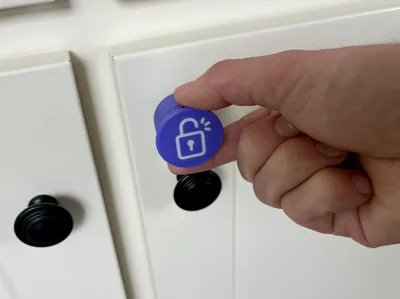
- 🔓Compatible with common magnetic babyproof cabinet lock systems
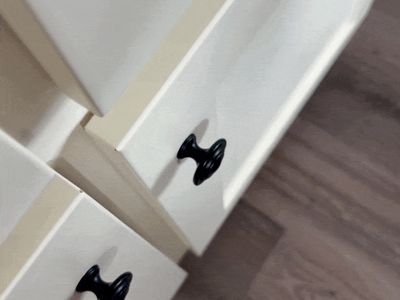
- 🤏Compact design is easy to store on fridges or nearby surfaces
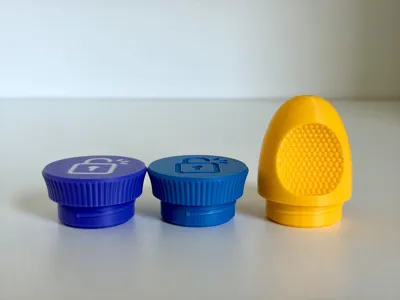
- 🔄️Modular threaded cap system with interchangeable designs:
- Classic cap with unlock icon (multi-color and single color options)
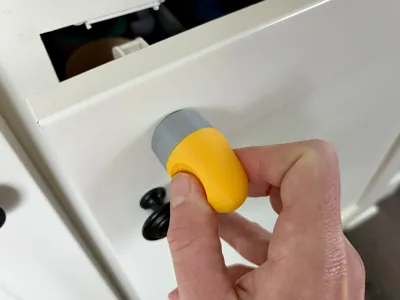
- Ergonomic cap with knurling thumb grips for improved handling
- 🧲Strong magnetic performance comparable to the original keys
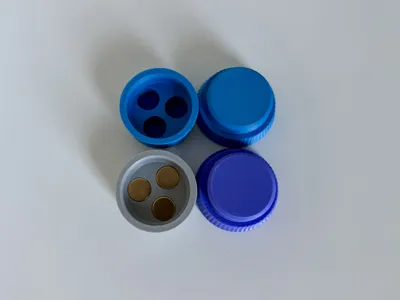
- Designed for 9 -10x3mm magnets (3 magnets stacked in each well)
- You can substitute 12-10x2mm magnets instead (4 magnets stacked in each well)

Boost Me (for free)
Enjoying this print?
👍 Liking helps others discover this model
🚀 Boosting is the best way to support my work
➕ Follow for more functional prints coming soon!
🧩Assembly Guide
- The magnet polarity is important to get right in order for the unlock to work. Check the install direction by testing with the cabinet lock.
- Press-fit magnets into each of the 3 wells. Recommend having all magnets in a tall stack and then you can simply rotate to the next well.
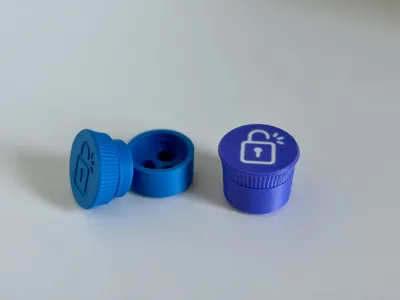
- The Ergonmic cap prints in two pieces to avoid using supports. Screw the cap threads into the cap, adding a little glue to lock permanently together.
- Screw the cap onto the base until it's snug.
Membership
Want to sell this print? Sign up here to get a commercial license to sell 3D prints of all my original designs at local shows, online, storefronts, or anywhere you would like to sell.
Related Models


License
You shall not share, sub-license, sell, rent, host, transfer, or distribute in any way the digital or 3D printed versions of this object, nor any other derivative work of this object in its digital or physical format (including - but not limited to - remixes of this object, and hosting on other digital platforms). The objects may not be used without permission in any way whatsoever in which you charge money, or collect fees.
Comment & Rating (2)