
Ratgdo32 Case
Print Profile(1)
Description
Boost Me (for free)
Like this model? If so, hit like button to let other people know. And if this model is useful for you, hit the Boost Me button! It's free for you and gives me a little credit toward buying filament for the multiple iterations these take to get right. Thanks!
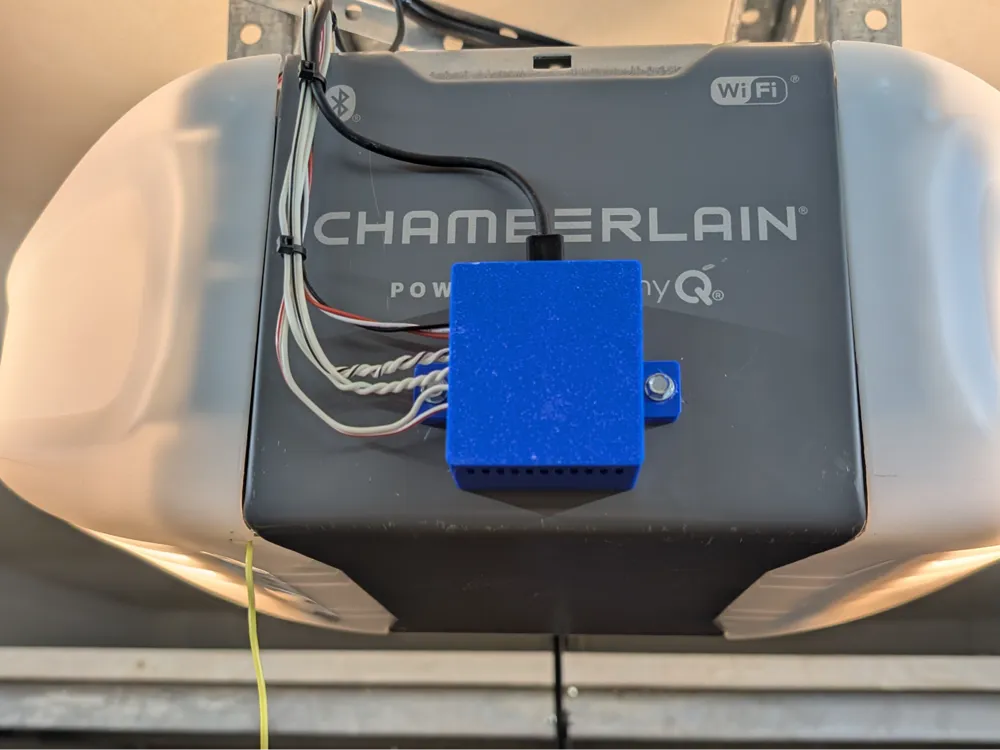
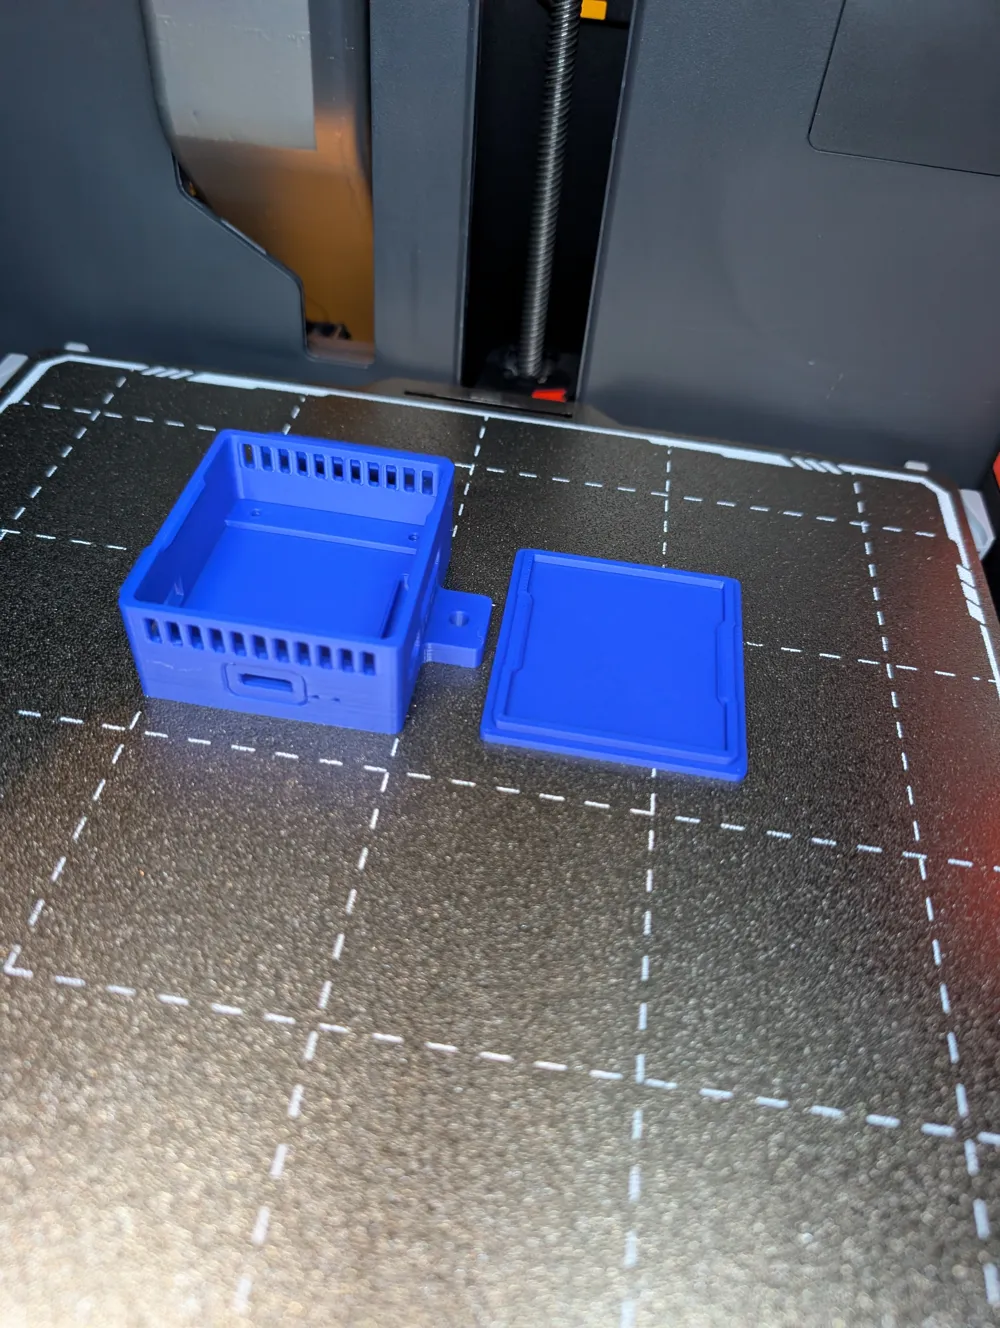
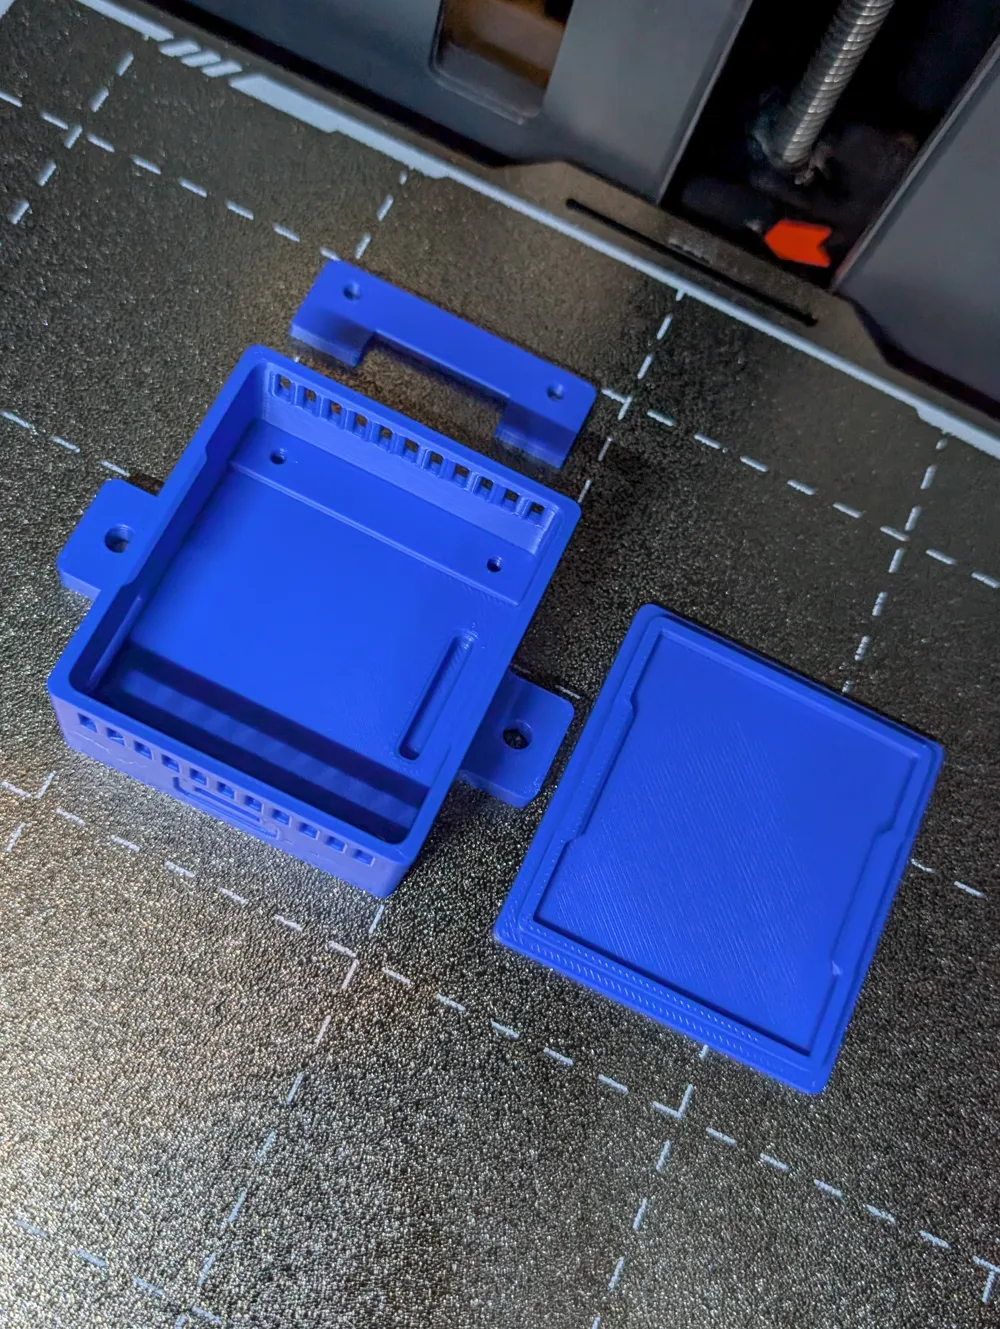
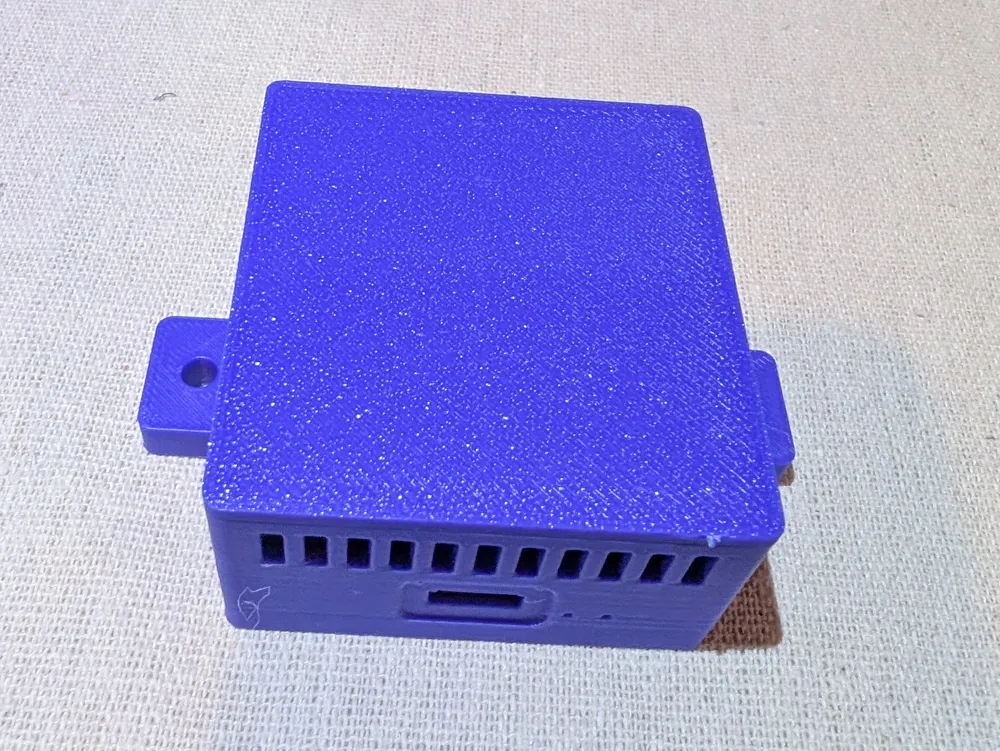
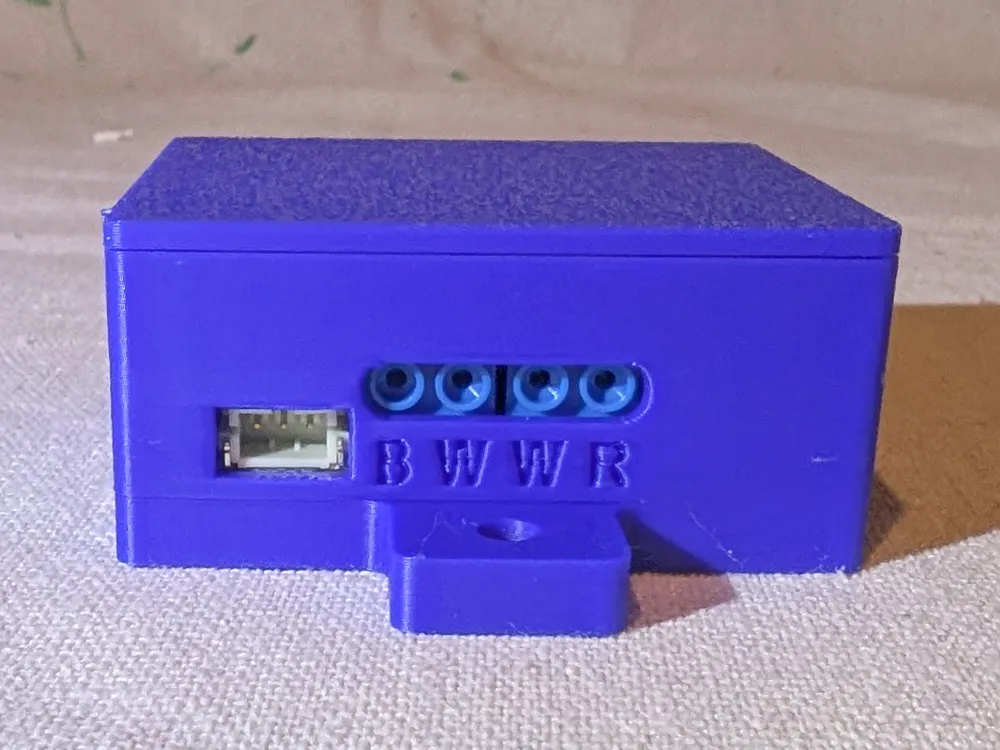
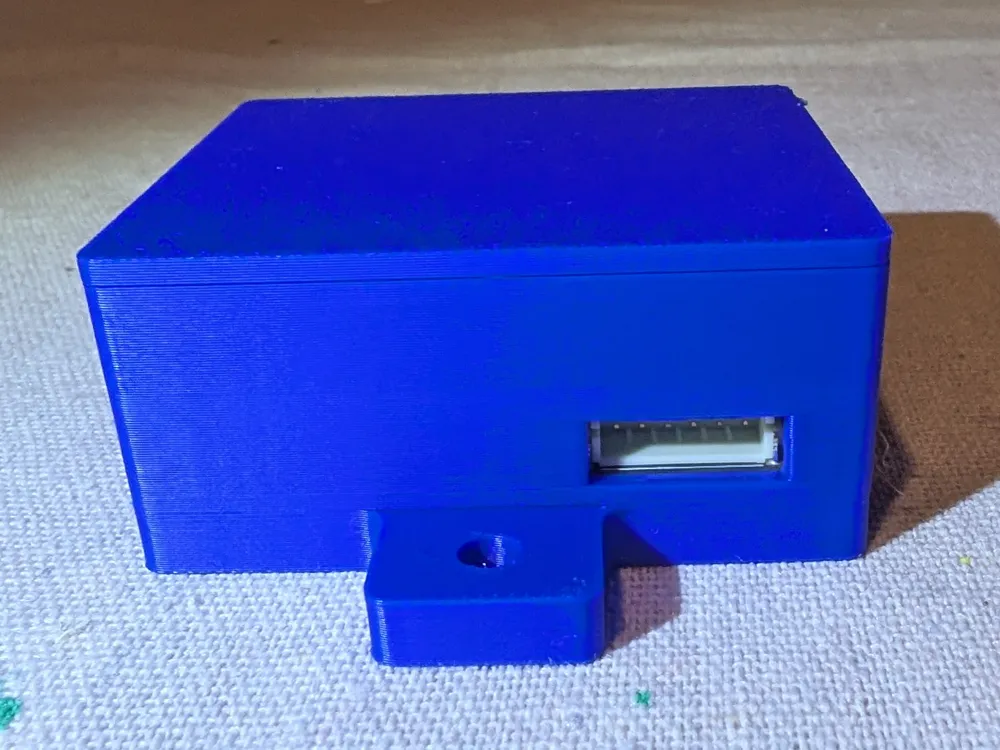
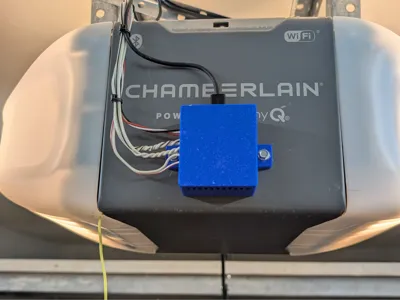
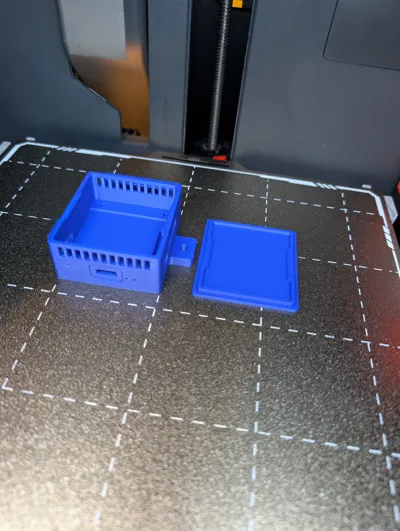
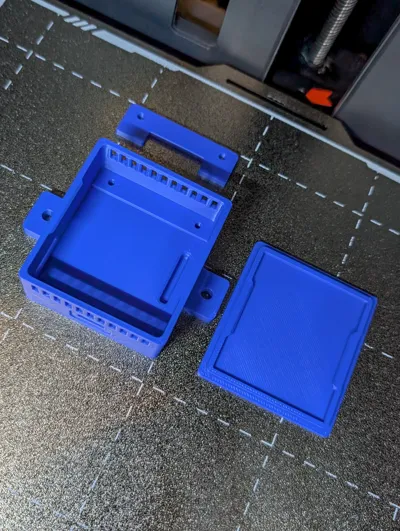
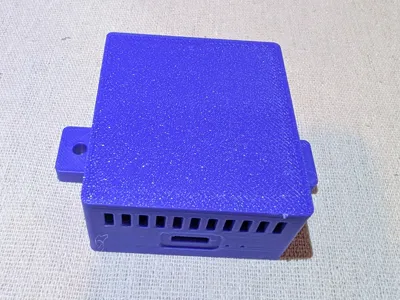
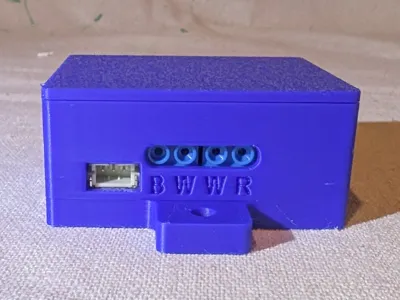
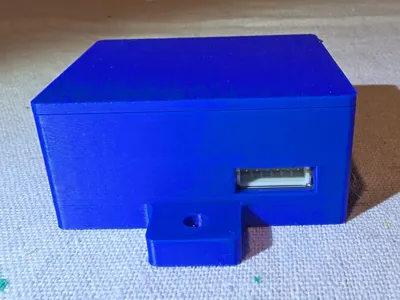
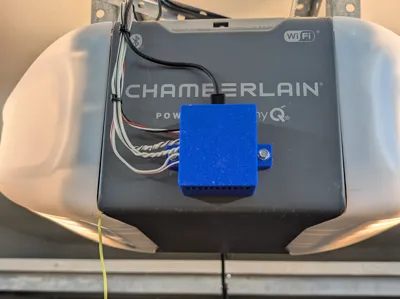
The clip was broken on the "holster" case that came with my ratgdo32, and I'm not a fan of the holster design anyway. So I hopped on MakerWorld to look for a better case. I found one that looked OK, but it had giant openings and only retained the board on a sliver of one corner. I drew up a new one in Fusion and here it is. I don't know how much cooling is an issue with ESP32 chips, but I'd seen cooling slots on other ESP32 cases so I put some on this too. If you mount it the in the same orientation that I did, it should have a decent convection current if the chip starts to get hot.
Instructions:
Print the case. I used PLA because it prints nice, and I don't expect heat to be an issue.
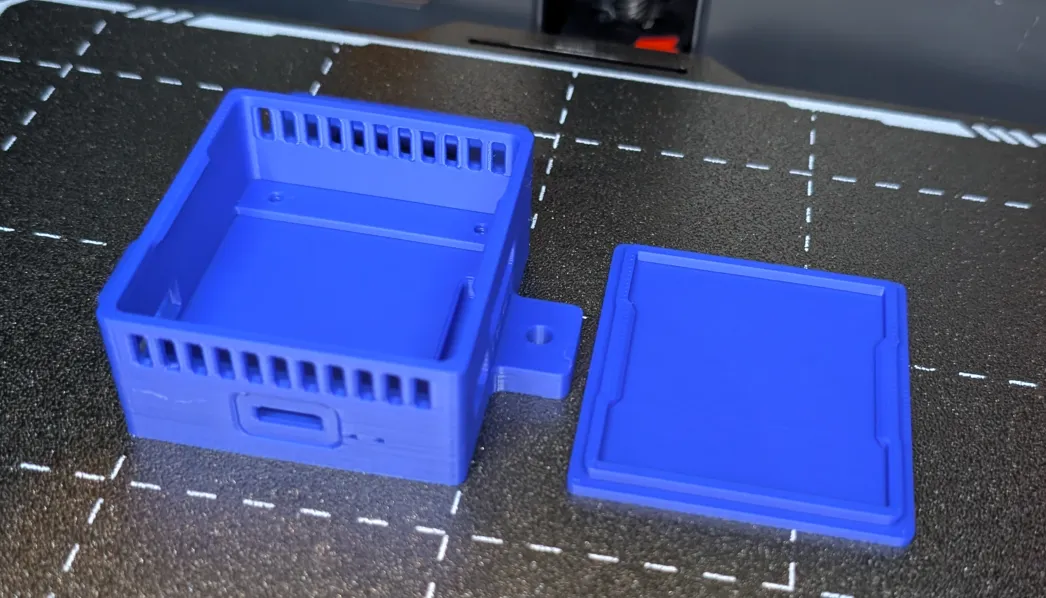
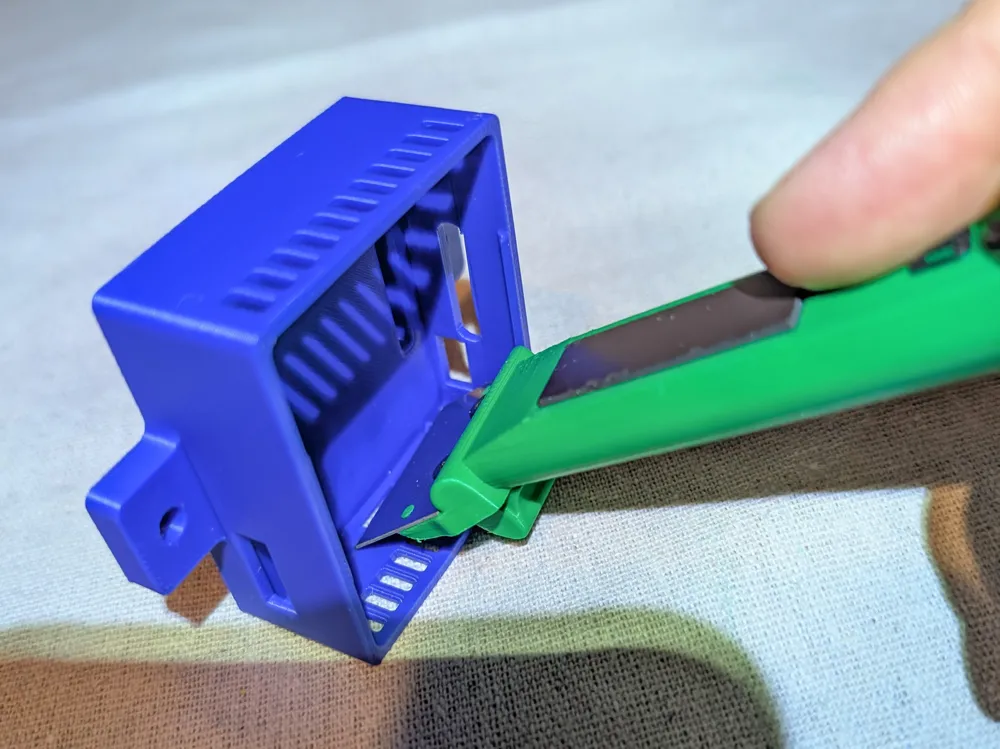
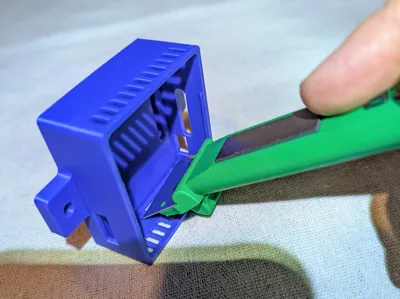
Inspect the area under the tabs that retain the USB side of the board. If the bridges drooped too much, the board won't fit under them. I used the Bambu scraper to trim my drooped bridges. Someday I need to troubleshoot why my bridges have gotten bad on my P1S, but it's not related to this model.
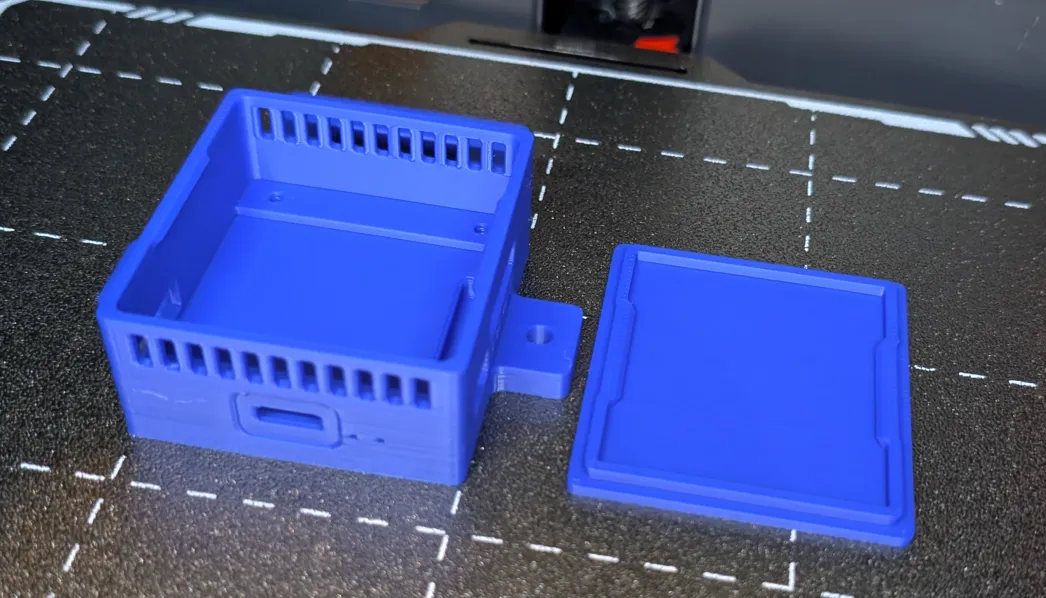
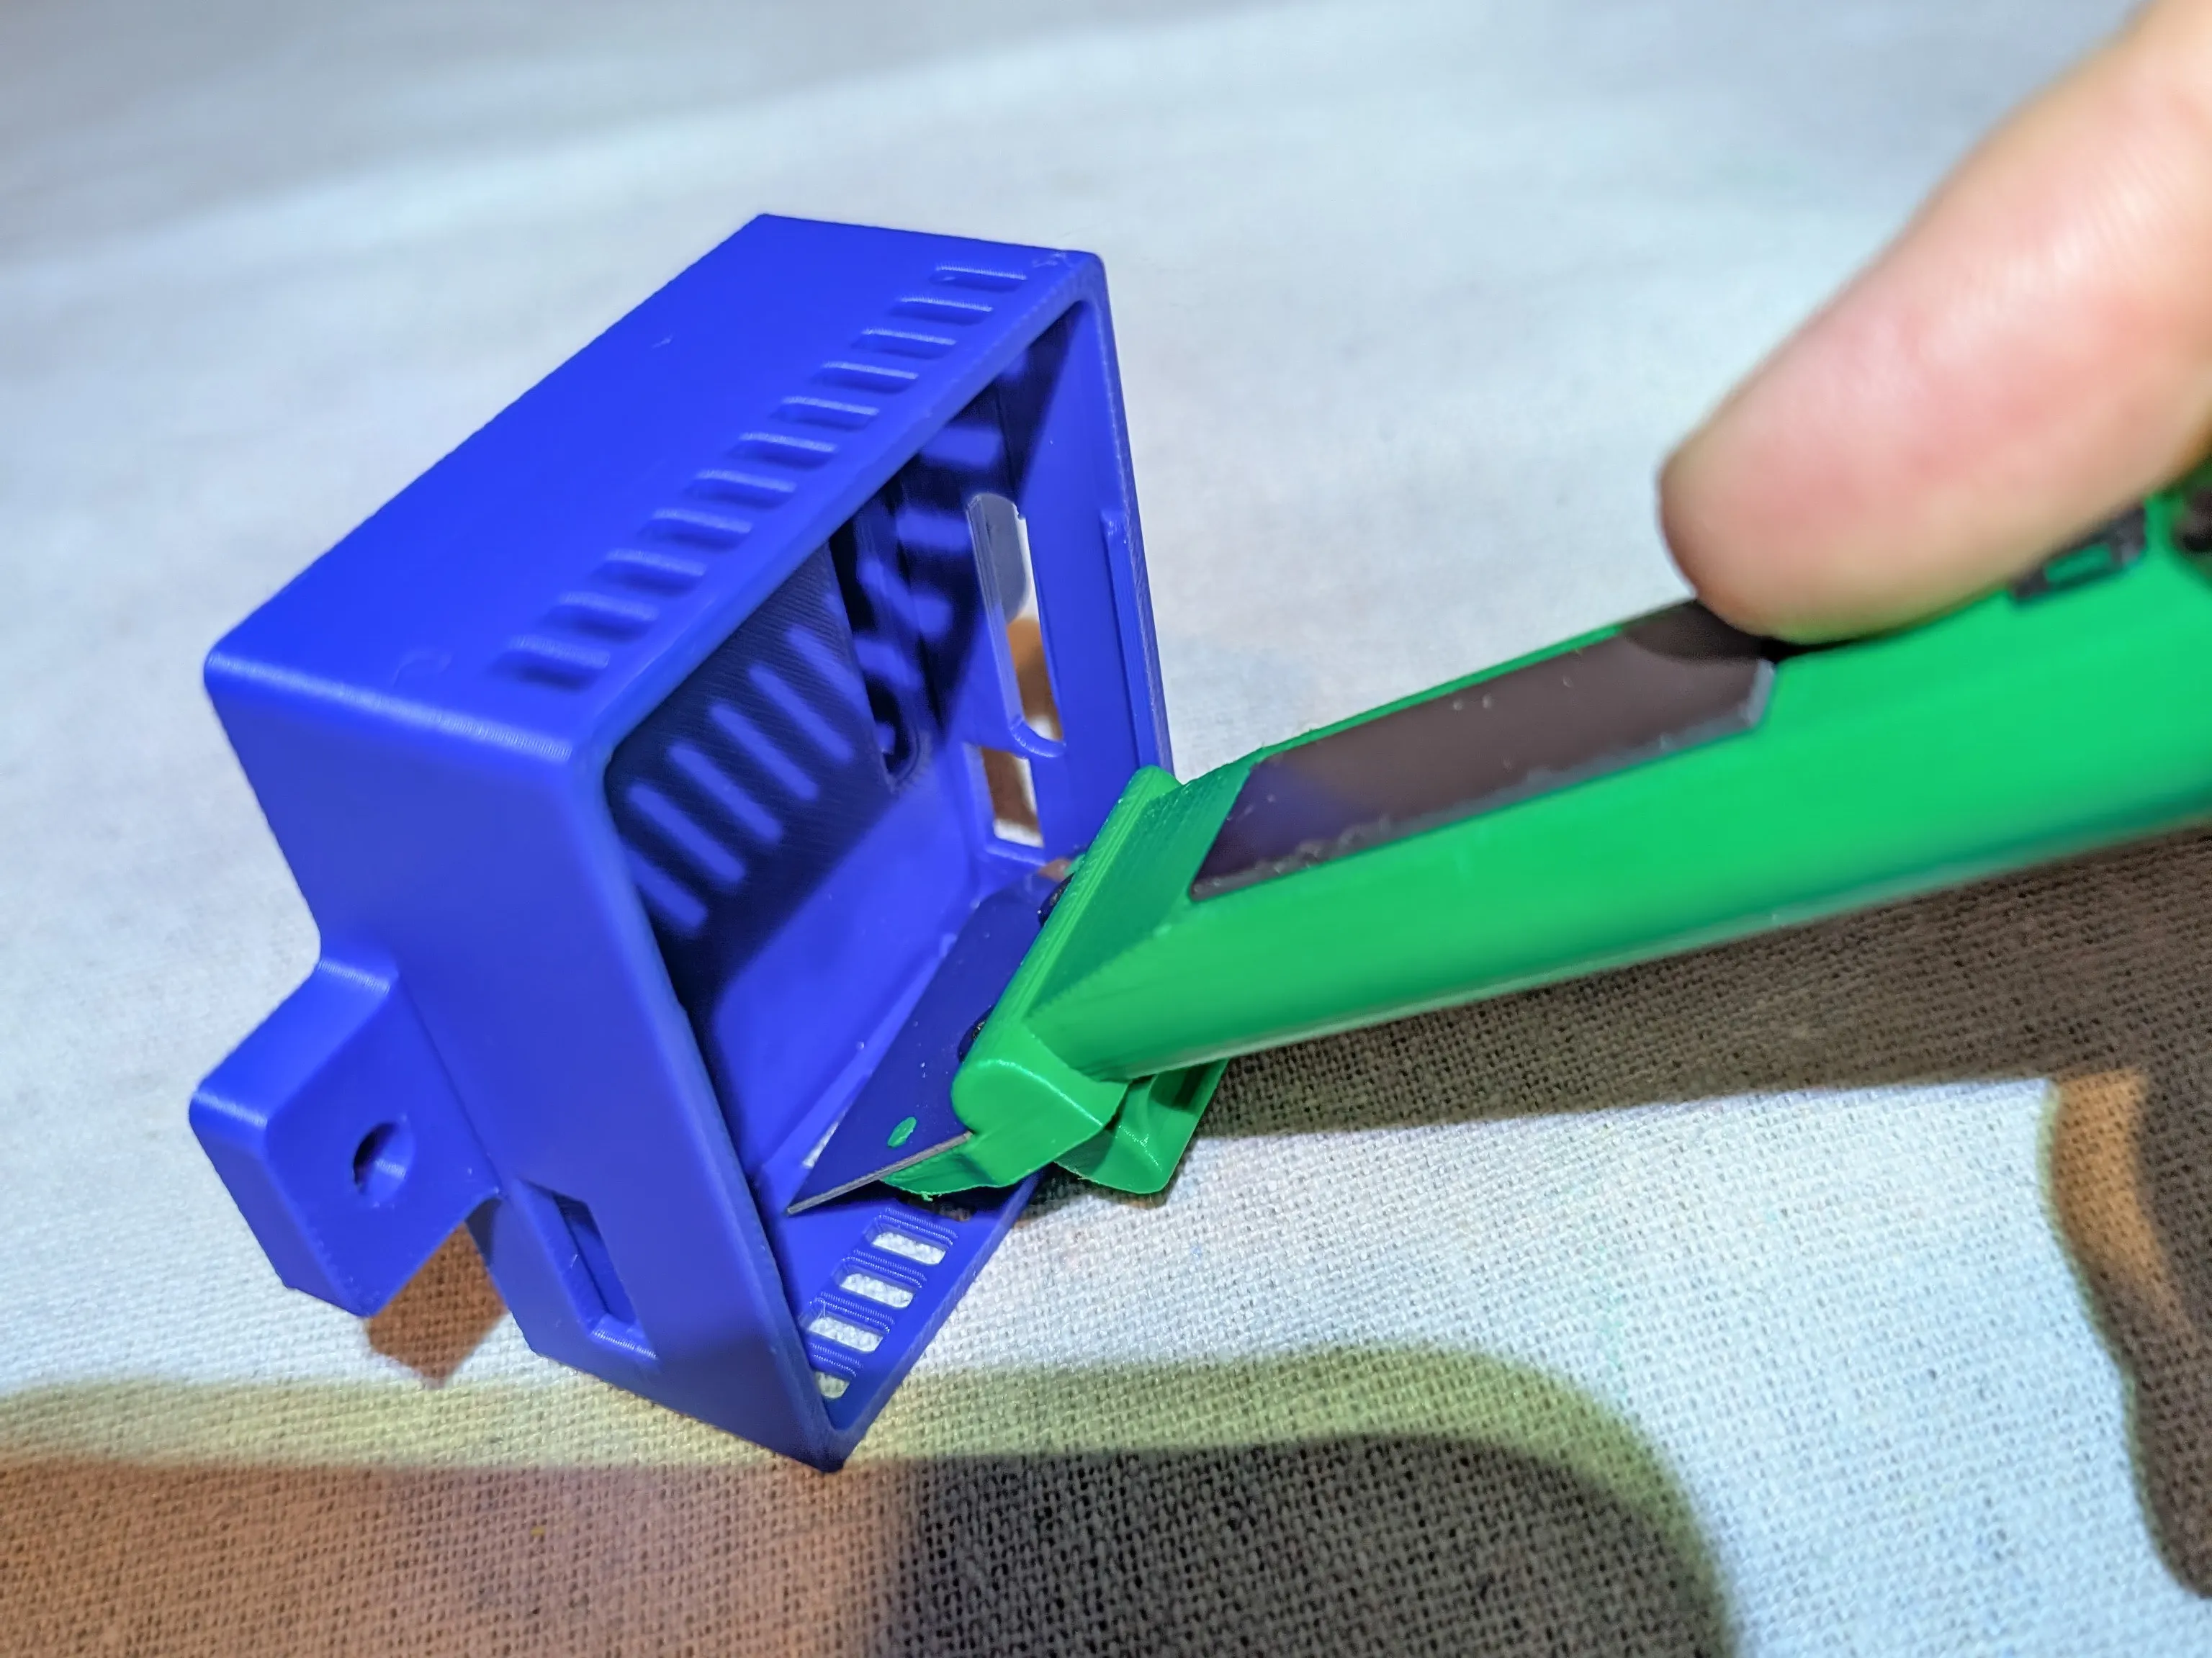
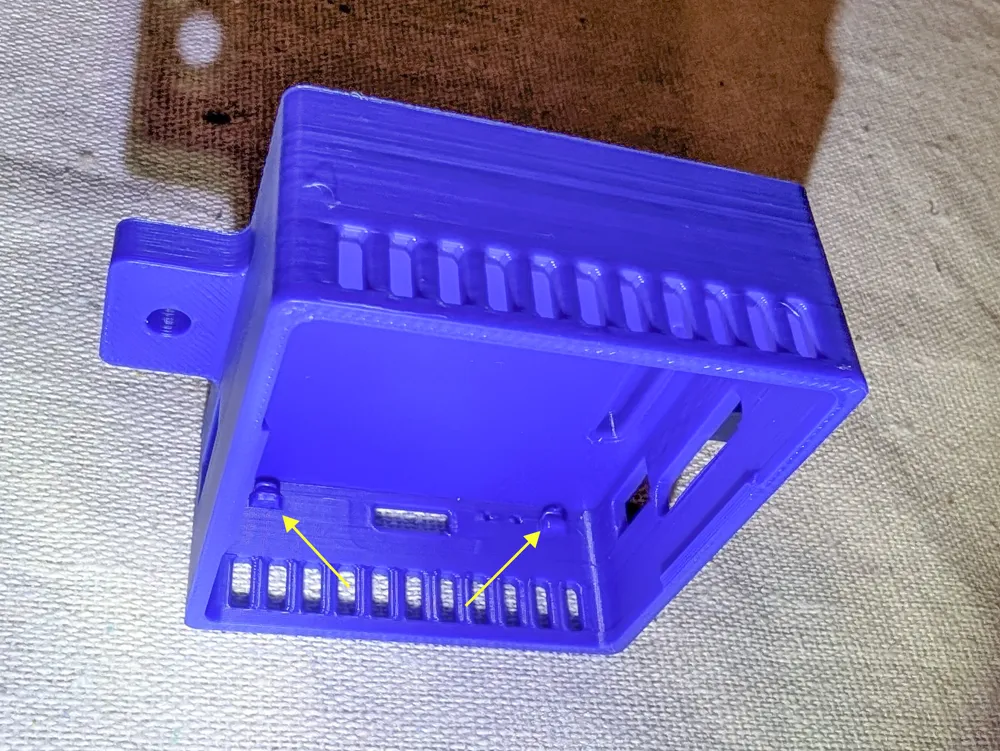
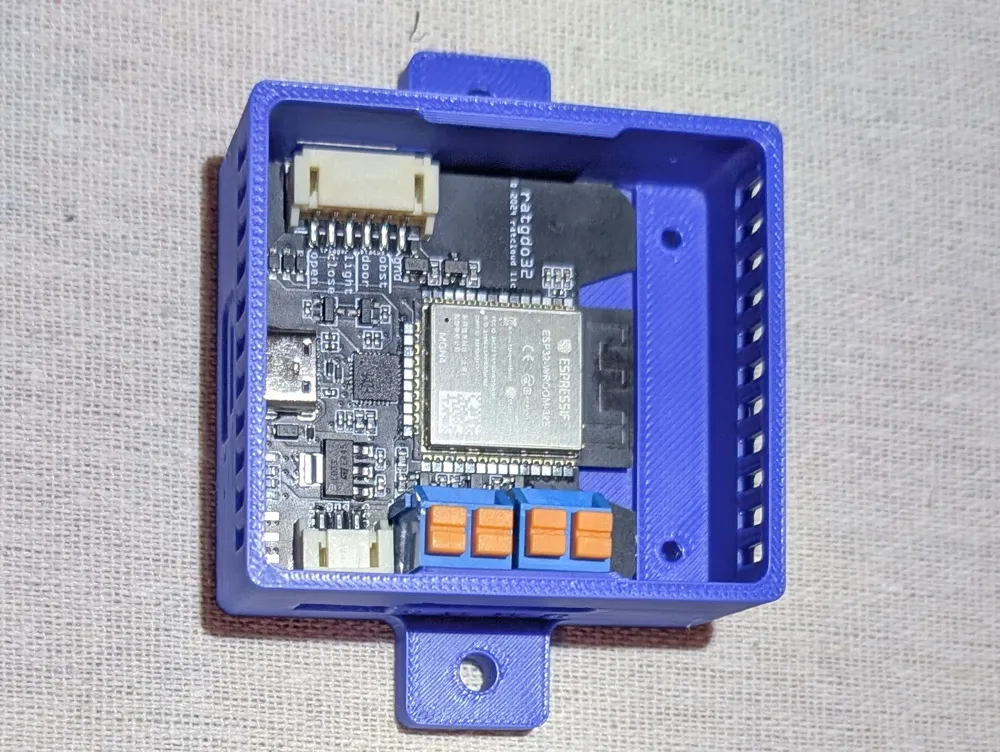
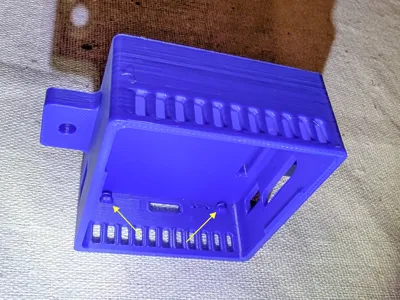
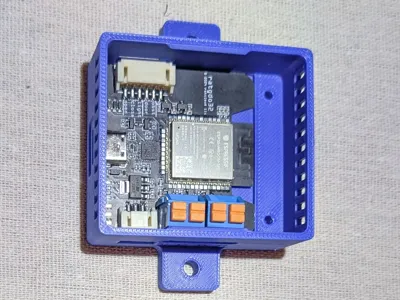
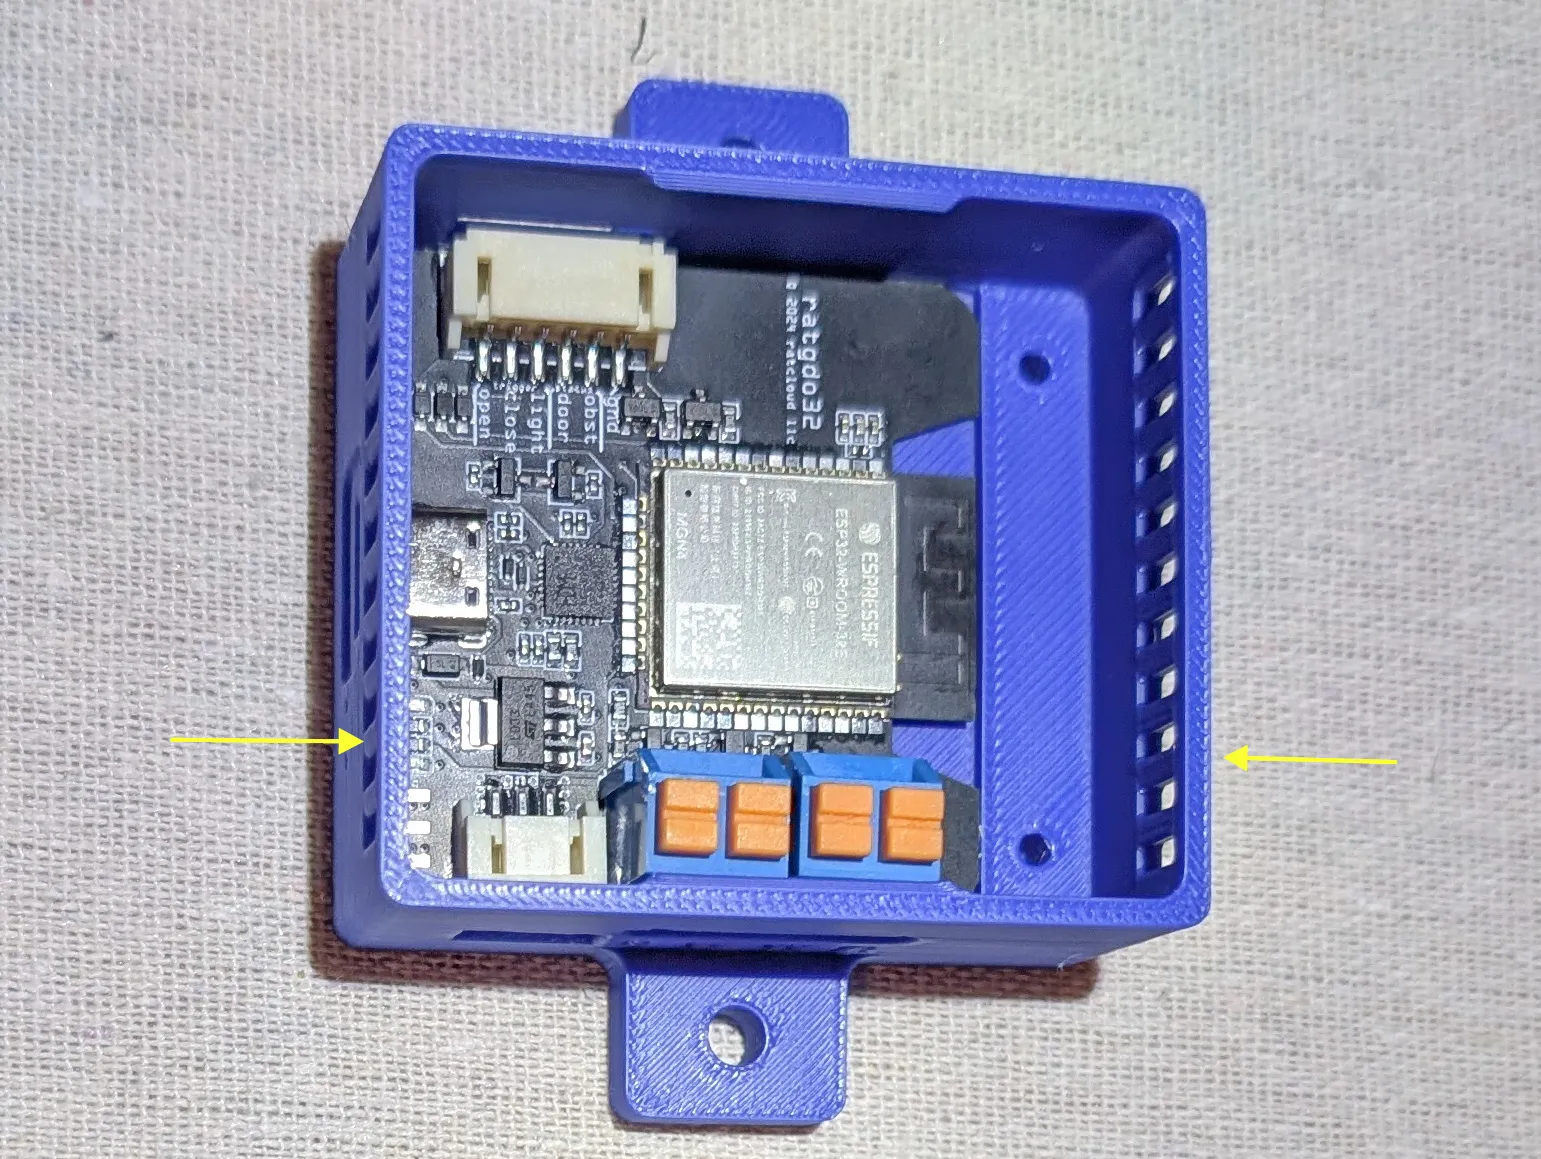
Test-fit the board in case. the top of board should be flush with the “shelf” for the retaining screws. Clean up any printing artifacts that interfere with the board sitting flat. Repeat steps 2-3 until the board seats nicely in the case. TIP: the board can be a little tricky to remove from the case. If you squeeze the case at place marked in the picture with yellow arrows, the board is easy to remove.
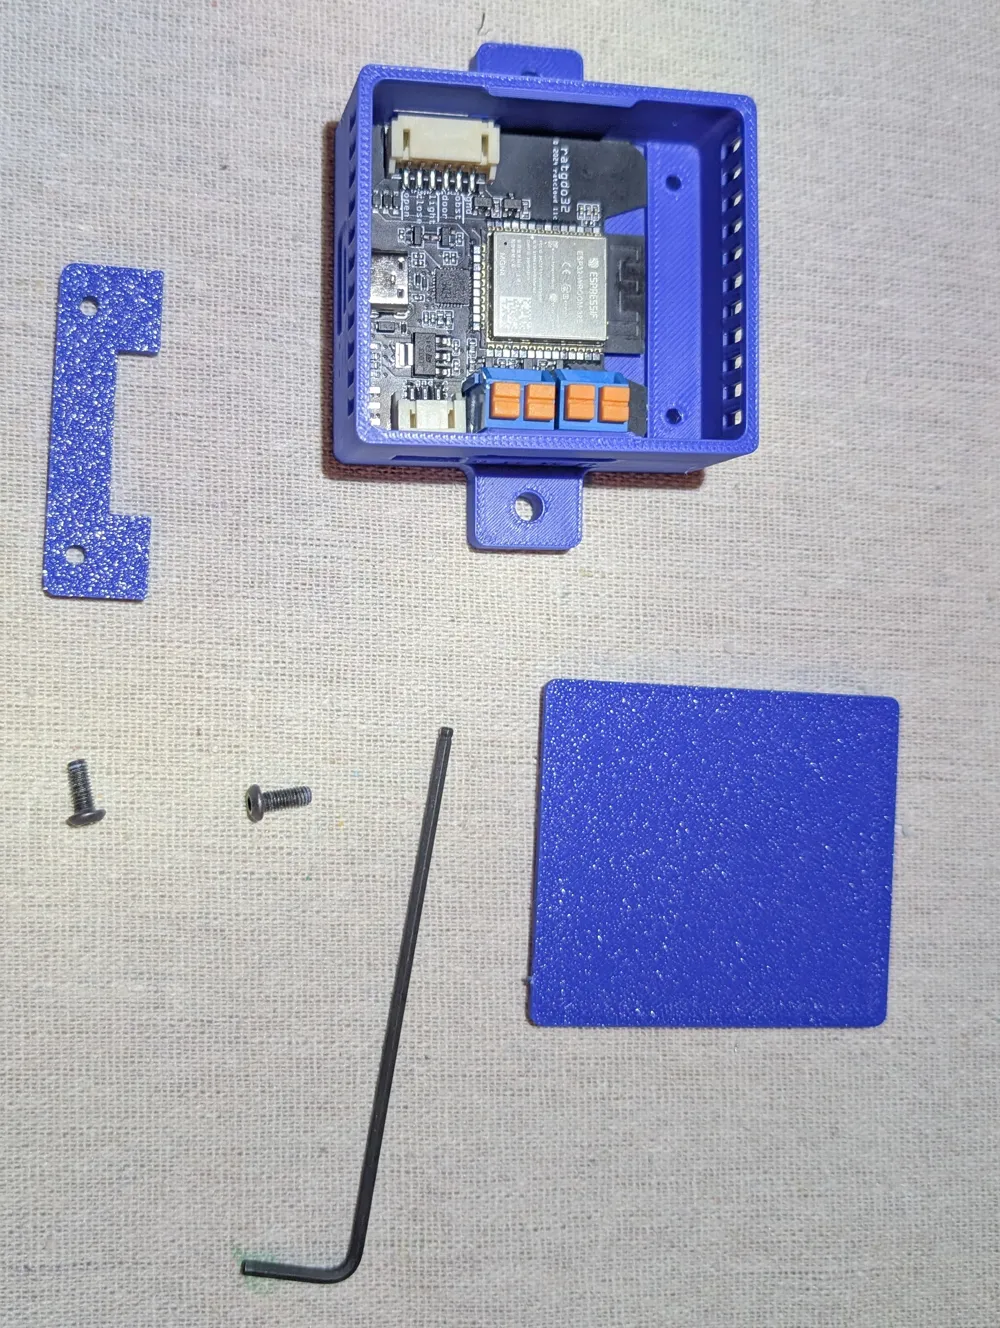
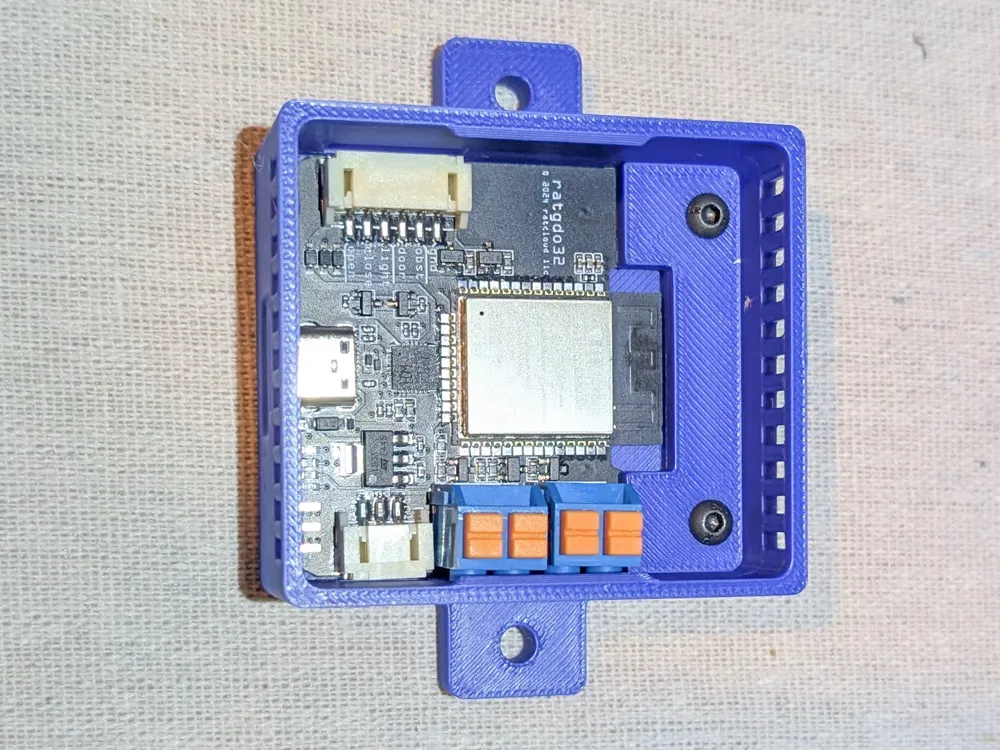
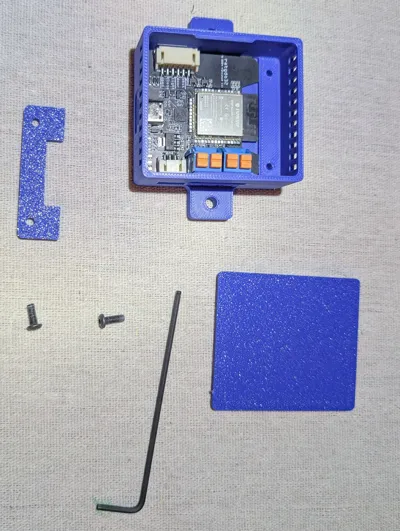
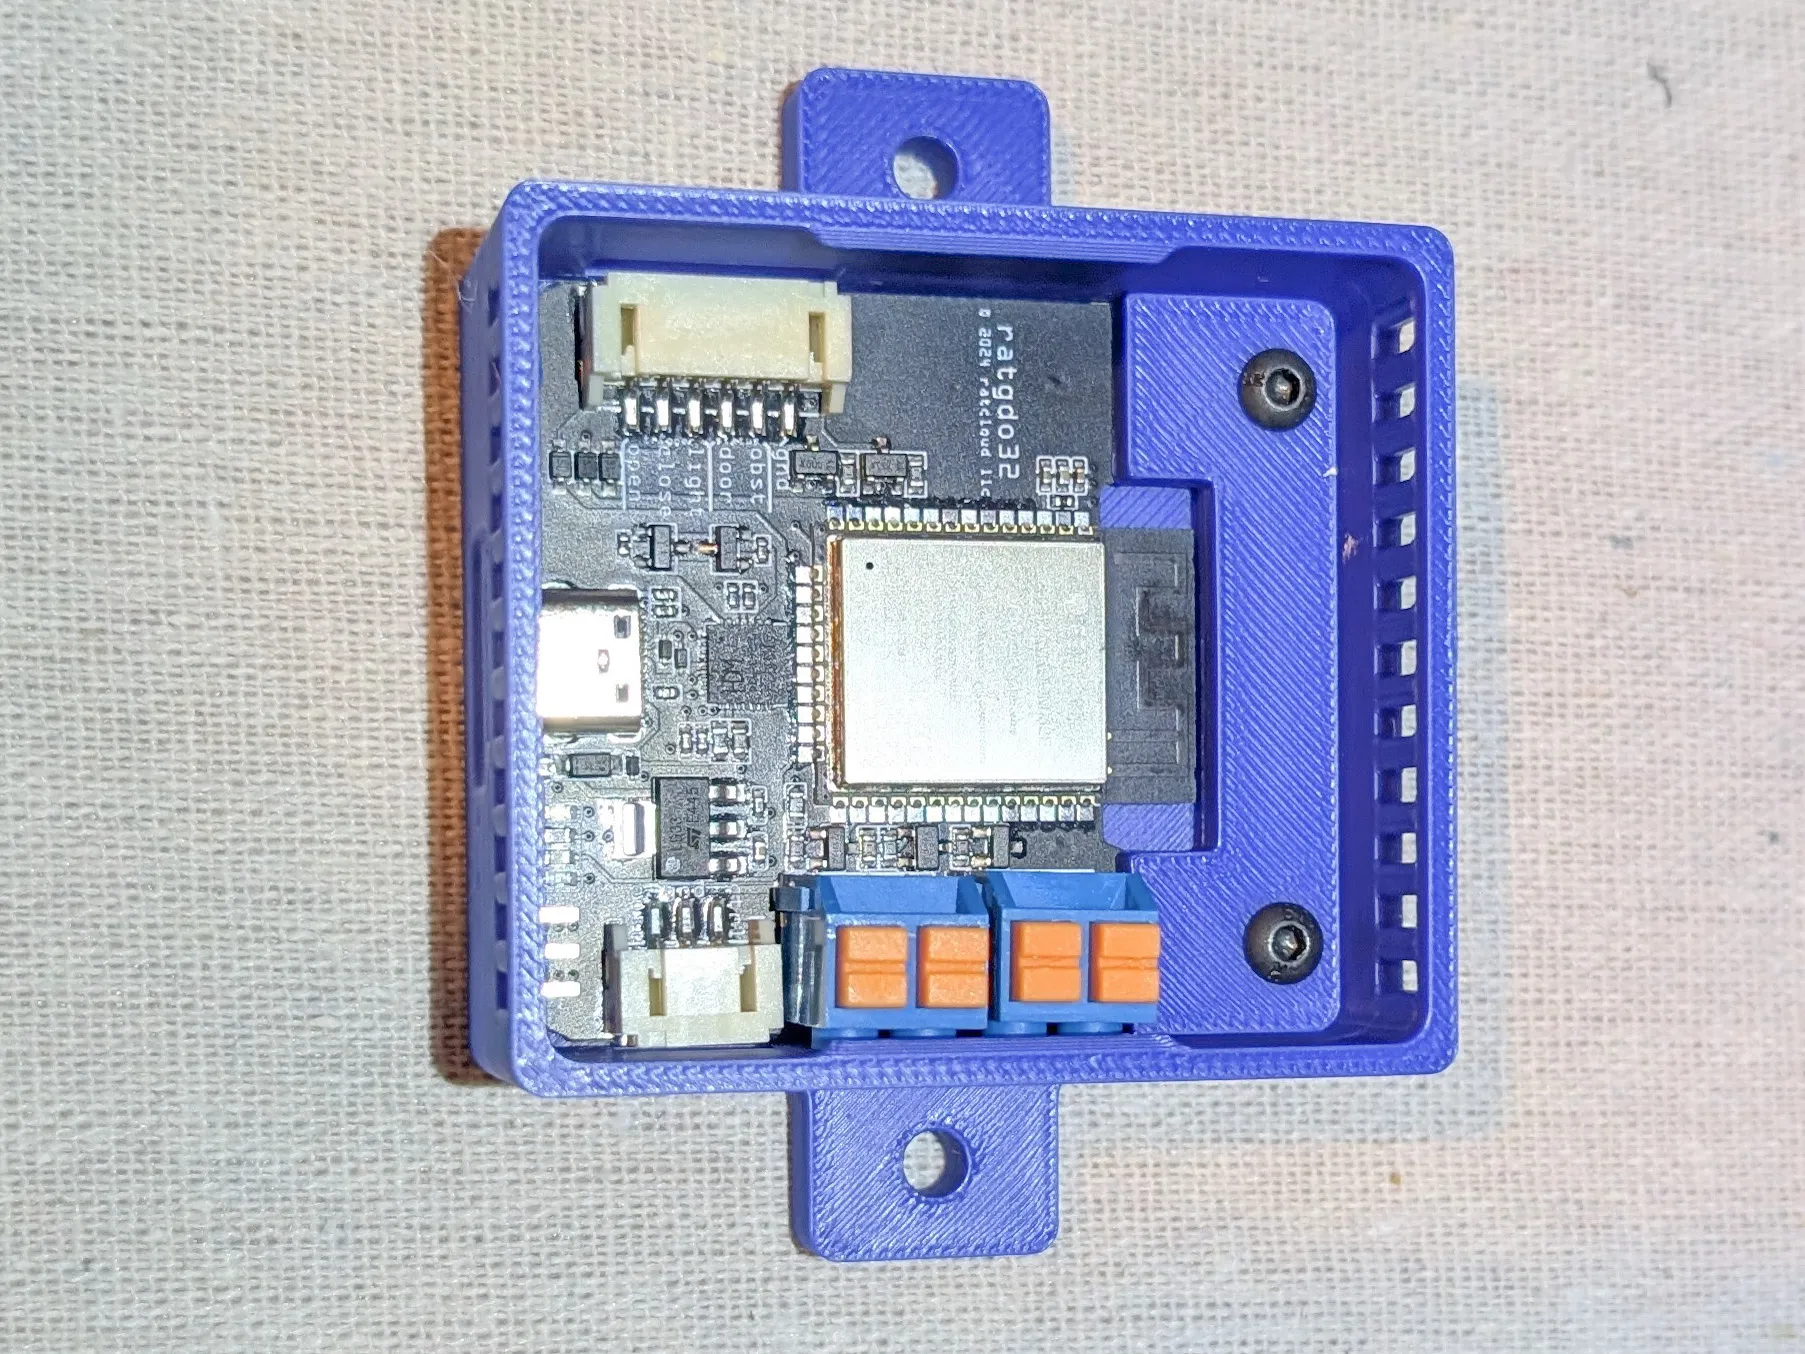
Insert the retainer over the board, and install two M3x8 screws.
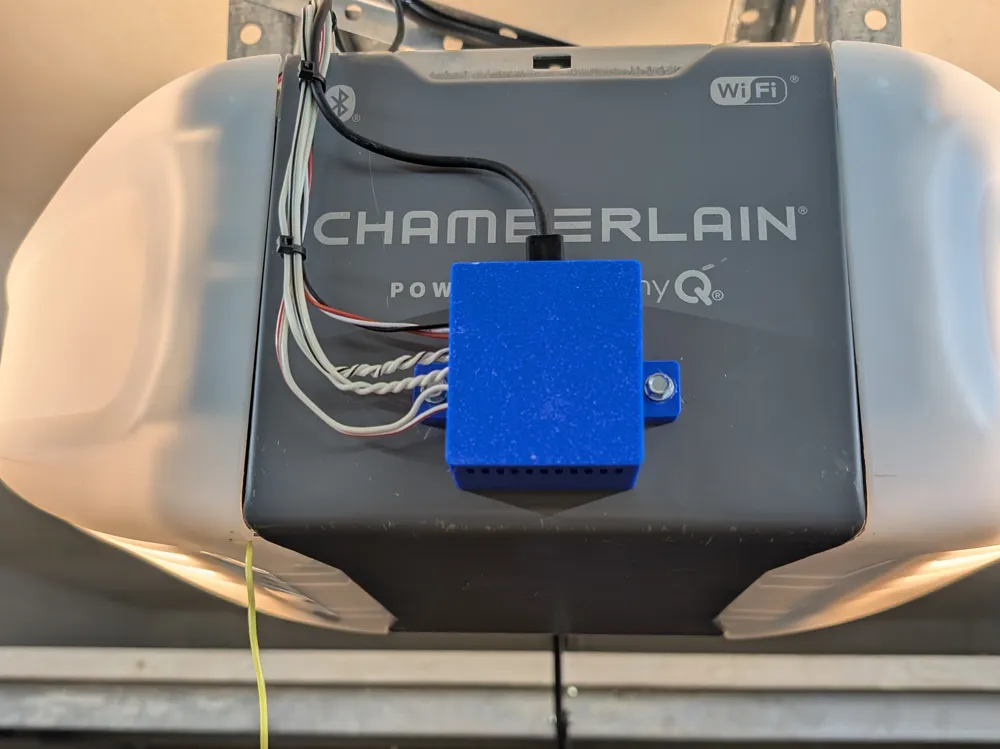
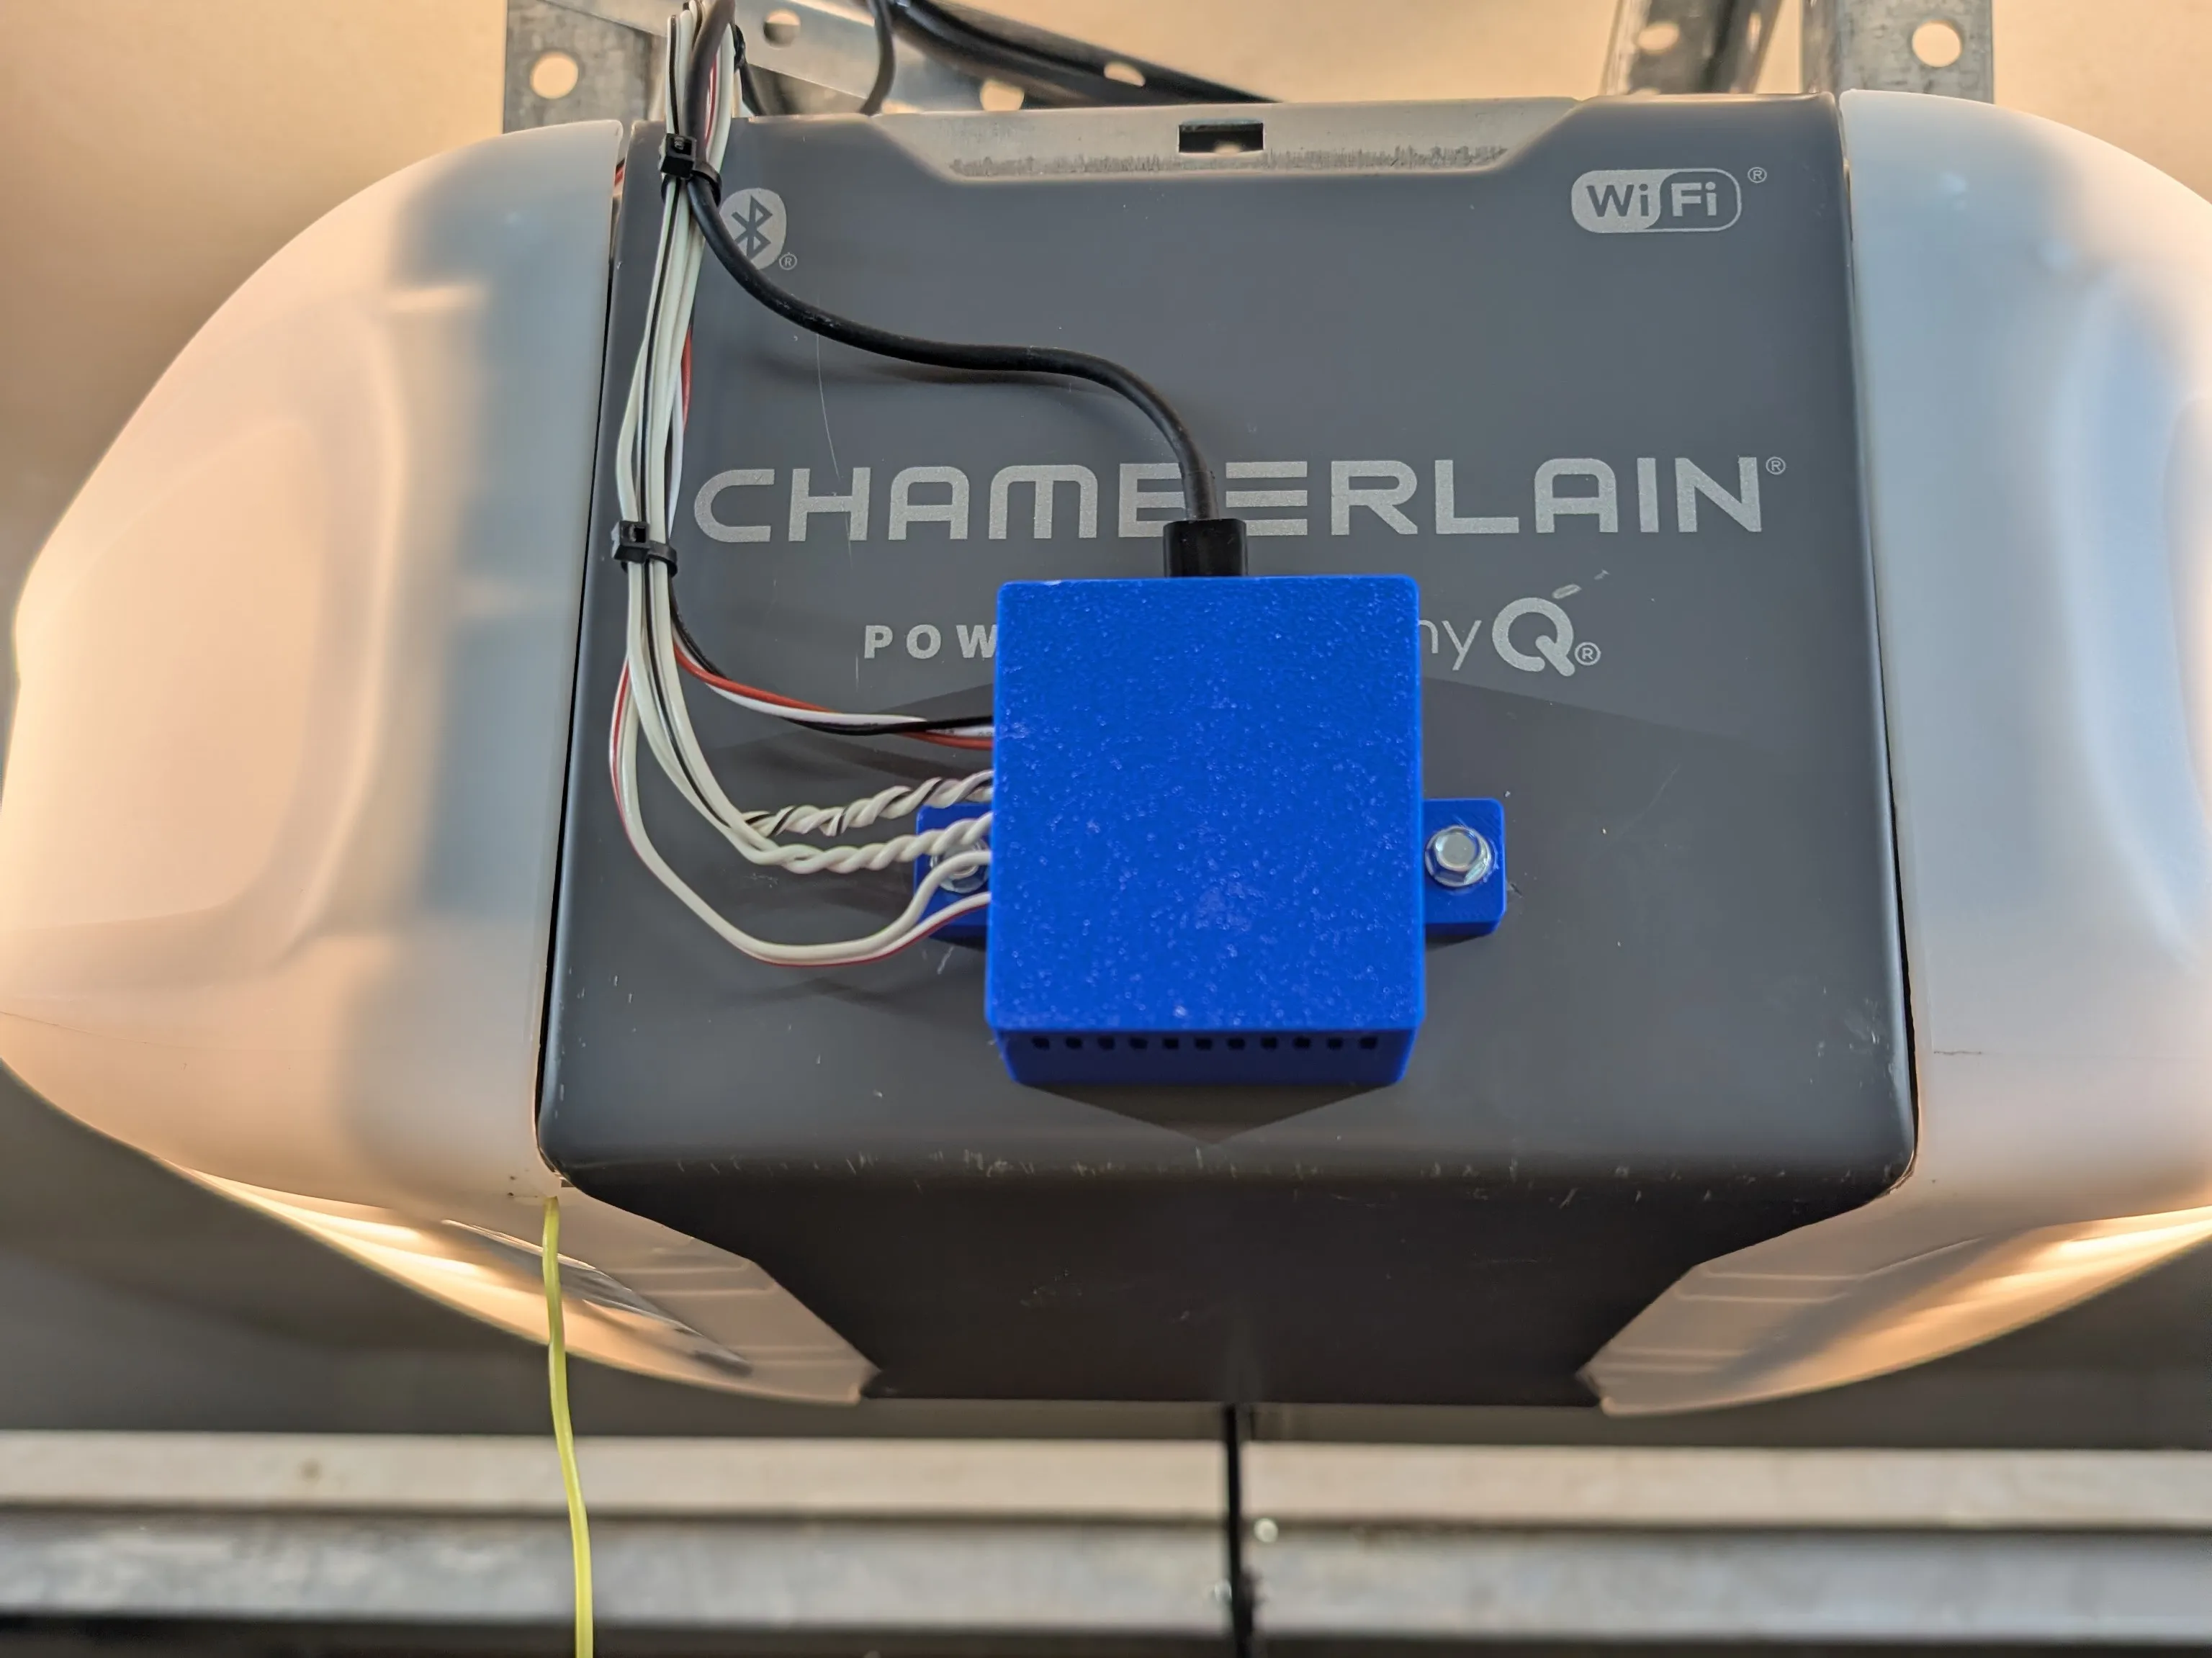
- Mount the case the opener or bracket. I've done enough HVAC and appliance repair that my solution for mounting anything to sheetmetal is “self tappers” (self-tapping sheet metal screws). I opened the case of my Chamberlain B4505T enough to make sure that the area where I wanted to mount was clear of any components or wires on the inside. Your opener may be different inside--don't run self-tappers through the case unless you are sure what's on the other side. Screwing through the case may void your warranty too.
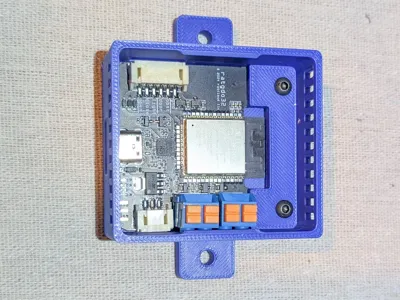
- Wire the ratgdo32 according to the ratgdo32 documentation
Install the lid on the case
License



Comment & Rating (2)