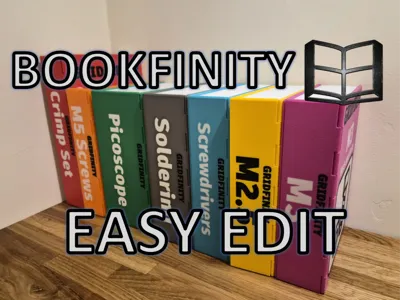
Bookfinity - Easy Edit Version


Print Profile(5)


Bill of Materials

Description
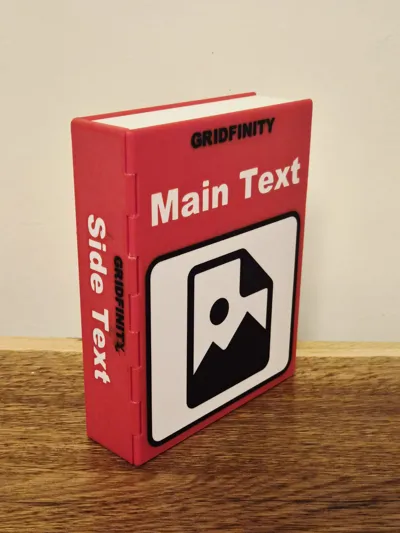
This model let's you make your own custom bookfinity books inside Bambu Studio. Just select a book size, change the text, and upload an image to make your custom book to store your stuff.
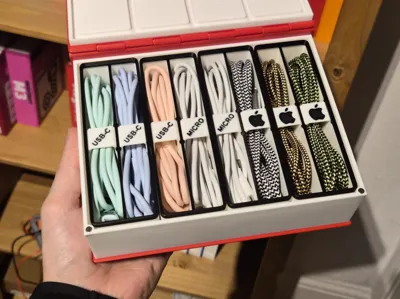
What is Bookfinity?
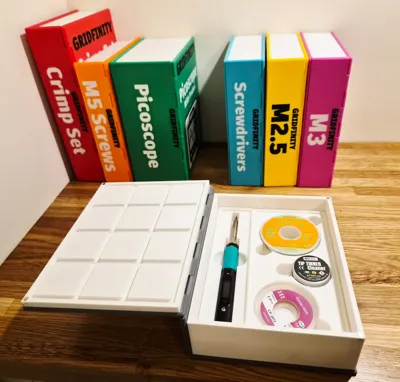
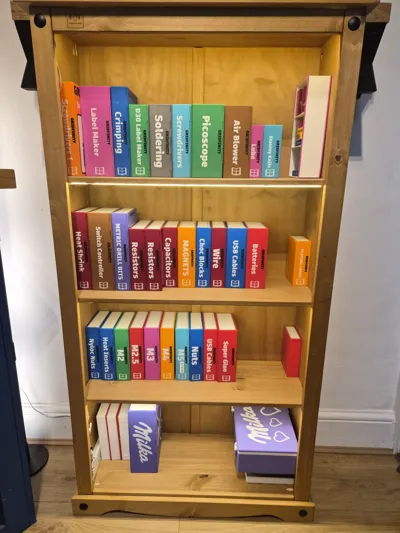
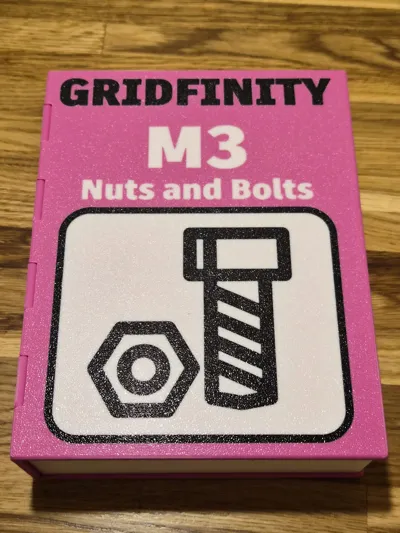
Bookfinity is a storage system that let's you store gridfinity stuff inside custom book shelf toolboxes. These look fantastic on a bookshelf and let's you grab your tools and components with ease. It's the most organised storage solution for any hobby.
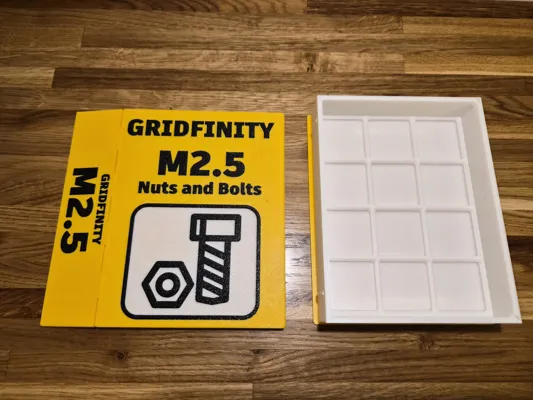
It consists of two parts: a bottom part which holds the part, and a top cover that includes the hinge. These two parts are aligned with the tabs and need superglue to attach together (Assembly Instructions below).
Update (18-05-2026)
I've re-exported every book size to have wider tolerances on the hinge, this should make it easier for those struggling with hinge issues.
Thanks for your patience with this fix.
How to use this Easy Edit Model?
Step 1 - Select your book thickness
Find the book size you want to edit. The 3MF files are organized by the bin height, eg 3U Books take 3U bins.
Each profile has the following sizes: 2x2, 2x3, 3x3, 3x4, 3x5, 4x4.
Step 2 - Select your book
Select your book size, and rotate the screen so you're looking underneath like this:

Step 3 - Change to Objects
On the left hand side, change the Process from Global to Objects.

Step 4 - Click on your book
Click on the book on the build bed, you'll see the text options on the left hand side.

Step 5 - Select Edit Text
Right click the main text and press “Edit Text”. A popup will appear

Step 6 - Change the text
Change the input text and you can change the size and move it around.
(You can change the font too, but certain fonts don't print too well).

Step 7a - Create an SVG (optional)
There are many free SVGs online, and I've uploaded all of the SVGs I've used on Bookfinity on this model.
If you need a custom one, you can use ChatGPT with the following prompt:
“Create an image of an svg-style stencil with thick black lines of: ” and insert the name of the tool.

Step 7b - Convert the PNG to SVG (optional)
If you create a PNG, you'll need to convert it to an SVG. You can do it with a free site like FreeConvert.
Step 8 - Insert the SVG
Right click your book, press “Add Modifier” > “SVG”.

TIP: if you insert your SVG, and it's just a rectangle this is because the SVG has an outline / border. This is wrong and won't work.

If you generated the SVG using FreeConvert or similar, try change one of the options. on FreeConvert, I found if you go to Advanced Settings and change the "Color Mode" to “Black & White” and redownload it, it fixes this issue.

Step 9 - Move, Scale and Rotate your SVG

Using the Move, Scale and Rotate buttons, get your SVG where you need it.

Step 10 - Set the depth of the SVG
Firstly find your SVG on the menu on the left (remember to press “Objects” if you've gone off it). Right click it and press “Edit SVG”. A popup will appear.

On the popup, set the Depth to 0.60mm and ensure the “From Surface” distance is 0.00mm. You can use “Use Surface” but it makes it invisible on the prepare tab so harder to use.

Step 11 - Set the colour of your SVG
On the left hand side, right click the SVG, press “Change Filament” and select the colour you wish to use, eg Black.

Step 12: Enable Prime Tower
Change Process back to "Global", then under the “Others” tab, find “Prime Tower” and select “Enable”.
Move the prime tower so it doesn't clash with your model.
This will make the books print much cleaner.

Step 13 - Boost the model
Boost Me (for free)
This model took a long time to compile, I'd really appreciate a boost to fund future projects.
Please also upload any books you make as remixes to this model, or the original Bookfinity model.
How to assemble a book
Add superglue to the glue area shown below

2. Print a Gridfinity holder for your tool / stuff.

If you're just looking for storage bins, these Simple Bins are guaranteed to fit.

3. Add Magnets
Insert 4x D4 x 2mm magnets into the cover and base to make the books stay closed. These are available on the Bambu Shop, linked below.
Notice a mistake? Got advice / requests?
Please leave comments, or DM me (:
Remember to also post photos of your books!
Posting Remixes
Yes! Upload your custom books as remixes for other people to help them out, get inspo and earn yourself some points!
Boost Me (for free)
Please consider dropping a boost on this model to help fund large open models like this.
License
You may create derivative works based on this object, provided that all such derivative works are published exclusively on the MakerWorld platform and include proper attribution to the original creator. You may not share, upload, host, distribute, or publish this object—or any derivative work of this object—on any other digital platform, marketplace, or distribution channel. Commercial use of this object and any derivative works is strictly prohibited. This includes, but is not limited to, selling, renting, sublicensing, or using the object in any context in which you receive monetary compensation or other financial benefits.
Comment & Rating (98)