Kallax shelf insert drawers


Print Profile(3)

Description
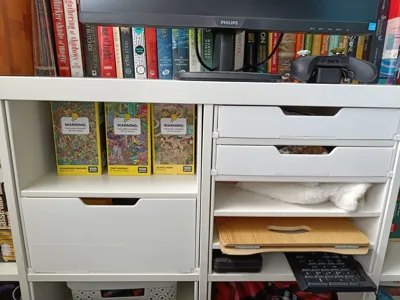
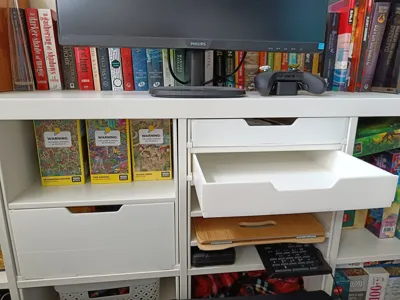
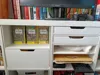
This project took some time and a bunch of weird prototypes that we do not need to talk about. I set out to put some drawers in my Kallax shelf inserts without making any permanent alterations. I also wanted stoppers to keep the drawers from falling out or being pushed back too far, just to keep it simple.
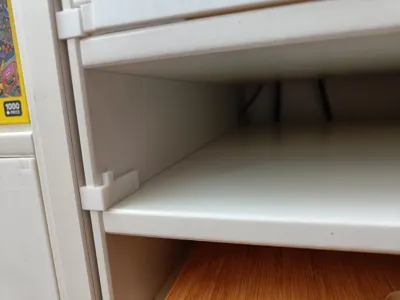
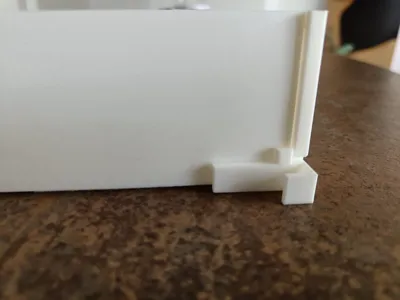
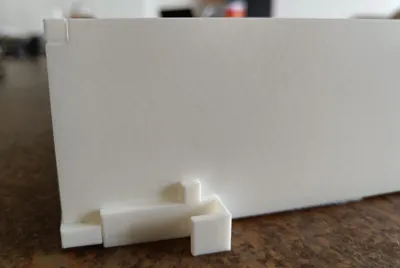
In the final design I settled on clips that fit between the insert and the kallax and stoppers on the drawer. The size needed to get a secure fit varies, even on the same insert, so I've included various thicknesses for you to try (most should fit 1,5-2mm but I've included a range of 1-3,5mm).
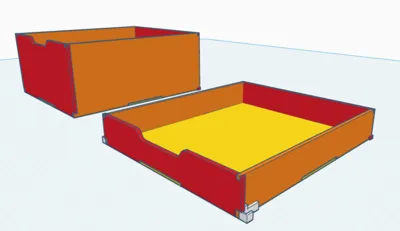
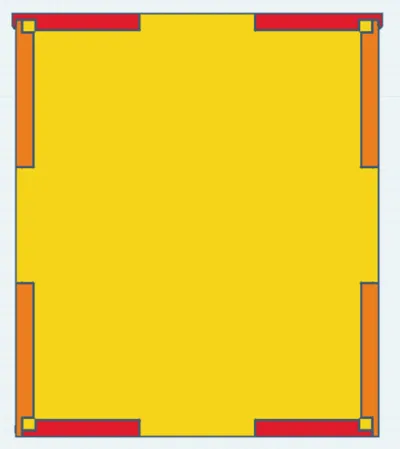
The drawer itself is pretty much just an over engineered box that's too big to fit on the plate. So I disassembled it and then further split the pieces that were still too big. In the profiles I coloured the pieces for easy reference. I recommend printing everything in one colour for a cohesive look but support and would like to see pictures of other whimsical design choices.
The models are divided across three profiles, one for the clips, one for the 5,5cm drawer (fits the 4 shelf insert) and one for the 15,7 cm drawer (fits the 1 shelf insert).
Assembly:
- I recommend gluing at least the front since this gets handled a lot, for the other parts use your own discretion.
- Start by completing the bottom and side pieces.
- Then attach the sides to the bottom and lock them in place by attaching the back.
- Make sure the bottom's corners fit smoothly between the sides and aren't being lifted by any of the tabs. (This can be tricky, you might need to a few tries)
- Slide the front into place.
- Optionally stick felt pads to the bottom to avoid scratches and make the drawer quieter.
- Slide the drawer about halfway into the shelf.
- Add the clips to the side of the inserts (Tip: if you're struggling to get the them in, slightly slide out the insert, put the clips on and hold them in place while sliding it back in). Use this same method if you ever want to take the drawer out.
Model information:
- Supports required
- Model consists of long thin pieces that are prone to warping so deploy all your favourite measures: deploy your grippiest plates, clean them, cover them in adhesives, add a brim, increase temperatures, minimise drafts, slow down the printing speed, etc.
License
You may create derivative works based on this object, provided that all such derivative works are published exclusively on the MakerWorld platform and include proper attribution to the original creator. You may not share, upload, host, distribute, or publish this object—or any derivative work of this object—on any other digital platform, marketplace, or distribution channel. Commercial use of this object and any derivative works is strictly prohibited. This includes, but is not limited to, selling, renting, sublicensing, or using the object in any context in which you receive monetary compensation or other financial benefits.
Comment & Rating (9)