
Balloon Wind Spinner - LED VAWT
Print Profile(7)
![[Basic with 2 Wings at once] 0.2mm layer, 2 walls, 15% infil](https://makerworld.bblmw.com/makerworld/model/USfda22451edc42e/738606034/instance/4e258a7903026bea.png?x-oss-process=image%2Fresize%2Cw_100%2Fformat%2Cwebp)
![[Single Wing Rearranged] 0.2mm layer, 2 walls, 15% infill](https://makerworld.bblmw.com/makerworld/model/USfda22451edc42e/738616282/instance/654cdf33477c69b8.webp?x-oss-process=image%2Fresize%2Cw_100%2Fformat%2Cwebp)
![[5 Wings at once] 0.2mm layer, 2 walls, 15% infill](https://makerworld.bblmw.com/makerworld/model/USfda22451edc42e/669784622/instance/57a32fa18f3882b5.webp?x-oss-process=image%2Fresize%2Cw_100%2Fformat%2Cwebp)

Bill of Materials













Description
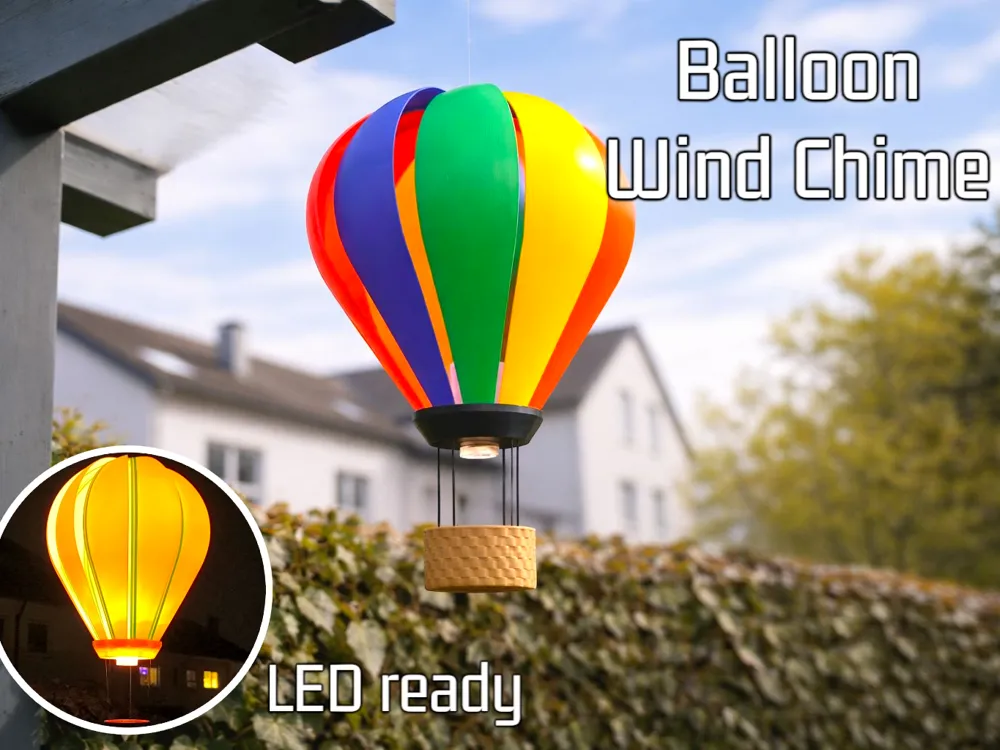
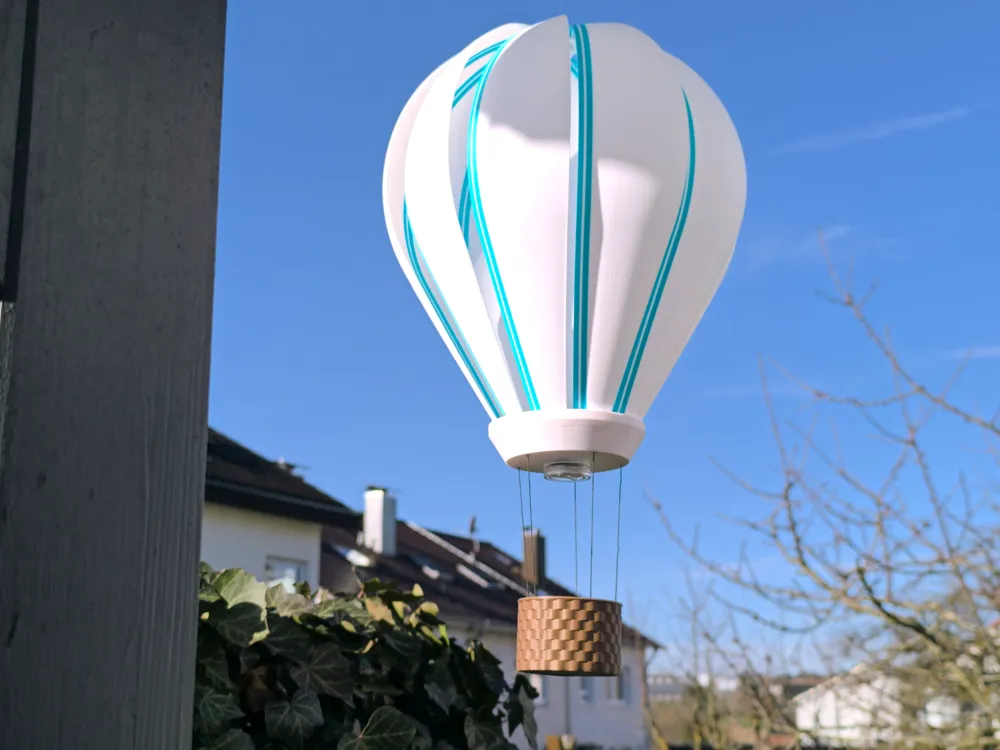

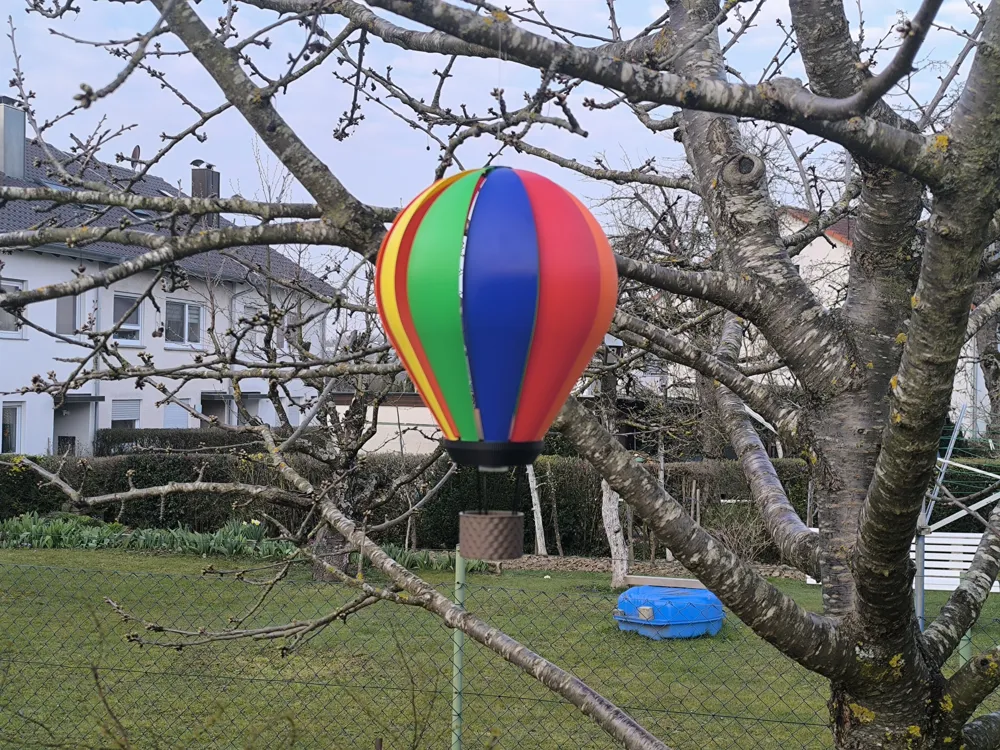

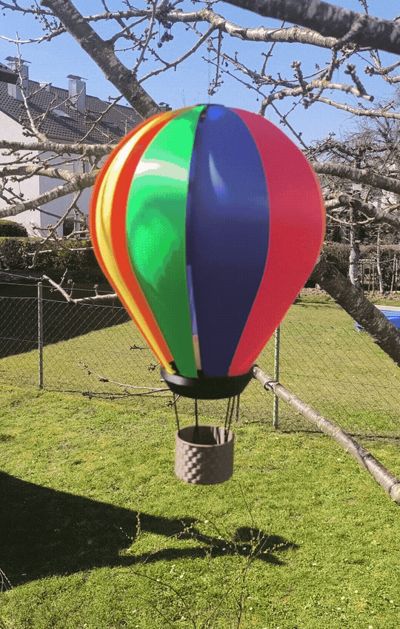
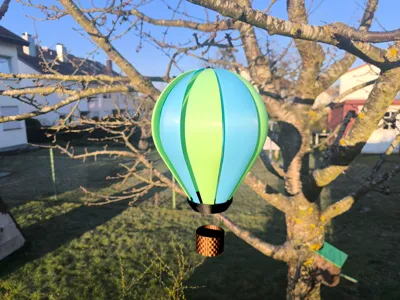
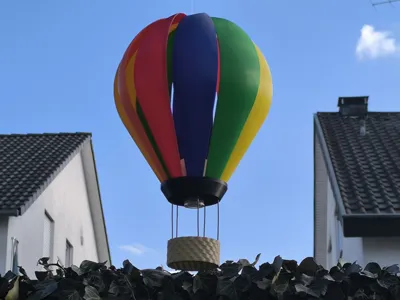
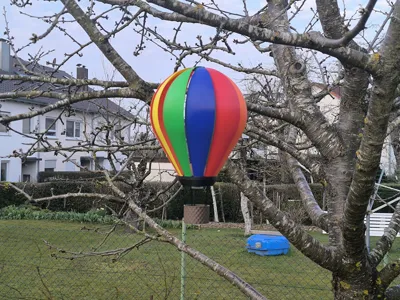
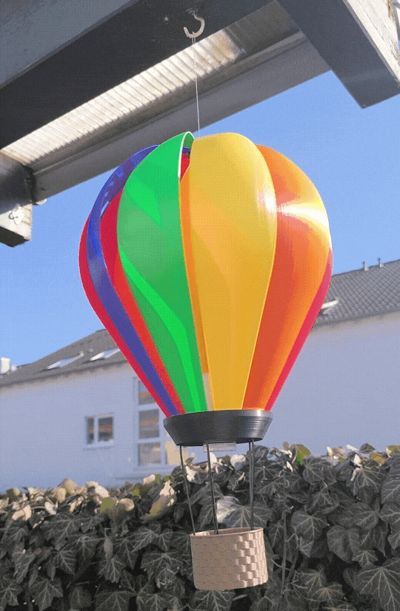
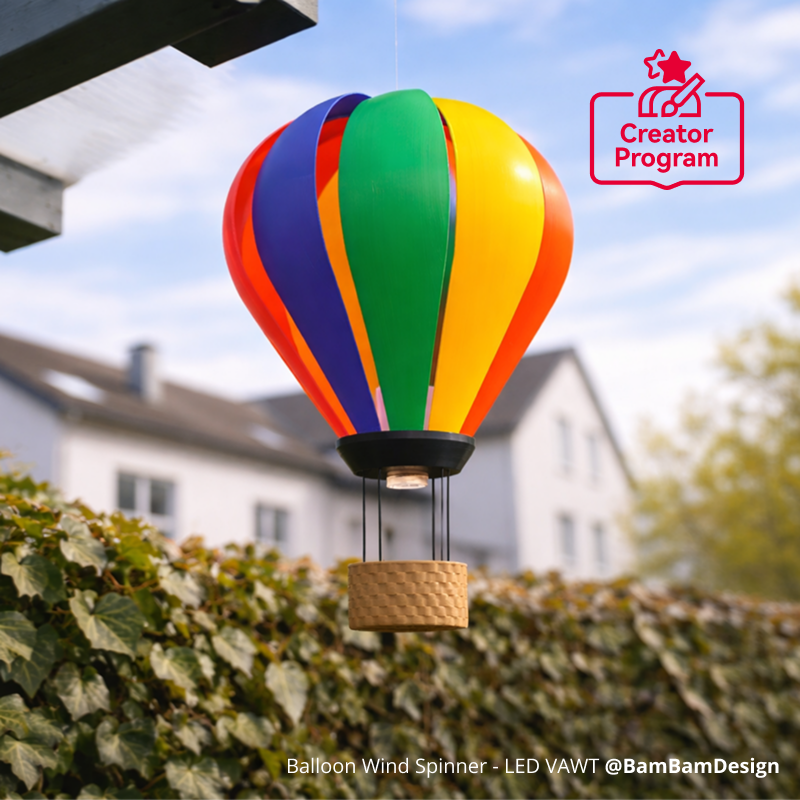
I proudly present my Balloon Wind Spinner.

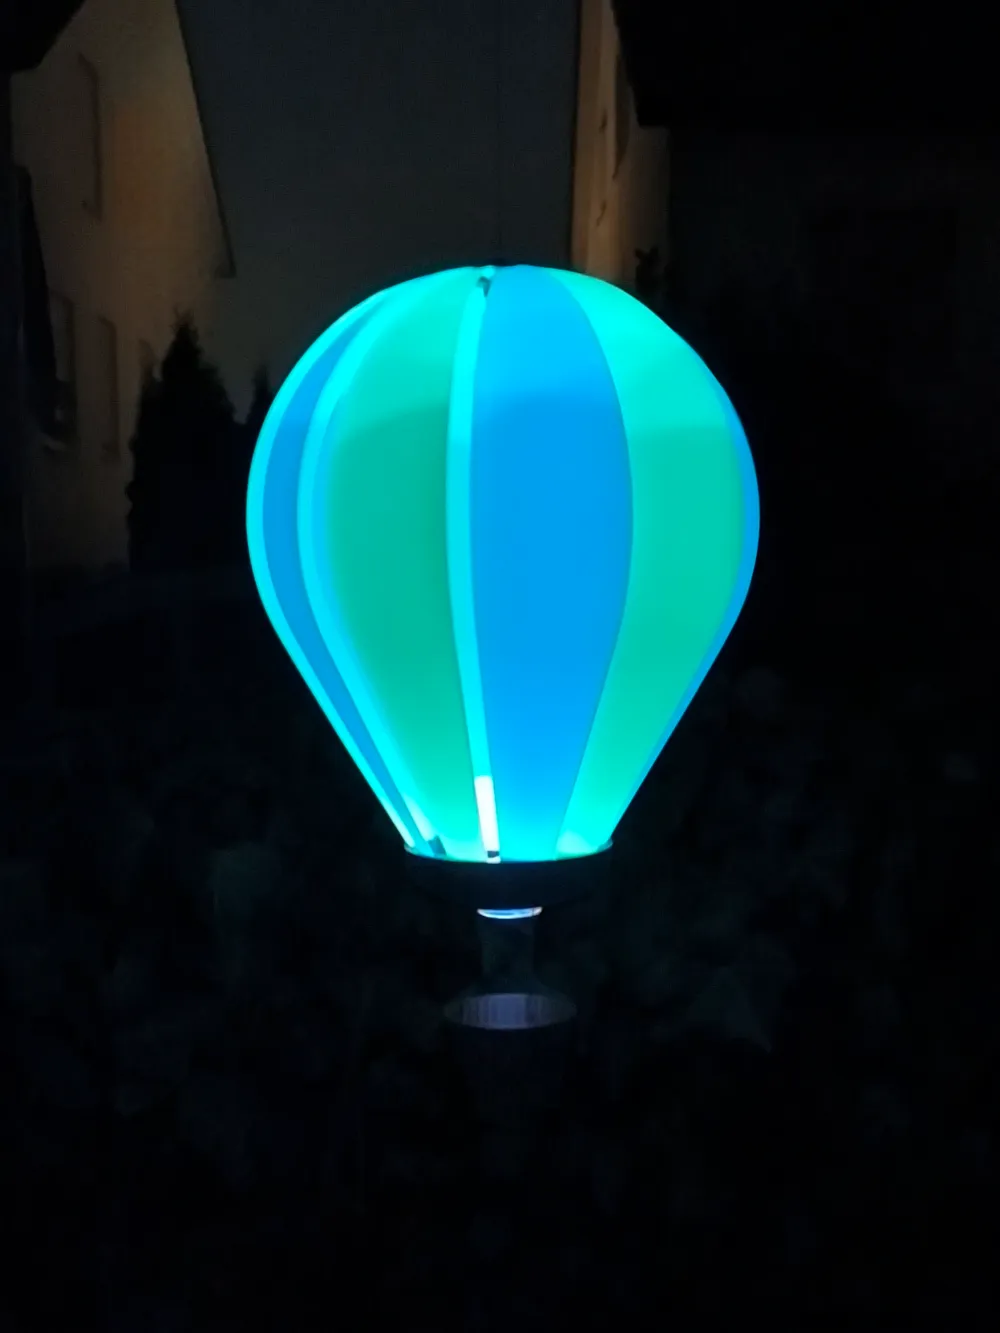
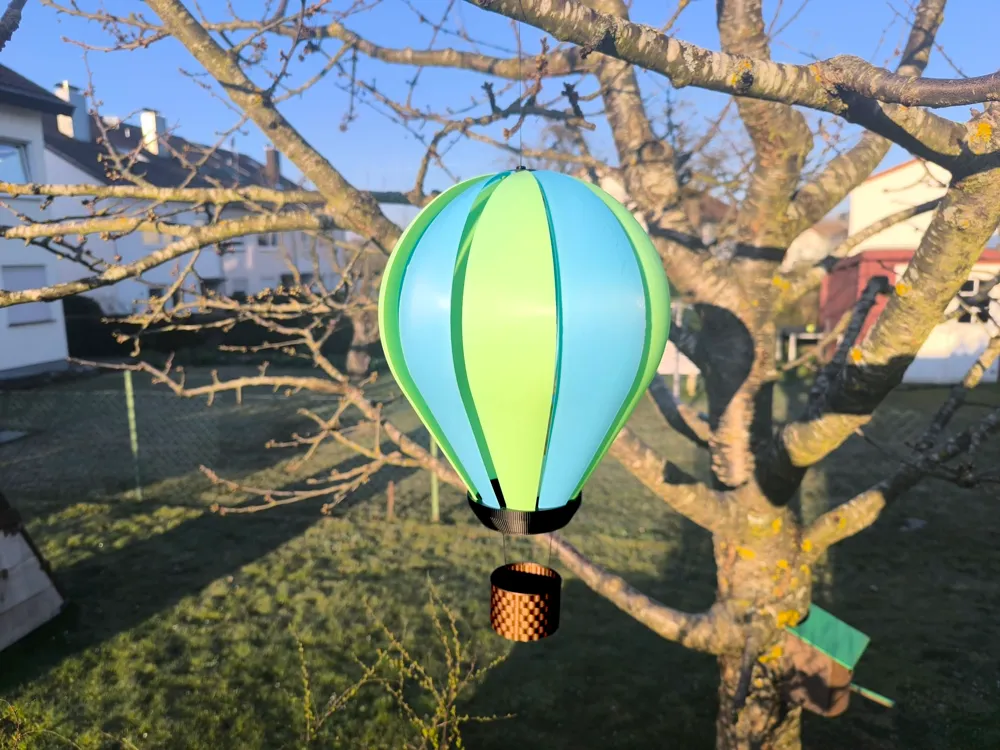

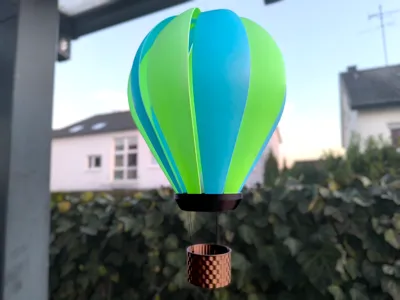
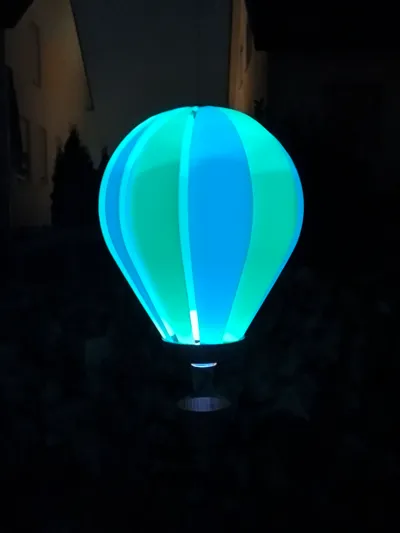
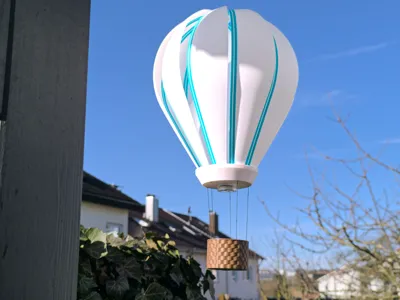
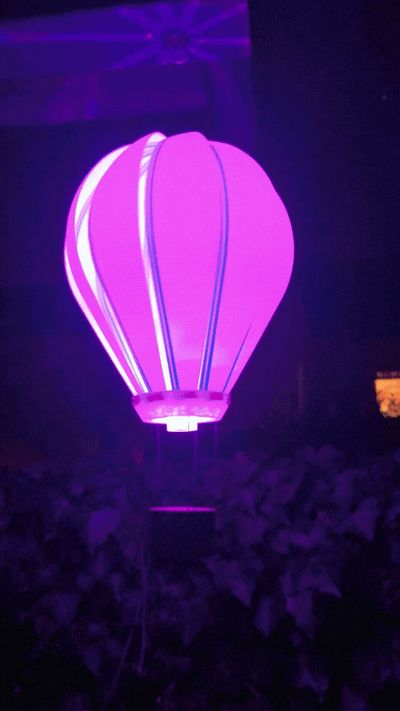
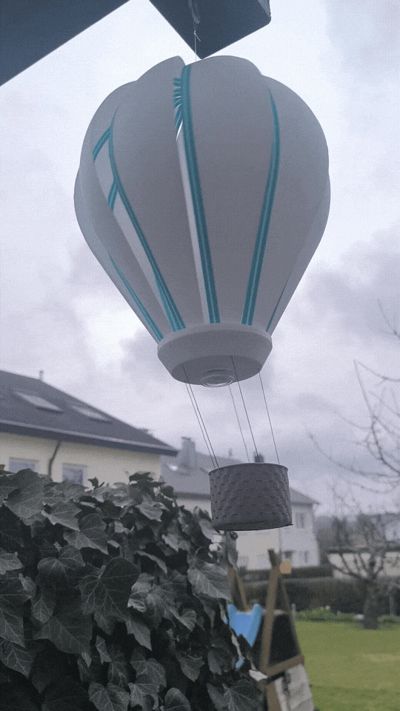
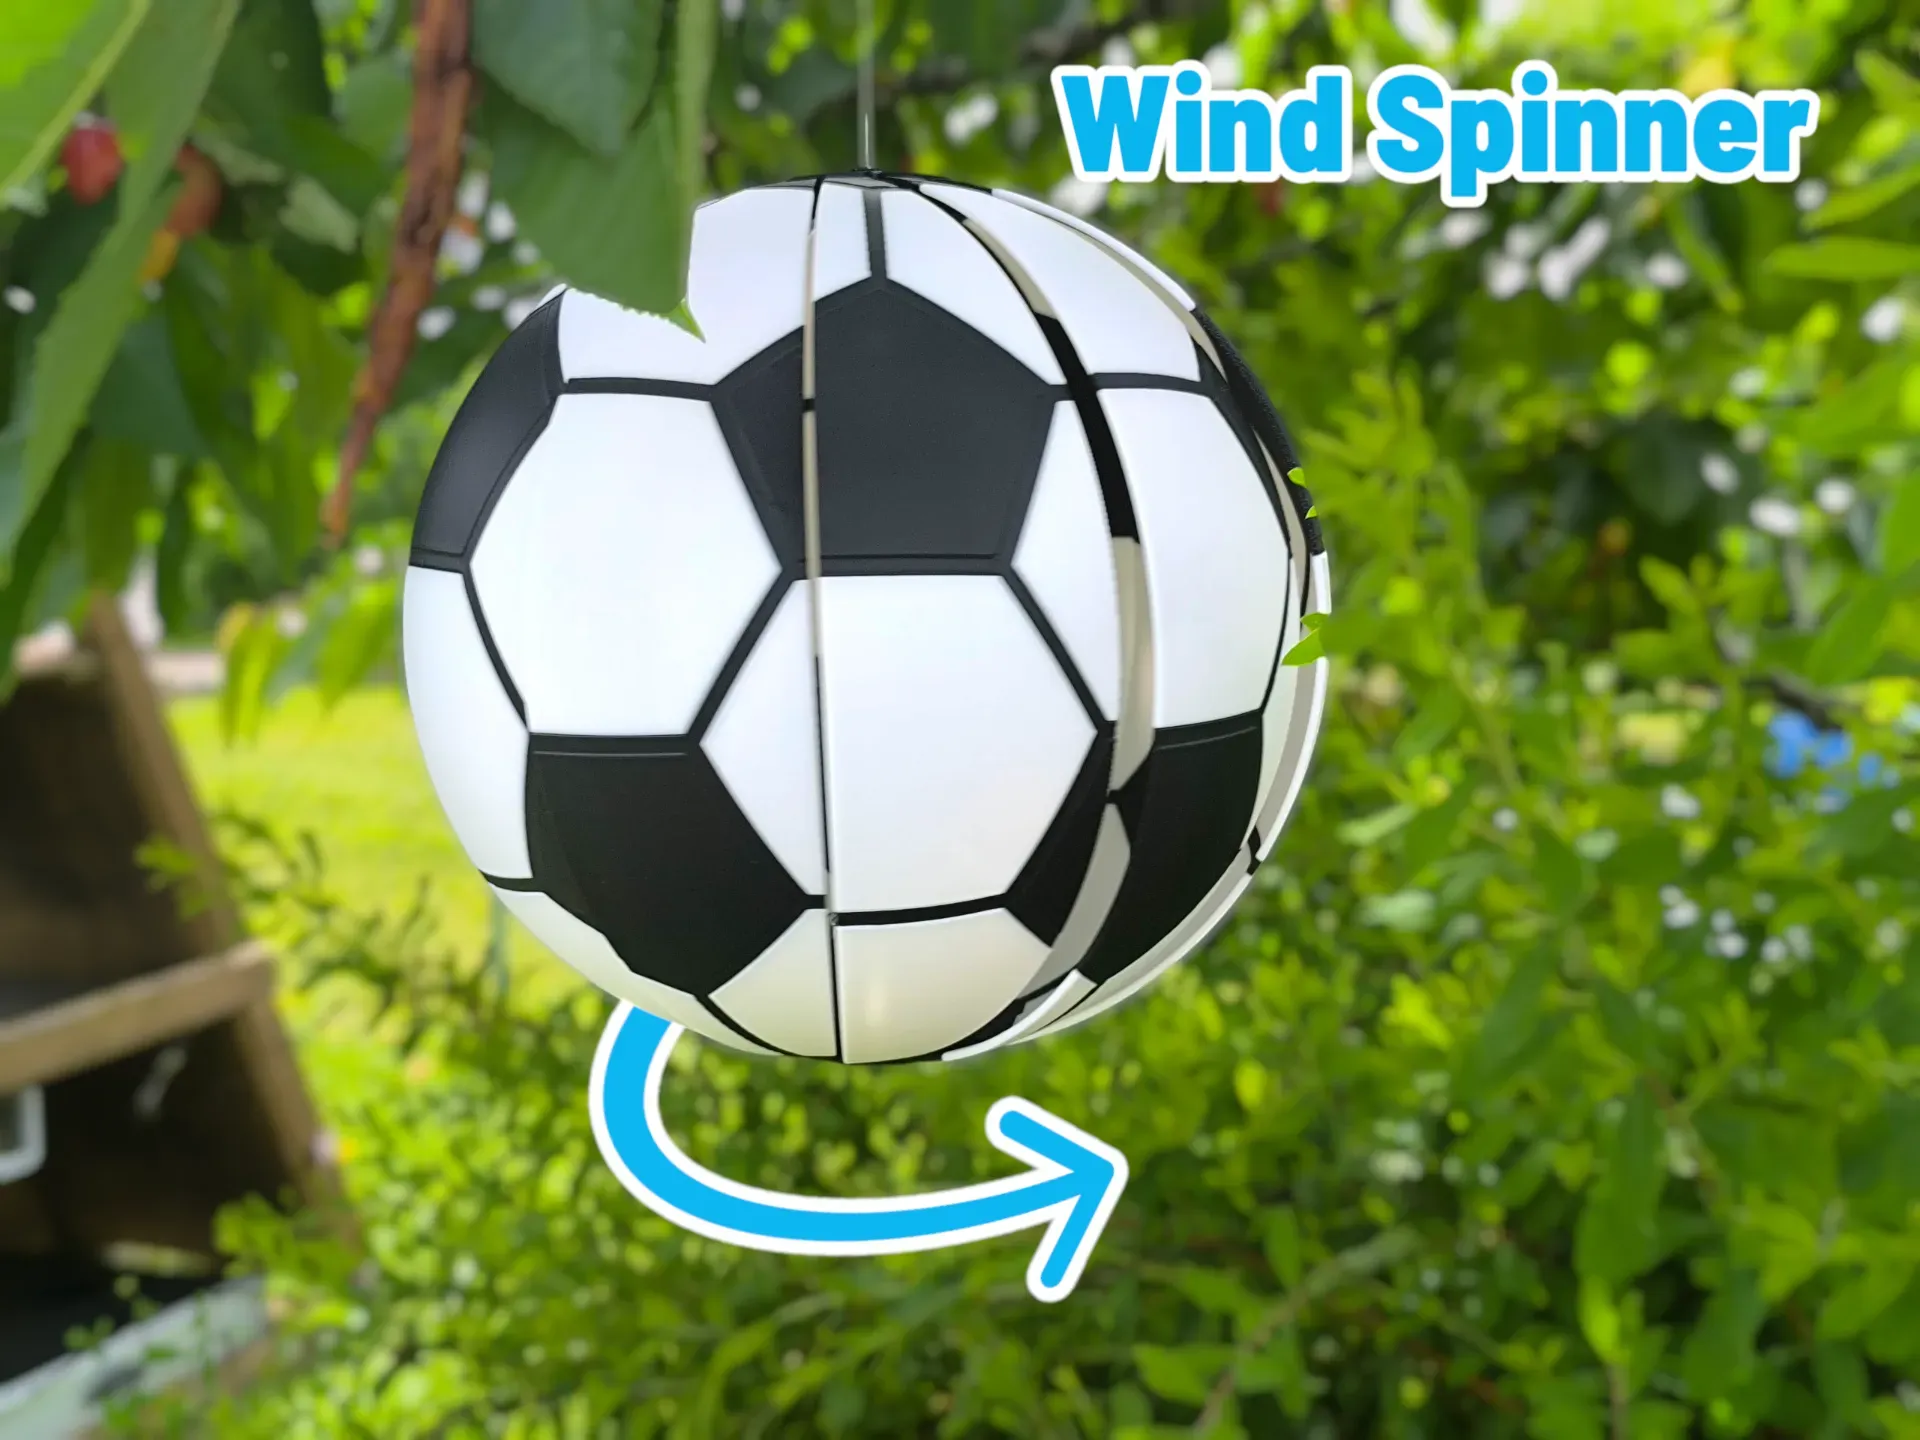
A beautiful balloon whose individual segments are arranged in such a way that it rotates in the wind from any direction—similar to a VAWT (Vertical Axis Wind Turbine). It begin to spin in lowest breeze and can spin really fast in stormy days. It can also be easily illuminated from the inside. Hang it on trees balcony or roofs around the garden as a eyecatching garden decoration.
Features:
- Beautiful hanging balloon with a detailed basket
- Spins easily in wind from any direction (VAWT principle) and shows how windy it is.
- Built-in bearing prevents the string from twisting to much in strong winds.
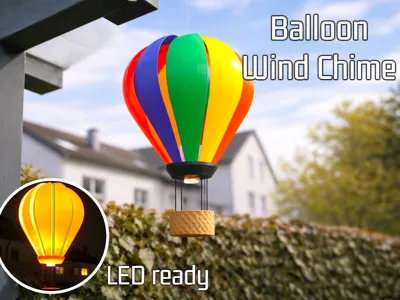
- Lighting options: LED spotlight with remote control or a tea light with timer
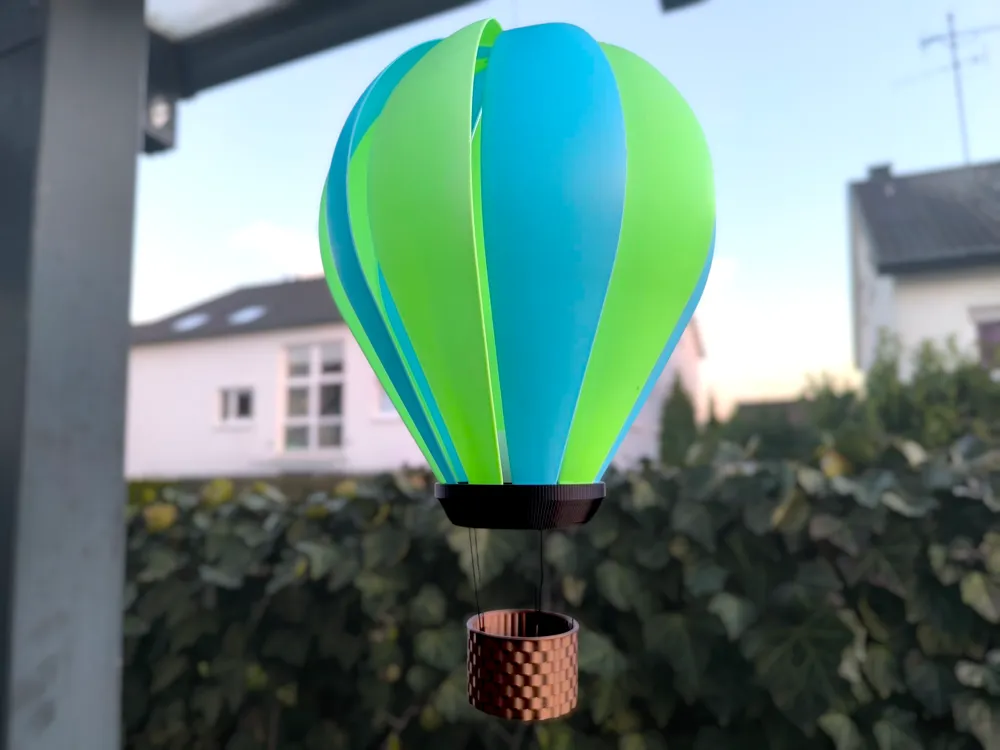
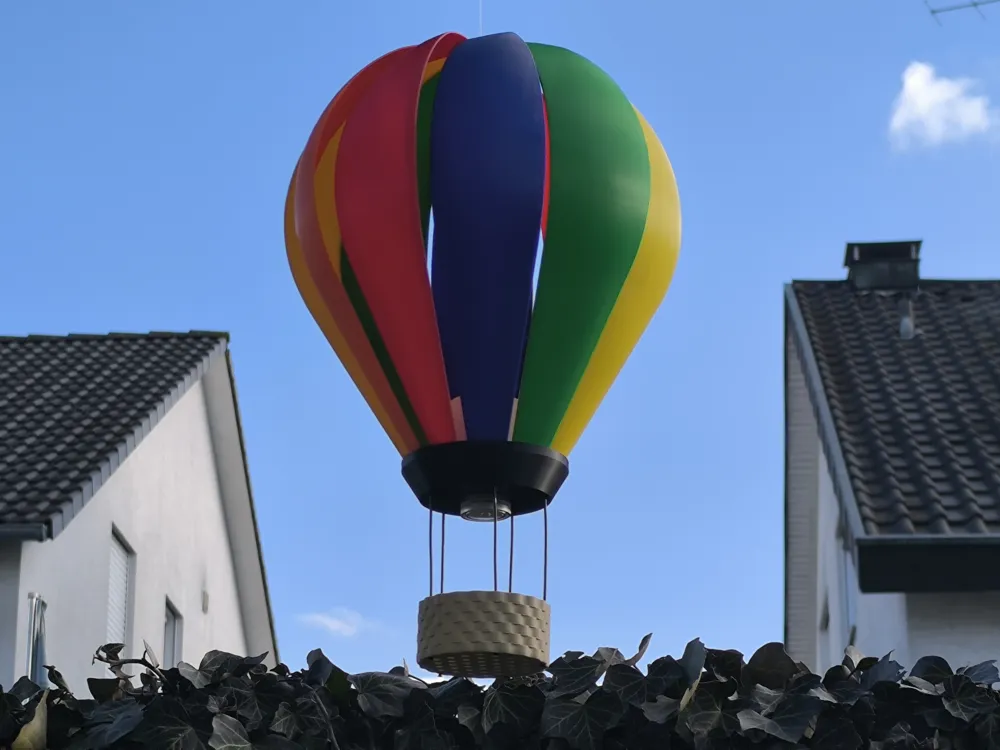
- Individual segments allow for creative color combinations
- Relatively easy large print – no supports required
- Very easy to assemble thanks to clip connections
I spent a long time refining the design to provide you with the simplest possible assembly experience. All parts fit together perfectly without the need for glue.
Boost Me (for free)
I appreciate every boost. This helps me to continue providing free models.
Printing:
I tested with PETG HF and PLA. I recommend to print in PETG in warm areas 🥵.
Keep your bed clean - i added brim to the wings to ensure good adhesion. Basic profile prints 2 wings ad once. Print it 5 times in different colors or use the alternative profile with 5 wings on one plate.
Assembly
Bambulab provided a special kit for assembly: B-ZH-144 which contains:
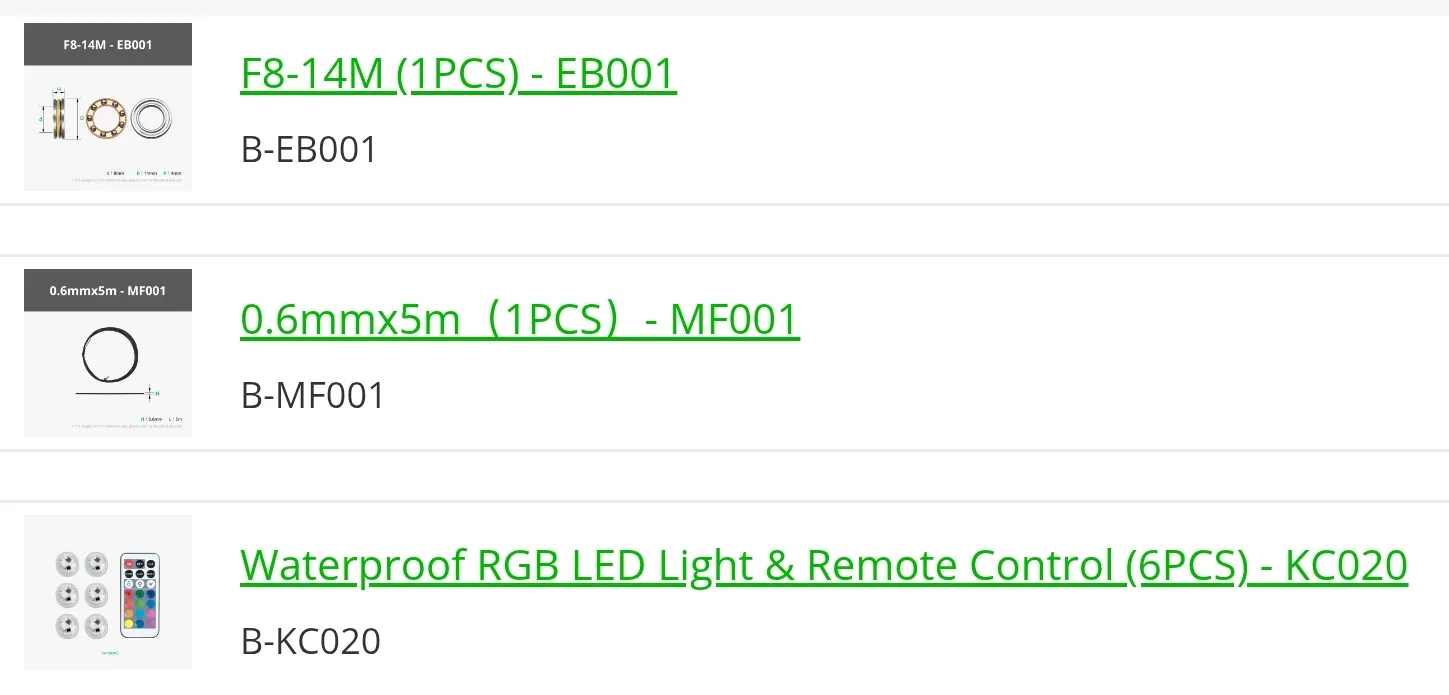
Deselect the individual parts if you want to purchase the kit. And vice versa!
- The Ball Bearing is recommended but you can also use the two 3D printed discs. With the metal bearing, the cord twists less before the bearing releases and it turns a bit faster. Without the metal bearing it will also turn in the opposite direction because the cord twists.
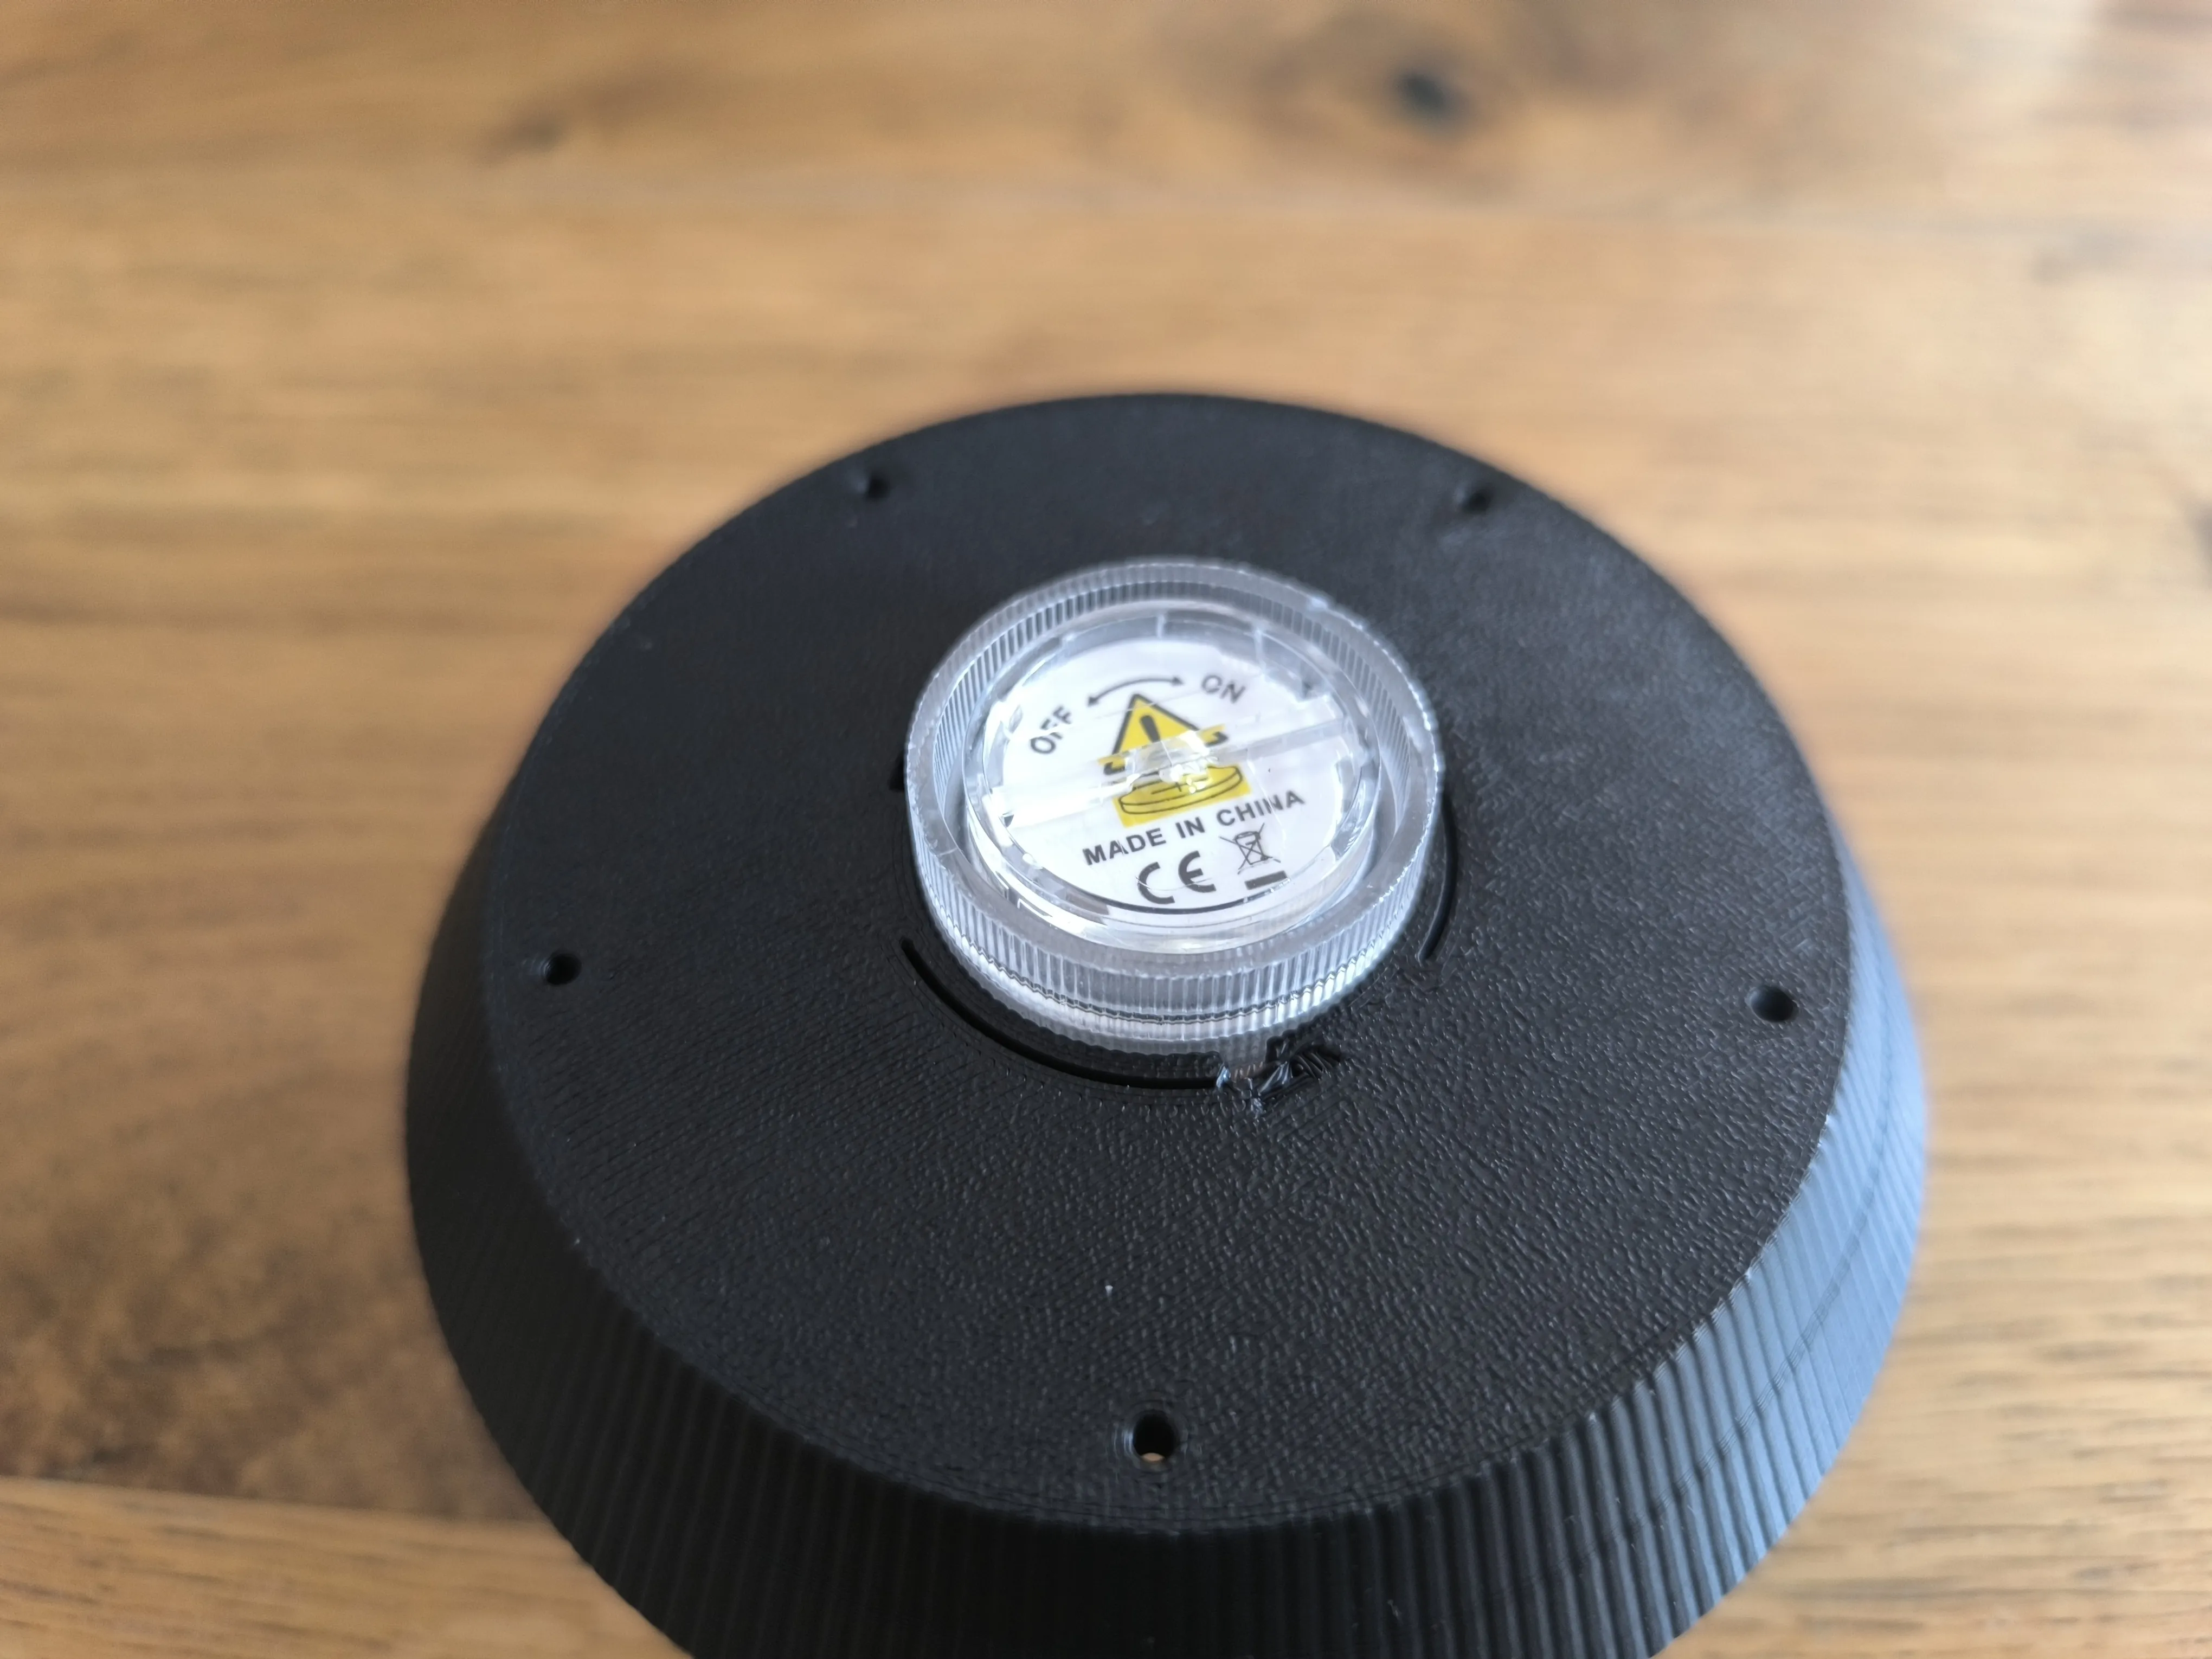
- LED spot from BOM is also optional, but its really cool with the remote. You can also use are regular LED tea light.
- The linked nylon cord is used for the basket and can be used for the hanging mount as well. I personally used transparent fishing line for the hanging mount. (Reflink-https://amzn.to/4cYLu65) This one is even less easy to twist.
*Video/Pictures are coming soon*
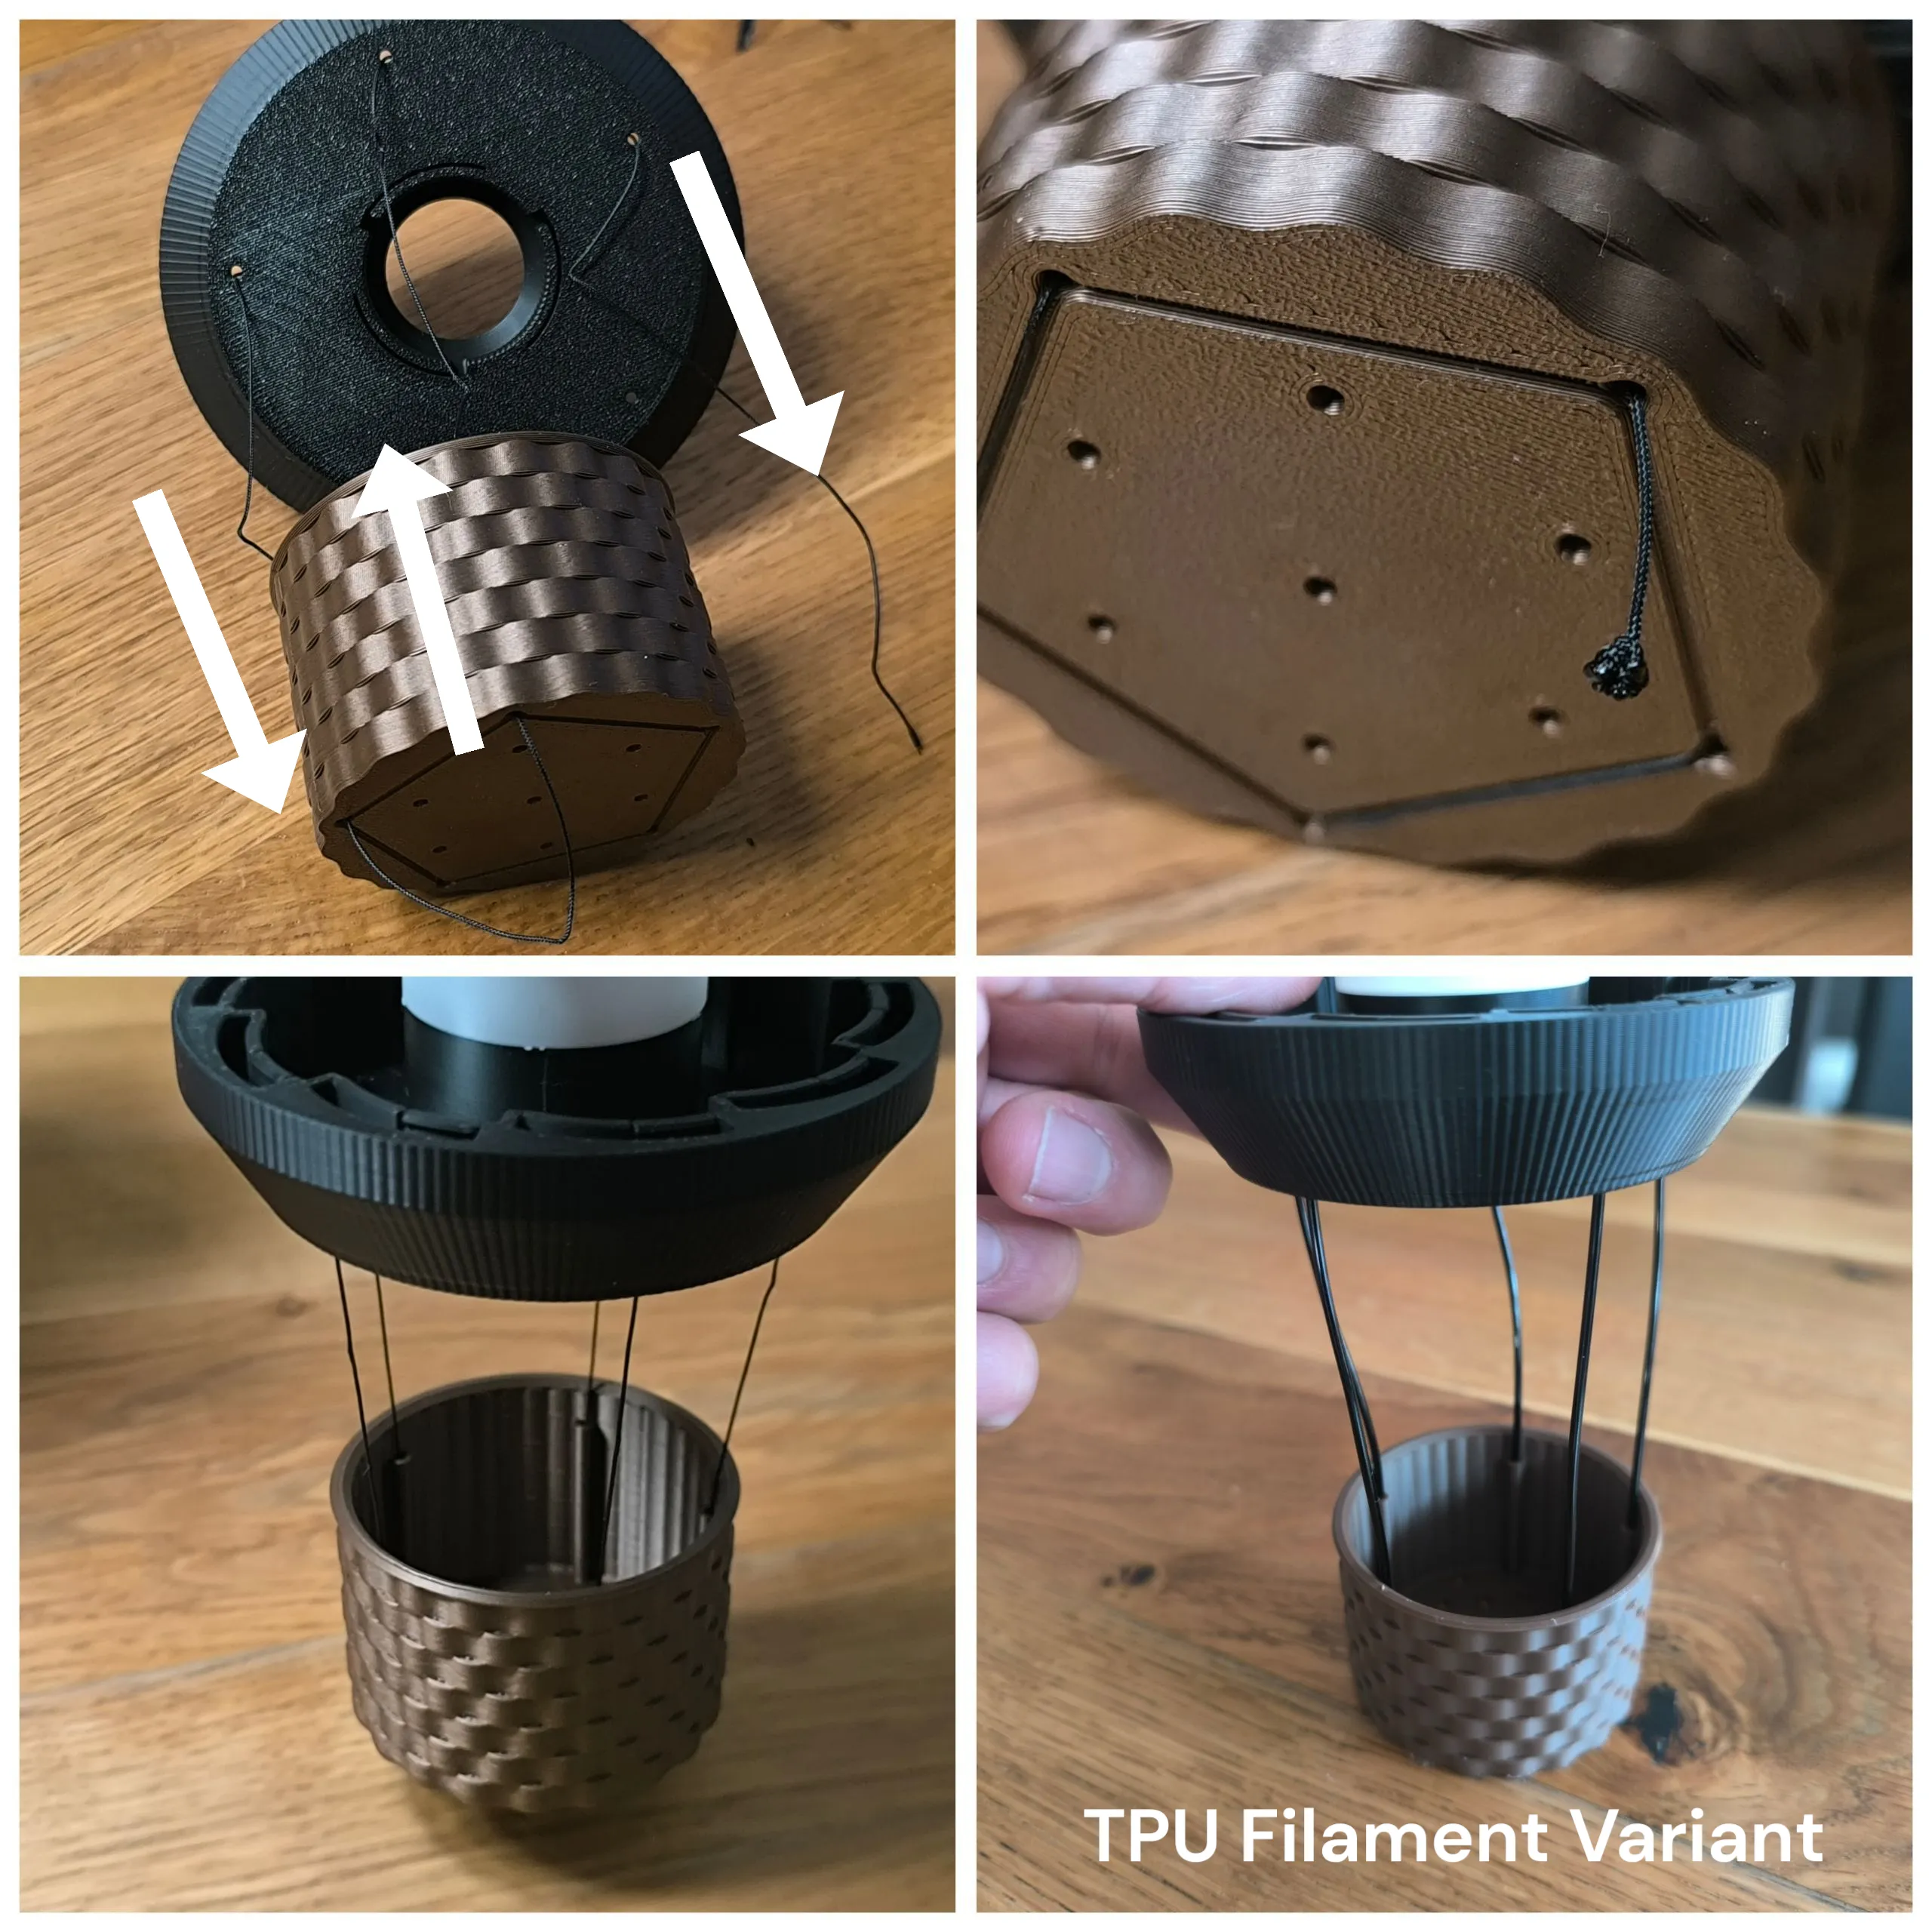
Thread the string through the 5 positions on the basket and base. Knot the ends. Tip: You can also use 5 pieces of equal length, e.g., TPU filament, if you want it thicker and more stable.
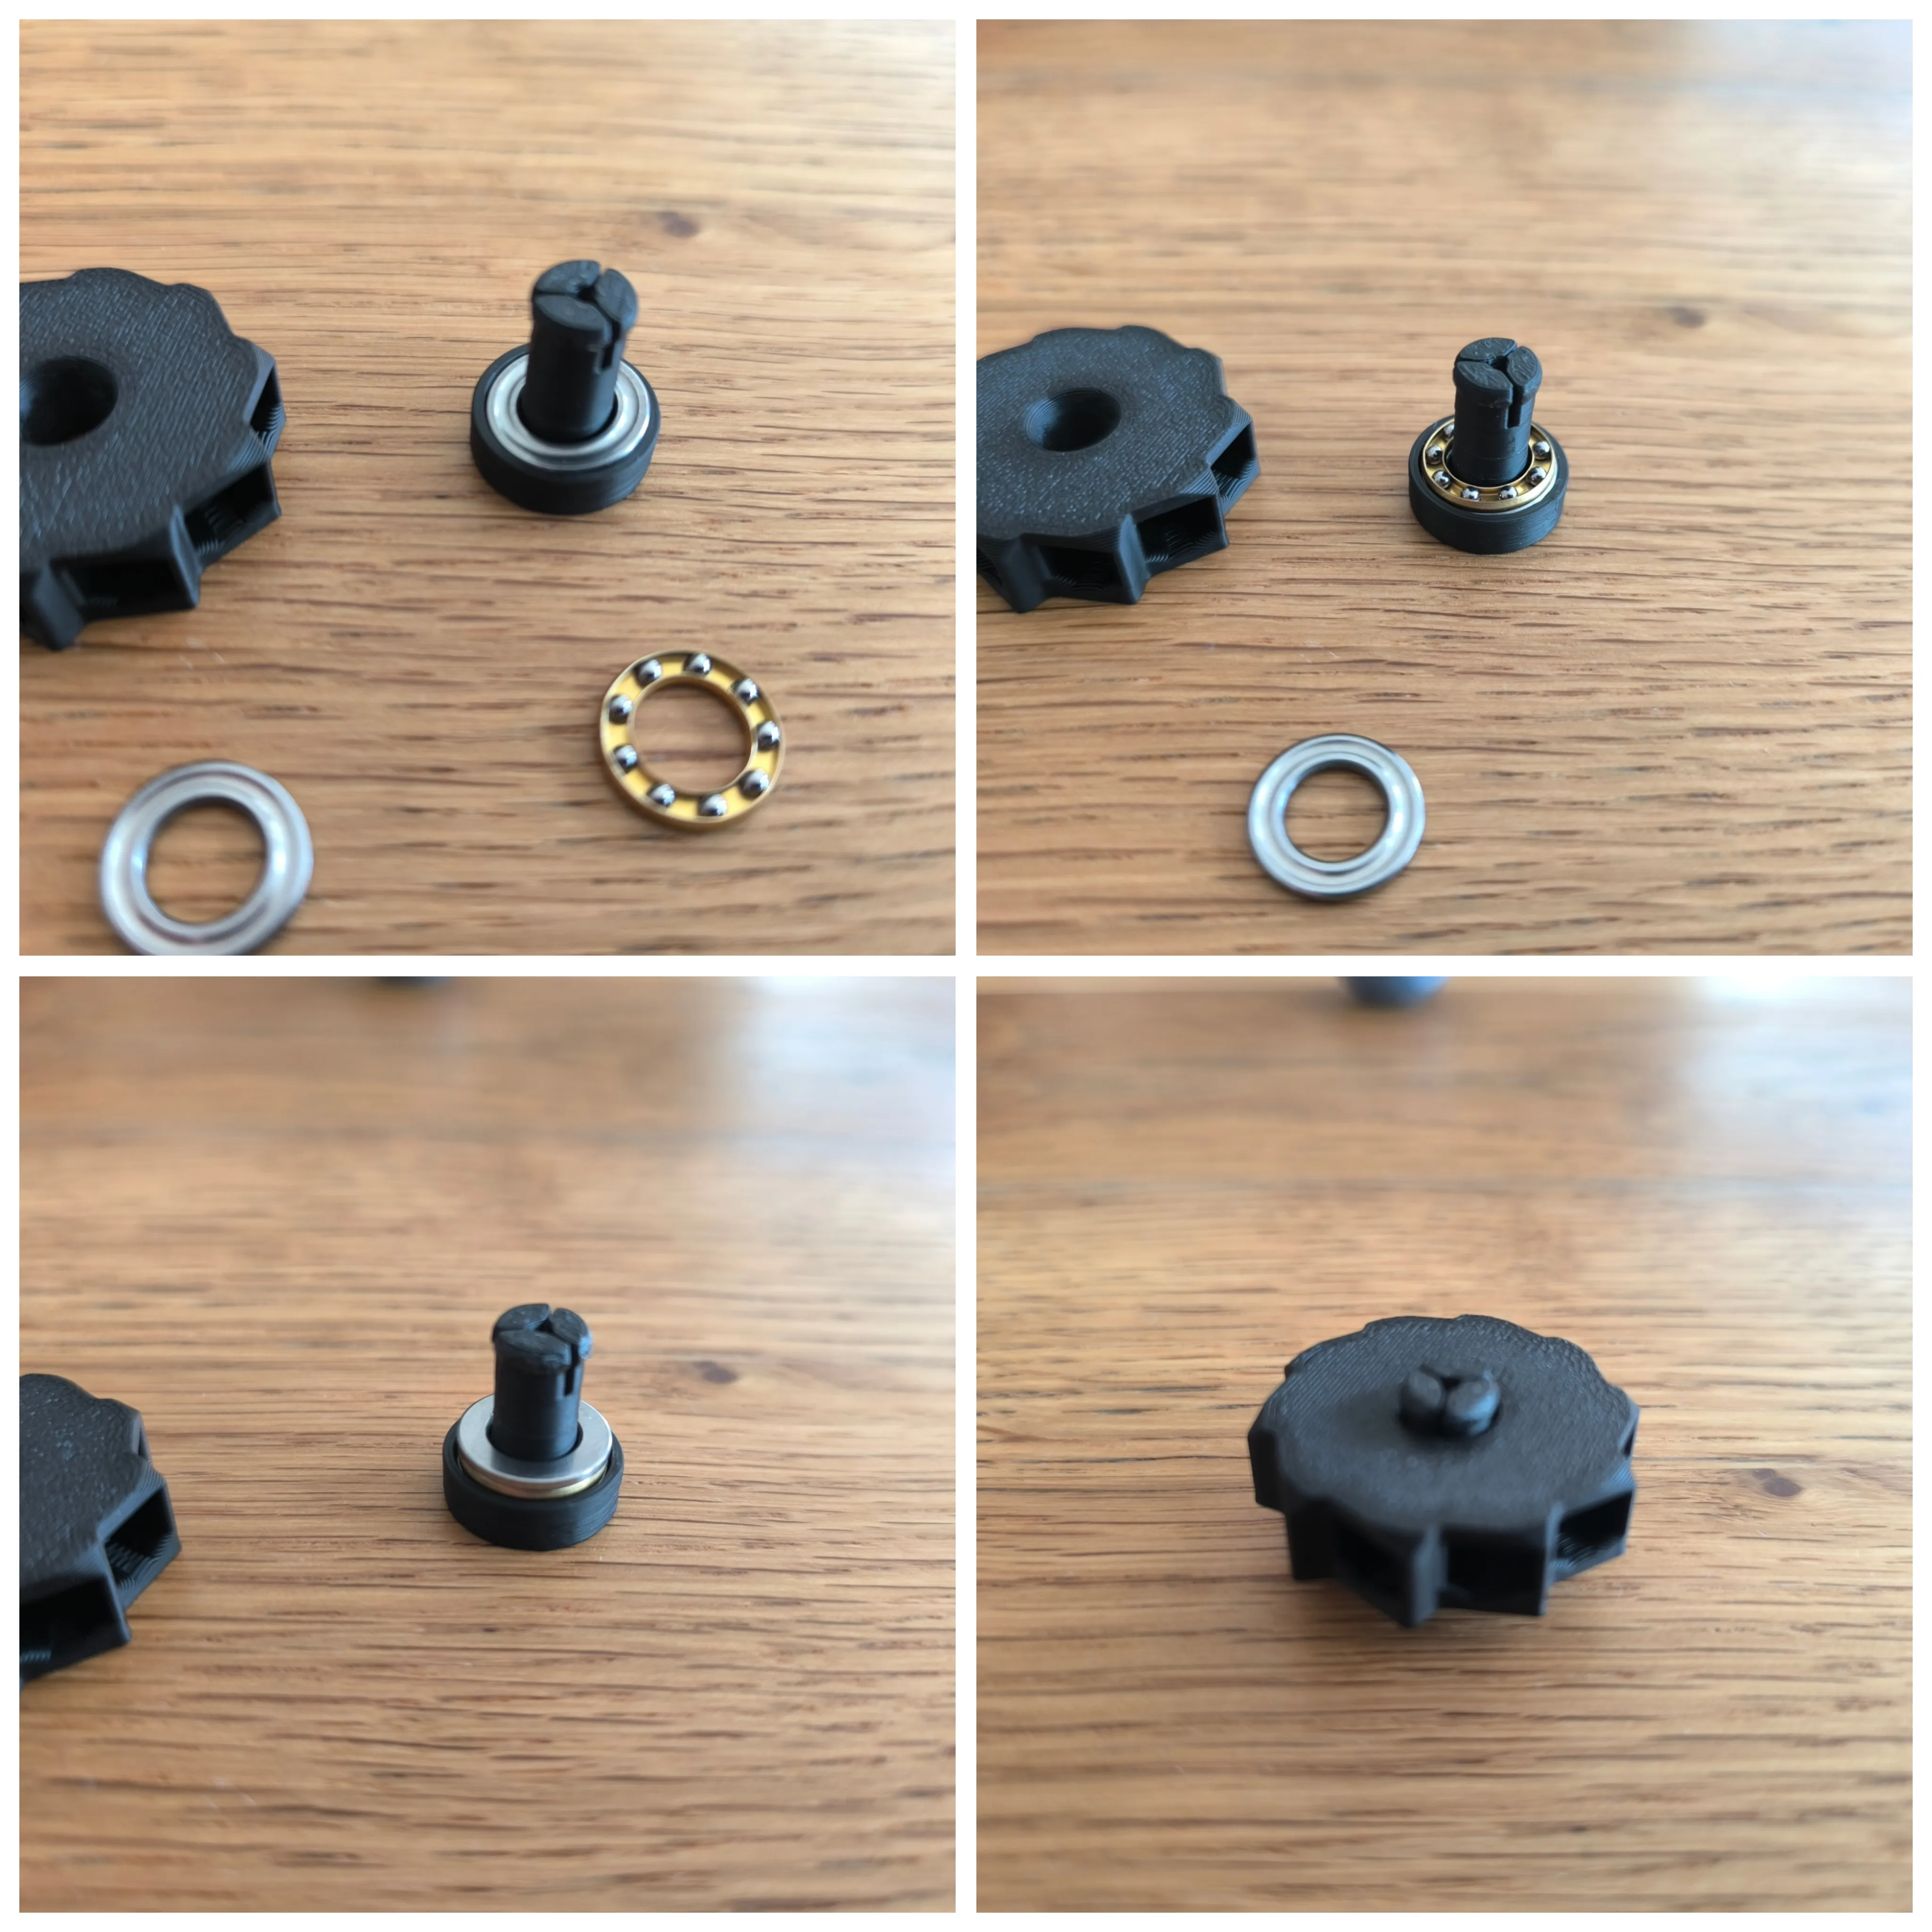
Insert the bearing (alternative the 2 printed discs) and push the pin through the hole
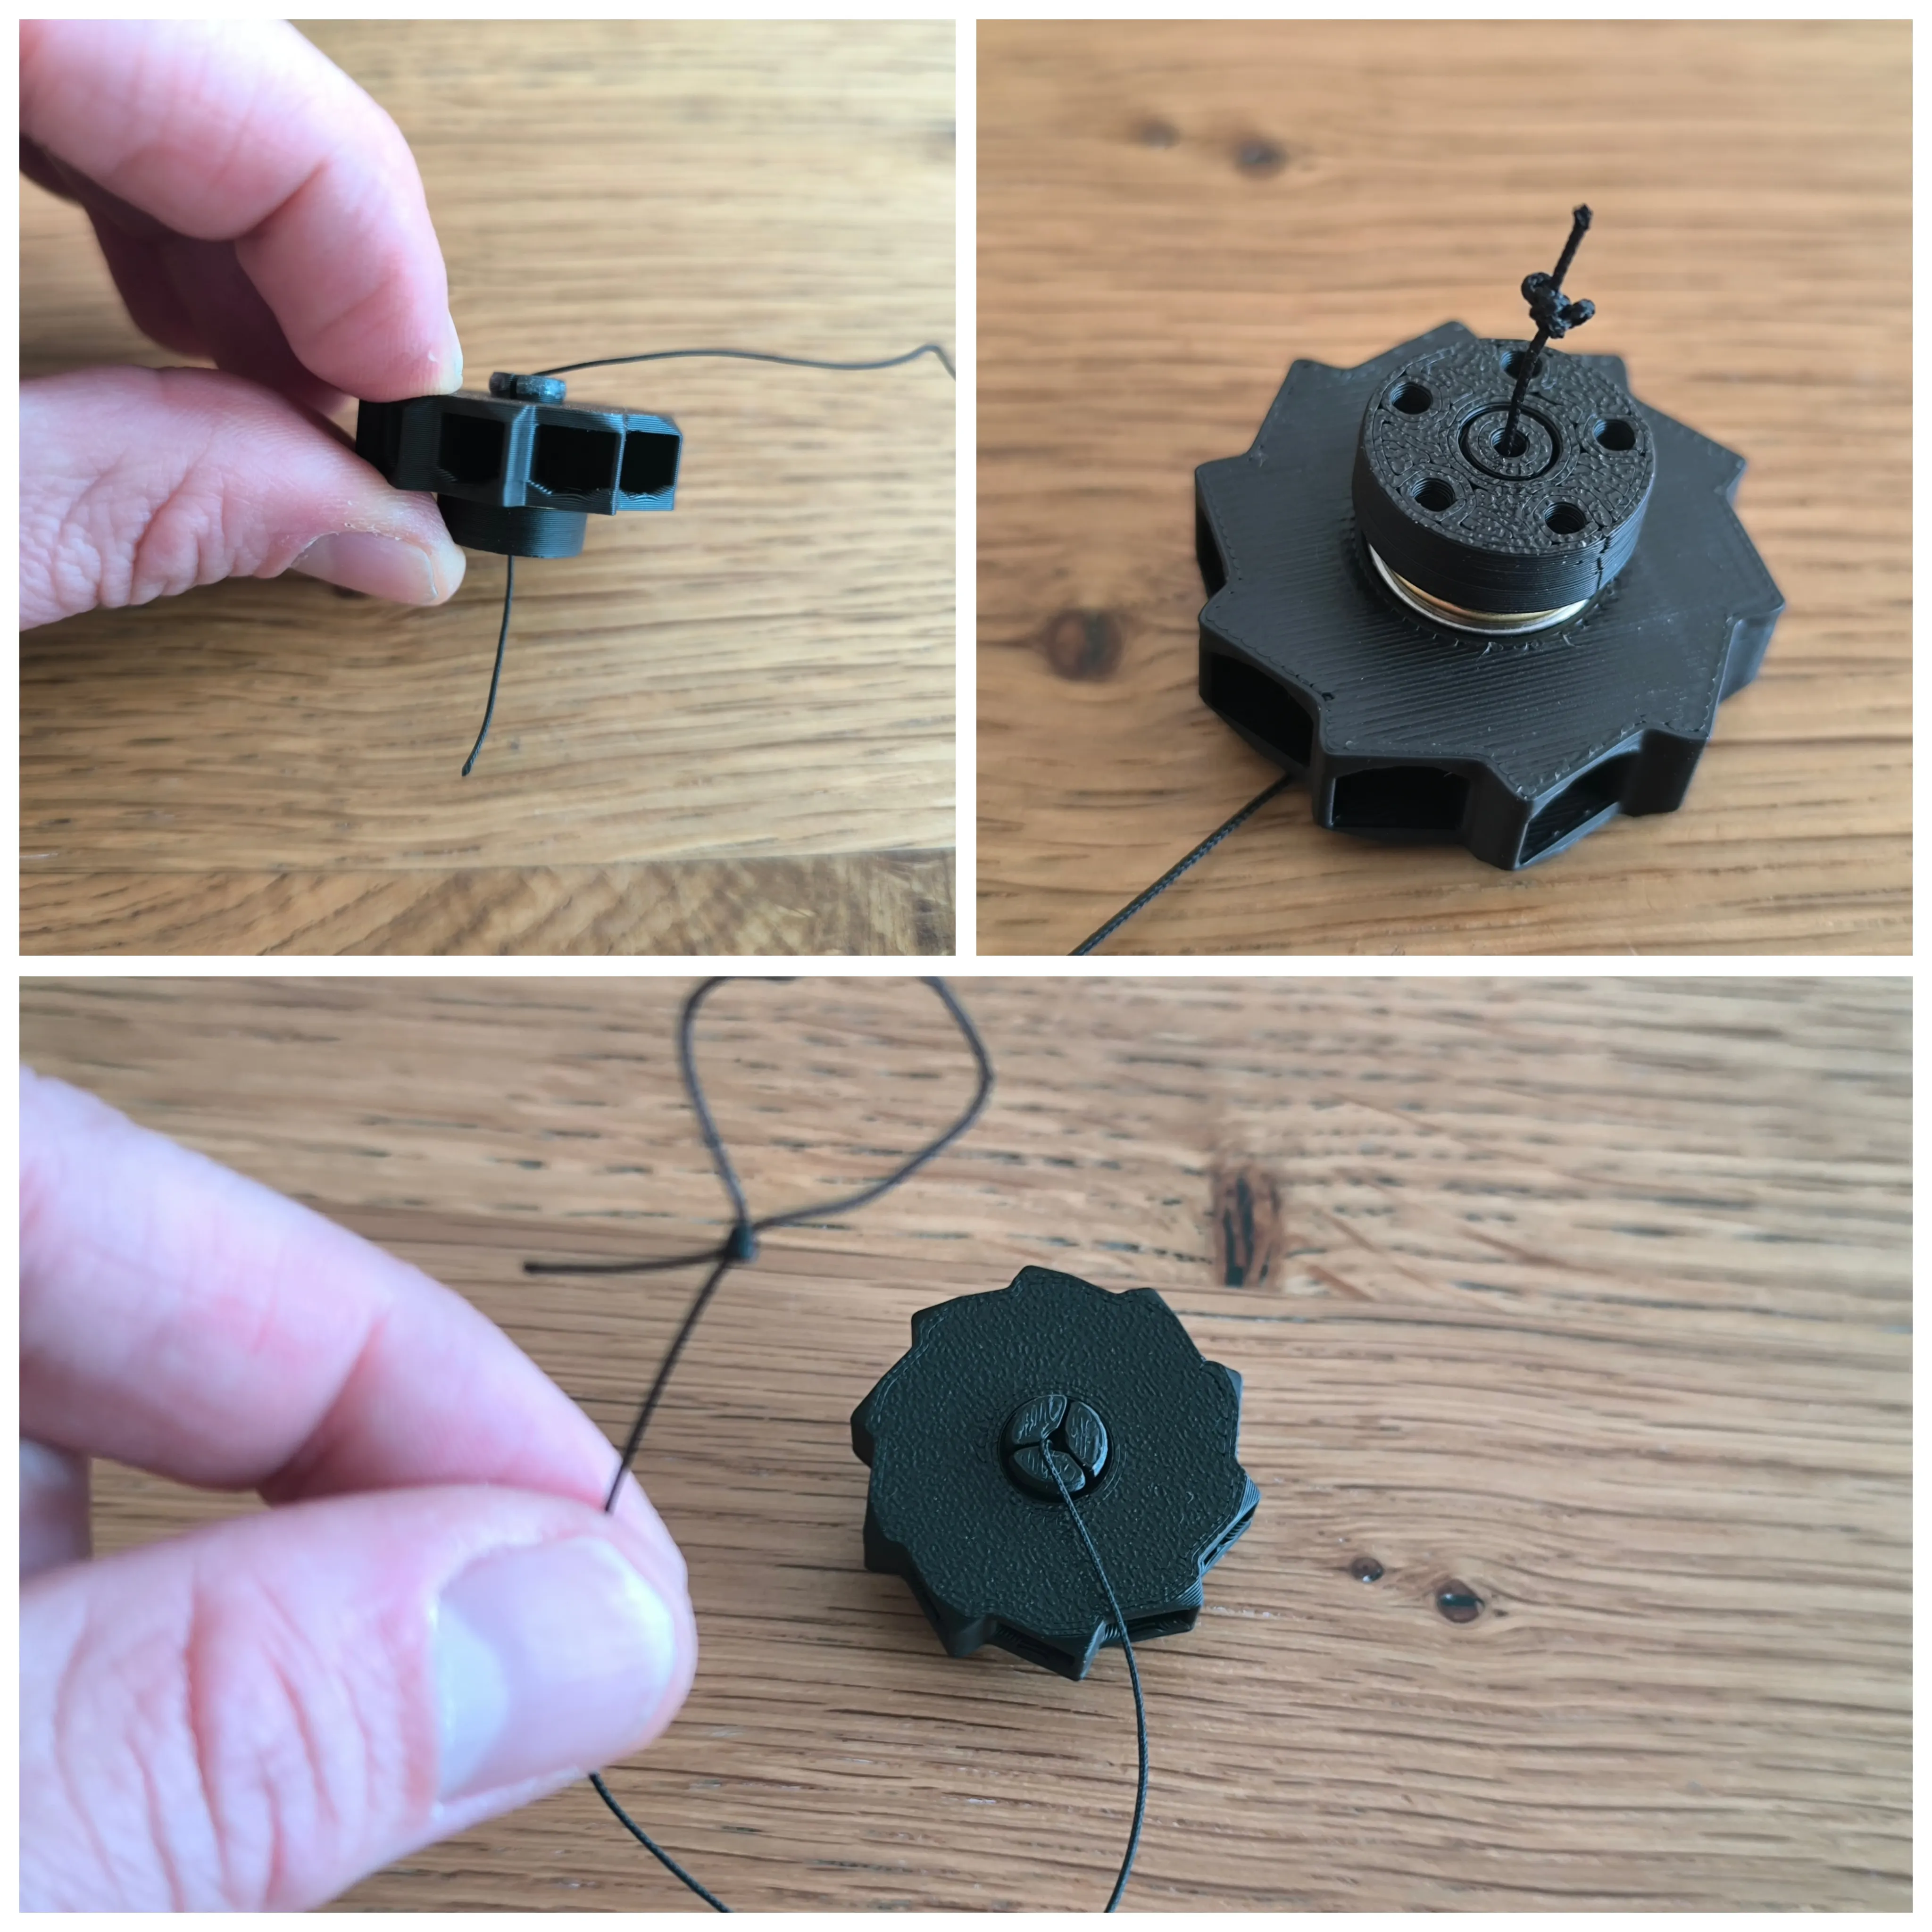
Thread a piece of string through the pin and knot it at the bottom. Tie a loop knot at the top.
Now insert first all 10 wings into the base. The wings should click into place easily.
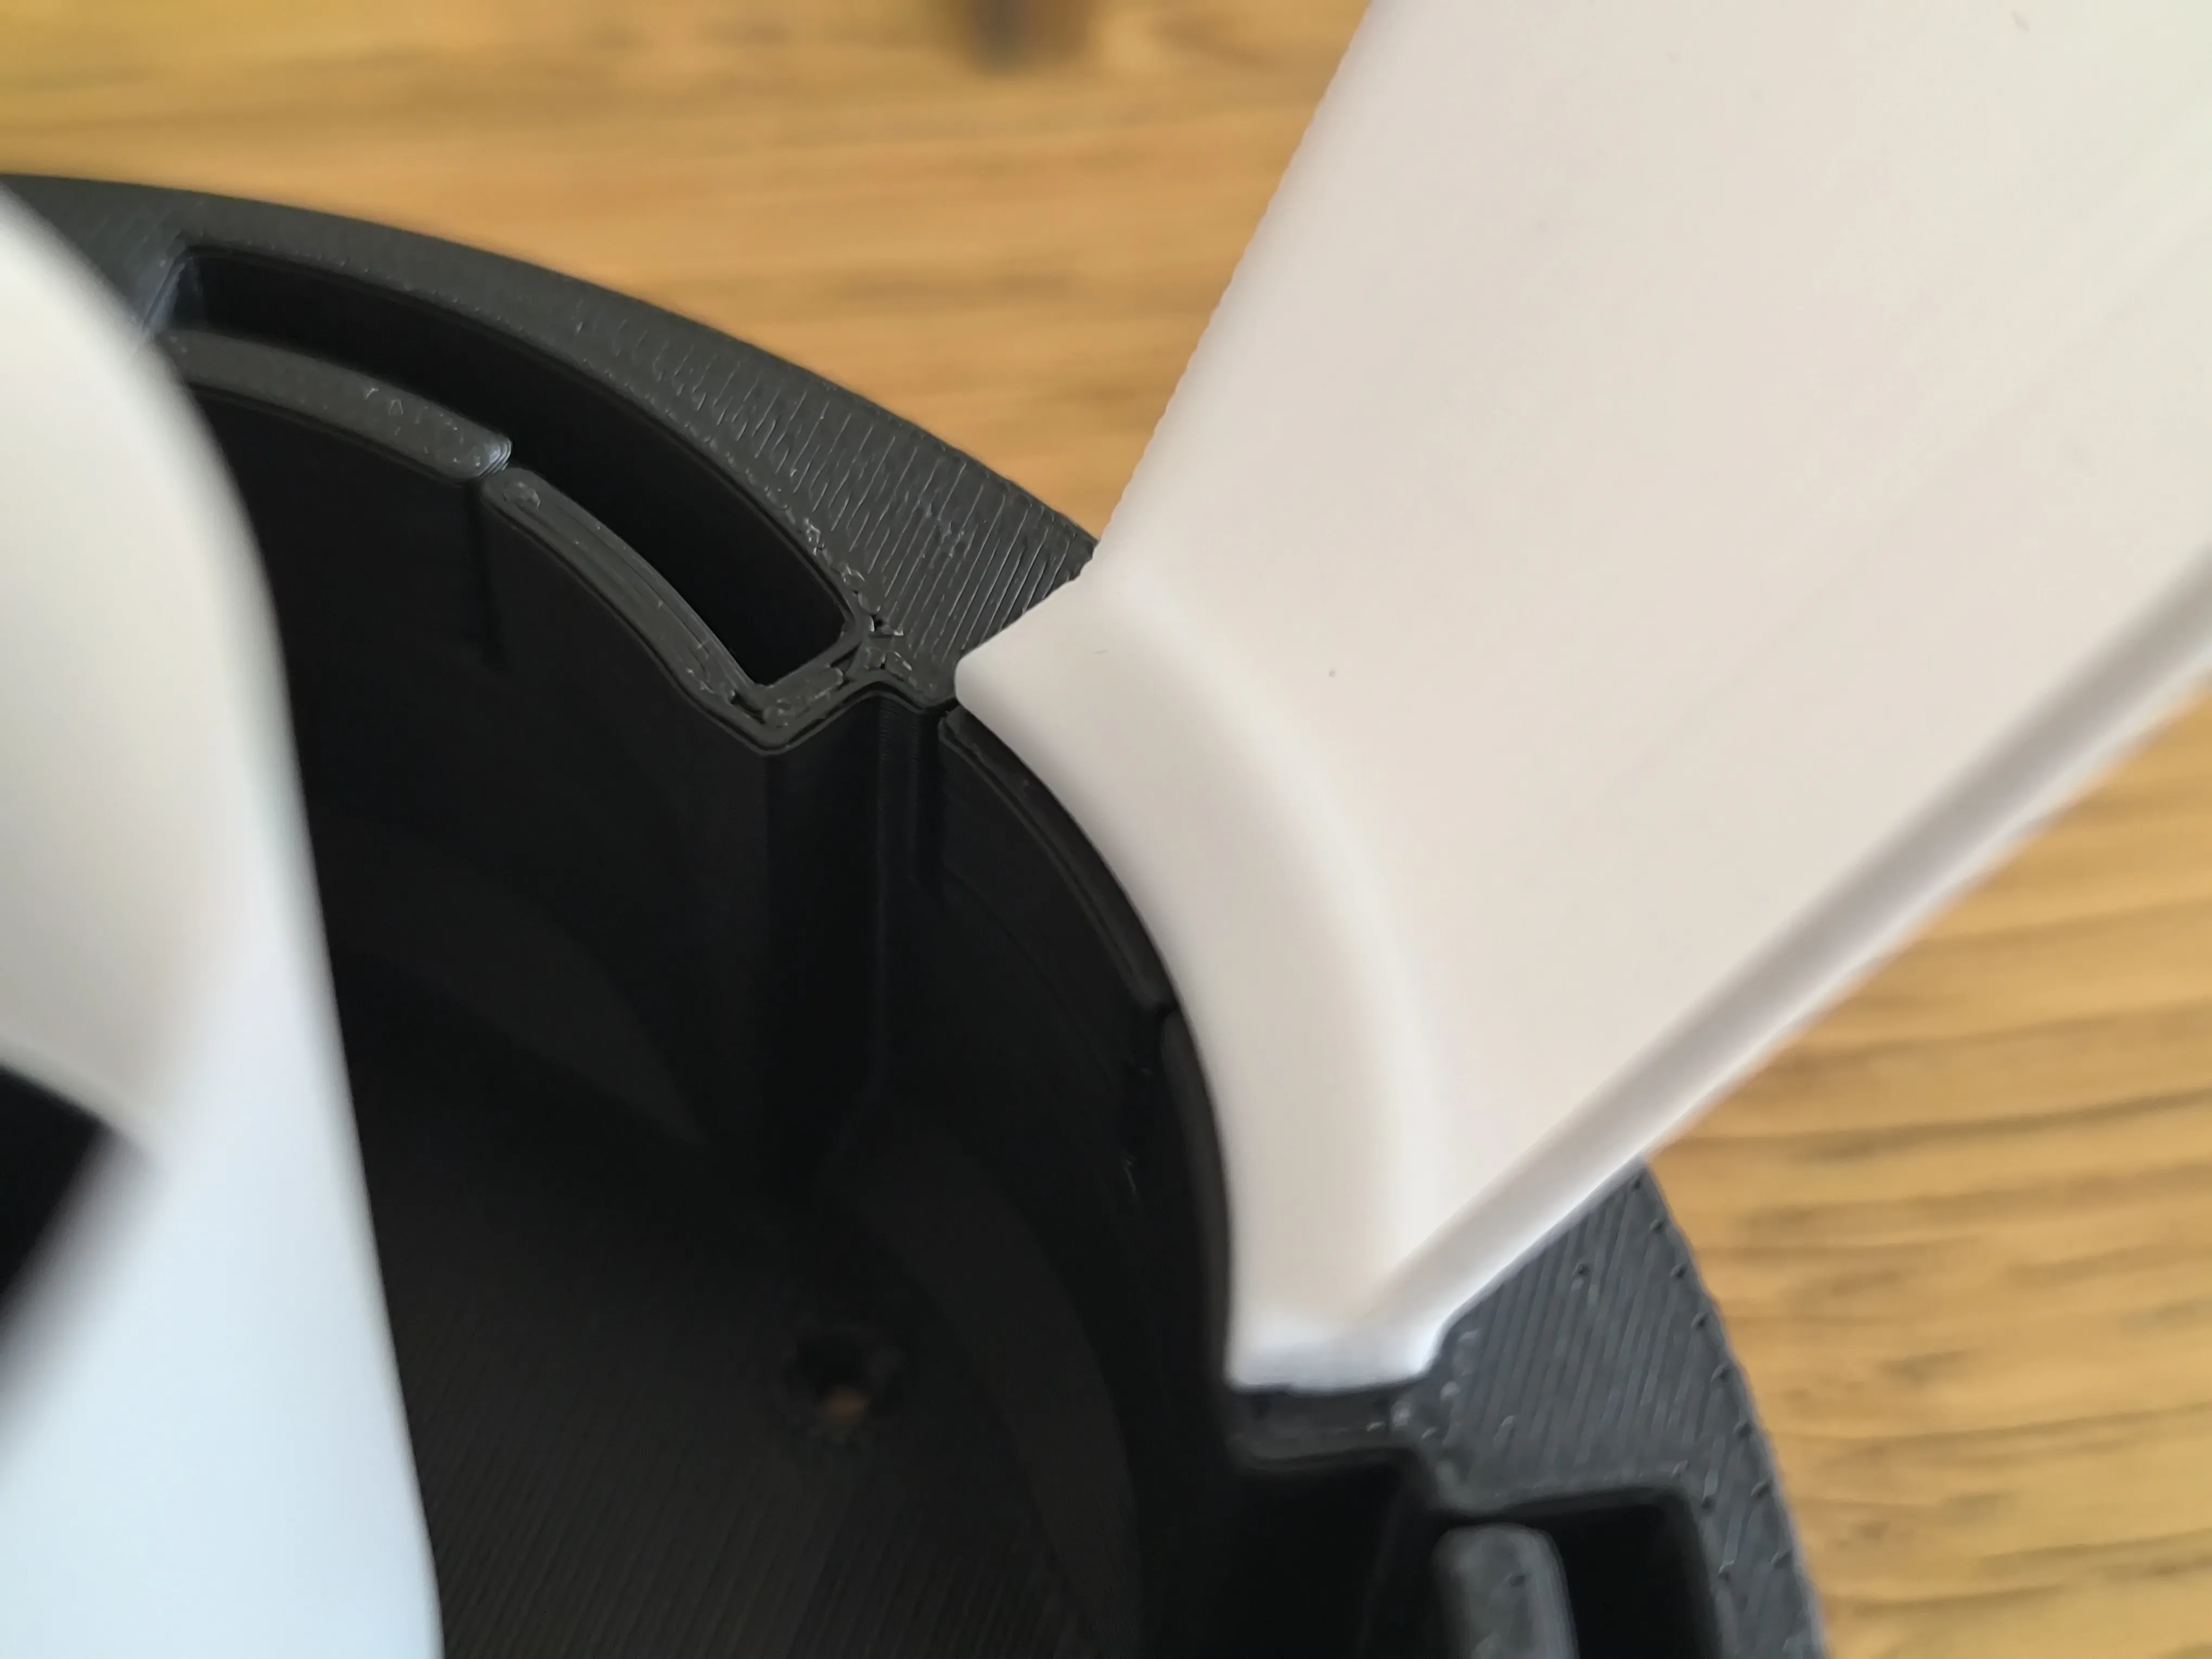
Than push all tips into the top mount, they should also clip in
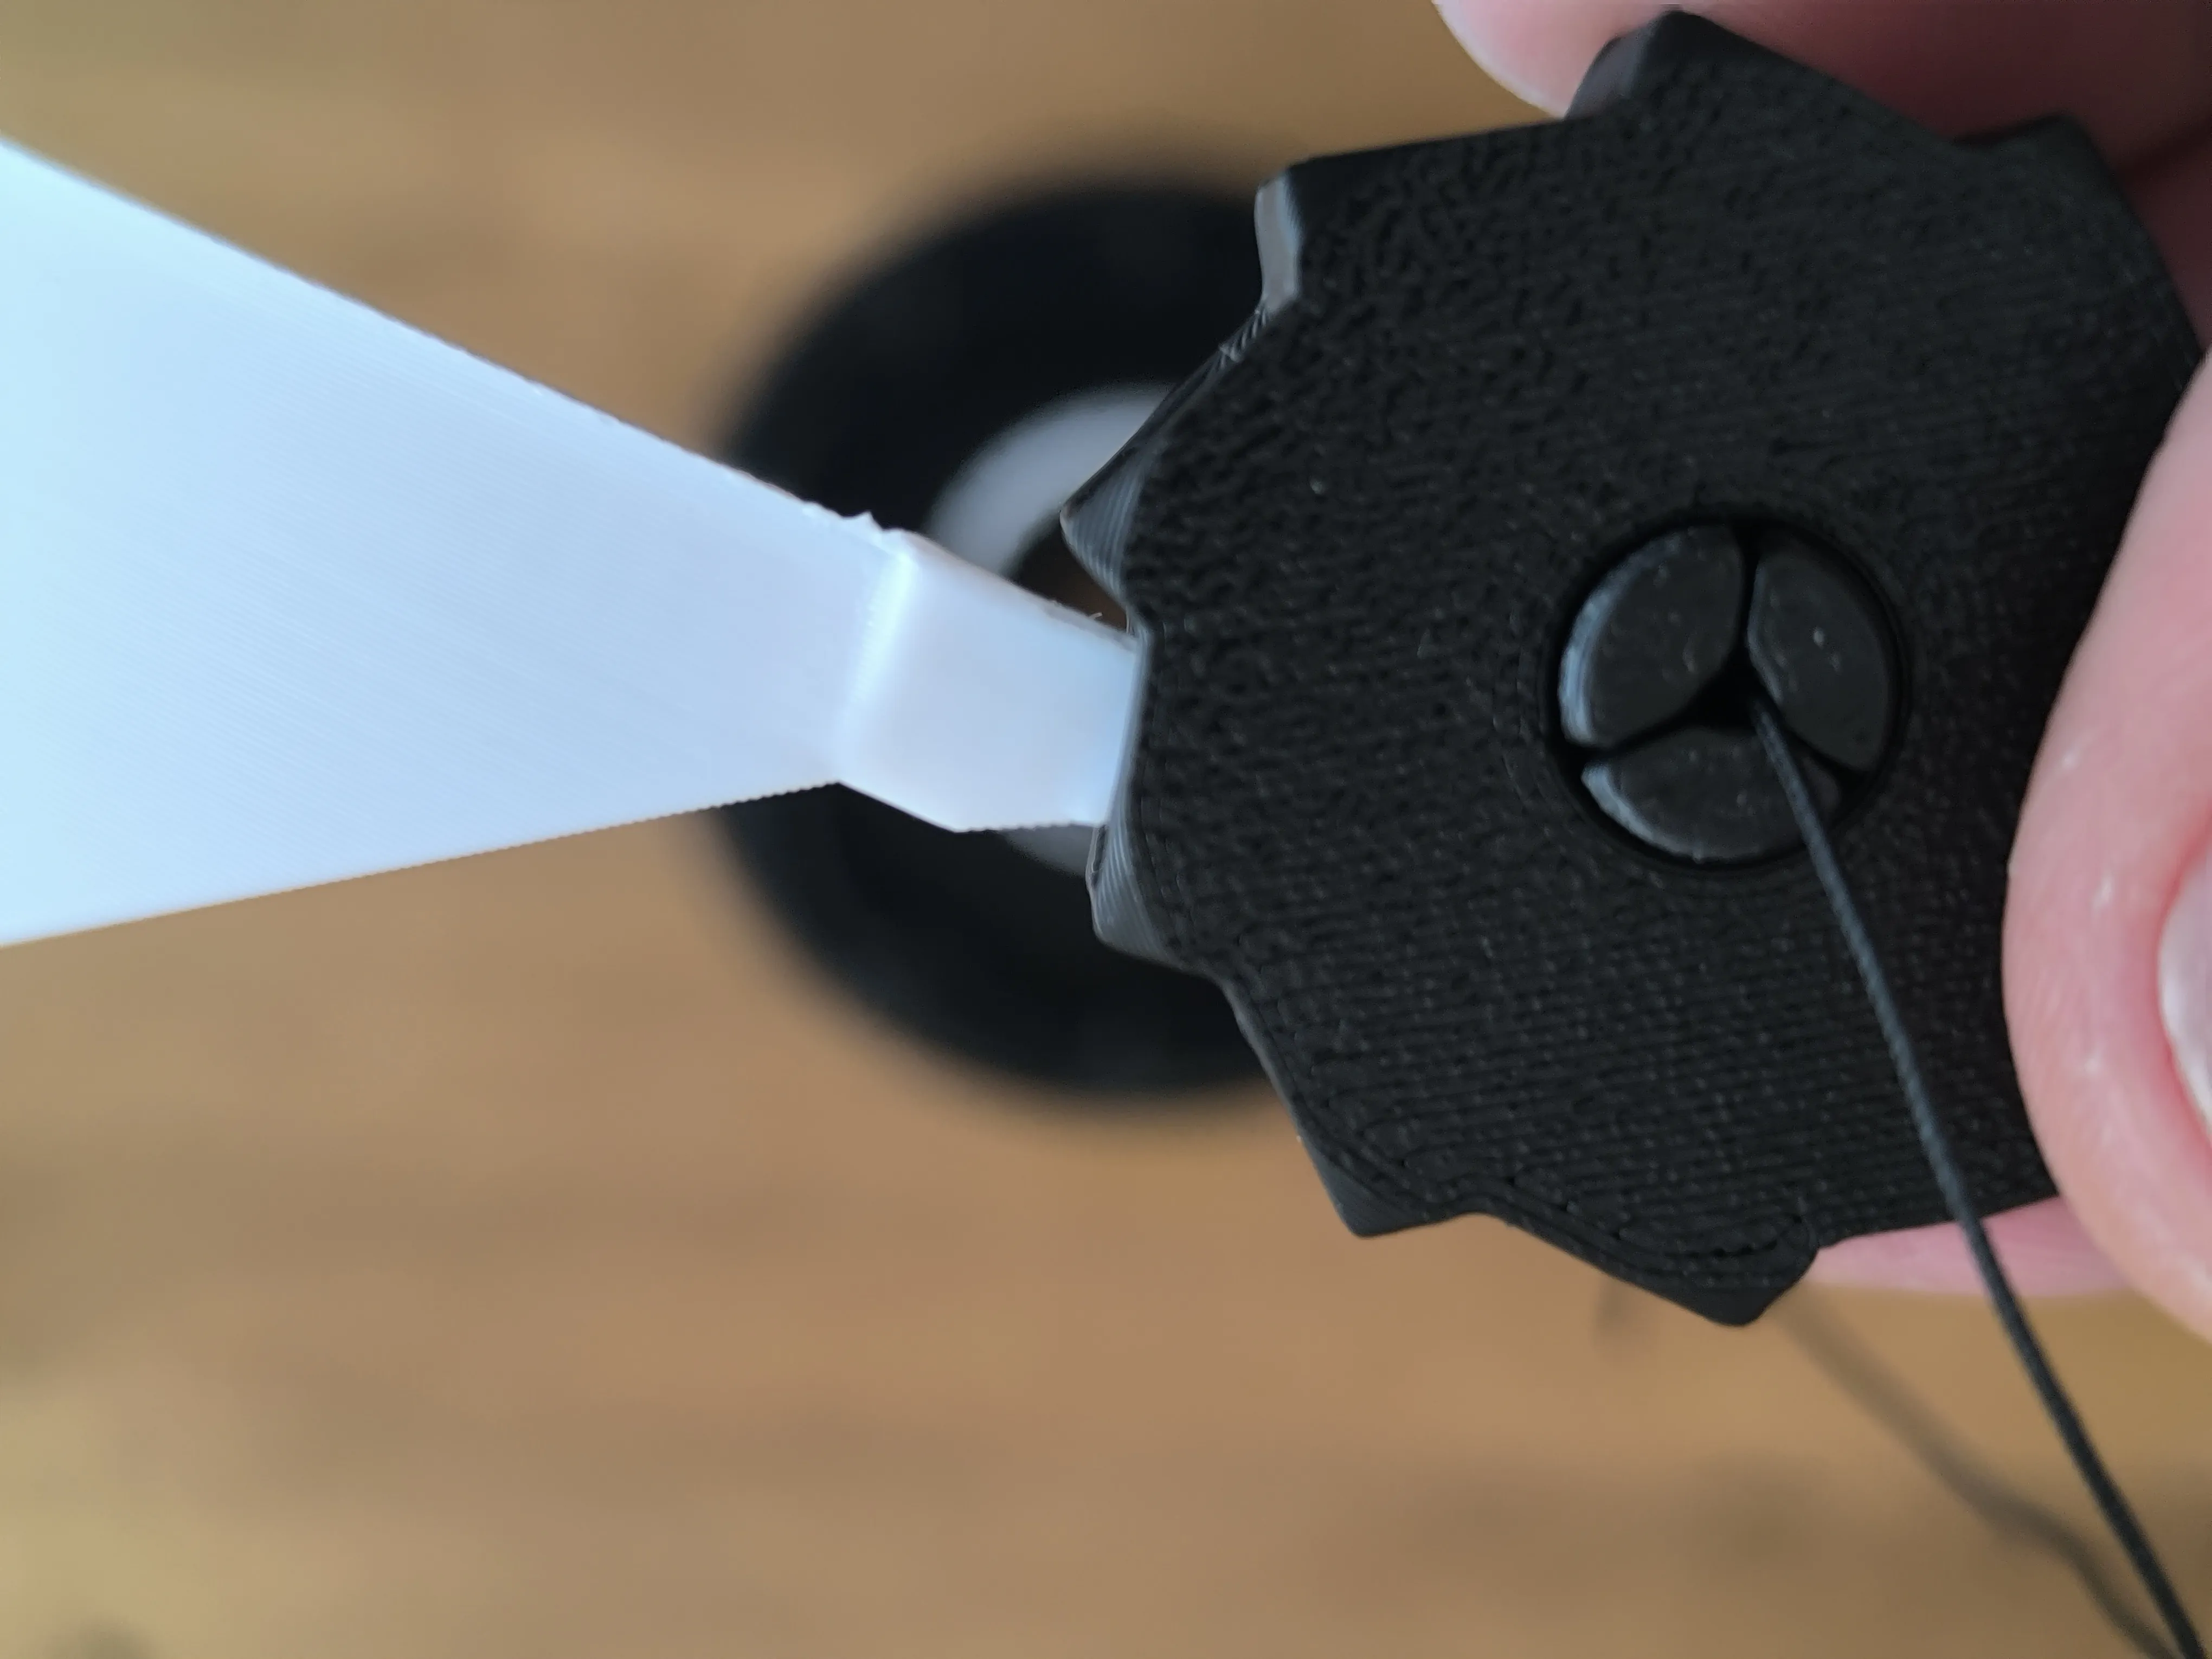
Plug the LED spot from underneath. It should hold on it's own.
More
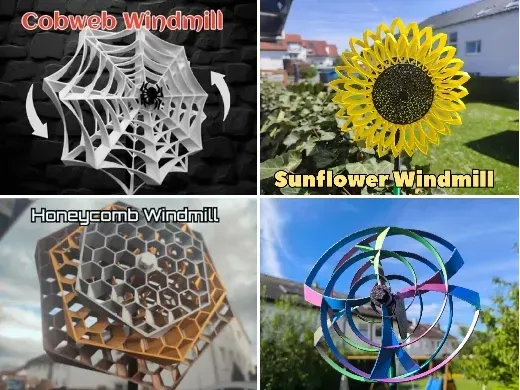
I have always been fascinated by wind-powered toys and have already created a whole series of windmills on Makerworld, which has even brought me some recognition. Feel free to check out my collection:
Happy Printing!
If you want to sell prints from this design you can subscribe for a membership here on Makerworld or on Patreon.
Membership
You want to sell printed objects from my designs or just support my work? Now you can subscribe on Makerworld! Thank you!
License

You shall not share, sub-license, sell, rent, host, transfer, or distribute in any way the digital or 3D printed versions of this object, nor any other derivative work of this object in its digital or physical format (including - but not limited to - remixes of this object, and hosting on other digital platforms). The objects may not be used without permission in any way whatsoever in which you charge money, or collect fees.


Comment & Rating (410)